How to Make Old Parchment Paper
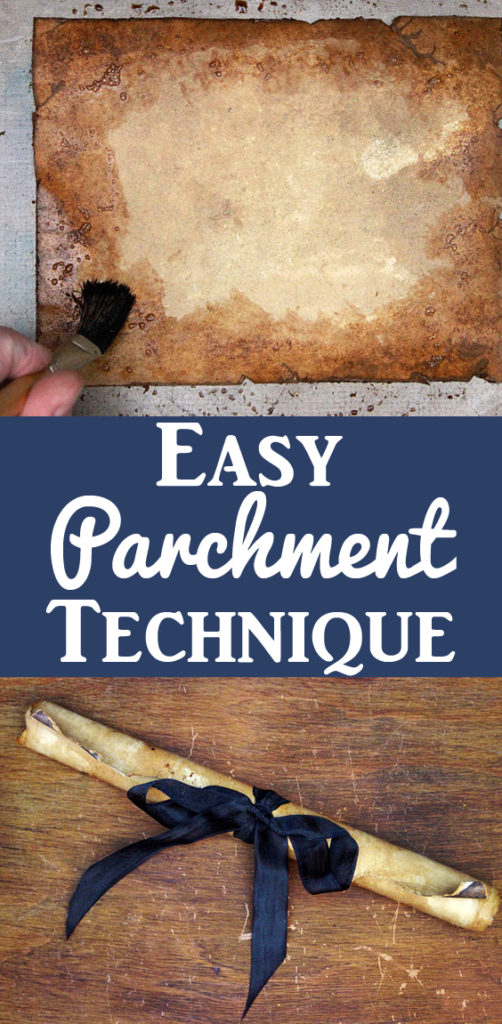
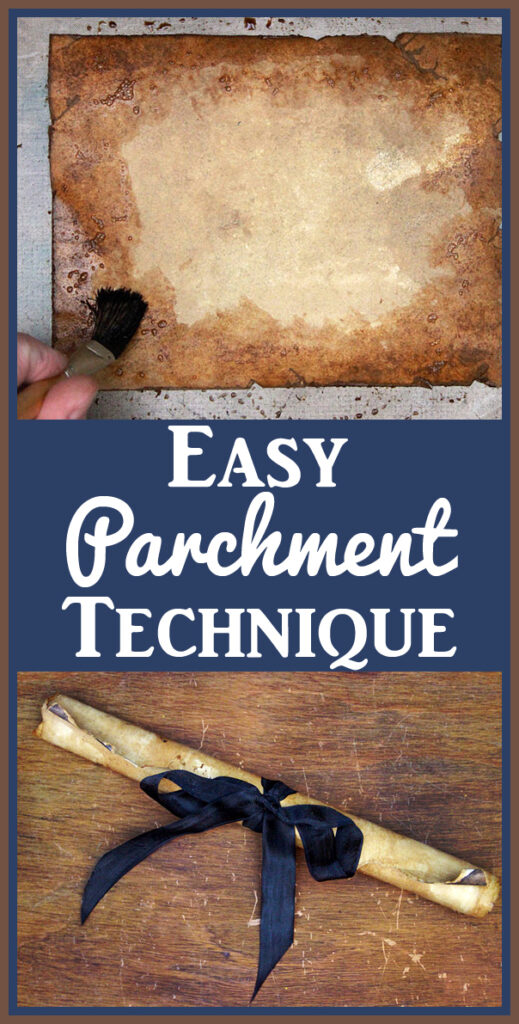
Hello, dear crafters – Heather from Thicketworks here and today we are going to learn how to Make Old Parchment Paper! We will be using my favorite Ancient Parchment Technique. I love creating items that have an air of antiquity, and this simple method is one I turn to often.
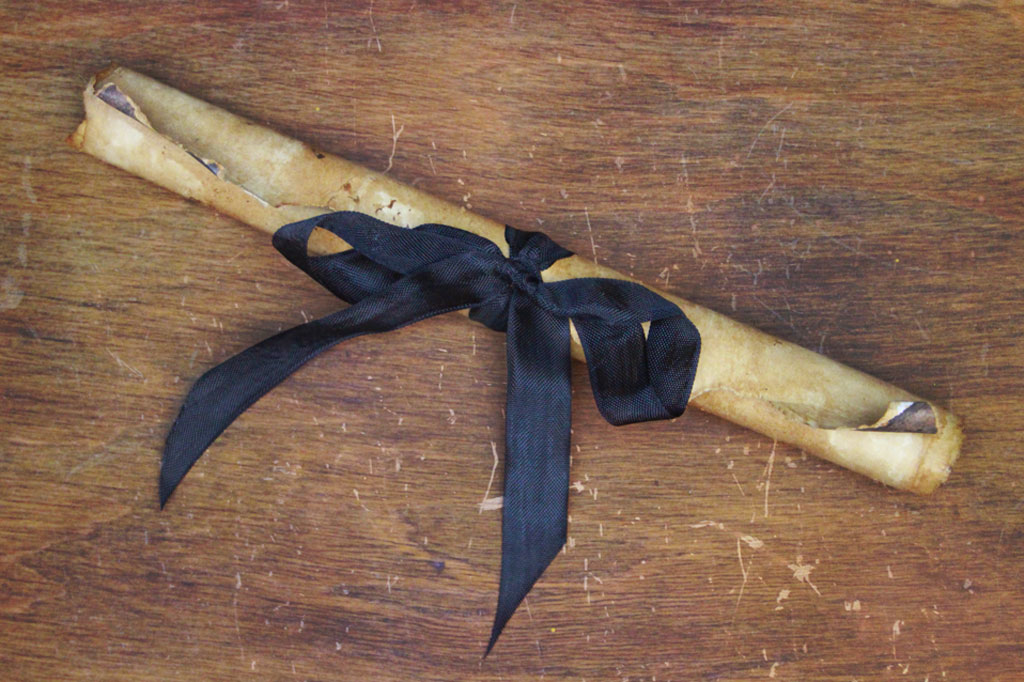 I like to use paper that’s been aged this way to create meaningful documents, fancy scrolls for special occasions, letters to be tucked into bottles, etc.
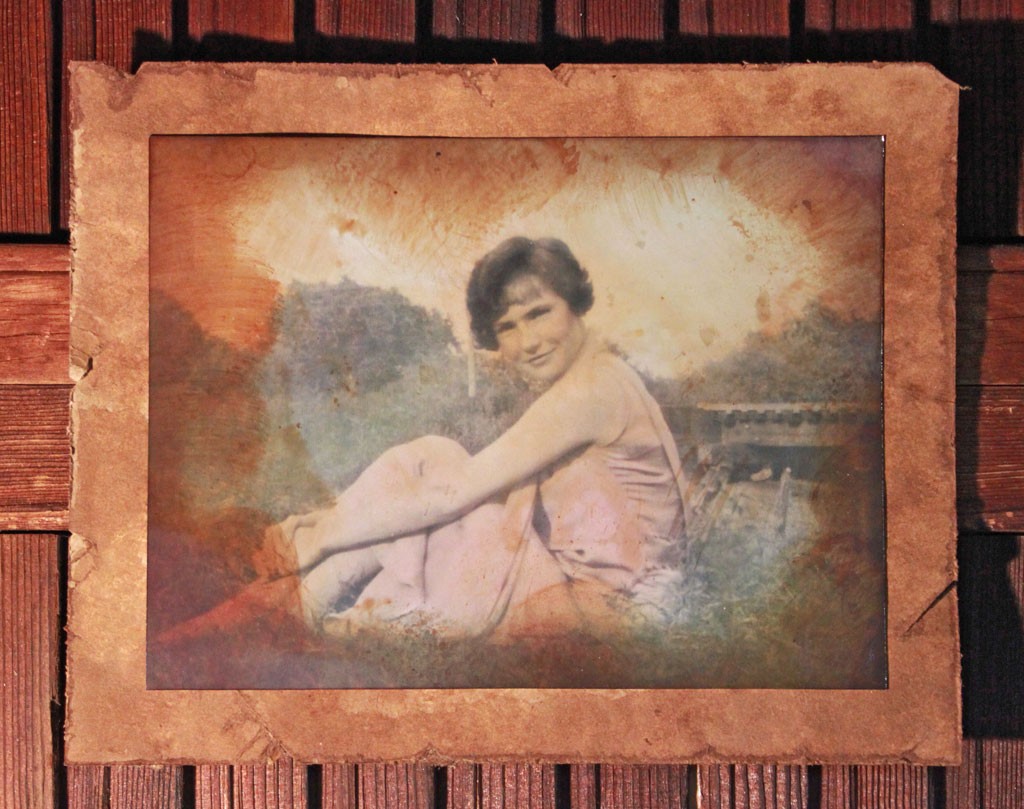
Of course, this type of paper also makes a wonderful addition to greeting cards, scrapbook layouts and mixed media projects of all kinds. I especially like it as a photo mount for family snapshots:
You can easily create your own “Ancient” Parchment, with just a few basic ingredients.
Supplies for Parchment Paper Technique:
-
- Standard White Card Stock. You can also use regular printer paper, but just expect that it may tear during the process – not necessarily a bad thing…
- Half a cup or so of hot water
- Several spoonful’s of Instant Coffee – the more you use, the more intense the color
- A scruffy paint brush
- A spray bottle of water
- A work surface that won’t be harmed by some drips of coffee/ink – a non-stick craft mat is ideal
- A distressing tool, or a coarse emery board and scissors
Optional Supplies:
- DIY Spray Inks
- Distress Ink in suitable tones + a Ranger Ink Blending Tool & Foam
- A Heat Tool
- An iron that won’t be pressing any starched white collars before you clean it thoroughly
- A Scanner or digital camera
How To Make Old Parchment Paper Step by Step Instructions:
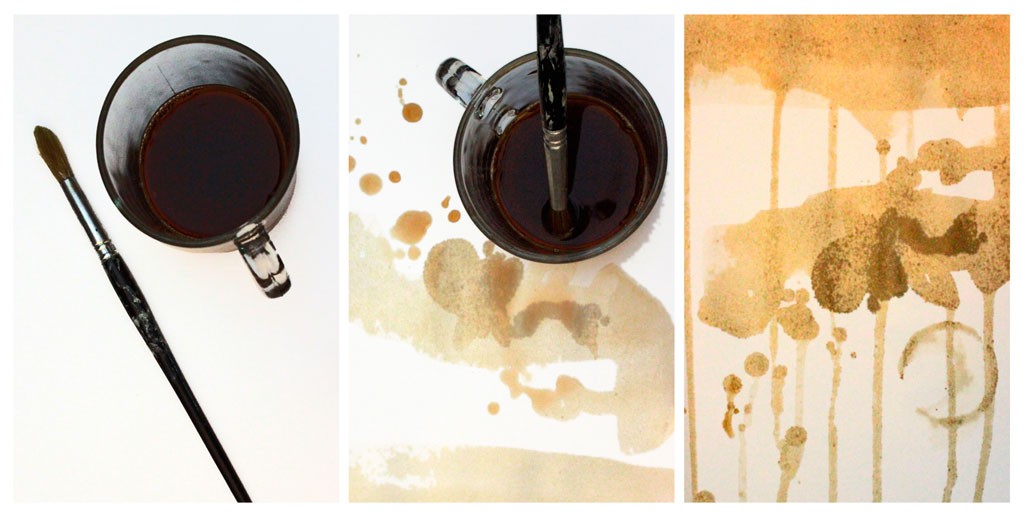
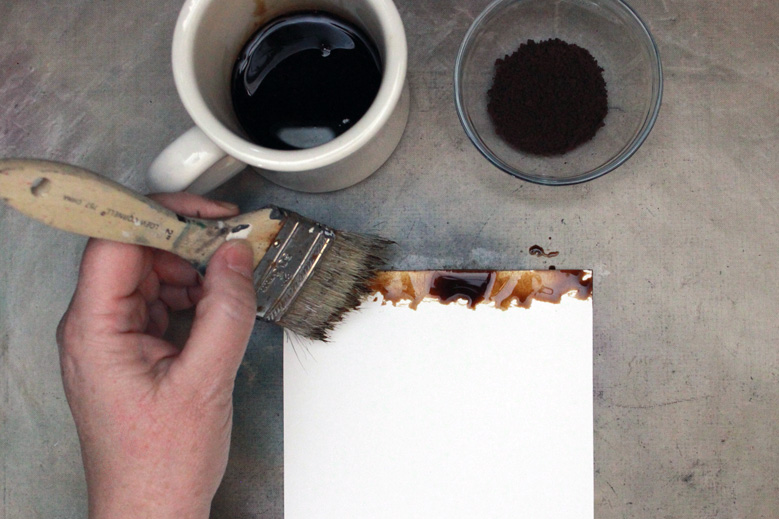
- Mix up your strong instant coffee – dip in your brush
- Splatter & Fling (that’s the technical term) coffee over the surface of the paper
- Paint a wide swath of coffee across the top of your page, then lift the paper up to encourage drips
- Allow coffee to puddle directly on the paper surface
- Set the base of your cup in the puddles, then tap the base of the cup gently onto the paper elsewhere, leaving a lovely circular stain or two.
- Flip the paper over, and repeat the process on the other side
- Allow to dry
8. Alternatively, be very deliberate with the application of color, concentrating on the areas you wish to age the most severely.
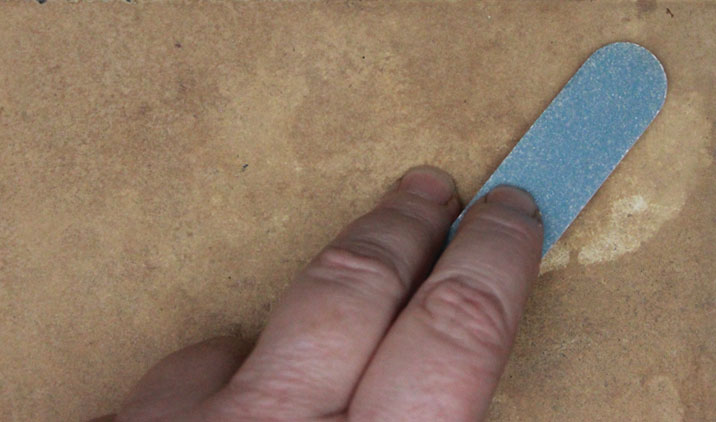
9. Once the paper is absolutely dry, distress the edges and flat surfaces of the paper with a Distressing Tool, like this one from Prima…
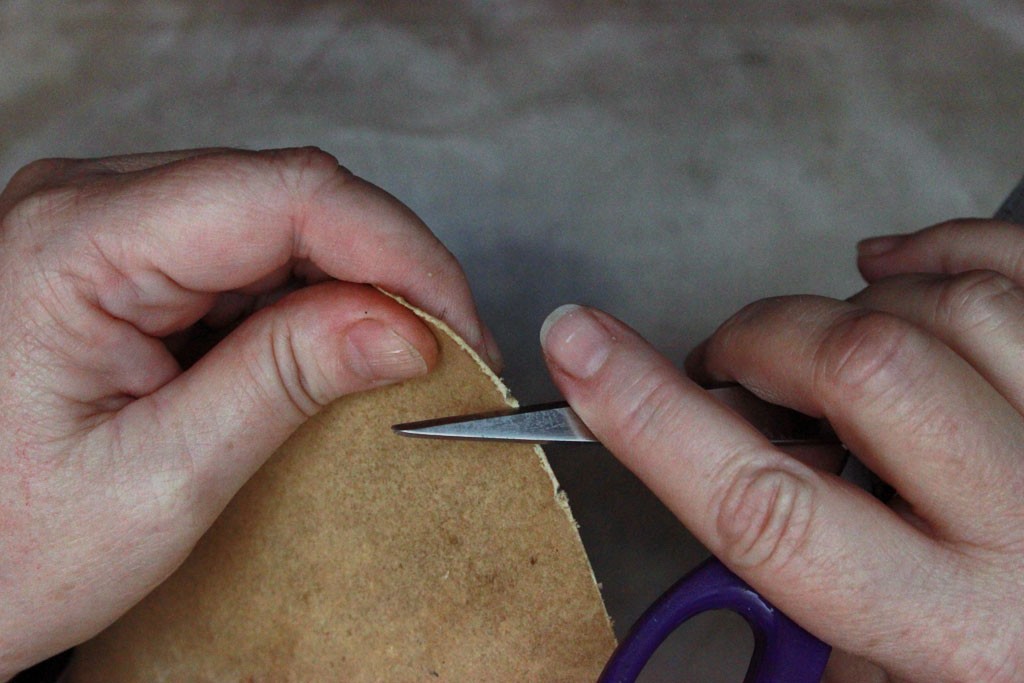
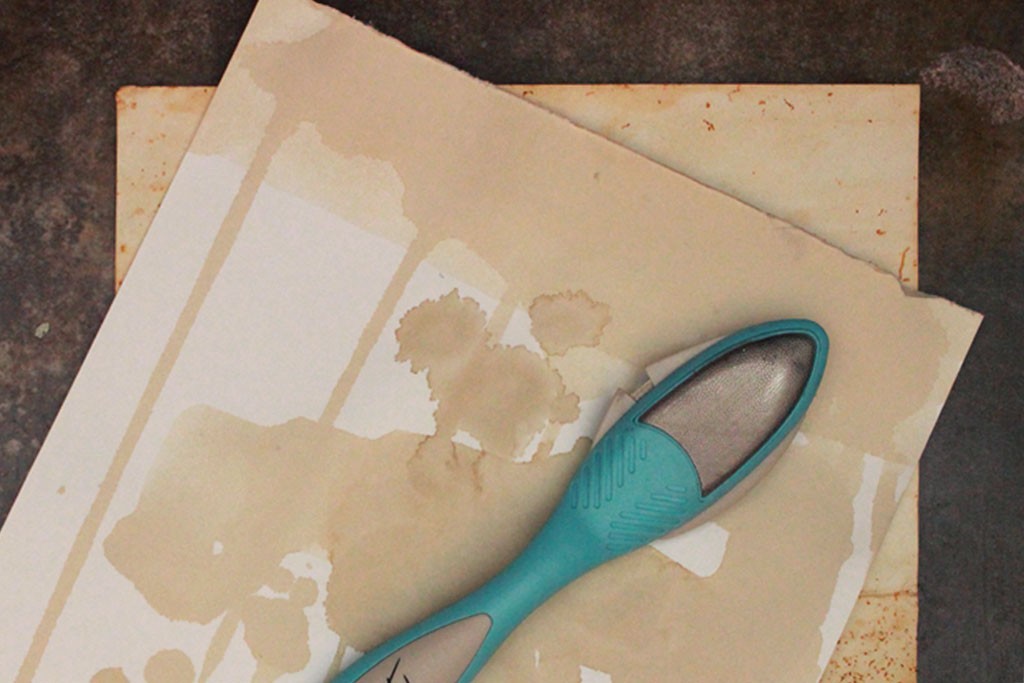 Or create similar effects by dragging one blade of a pair of scissors along the edge of the paper.
 And also scruff both sides with sandpaper or a rough emery board.
10. Once the paper has been distressed, selectively add additional coffee. The distressed edges and surface will absorb more pigment than the undamaged portions, resulting in an even more timeworn appearance.
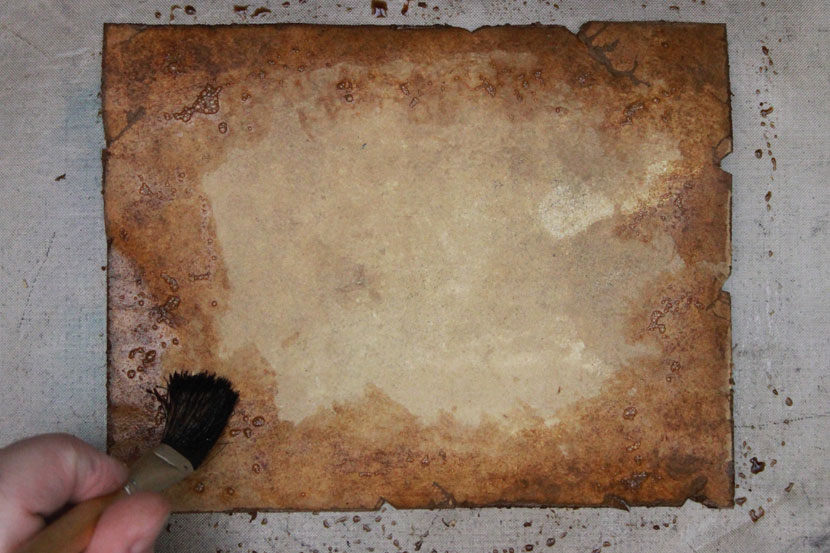 The basic idea is to create sheer layers of color, one atop the other, furthering the impression that this page has passed through eons of handling and wear.
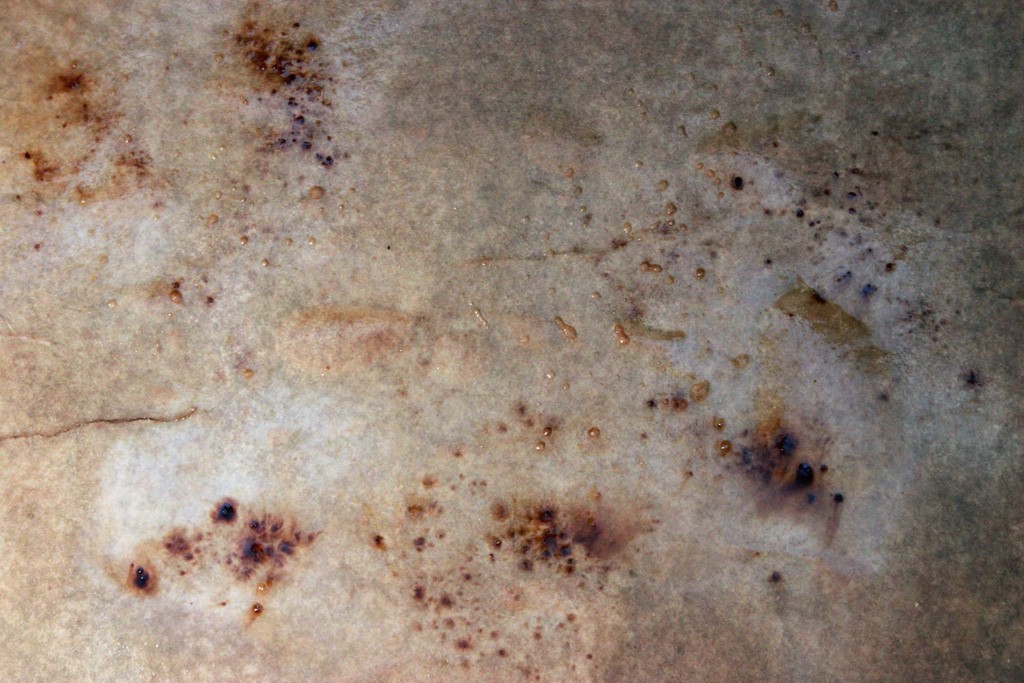
11. You can sprinkle dry coffee crystals onto the damp surface, creating more intense age effects:
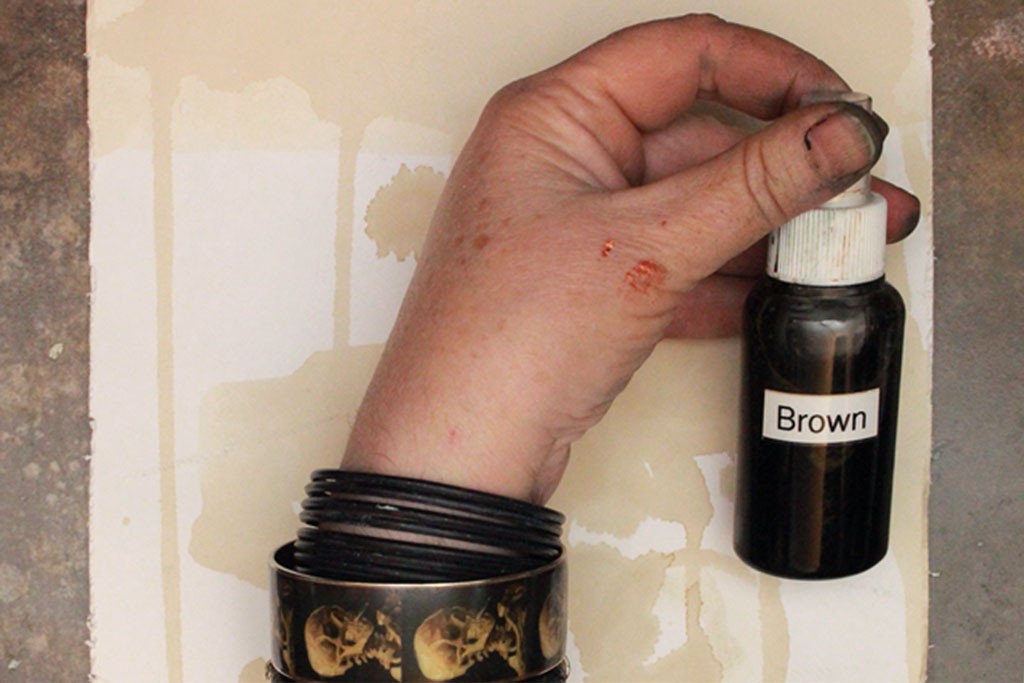
12. If you use spray inks, begin with a tint that will embed itself nicely into the scruffy marks on the surface, without staining the paper too intensely. Here, I’ve chosen a basic brown ink, which I mixed to a light, not deep, color.
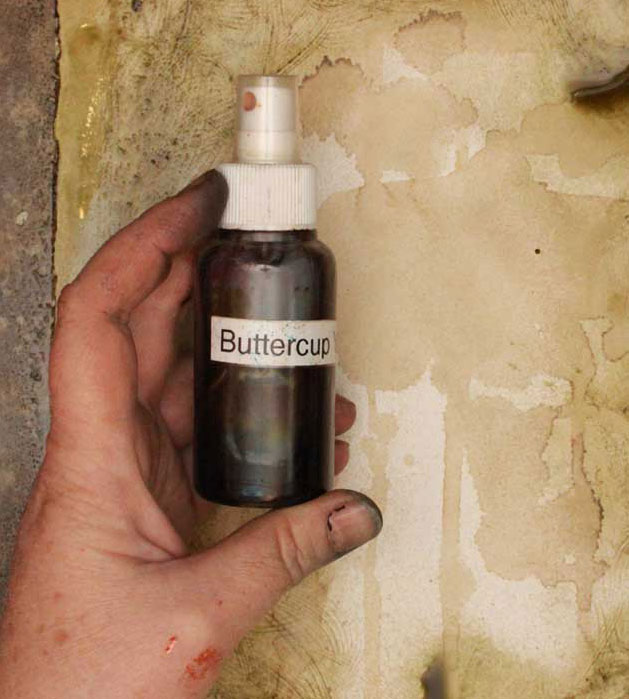
13. While the surface is still wet, add a lighter color and allow the two to intermingle.
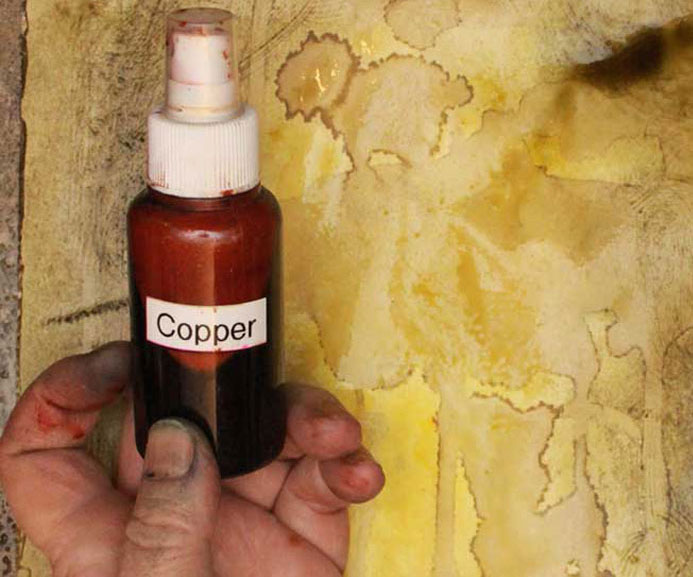
14. Finally, create some drama by adding small areas of richer color.
Note: flip the paper over during each spray ink session, and mop up any over-spray by pressing the paper down into the puddles of ink. The goal is leave no white space at all, on both sides.
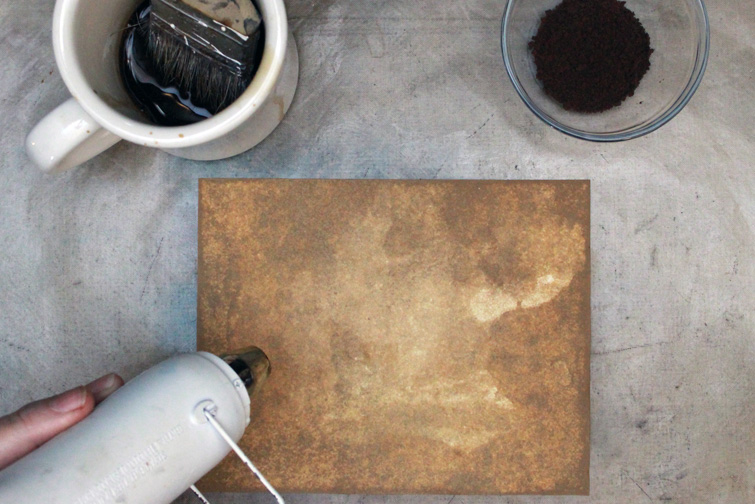
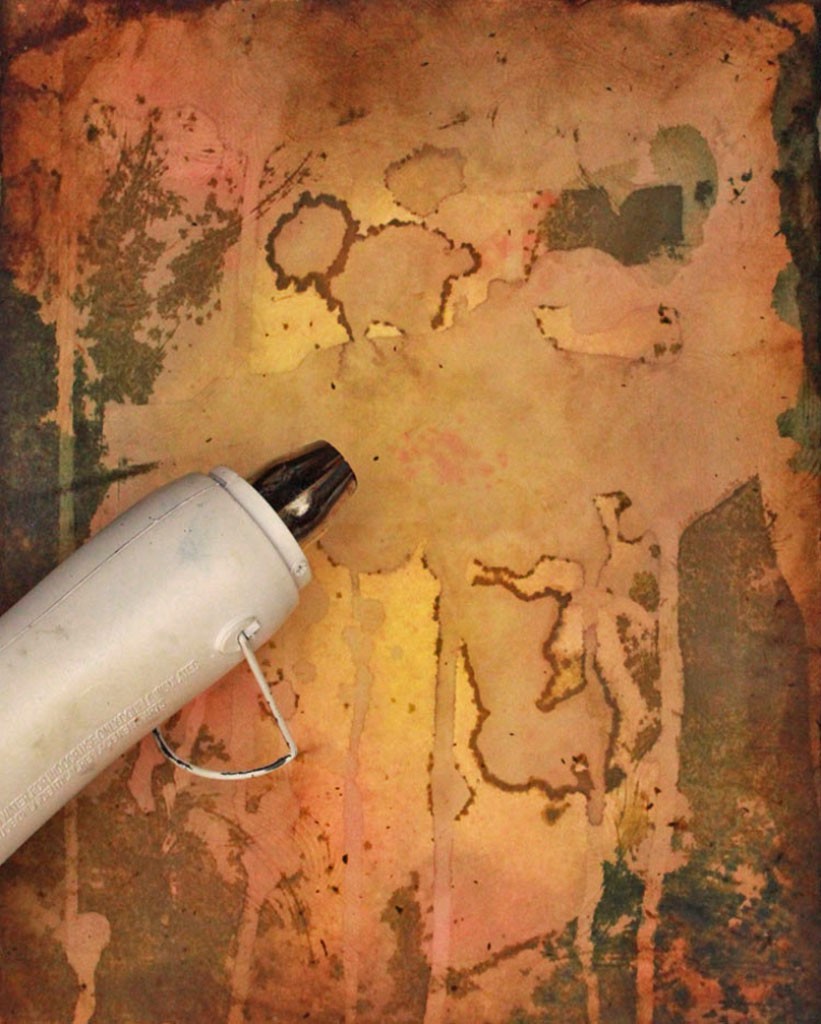
15. Allow to dry, or use your heat tool to speed the process.
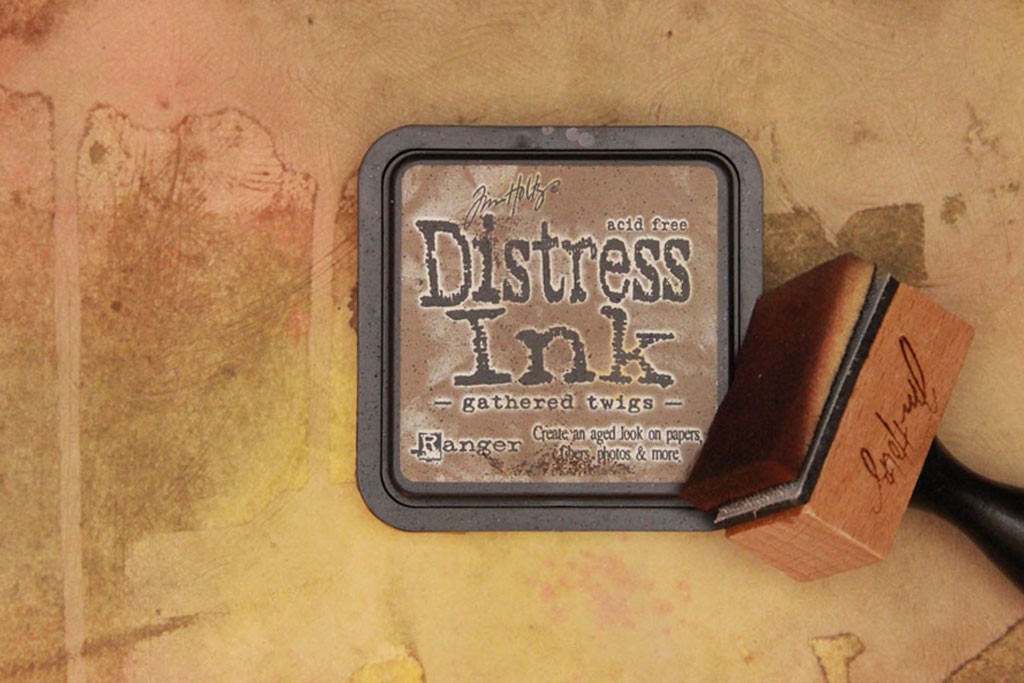
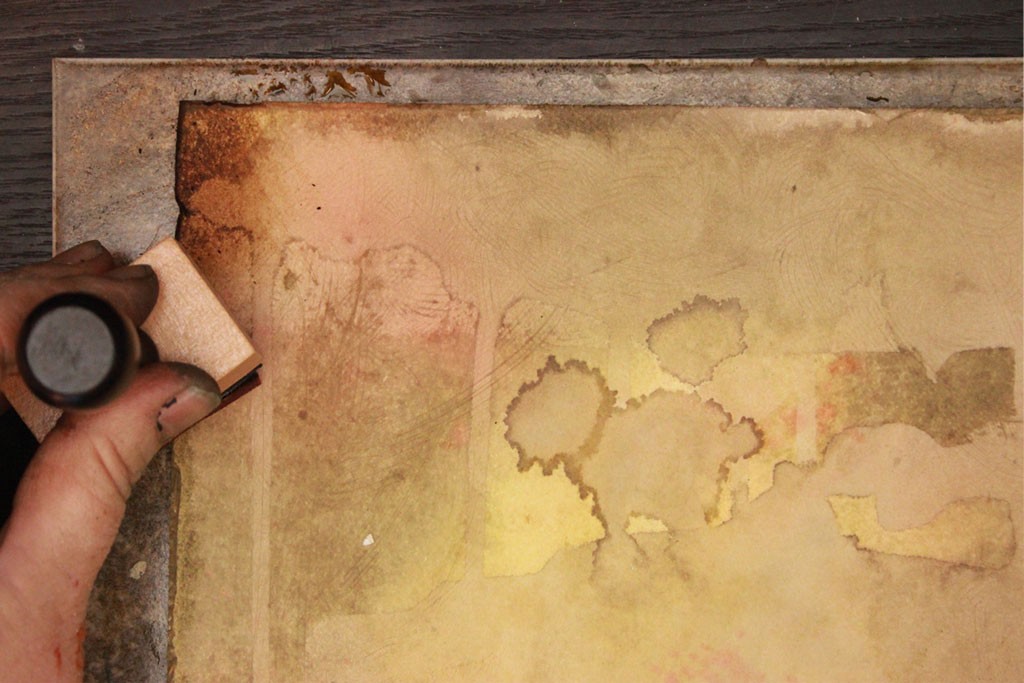
16. To finish the look, grab some Distress Ink and a foam applicator. I like Gathered Twigs – it’s a rich brown with green undertones.
17. Work the ink into the edges of the paper with a gentle swirling motion.
18. A wonderful thing about Distress Ink is that you can spray the surface of your work with water to diffuse the color and spread it around. When you’re happy with the result, allow to dry naturally, or use your heat tool.
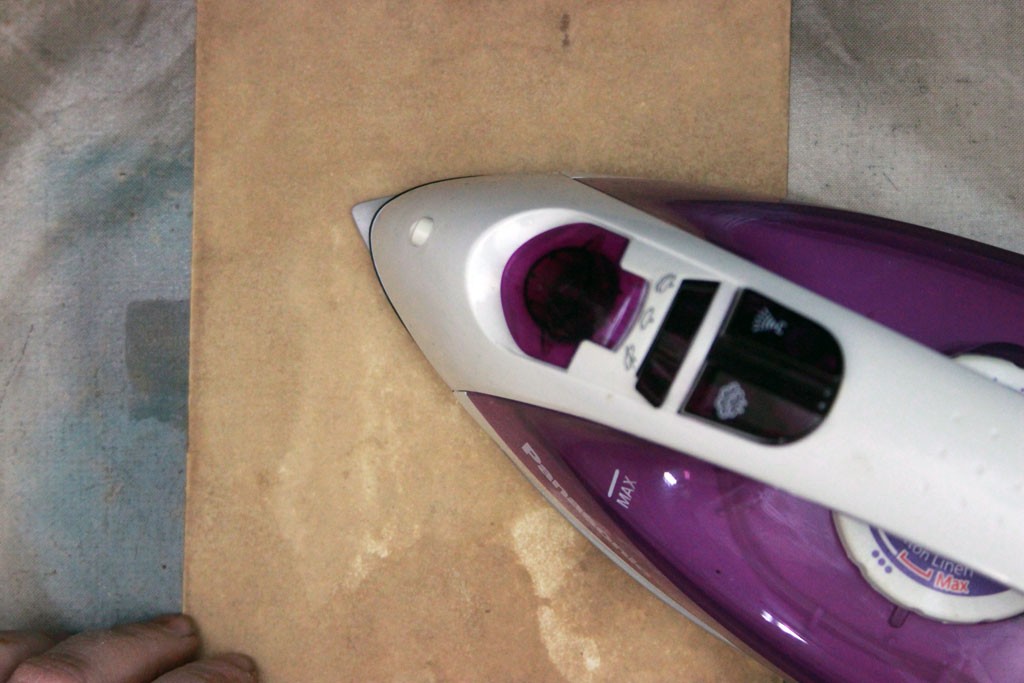
19. The paper may buckle during all this rough handling – you can always iron it flat, if desired.
Ta da! You’ve just added the awesome Ancient Parchment Technique to your creative arsenal!
I like to scan my papers before the final embellishing stage, in order to play with the color tones for use in future projects.
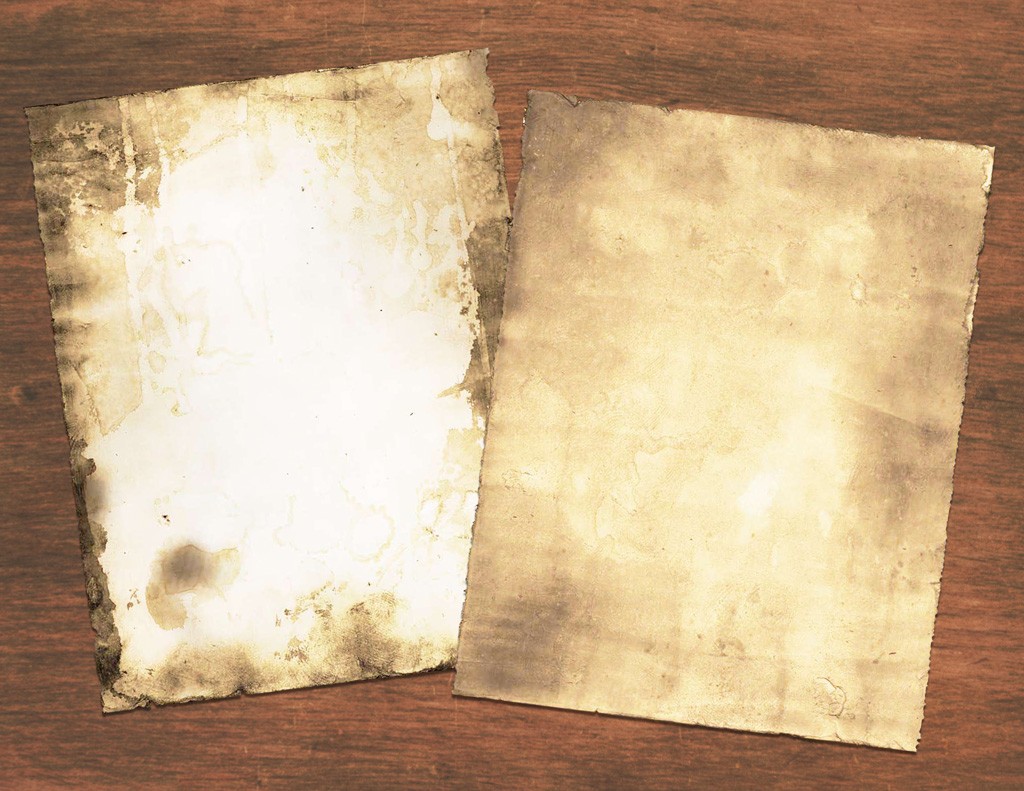
I thought you might like that, too. So, as a bonus, I’ve created full sized PDF files of these two pages. Feel free to download and print them out for your own projects!
Printable Old Parchment Paper
Click HERE for the Full Size Printable PDF of the Old Parchment Papers
I hope you enjoyed this DIY Old Parchment Paper Technique! You might also like How to Age Paper Easily HERE.
Thank you for joining me on this day of gratitude…I’m so grateful for the time we spend together!
When the feasting is over, go do something that makes you feel marvelous (and makes a lovely mess of your manicure!)
Drop by Thicketworks anytime you feel like getting messy – you’re always welcome there!
Heather


Mary Anderson says
Thank you for this tutorial! I’ve digitally collages and now am dipping my toes into the world of real world collage. I’m really excited to try this and have happily also downloaded your examples as well” Thank you so much for your beautiful gifts!
graphicsfairy says
That is wonderful Mary, have fun!
Traci says
Great tutorial I love the way the paper came out looks amazing.
graphicsfairy says
Thank you Traci!
Cathy Koon says
Have you ever found a way to age paper so its archival, safe to use in scrapbooking?
JaneEllen says
Thanks so much for great tutorial and wonderful aged papers. Am going to participate in making a junk journal this summer. Have never participated in anything before thinking I couldn’t do it but decided was time to try. Will be 78 this July and want to know I can make something different successfully, see it thru to the end.
Happy weekend
graphicsfairy says
Happy almost birthday JaneEllen! You will do great, you are always creating wonderful projects, I have faith in you! Have fun 🙂
June says
Thanks for the tutorial & the FREE copies! These will look awesome as a background for an old photo or my note cards.
Heather says
Hi June – It was a lot of fun to document this technique, so glad you liked it. Have fun with the ‘antique’ paper PDF’s – sounds like you have some great ideas for them!
Chris says
Thank you for sharing this tutorial. I tried to make my own spray ink using instant coffee, but I couldn’t get a deep enough color. Think I’ll try an expert’s way 🙂 great idea for scruffing the paper. I’d never think to use an emory board. Thanks also for the free download! Happy Thanksgiving!
Heather says
It’s Chris! Yay! Happy Thanksgiving, you rust junkie! 🙂 I love deep dark colors when distressing things, and boy, can you get instant coffee DARK! Plus, sprinkling the dry crystals on the wet surface gives you such gorgeous mottled effects. Yep, scuffing the surface makes the color sink in just a little bit deeper…now you know the SECRET!
Joey says
WOW! Love this! Thank you so much. Finally a way to make paper look truly antique. YOU ROCK!
Heather says
Hey Joey! You’re gonna have so much fun with this one. As far as I’m concerned, you’re the one who ROCKS – thank you for taking time out of your day to leave such a fantastic comment!
gabrielle says
Wouldn’t this make a great wrapping paper for a present to someone who likes old distressed things??
Thanks for this introduction – it’s been a while since I’ve actually done work on paper – so glad you are keeping me up to date!
Have you ever tried to do this on chalk painted surfaces? Or would you recommend treating tissue paper this way, and then decoupage for the object?
Heather says
Hi Gabrielle,
I, personally would LOVE getting a gift wrapped in paper like this. If you add rubber stamped images, or calligraphy, it would be divine.
It’s funny you should mention chalk painted surfaces, because I’ve been pondering this myself. My biggest concern would be longevity. Not sure how well the stain would last, unless coated by a heavy duty sealer. Hmmn…must return to the laboratory and conduct experiments!
I like the idea of using tissue, but it would be tricky to distress it properly without disintegrating it. I’ll have to give this one some thought, as well!
You always have such interesting comments, and I love that you prod me into thinking about new possibilities. Thank you!
Sasha says
Thanks for the Download and the tutorial. I really enjoy your tutorials. Happy Thanksgiving!
Heather says
Happy Thanksgiving, Sasha! It’s great to see you here. Have fun with the download – I recommend printing it out and grunging it up even more!
Betty says
Thanks for the great tutorial. I am learning so much from you. 🙂 Happy Thanksgiving!
Heather says
Hi Betty, you are so kind! It means so much to me to be able to give a little back to the wonderful Graphics Fairy community. Happy Thanksgiving to you and yours! 🙂
Teddee Grace says
Heather’s tutorials are just wonderful. Thanks for sharing.
Heather says
Teddee, you are the reason I LOVE what I do! Thank you so much for your kind words. Karen has given me the loveliest gift by generously allowing me to connect with her amazing readers.
Marilyn says
Thank you so much for the tutorial and the copies. I love aged paper. I have tried different ‘techniques’, as well, and each time I LOVE the end result. I make leather bracelets with hand-rolled beads for young men and inside the box I include an aged piece of torn-around-the-edges paper with the description of the bracelet. I think it adds charm and maybe authenticity. Thanks again!
Heather says
Hey Marilyn! Oooh, I want to see your bracelets! They sound AWESOME. There’s something about decrepit paper that just thrills me. I’m sure you’re hand-crafted descriptions add a whole layer of richness to what must be amazing objects. Thanks for sharing your love of aged paper – we’re a strange and wonderful tribe!