DIY Birthday Cards for Best Friend
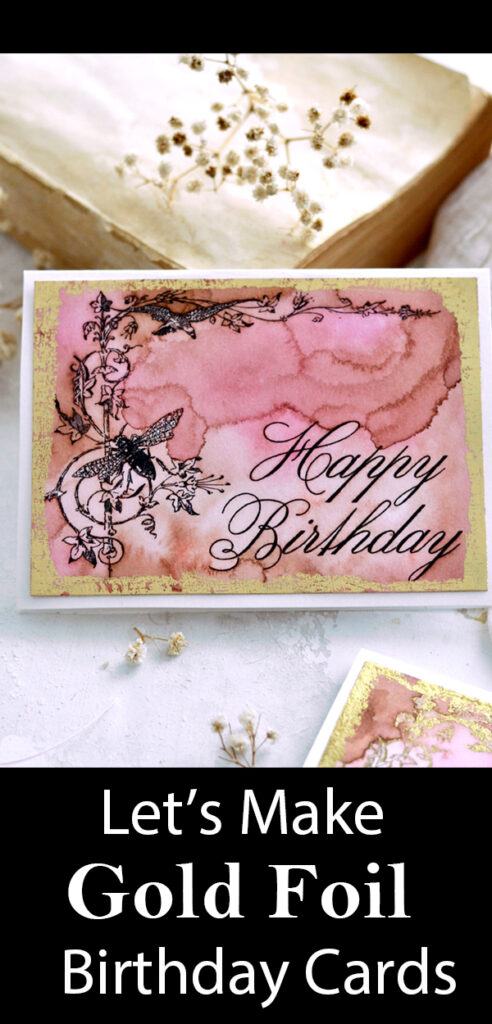
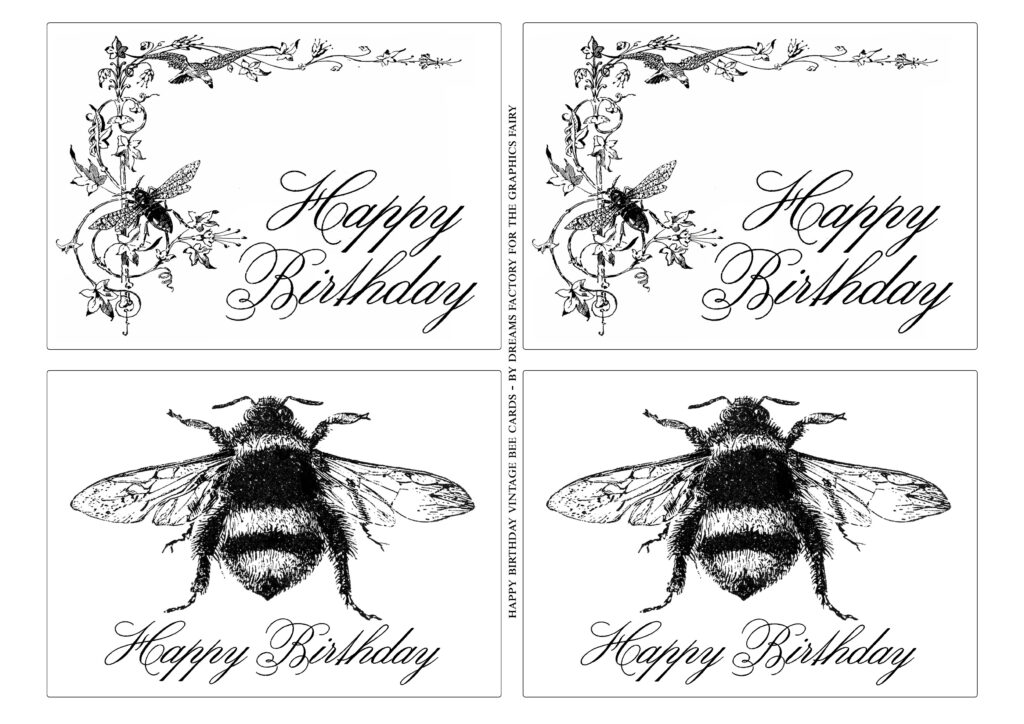
Hello Graphics Fairy friends! Diana from Dreams Factory here, ready to share another creative idea with you. Today I will be sharing some DIY Birthday Cards for Best Friend. Make something really special for your best girlfriend, or guy friend, with these Free Printable Cards and instructional tutorial! The starting point for this project will be a lovely bee printable (with 4 cards) and a template with blank base cards, so you can make these beauties yourself in no time! I stained the cards with spray inks and added a touch of gold using metallic foil and a laminator, but I also used a little bit of glue to create a perfectly imperfect distressed gilded effect on the edges. If you don’t have a laminator, you can skip that part and just add the foil to the edge of your card with the technique towards the bottom of this post.
I experimented a lot with these DIY Happy Birthday Cards, with a Gold Bee theme, and I’m hoping you will love them as much as I do. Give them a try. Conduct your own experiments, on your own terms! The black and white printable will give you plenty of room for experimenting, it’s just like a blank canvas that’s waiting for an artist’s touch.
NOTE: Keep in mind that if you want to try my tutorial, in this exact form, we will be using a few techniques that imply the usage of a laserjet printer, so a laserjet printer is a must! If you don’t have one, you can always ask a friend to print these for you or take them to a copy center near you. You can get copies made very inexpensively at one of those centers.
If you only have an inkjet printer, you can still print and have fun with these while trying other techniques.
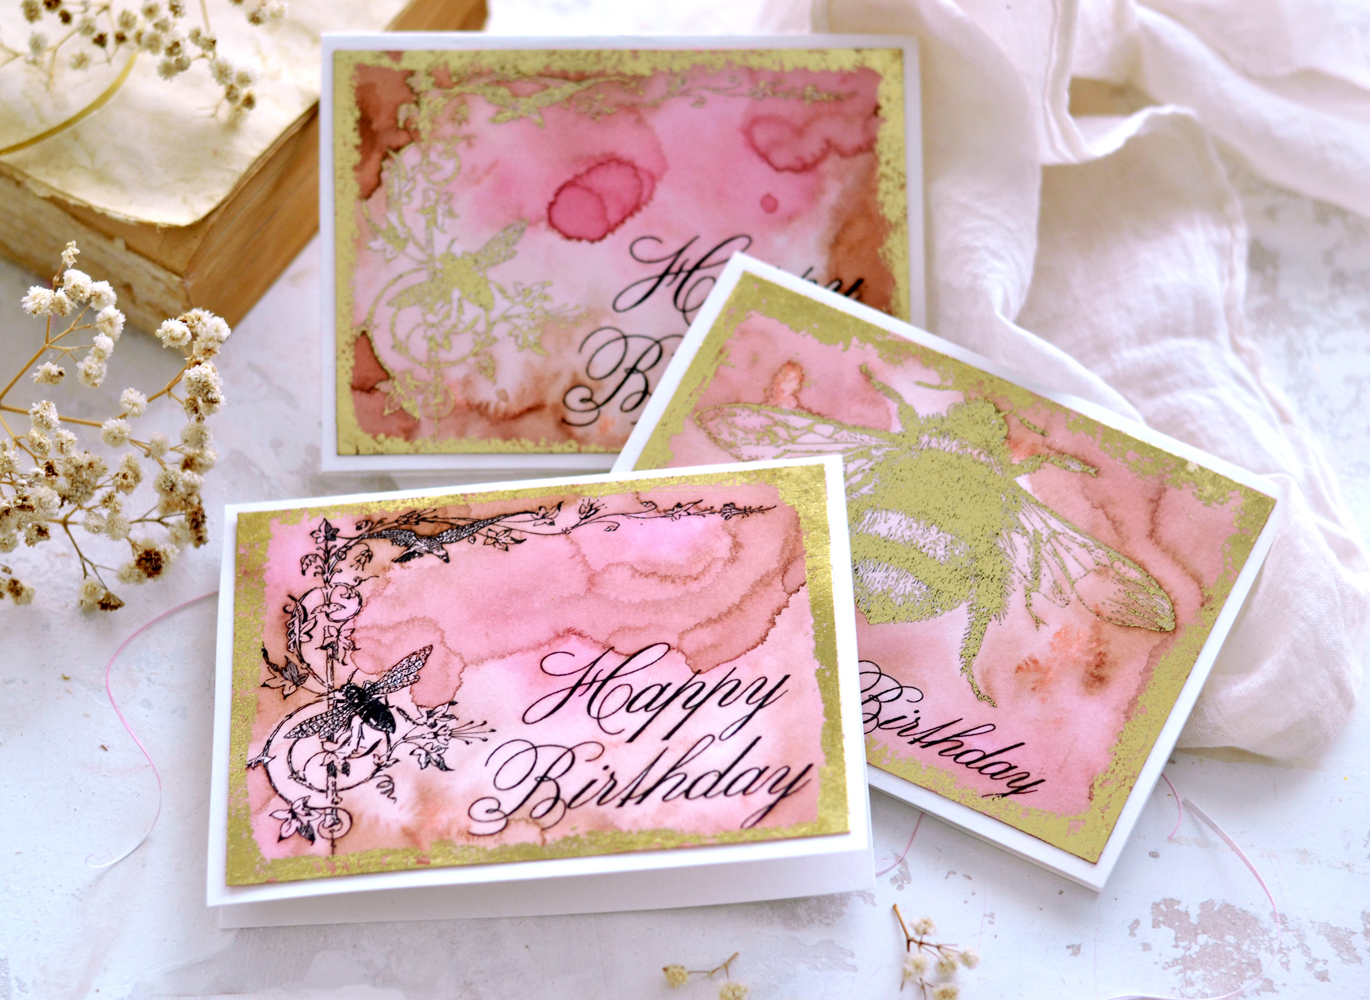
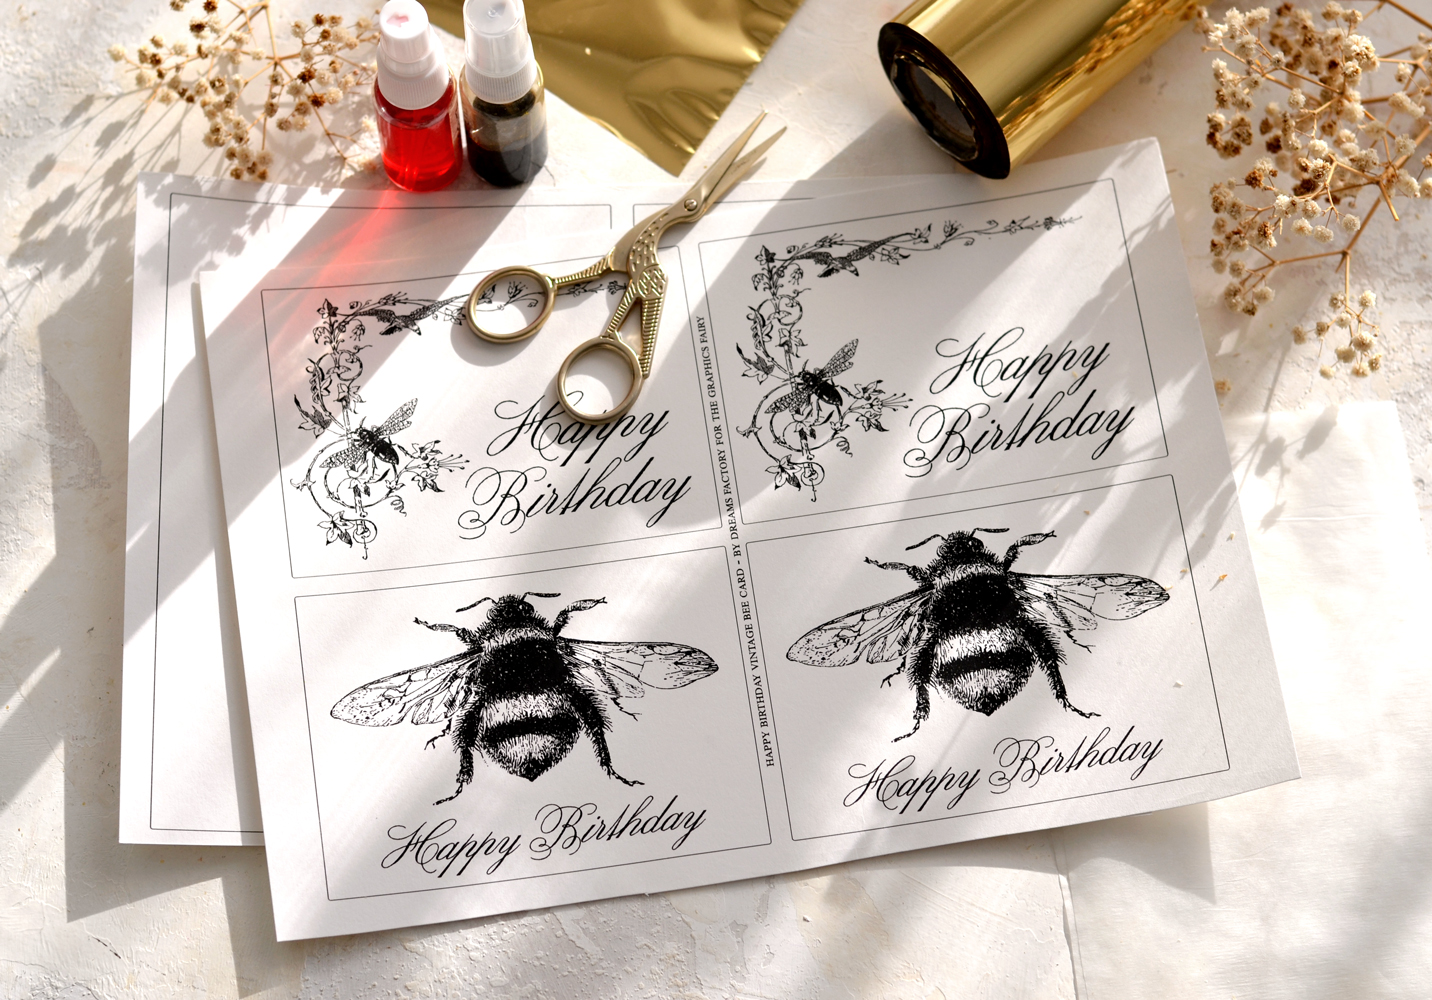
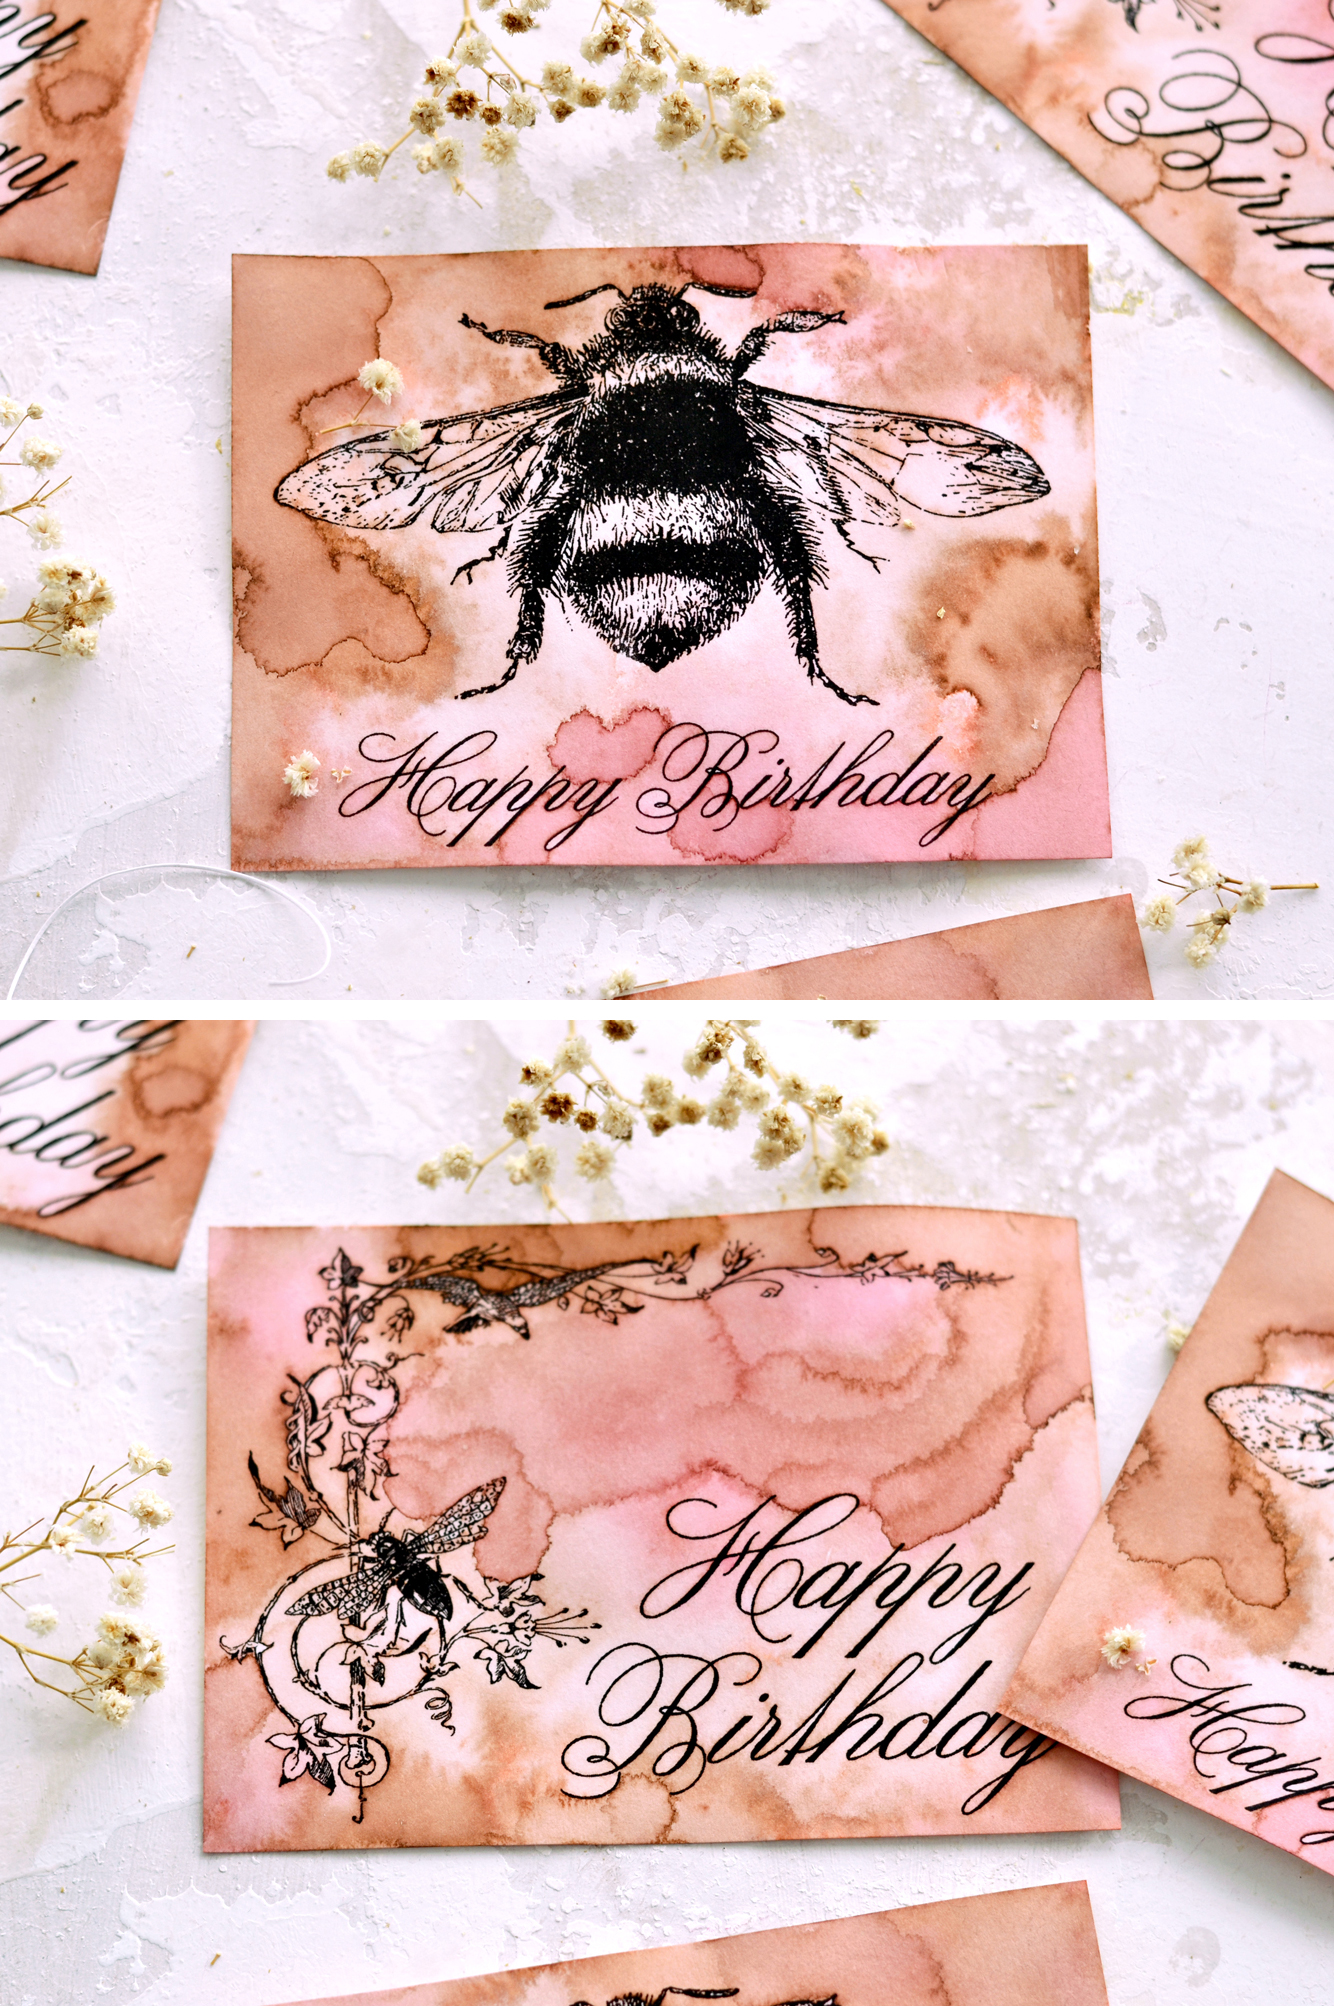
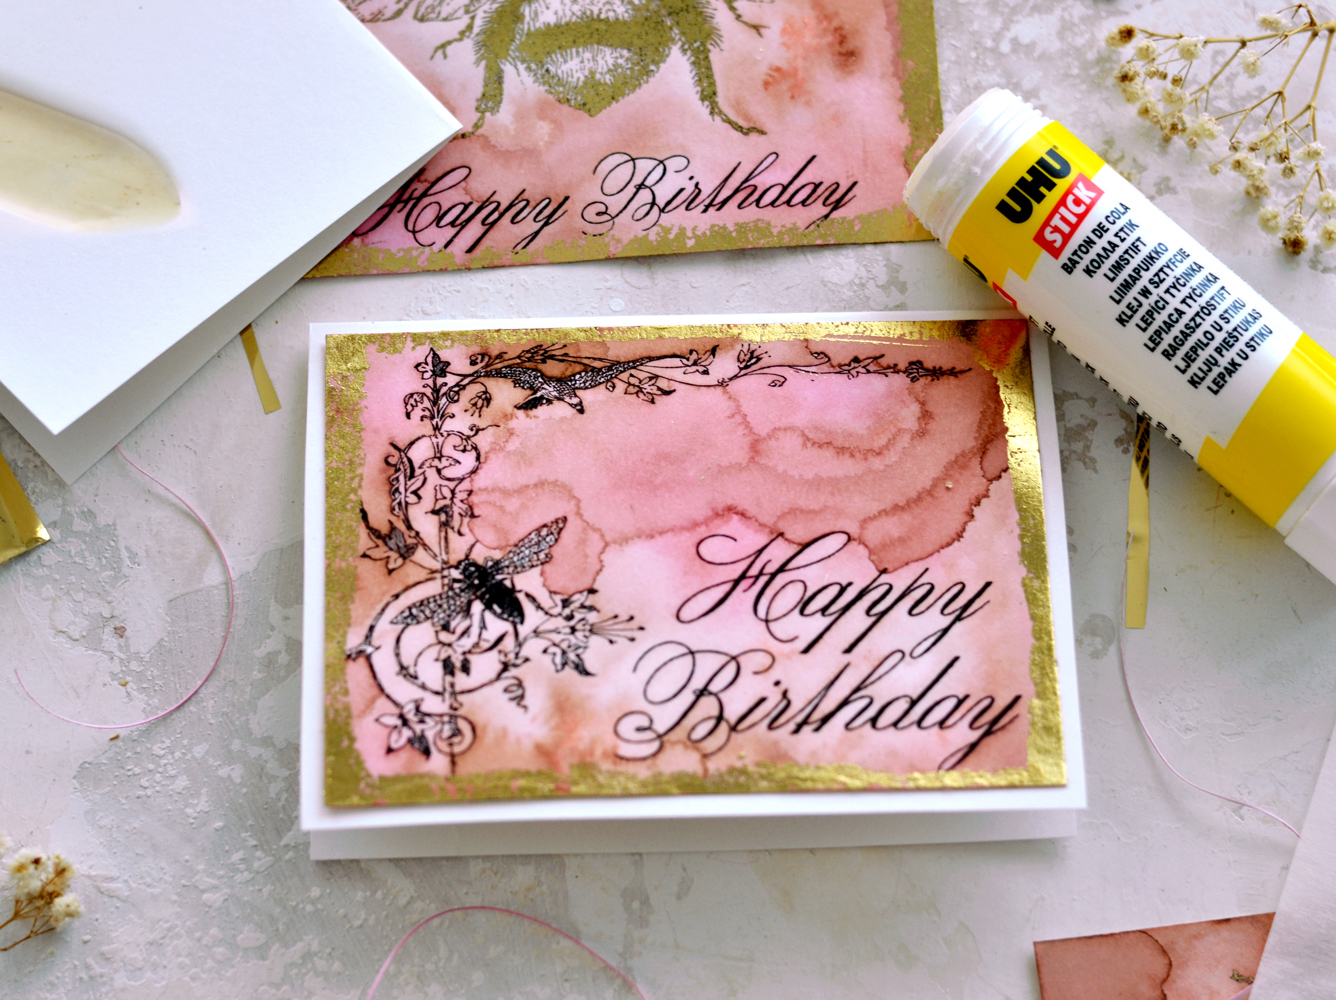
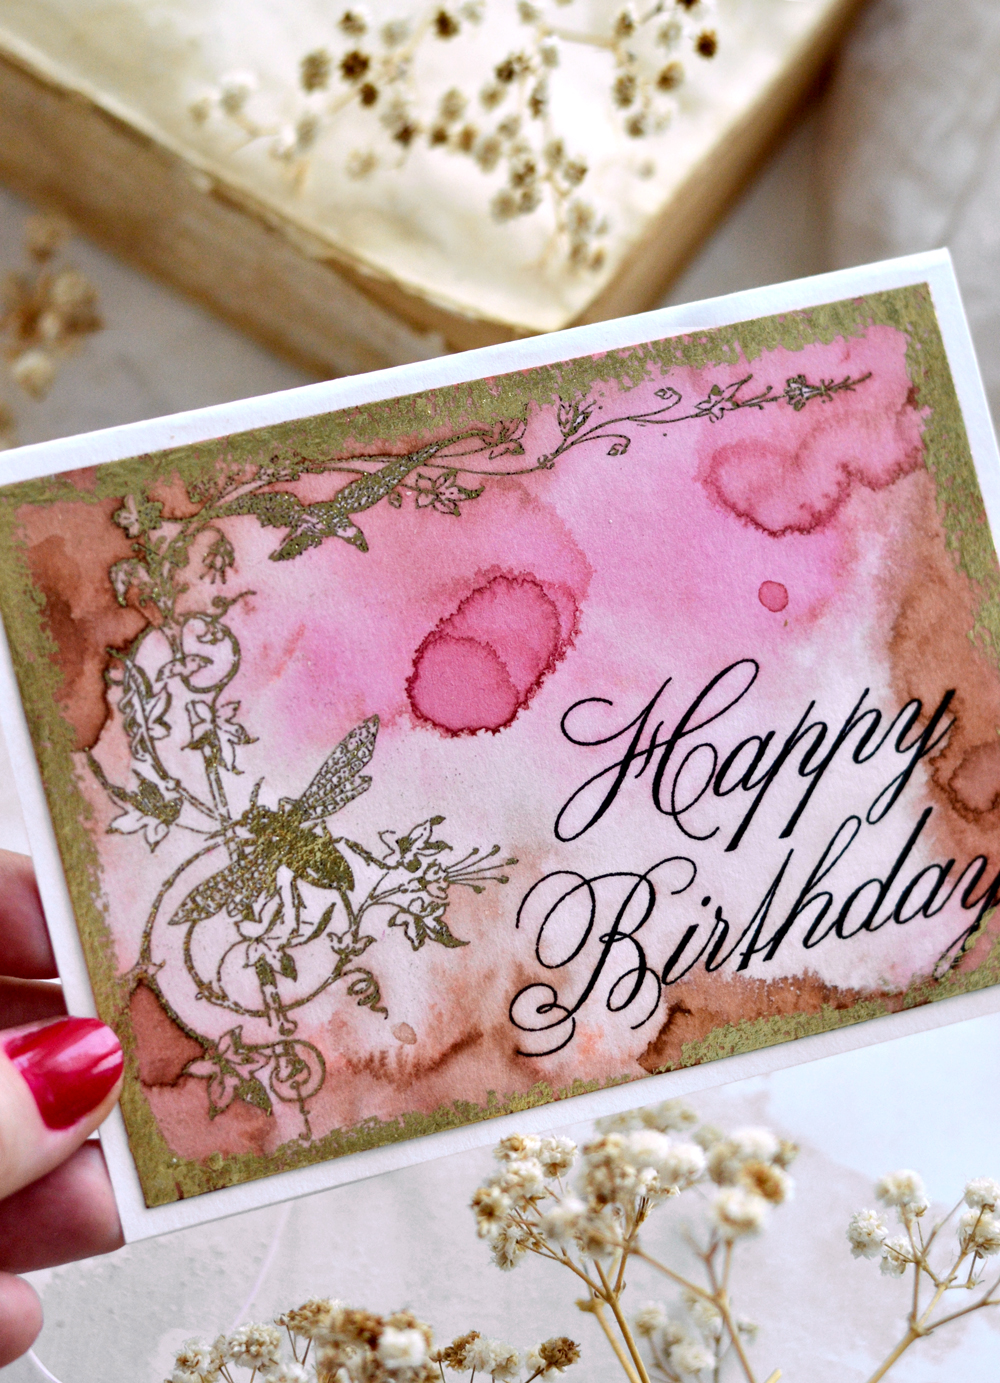
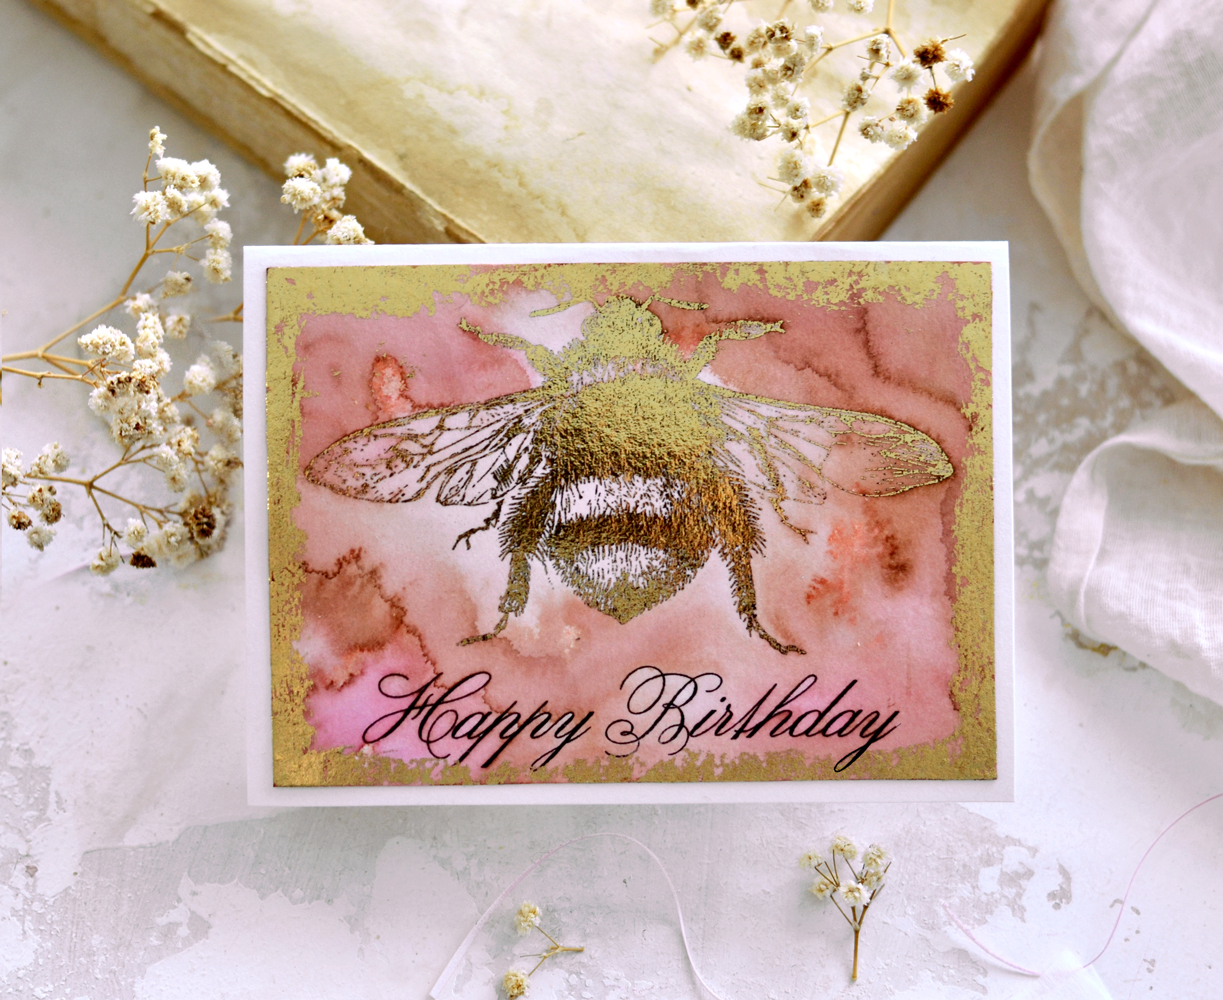
I created two designs and 2 cards per design (4 in total). One design includes this absolutely beautiful bumblebee – one of my favorite images from The Graphics Fairy, I’ve used it in so many different projects. The other design includes this lovely vintage graphic bracket with an adorable jeweled bee, a bird, ornate scrolls and leaves- which is from an 1880’s Jewelers Catalog! To design the elegant ‘Happy Birthday’ calligraphy writing, I extracted each letter from an alphabet image.
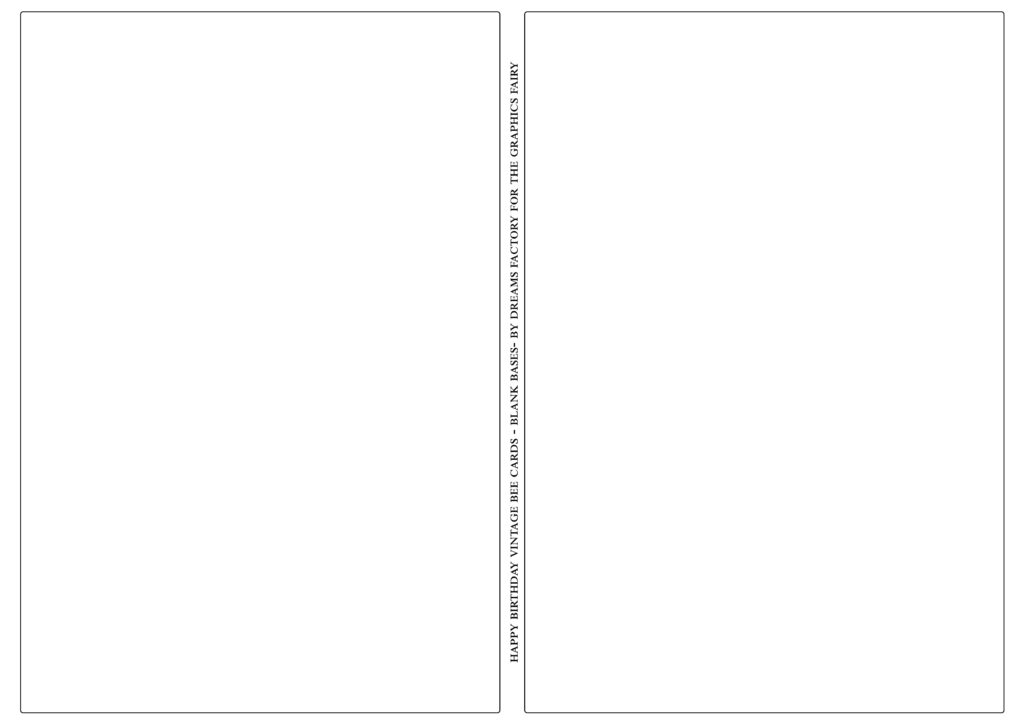
You will also find a printable with 2 blank bases for the cards, you’ll need to print this two times (to make all the 4 cards) – I thought it would be so much fun to make everything from scratch!
Free Printable DIY Birthday Cards for Best Friend
> Click HERE to Download the Full-Size Printable PDF – the bee cards <
> Click HERE to Download the Full-Size Printable PDF – the blank bases <
SUPPLIES for DIY Birthday Cards
- cardstock paper (I used the all-media cardstock from Seawhite of Brighton)
- laserjet printer
- laminator or Minc (optional)
- heat transfer metallic foil
- parchment paper
- glue stick (I’ve had great results with Uhu and Staedtler, not all glue sticks work)
- scissors
- spray inks
- a plastic sheet or a non-absorbent surface (to protect your working area while using the spray inks)
- heat gun (or a hairdryer) – optional
- bone folder or a scoring board
- paper trimmer
NOTE: If you are not familiar with gold foil and how it differs from gold leaf, you can check these projects first:
DIY Gold Foil Butterflies Stickers
DIY Gold French Rose Tags.
Step 1 Printing and cutting the handmade birthday cards and the bases
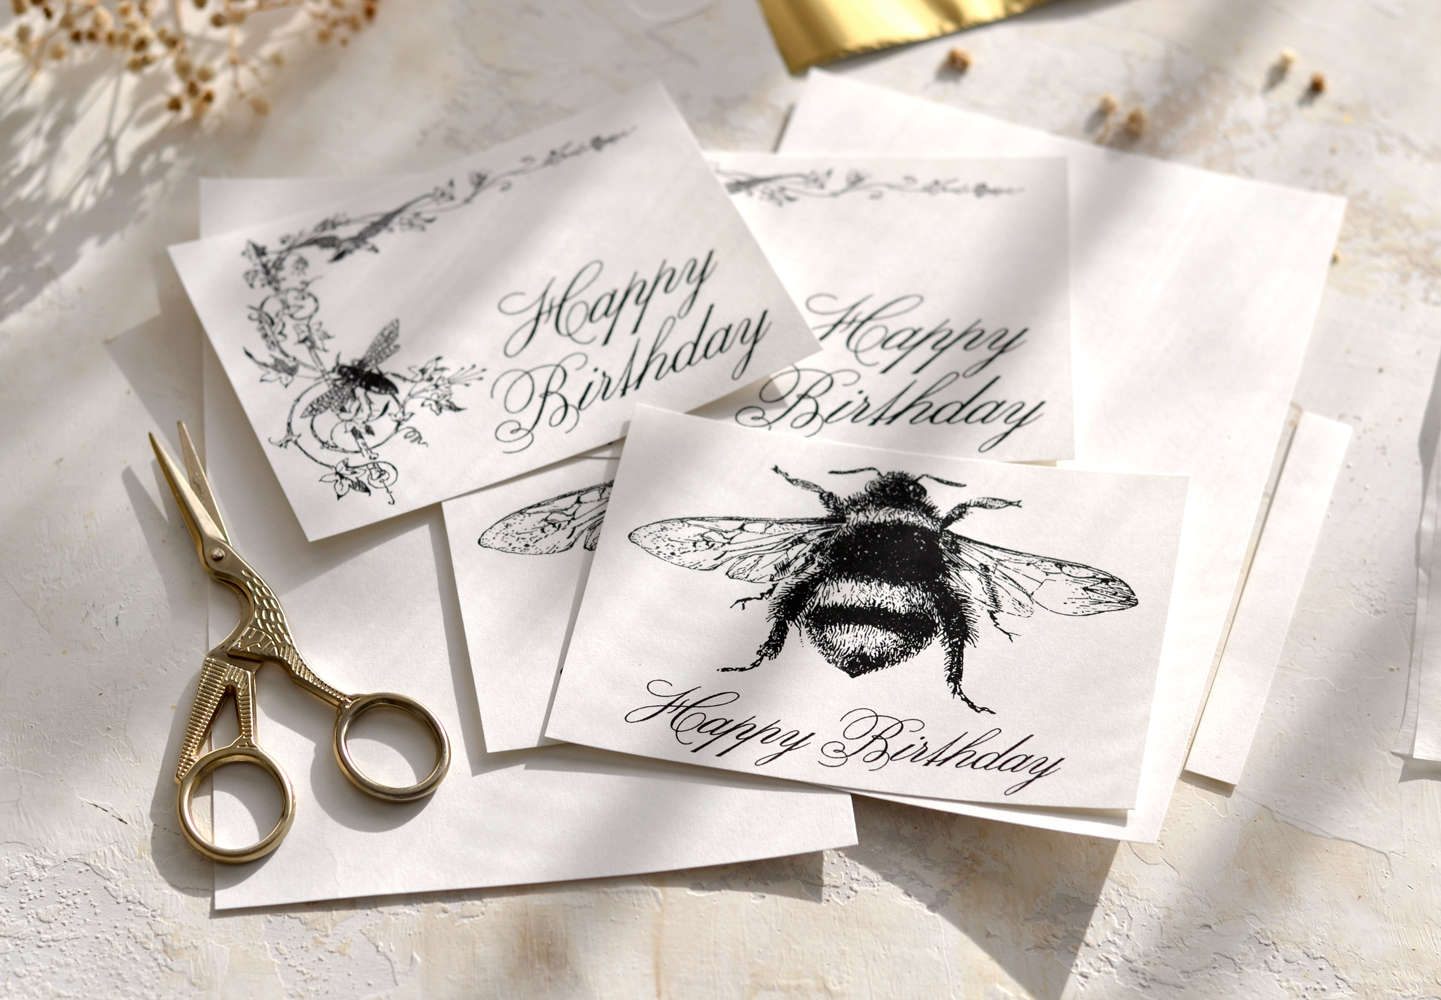
Start by printing the lovely birthday cards and the blank bases, then use your scissors to carefully remove the black border on all of them. If you are looking for perfection, you can use a paper trimmer to cut them and use the black border as guiding lines. I used my scissors and was pretty happy with how they all turned out.
We will only need the bee cards next, so put the blank bases in a safe place for now, things are about to get messy and we don’t want to ruin them!
Step 2 Staining the birthday greeting card
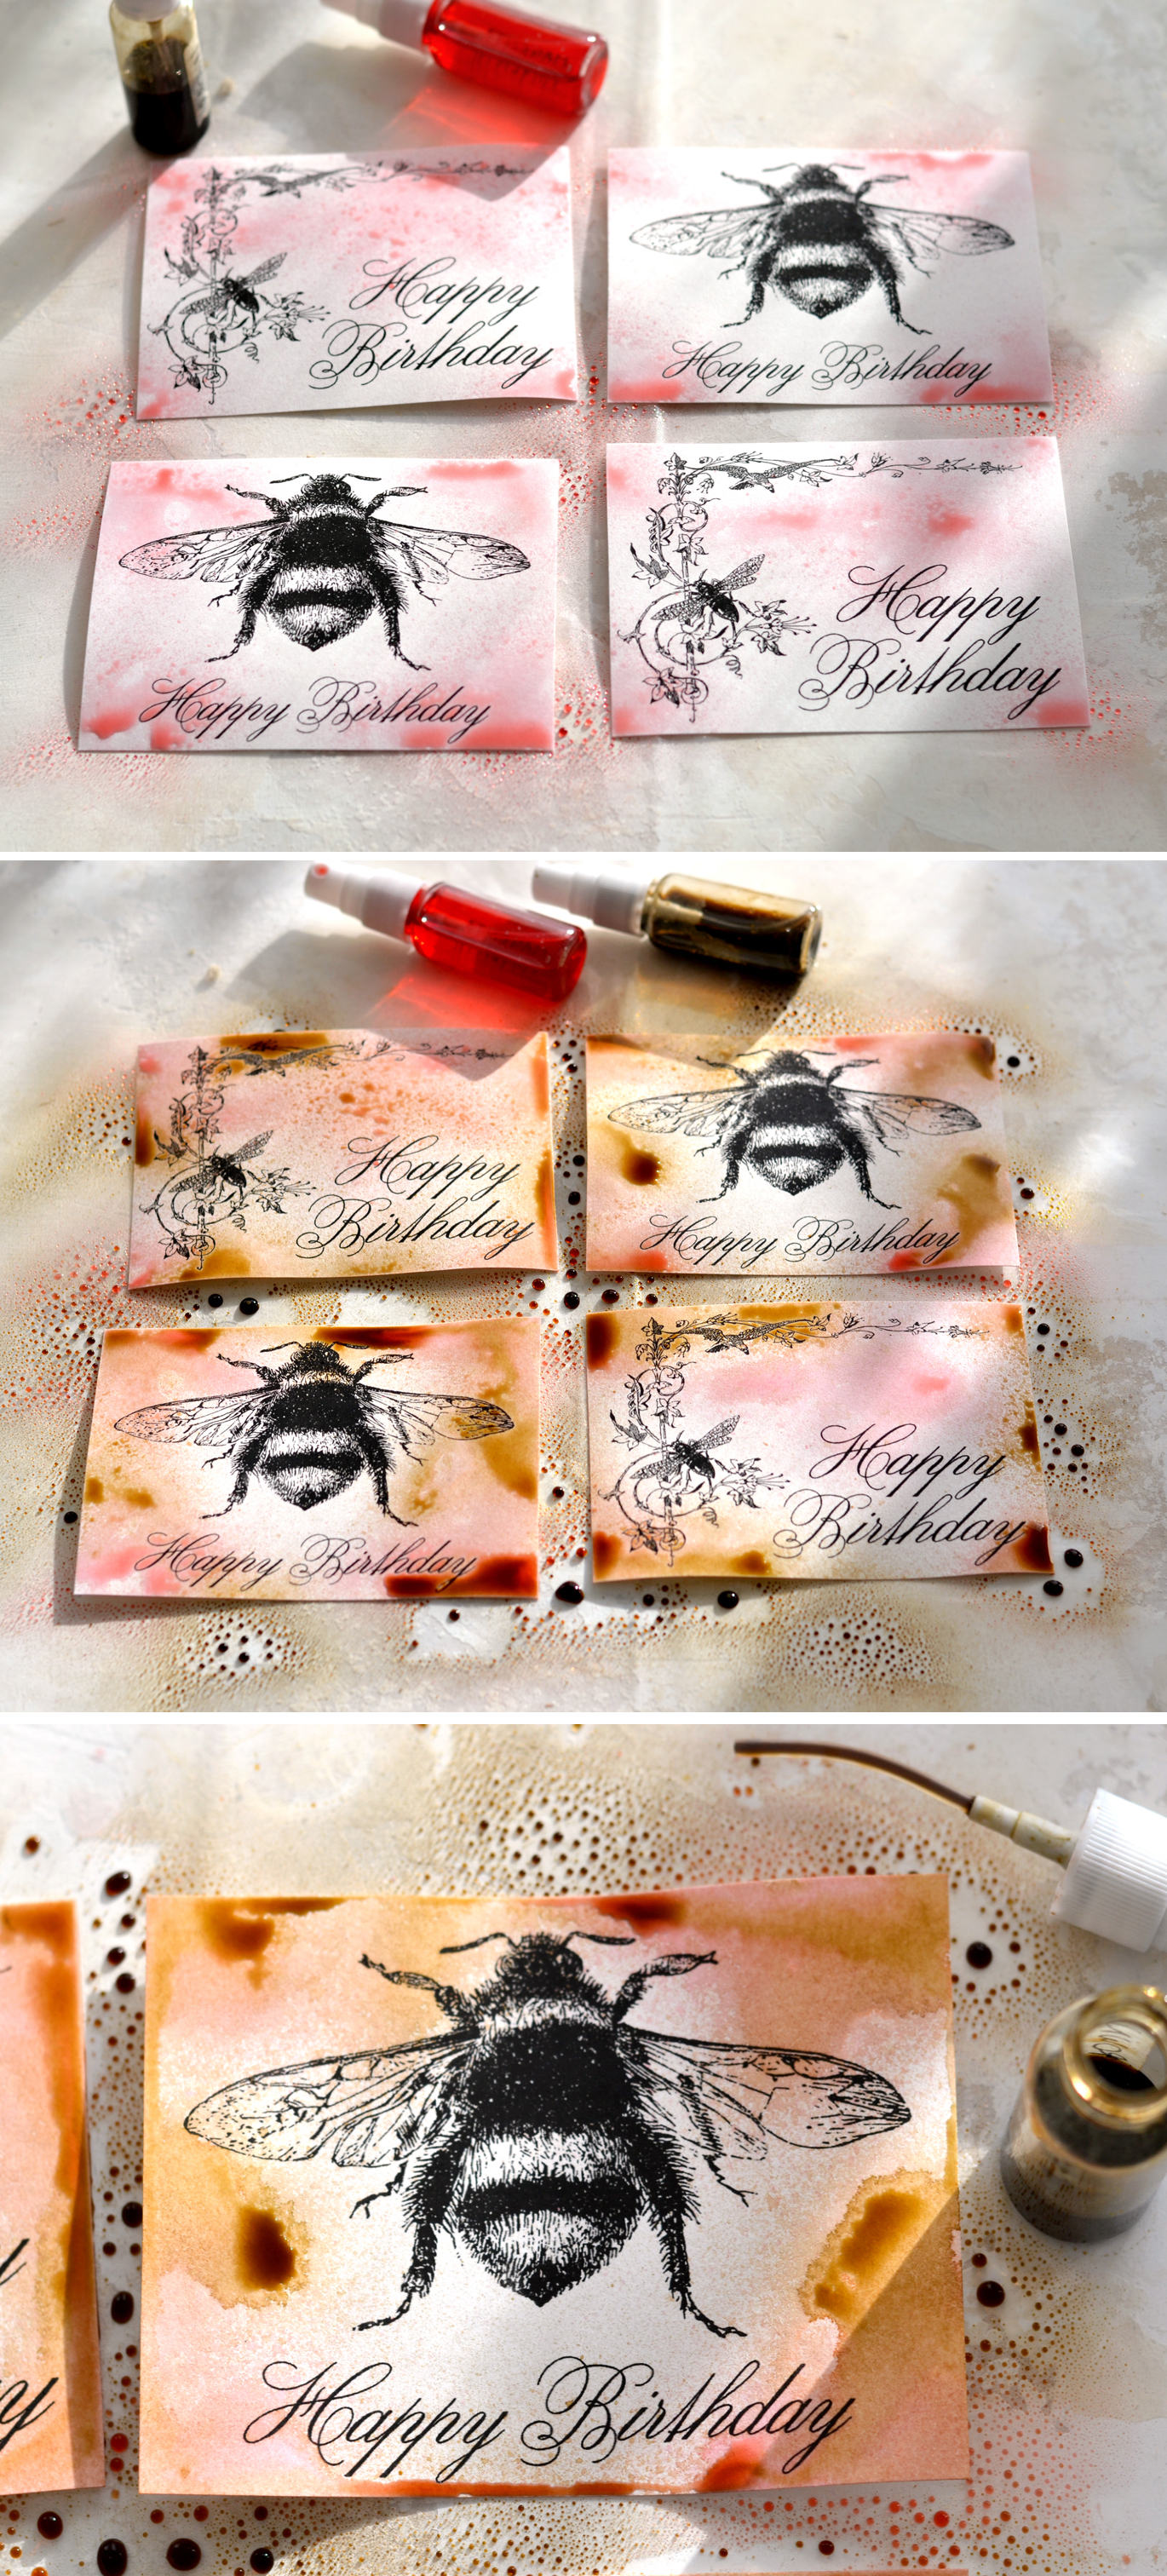
I went with using my DIY spray inks for my diy cards, but you can also use watercolors, highly diluted acrylic paint, distress inks, even homemade avocado dye. I only used two colors today, I felt like using a little bit of dark pink and some brown. That was my mood for the day, but of course you can try any other colors that you love!
I started by lightly misting the pink here and there, then I used the brown mostly on the edges, letting the inks combine and create beautiful watercolor-y effects. I didn’t go too heavy on the brown, as you can see, the larger part of the ink beads were sprayed on the table 🙂 I did that on purpose because I only wanted the brown to lightly touch the paper to create a lovely vignette effect, but also bring that chic vintage vibe in.
Lastly, I removed the top cap of my brown spray ink and used the tube inside as a ‘brush’ to pick up some ink and to brush it on the paper (again, mostly on the edges). You can also use a spray bottle filled with water to spritz some here and there.
This is how my DIY Birthday Card ideas looked after drying, I really loved how they turned out! A little bit warped, but that’s normal after all the spraying. And you can still read the Birthday Greeting perfectly.
Step 3 Gold foiling the images using a laminator
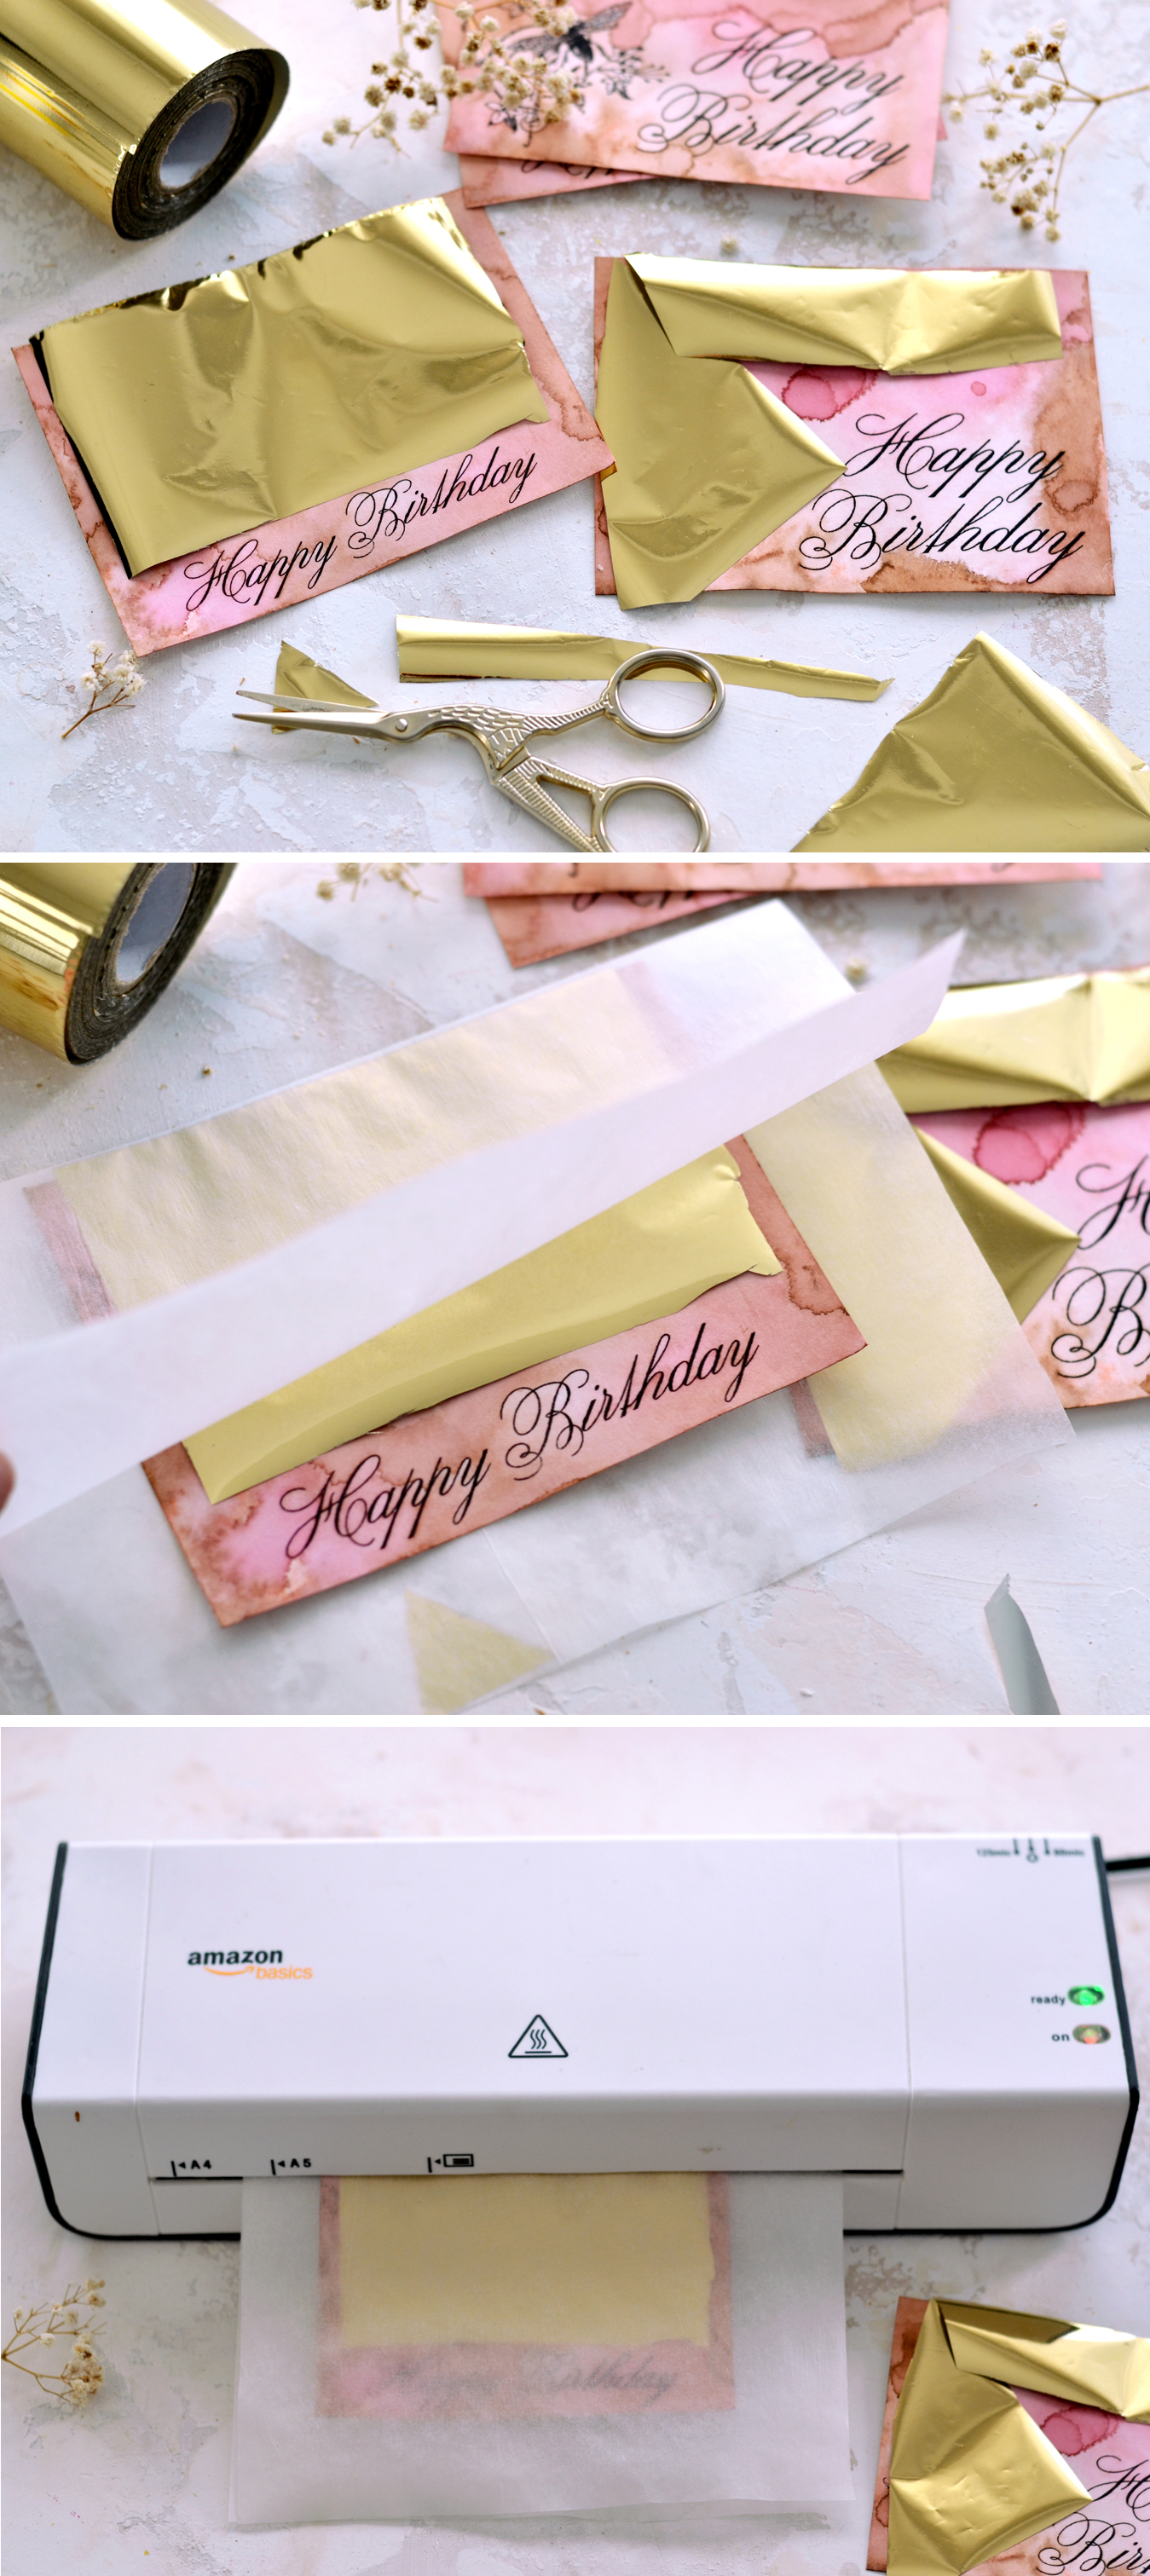
Next, I decided to experiment a little bit with some gold foil. I wasn’t sure how the images would look with the gold foil, so I only did 2 cards. I only wanted to foil the images and not the ‘Happy Birthday’ writing, so I cut the gold foil accordingly, so it would only cover the images.
I carefully placed one of the cards with the foil into a parchment sheet folded in half, I checked again so that the foil only covered the design and not the writing and I feed it through my laminator. I then followed the same steps for the second card.
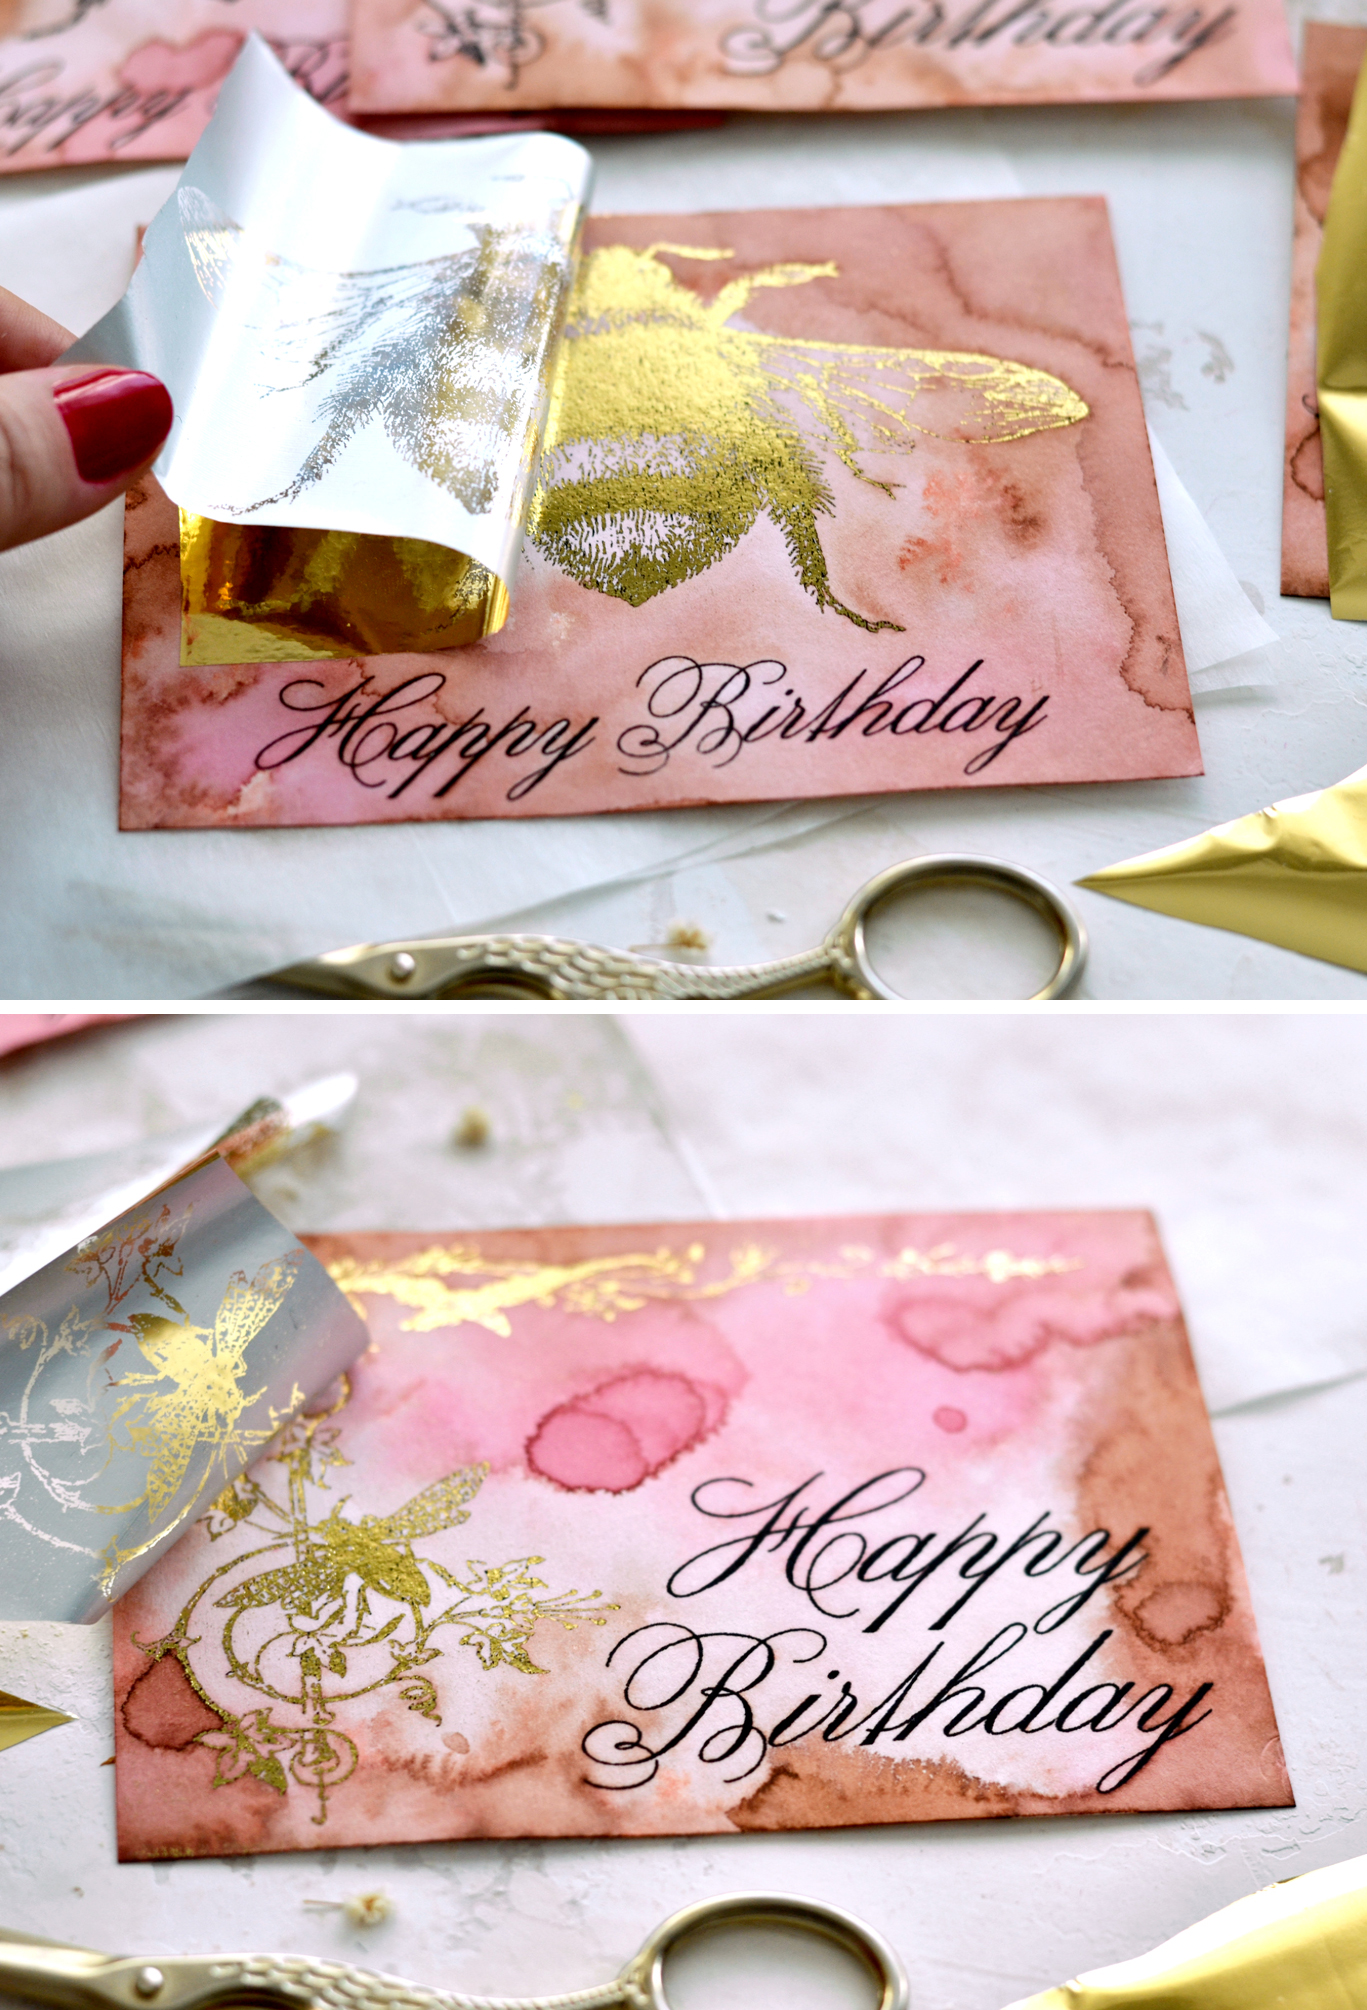
The heat of the laminator will activate the gold foil, making it adhere to the laserjet printed image. It’s pretty amazing!
I have to confess that peeling off that metallic foil from your design and revealing a gorgeously gilded image is one of my favorite things to do! There is something mesmerizing about this whole peeling-off process that is hard to explain in words, but if you’ve tried this, I’m sure you know really well what I’m talking about! 🙂
Step 4 Gold foiling the edges using a gluestick
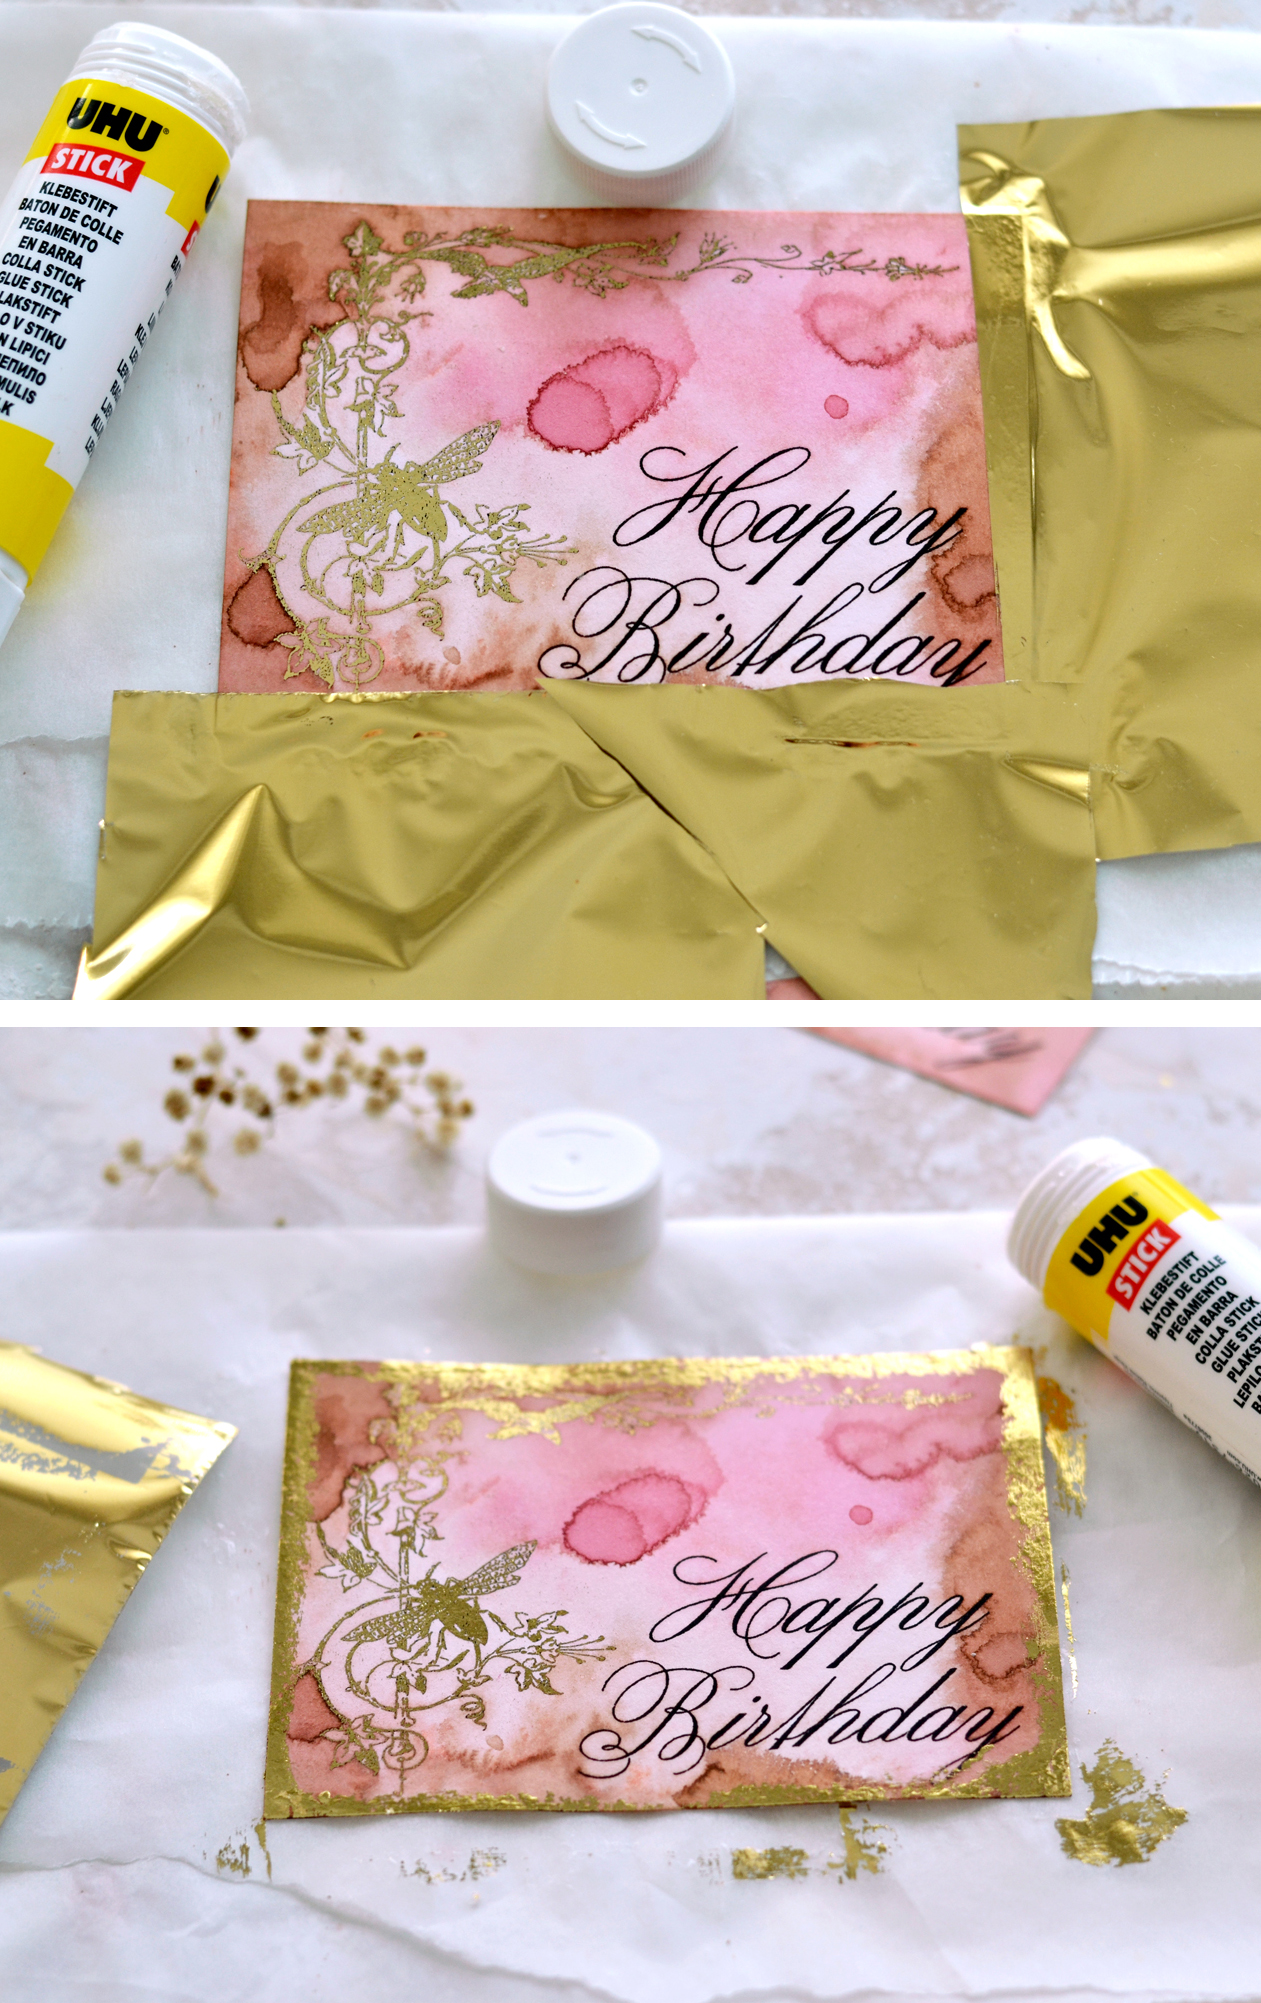
Aren’t these the best cards already?! I really loved how the cards looked at this point, but at the last minute, I decided I wanted even more of that stunning gold! So I used a glue stick and went all over the edges of the cards using only a small portion of the glue opening on top – it would be best to use some parchment paper underneath, there will be glue on your table too. I quickly applied the gold foil on the edges and pressed really well with my fingers (not my nails) to adhere the foil.
This technique only works with a few types of glues – so far I’ve had success using it with UHU and Staedler. You can also try this with Mod Podge, check the DIY French Rose Tags again if you want to see more details.
The parchment paper not only works to protect our table, but it also helps the paper not to stick to the table.
P.S. It would be best to not cover the writing with any glue (like I did), the gold foil might obscure some parts of it after peeling it off.
Step 5 Assembling the DIY Vintage Best Birthday Cards
Use a bone folder (or better yet a scoring board) to fold the blank paper cards in half, making sure you perfectly overlap all the margins. Use some more of that glue stick to adhere the bee cards to the card bases. After gluing the cute card on top, I flipped them over on my table (so I wouldn’t touch the design and the gold foiled areas) and went with my fingers all over their backs to ensure a uniform adherence.
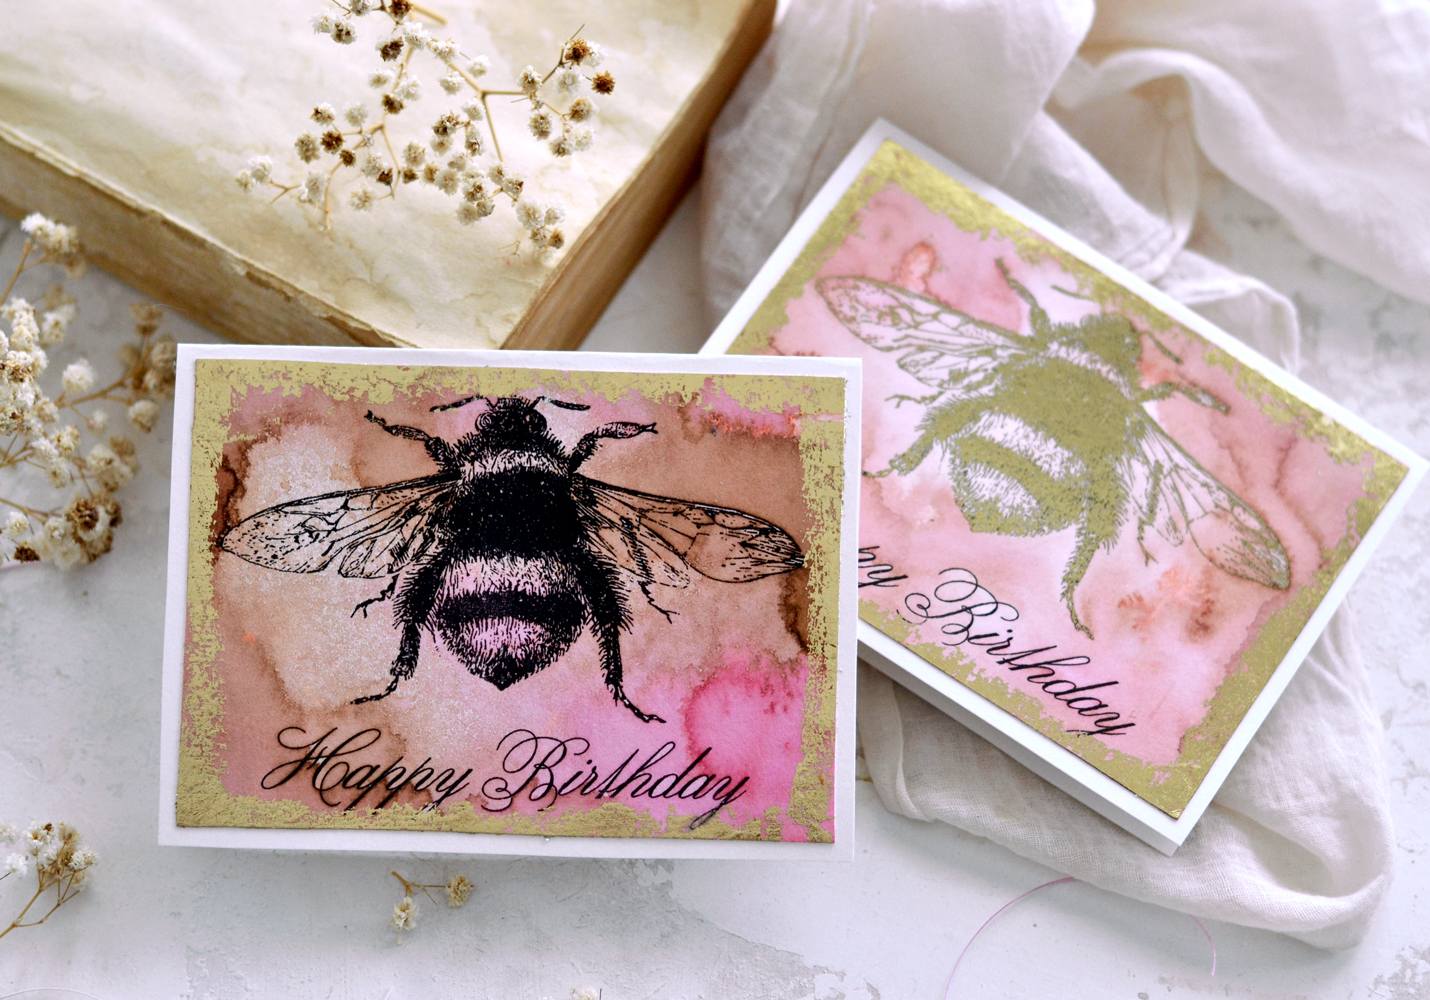
Now just admire your beautifully crafted gilded work, your DIY Homemade Cards are ready! I thought bees and gold would look great as the stars for our project because they are somehow universal and let’s be honest … everyone loves bees and gold! They are such unique birthday cards don’t you think?
And when you thought this bumblebee couldn’t get more gorgeous …
Apparently, it just needed a touch of gold to reach new levels of gorgeousness!
You can see that this quick technique of adding the gold foil on the edges using a glue stick creates a not-so-perfect final result, but it works great for what we are trying to achieve here – adding a perfectly imperfect touch of gold with a vintage vibe! You can make these in small or large batches, they are really fun to make! You can adjust or even adapt the color scheme according to the preferences of the receiver. If not, just go with your intuition and create something that you think he or she will love! You could of course add your own sentiment inside as well.
Now you can wish ‘Happy Birthday’ in a chic style! 🙂
 I hope you enjoyed this DIY Birthday Cards for Best Friend! And I hope your Bestie enjoys her (or his) handmade card on their special day! Of course these would be perfect for a favorite family member too, perhaps your Mom or a beloved Niece. I’m sure they will be very impressed with your creativity when you tell them you created this especially for them. It really is a gift in itself, just add some balloons and a cake (or cupcake) to your homemade birthday card the recipient will be more than pleased. No need for additional birthday gifts.
Happy crafting,
Diana | Dreams Factory




Kimberly S says
Oh my gosh! This is so awesome! I always forget I can use my laminator and laser printer to gold foil on my cards. Thanks for the reminder and for this awesome tutorial.
Karen Watson says
Ooh, that’s great that you already have a laminator! Have fun creating some gold foil cards!