Boho Wall Decor Ideas
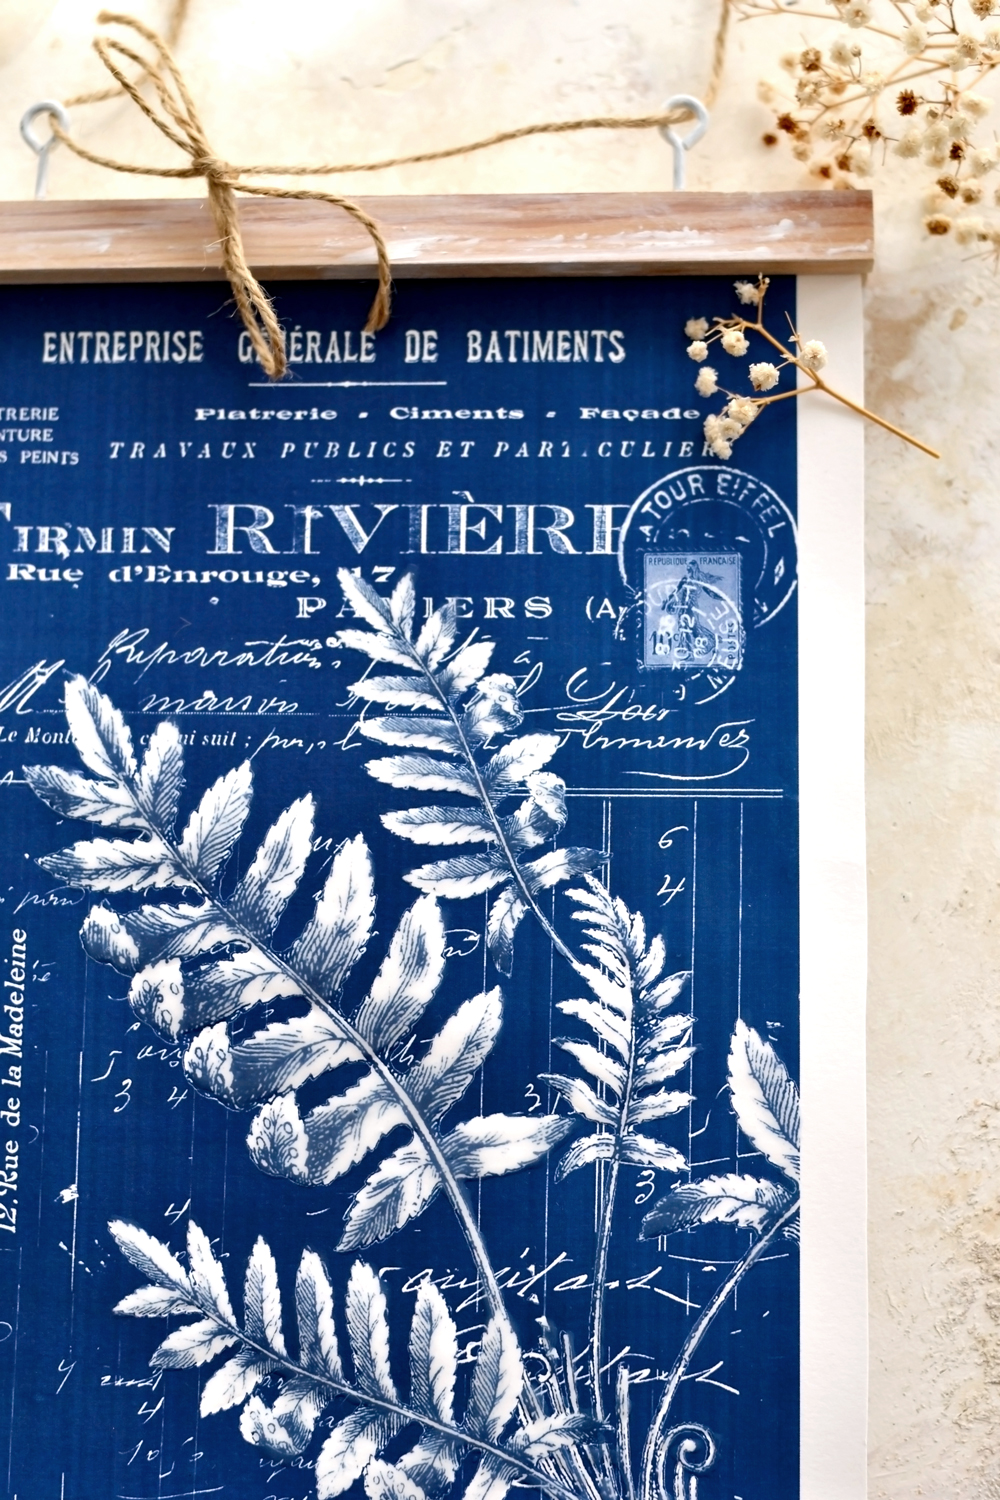
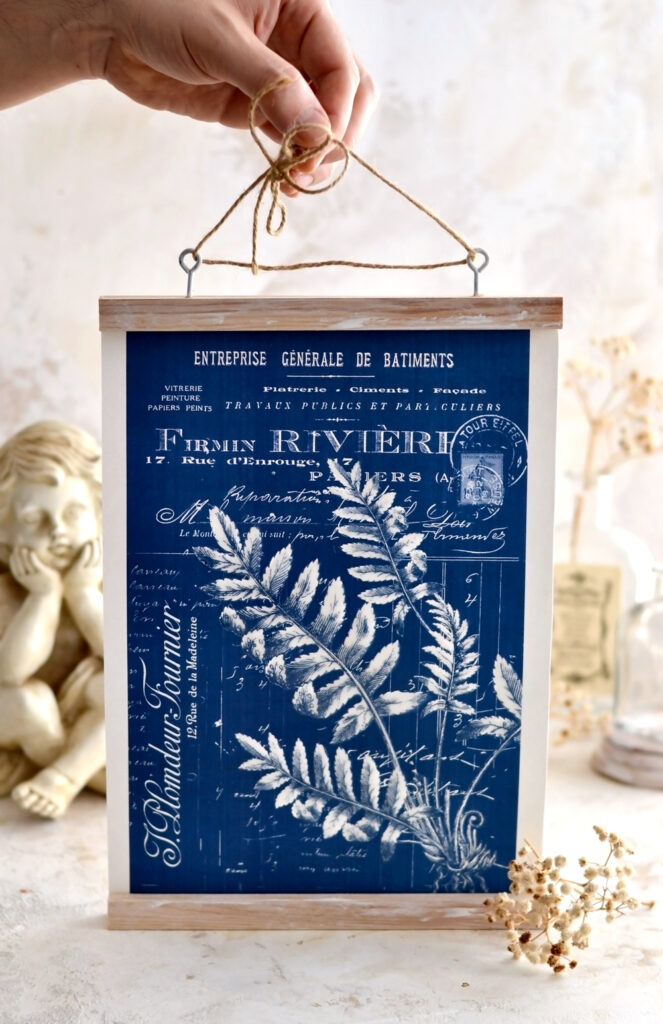
Hello, Graphics Fairy friends! Diana from Dreams Factory here, ready to share another DIY project with you. Today I have some amazing Boho Wall Decor Ideas for you! I will show you how to make this absolutely gorgeous Faux Cyanotype French Wall Art! Once you gather all the supplies, cut the wood pieces and print the chic printable that I’ve created for you, you can decide whether this is a 15 minute or a 2-hour project. I love giving you several options when it comes to recreating my projects, this way you’ll be able to personalize things as you want and create something truly unique! And you can use the frame idea for any print that you like, giving you unlimited options for your Boho style art! I hope you enjoy this home decor project I think it would look great as a focal point in a living room or boho bedroom. 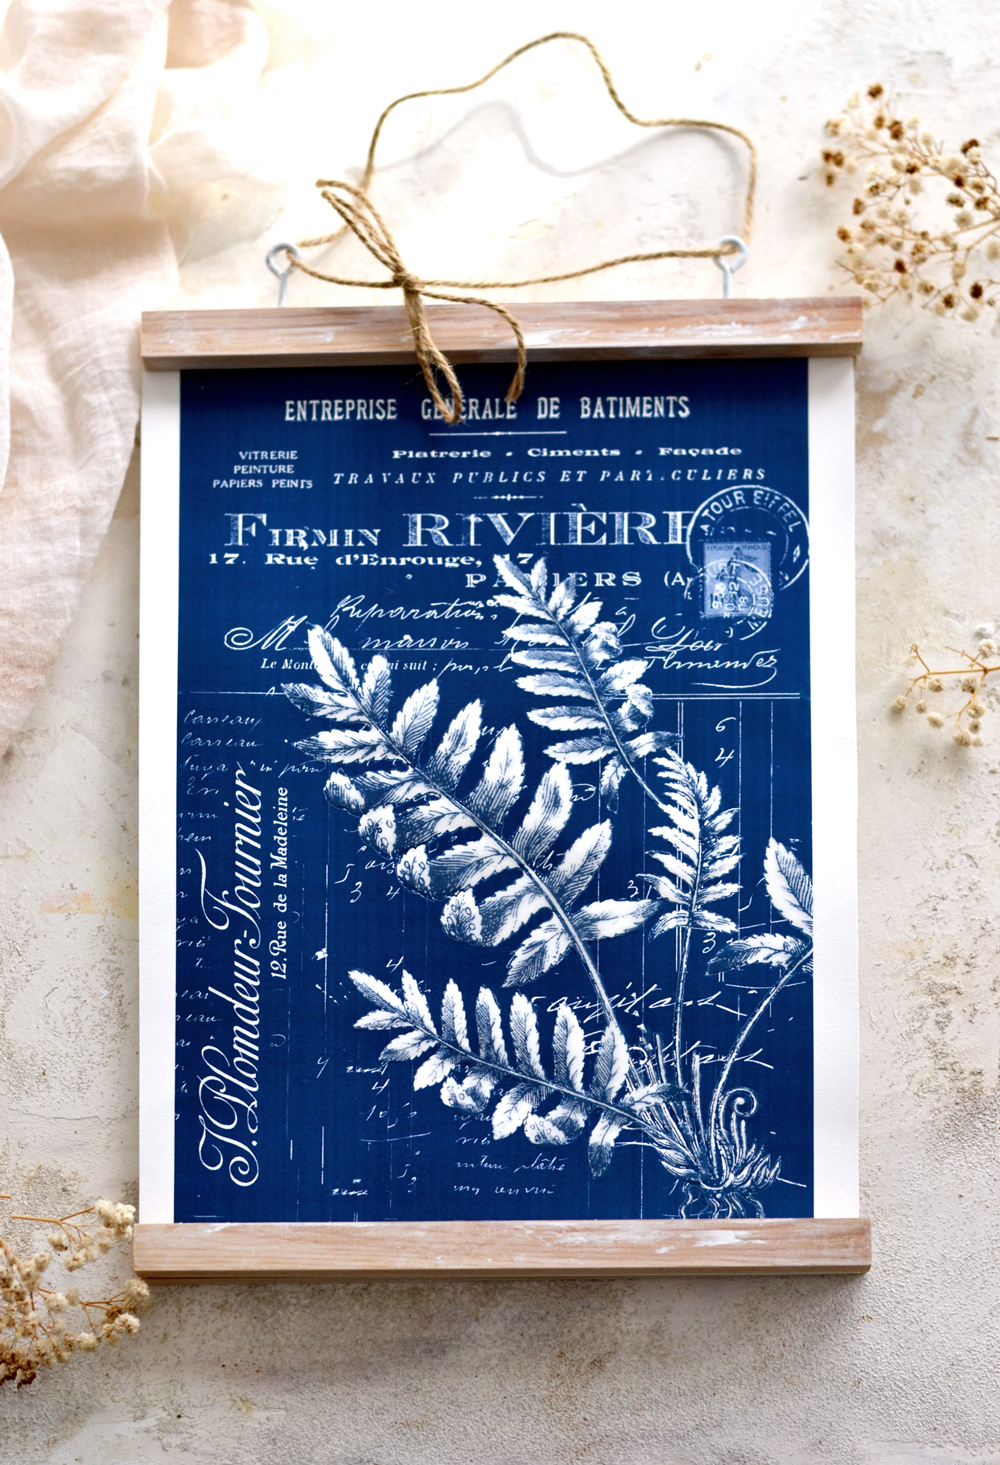
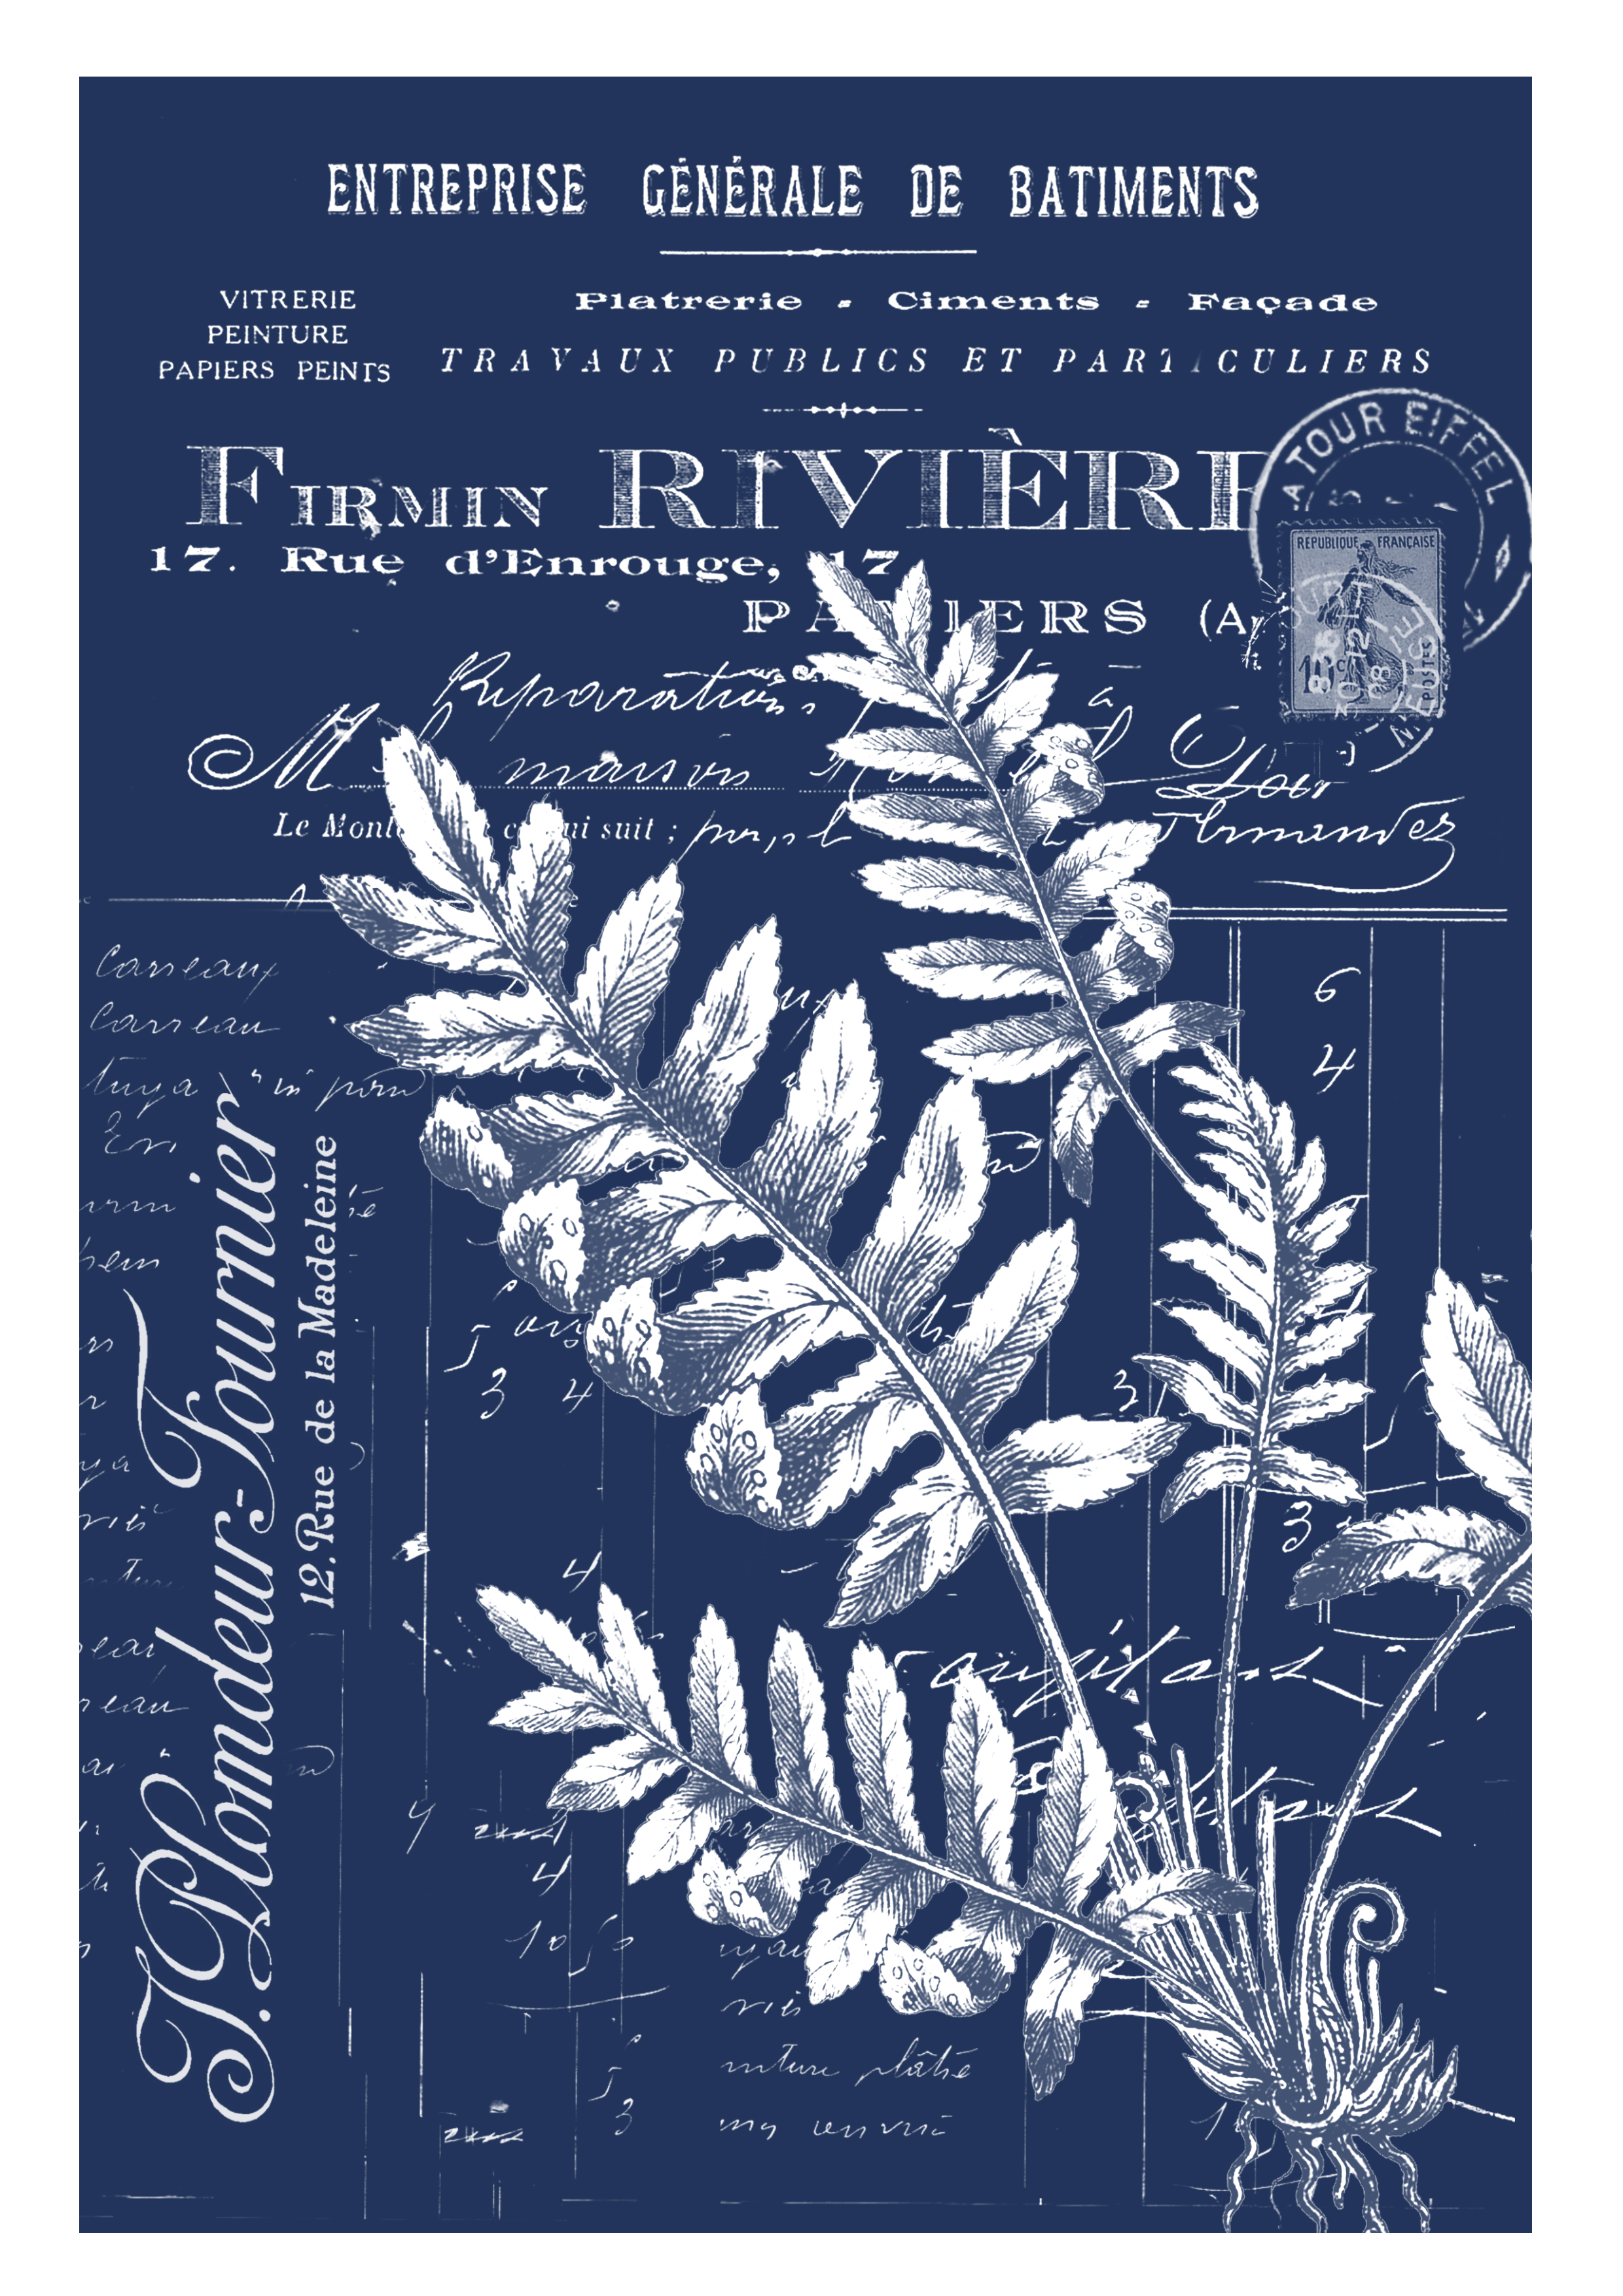
I started with a vintage French invoice as my base for the printable, then I added a few other French ephemera elements and some postage stamps to create more interest. I turned the background into a faux French cyanotype background using a cool technique in Photoshop. A cyanotype print is usually created with leaves and when I found these absolutely gorgeous ferns on The Graphics Fairy, I simply fell in love with them and they were my inspiration! They perfectly matched my French invoice background, so I used the same Photoshop technique to also apply this faux cyanotype finish to them also. I love the mix of patterns and it will look perfect with your bohemian decor!
P.S. If you are interested in actually learning how to create this Digital faux cyanotype technique on your own, I will be sharing soon a Photoshop Elements tutorial on the Premium Membership Site, where I will walk you through all the steps needed to create this faux effect. So stay tuned!:) Here is the faux cyanotype printable that I created for this project, you can save it on your computer, then print it. It would be best to use some heavy cardstock, this way your final print will look like a beautiful high-end piece.
The color of your print might be slightly different than mine, depending on your screen settings and your printer (after printing it).
—-> CLICK HERE TO DOWNLOAD THE FULL SIZE PRINTABLE PDF <—-
BOHO WALL DECOR IDEAS SUPPLIES
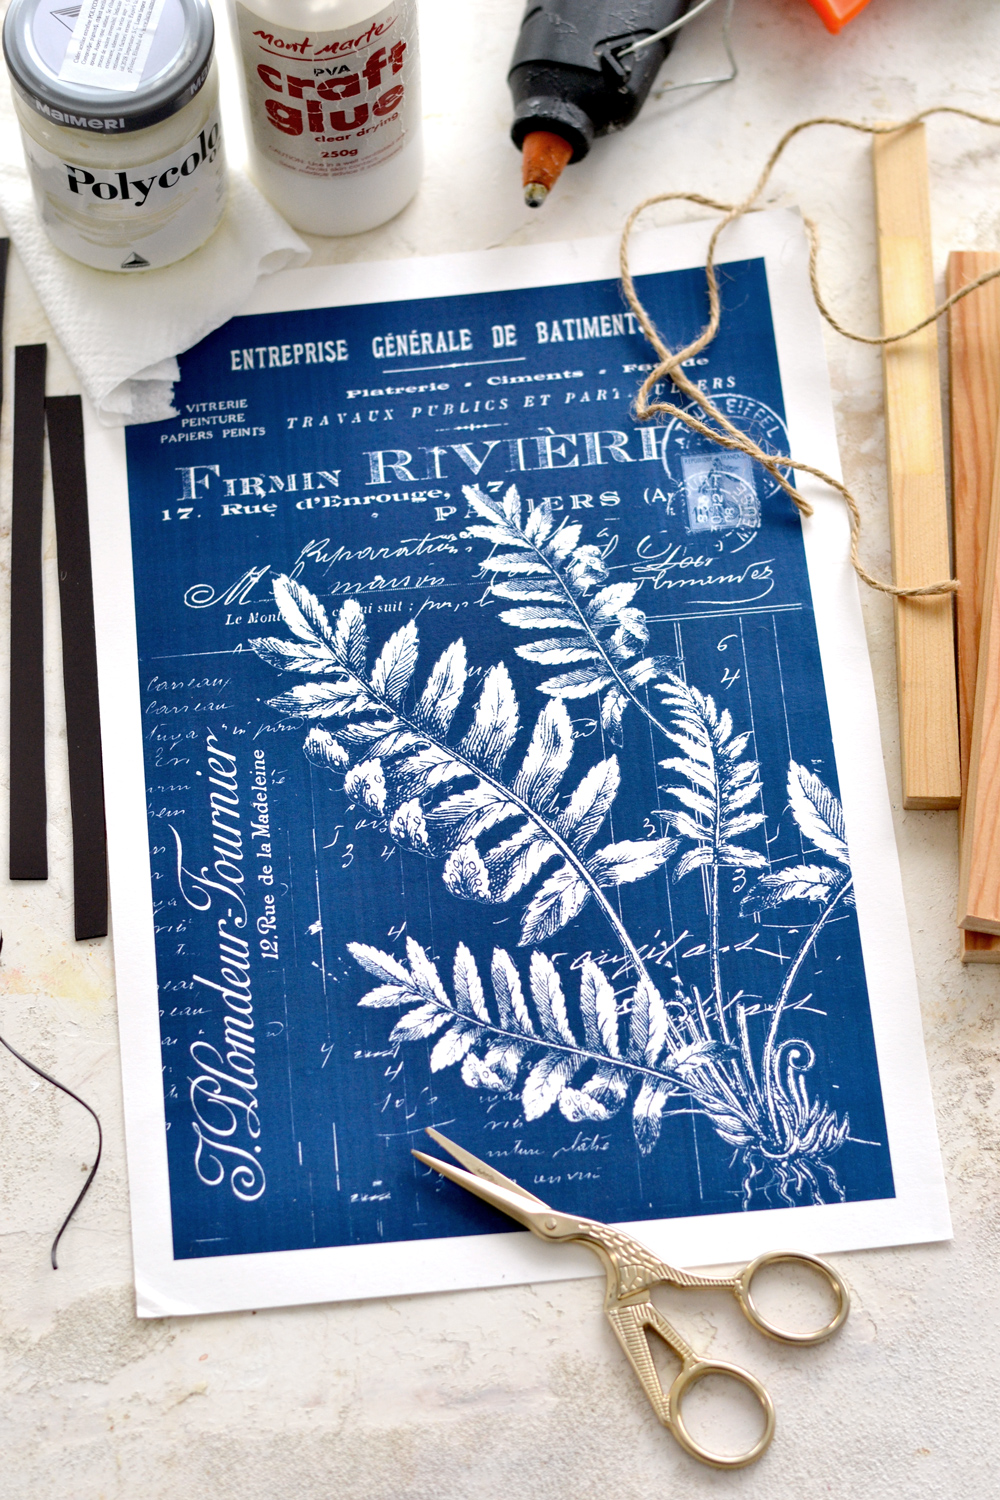
- the lovely faux cyanotype printable bohemian look artwork
- cardstock paper
- laserjet printer or inkjet printer (check the NOTE on step 3 if using an inkjet printer)
- scissors
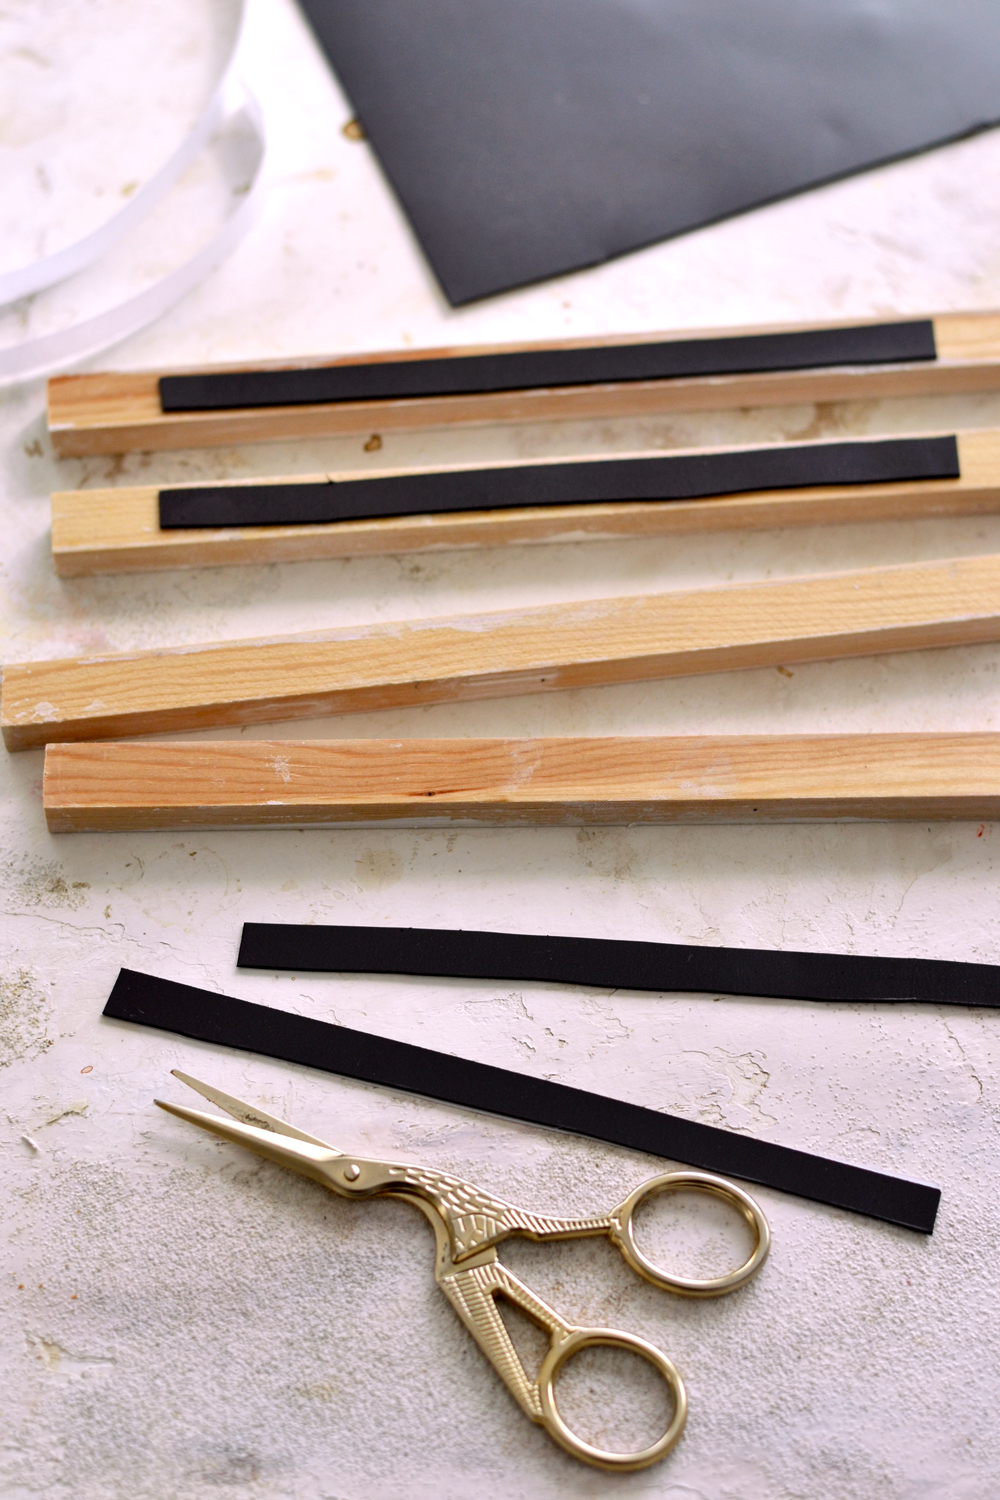
- 4 small pieces of wood cut to the same size (use the width of the printable to cut them)
- 4 magnetic strips (cut a little bit smaller than the wood pieces)
- 2 metal hooks (you can use small B-hooks or cup hooks)
- white acrylic paint
- paper towels or a brush for painting (I used paper towels)
- craft glue with a tip
- glue gun (optional)
- stitching awl (optional)
- a plastic sheet or a non-absorbent surface (to protect your working area)
1. DIY FAUX CYANOTYPE FRENCH WALL ART – CUTTING THE WOOD PIECES
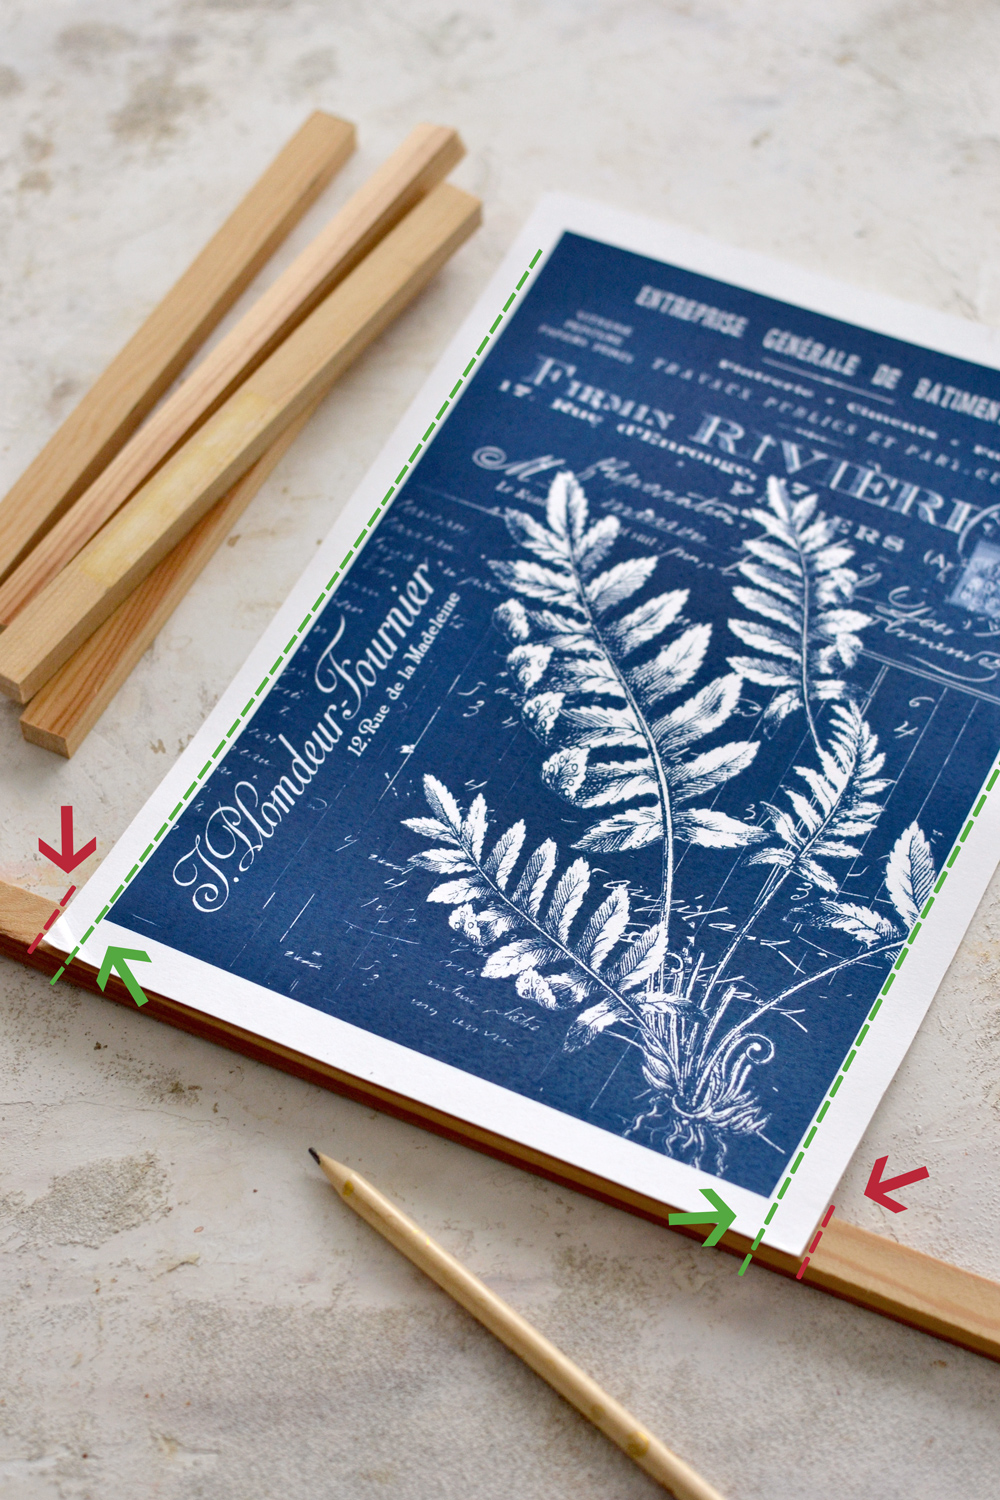
To cut the wood pieces you can use the width of the printable to determine the size, then use a top handle jigsaw to cut them.
If you decide to keep the white vertical edges of your printable, you will need to trace and cut the wood outside of these white edges – follow the red guiding lines.
If you decide to remove the white vertical edges of your printable, you will need to use your scissors to cut off the excess vertical paper first, then measure, trace and cut the wood pieces – follow the green guiding lines.
2. DIY FAUX CYANOTYPE FRENCH WALL ART – PAINTING THE WOOD PIECES
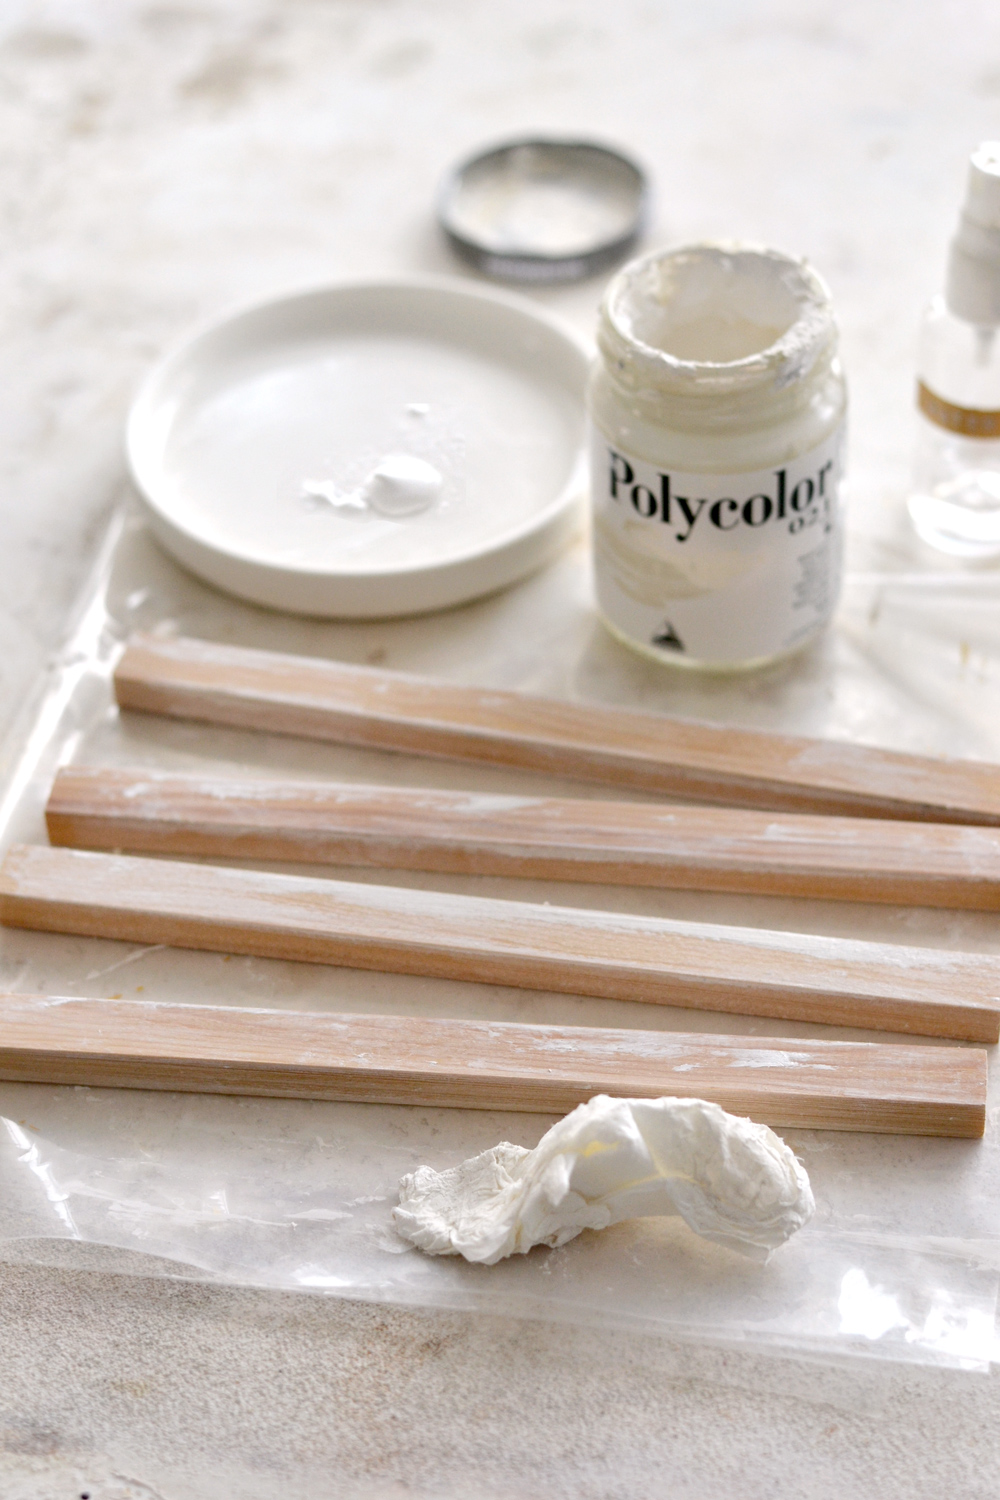
If you want to give the whole assemble a more natural vibe, you can keep the natural color of the wood. I decided to use a little bit of white paint. Because I only wanted to create a light whitewash finish, I first diluted the paint with water to turn it into an improvised ‘stain’. The dilution is definitely a personal preference, depending on how visible you want your paint to be. I used paper towels to apply the paint to give it a more organic feel. It will be a little bit messy because you’ll have to keep each piece of wood in your hand while painting them. Paint all the sides, except for one – that’s where we will be adhering the magnetic sheets afterwards. Of course, you can use a paintbrush if you want to keep things mess-free 😉
3. DIY FAUX CYANOTYPE FRENCH WALL ART – CREATING A CLEAR RAISED EFFECT
This step is optional! If you want to keep this DIY faux cyanotype project within the 15 minutes frame, you can skip this step and move to step 4.
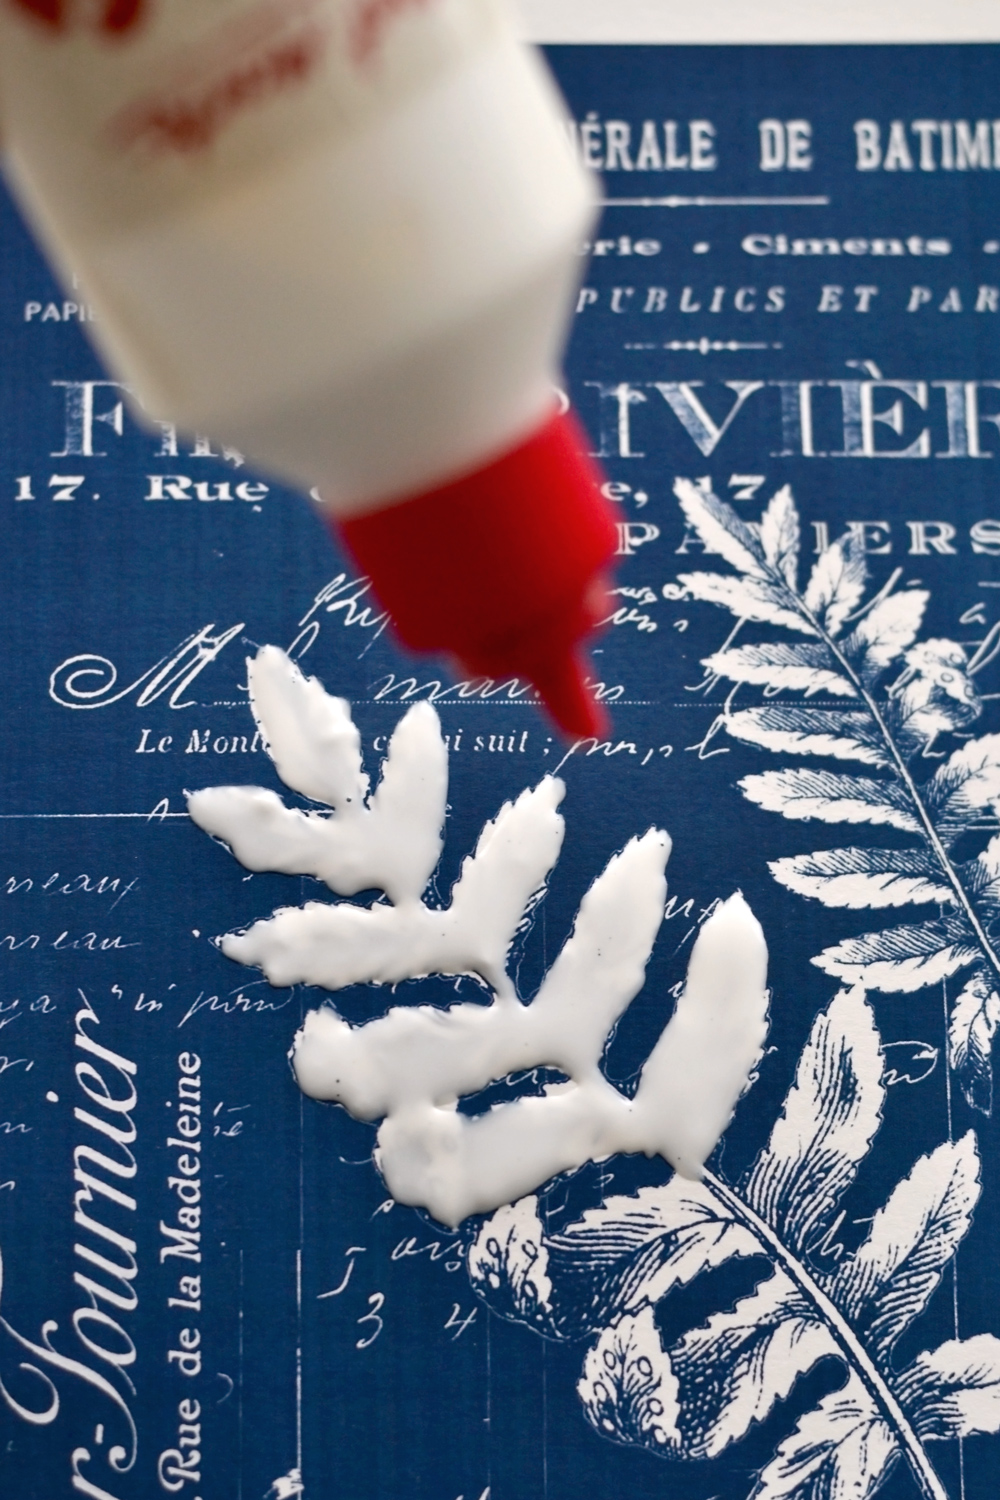
If you want to add more character and create dimension to your cyanotype print, keep on reading!:) Print your printable using a laserjet printer and use a white craft glue that dries clear to gradually paint all over the leaves and the stems. Also, really important, you need to apply the glue using a fine tip so you can cover all the details. My glue bottle already had a tip applicator, but if yours doesn’t have one, you can use one of those craft plastic bottles with a fine tip. Don’t stress too much about PERFECTLY covering the ferns, the glue dries clear afterward and you’ll be able to see the initial details anyway.
It’s important to use a craft glue that dries clear, we only want to create a transparent raised impression, almost like a clear embossing on our botanical image!
NOTE: If you have used an inkjet printer to print the faux cyanotype, it would be best to spray your paper with a matte finish acrylic spray first. Let everything dry, then apply the craft glue on top -this will prevent the bleeding of your ink. Make a few tests on an inkjet-printed scrap piece of paper first to see how everything goes.
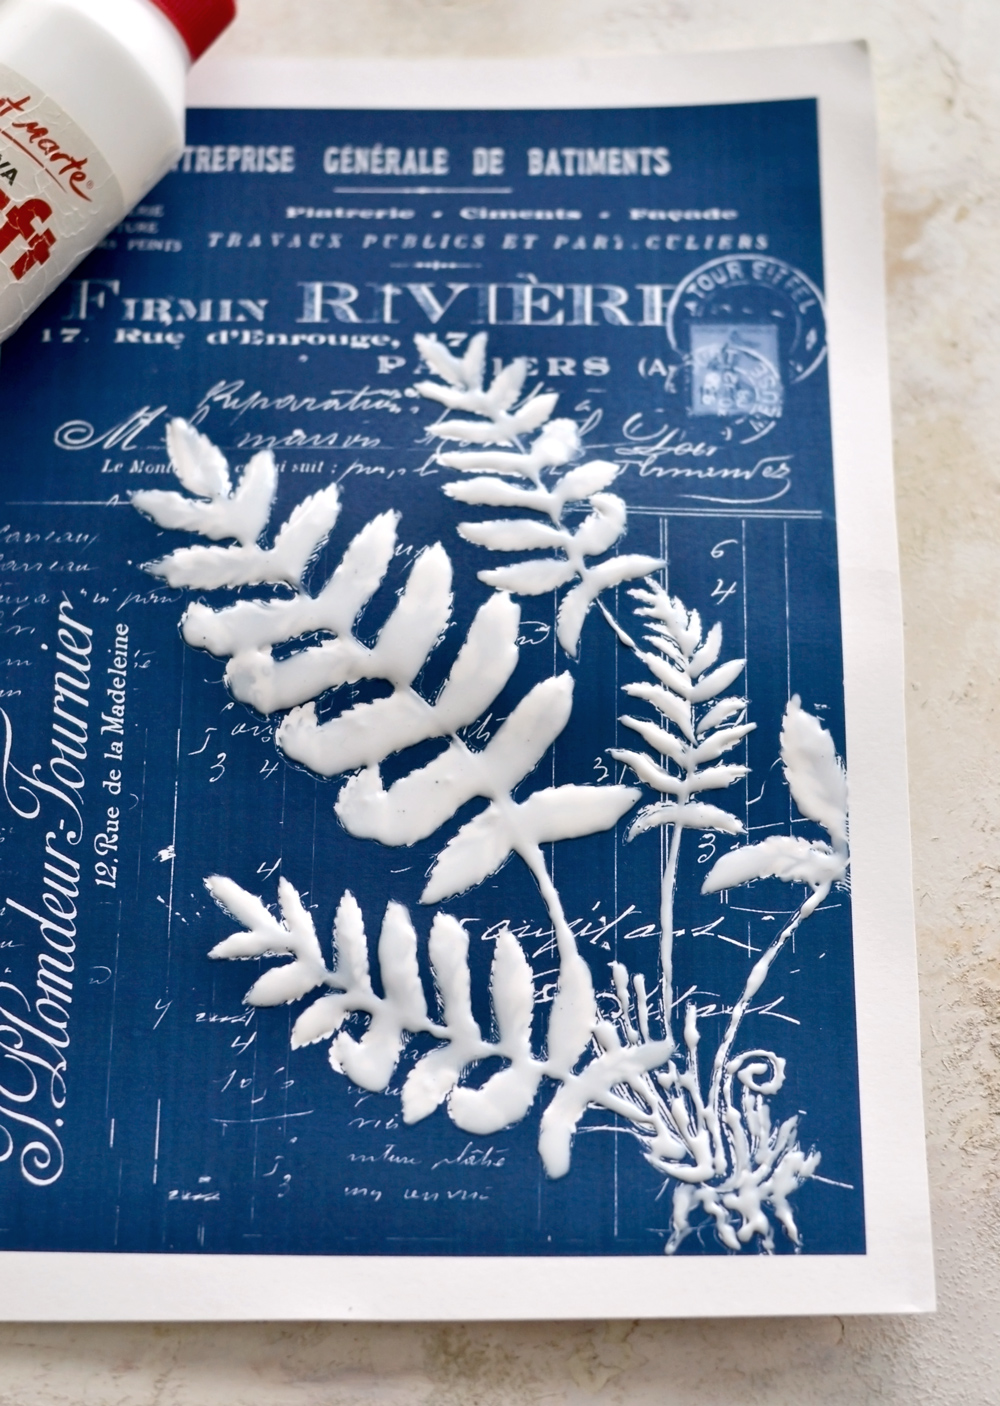
This is how my fern looked after applying the white craft glue all over the details, as you can see the paper started to warp a little, but I didn’t mind.
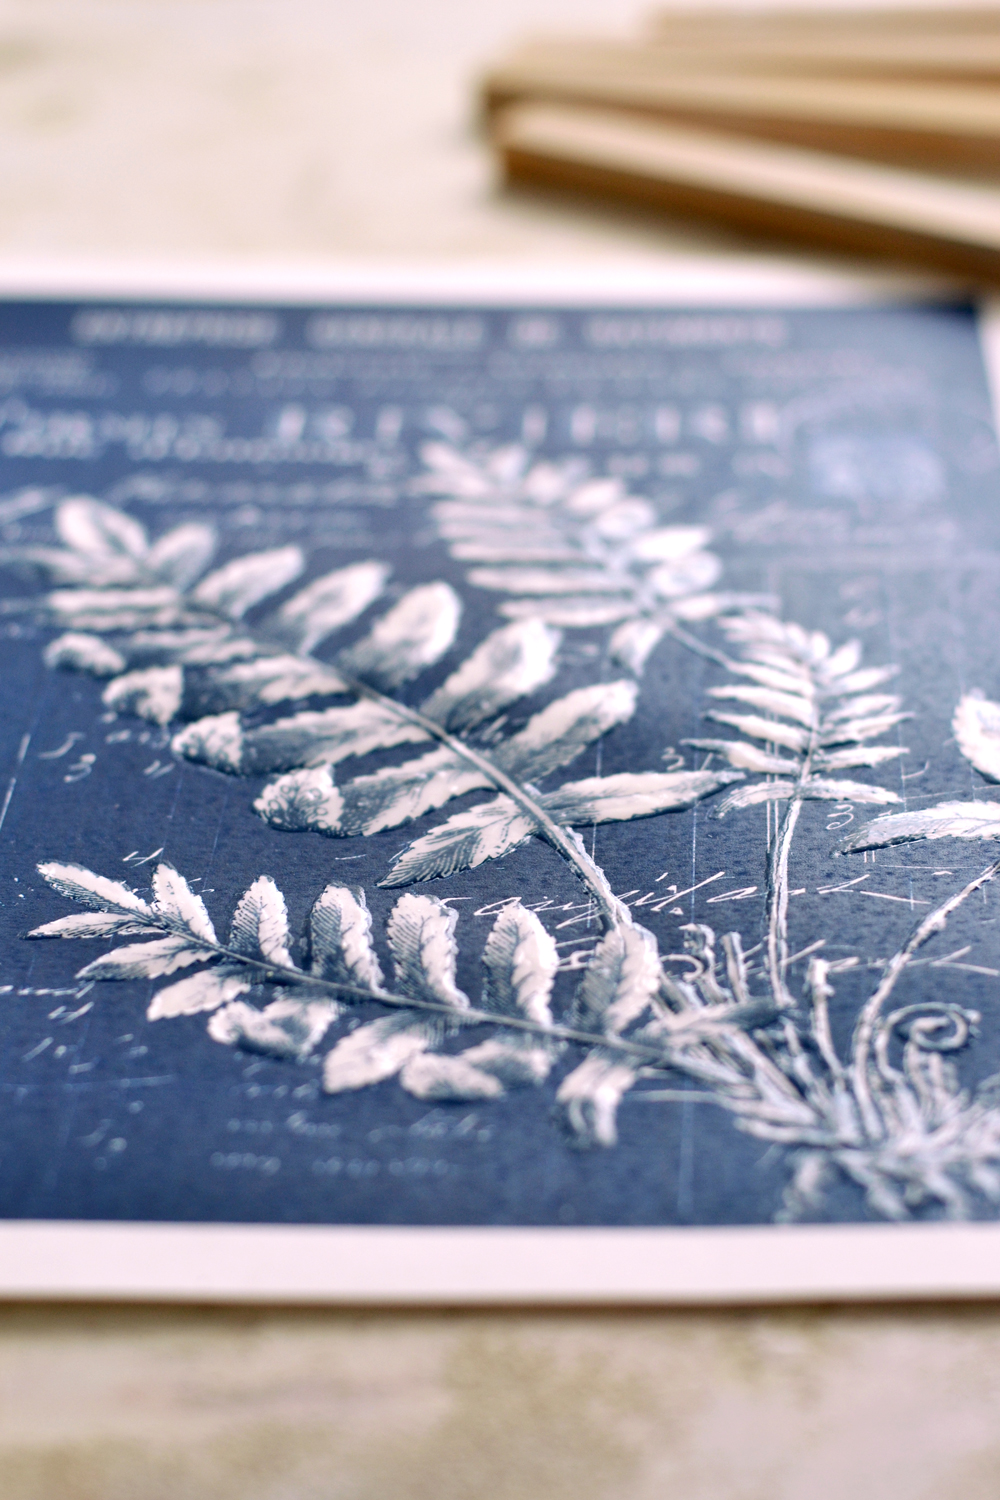
The final drying time will differ, depending on the environment and the season – this is how everything looked after drying. You can see that the glue turned completely clear allowing us to create that lovely raised effect I mentioned earlier. Such dreamy textures! Even though it’s not extremely visible, it’s like an unexpected, but really nice surprise, once you get closer to the image. I like nice surprises, but in the end, it’s up to you if you want to take that extra mile to create this effect!:)
4. DIY FAUX CYANOTYPE FRENCH WALL ART – ASSEMBLING EVERYTHING
These next steps are really simple, we will use the 4 pieces of wood to create a half framing for our faux cyanotype French print. The idea is to ‘sandwich’ our print using 2 pieces of wood on top and 2 pieces on the bottom. I wanted this to be more like a temporary framing and not a final one, so I decided to use magnetic strips on the inside of the wood pieces to hold them and the print together. This way, you’ll be able to use this framing system with other printables, if you decide to change the faux cyanotype print with another one, in the future. I cut the magnetic strips from a larger sheet using my scissors and used their adhesive back to adhere them to the wood.
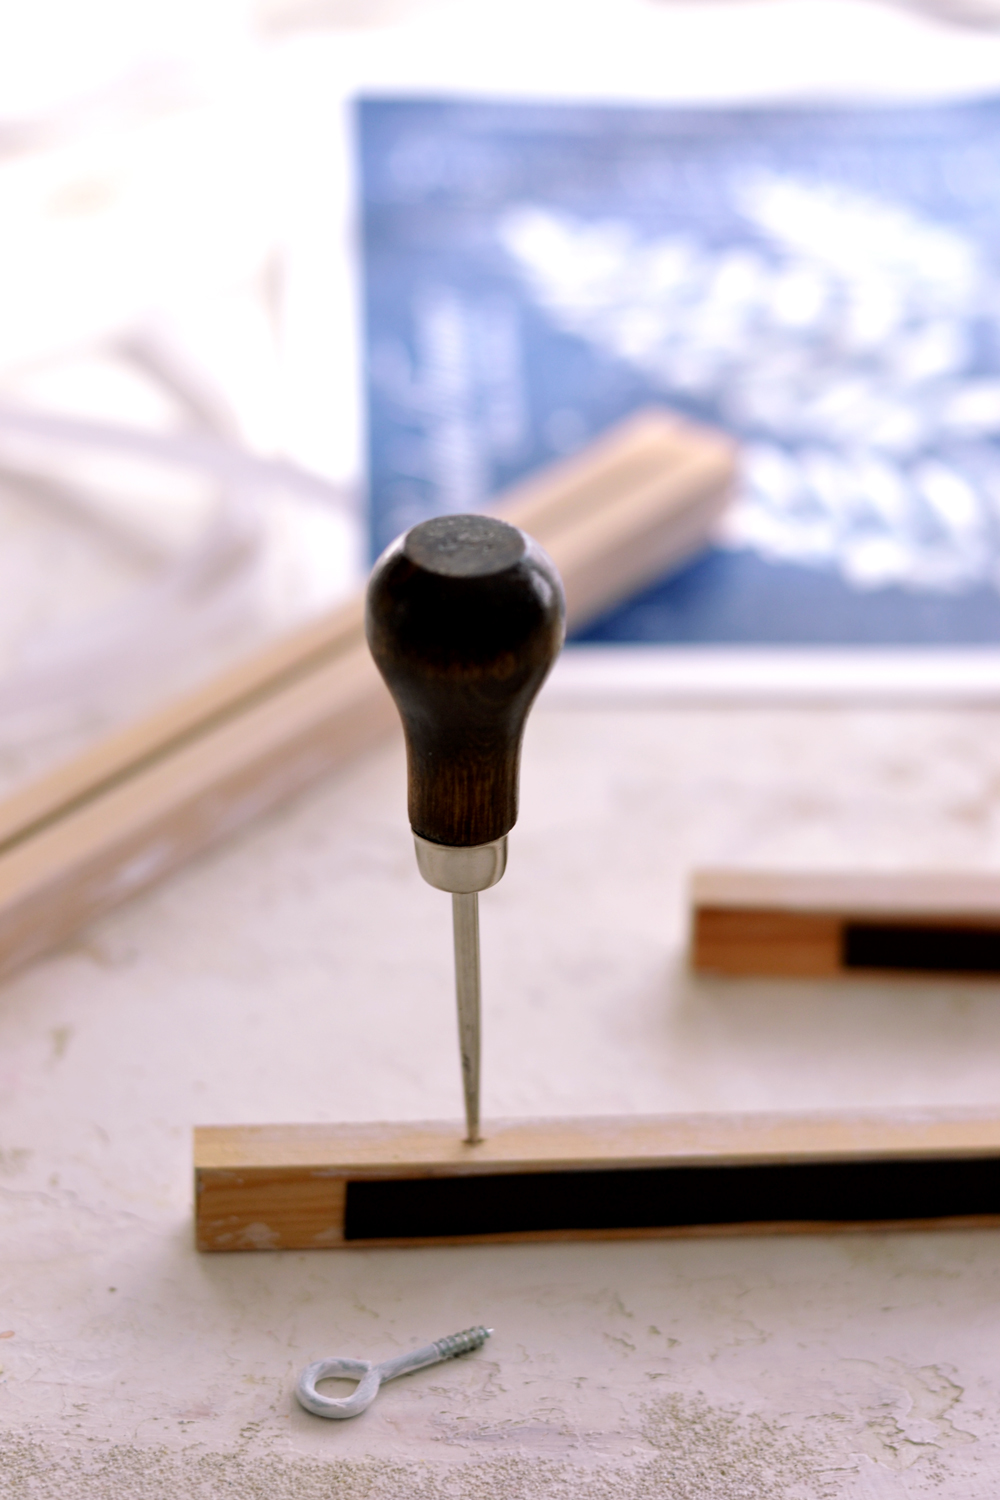
I initially thought about using my glue gun (you can see it in my supply list image) to adhere some thread for hanging the wall art print, but then I remembered I had some small hooks around – you can use small B-hooks or cup hooks. I painted two with white acrylic paint first and let them dry completely. I then used an awl to pre ‘drill’ the wood (so it doesn’t splinter) and just screw the small hooks in place.
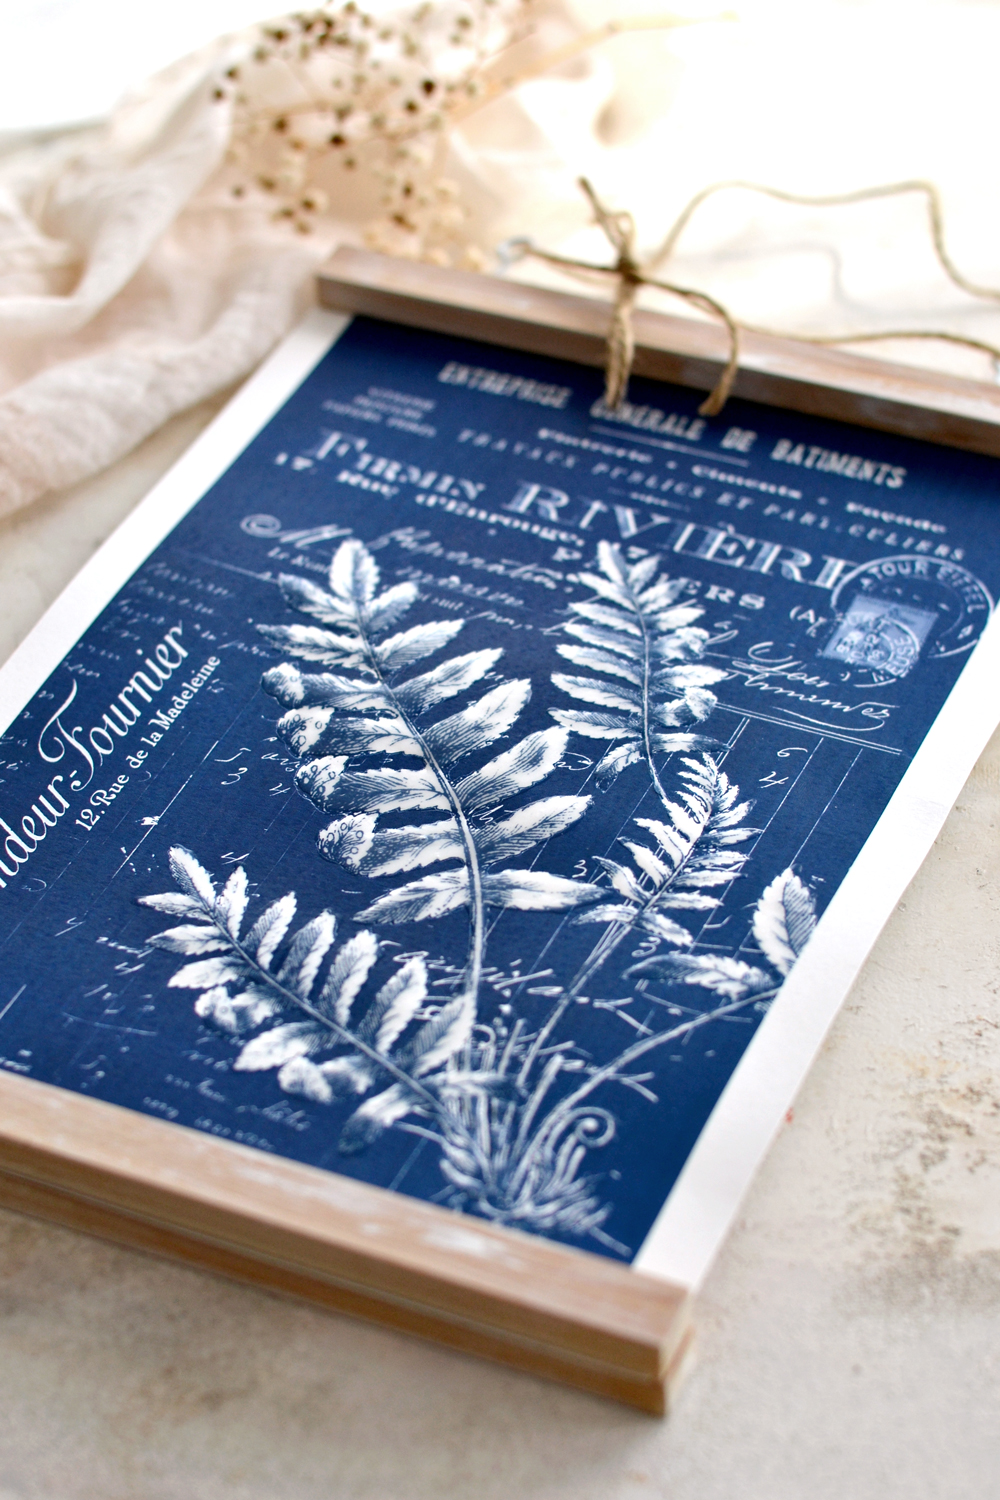
Sandwich the printable between the pieces of wood, add some twine thread so you can hang it, and you are done! 🙂 Can you believe how gorgeous this DIY Boho Wall Decor Ideas turned out?! And all without too much effort on our part!
That clear glue raised effect is definitely a nice surprise, both on a visual and tactile level!
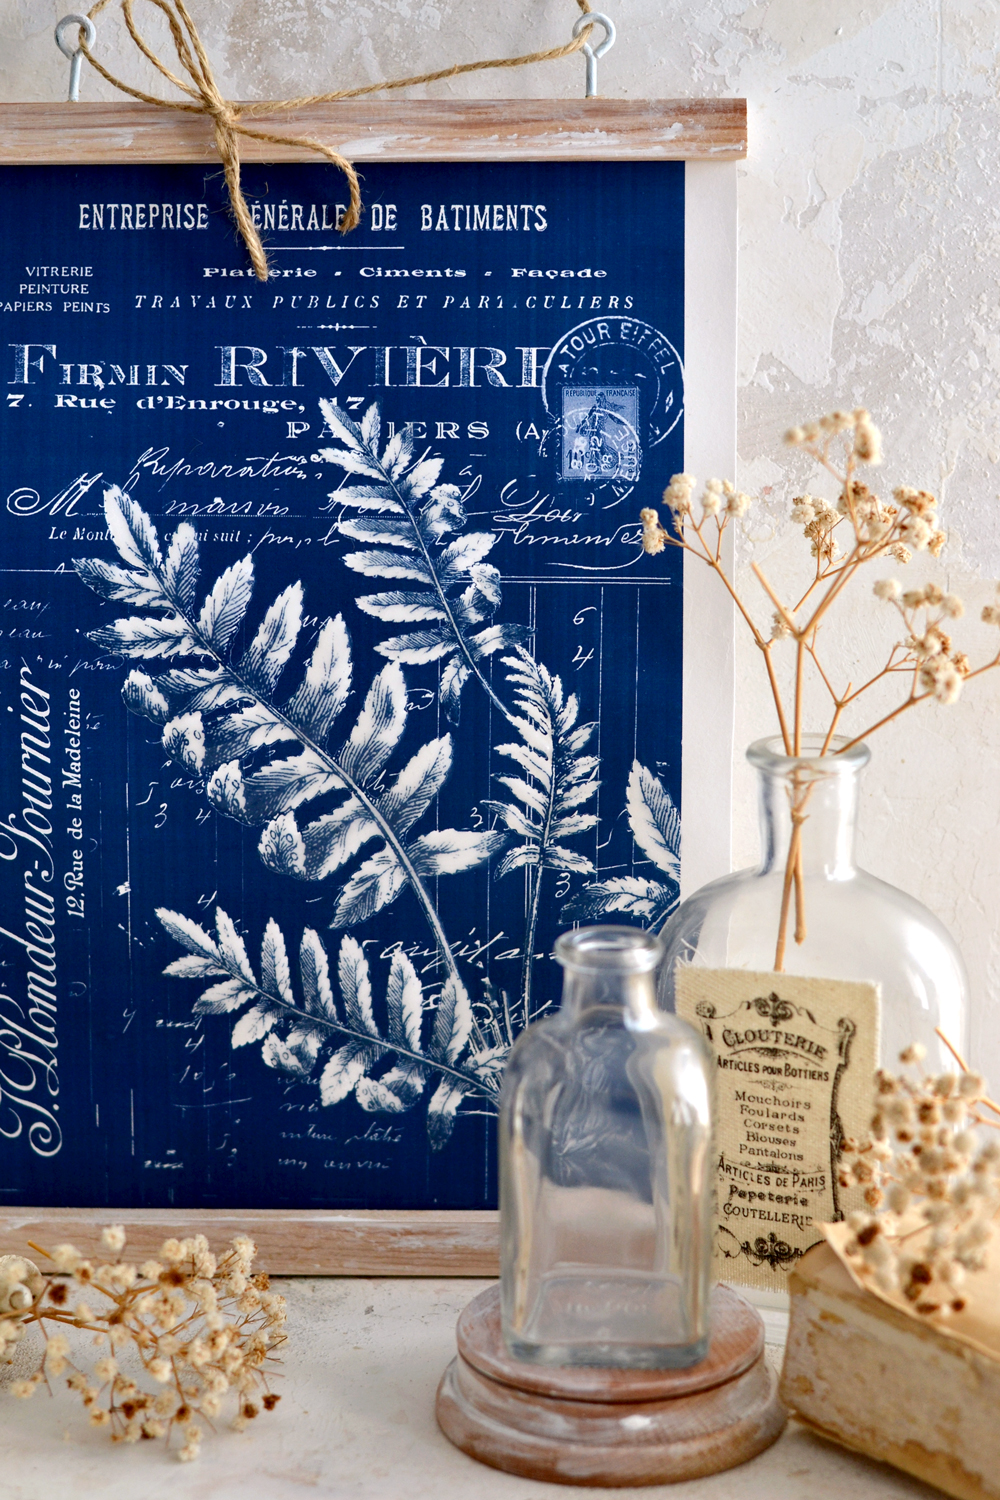
This faux cyanotype printable is absolutely AH-MAZING on its own, I love how you get to discover more and more details, every time you look at it! I can’t wait to find the perfect place for this beauty in our home, it has such a great boho vibe and I’m over the moon with how it turned out! Mr. Dreamy helped me photograph it for you and mentioned this would make the perfect gift for any home! So if you make one for yourself, please don’t forget your friends too! 🙂 If you don’t want to hang it, you can definitely paint and distress an old frame and use it with that, it would look great just propped up on shelves too. It would look amazing if included in vintage, farmhouse or bohemian style vignettes, along with other decorative accents like wicker or rattan baskets, beads, tassels, vintage books, candles, greenery, vases, even recycled jars in different sizes!
Display your Boho Wall Art
I hope you enjoyed these Boho Wall Decor Ideas! To create even more of a Bohemian vibe in your home, add some macramé wall hangings, throw pillows, wall baskets, tapestries, throw blankets, textiles and a chandelier on the ceiling! It’s such a fun decor style and will add so much charm to your space. Give this project a try, you will be amazed to see that it looks even more beautiful in real life!
Happy crafting,
Diana | Dreams Factory
