Book Page Ornaments
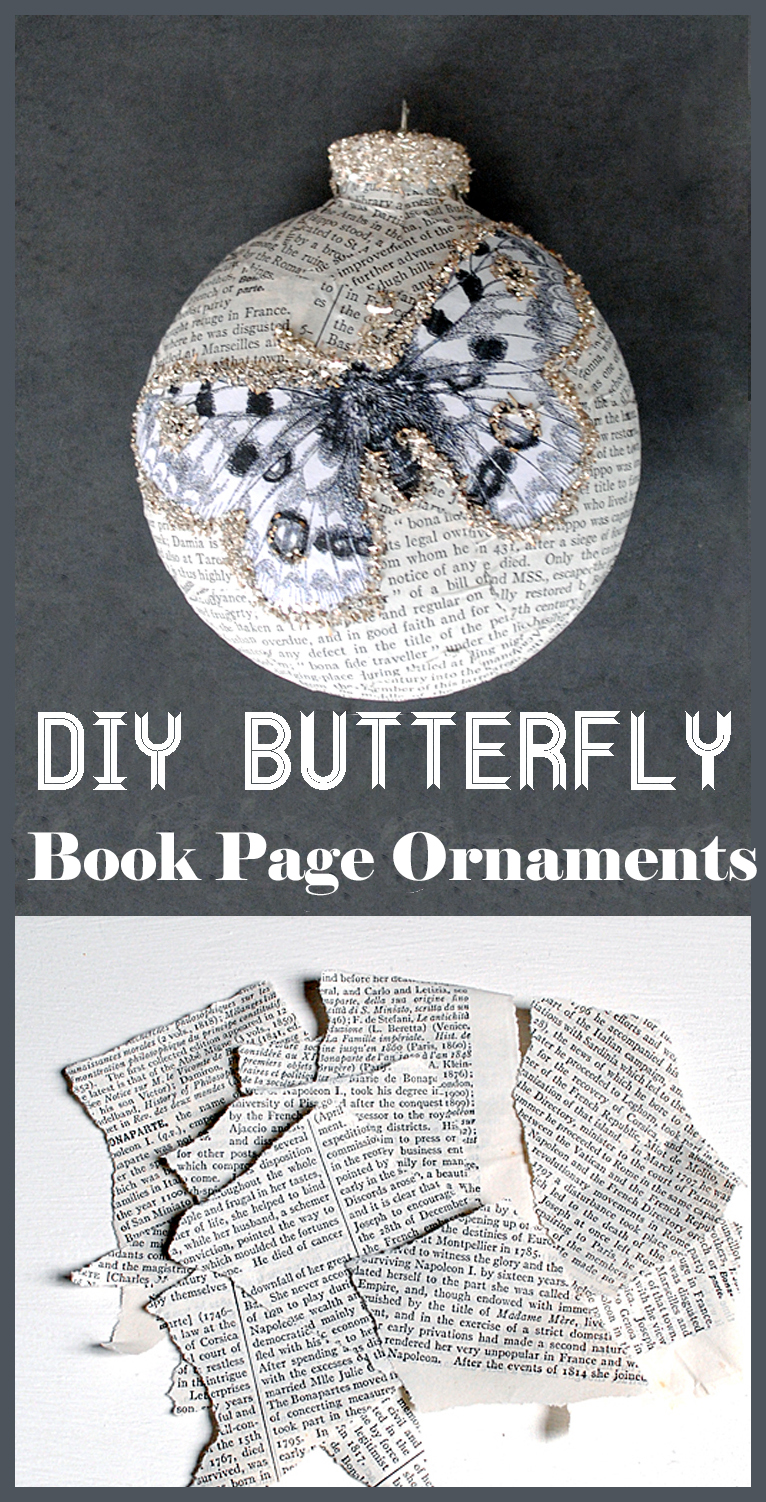
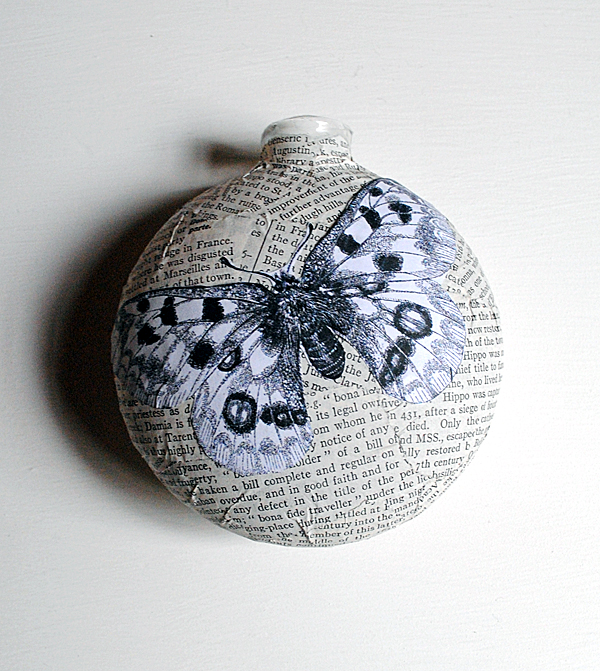
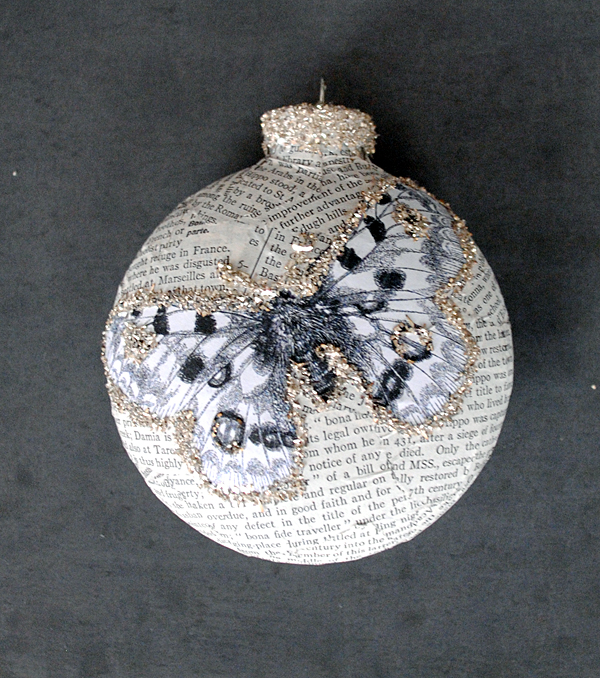
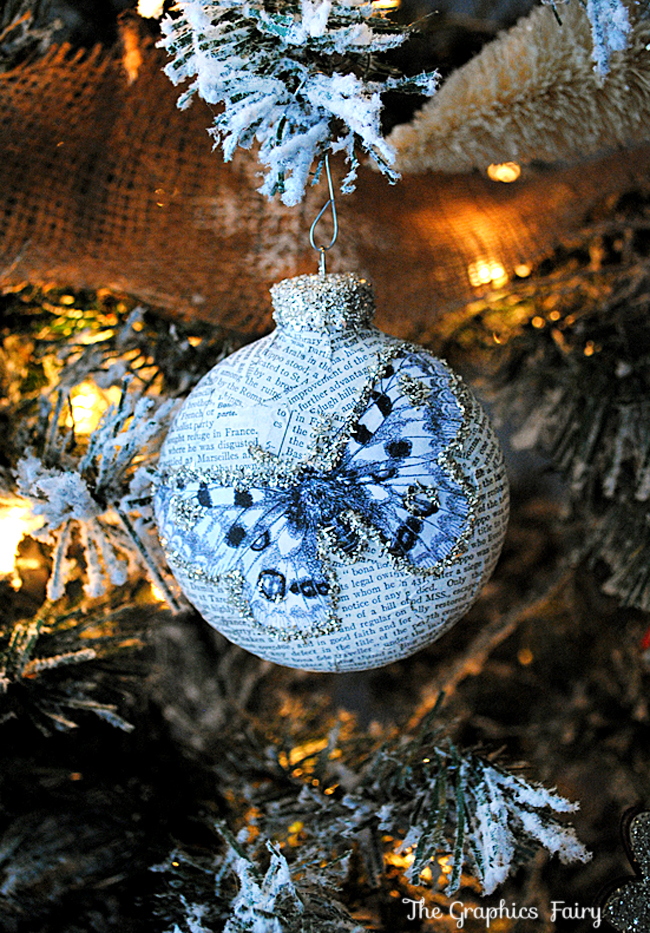
This is a project tutorial that I did several years ago. It’s still one of my favorites, so I thought I would dust it off and bring it back into the light of day here on my blog! I love the simplicity of Book Page Ornaments. I love the soft texture of the paper and the black and white text is so neutral that you could put pretty much anything on top of it and it would go. I used some beautiful black and white Butterflies or Moths, but you could use a color Butterfly image or any other motif that you like. You can customize it to match your Christmas decor! For me, the silvery glitter added enough pizzazz that I just kept it simple.
This is a Tutorial for the Book Page Crafts Ornaments that I created, and showed on my Holiday House Tour! These were fun and easy to make and quite inexpensive too.
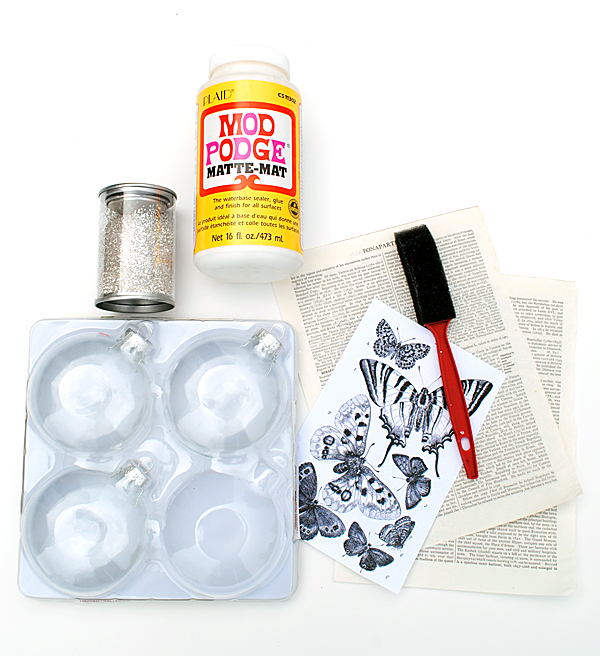
Supplies for Book Page Ornaments:
- Flat Glass Ball Ornaments
- Mod Podge Matte
- Pages from an inexpensive book
- Foam Brush
- Glitter or Stickles
- Glue if you’re using glitter
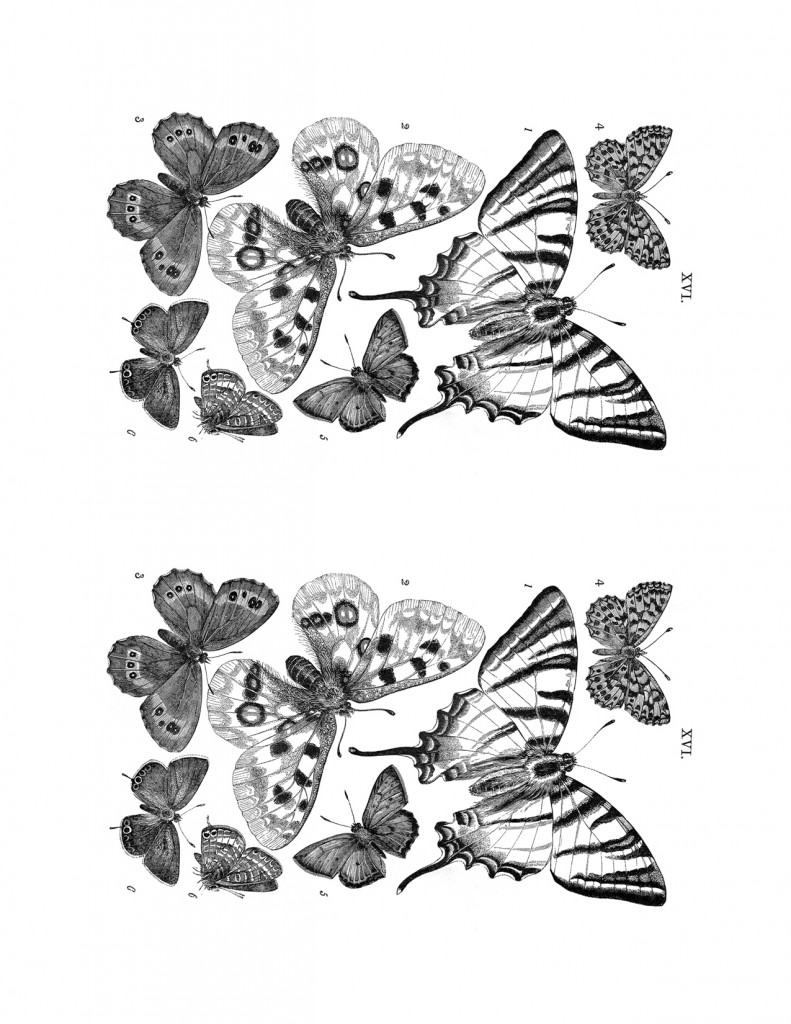
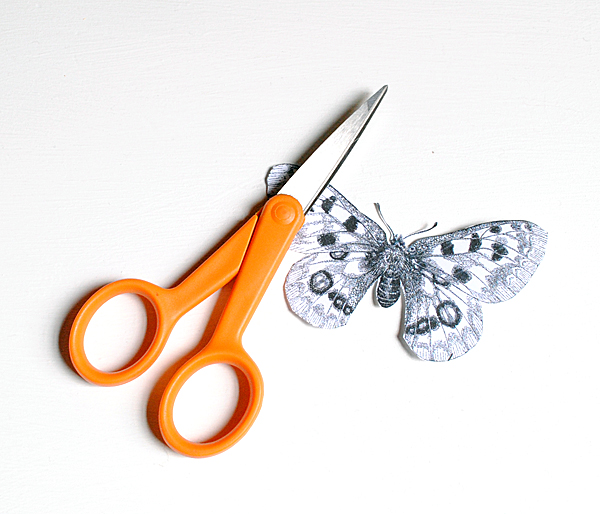
- Natural History Butterfly Print
Click HERE to Download the Butterfly Printable
Step 1) Print out the Butterfly printable using the link above. (Or you can use the original sepia toned printable from HERE if you prefer.)
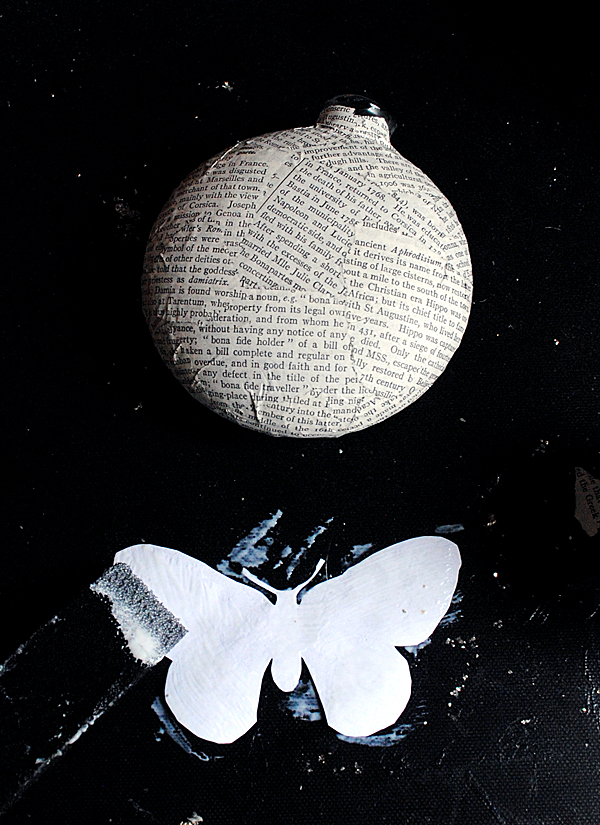
Step 2) Cut out the Butterflies that you want to use on your ornaments. You can do one big one like I did, or several small ones.
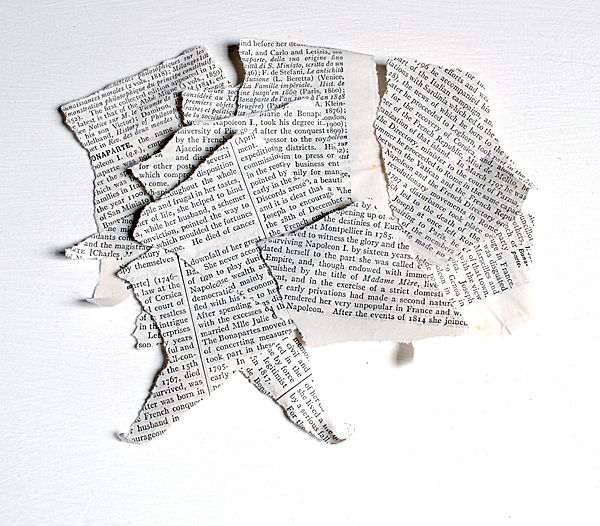
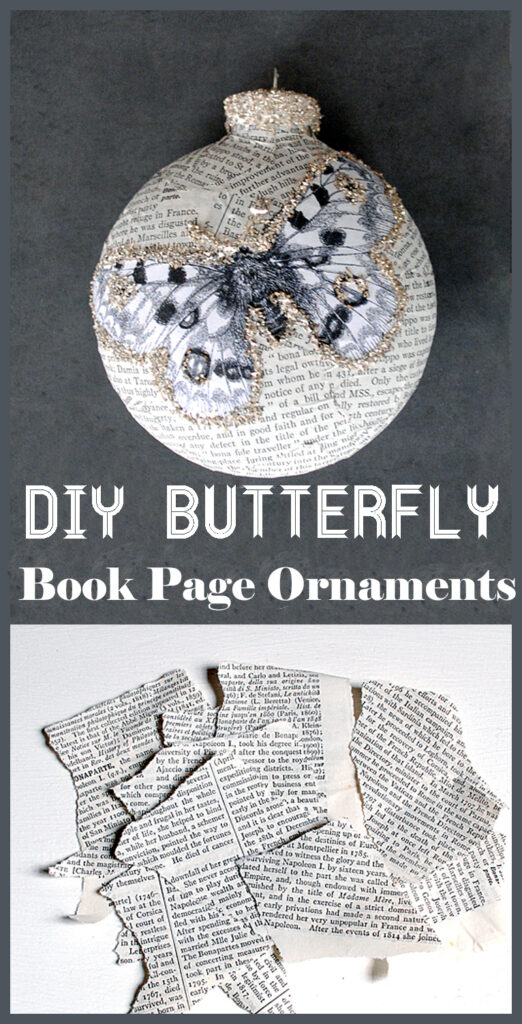
Step 3) Tear the book pages into small pieces.
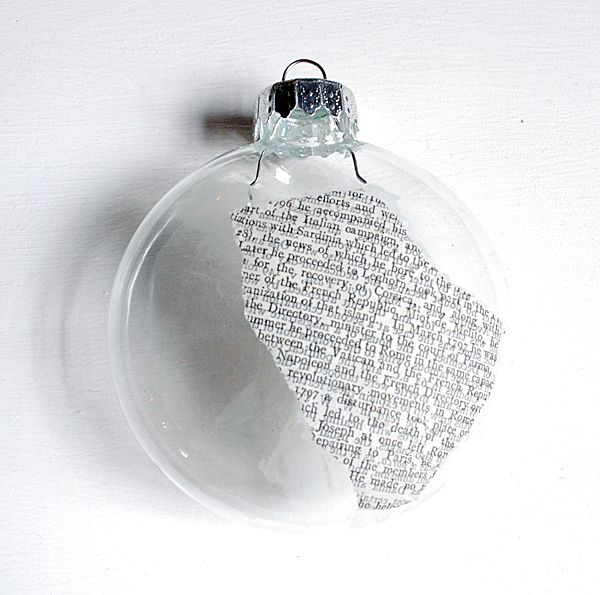
Step 4) Apply the torn pages to the glass ornaments using the Mod Podge and the foam brush. (Hint: Remove the metal cap first!)
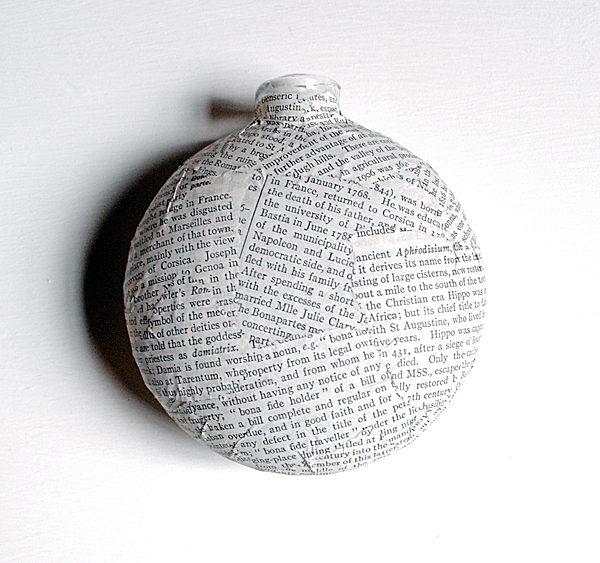
Step 5) Continue working around the ornament until it’s totally covered with the paper and allow to dry.
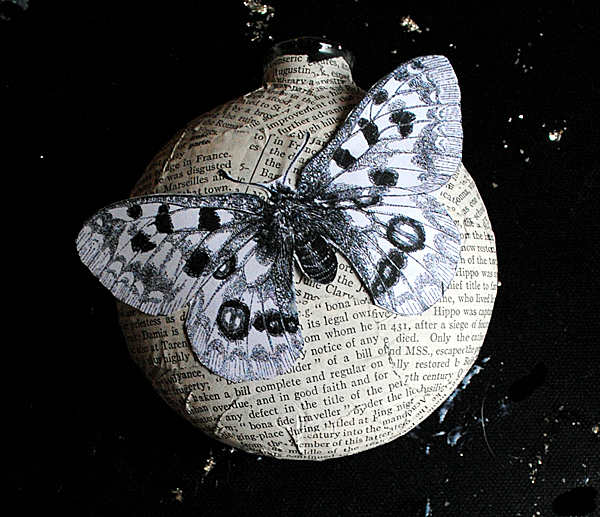
Step 6) Apply the Butterfly image that you cut out, using the Mod Podge and the foam brush.
Step 7) Press firmly to the ornament and smooth out any wrinkles.
Step 8) Allow to dry completely.
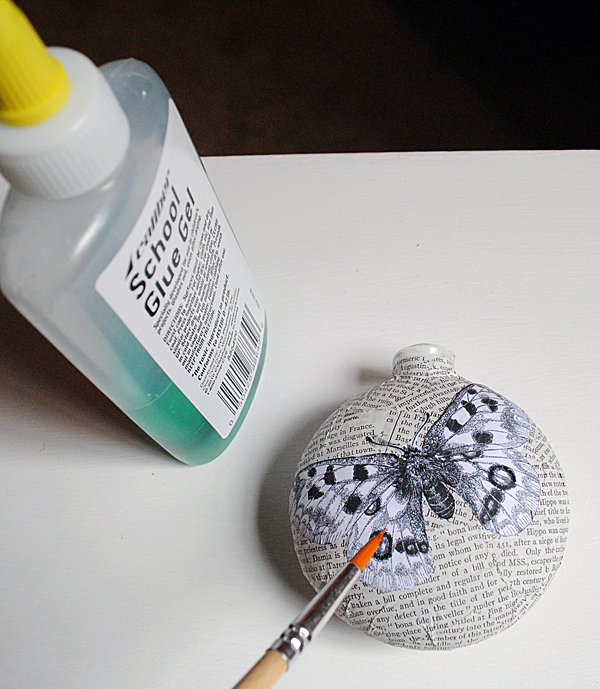
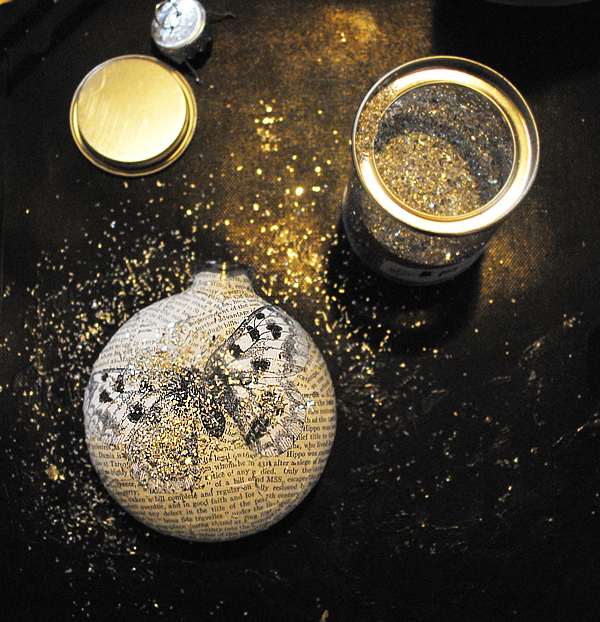
Step 9) Apply the glitter using Glue and a small brush, or you can use a product called “Stickles” which is glue and glitter together in a bottle, that has a small spout (easy!).
Step 10) Replace the cap and add some glue and glitter to it, if desired. Allow to dry.
All you have to do next is hang it on your Christmas tree and enjoy! I hope you enjoyed this fun Book Page Ornaments craft! This would be a fun one to do with the kids too, you could use the plastic balls in place of the glass ones to make it more child friendly!
Here are a few more Book Page Crafts that you might like as well:
Welcome, I’m so glad you’re here! Browse around to find thousands of Stock Images that you can use in your projects or designs! I post new Vintage images every day, as well as projects and DIY’s too! Need more info about my site? Try my FAQ page.


Ann Robinson says
Brilliant idea thanks for sharing xx
graphicsfairy says
Thanks so much Ann 🙂
RUTH BRYANT says
Thank you. This is really neat and is new to me!
graphicsfairy says
I am so glad you like it Ruth 🙂
Ardith says
Merry Christmas, Karen! I hope you are doing well and enjoying this year’s holiday season. These ornaments have a wonderful modern Victorian flair, so thank you for sharing them. Cheers, Ardith
Karen Watson says
Thank you so much Ardith! Merry Christmas to you too! 🎄
Christina says
Love this! Looks great with the text background
graphicsfairy says
Thanks Christina!
Kathleen says
Thanks for sharing your tutorial. This looks fun!
Sandi says
Great tutorial thank you.
Karen Watson says
Thank you Sandi!
Pat S says
Karen – Thanks for sharing the tutorial. Those are very cute ornaments and would make nice little gifts for friends. AND thanks for everything you do to keep this site up and running with all the new images.
Karen Watson says
Thank you so much Pat for all the super sweet comments this year!
Helen Pelzer-Lane says
These will make a perfect addition to what we have been creating this past week. Thanks so much for sharing. Merry Christmas!
Karen Watson says
That’s great Helen! I’m glad the timing on this worked out for you. Merry Christmas to you too!
Prayer Notes by Cynthia says
Very beautiful! Now, that my shop is on vacation, I will be able to create items for my home! So excited! Thanks, Karen!
Karen Watson says
Thanks Cynthia! That’s lovely that you are taking a little break and taking some time do some fun things for your home!!
Patricia B says
I love this idea… I’m gonna try a few different modifications to make them my own. Thank you so much for the inspiration! I love all of your graphics, thank you for sharing. Love ya’
Karen Watson says
Thanks Patricia! Yes, by all means make it your own! There are so many ways you could go with these, I thought about coloring the Butterflies in, or using already colored ones, and of course you don’t have to use Butterflies at all! I’m glad you are inspired! xoxo
keith@ Vintage Crab Jewelry says
Very pretty! Thank you for the images and the tutorial!
Karen Watson says
You’re so welcome Keith! Thanks for the kind comment!
Debbie says
These look fabulous! Thanks for sharing.
Debbie 🙂
Karen Watson says
Thanks Debbie! I’m glad you like them!
Trina O'Neil says
What a cute and neat idea. I love seeing homemade ornaments like this. It brings back the special meaning of Christmas to me.
Karen Watson says
Thank you Trina!!