DIY French Farmhouse Tray
Hello Graphics Fairy friends! It’s Diana from Dreams Factory, I thought it would be fun to share with you today how to make a Build a French Farmhouse Tray with Scrap Wood… from scratch! I’m sharing all the secrets on how to create a shiplap inspired tray, a little bit of painting and distressing, my favorite technique of transferring an image and lots of tips and tricks so you can easily make a chic DIY French Farmhouse Tray in no time.
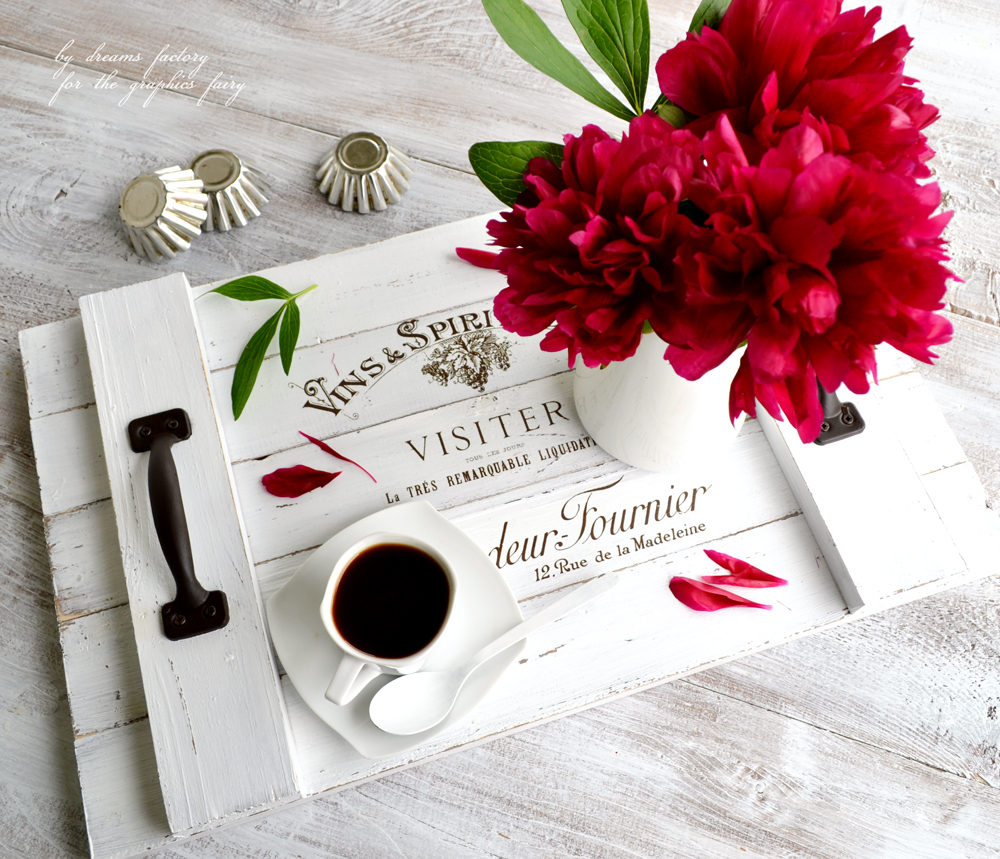
DIY French Farmhouse Tray Supplies
I used some wood scraps we had around so the dimension mentioned below are only for orientation. You should use whatever you have on hand and create your desired custom tray, just make sure you measure first and cut later! 🙂
5 – 1 x 3 wood boards cut to 20” for the base ( Metric Version 5 – 2 x 6 cm wood boards cut to 50 cm)
2 – 1 x 3 wood boards cut to the width of the 5 boards (mentioned before) assembled together (about 12-1/2”) for the support side (Metric Version 2 – 2 x 6 cm cut to 30 cm)
brown acrylic paint // white acrylic paint // brushes // candle wax // 120 grit sand paper
Waterslide Decal Paper for Laser Printers or Waterslide Decal Paper for Inkjet Printers + French graphic
I created the French printable using several images from The Graphics Fairy and I ‘colored’ it into a beautiful rustic brown in Photoshop. This rustic brown is the perfect match for our DIY French Farmhouse tray, don’t you think? 🙂 Of course you can also print it in black and white, if you want, just set your printer to black and white.
I would suggest printing on regular paper the French graphic shared here (before making the actual tray) just to be sure the design actually fits the wood pieces you are planning on using.
—-> Click HERE to Download the Full Size Printable PDF <—-
strong wood glue // folding ruler // screwdriver or driver drill // matte finish spray
DIY French Farmhouse Tray – painting and distressing
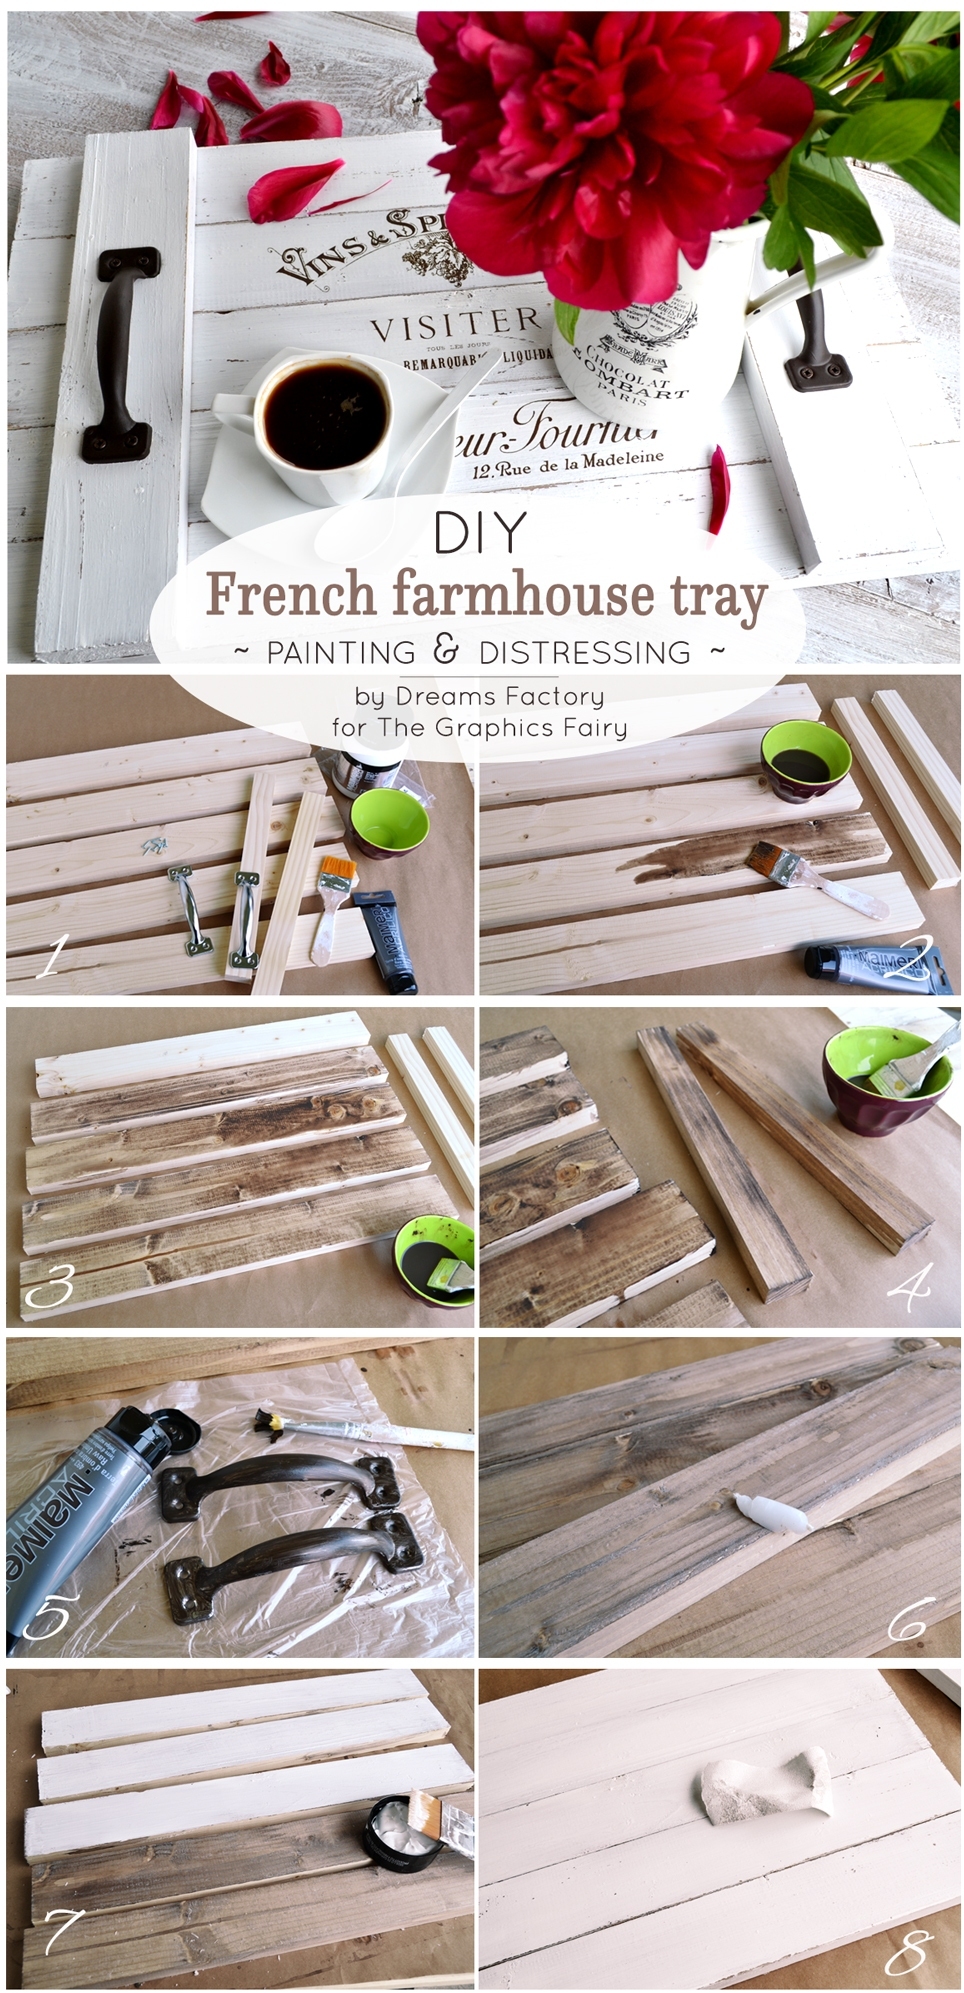
1. Measure and carefully cut the wood pieces to desired size.
2-3. Use a highly diluted brown acrylic paint and stain the wood pieces.
4. Let the paint dry.
5. While the paint dries, brush the handles with undiluted brown acrylic paint and let them dry. If the handles already have the color you want, you can just skip this step.
6. Rub the edges of each wood board with candle wax. The candle wax will help with the distressing part afterwards, so if you fancy a highly distressed finished tray, rub candle wax on the whole surface of the wood pieces (not only on the edges).
7. Paint the wood boards with white acrylic paint and let it dry completely.
8. Distress each wood board with a 120 grit sand paper until you get the desired chipiness (brown paint) showing through the white paint. Only stop when fully satisfied! 🙂
DIY French Farmhouse Tray – Assembling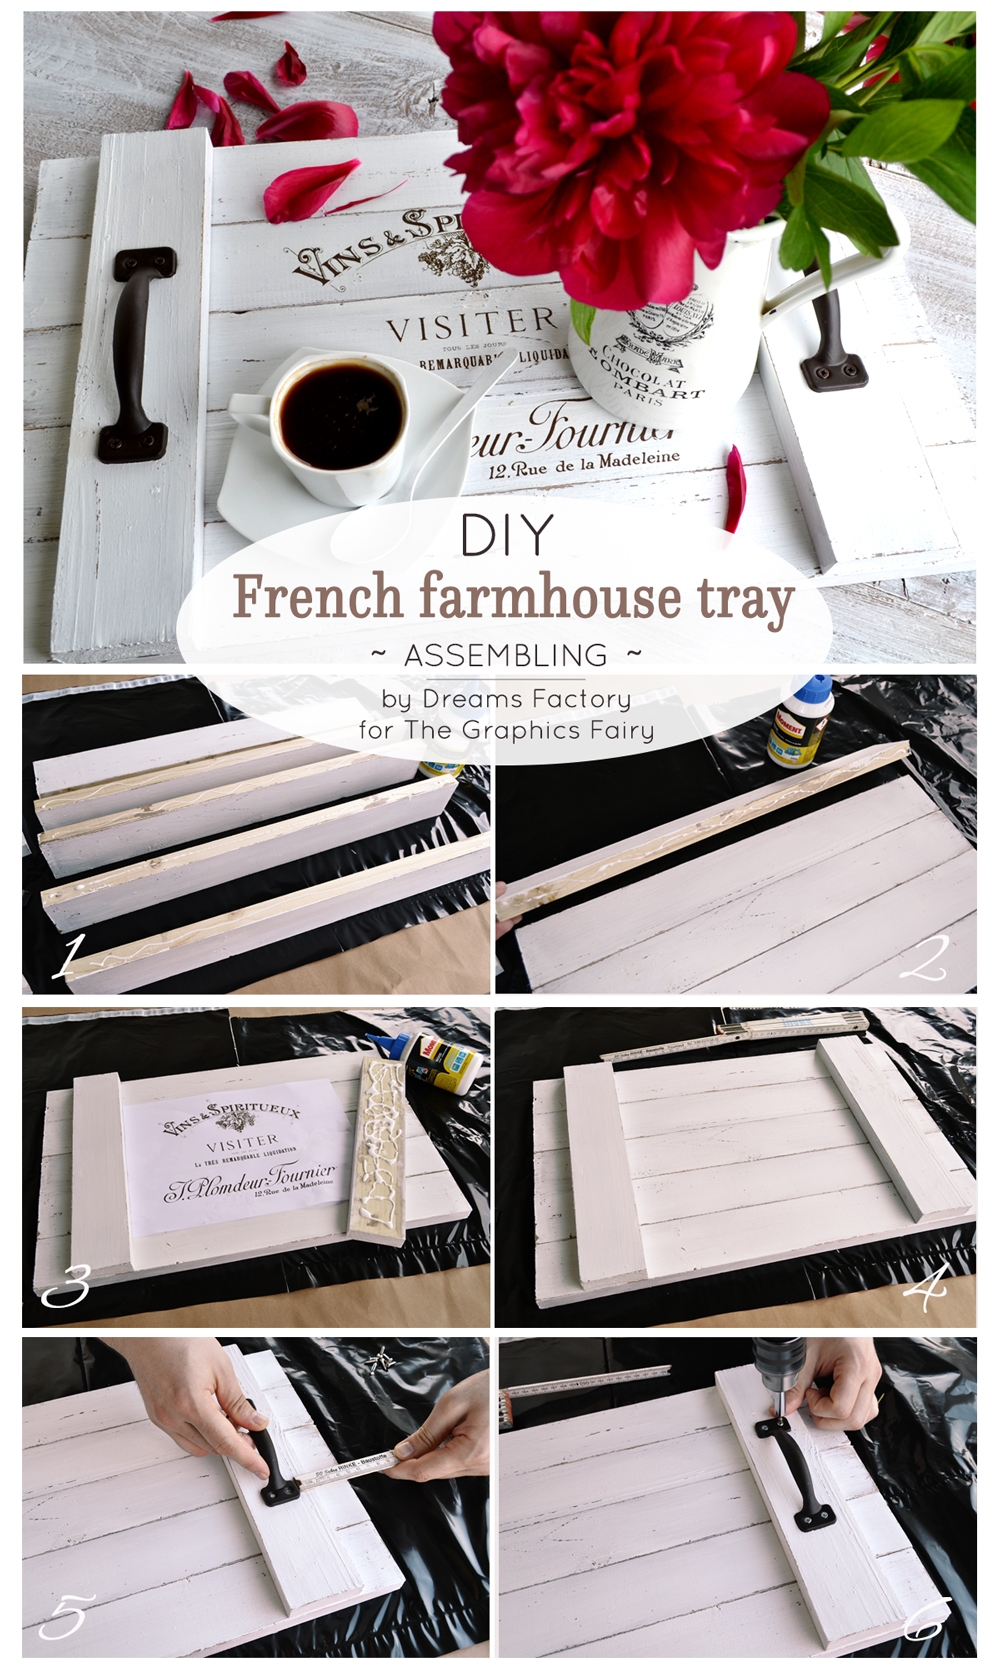
Before moving to the actual assembling of the tray, make sure you put a garbage bag under the wood pieces. There might be some glue dripping here and there, a garbage bag will help you prevent any unwanted incidents.
1. Turn each piece of the 5 wood boards upwards (long-wise) and add glue to the whole surface (their sides, now facing up).
2. Put the pieces down again and create the base of the tray by assembling the 5 wood boards on the table (and on the garbage bag) to create a perfect rectangle.
3-4. Add glue to each of the support pieces and glue them on top of the base. I used my printed design to establish the position of the 2 support pieces on the sides, but a folding ruler will also help determining the right sizes.
4. Don’t move your (newly assembled) tray anymore and let the glue dry following the recommended time – use clamps to hold the wood pieces together if necessary. You can also drill some screws on the back of the tray (ones that would penetrate both the wood pieces used for the base and the support pieces) to make the tray more sturdy.
5. Then measure and determine the position of your pull handles on each of the support pieces.
6. Attach the pull handles using a driver drill or a screw driver. Mr Dreamy helped me with this part, he’s more into power tools than I am 🙂
DIY French Farmhouse Tray – Transferring the image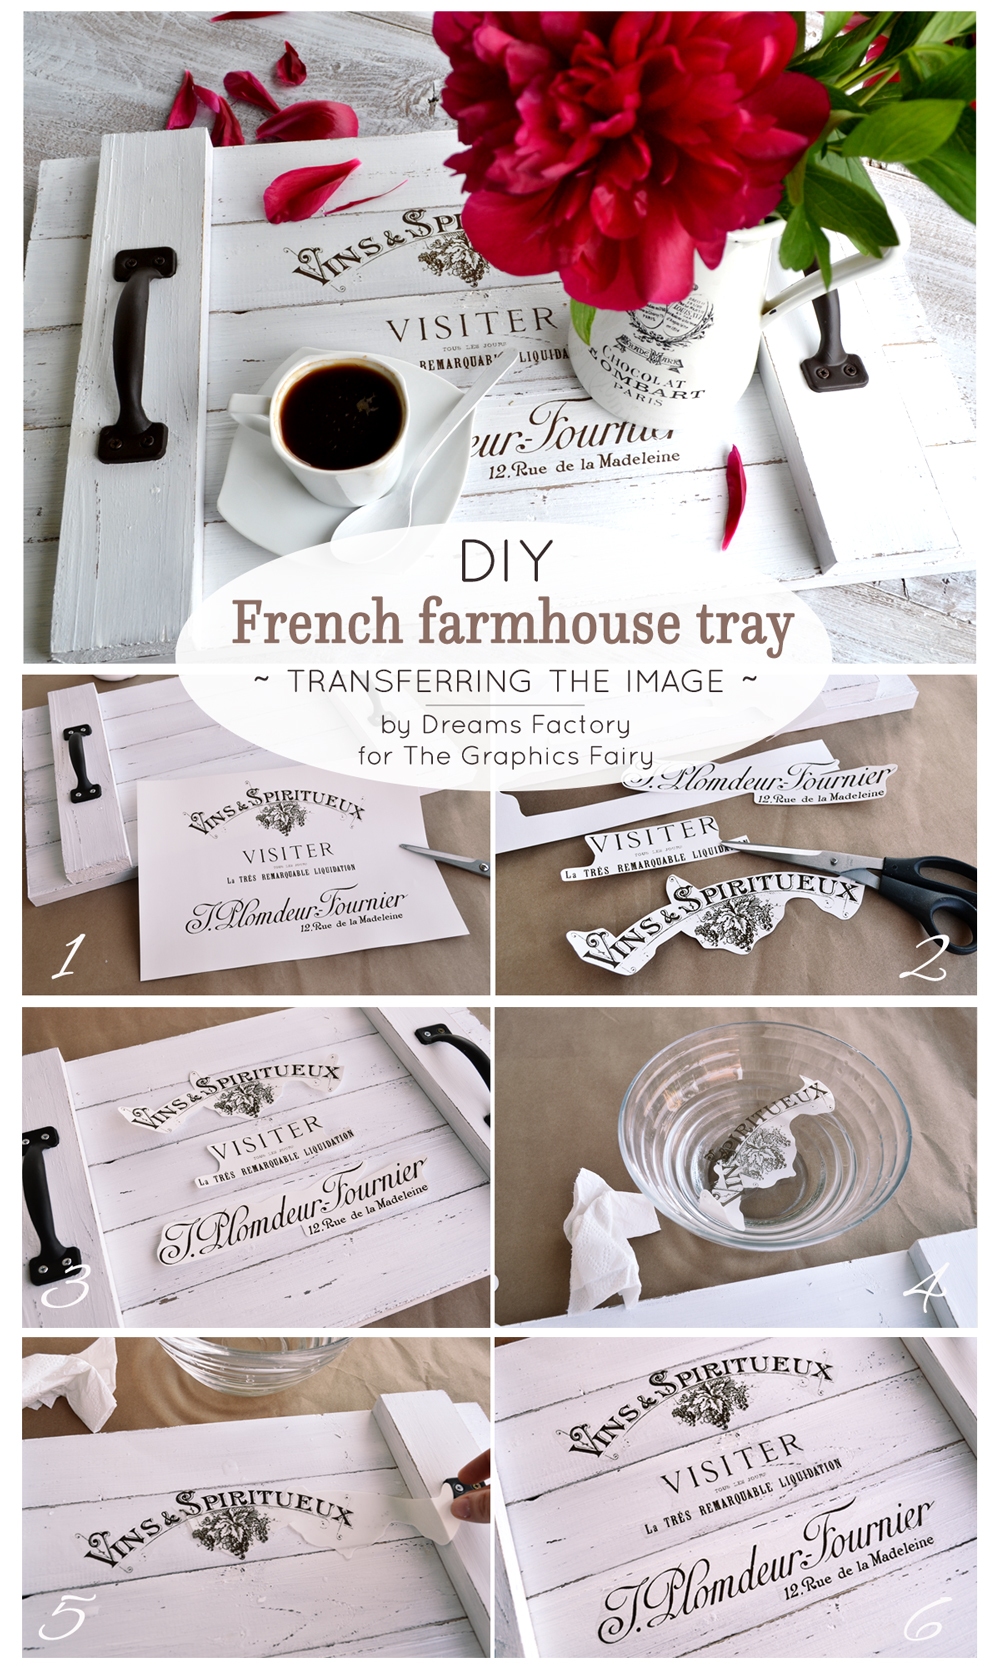
Those of you who are friends of my blog too might have seen (OK, you’ve seen this a lot) my favorite technique of transferring an image on almost any object – the waterslide decal paper transfer. I have a Laser Printer that I usually use to print my favorite images to decals. Even though I’ve been using this technique for years, I can’t really get enough of it!
(The procedure applies to Laser Decal paper using a Laser Printer) and is really simple (If you are using an inkjet Printer, make sure you purchase Inkjet Waterslide Decals and follow the instructions on the package):
1. Print your French design on the Laser waterslide decal paper, with your Laser printer.
2. Cut the images as close to the borders/writing as you can. Because our wooden trays is made out of several wood pieces, cut the decal paper into several smaller pieces so it would be easier to apply them.
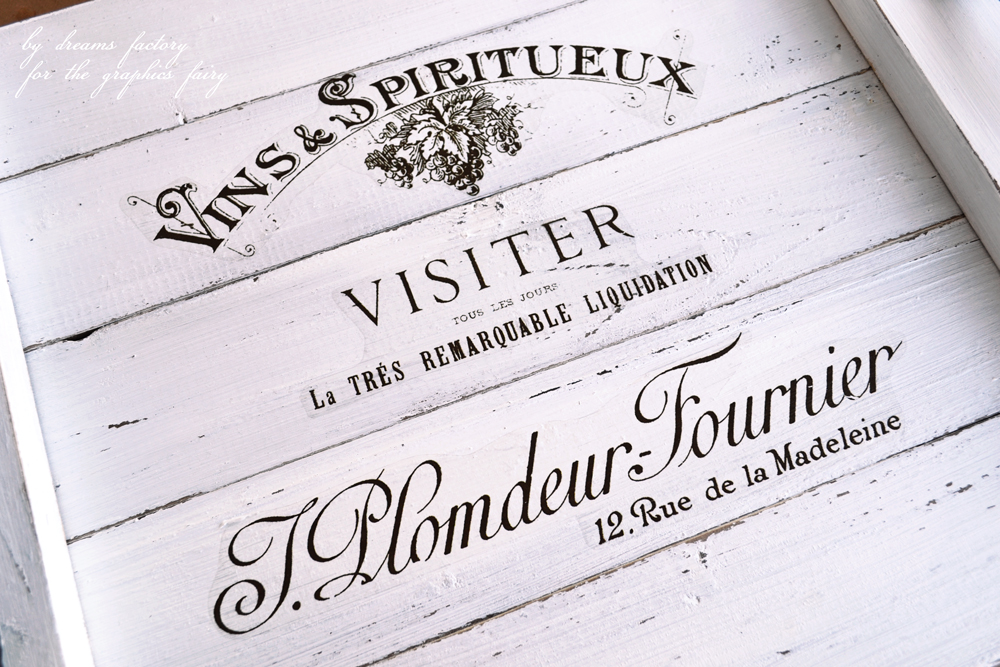
3. Check to see if each piece of the decal paper matches the width of the wood boards. As you can see in my picture, the letter ‘S’ from ‘Spiritueux’ had a little embellishment on top that exceeded the size of my wood board so I had to use my scissors to cut it off.
4. Put the first decal paper into the water and wait for a few seconds.
5. Apply the decal paper on the tray and slide off the paper underneath. Then use some paper towel to remove all the excess water and all the air bubbles that might have formed under the decal.
6. Do the same for all the small images… and admire your almost ready DIY French farmhouse Tray! 🙂
DIY French Farmhouse Tray – Final touches, tips & tricks
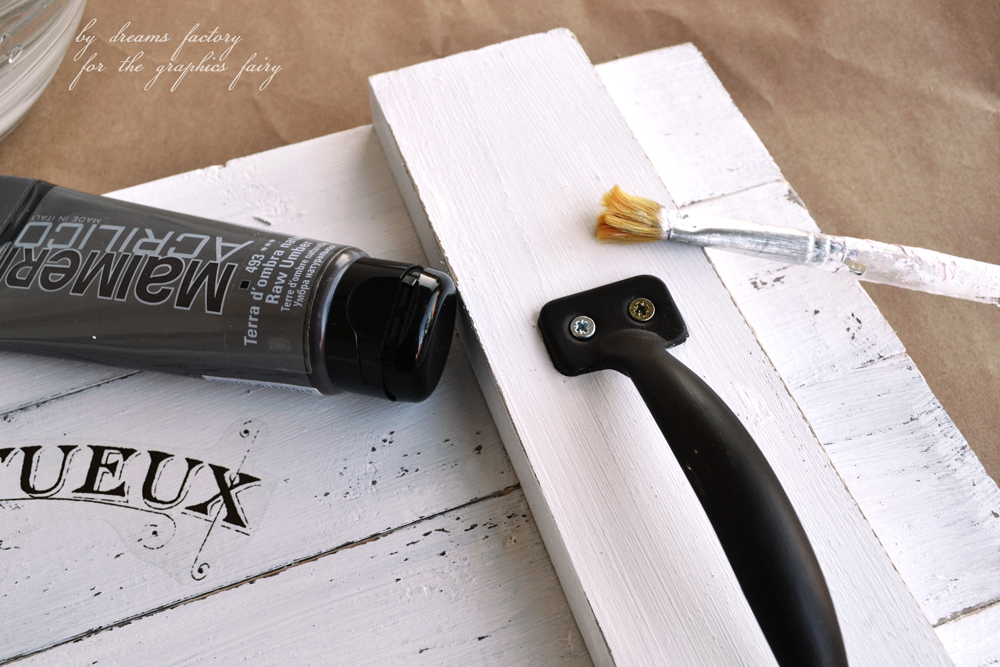 1. Use some undiluted brown acrylic paint to carefully paint the screws used to secure the handles and let it dry. If you are wondering why I have screws in two different colors on the handles, it’s only because I kind of lost one screw along the way, so I had to improvise! It might be a good idea to put all your screws in a plastic cup when opening the handles package and until actually using them, so you won’t find yourself in the same situation. Just saying’! 🙂
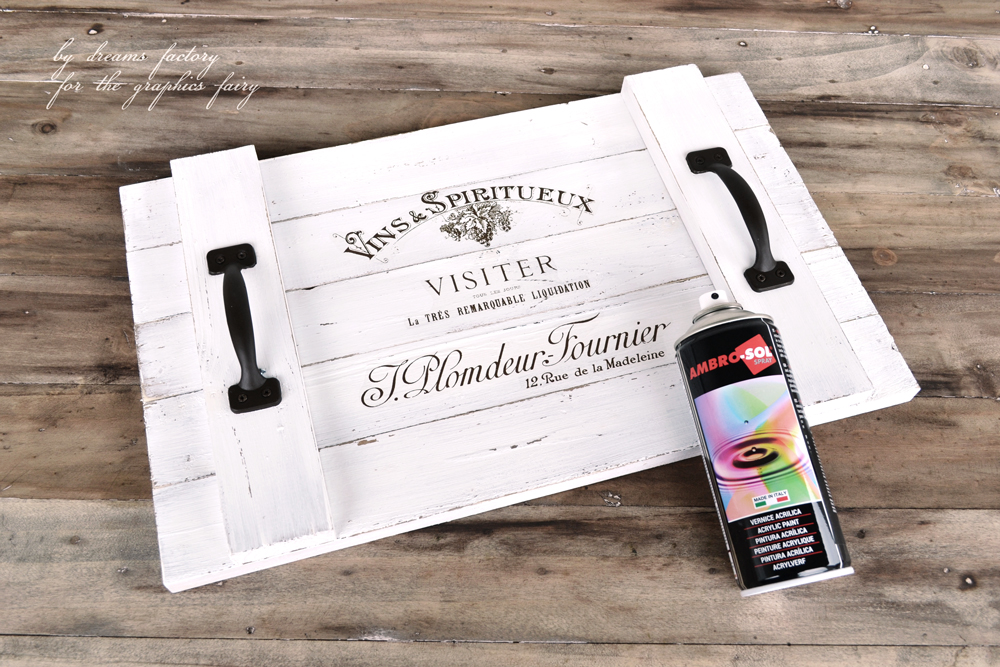
2. Use a clear spray to protect the WHOLE surface of the tray. This step is really important, don’t skip it!
I used the spray that you can see in the picture above (which is mostly available in Europe), but I had great results with Krylon clear spray before. Why the emphasis on the ‘WHOLE’ surface … you ask? The spray does a great job in protecting both the painted surface and the decals. Even the handles!
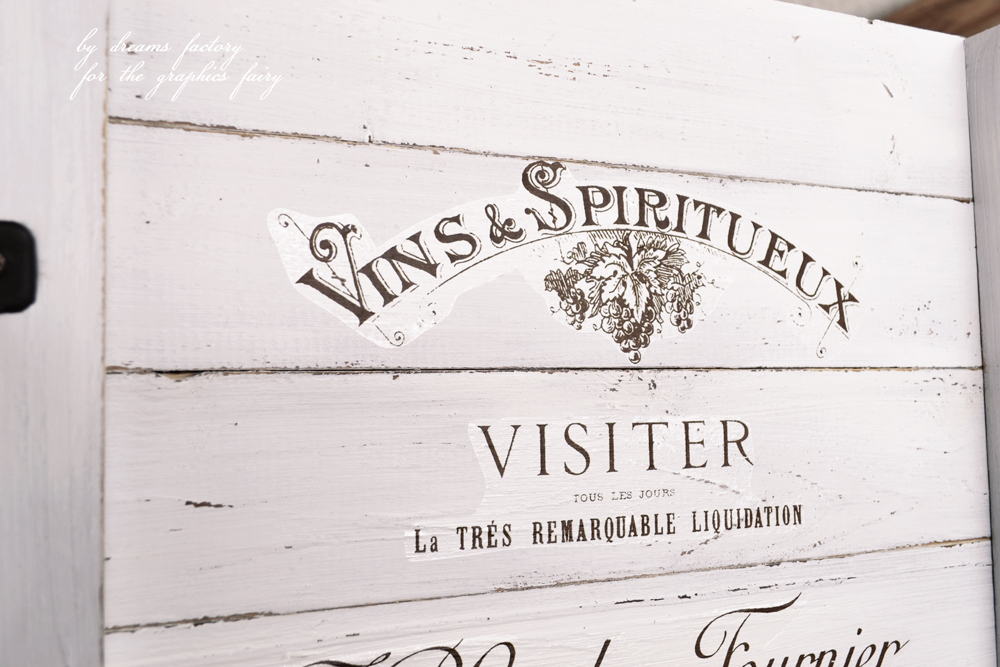 3. Want another proof on why is this step so important? Take a closer look at the picture above and see how shiny the decal borders look before actually applying the protective spray.
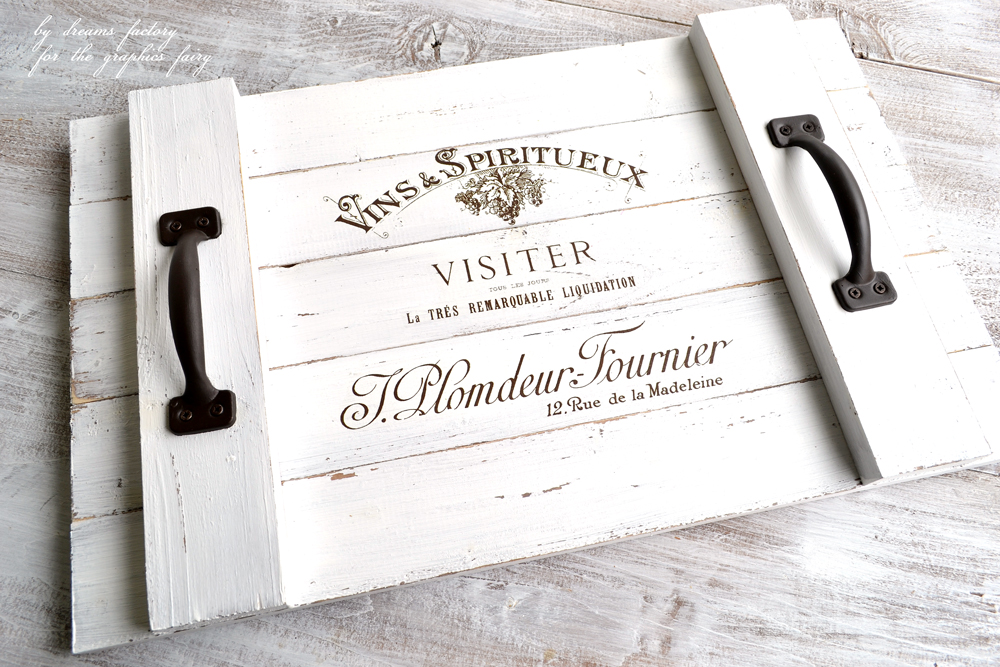
And now look at the picture below. The shiny borders have completely (and magically) disappeared! The decals have somehow ‘blended’ into the painted surface and you can barely see their borders anymore.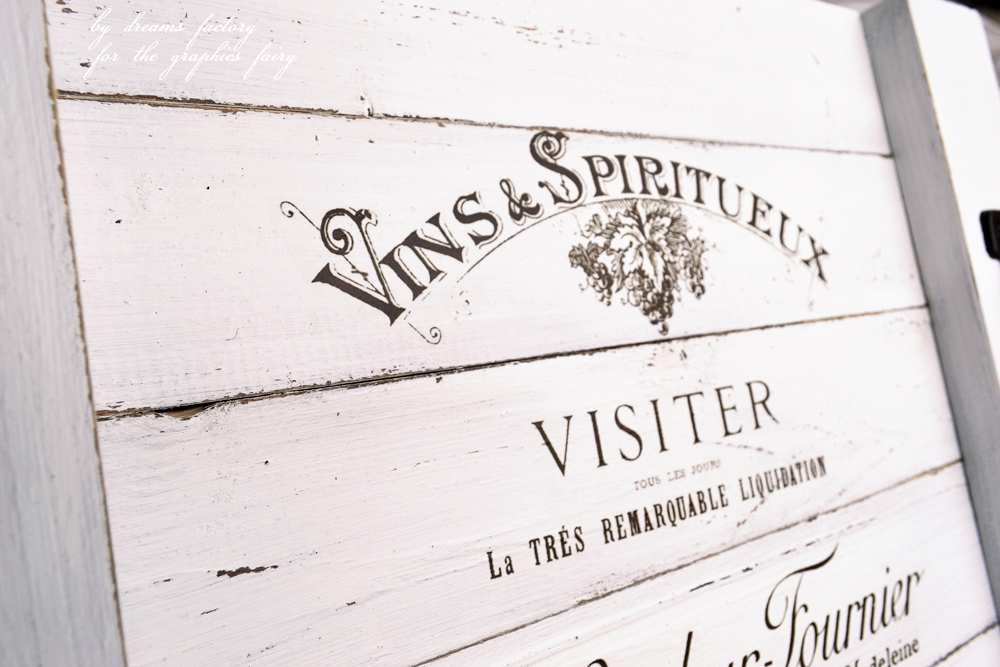
Now you can finally admire your whole creation, your DIY French Farmhouse Tray (made from scratch) is ready to be used … and loved! 🙂
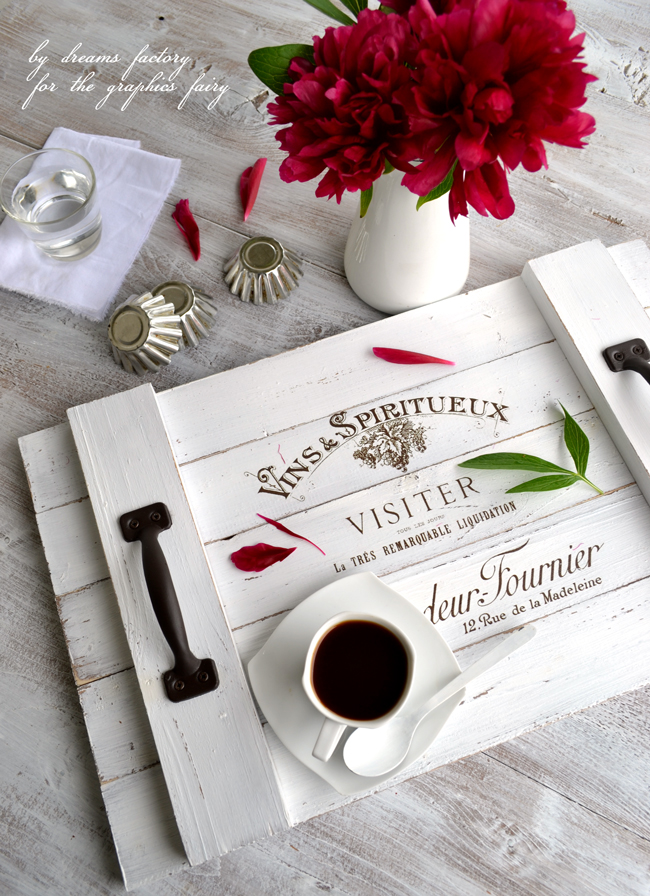 Use it all over your home, this tray is super easy to love! You can love it for its chic looks but also for its functionality! I’m super excited when I can combine these two and create a perfectly blended mix of practical and beauty.
And I know we named it a DIY French Farmhouse tray, because of its shiplap -y form, but you can easily integrate it into any other styles, whether it’s a cottage, vintage or a Shabby Chic home.
You can use it in your kitchen to hold your utensils or serve late breakfasts in bed to your loved ones. 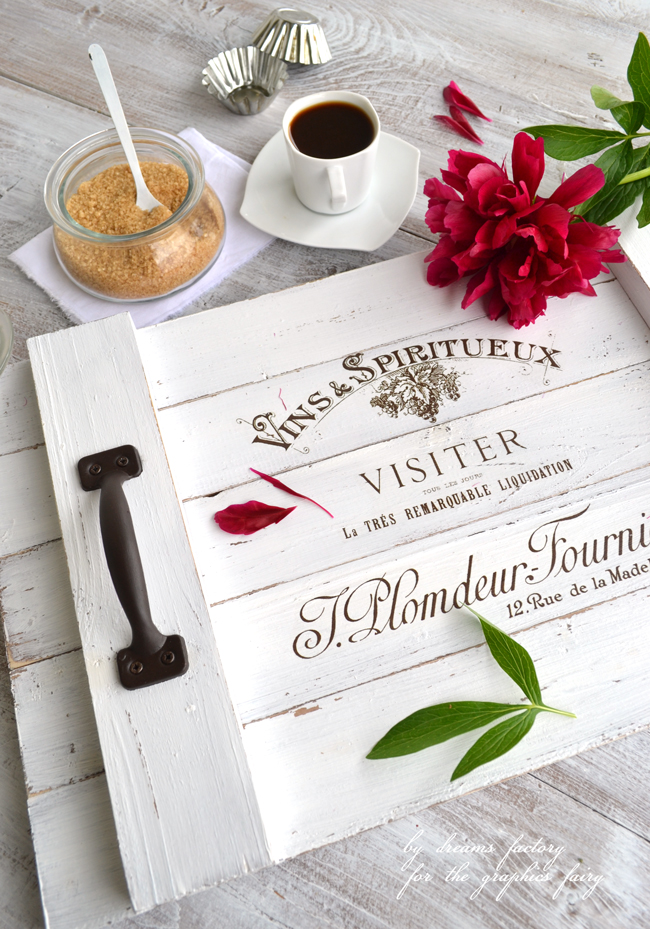
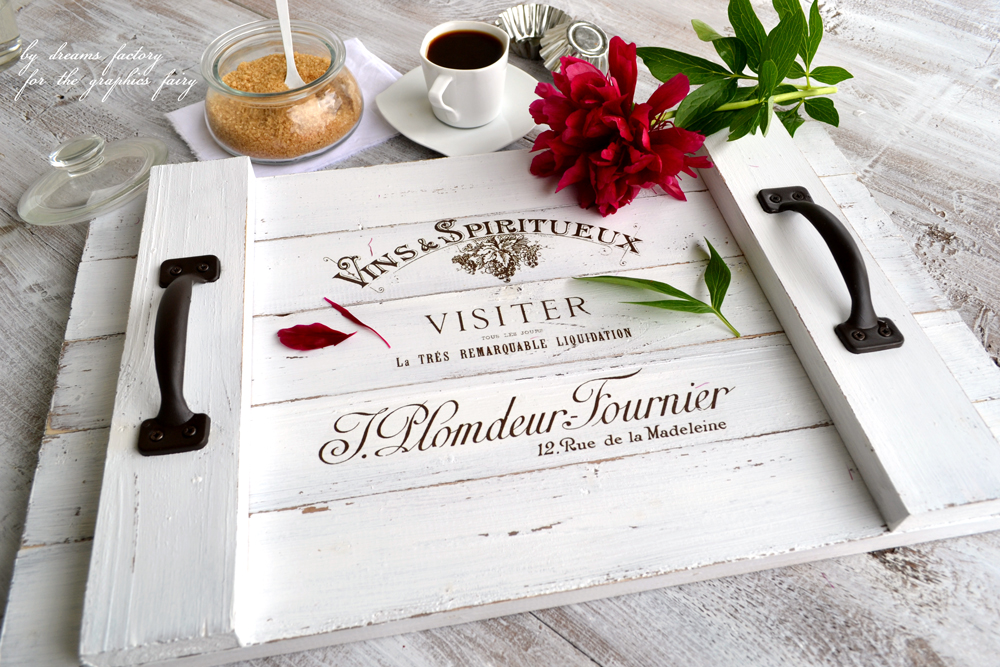 You can style it with fresh flowers specific to every season and enjoy your coffee on a regular basis, in an ever changing décor.
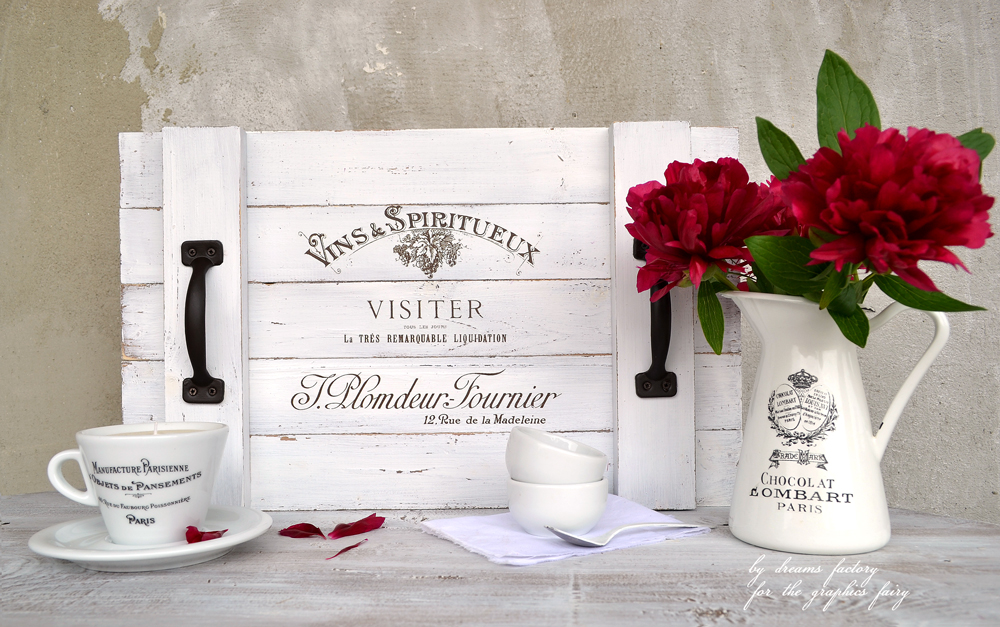 You can also use it as a beautiful French shiplap sign and create beautiful vignettes with fresh flowers and French enamel vases, white ramekins and a scented candle in a French cup.
Or add some more Frenchified beauties to your vignettes, like some vintage French apothecary jars or bottles.
And if you are really looking for a few more farmhouse touches, you can use this DIY French Farmhouse Tray on your living room table with some vintage books, some natural wood slices and other decorative pieces that you have around.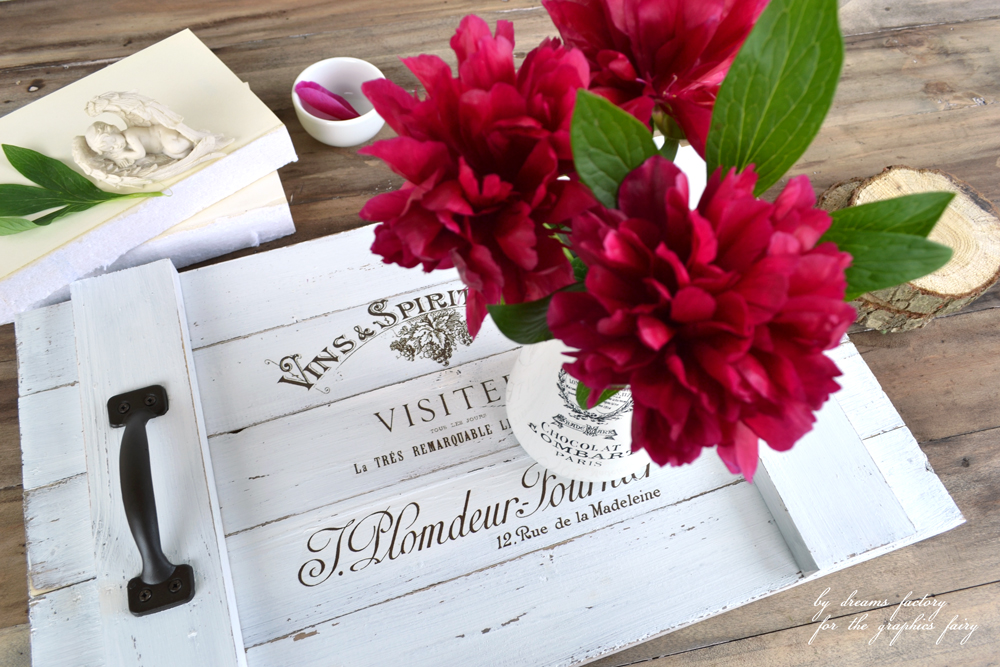
I told you this tray was easy to love!
I hope you like my project and decide to Build your Own French Farmhouse Tray with Wood Scraps from around your home, give it a try! If you have any questions, just leave a comment below.
You might also like my DIY French Wooden Risers HERE.
For more similar DIY projects you can visit Dreams Factory – my blog, I would love to have you there!
Don’t forget to smile,
Diana



Rupa says
Hello GF friends. I am writing here to share my experience here. I bought my paper from Amazon (Blinggasm Waterslide Decal Paper) to transfer images to a bunch of coasters I had painted and distressed. It was a disaster 🙁 I followed the instructions very carefully. When you soak it in water, it curls up…I can live with that. But once it’s adhered to the surface of your choice, it looks very nice for about an hour. After that, the whole darn thing just detaches itself!!! I had to use glue to glue it back which defeats the purpose of buying an expensive paper like this. The glue also shows through and it’s just not the same as using good quality decal paper (still not sure what brand that will be). I had very hesitantly spent my money on this and am utterly disappointed. Hope this helps others attempting similar projects.
Stefania says
Very great work, and nice idea too! Only one question: the link you provide is for one spray that is not sold in Italy, but the photo show another type instead that is italian! Could you please tell me if it is matte or polished? Because I found it only polished, that is an effect I don’t like too much… Thank you if you can reply!
graphicsfairy says
The spray in the picture is a matte finish spray (I’m almost exclusively using matte acrylic sprays for my decorations). As a recommendation, if you lives in Italy (or Europe), you could look for the matte acrylic sprays from Happy Colors (Saratoga), they are some of my favorites and had great results so far. And as a precaution measure, if you wish, a test on a smaller surface will be recommended first, before moving to actually sealing the final object.
Stefania says
Thank you very much! Ys, I live in Italy, I’m having some trouble to find a finish that really cover the decal (mine is for inkjet printer and I have to spray the print before putting in the water, and it remains still “polish” and visible), but I have not yet tried the product you used. Thank you again!
graphicsfairy says
It is my pleasure Stefania 🙂 Good luck 🙂