Craft Project London Map Decor DIY
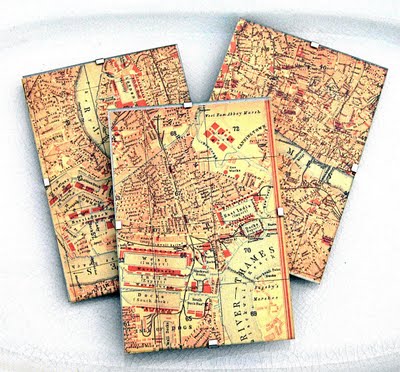
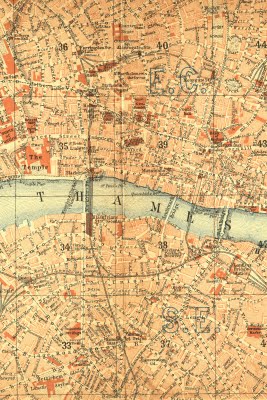
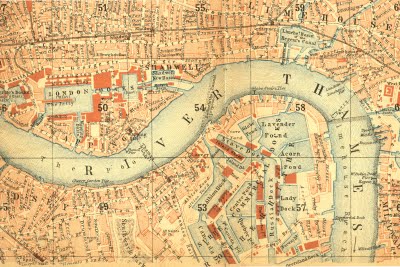
This weeks project is a fun set of 3 framed map prints, from an antique Map of London.

The map came out of an antique London tour guide, that I actually rescued from the trash years ago.
I’ve included a supply list and instructions below:
Supply List for London Map Decor:
1) Three 4″ x 6″ frames, I got mine at Ikea, they’re called “Clips” and cost only .99 cents for 4 of them.
2)Krylon- UV – Resistant CLEAR or whatever brand you like (I got mine at Michaels crafts)
3)Scissors or a Paper Cutter
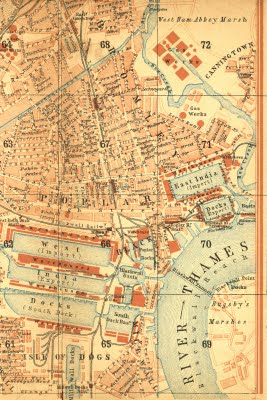
Step1: Click on the images above to enlarge them, and then save to your computer. You will need to print them out at 4″x6″ or at whatever size the frame is that you are using. (The files may take a few minutes to load, I made them quite large so that the quality will be super high for your art)
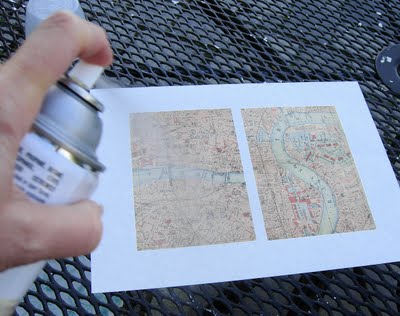
Step 2: Spray the printed images with a UV protective spray in a Matte finish to protect it from fading. (This is optional, if you change your art out often you may not need to do this)

Step 3: Cut out your images. I used a paper cutter but scissors are fine too.

The frames I used from Ikea are shown above. They are called “clips”.
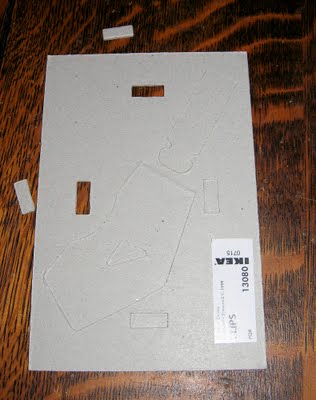
Step 4: If you are using the “Clips” frames, punch the holes out of the cardboard backing before framing.

Step 4: This is how the clips should look when you have them in place. This might be self explanatory to some but, there was no photo in the packaging and it took me awhile to figure out which way they went! The hole on the back of the metal clips, also works as a hanger for your nail.
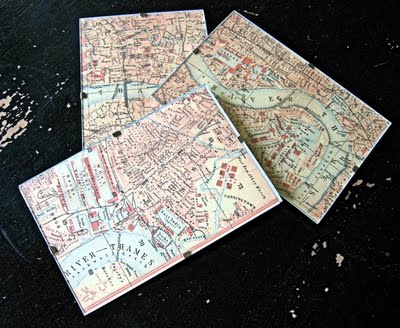
All done! I hope you like this super easy cute project, these look great grouped together on a wall. They look even better in person than in the photo, it was getting late when I took these photos and the lighting was not ideal!



Gina @ The Shabby Chic Cottage says
I am SOOOO gonna use these!
Sarah says
that is such a brilliant idea! i wish i had one of those paper cutters at home 🙂
Jan @ bobbypinsboardwalk says
Who says that artwork has to cost a fortune? These are have a very upscale look and the tutorial was excellent. Thank you. I always say that if I learn one thing from a blog, I will follow — so I’m following you now! Thanks for the great idea.
Heidi says
That is a great idea! I’ve been using those clips frames for years to hold my daughters’ early childhood artwork, so easy to change out when the mood strikes! I love the idea of framing the map in 3 parts. My hubby is crazy about maps and I’ve been trying to figure out a clever new way to display some of his. Thanks for the inspiriation!
Hope you’ll stop by sometime.
XO
Heidi – Heart and Home
Tiffany says
I love how those turned out. Great choice of frames, so cheap and perfect for the project! What a great find! Old maps are so neat! Thanks for sharing! : )
Melissa says
WOW! I can’t believe someone would throw that away! What a find!!!!!
i LOVe what you did with it.
melissa
Janice says
Fab image
Nerissa Alford says
Karen
I love you & your clip art & your craft projects!!
Nerissa
ClassyChassy says
Years ago, no one would have thought to use maps for decorations, but this looks great!
Nicole @ BugaBoos says
I love maps and this is Awesome!! What a great idea!! Thanks for sharing!
Condo Blues says
Fabulous! I love old maps. I used old maps from outdated travel guides as wallpaper in my powder room.
Delightful Dwelling says
How neat, I love this! Thanks for sharing the images.
Dragonfly Treasure says
Gorgeous!!
*hugs*Deb
Robin Ennis Willson says
neat maps, thank you!
Nissa says
Those look great, I love old maps! I’m thinking those maps would also look cute mod podged onto some coasters. hmmm…