DIY Plateau Mirror
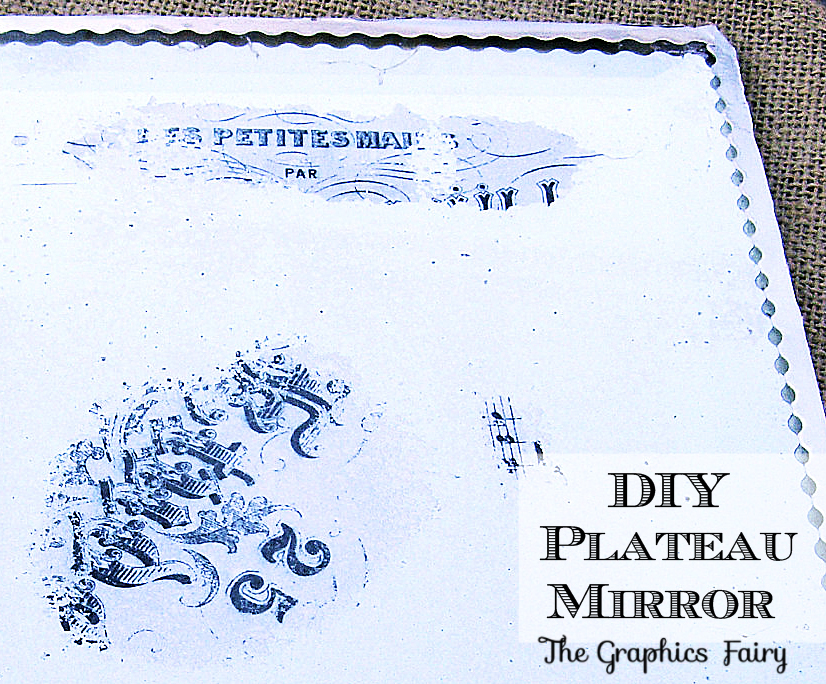
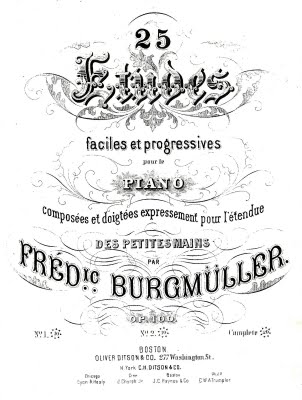
This weeks crafty project is a gorgeous plateau mirror, decoupaged with some gorgeous antique sheet music, and edged with a faux silver soldered trim.
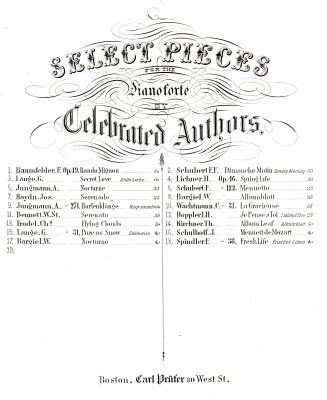
Make sure you click on the music to bring up the largest size, before you print them out.
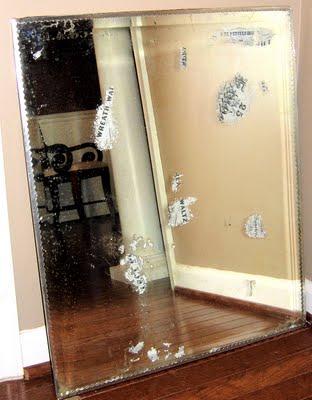
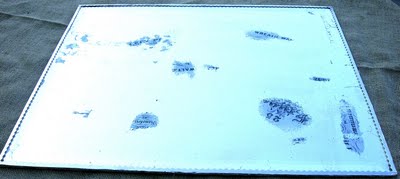
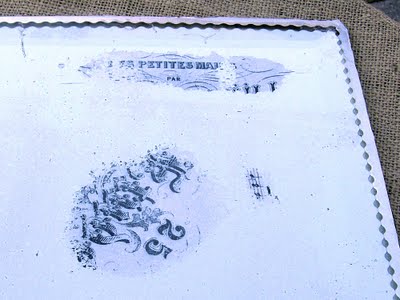
The next 3 photos show the finished project. This plateau mirror really turned out great, unfortunately I could not have chosen a more difficult project to photograph!!! The photos are horrible!!! They are taken in all kinds of light, outdoors, indoors, I tried everything. Hopefully you can still get the gist of it!
The one above was taken in my foyer.
This one I took outside on my patio table.
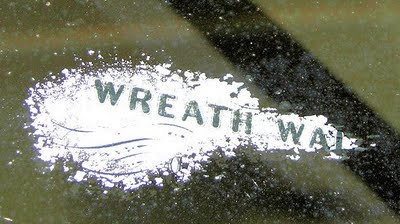
This is a closeup shot of the one taken outside.
I’ve included a supply list and instructions below:
Supply List:
1) An Unframed Mirror – I found mine in the trash!
2)Oven Cleaner – I bought the cheapest brand I could find.
3)Krylon Workable Fixative – Mine came from A.C. Moore, this may not be required, depending on your computer.
4)Decoupage Glue – I got mine Here from Durwin Rice.
5) Mod Podge – I used matte.
6) Silver New Wave Foil Tape – I got mine Here at Bonnie’s Best.
7) Hot Glue Gun
8)Felt – Mine came from A.C. Moore
Warning – Ugliness ahead!!!
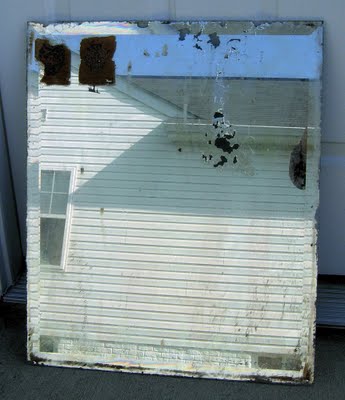
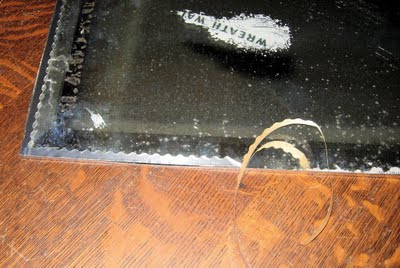
So this was how the mirror looked when I found it. It was in the trash area at the Antique shop where my business is located. It was filthy, had nasty stickers stuck to it and the edges were rough. But it was old and beveled and a good heavy weight, and it was Free so, how could I pass it up?!
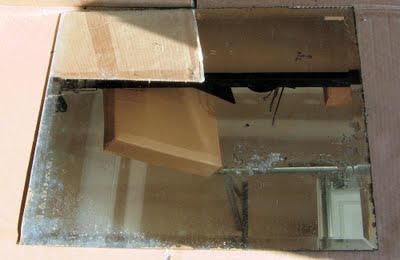
Step 1- First I cleaned up the mirror. As you can see some of the silvering was missing, which is great because, that’s what I wanted so that, I could decoupage the music in those spots.
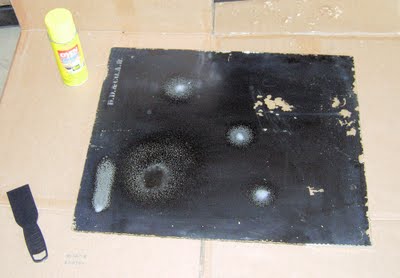
Step 2: Remove the silvering. I wanted to remove even more of the silvering to even it out a bit, since it was mostly on one end. I had planned to use paint stripper, but then I found an awesome tip Here on Mitzi’s Collectibles! You can use Oven Cleaner for this! Fabulous!! Just spray some little patches on the back of your mirror with the oven cleaner and wait about 5 minutes.
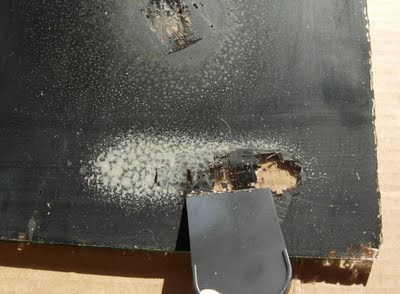
Step 3 – Wear rubber gloves and use a spatula to scrap off the silvering. Then when you have the desired results, wipe down the back of the mirror to remove the residue.
Step 4) Print out the sheet music.
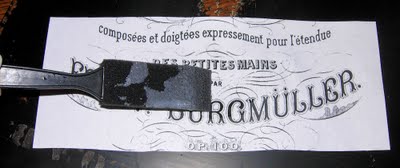
Step 5) I sprayed my printed music with some Krylon workable fixative to set the ink, and keep it from bleeding. You may not need to depending on your printer.
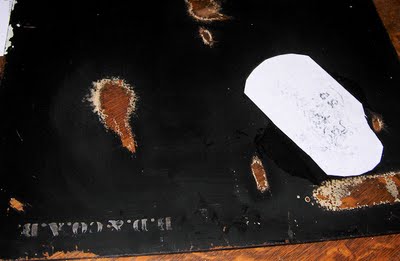
Step6) Cut out the music to fit your spots on the mirror, where the silvering has been removed.
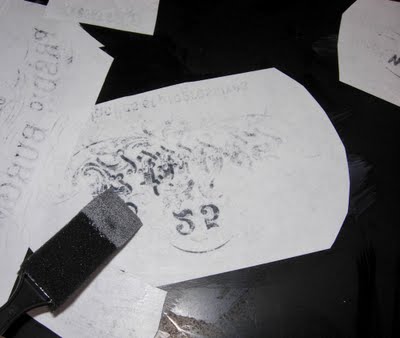
Step 7) Next I applied decoupage glue to the front of the printed music. I used Durwin Rice’s “Under Glass” decoupage glue, because I have always wanted to try it, and it was fabulous!!! No shiny spots, no bubbles, just perfection. If you’ve had problems like this in the past when decoupaging under glass, I highly recommend it.
Step 7) Apply the decoupaged printed pieces face down onto the back of your mirror. You can use a brayer to get a nice smooth finish, don’t press too hard though, that’s how you get the dreaded shiny spots. You will end up with a sort of random patchwork effect on the back of the mirror, but it’s okay since you will cover it later.
Step 8) Let your project dry completely. I let mine dry overnight to be sure.
Step 9) Apply a coat of Mod Podge to protect the back of the paper bits, and let dry. It will probably bubble up at this point, but as it dries the bubbles tend to go away.
Step 10) My favorite part! Add your foil to the edge of your mirror, it’s peel and stick. Super easy to use! Since my mirror was so big, I cut my foil into 4 sections, and did one side at a time. Also, I did use a tiny dab of hot glue on the corners to reinforce it. It looks like a soldered edge when your done, so pretty!!
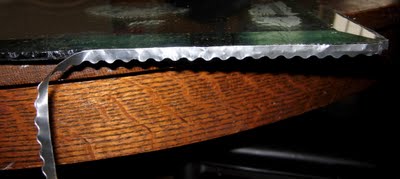
Because my mirror was so rough, I added more foil to the edge, and wrapped it around to the back, to cover up the roughness. You probably will only need the to apply the foil to the top for your mirror.
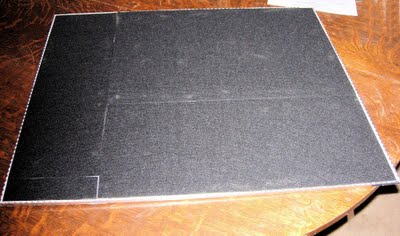
Step 11) Hot Glue some felt to the back of your mirror. I used black felt that was fairly stiff. The felt will help to protect your table top.
Now your done!!! You can view some more lousy finished photos below. I promise you it really is pretty though! I may try to photo this again one day this week.
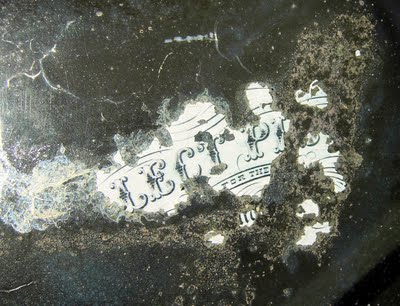
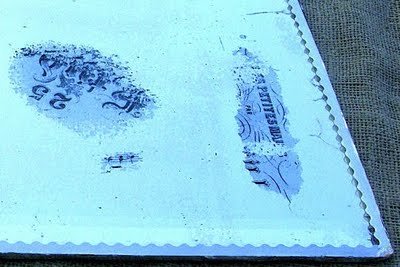
I love how rough the silvering is here, with the music peeking through!
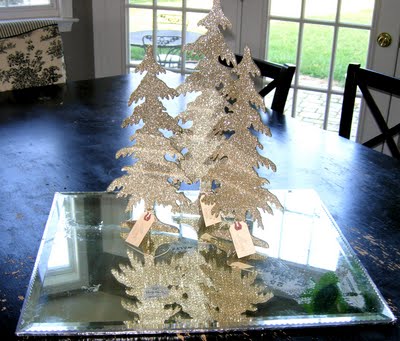
Here it is in action on my table with some glittery trees.
I hope you enjoyed this project, this would be a great piece to use for the Holidays!
Welcome, I’m so glad you’re here! Browse around to find thousands of Stock Images that you can use in your projects or designs! Need more info about my site? Try my FAQ page.





Jeanette says
Very nice. What a great idea. You did a great job.
Happy Thanksgiving
Household 6 says
Oven cleaner!!! Who knew!? Such a fun idea for your mirror find, and my heart patters for anything music-ish!
lotsa scrap says
Great mirror project. Thanks for the sheet music–I plan to download for my holiday project. Maybe I’ll make one of the Monday postings.
Aelwyn says
Gorgeous, I LOVE ! I might have to “make” a mirror for my folks for Christmas, for them to hang on a wall somewhere. 🙂
Valeree says
What a great tutorial. Thanks so much for sharing!
Di's Quilting and Craft says
How creatively gorgeous Karen. One mans trash truly is anothers treasure.
Rosemary says
Wow Karen,
That is so cool!! What a great idea!!
Thanks for sharing that with us.
Rosemary
SharDon Exclusives says
WOWOWEE! your work was well worth all of your effort! You did a stunning job and the trees look so pretty setting on all your hard work. Congratulations on your successes…
Sharon
Lynnae says
Thank you thank you thank you! I’ve searched for the mirror trick! I am so excited. I have one in the garage waiting to be done. Now the trouble is I will want to play around with this rather than get ready for company. But it sort of is getting ready, right?
BunnyKissd says
What a great project!
Nancy @ La Chambre Rose says
Love it! Thanks for sharing. I know there must be an old mirror out there somewhere for me…
Gerry says
That’s interesting. May never try it but is interesting reading.
Probably keep my eye out for a tarnished mirror just for the heck of it.
Is this the way we start new projects? . . . by temptation?
A Rose Without A Thorn says
What a great idea and super easy to do with the oven cleaner. Whom ever discovered that is a genius, so much easire than paint stripper. I will try this project sometime in the future. I think it looks fabulous with your vintage bevelled mirror. What a great find, Maureen….
Lisa Bass says
Karen,
This is absolutely gorgeous!! The photos were fine, I got the idea, and thank you for sharing the “how-to”s…now all I have to do is find my own free mirror, or atleast one that I buy for a minimal price! Have a great Thanksgiving 🙂
Lisa Bass
Melanie says
LOL, I once read about a guy who antiques his own mirrors, but it was ‘secret’ and he would never tell anyone how he did it. I was so bummed too! Now I guess I know his secret … lol! Thanks!