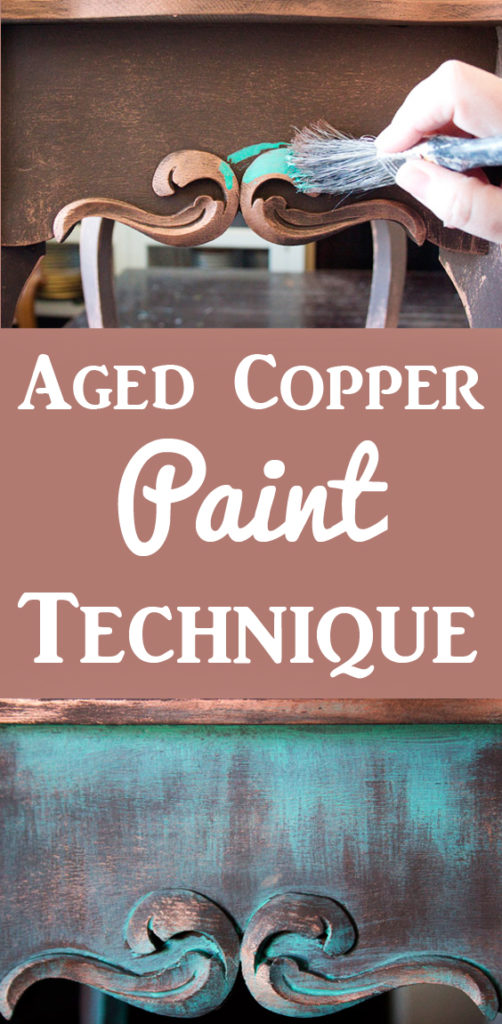
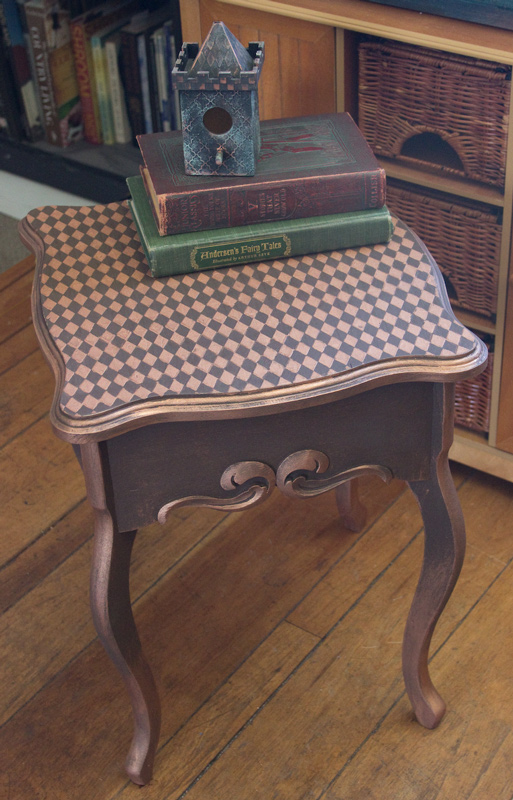
It’s simple and easy to create an Aged Copper Paint Finish.
Today, we’ll go through the simple steps together, and you’ll be able to transform any of your furniture with confidence!
Hello, dear Graphics Fairy Friends! It’s Heather from Thicketworks, and we’re going to have some fun!
This post was sponsored by Heirloom Traditions Paint, because
helping others create amazing DIY Decor is their passion!
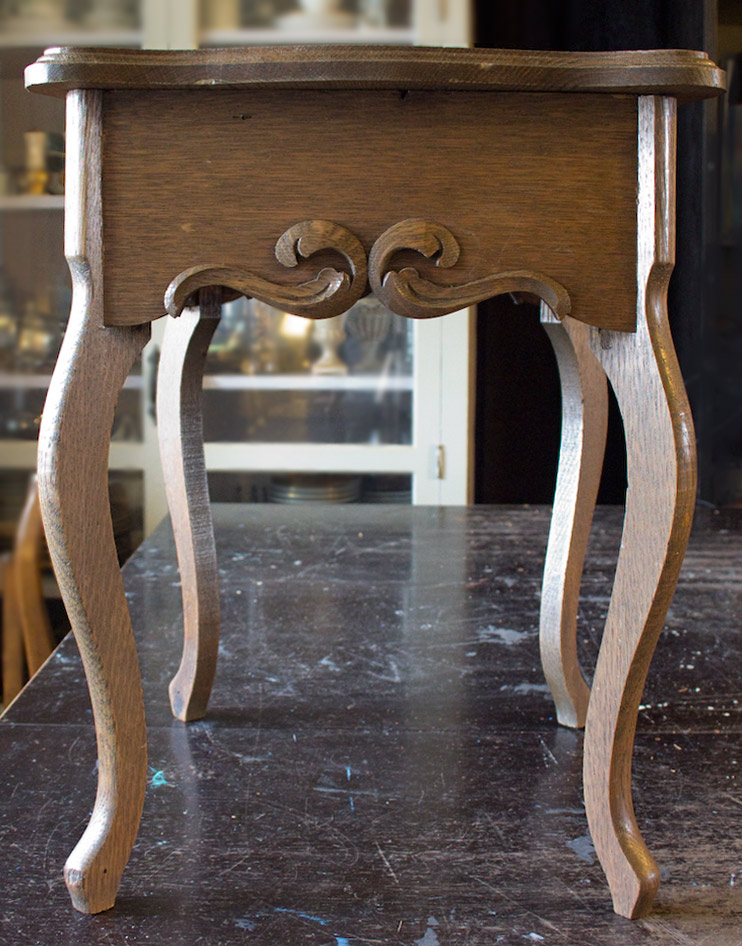
Let me introduce you to my latest find.
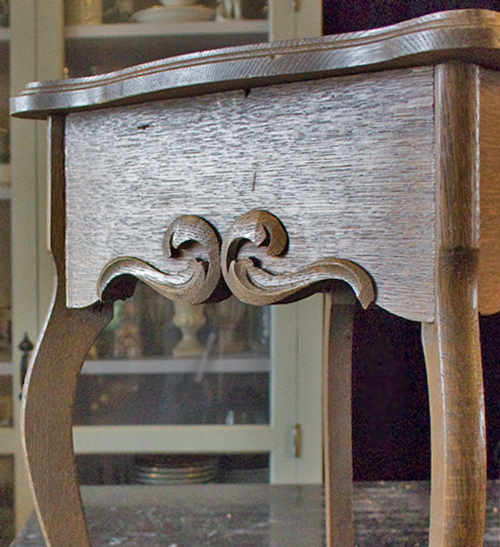
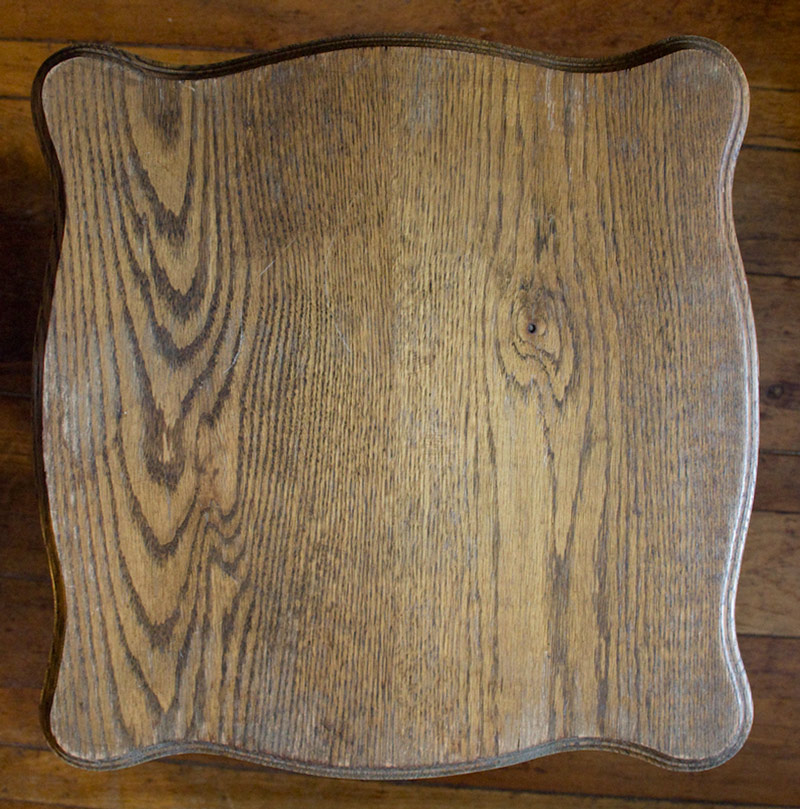
This sturdy little fellow, created from oak, had a kind of elegantly primitive charm:
The original finish wasn’t in terrible shape, but it really did nothing for me.
(Wood purists may not enjoy this post. Just sayin’)
He had sweet details, and chunky charm.
However – what he also had was potential.
If you see potential in pieces like this, follow along and learn a trick or two to bring out the hidden glory.
To create this finish, you’ll need the following:
Supplies:
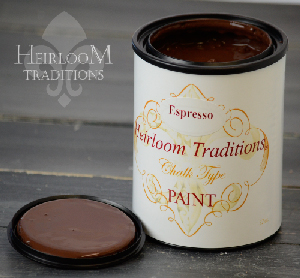
- Heirloom Traditions Chalk Type Paint: Espresso
- Heirloom Traditions Venetian Texture Medium
- Heirloom Traditions Metallic Gel Wax: Copper Sunset
- A container to mix your Texture Medium in
- A spoon
- An implement to mix your Texture Medium with
- A palette knife, or other spreading tool
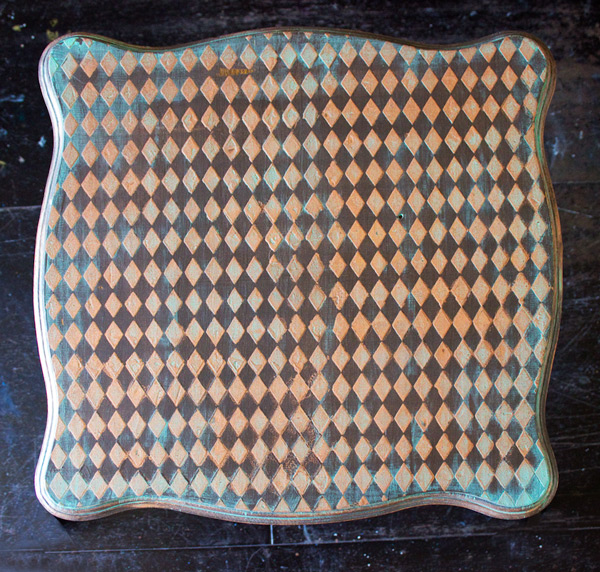
- Your favorite stencil (I used a simple Harlequin pattern)
- Heirloom Traditions Wax: Clear
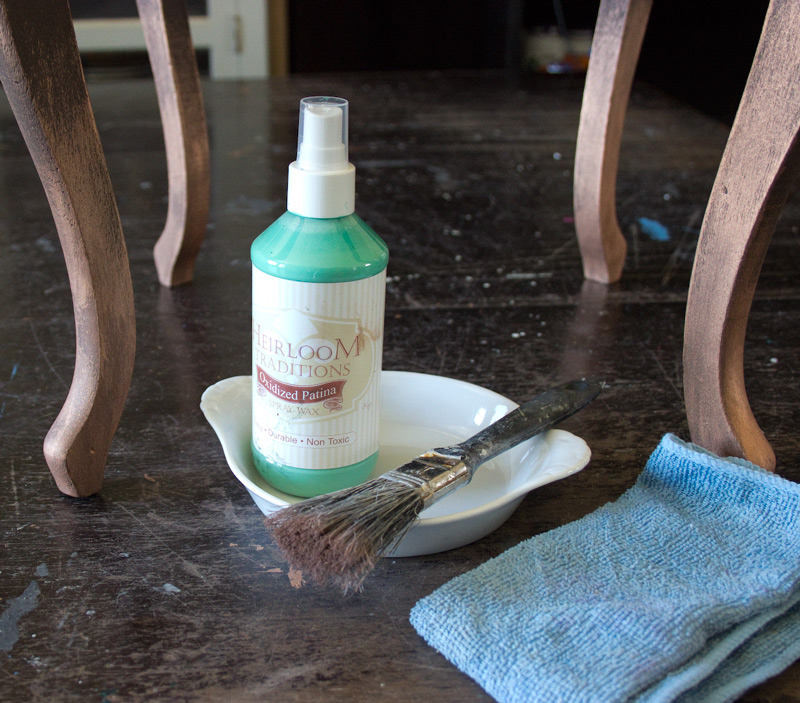
- Heirloom Traditions Wax: Oxidized Patina
- Your favorite paint brush
- A scruffy old paint brush
- Damp rags
Optional:
- A hand sanding block (rough grit will do)
To prepare the surface for painting, I gave him a very quick hand sanding.
Nothing intense. He was just a bit rough around the edges, and needed a little smoothing.
After sanding, a thorough wipe down with a damp cloth, and he was ready for his face lift!
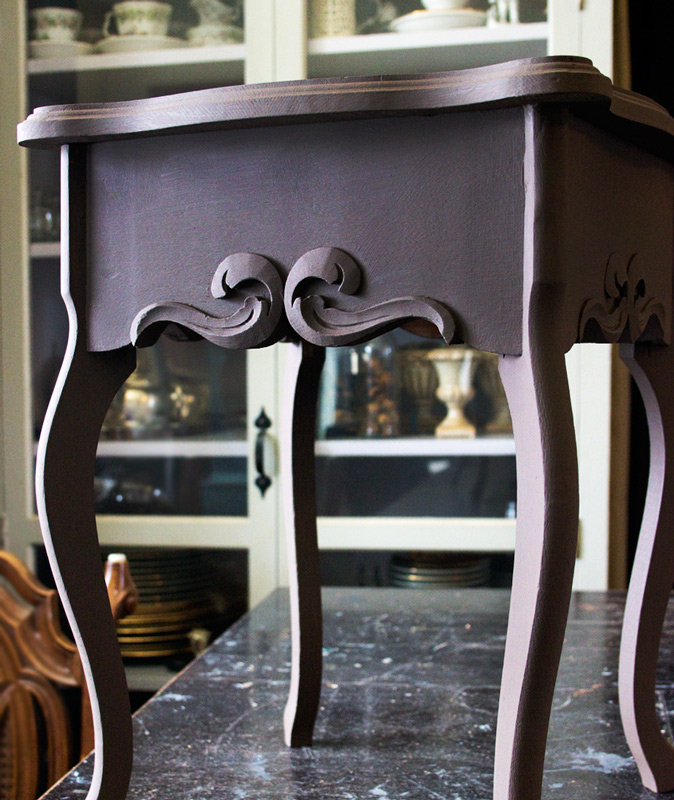
Two coats of Heirloom Traditions Chalk Type Paint in Espresso, and phase one is complete.
The photo of this color is ‘off’– it’s a truly deep dark brown, like chocolate. Delicious!
I love experimenting.
It seemed to me that the rich metallic of Heirloom Traditions Copper Sunset Gel Wax might work well with the Heirloom Traditions Venetian Texture Medium. I was determined to find out!
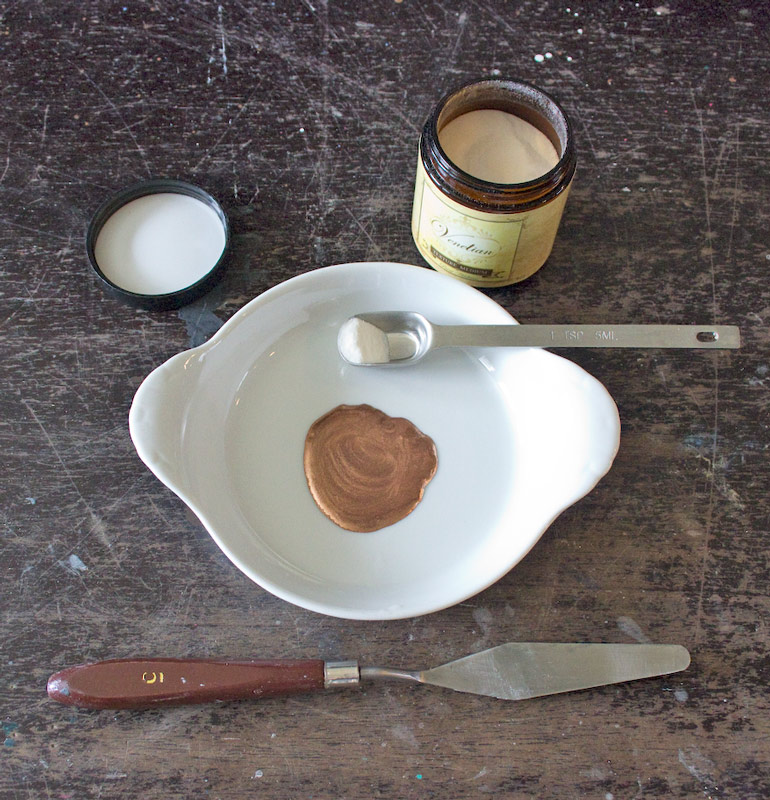
Add a bit of the Gel Wax to your mixing container, and sprinkle a small amount of Texture Medium into it:
Mix thoroughly, until the Texture Medium is the consistency of frosting.
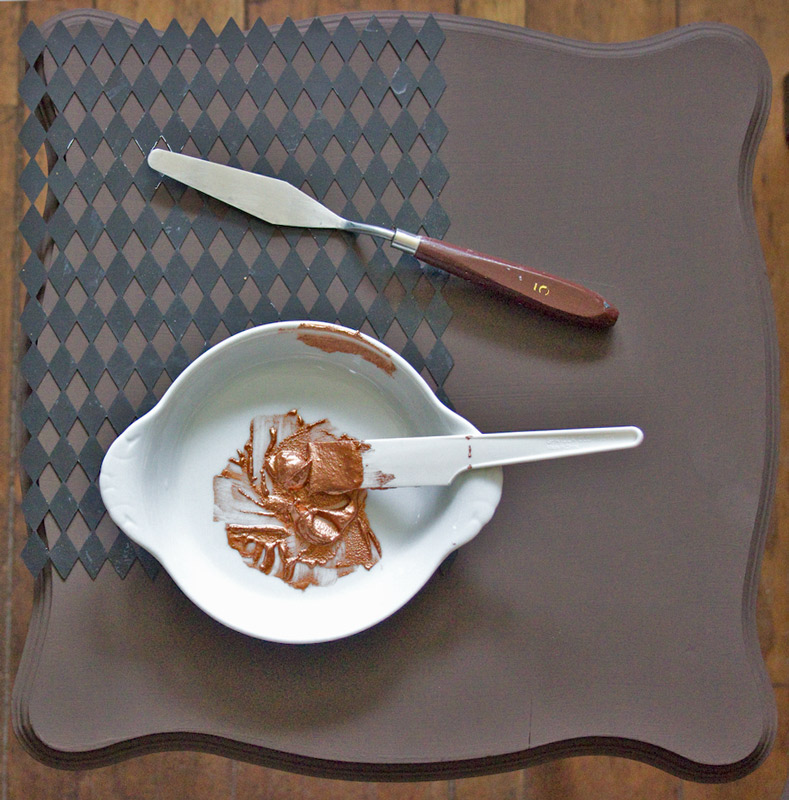
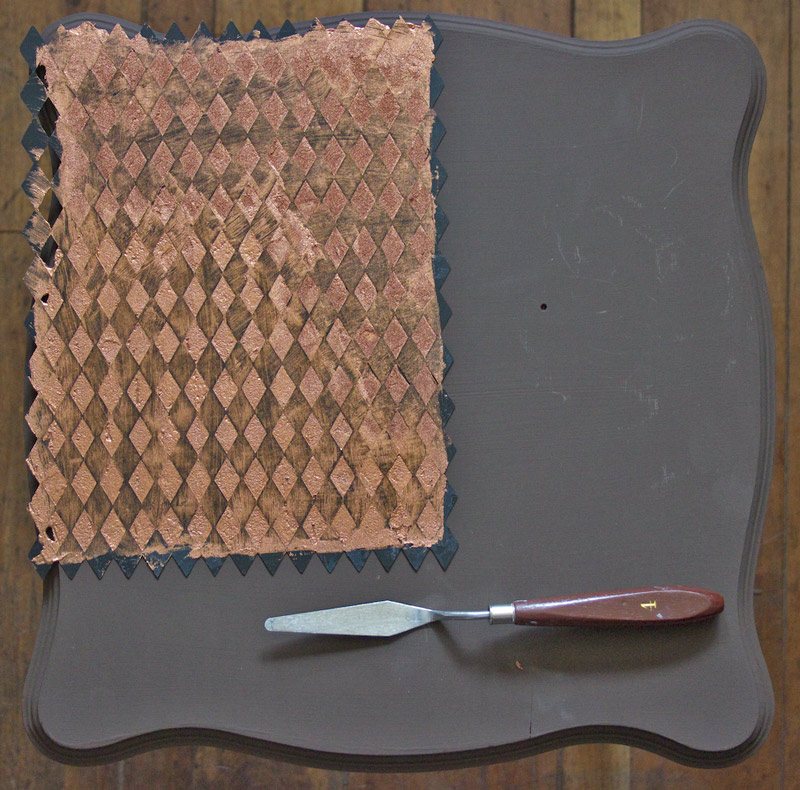
Place your stencil on the surface of the painted table, grab your spreading tool, and apply the Texture Medium through the stencil.
When you have completed one area, carefully lift the stencil off, clean and dry it.
Repeat the pattern until the entire surface is covered.
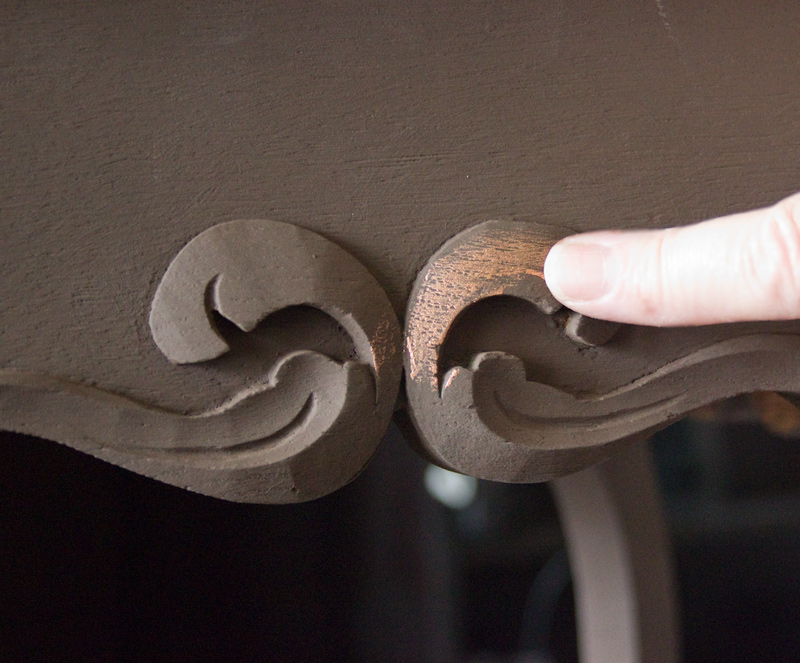
Next, add copper highlights to the details. I just used my finger dipped in a bit of the Copper Sunset Gel Wax (no Texture Medium necessary for this part):
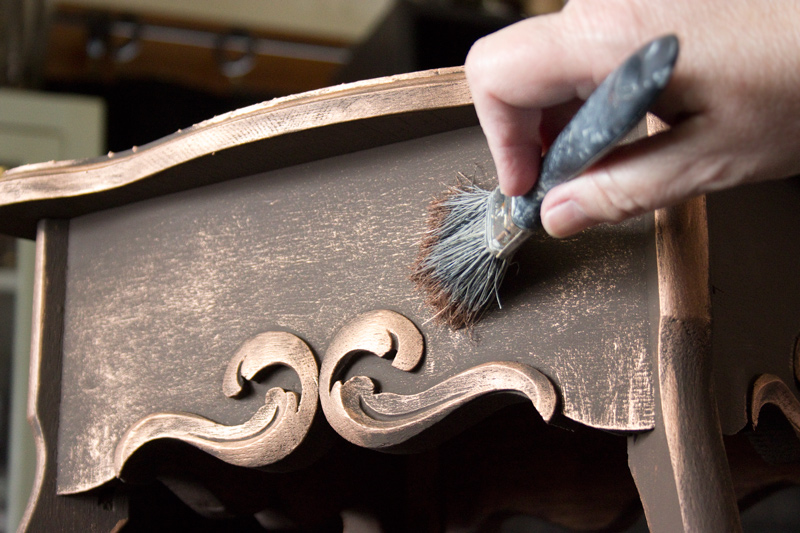
Then dry brush a bit of Copper Sunset onto the flat surfaces of the piece:
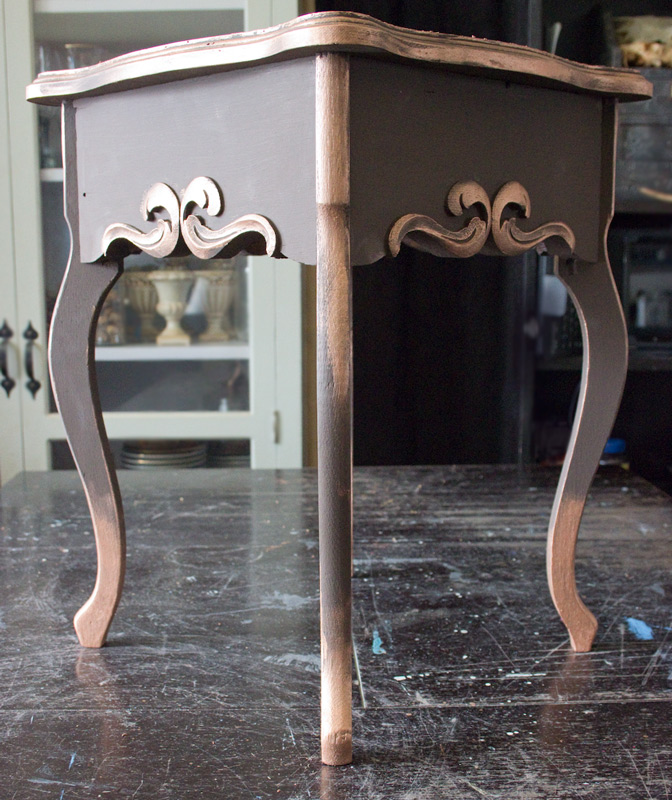
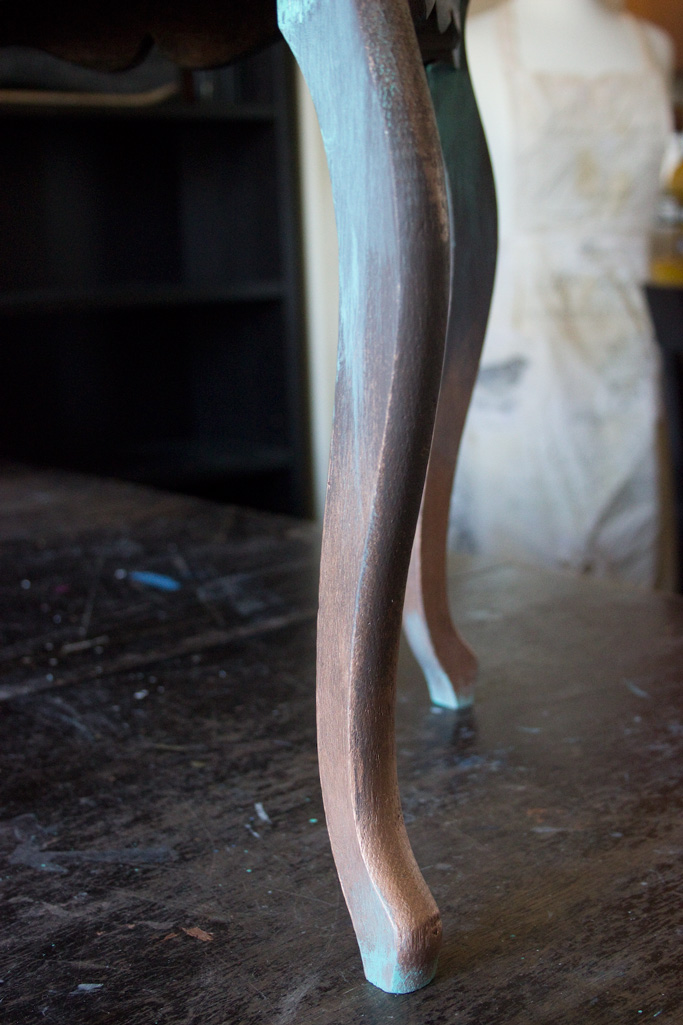
I added a touch of Copper Sunset on the tips of the legs, just with a finger.
No need to be terribly careful for this look.
You’re creating a hand made finish, and the maker’s touch is an integral part of the beauty of this piece:
Allow the Venetian Texture to cure overnight.
Sand the surface gently, to remove any roughness.
Wipe away the dust with a damp cloth.
To seal and protect this finish, pour a small amount of Clear Wax into a container, and use a brush to apply it to the entire surface.
If you are happy with the finish as is, you can stop right here.
This Wax provides a permanent finish, and will not need to be renewed, like soft waxes:
Because, well, I just love to push things a bit further than is quite reasonable.
And, because I know how awesome the Heirloom Traditions Wax: Oxidized Patina is, and I couldn’t resist!
Note: The previous layer of Clear Wax will allow you to add the Oxidized Patina Wax and wipe it back easily, while protecting the underlying layers of pigment.
Have a damp rag handy!
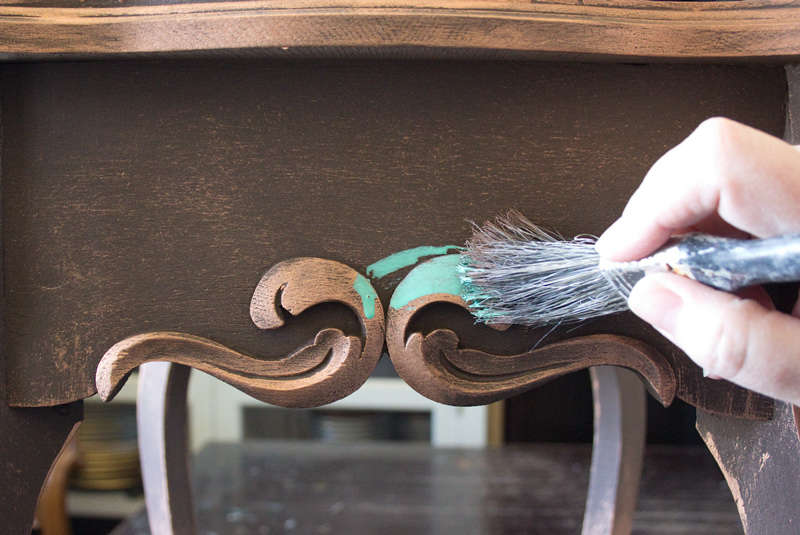
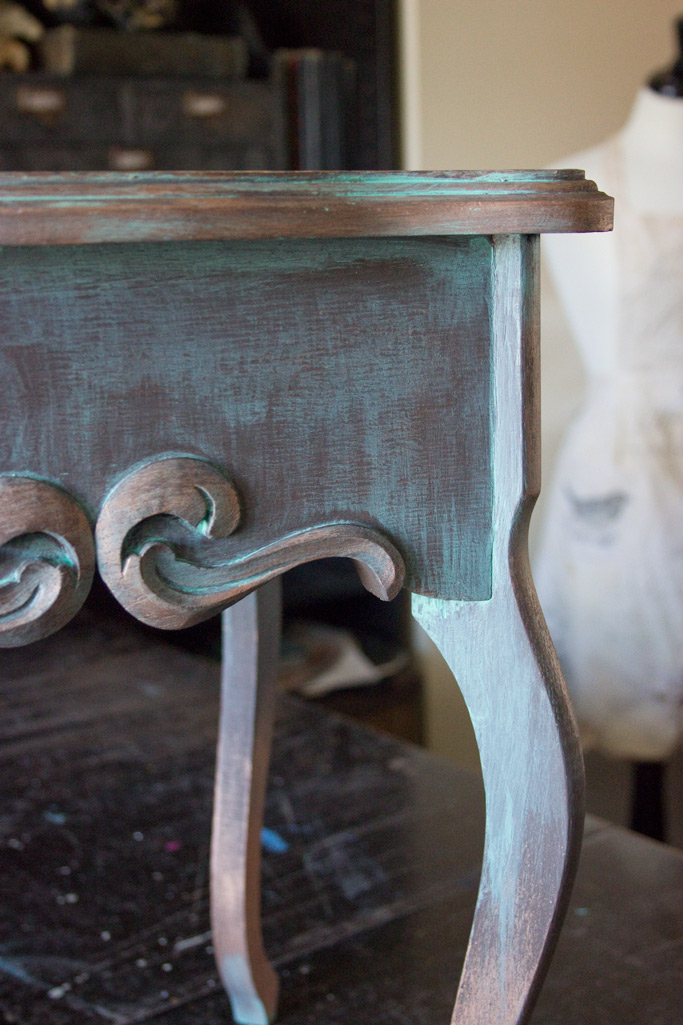
Pour a bit of Patina into your container, and paint a messy layer onto the details of the piece, concentrating on areas that have a fair amount of the Copper Sunset finish:
Give the Patina a few moments to bind to the surface, and then wipe back with your damp rag, making sure to leave a generous amount of pigment in the nooks and crannies:
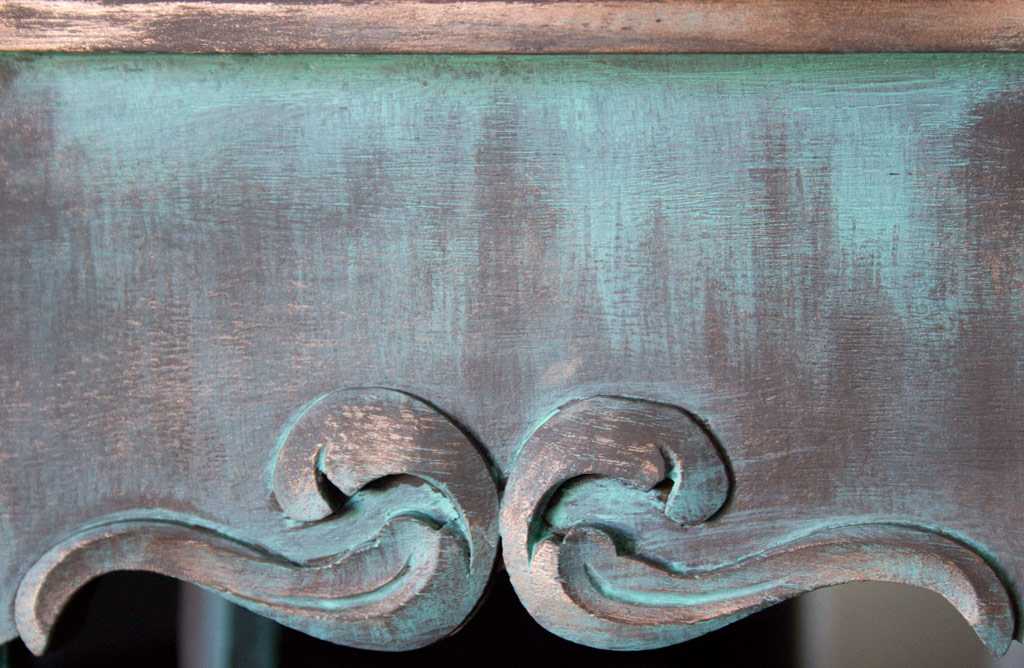
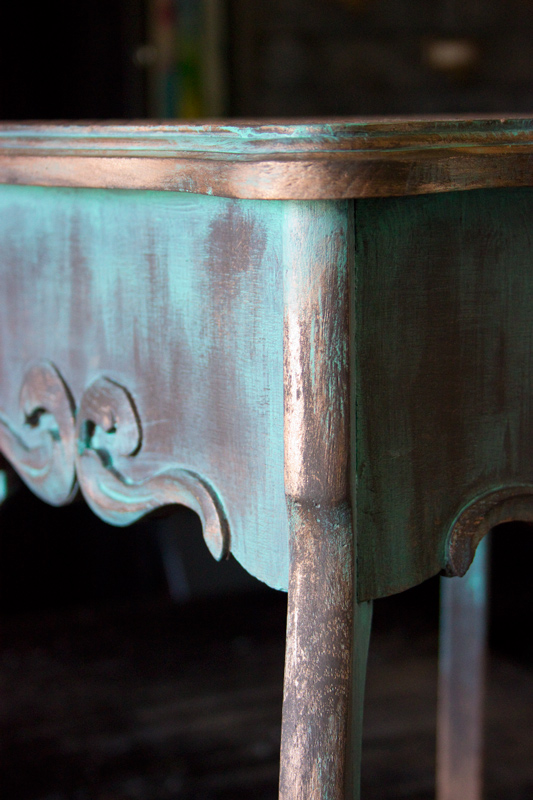
If you choose, you can swipe a wet streak of Patina across the top of the apron, then dry brush it downward to create a streaky effect.
Just whisk your brush downward quickly, and wipe away any excess:
You can add more streaks to the legs, mimicking the action of patina in ‘the wild’ as it slowly creates a drippy effect over the years.
A tiny touch of Patina at the base of each leg completes the look:
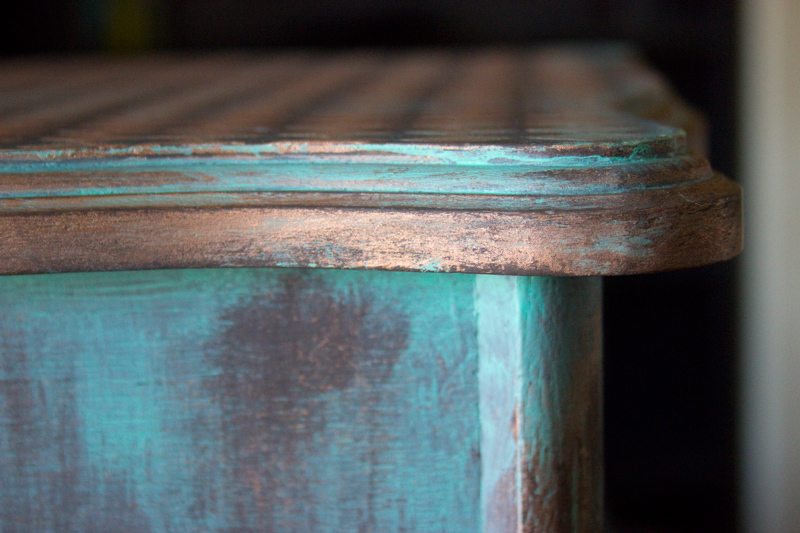
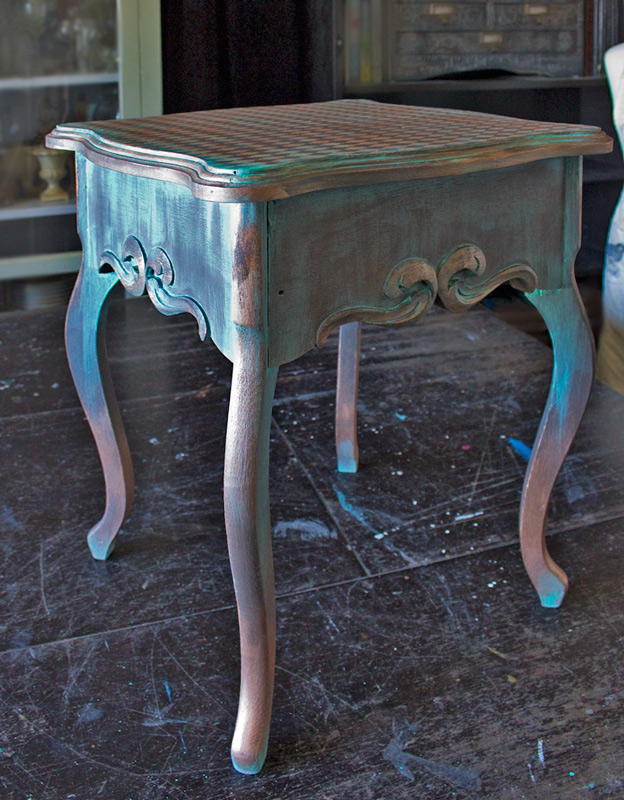
It’s the layers of pigment and distress that combine to create a finish that has richness and depth.
The process of adding and removing the patina results in an organically complex surface that was super-easy to achieve:
I adore the way that the Espresso, Copper Sunset and Oxidized Patina work together:
This look is one I’ll turn to again and again.
I can see an entire bedroom suite treated this way…
What can you see?
Every inch of the finish reveals multiple colors and textures, adding to the overall effect.
I’m happy with the results of this experiment, and encourage you to use your imagination to cook up unconventional applications for these amazing products!
You may just surprise yourself with the outcome!
For more information on Heirloom Traditions Products, please visit www.heirloomtraditionspaint.com
* Full Disclosure: Heirloom Traditions supplied their products to be used in this project, and they sponsored this post – however, I supplied the elbow grease, rescued furniture, design concept, and experimental insanity! All of which reflect my own point of view, regardless of affiliation…
Thanks for visiting The Graphics Fairy today! I hope you’ve found a bit of inspiration, and feel confident that you can achieve wonderful results like this Aged Copper Paint Finish Technique with a few simple tools and supplies.
You CAN!
I’m always hanging out at Thicketworks, and the door is always open…stop by and poke around sometime. I’d love to hear from you!
Take Care,
Heather



Amber Engbroten says
Hello!
I love this look! I ordered the espresso pain from this site, but the teal blue is unavailable, so is the copper stain gel. Would any chalk pain work, or is that what you used? I am going to try to get those locally.
Thank- you,
Amber
Amber Engbroten says
“Paint”
graphicsfairy says
Kathy says
Thank you for this! I have a traditional colonial home and my high ceilings are soon to be enhanced with metal ceiling tiles. This technique would be amazing on those tiles!
Heather Tracy says
Wow – that sounds like SUCH a beautiful idea, Kathy! xox