How to use Distress Oxide Ink
Distress Oxide Inks are a Game-Changer! Hello, my wonderful Graphics Fairy Friends! It’s Heather from Thicketworks. I haven’t been this excited about a new product in a long time, and I can’t wait to show you what I’ve discovered in an exciting way on how to use distress oxide ink!
We’re only scratching the surface with this post – it will take many happy experimental sessions to discover all the ways that Distress Oxide Inks can enhance our work, but it’s a good start!
These inks are a Hybrid Creature … Part Pigment Ink, Part Dye Based Ink, PLUS they Oxidize!
Have you seen the wonderful effects you can achieve with Distress Oxide Inks? If you have, then you probably already share my excitement about these fabulous new tools!
If not, then you are in for a TREAT! You will have no END of fun experimenting with Distress Oxide Inks .
If you want to experiment, too, here’s a list of the stuff I used…
How to use Distress Oxide Ink Supplies:
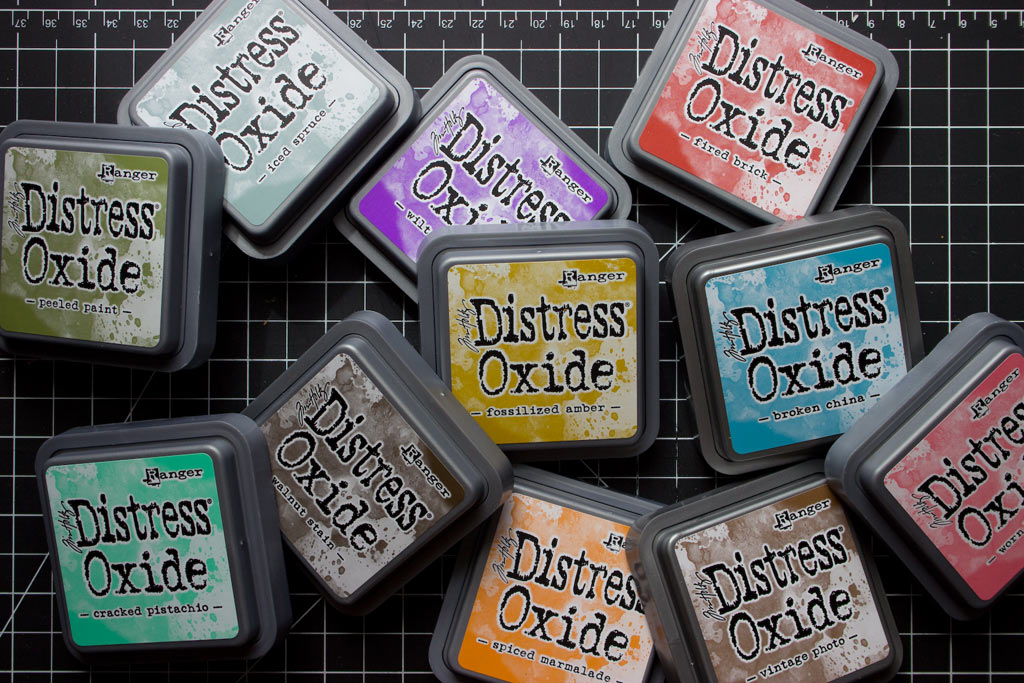
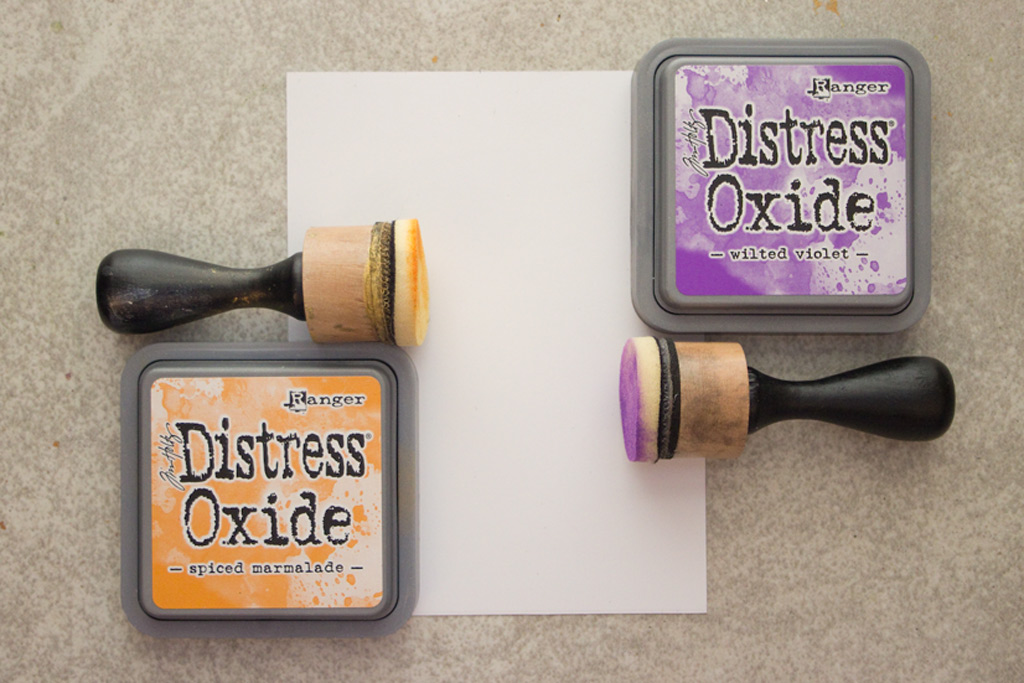
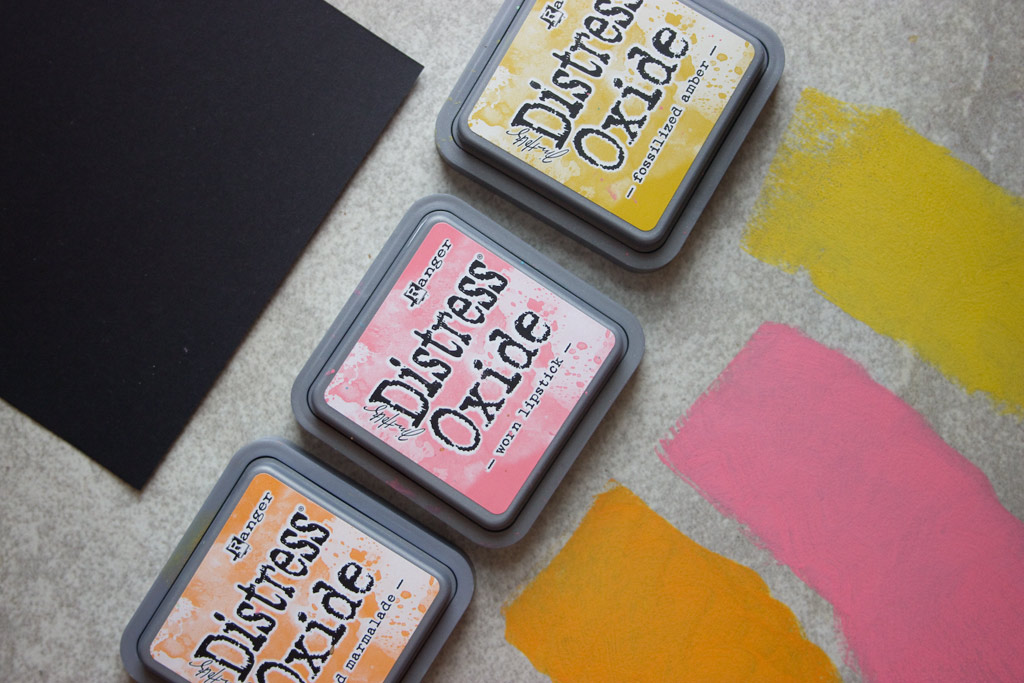
- Tim Holtz Distress Oxide Inks
- Ranger Inkssentials Ink Blending Tool
- A Spray Bottle of Water (I used a Tim Holtz Distress Sprayer)
- Plain White Cardstock
- Plain Black Cardstock
- Glossy Photo Paper (I get mine at the Dollar Store)
- Your favorite stamps (I used a selection of IOD Decor Stamps)
- Fine Clear Embossing Powder
- Gold Embossing Powder
- A Heat Tool
- Baby Wipes
- A light colored, smooth, heat-impervious work surface (I use a large ceramic tile)
How to use Distress Oxide Inks:
To begin, put on your Mad Scientist Goggles…
(I know, you won’t find them in the supplies list, but they ARE essential!)
Gather several varieties of paper to work with – I chose to focus on plain White and Black Cardstock, plus Glossy Photo Paper.
Grab your favorite beverage and play music that makes you happy!
Give yourself ample time – this process is a succession of procedures, one ‘atop’ the other, and there can be moments when you feel it’s all gone wrong…I certainly felt that way at some points…
BUT – if you persevere, you’ll discover that the additive nature of the effects adds up to one big WOW!
Okay, so enough of this nonsense! Let’s get MESSY!
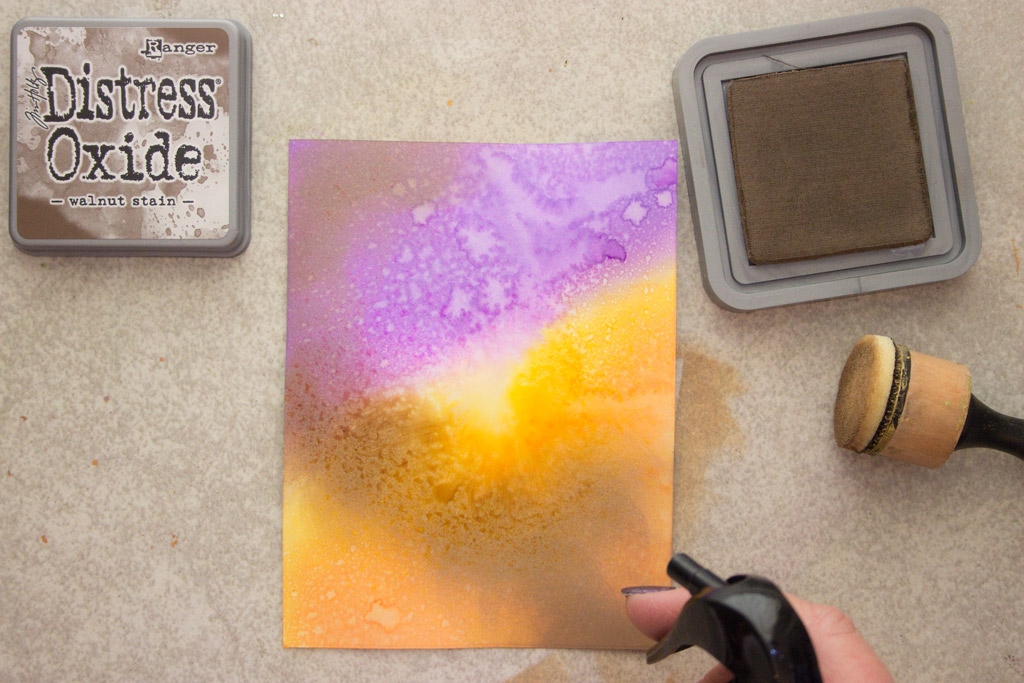
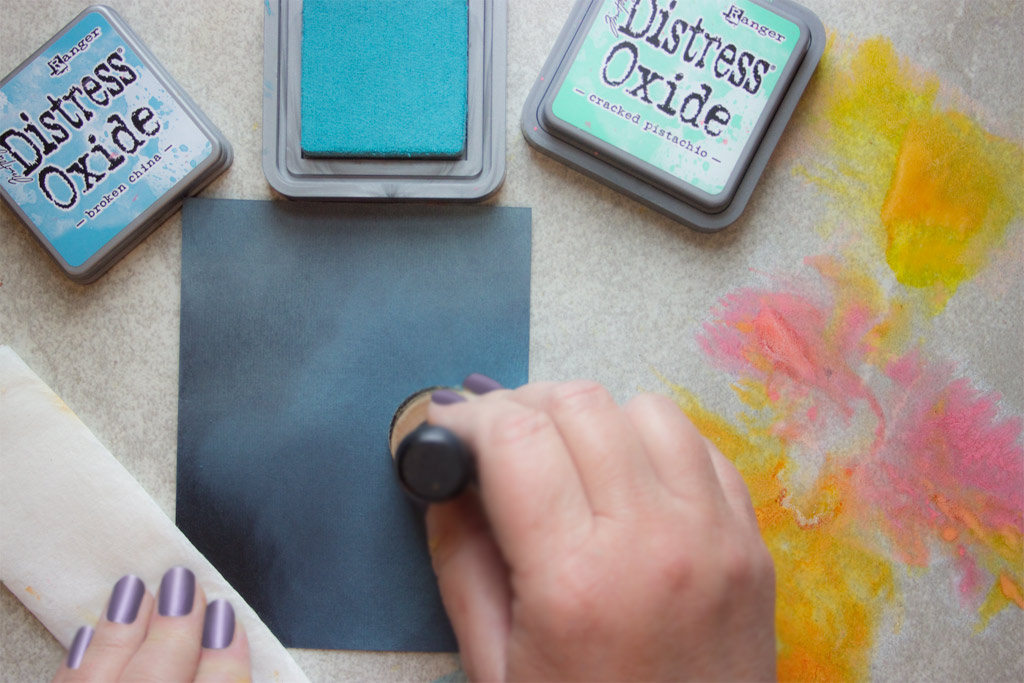
Blend one color of Distress Oxide Ink over a portion of plain white cardstock.
You may be surprised and delighted (I was!) to discover how creamy and rich the pigments are, and how smooth the blending process is!
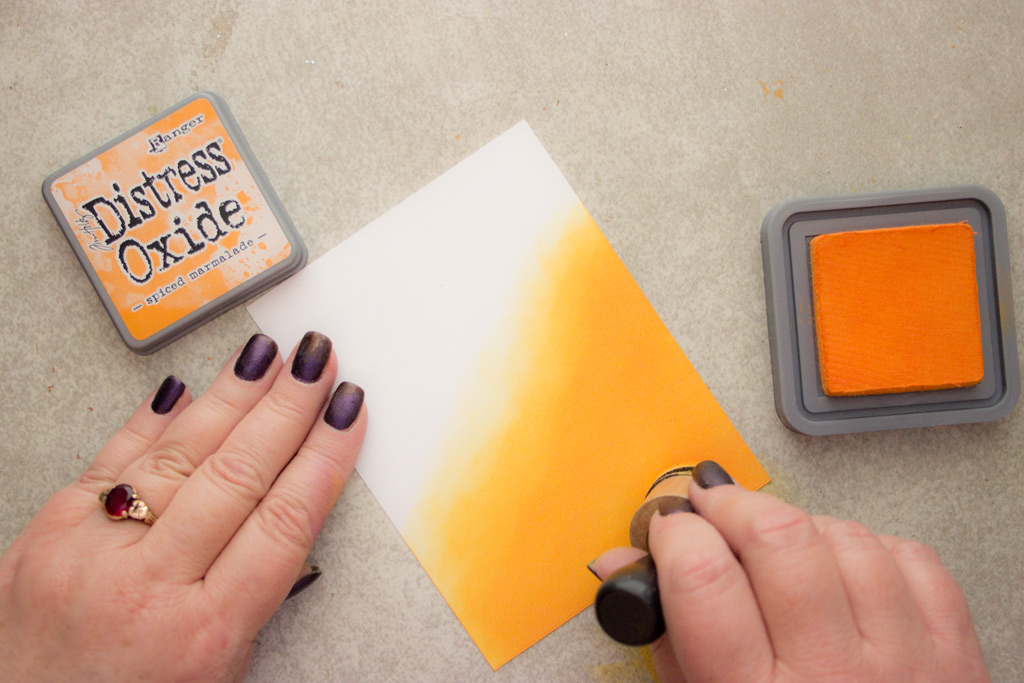
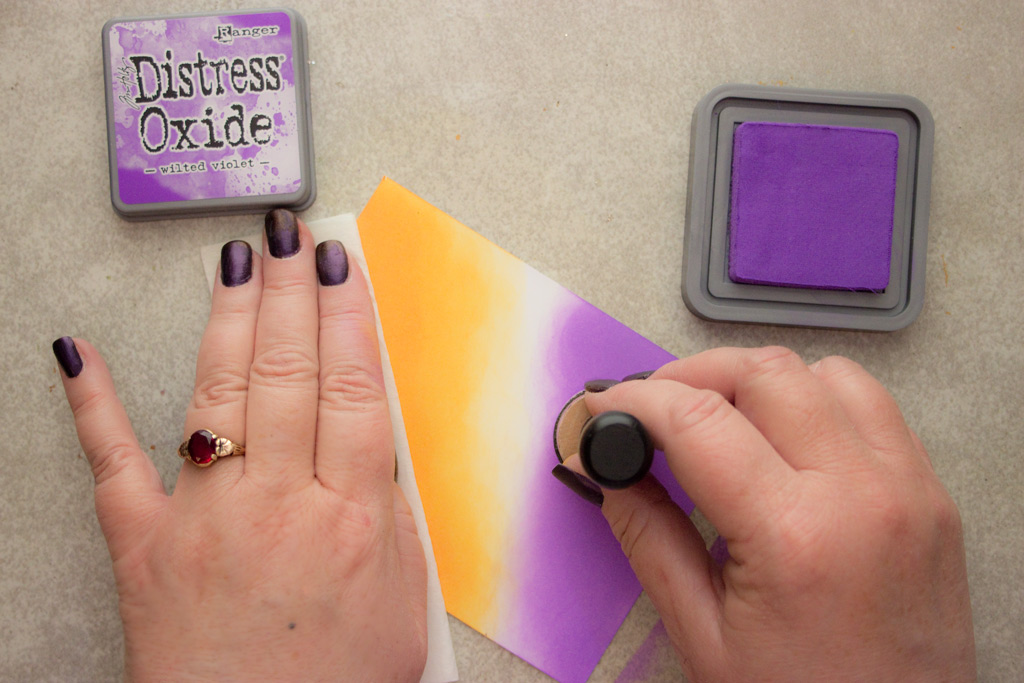
Next, grab a color that SHOULDN’T be used in conjunction with the first!
That’s right.
Feel the doubt, but do it anyway!
Reach for a color that is sure to make MUD when mixed with the first color!
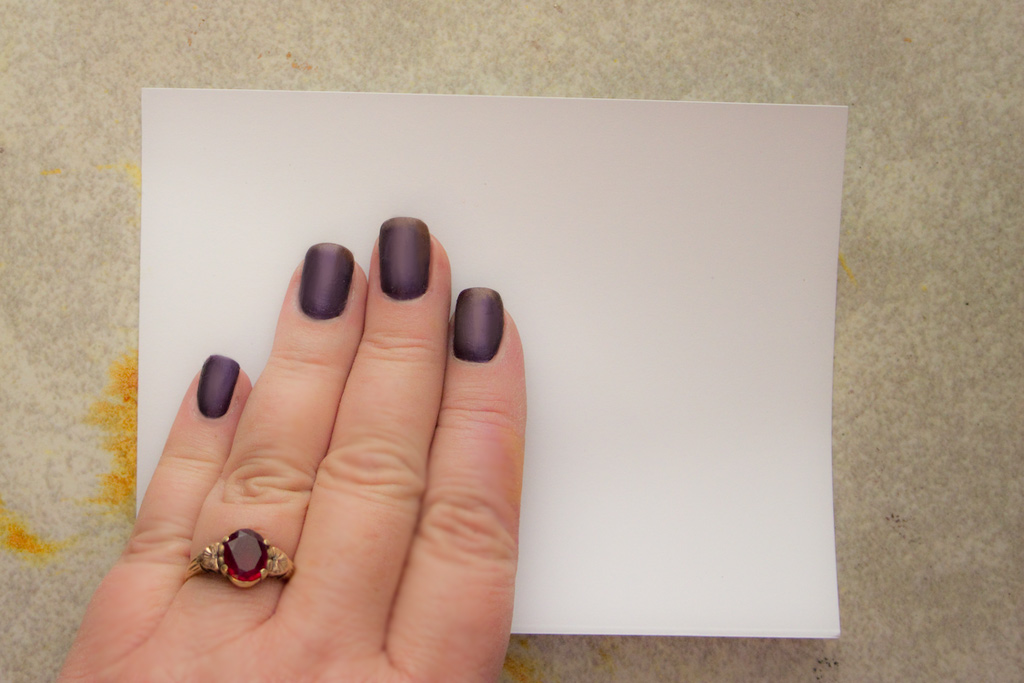
Note: these inks are SO juicy and rich that fingerprints are inevitable unless you guard your work with a piece of paper.
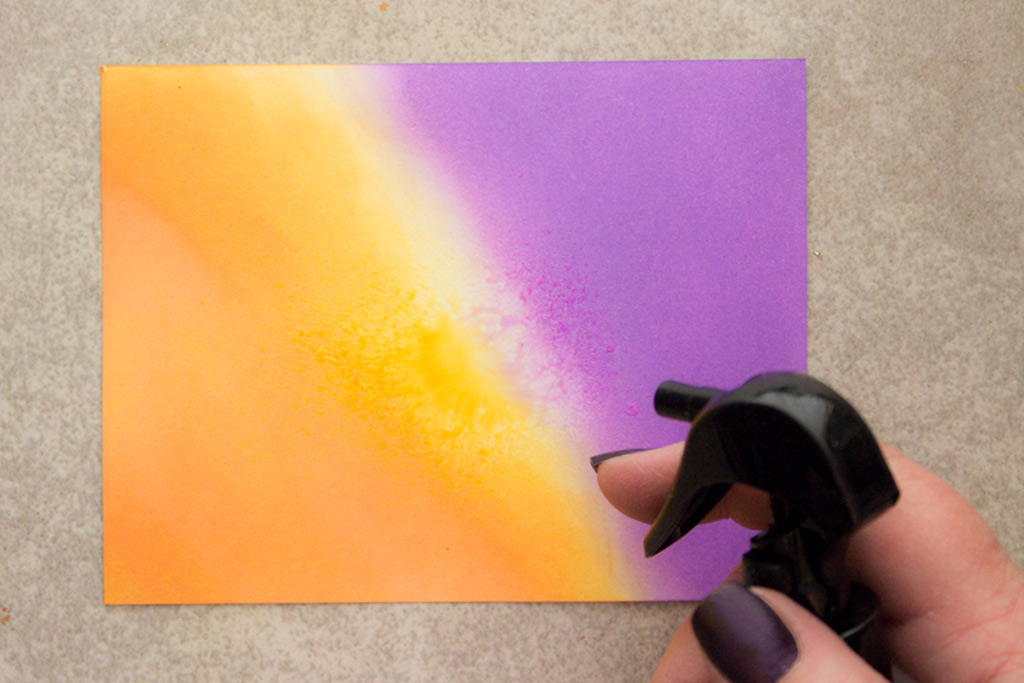
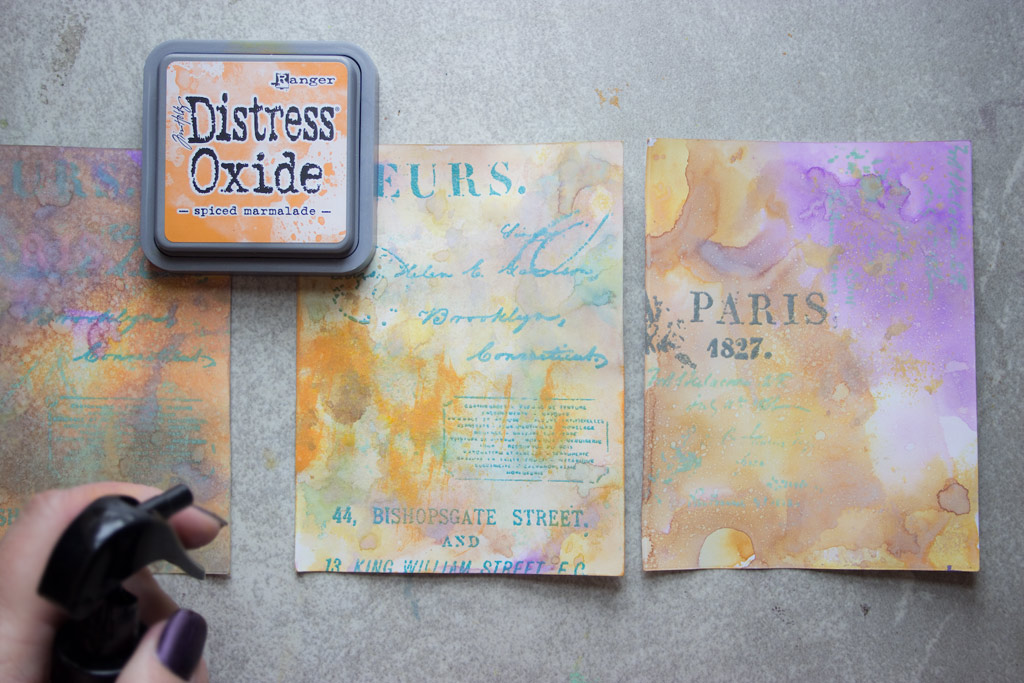
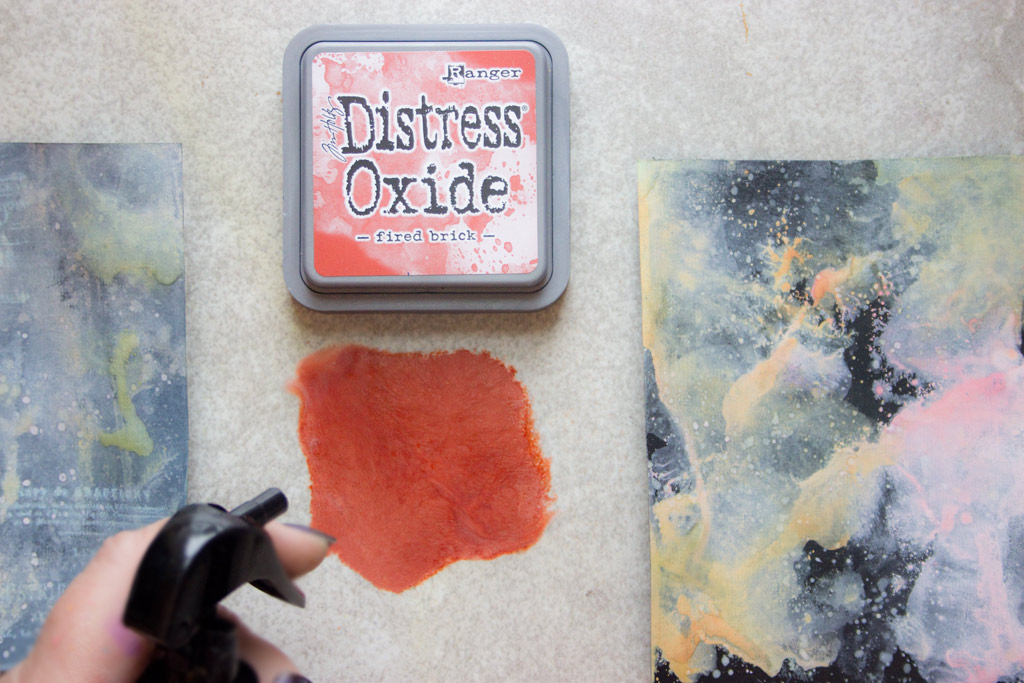
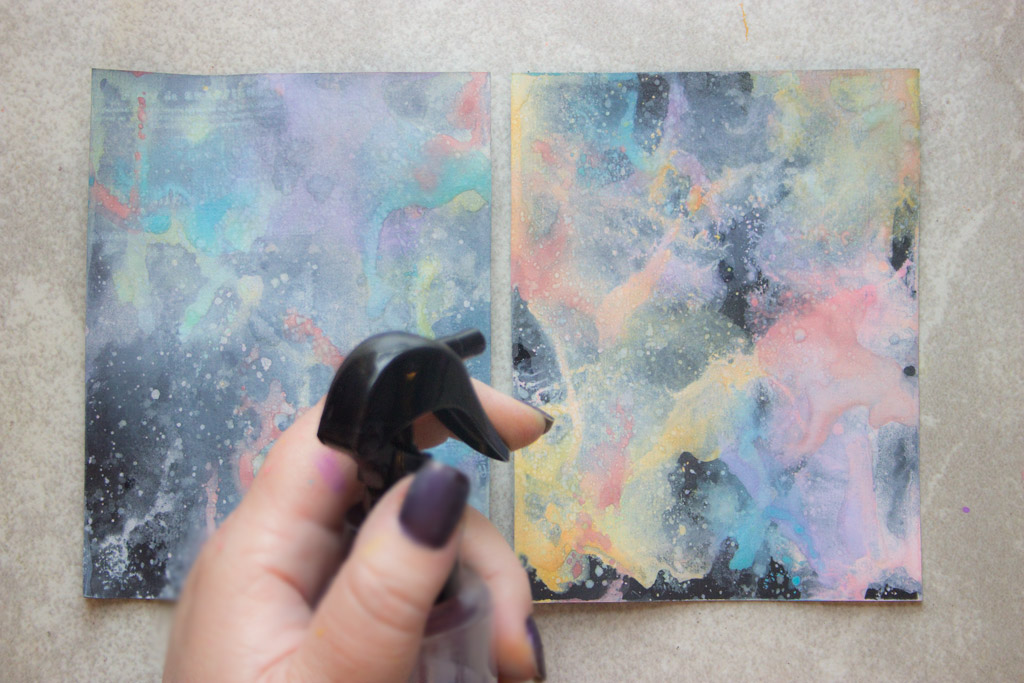
Now – Spritz the ink soaked paper!
And Spritz some MORE!
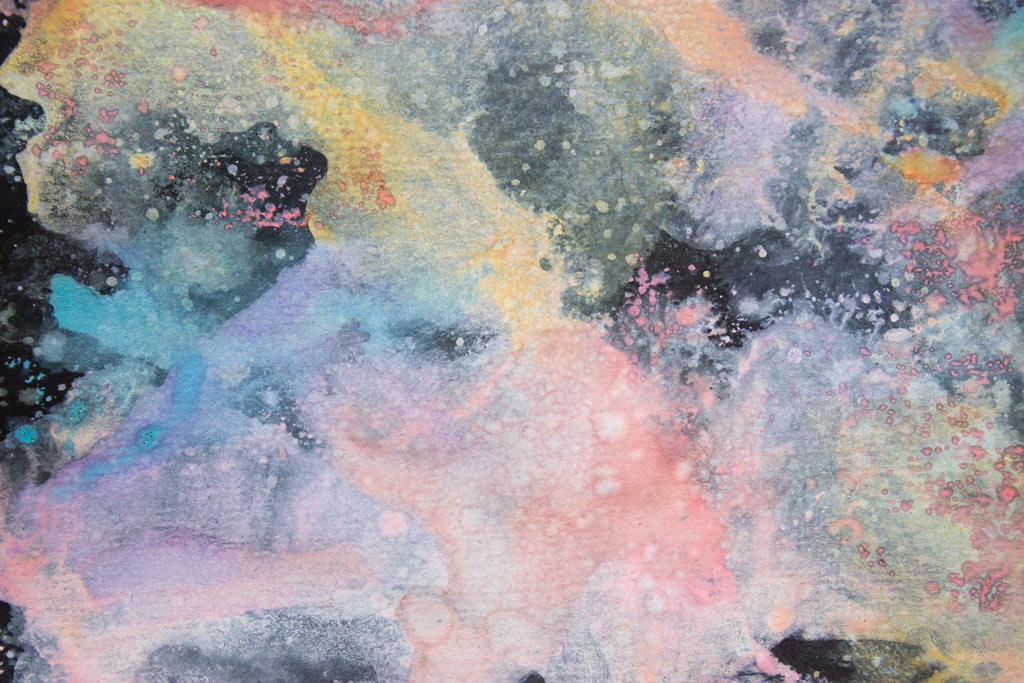
You’ll be able to see the Oxidization begin to take place immediately…a whitish film will form over portions of the color, and delightful little universes of splotches will occur.
Mud will NOT appear, however! Yay!
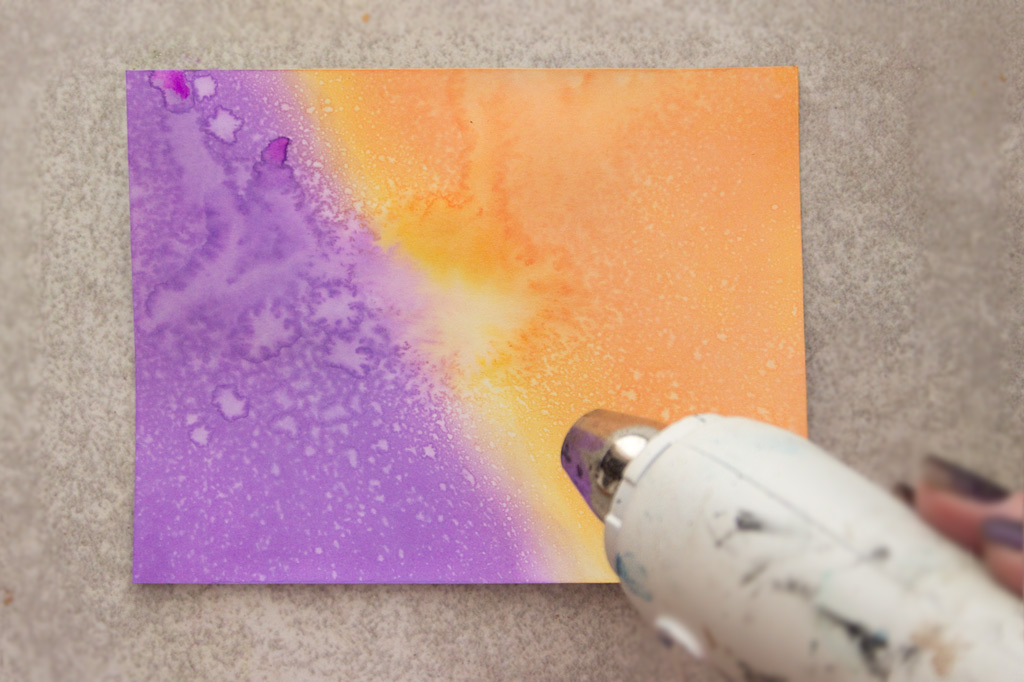
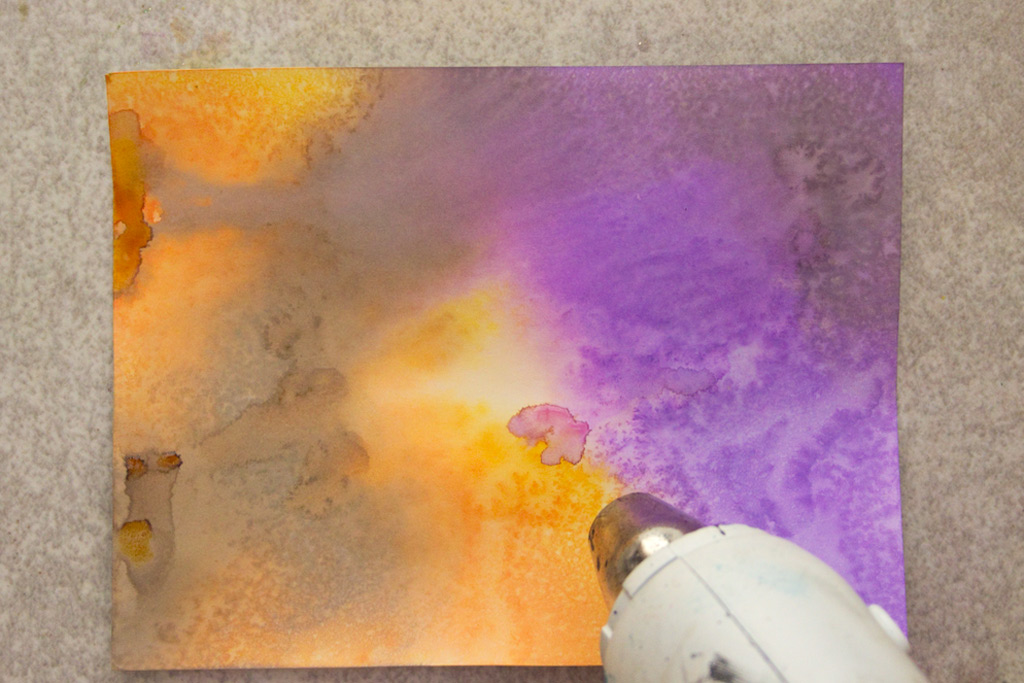
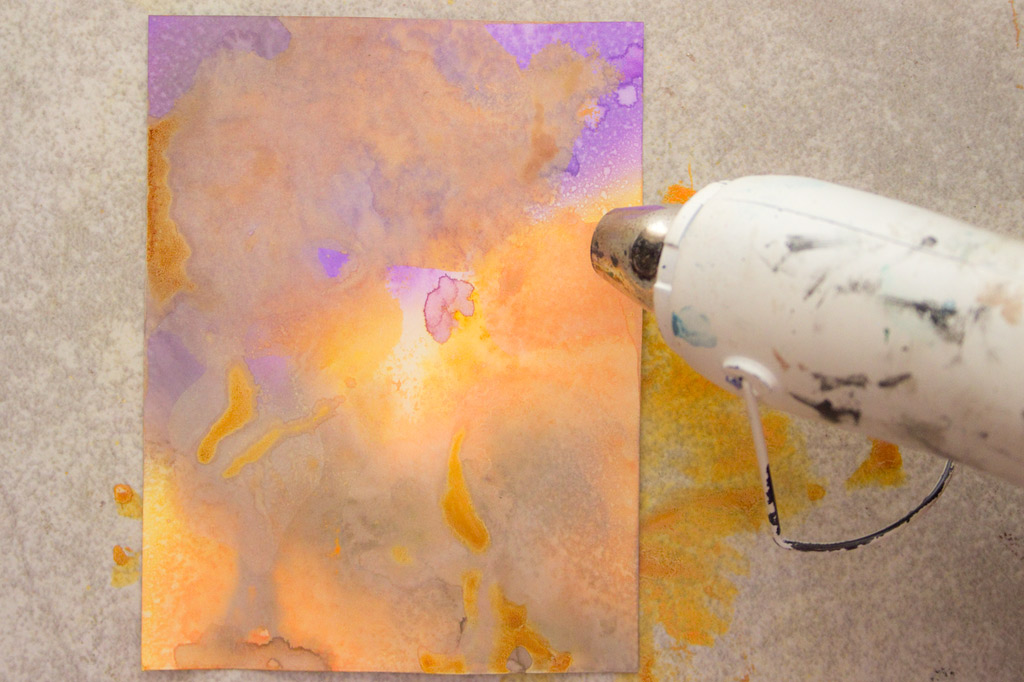
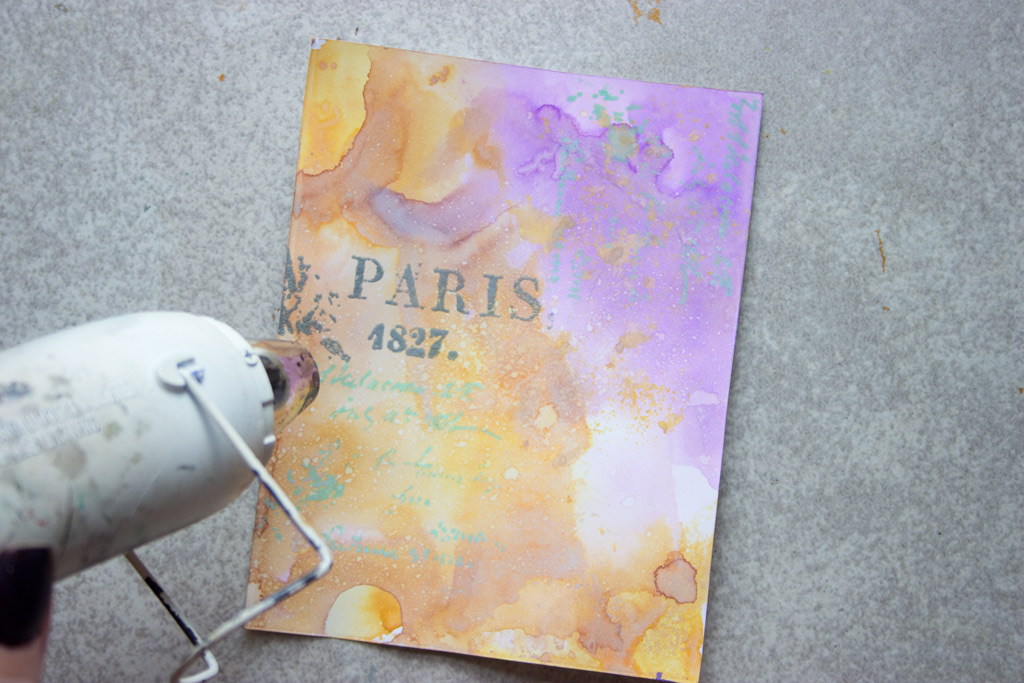
Dry the surface with your heat tool.
(Keep it handy – you’ll be giving it a workout!)
Blend another color over the first two.
Spritz, Witness the Glory, and dry with a heat tool.
Note: it can smell a little funky when heated. I guess all Magic comes at a price!
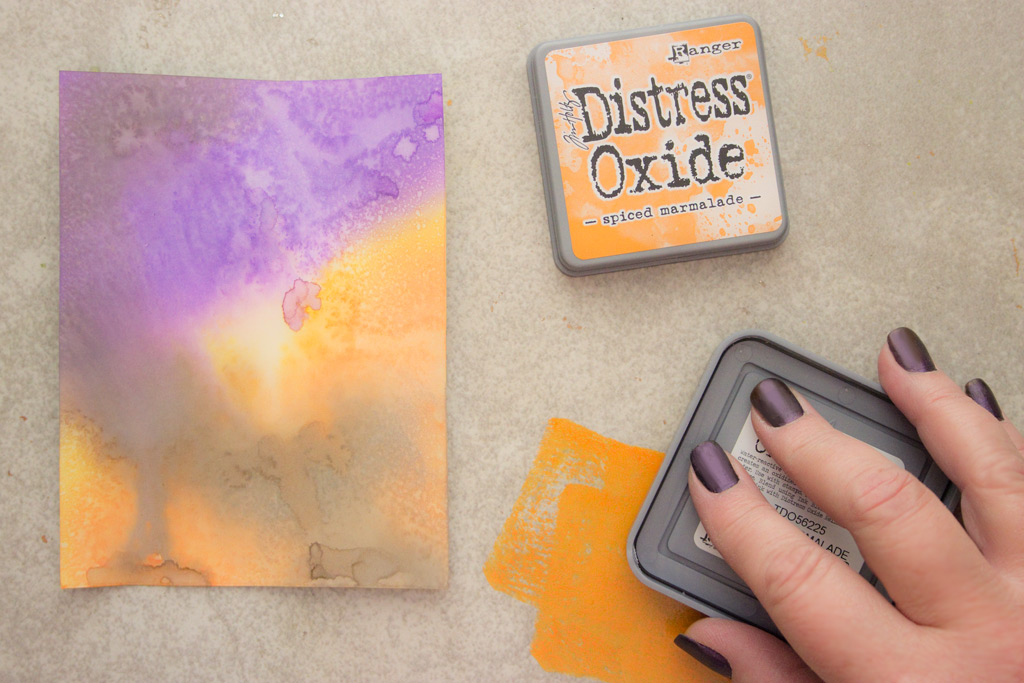
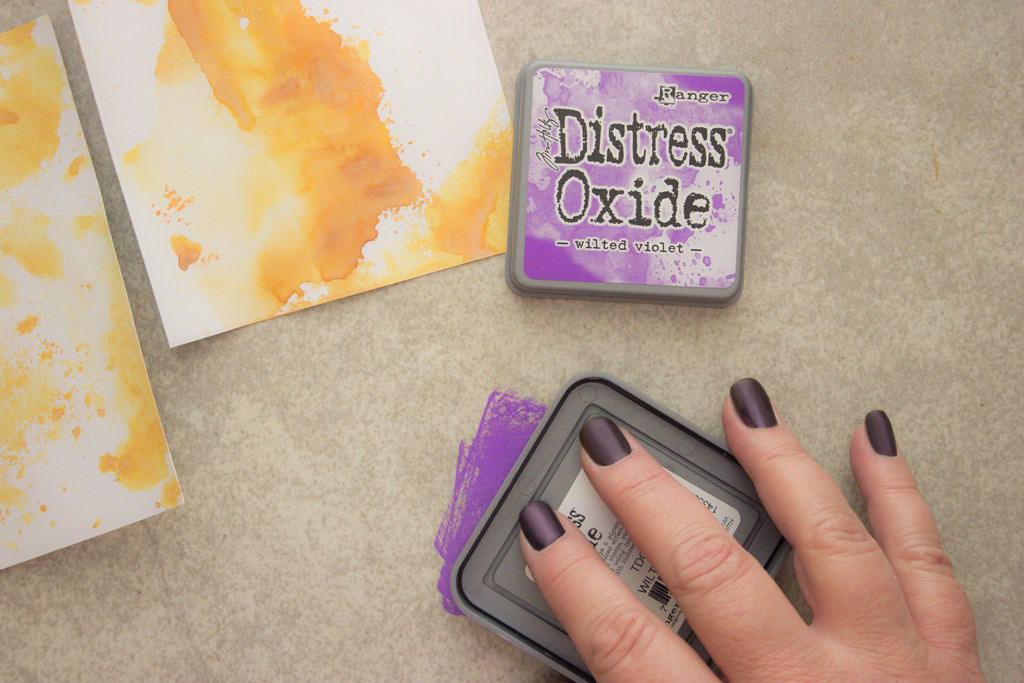
Now, smoosh a big glob of your brightest color on the work surface.
The color is so intense!
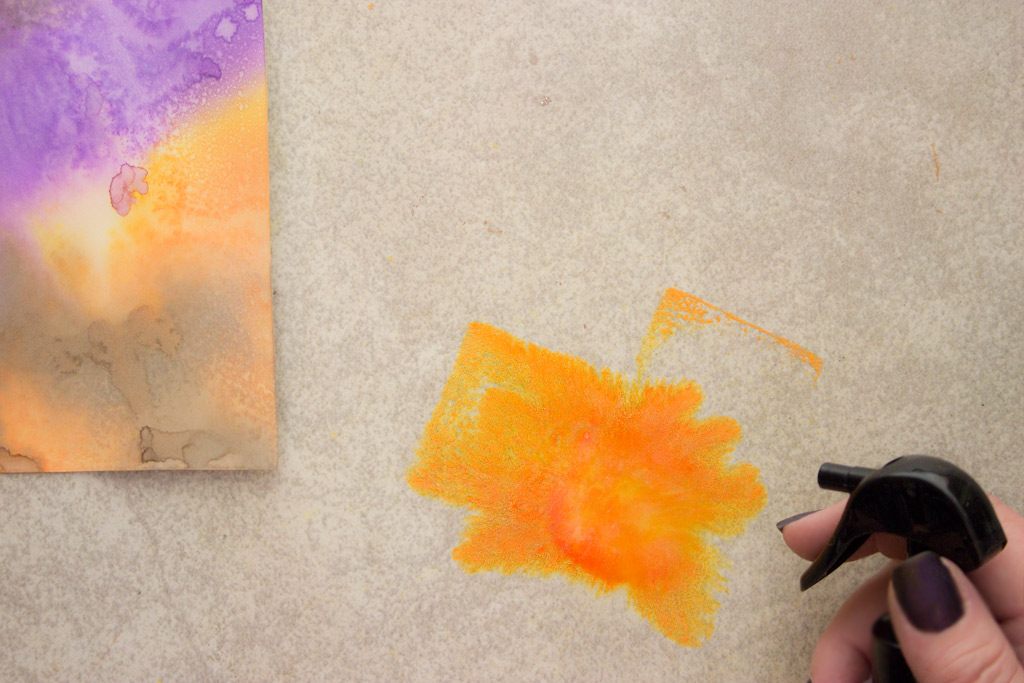
Spritz with water…
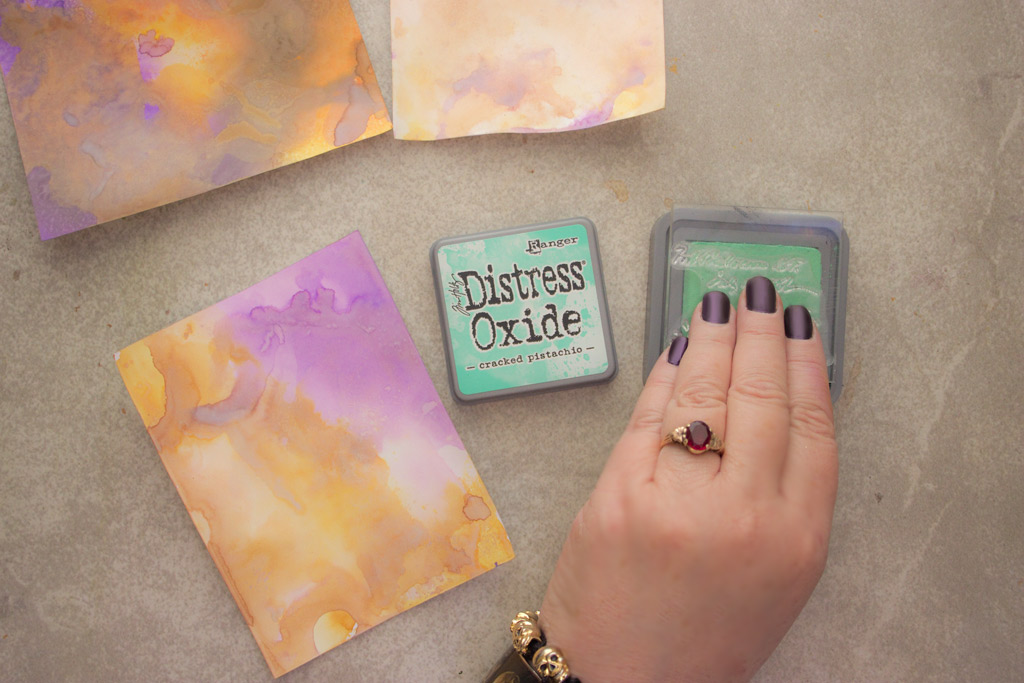
Gently tap your paper face down into the puddle of yummy pigment.
Do it over again, until you like what you see.
Dry the surface.
Do it again, with a contrasting color…
Dry the surface.
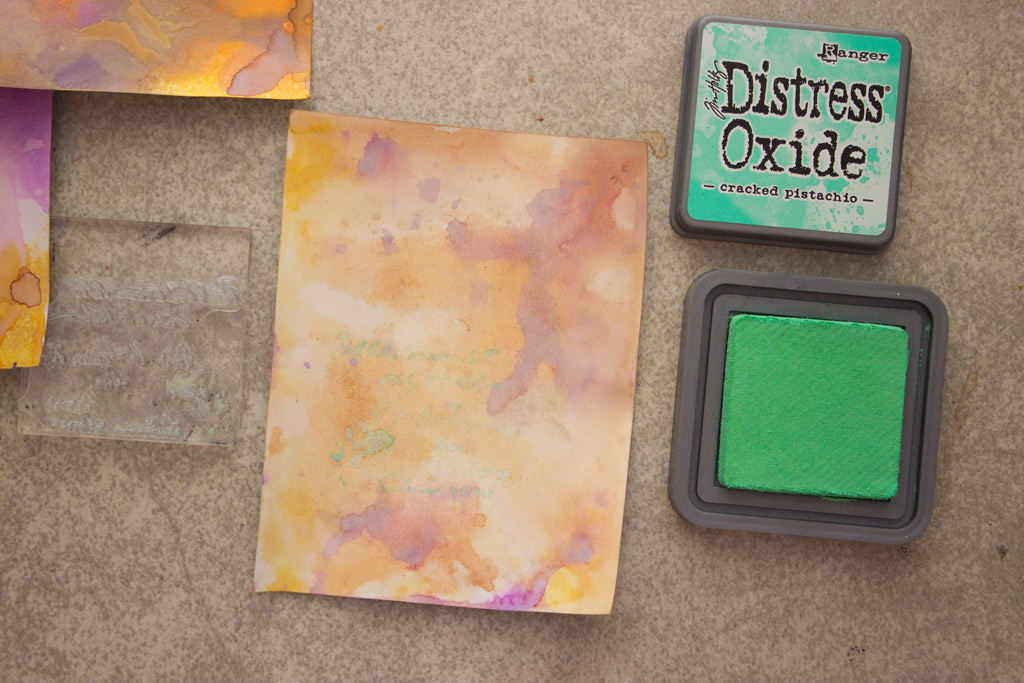
Try stamping over the top in a LIGHTER color…
Spritz lightly with a gentle mist of water…
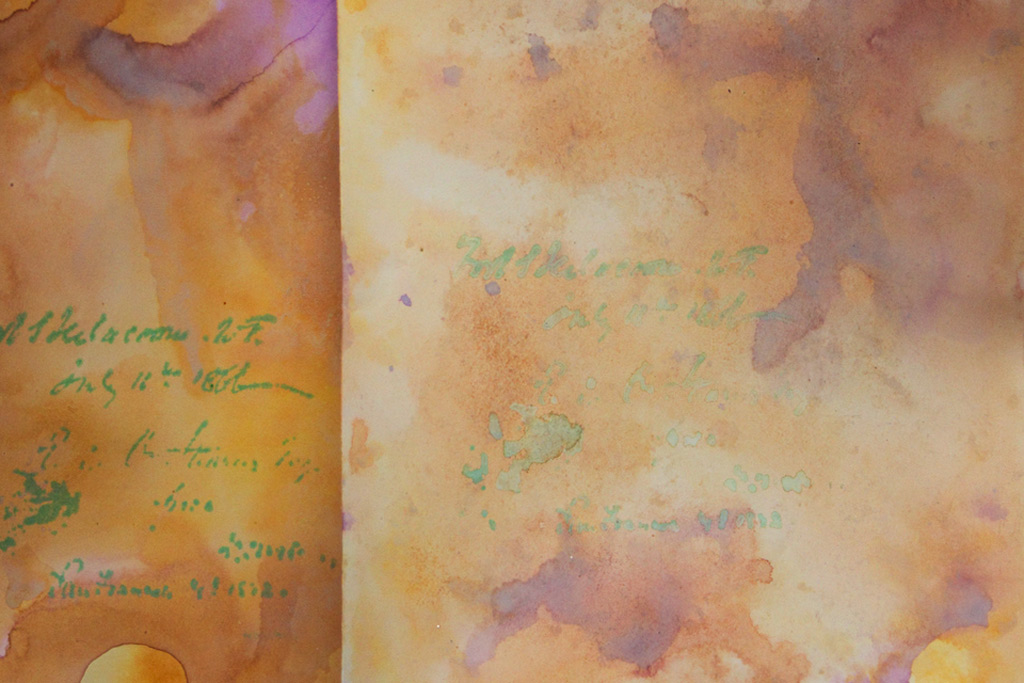
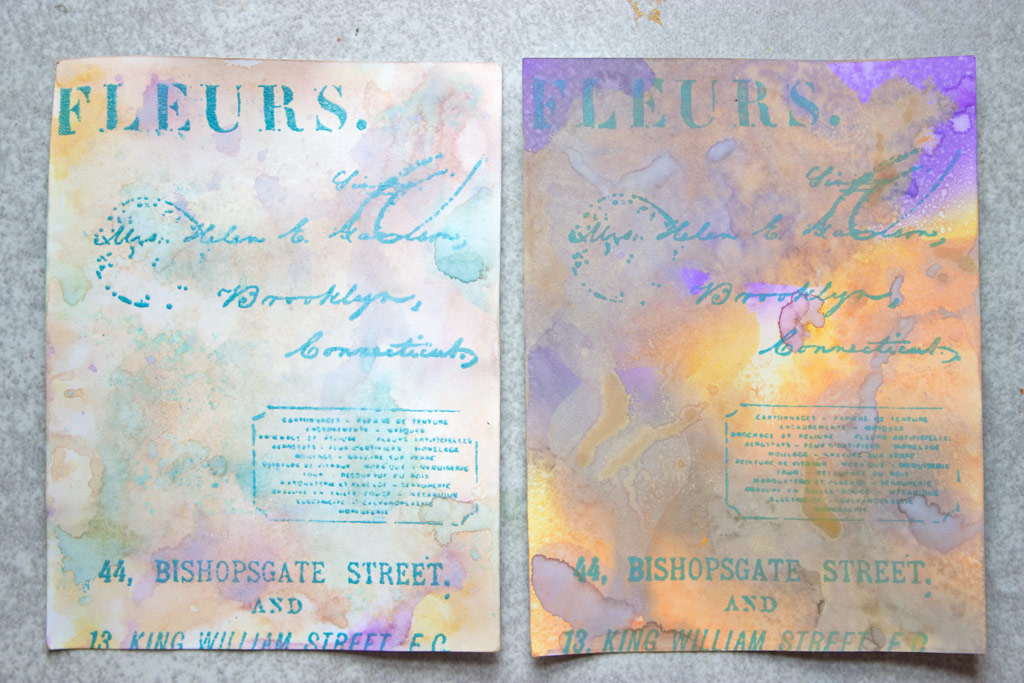
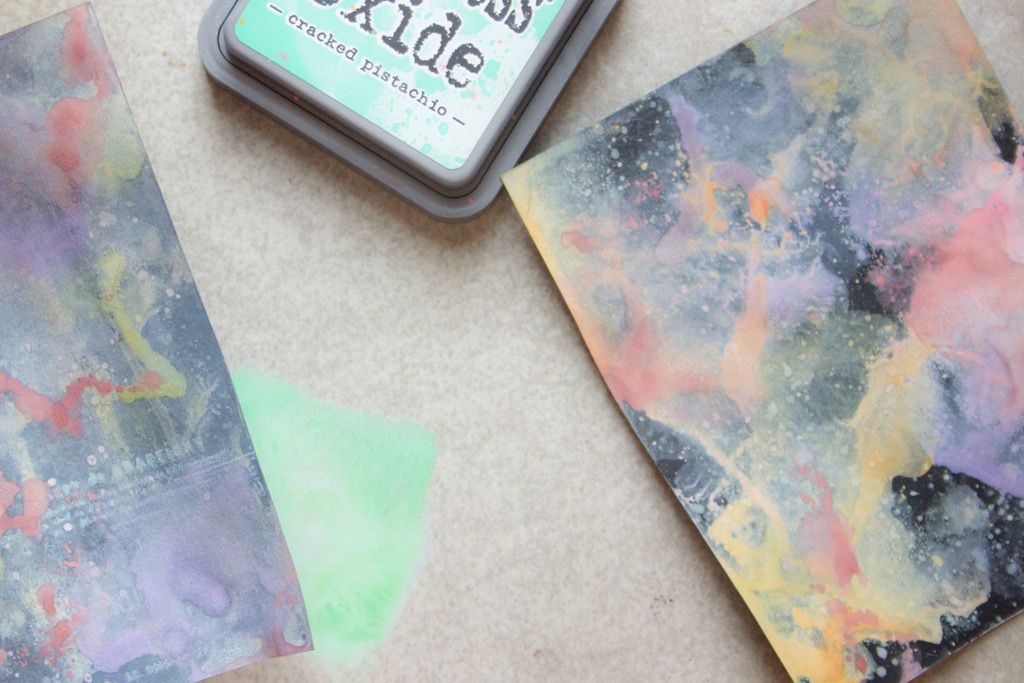
On the left, you see the results on Glossy Photo Paper.
On the right, on plain white cardstock.
I really liked the intensity of color that results from using the Glossy Photo Paper, so next, I stamped a larger portion of the background.
Yummy!
Distress Oxide Inks are a DREAM to stamp with…
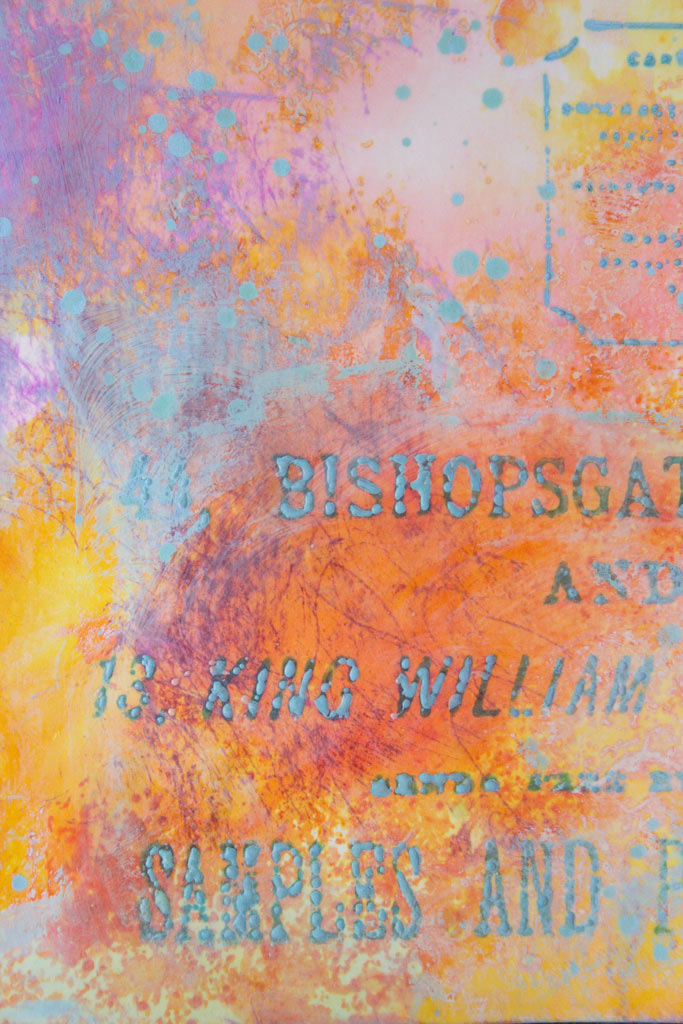
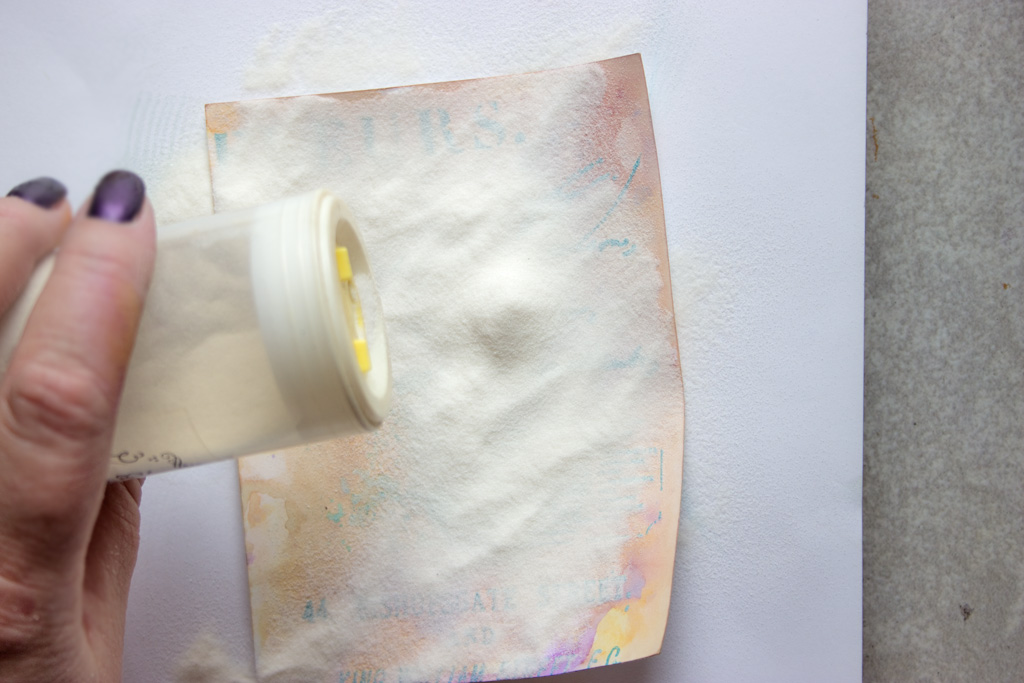
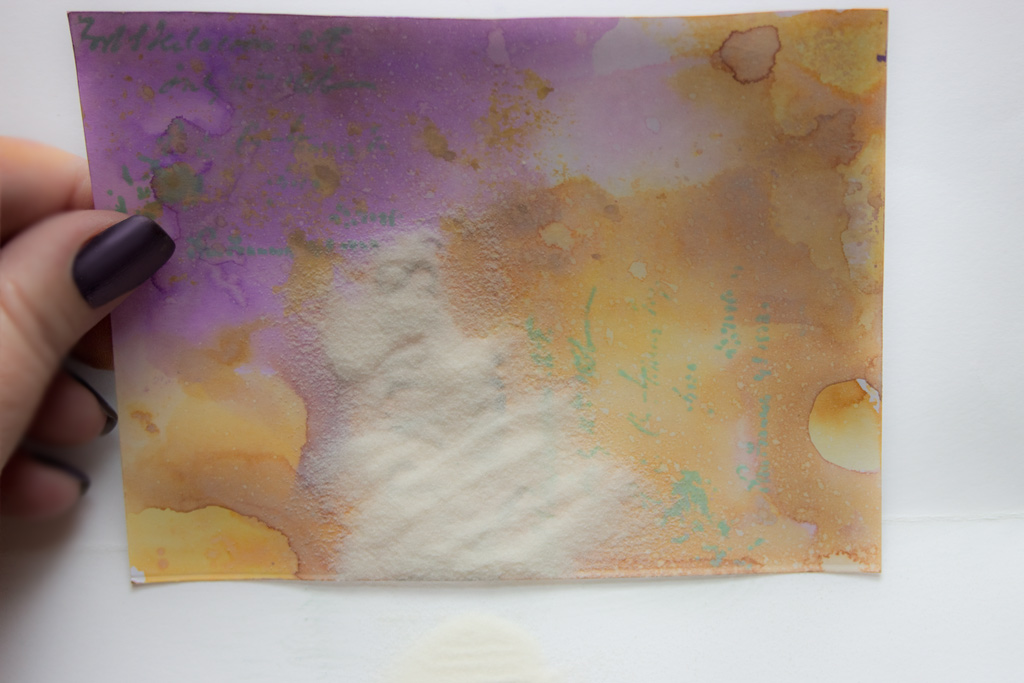
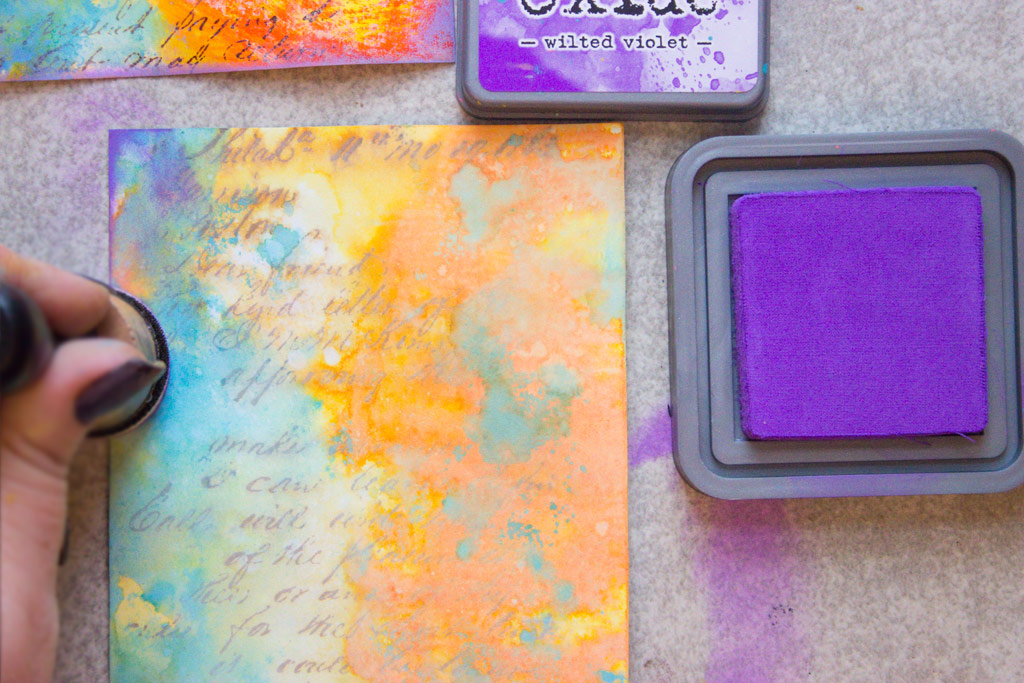
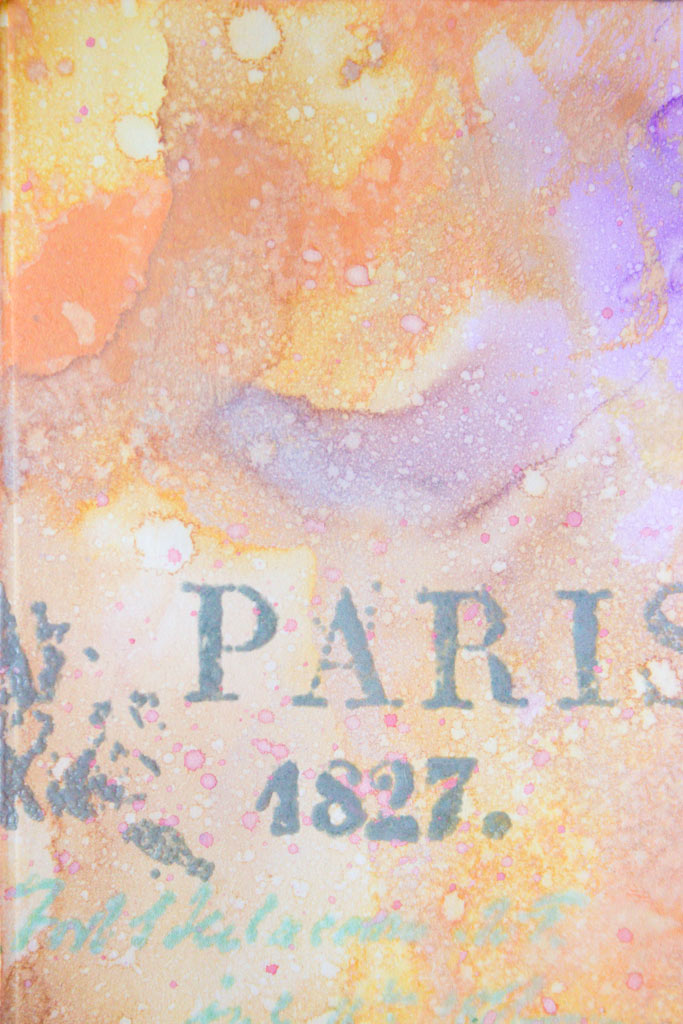
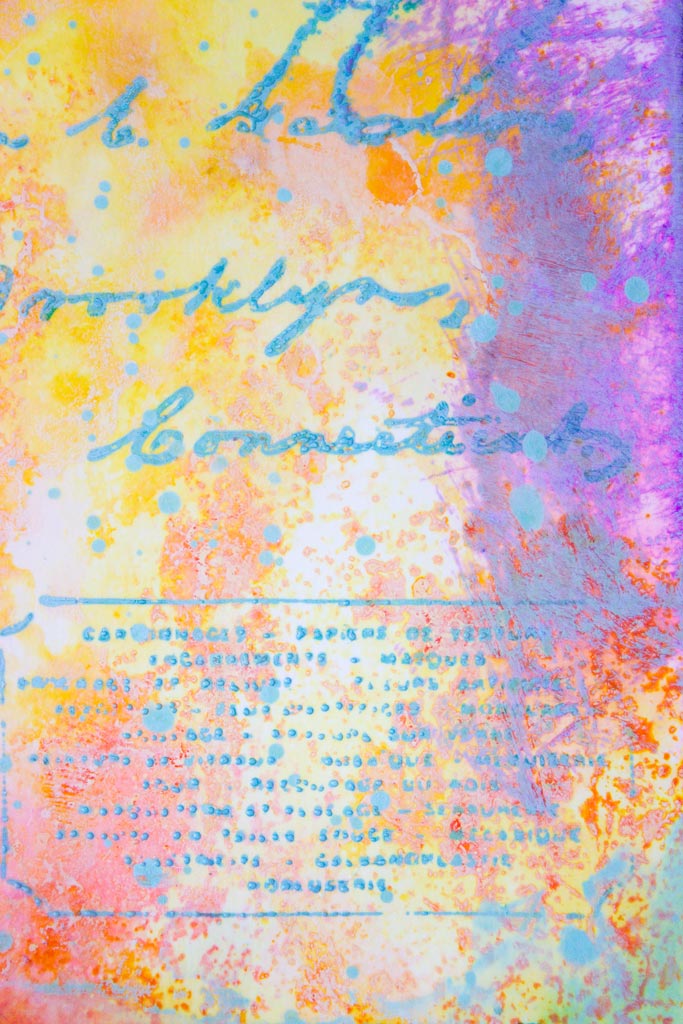
To preserve the crisp stamped text, cover with fine, clear embossing powder, then heat set.
On the left, an example on plain white cardstock.
On the right, the results on Glossy Photo Paper.
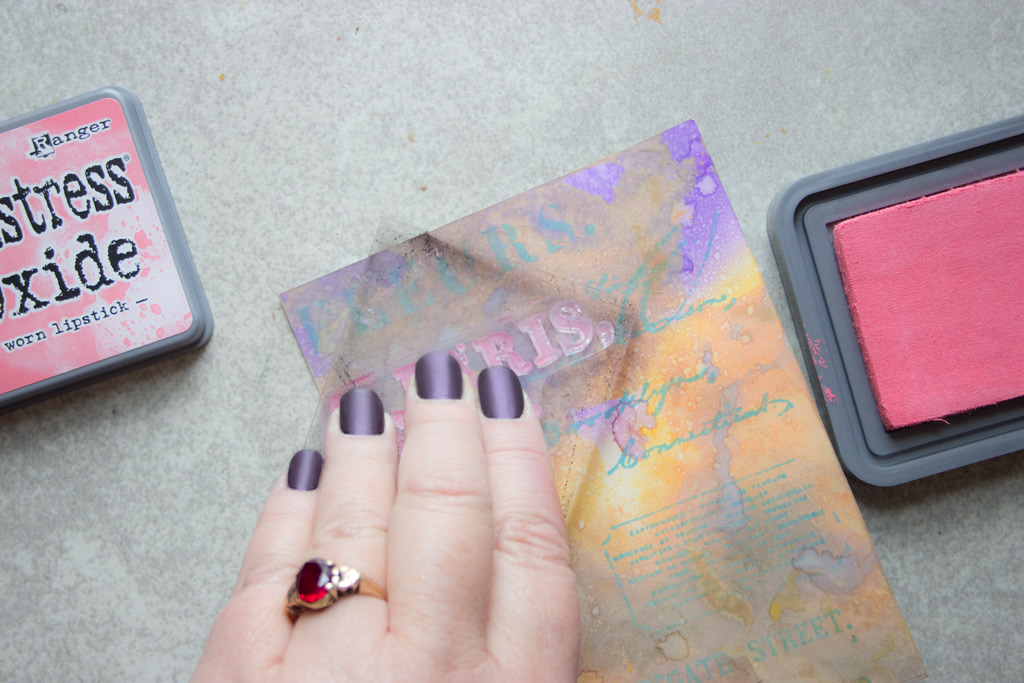
How cool to be able to stamp over darker colors with PINK!
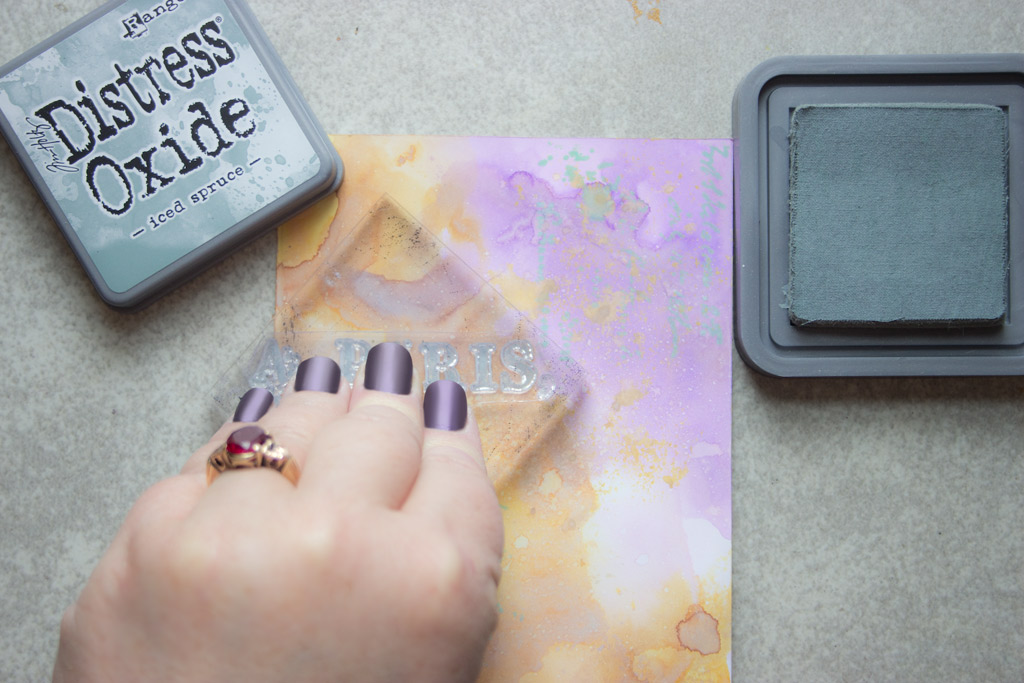
Or to get a whispery, soft effect with grey-green…ahh
Heat embossing will allow you to continue to add layers of inks, without obscuring your stamped images…
So pretty!
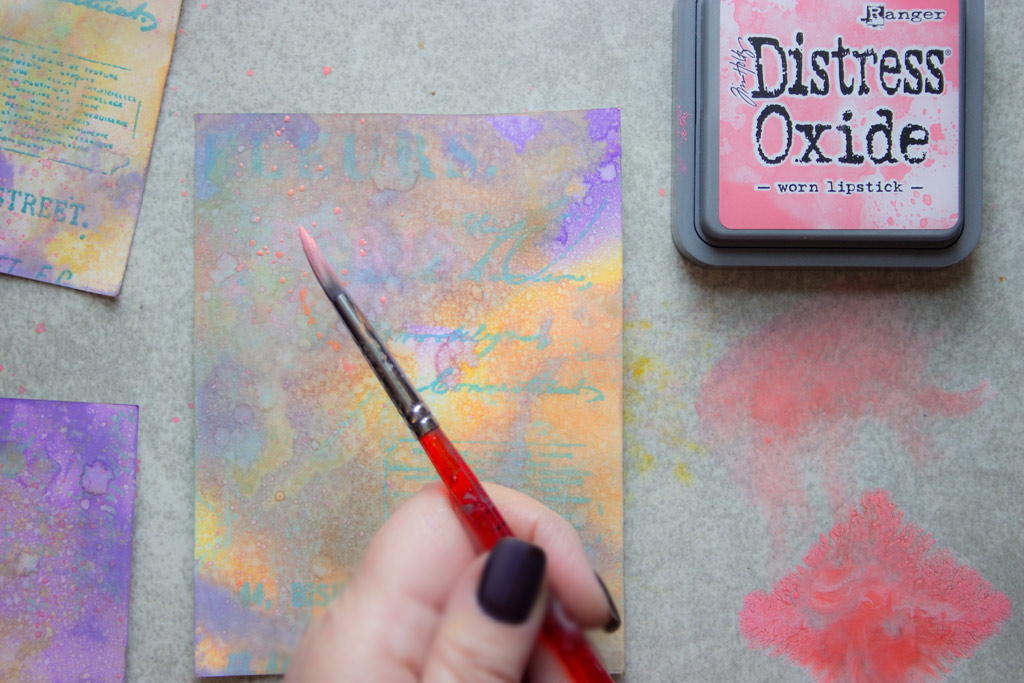
You can smoosh the ink pad directly onto the surface of the paper, then spritz!
Create a puddle of pigment, then flick it over the surface with Wild Abandon!
Splatters will never be the same!
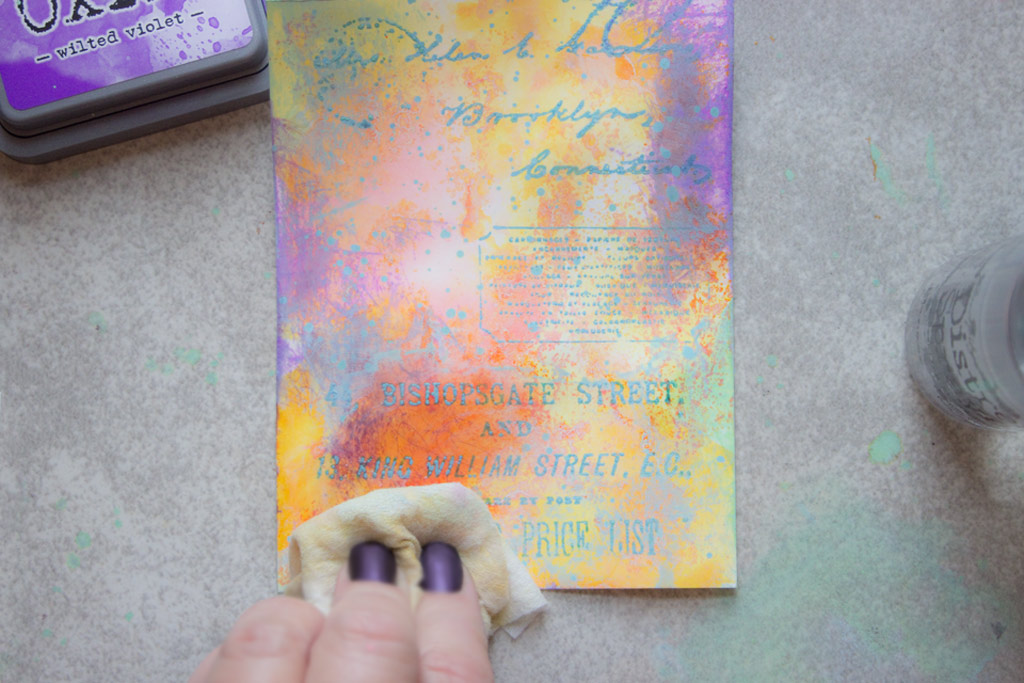
On Glossy Photo Paper, you can selectively wipe-back the inks with a Baby Wipe to reveal the intense under-layers…
How about on Black Cardstock?
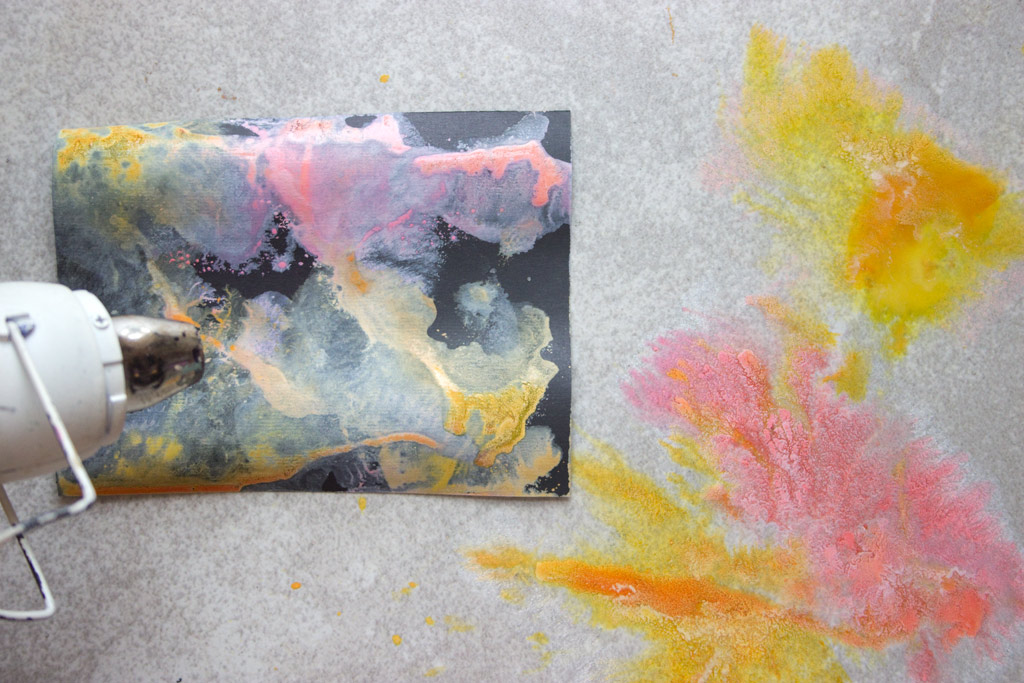
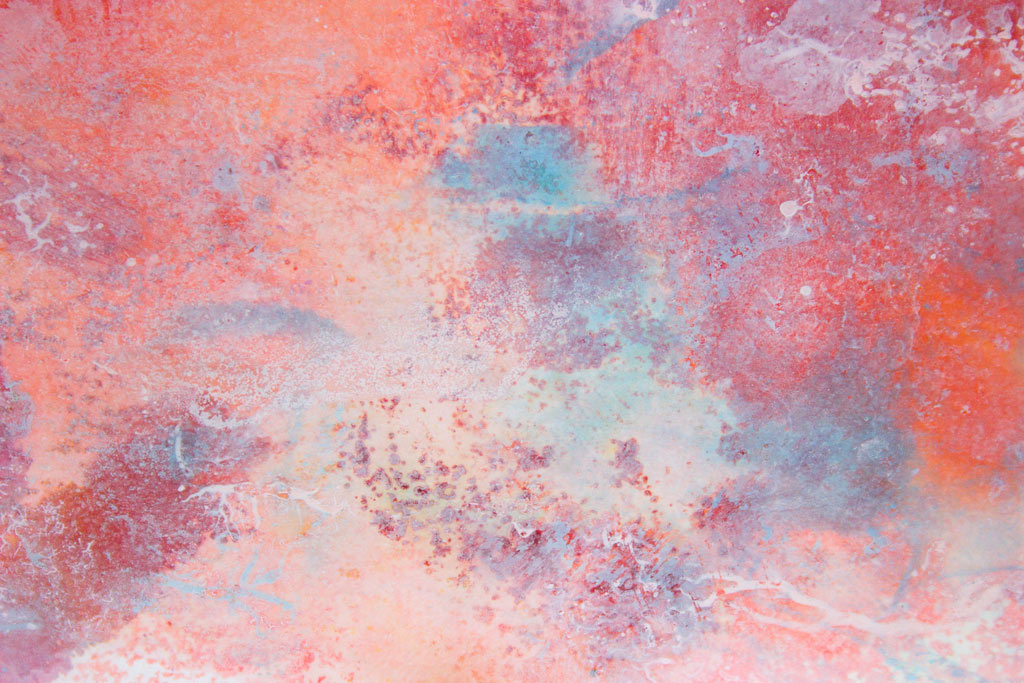
Drag wild swathes of color over the worksurface…
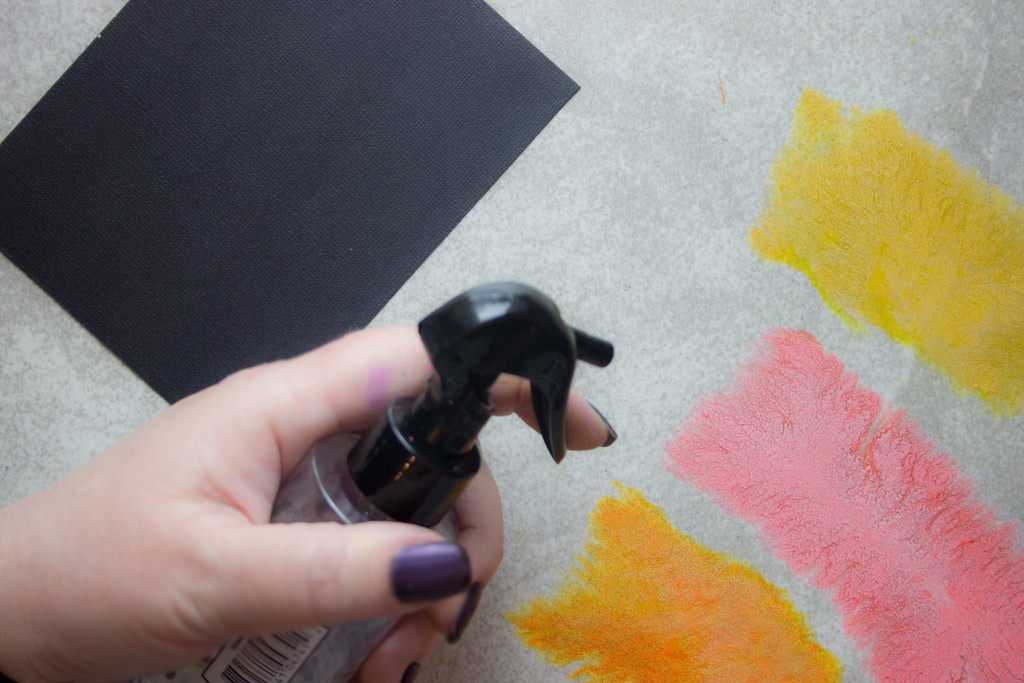
Spritz…
I found that if you leave the water to activate the inks for a few moments, before you use them, the effect is more intense…
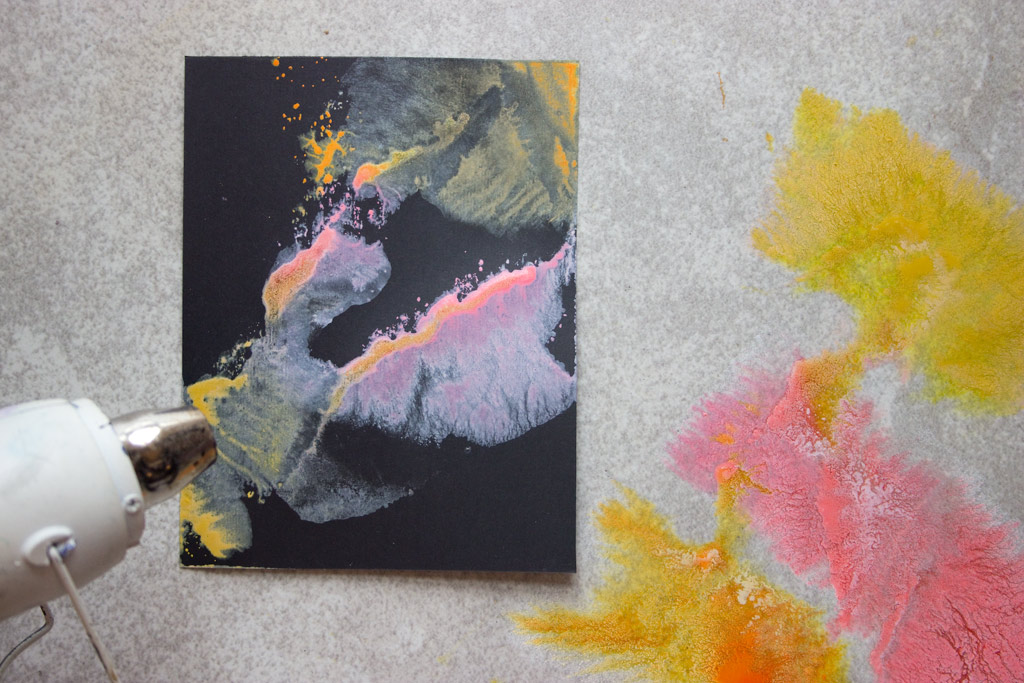
See the tiny estuaries and deltas forming in the ink? So cool…
Tap your black paper into the puddles!
Dry.
Do it again!
Blend a couple of inks onto the surface of another piece of Black Cardstock, allowing a bit of pure black to remain…
Then, make a Happy Puddle of a color that does NOT harmonize with your masterpiece!
Be bold!
Tap the paper right into those scary colors!
Spray the surface!
Admire the wild and wonderful outcome!
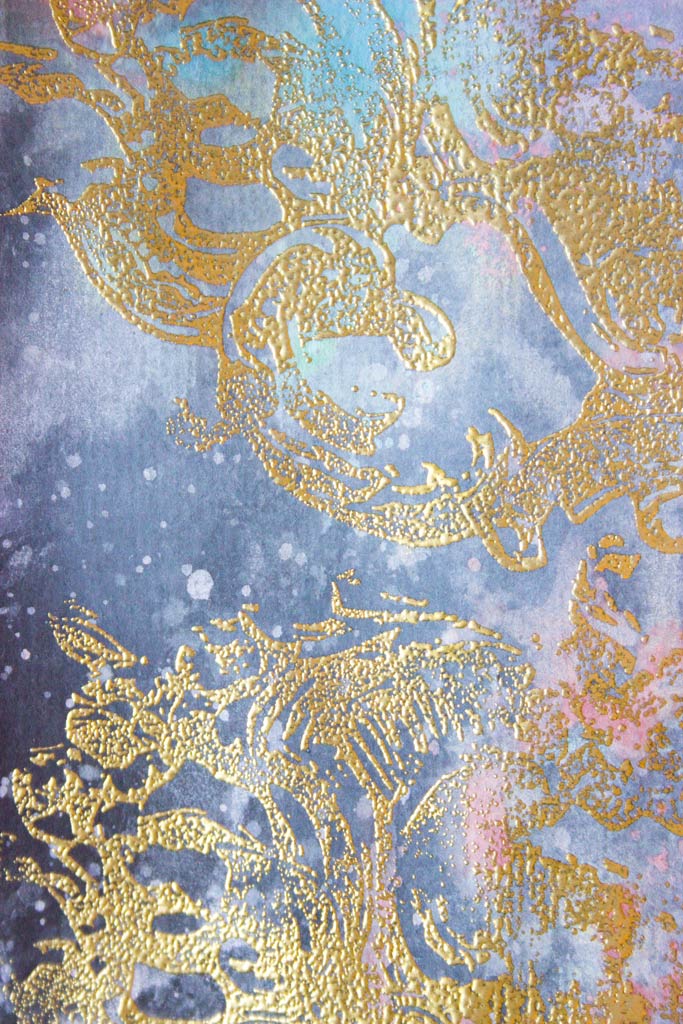
Gold heat embossing, right over the top!
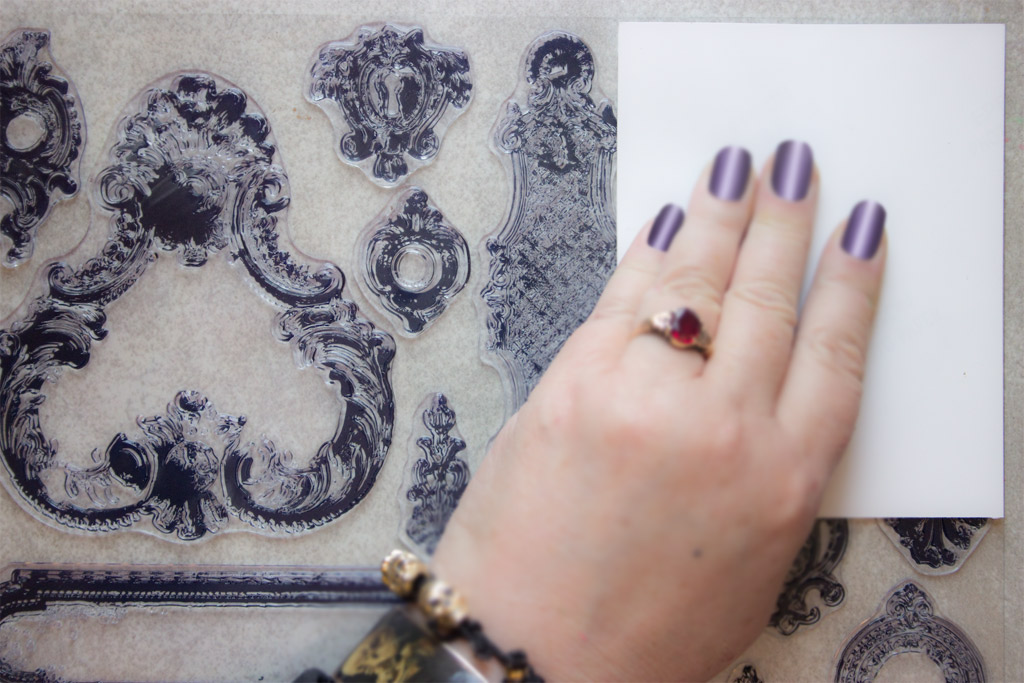
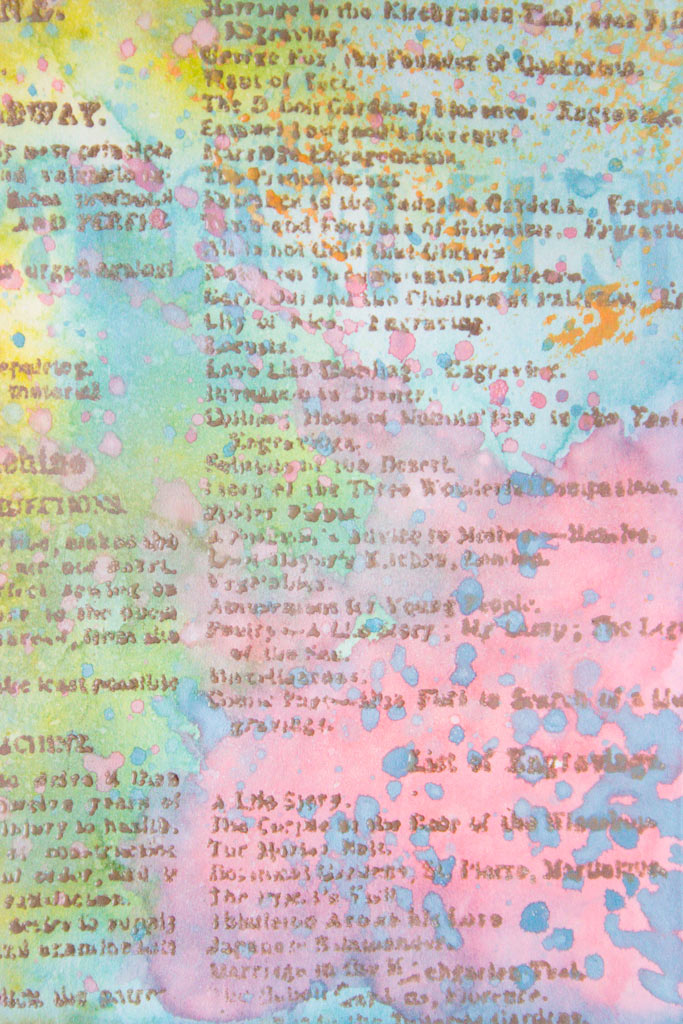
What if we START with a stamped image?
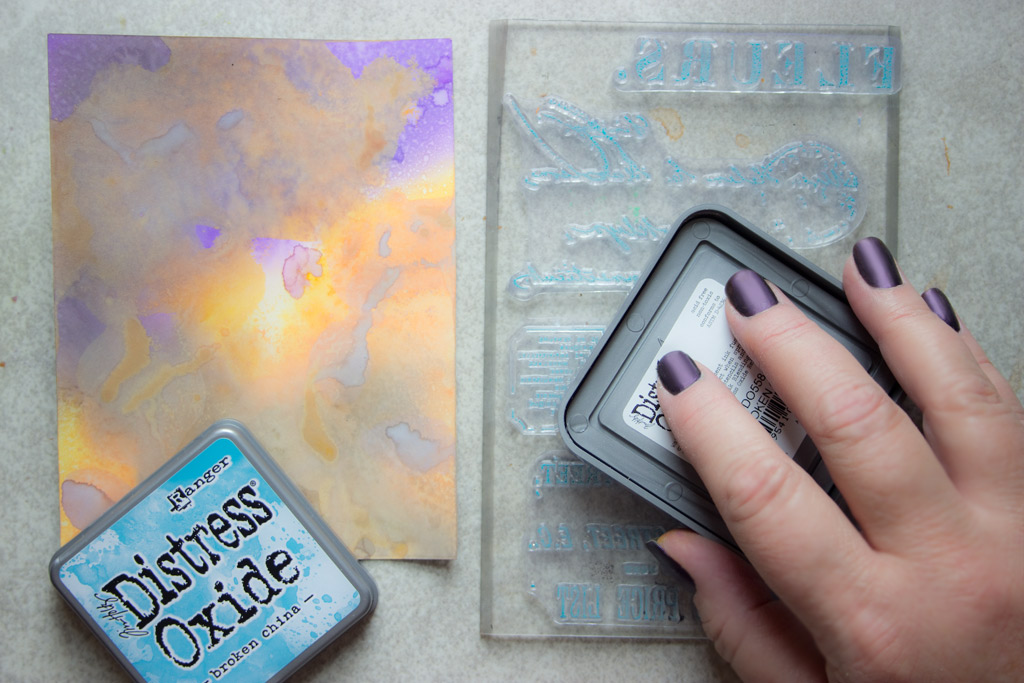
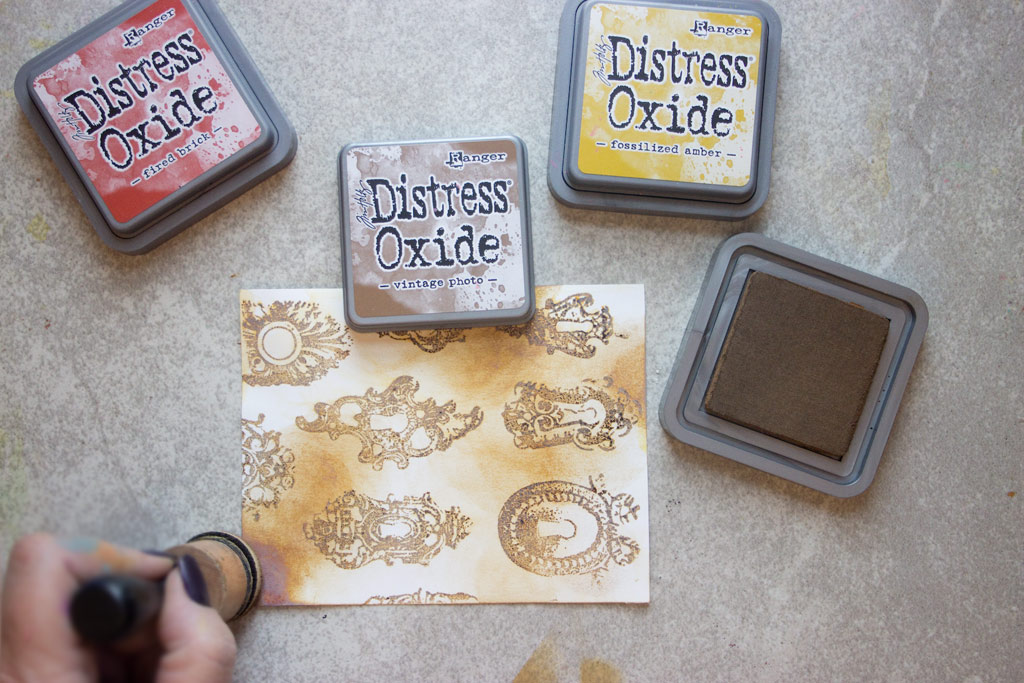
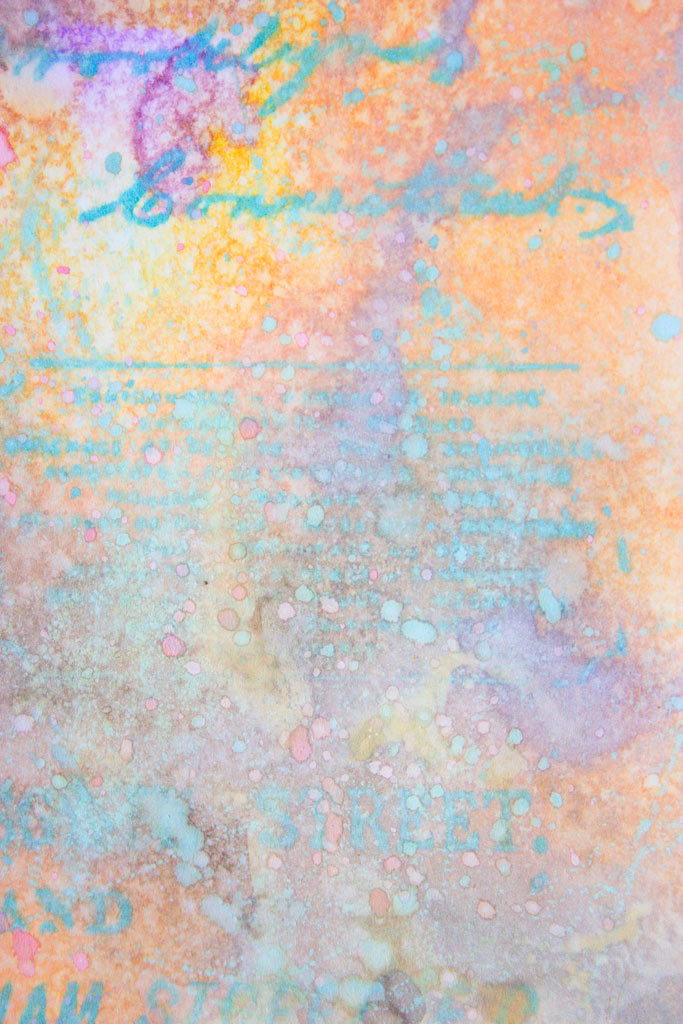
Here, I’m stamping some of the delicious motifs from Iron Orchid Designs Decor Stamp: Hardware with Vintage Photo Distress Oxide Ink.
Once stamped, Spritz with water!
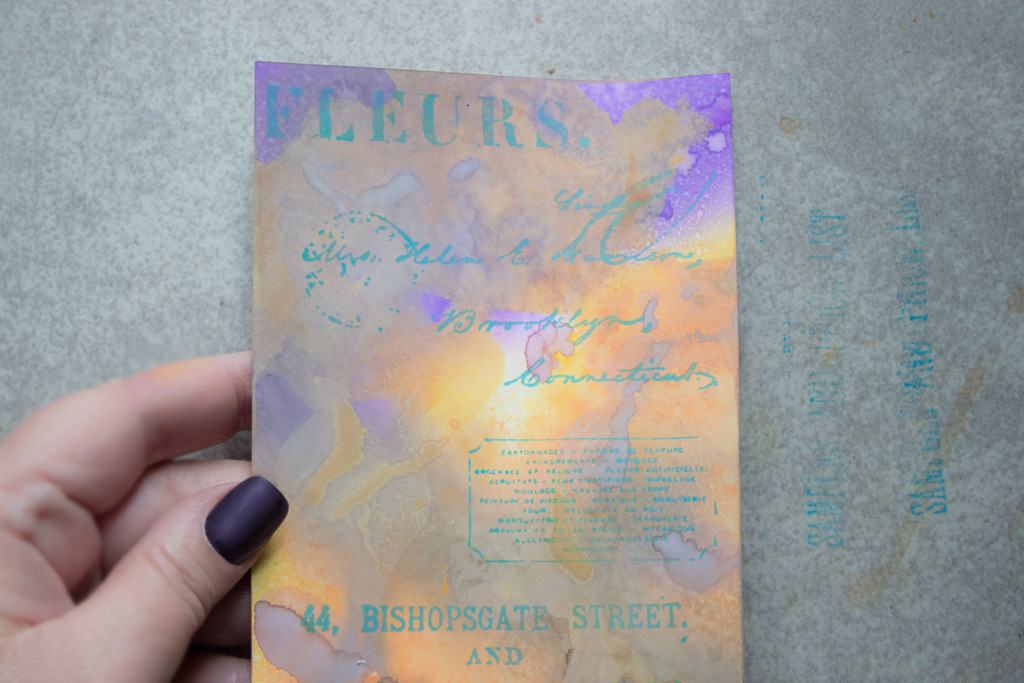
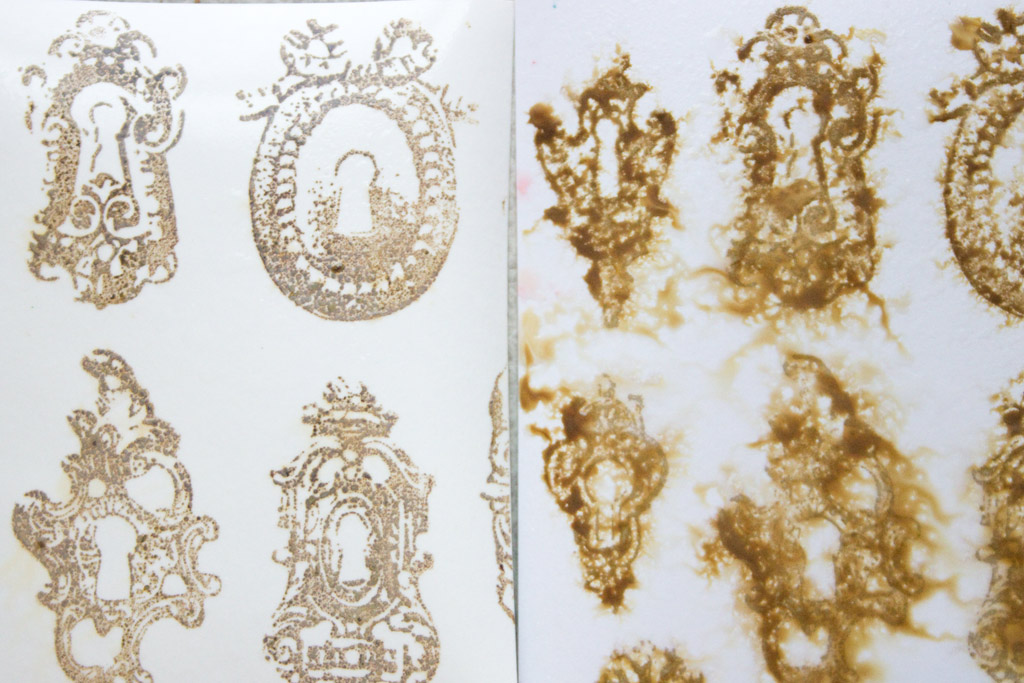
The stamped image on Glossy Photo Paper (left)
On plain white cardstock (right)
Blend some warm colors for an aged effect…
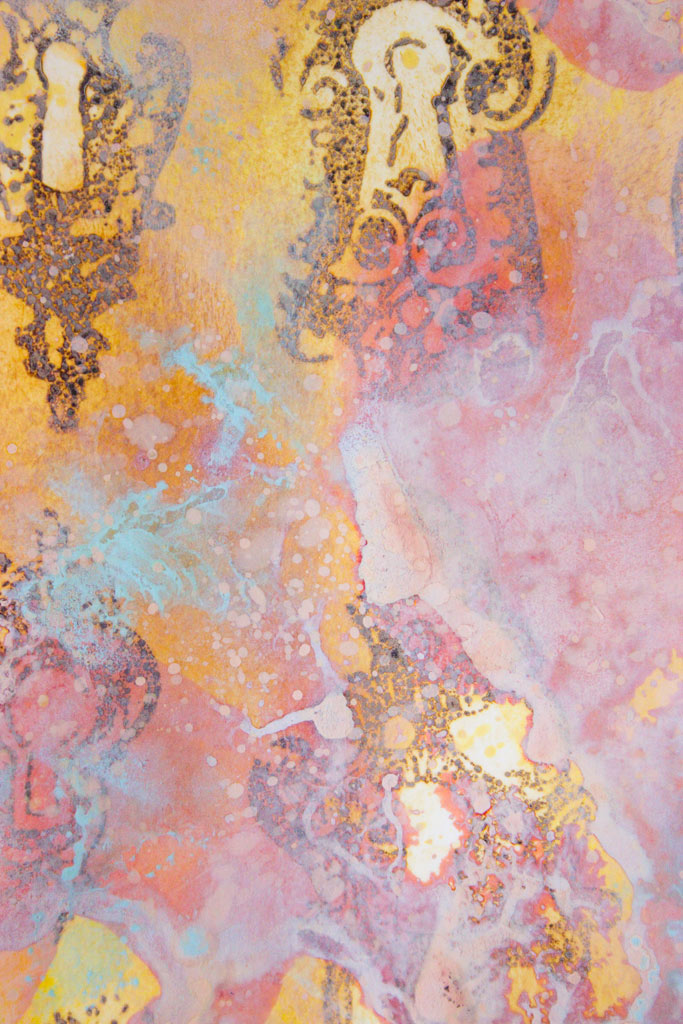
Spritz, dry, then dip into puddles of contrast!
See the milky white oxidization? This appears more pronounced on the glossy paper…
Also, the initial stamped image retains much more clarity on glossy paper.
I LOVE that!
As a final touch, distress the edges of your fabulous papers with contrasting colors!
At this stage, you should find yourself in a state of Distress Oxide Induced BLISS!
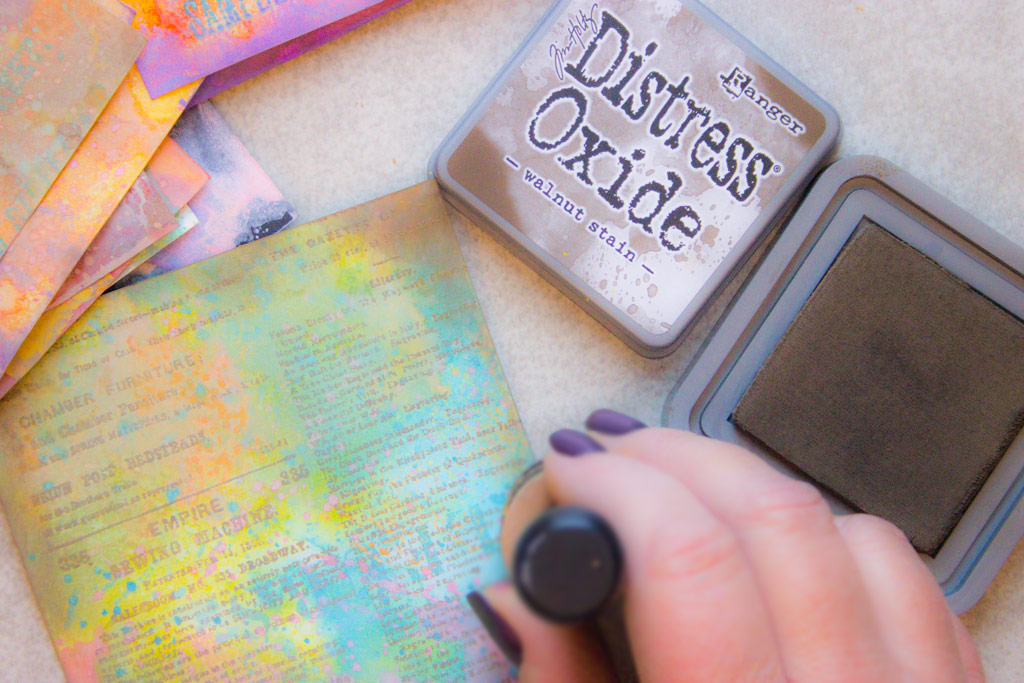
Here is a small sample of the papers created in just one session!
This experience reminds me of my first experiments with a Gelli Plate – the process is SO full of creative possibility that you just keep reaching for one more piece of paper!
I hope that you learn how to use distress oxide inks and that you have as much FUN as I did!
You may also like More Distress Oxide Ink Techniques HERE.
Thank you for visiting The Graphics Fairy today! It’s been a pleasure to share these experiments with you!
Stop by Thicketworks to browse around more Quirky Crafting Projects & Ideas…you’re always welcome there.
Until next time,
Heather




Connie Griffin says
I have never tried the oxides on glossy paper, I look forward to giving that a try. Beautiful results!
Karen Watson says
I’m glad you found something new to try from Heather’s post Connie!
Marie says
Hi there, Can an old dog learn new tricks?/ Not only old but registered low vision. Looks like the blog is no longer being followed but I only just found it. I have 3 different colours that I’ve had for ages and never used. I came upon your blog quite by accident and hope I can find it again. Fantastic tutorial. Thank you.
Marie P.
graphicsfairy says
Thanks Marie, so glad you found us 🙂
Linda M. Cain says
Brilliant!!!! Thanks so much for sharing. You’re the best.
Heather Tracy says
I love what you did with your Oxide Tag Linda!!! You are gonna have SO much fun with these. Yep. xox
Missy says
Would any of thes processes work on fabric. My granddaughter wants pillows like this for her bed.
Heather Tracy says
Hi Missy! Oh, pillows like this would be gorgeous! Alas, the Distress Oxide Inks will not behave the same way on fabric. But here’s an idea: it’s possible to actually design and print your very own fabric. One company, Spoonflower can do this. Other companies as well. You could create a set of glorious images on paper, scan them at high resolution and have custom fabric made! Otherwise, there are many fabric friendly products that you might be able to use to create a fun and colorful effect. Hope this helps. xox
Shirlie Rolston says
Loved your tutorials!! Just bought the first set of Distress Oxides and haven’t played with them yet bu am heading to my craft room right after this message to give them a try. They are absolutely beautiful.
Heather Tracy says
Yay! Shirley, you are going to have a blast with your Oxides…wish I could see the smile on your face as you watch them transform…xox
Nancy says
Great tutorial!!!
Heather Tracy says
Yay! So glad you found it useful, Nancy…thank you! xox
Kate says
Bought these inks on impulse and found your site when searching on how to use them. Fabulous tutorial. I especially like the results on my cheap photo paper. Thanks so much.
graphicsfairy says
Welcome Kate, so happy you found us and that you enjoyed Heather’s amazing tutorial 🙂
Kristy Tyra says
Yes, yes, yes, the oxides are a whole new “animal”! I absolutely love them! I don’t know when I’ve ever been this excited about ink! And your papers turned out beautifully. You gave me some new ideas to try…(like I needed a reason…lol)!
Heather Tracy says
Hey Kristy! Oooh…so great to hear from someone else who shares the FEVER! Woo hoo! I know I’ll be using (and loving) these inks for years to come. Thanks for the nice message, my friend! xox
Diana Ramsey says
HOLY TOMOLEY. That was intense. Really appreciate you showing exactly what you did! I have only 3 colors so far, but now I plan on getting some more. That was beautiful. Stunning. Love what you did, and cannot wait to try all of what you did! Too many exclamation points? Not enough!
Heather Tracy says
Hey Diana! See – this is how EXCITING the inks are!!!! I could have gone on and on and on, my friend. You are going to have an AMAZING time playing with ’em – and I’m sure you’ll find many ways to surprise and delight yourself – just like I did!
What a treat to find your message this morning – just made my day! Thanks for sharing the enthusiasm for Distress Oxides and all their potential! xox
Rupa says
Well, the sad story about my reg DIs is just that they are not used often enough because of time constraints as well as me starting many projects that don’t necessarily use DIs. Rest assured they are all well loved and cared for but a bit neglected….That’s why I bought DI pad refresher.
Heather Tracy says
Oh, Rupa…those Distress Inks will be there, waiting patiently for the day that their owner is able to roll up her sleeves and get massively inky! Of course, I won’t even BEGIN to bore you with the long lists of wonderful tools and supplies that are languishing in MY care! Never enough time, SO many ideas! xox
graphicsfairy says
Thanks for the update Rupa 🙂