Hello, Graphics Fairy friends!
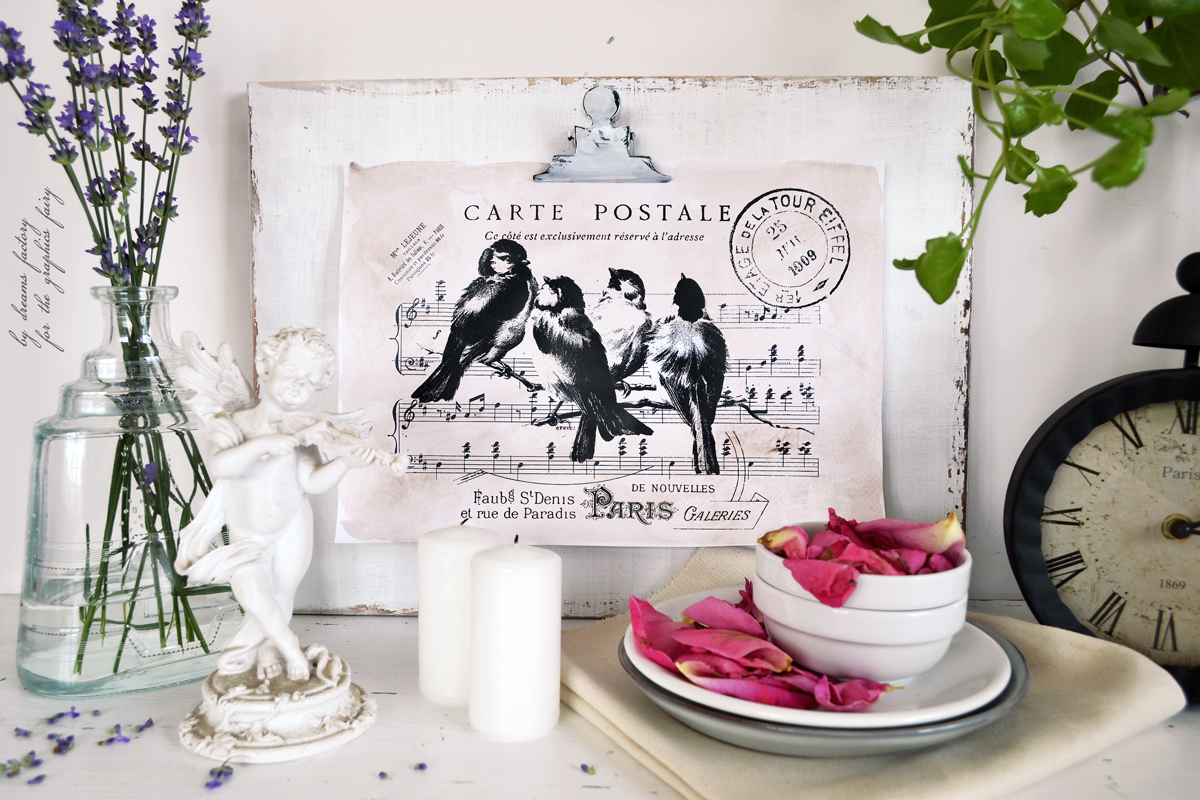
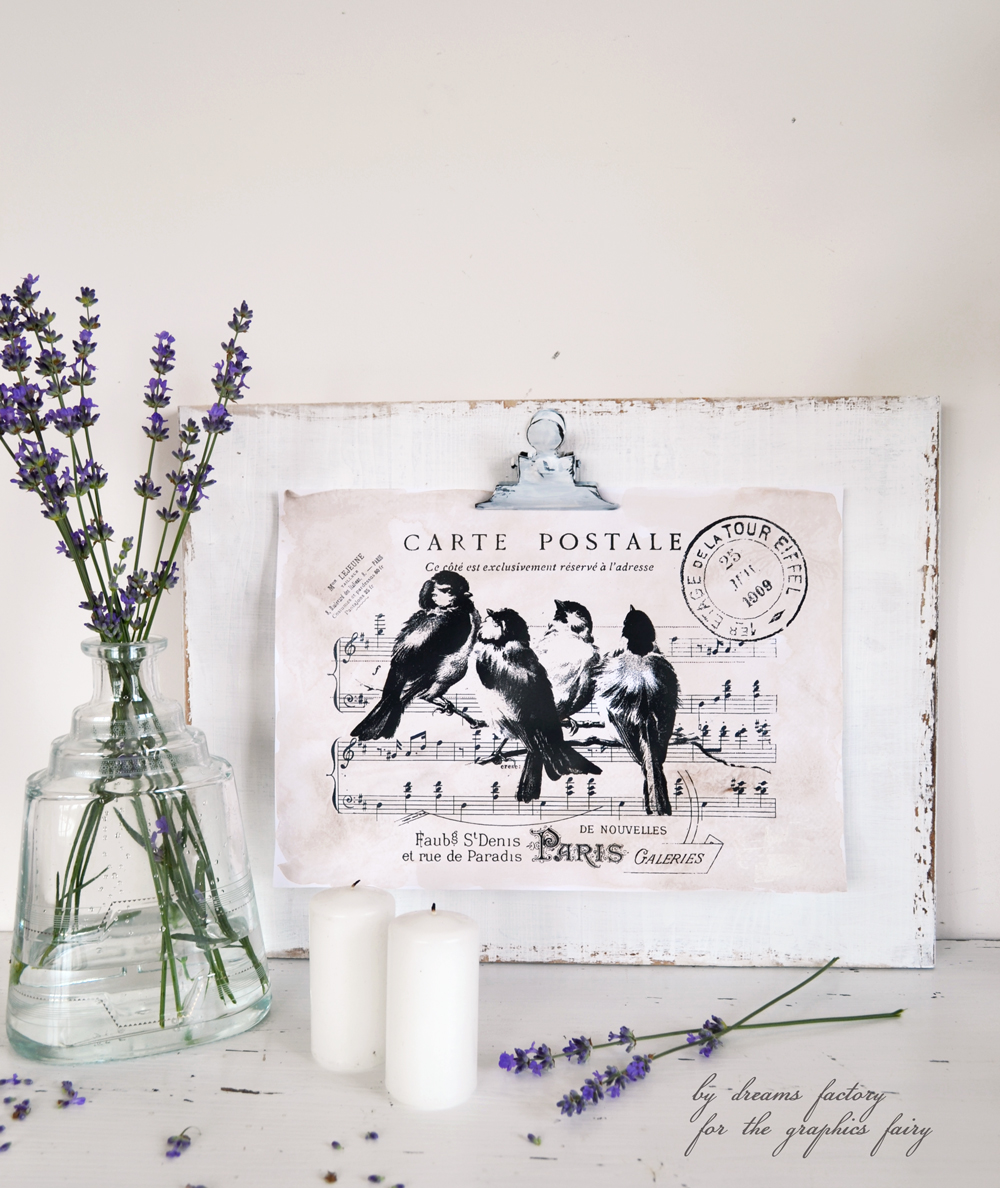
I’m Diana from Dreams Factory and I’m back with a chic DIY project that I couldn’t wait to share with you today! Get ready to embrace your inner creativity once again, as I’ll walk you through all the steps needed for creating a simple yet amazing distressed clipboard frame. You’ll be able to beautifully display all your favorite vintage graphics everywhere you want! 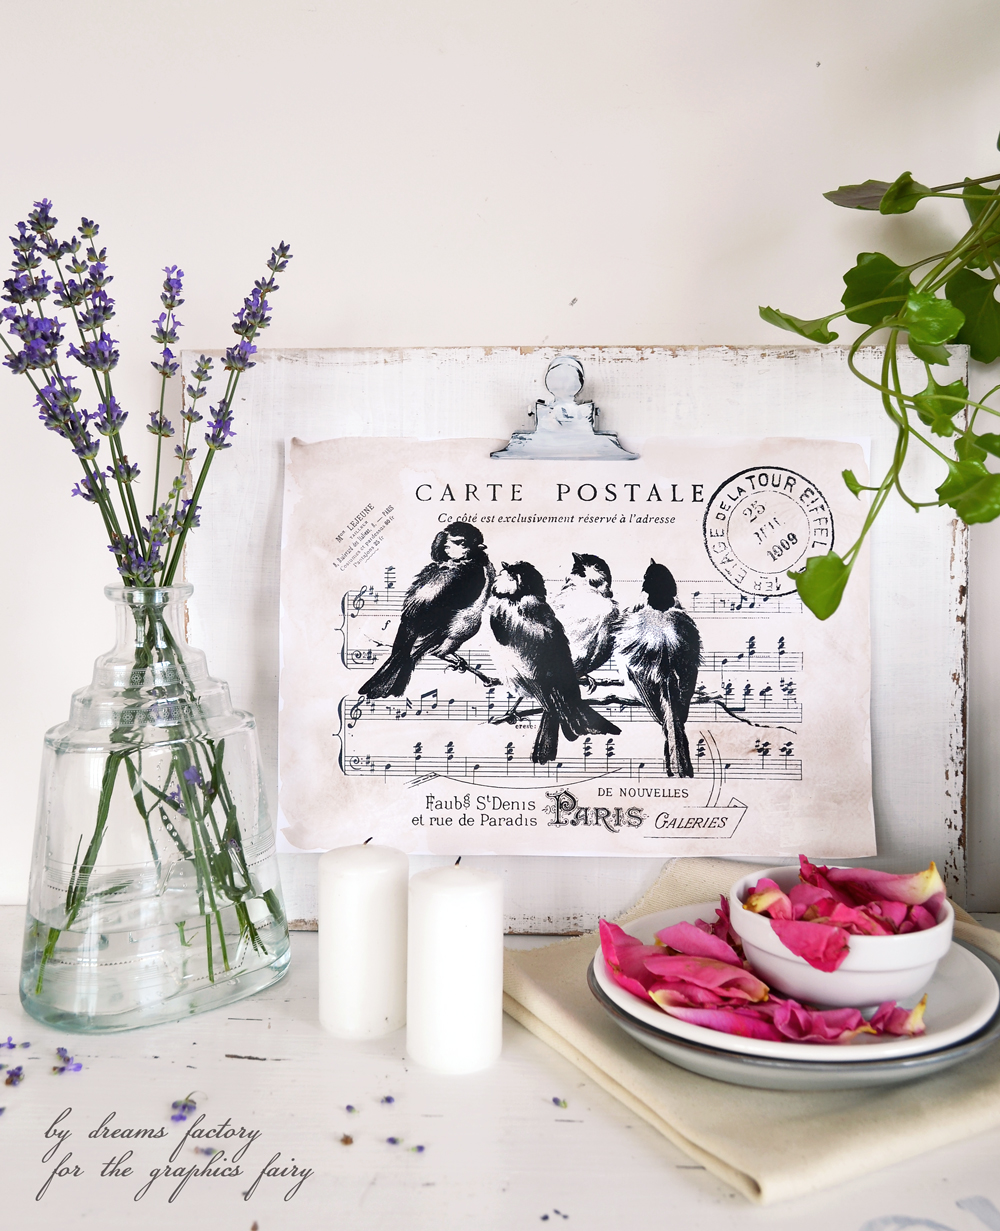
You will love this project because:
- it’s easy to make
- it’s inexpensive
- it’s highly versatile & adaptable to any season
- it looks like a high-end decorative piece
- it’s perfect for your home
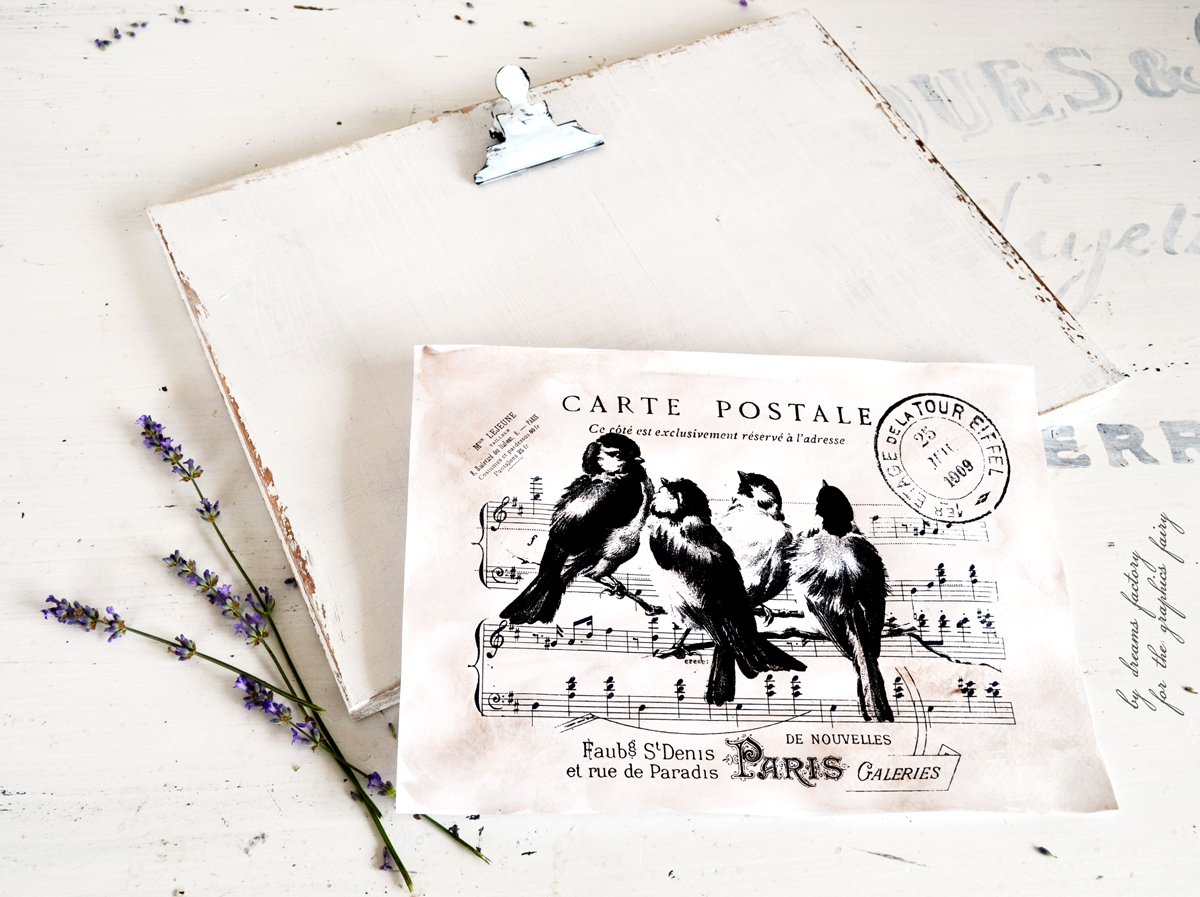
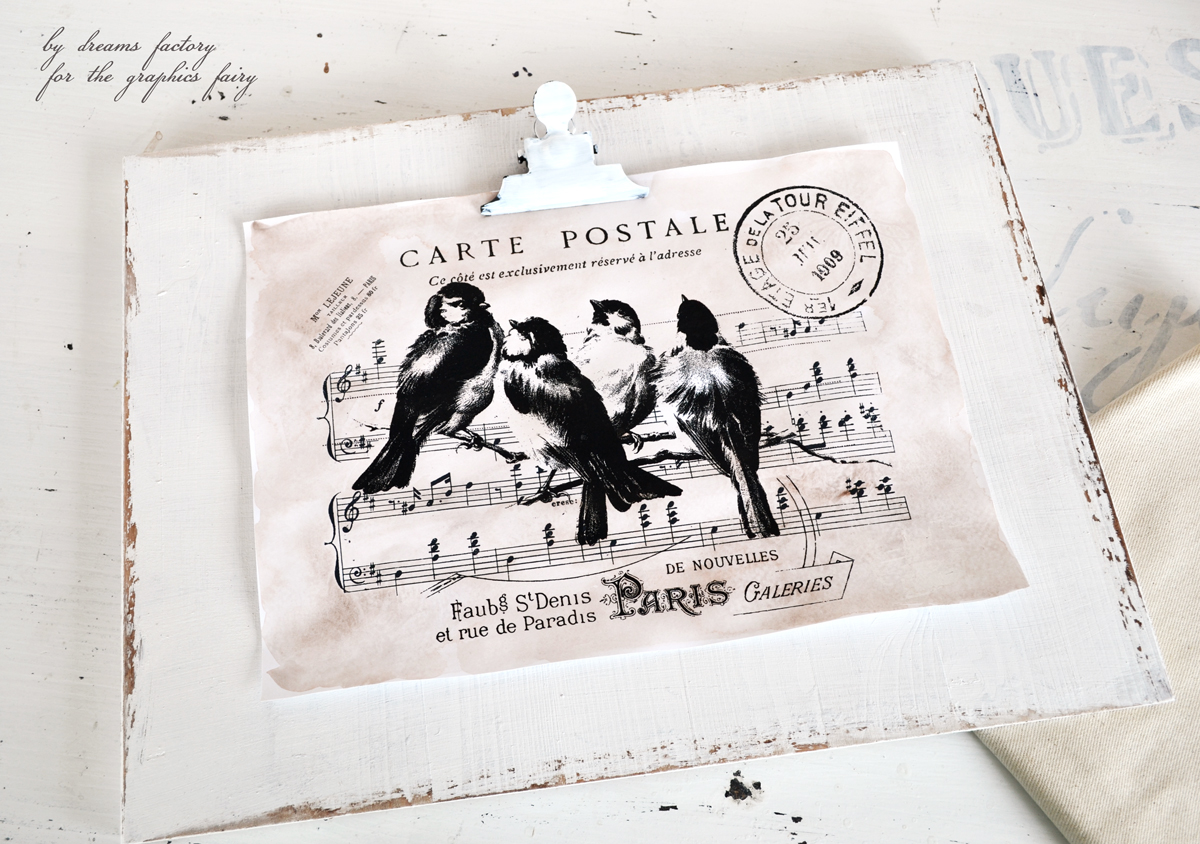
- it includes a beautiful free printable that I created for you using some amazing graphics from The Graphics fairy – a French postcard collage with music notes and some adorable birds
- I’ll show you how to age to perfection the French postcard
{This post contains affiliate links}
Distressed clipboard frame for your favorite vintage graphics
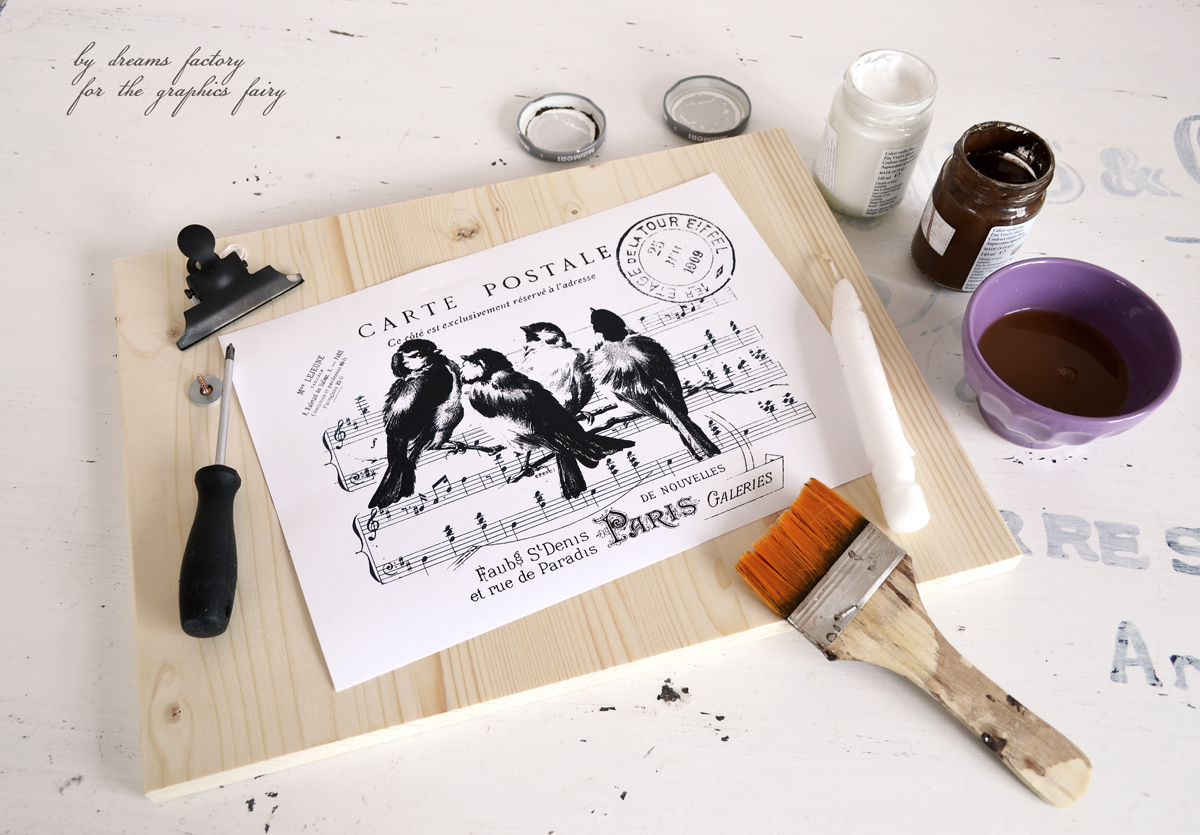
Supplies:
- 11.8 x 15.7 inches wood board (Metric Version 30 x 40 cm )
- brown acrylic paint
- white acrylic paint
- brushes
- candle wax
- sandpaper
- folding ruler
- screwdriver or driver drill
- metal clipboard clips
- cardstock paper
- printer
- matte finish spray
- free printable – French postcard
—-> Click HERE to Download the Full Size Printable PDF <—-
Here are just a few quick notes before actually making the distressed clipboard frame.
I choose this size for my wood board because I wanted you and everyone trying this (no matter where in the world you or they live) to be able to easily make the clipboard and use their home printer in the process. We could name this clipboard a universal suitable-to-all-needs-size-frame because it will fit both US Letter and A4 size printables.
If you want to further customize the sizes of your wood board (using any scrap wood you may have around), you can definitely do that! Just find the sizes that perfectly fit your needs and start experimenting! 🙂
For painting and distressing the wood board I followed the same steps I showed you in my last project shared here on The Graphics Fairy – a French Farmhouse Trays made from scraps. The whole process is basically a really simple layering procedure, I use it for all my painted and distressed decorative pieces and I just love it!
I choose brown and white acrylic paint as my main colors, but you can also choose any other two contrasting colors – use your favorite colors or ones that you can easily adapt to your home decor.
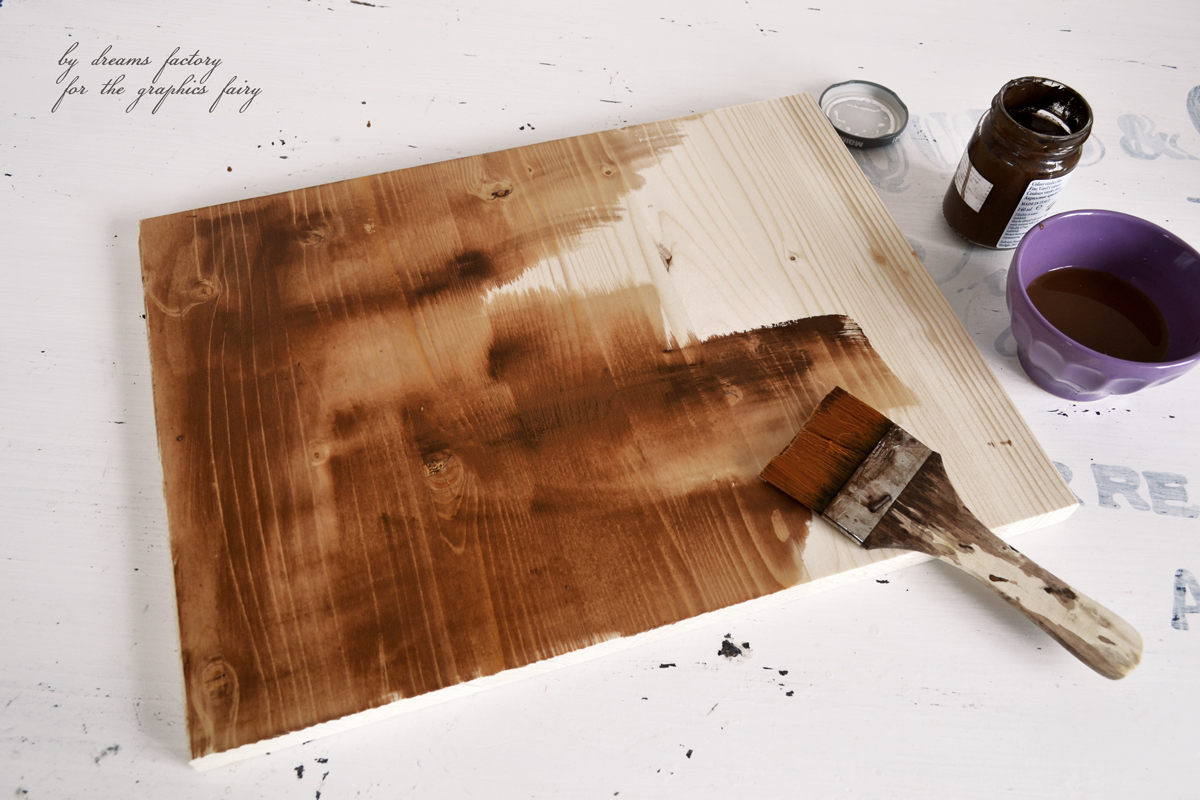
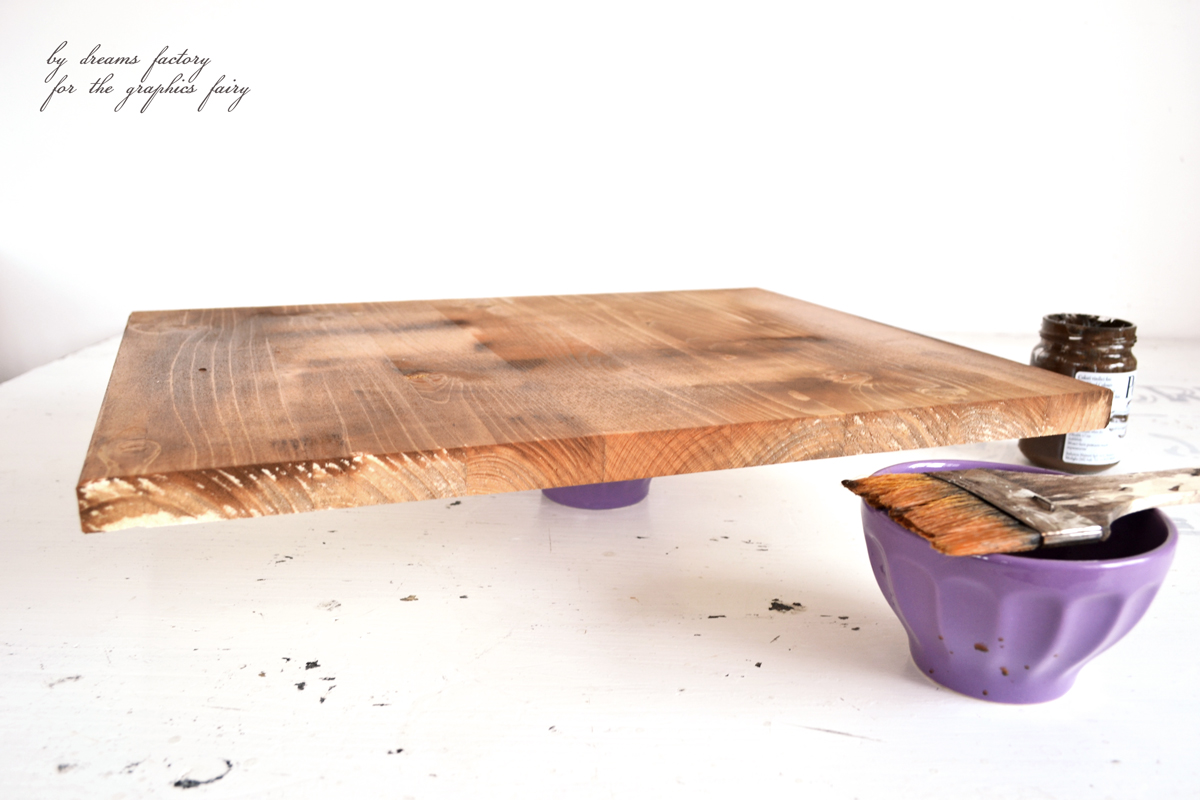
- Stain the wood board with highly diluted brown paint.
Make sure you also stain the edges! I put the wood board on a small bowl for this step and slowly rotated it as I gradually painted the edges.
Let the paint dry.
If you are more into rustic farmhouse style and you love this stained look, you should skip the following steps and move directly to step 6 – attaching the metal clip. I will totally understand that, those wood grains are just amazing! 🙂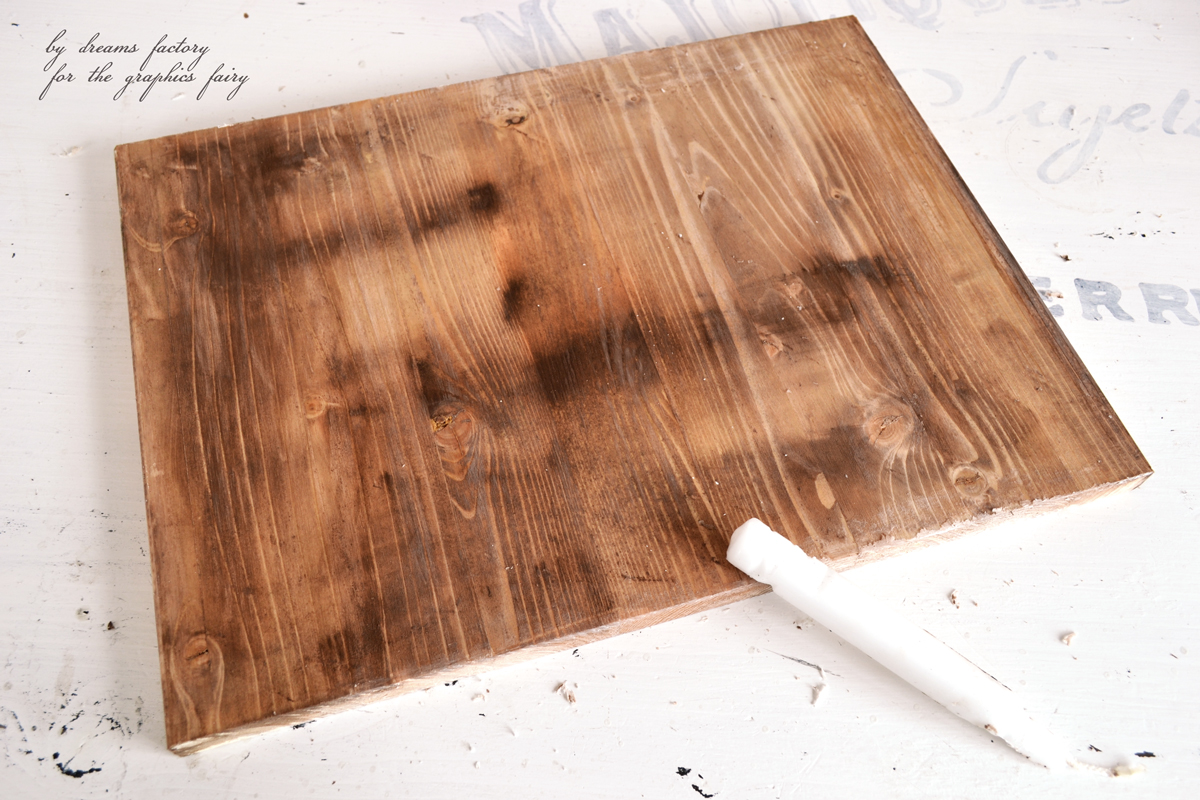
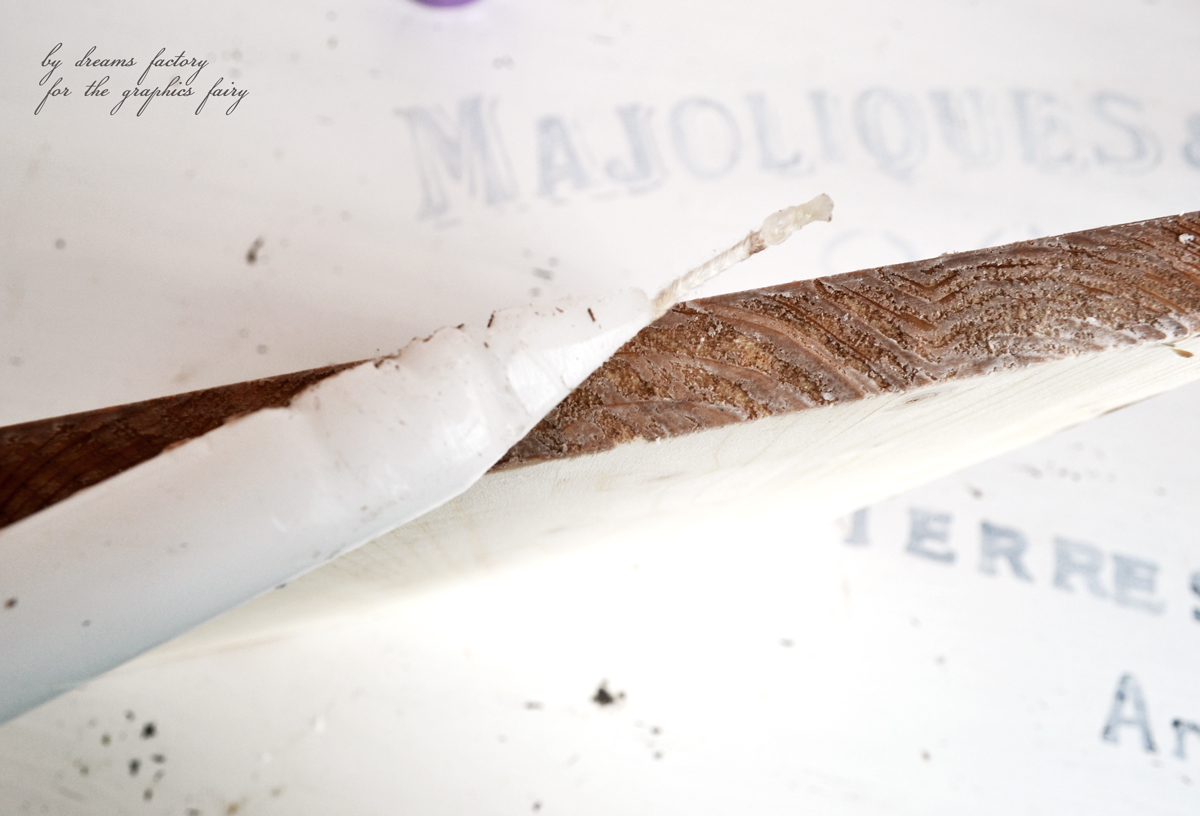
2. Use a candle and rub all the margins and the edges.
This step is really important to get a beautifully distressed look afterwards!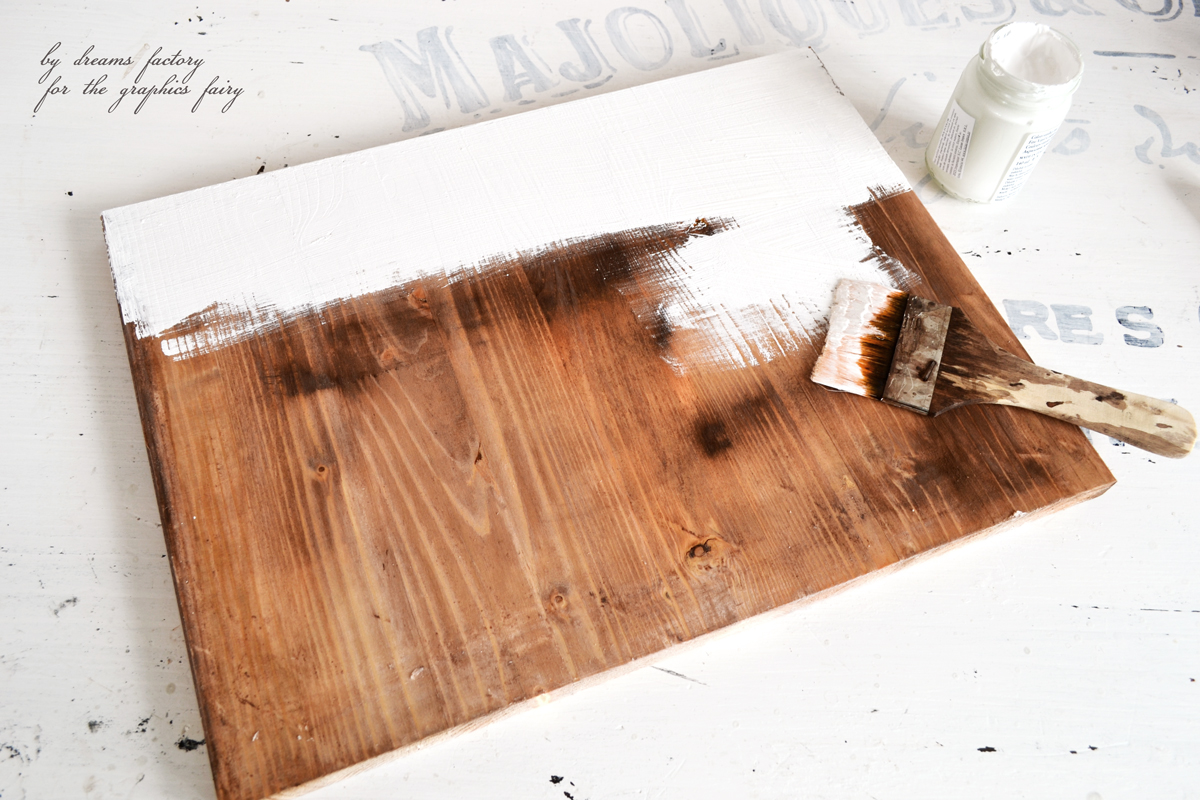
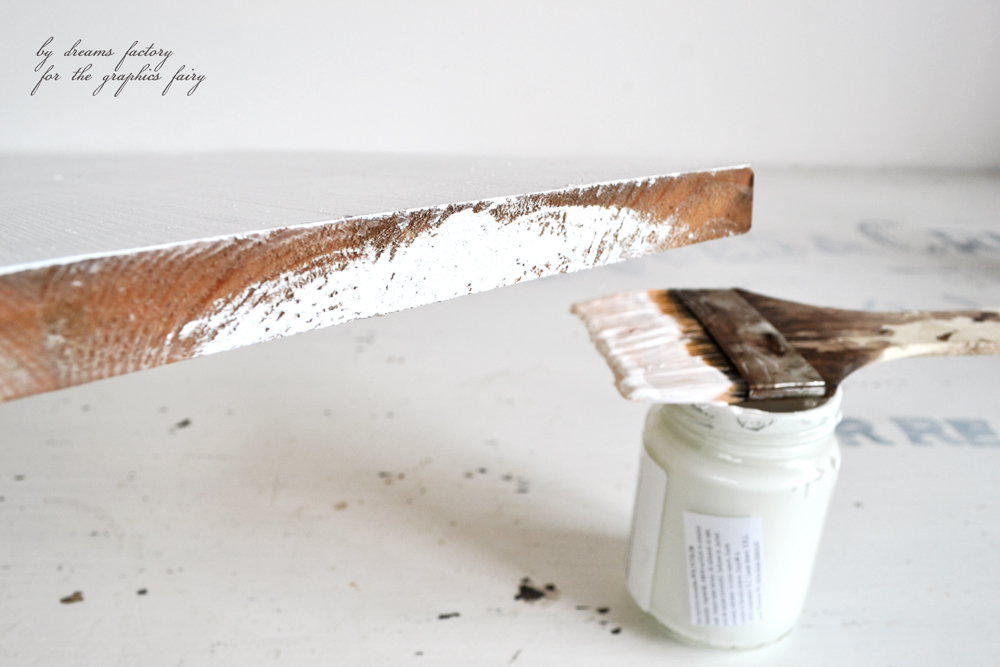
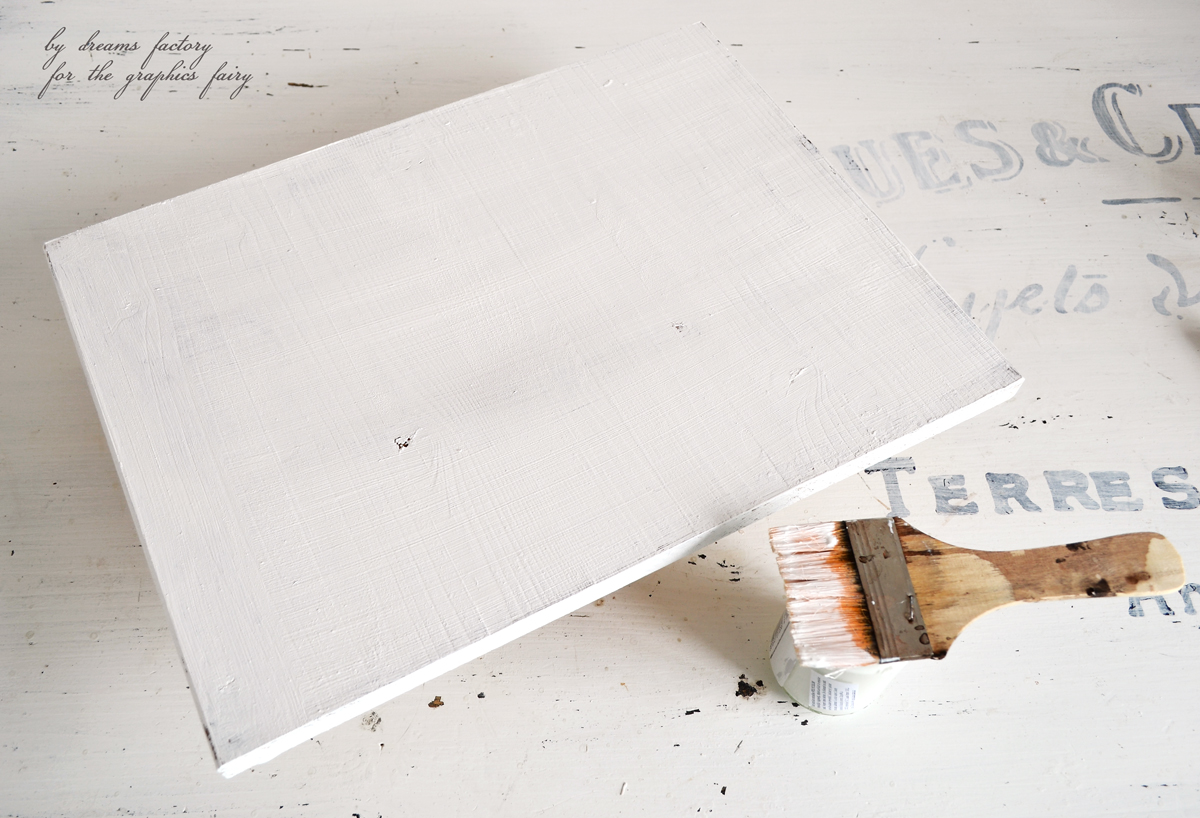
3. Paint the wood board white.
And also brush and cover all the edges with white paint.
Let the board dry.
4. Use your home printer and print the French graphic on cardstock paper.
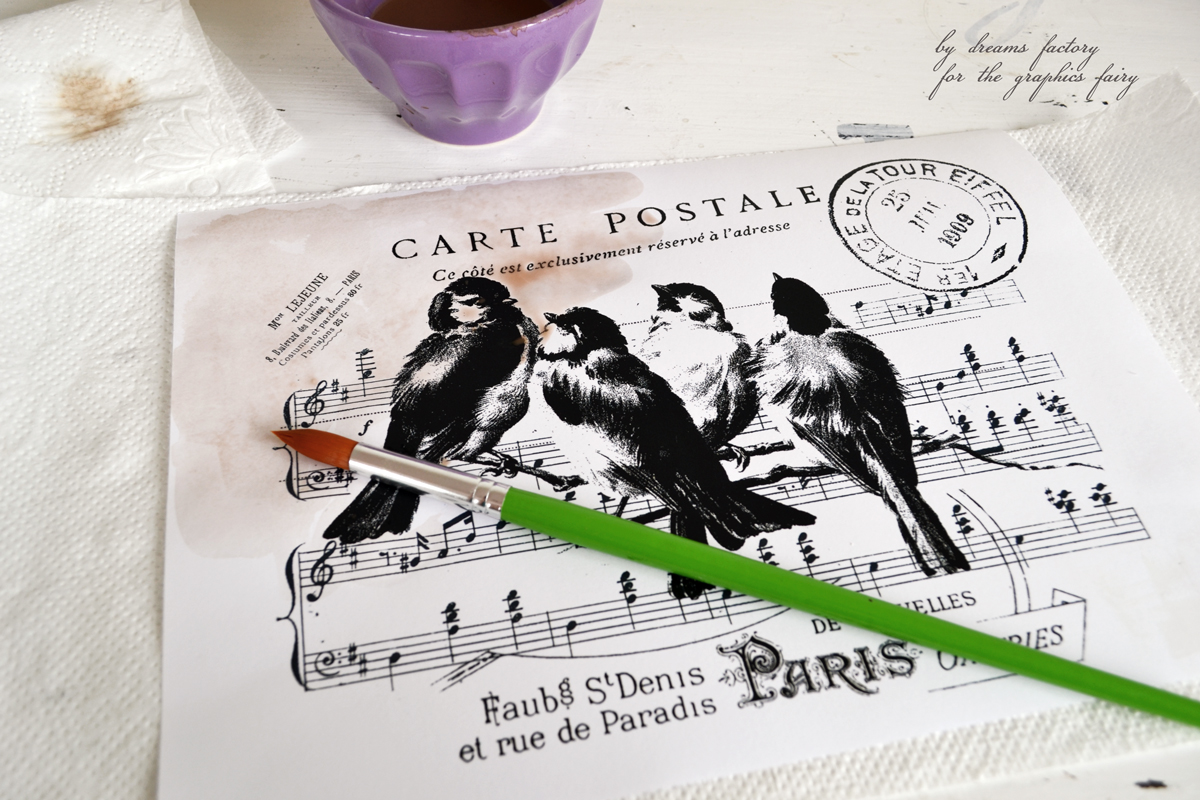
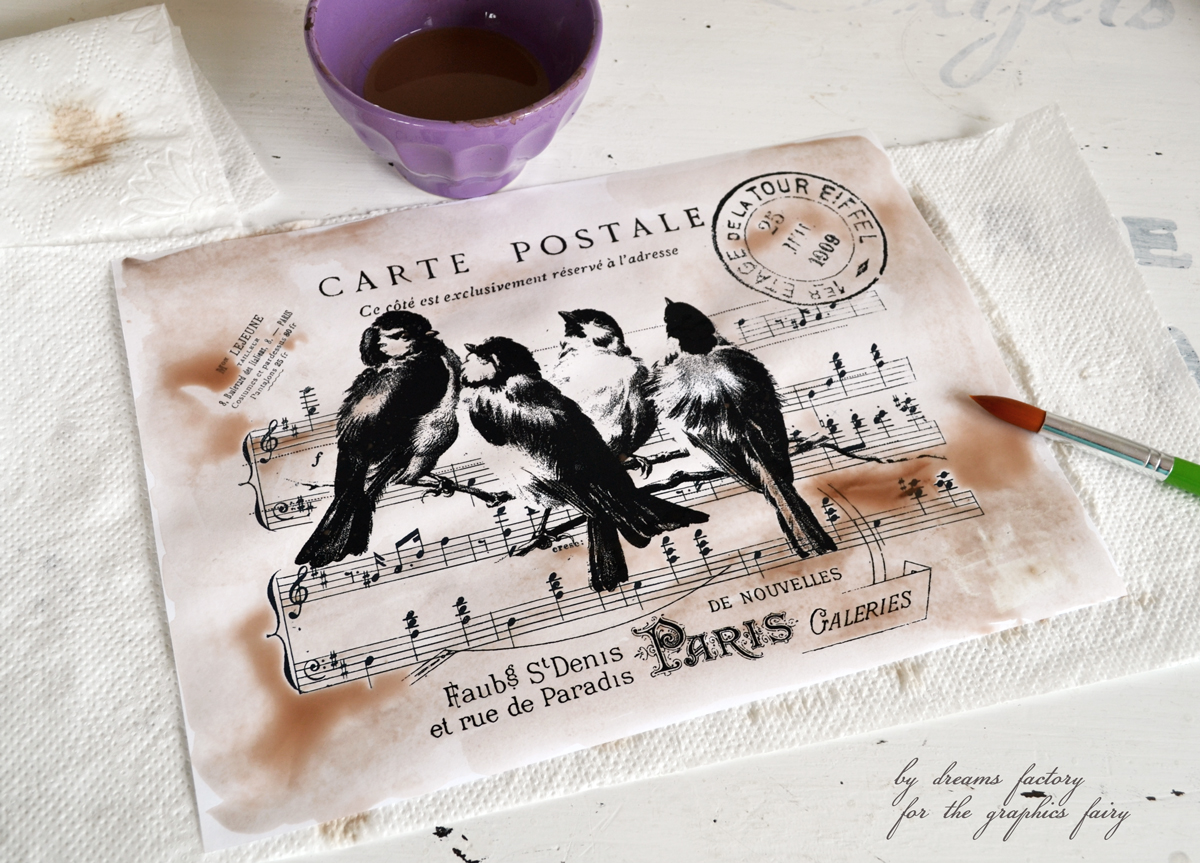
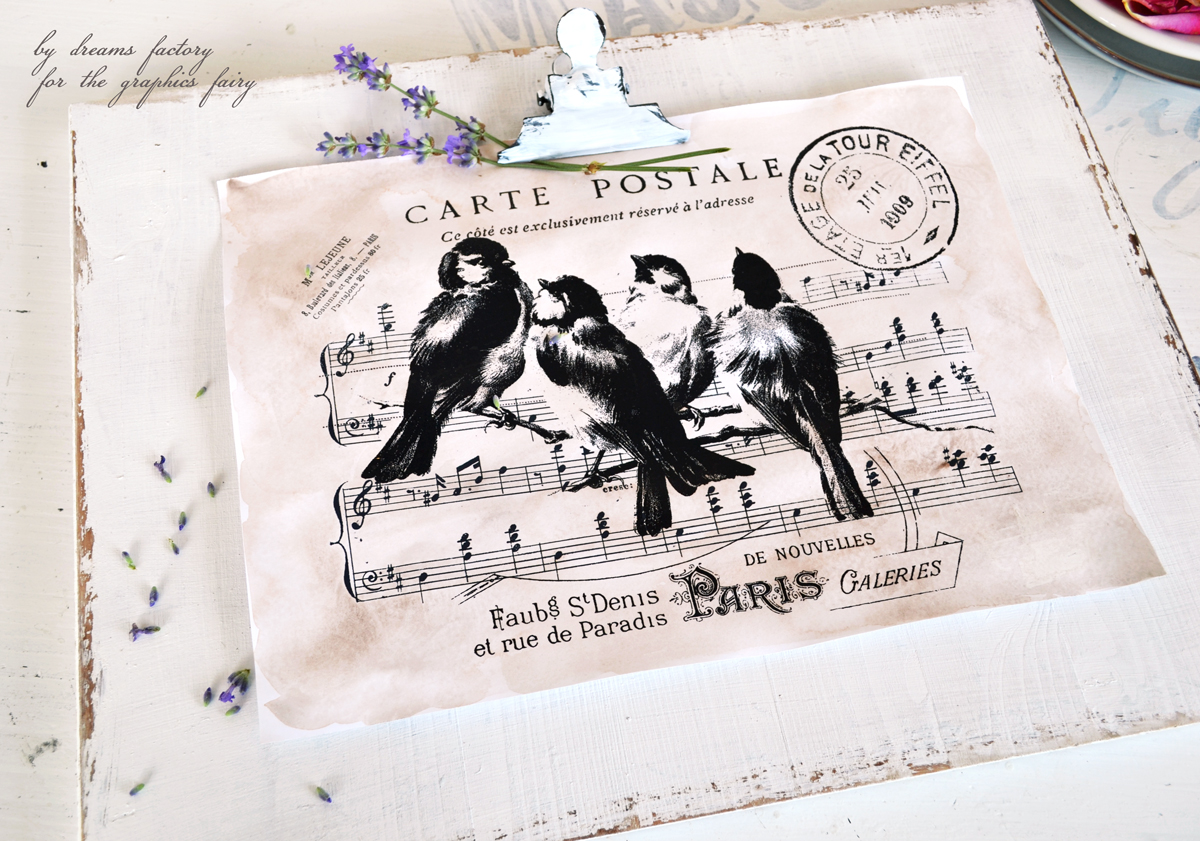
While the white paint dries, let’s get wild and stain the cardstock paper too! 🙂 I used some more highly diluted brown paint and a watercolor brush to give my printable a distressed look. You can also use strong tea, coffee … and even a pinch of cinnamon to make things more deliciously stainable:) This step is totally optional, but it will give your printable a worn, Vintage look and feel.
You can make this really fun by working in layers. It’s a little bit time consuming because you will have to let the paint completely dry before adding the next layers, but you will get a truly unique aged piece when finished! I took these photos while the paint was still wet, just keep in mind that the paint will fade in intensity after drying. Let the cardstock paper dry before using it.
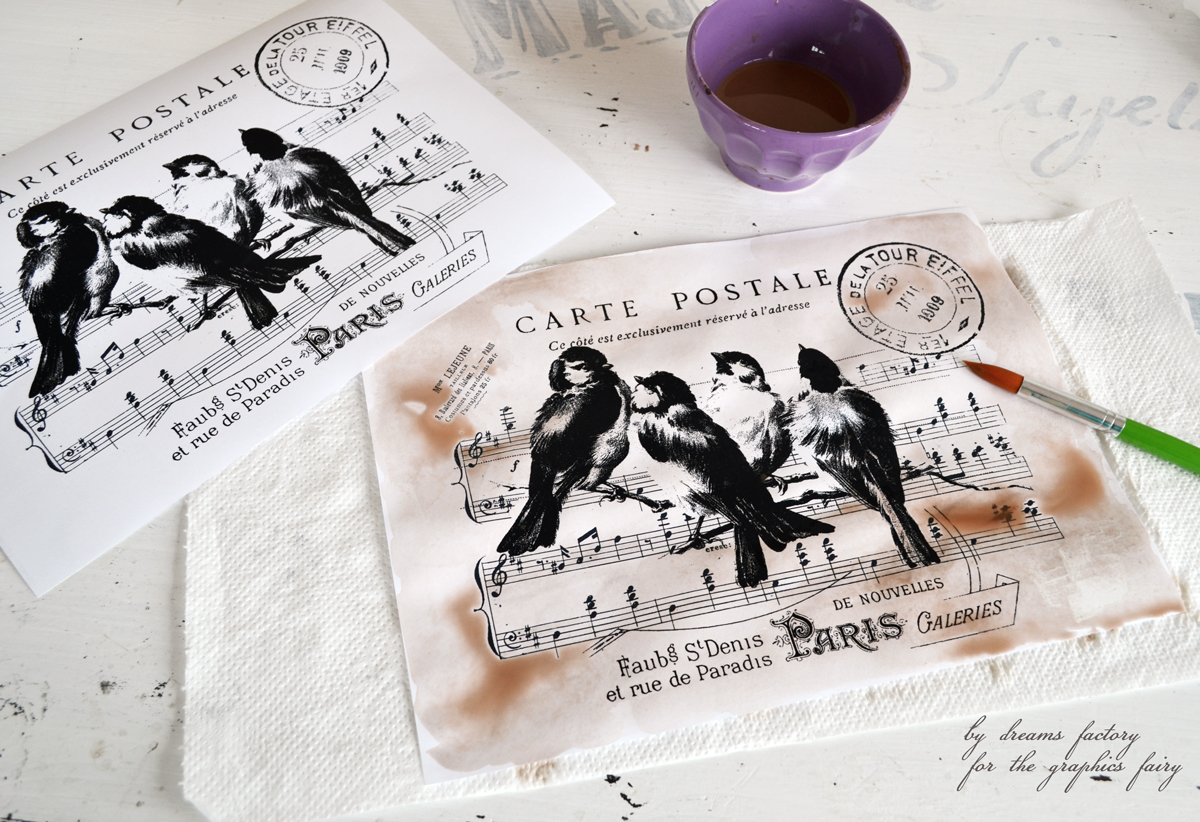
As you can see the paper already started to curl while adding the first layer of highly diluted paint, this is totally normal when working with so much water. If you want to flatten the paper again, you will have to let it dry completely and put it between the pages of a big, heavy book.
I didn’t do that, because I really loved the curling effect! 🙂 I think it brings character to the whole idea of creating a Vintage look so I just decided to use it like that!
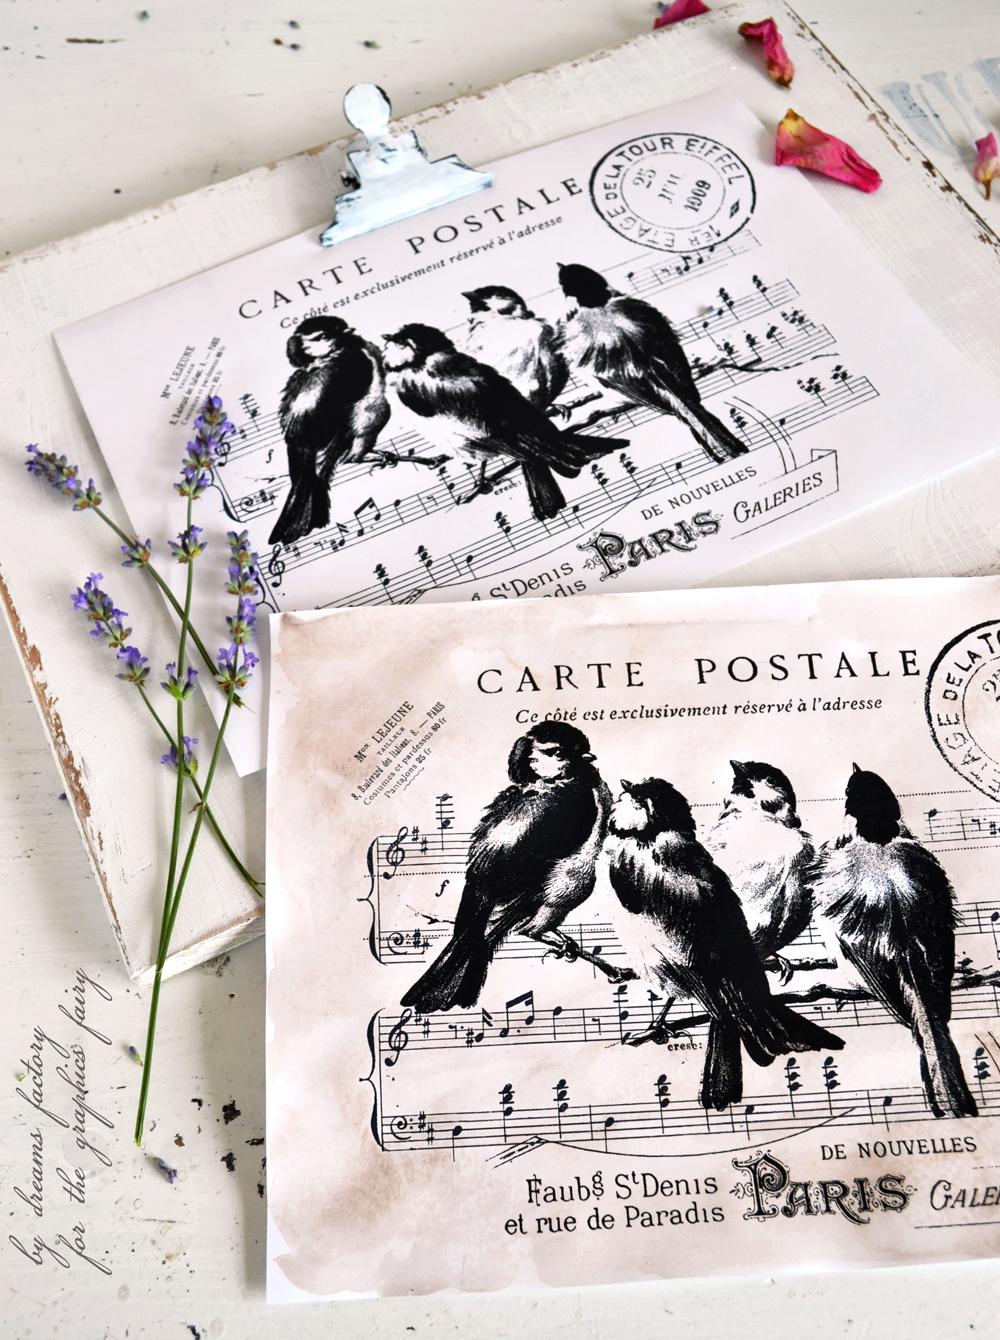
Here you can see a regular piece of cardstock paper against a beautifully aged one! What an amazing difference a little bit of paint can do, wouldn’t you agree?
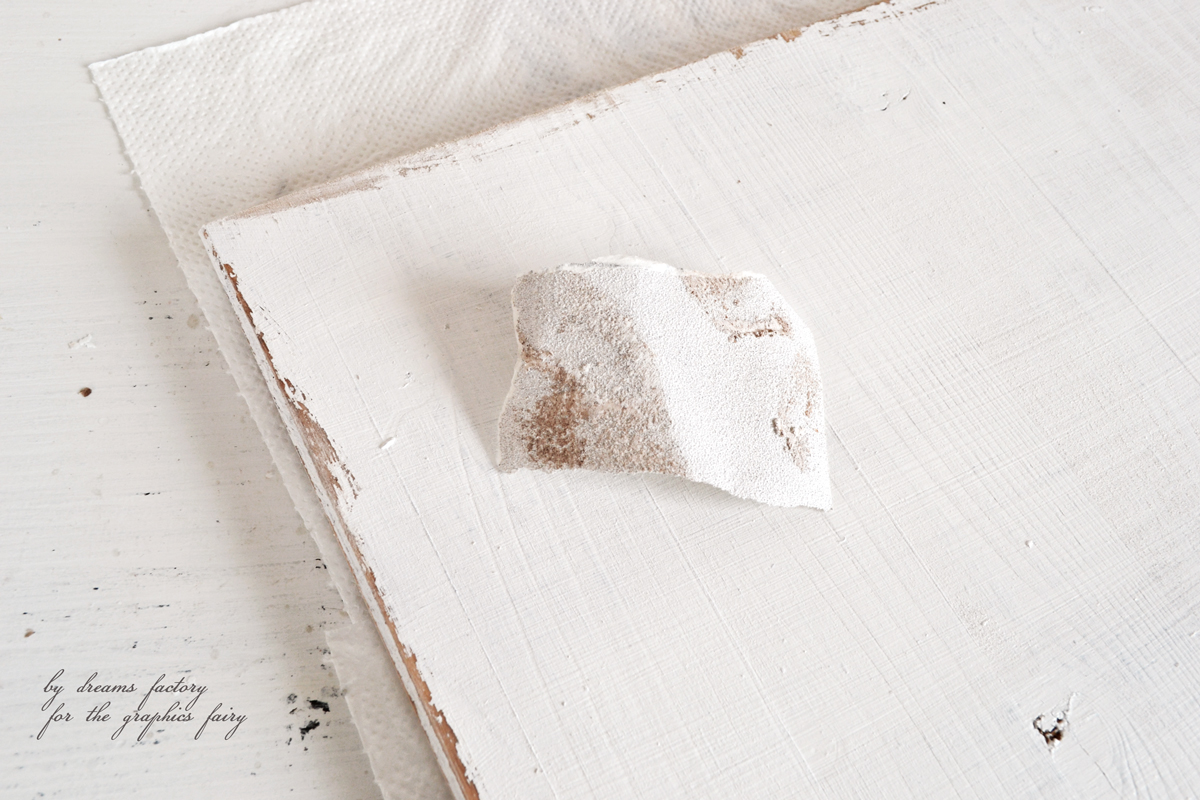
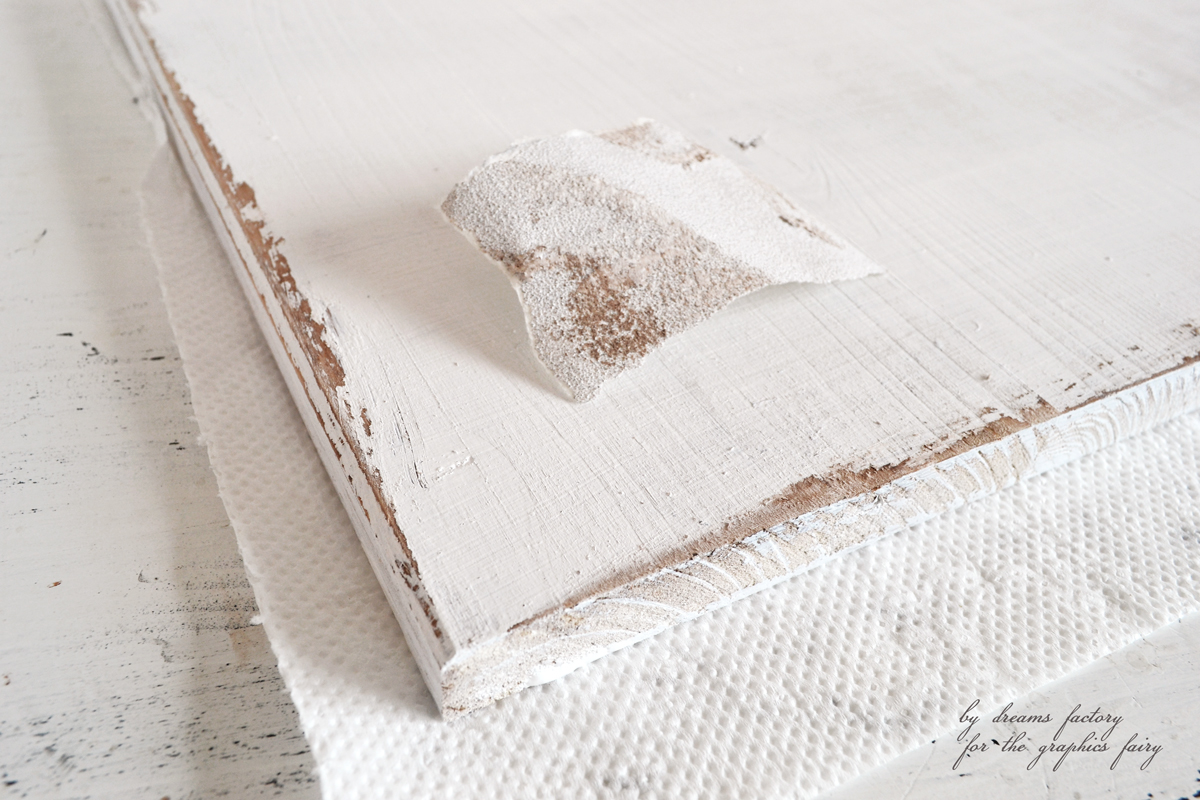
5. Move on to distressing the margins and the edges of the wood board.
The candle wax that we used before will help showing the brown paint underneath. Simple and beautiful!
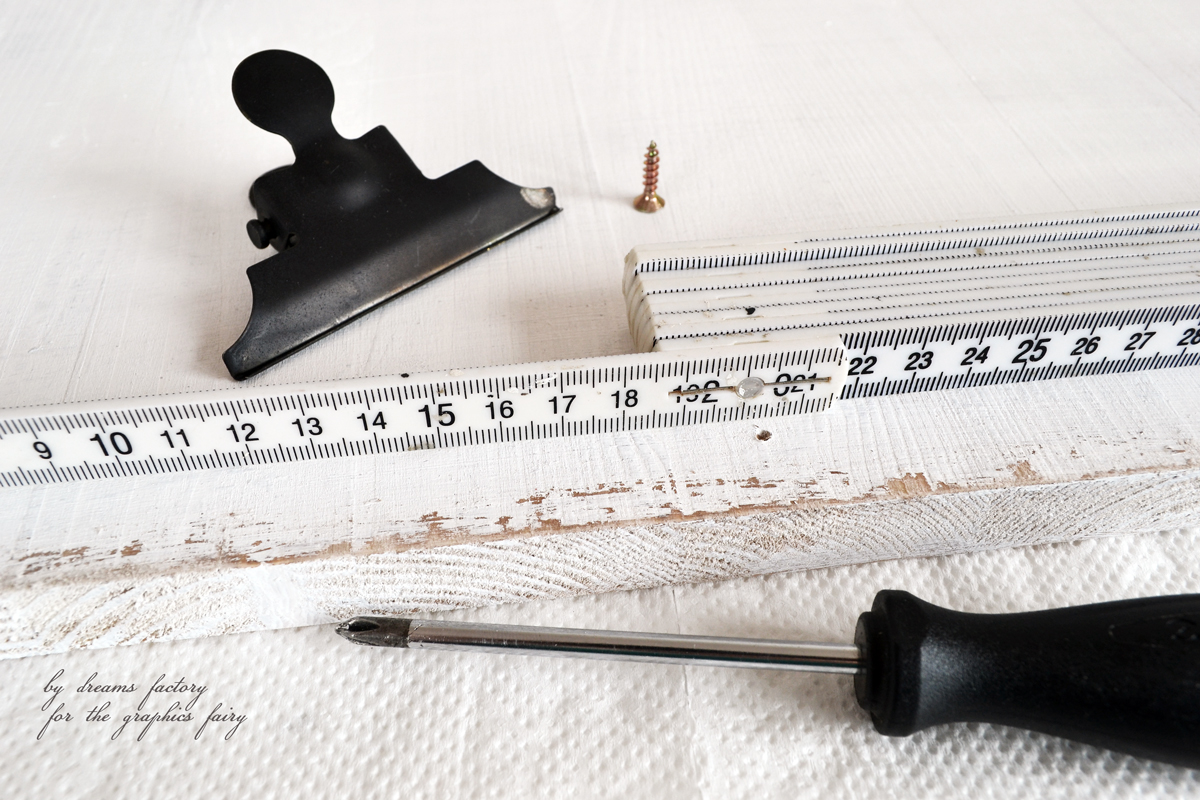
6. Measure and attach the metal clip (put your printable on the wood board first and determine where to attach the metal clip).
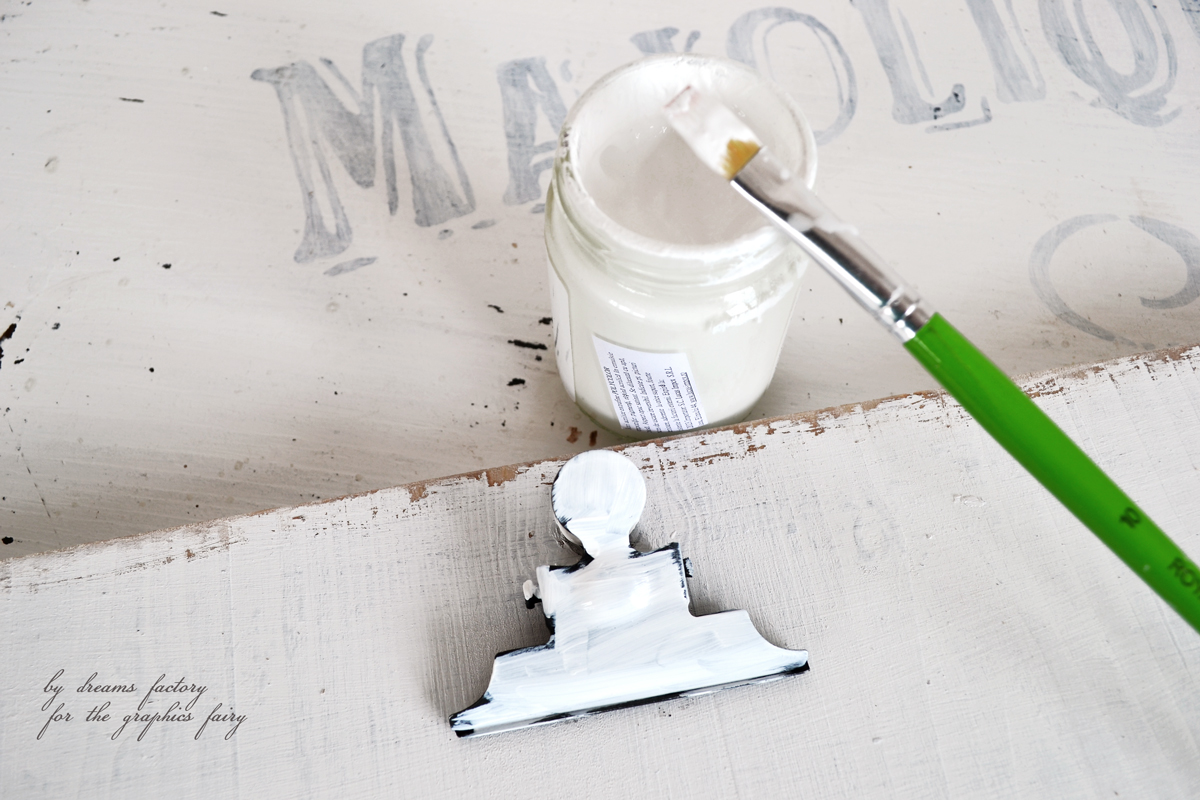
7. Paint the metal clip white or use it like it is.
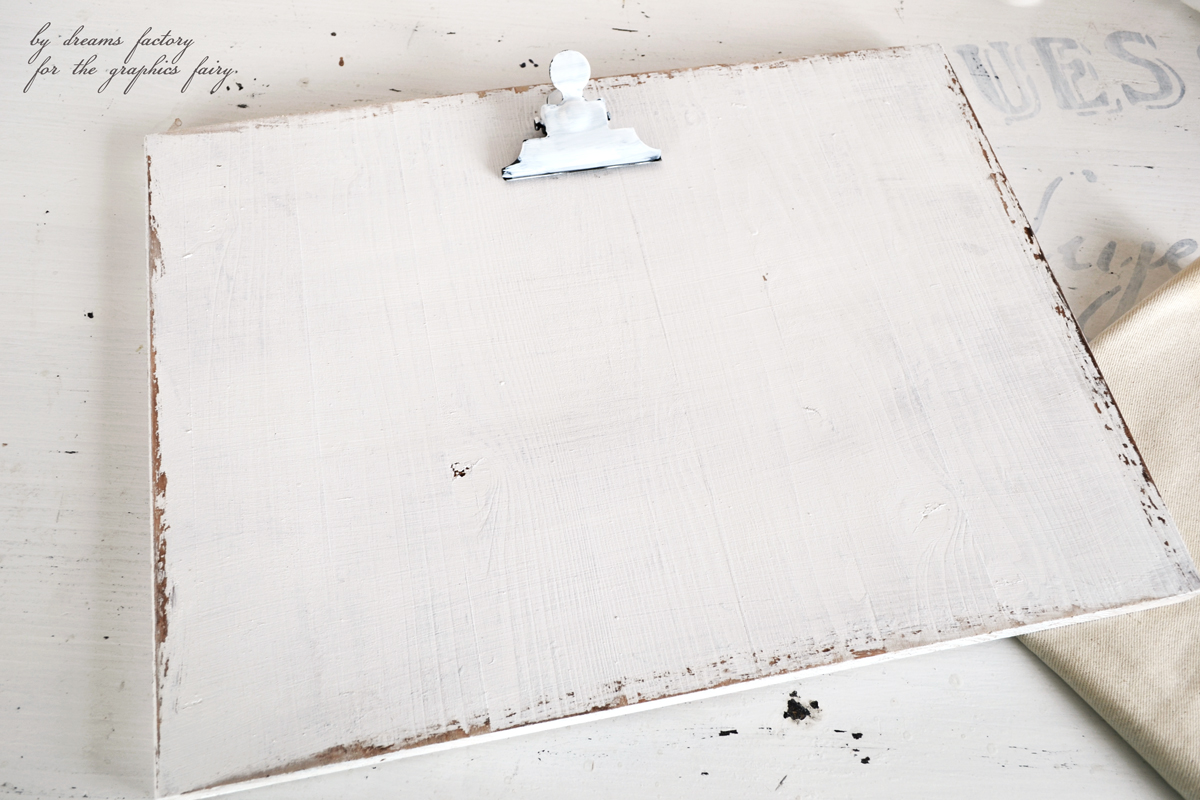
8. Seal the whole piece with a matte finish spray and let it dry.
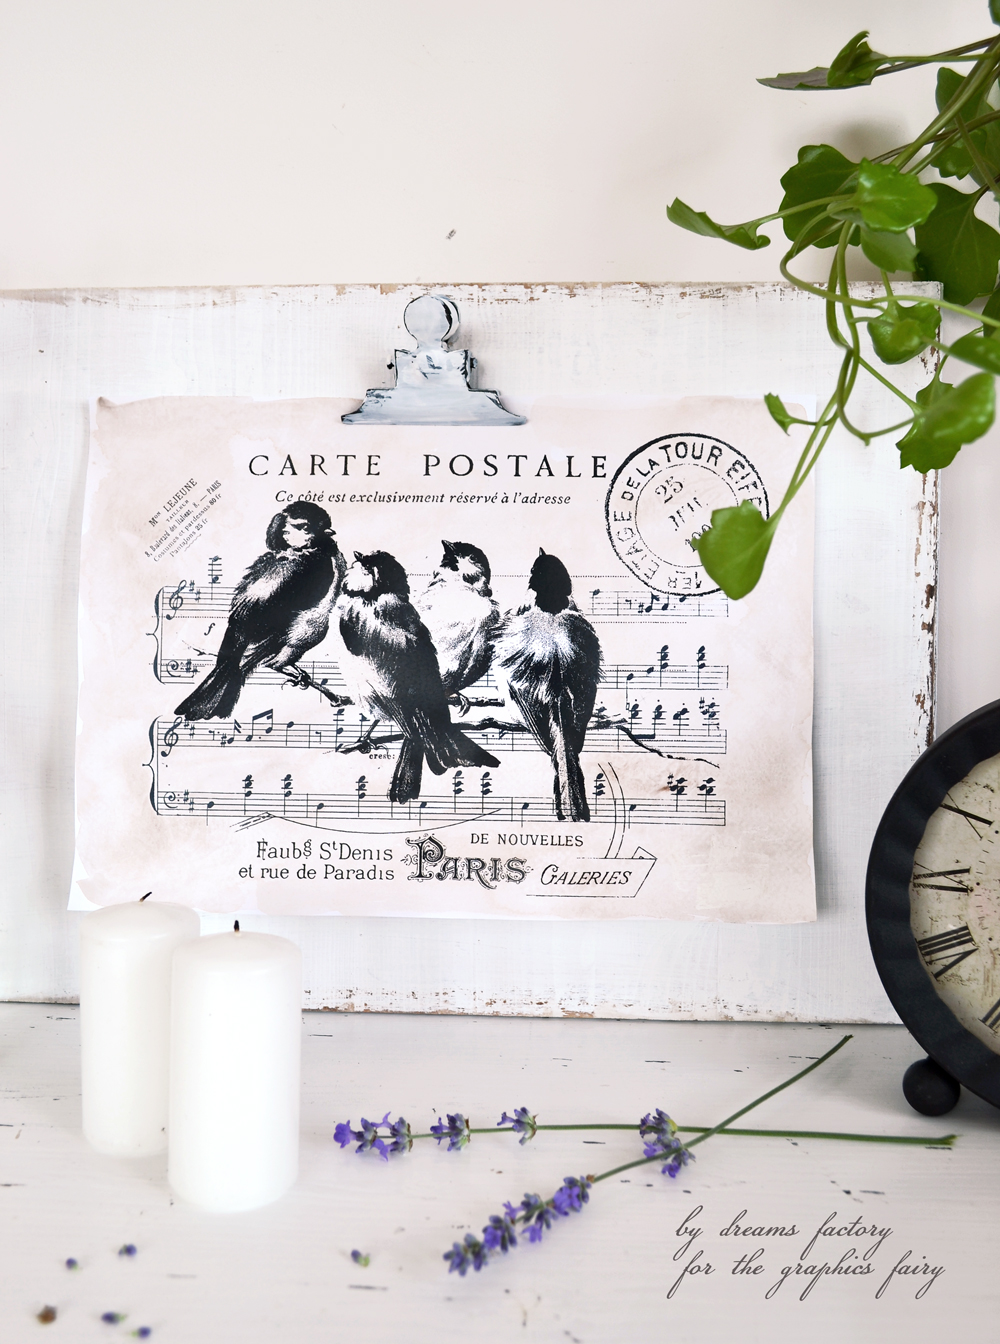
9. Enjoy your new & amazing distressed clipboard frame!
With its unique & beautiful stained French printable!
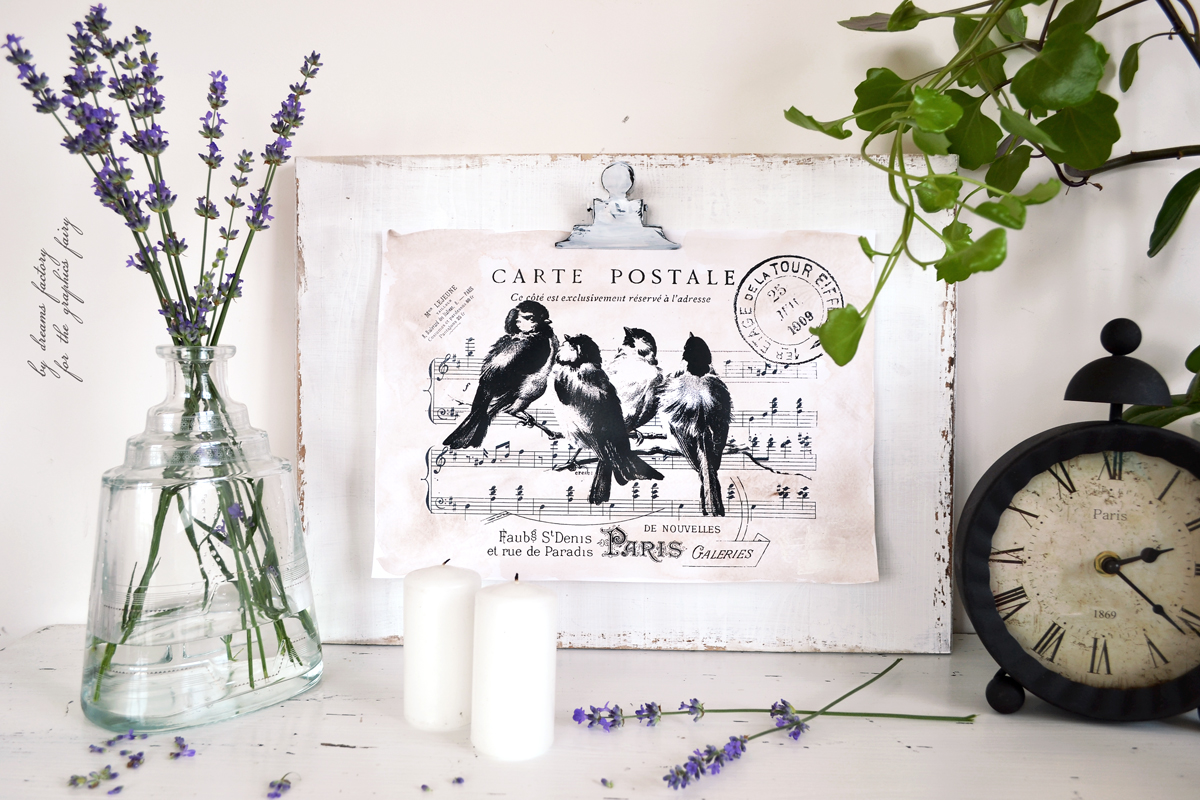
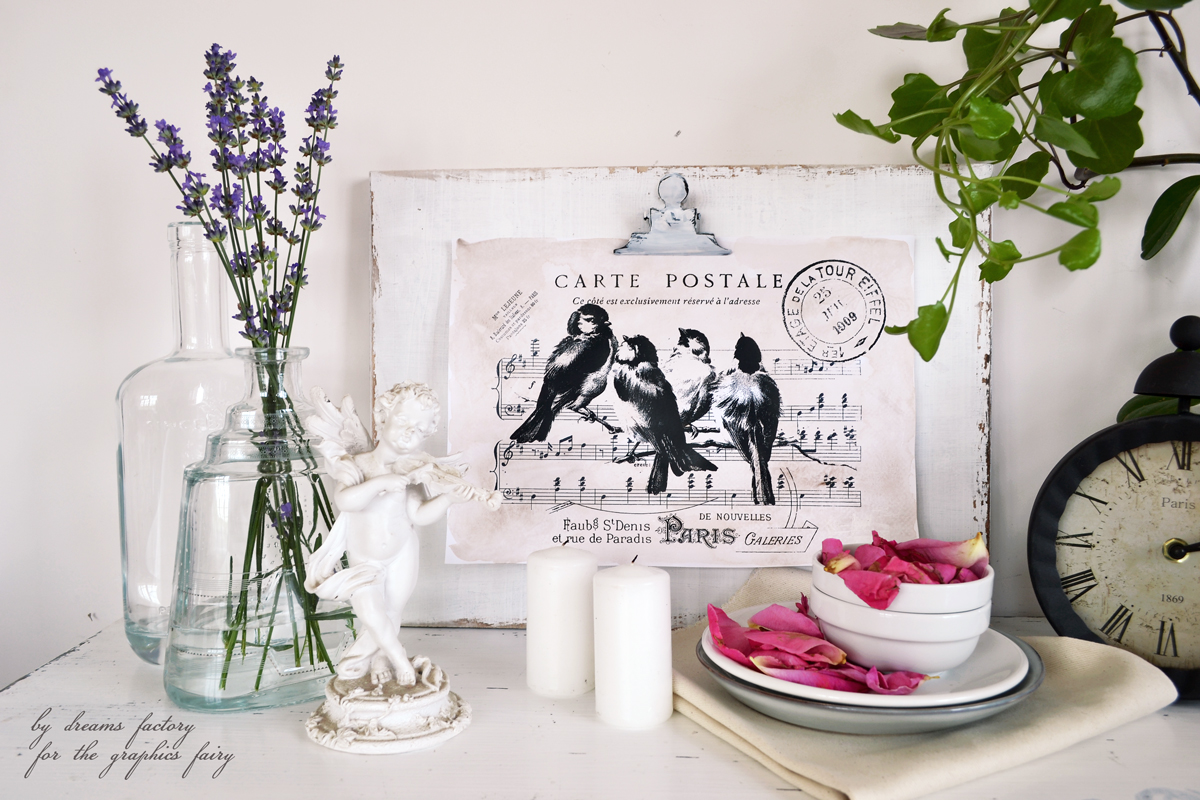
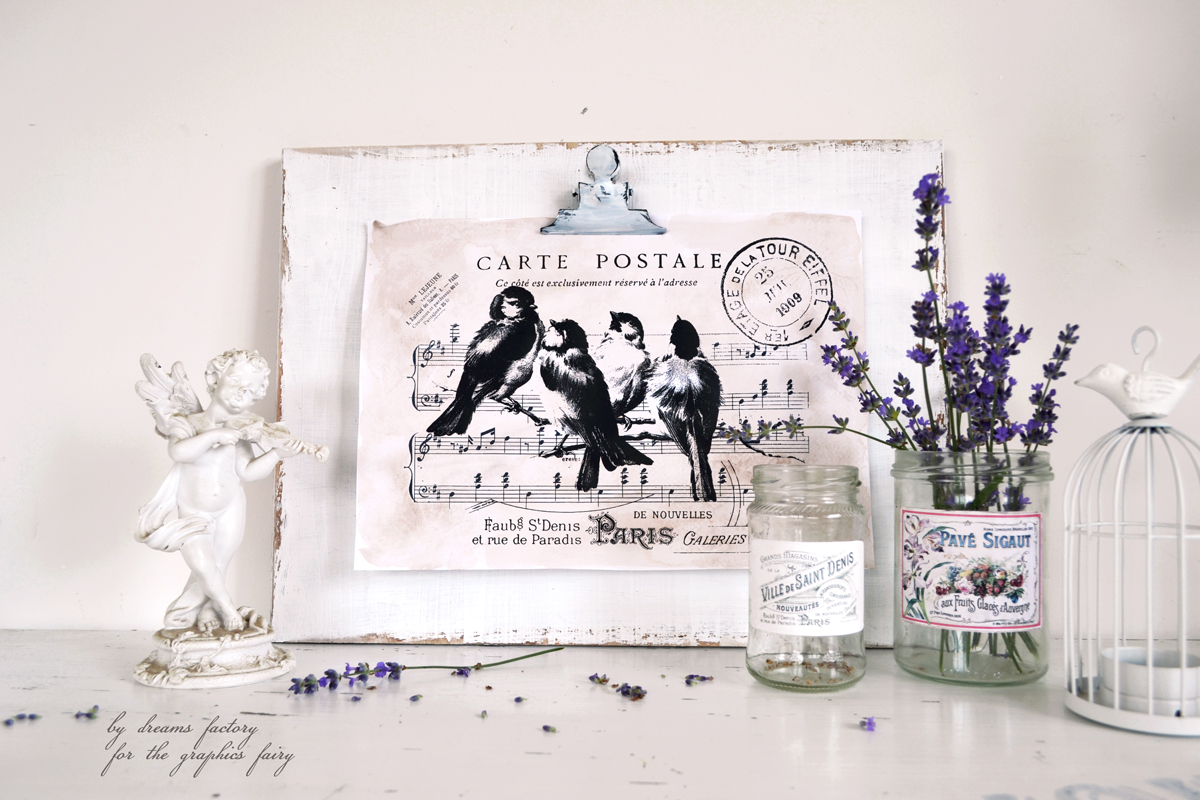
Make a few more of these and place them in different areas of your home.
Creating chic vignettes with other decorative items you have around has never been easier!
My Vintage French Apothecary Jars would also look great with these!
And if you ask me, the distressed clipboard frame and the vintage printable would make an amazing handmade gift for family and friends! I would sure love receiving these … if I couldn’t make them on my own! 🙂
Hope you like my project and decide to give it a try! For more chic projects you can visit my blog – Dreams Factory, would sure love to see you there!
Don’t forget to smile,
Diana



Helga says
Trank You, Diana for this wonderful and easy to Follow Stepp by Stepp Explanation.
I will Use this Board for my own watercolor paintings, so I can change them quick and easy.
Greetings from Germany.
graphicsfairy says
Greetings Helga,
Thank you and what a wonderful use for it! Thank you for sharing 🙂
Julie Kitchener says
Wow just gorgeous!
graphicsfairy says
Thanks Julie!
Judy says
Thank you so much for this idea. I can’t wait to make it!!!!
graphicsfairy says
Thanks Judy, enjoy 🙂
Rupa says
So chic, yet simple and versatile. Thanks for the idea and instructions.
graphicsfairy says
I completely agree Rupa, very chic 🙂
Angela Hoynes says
Great project from Diana
graphicsfairy says
Thanks Angela, I completely agree with you, it’s beautiful!!
Kay says
Love all you do, beautiful ideas
Karen Watson says
Thanks for your lovely comment on Diana’s project Kay!
peggy gatto says
Lovely and versatile ideaa
Karen Watson says
🙂