DIY Christmas Banners
Hello, Graphics Fairy friends! Diana from Dreams Factory here, ready to share another DIY project with you! Today we will be making these super easy, but super chic DIY Christmas Banners that will help you get prepared for the holidays. We will be using coffee again to stain the paper, I will show you how to create some interesting effects and give the banners not only a chic vintage vibe but also some depth.
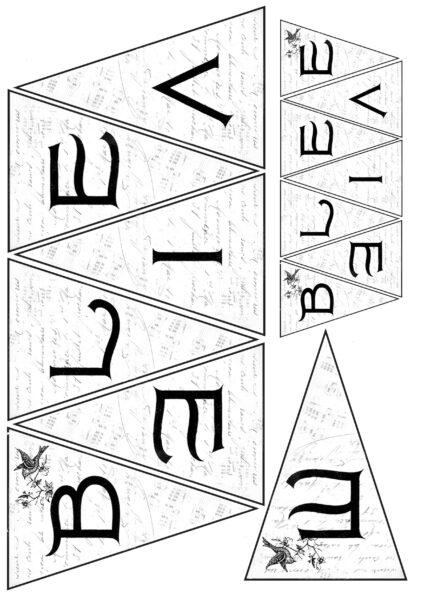
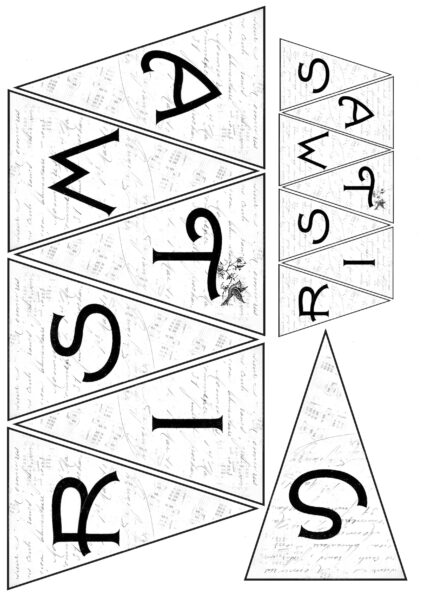
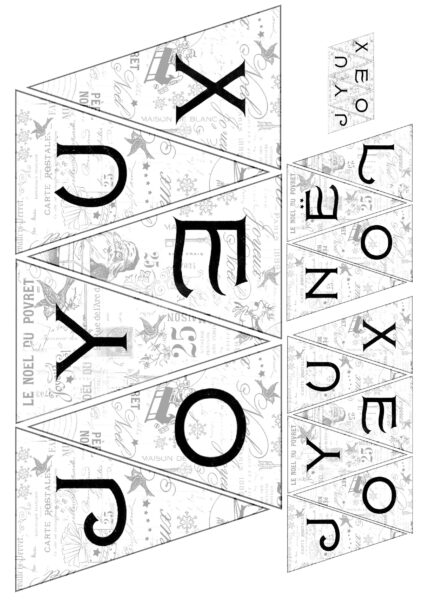
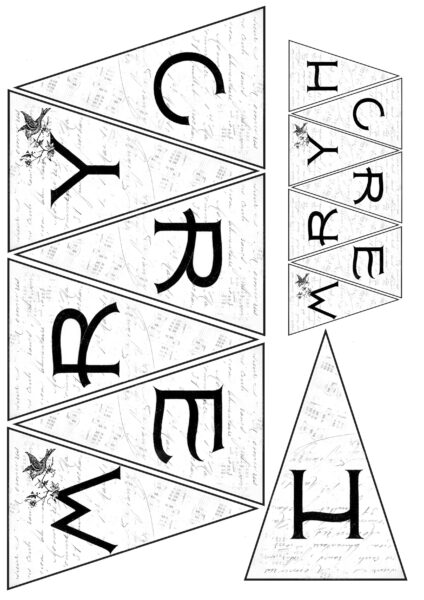
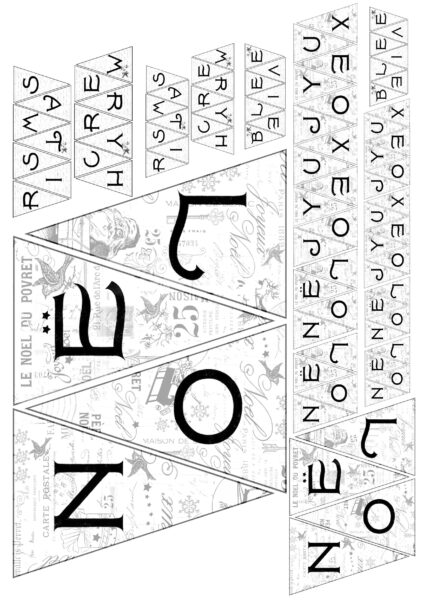
As always, I’m sharing the free printable to make things easier! If you love quick and easy, fuss-free projects, then this one is definitely for you! 🙂 One thing I would like to mention before jumping right in is that I designed the printables in several different sizes so you’ll have many options to choose from. You will find a ‘Merry Christmas’ vintage banner, a ‘Believe’ vintage banner and a ‘Joyeux Noel’ vintage banner – all in different sizes and spread out to 5 sheets! Yes, 5! 🙂 I really wanted to offer ALL these for all your creative needs, so you’ll have larger ones to hang in your home or your Christmas tree and smaller ones to embellish gifts, journals or tags!
—> Click here to download the full size PDF (all 5 sheets) <—
(if you want to print a specific page, only print that page number)
SUPPLIES:
- the free printables with different sized banners
- cardstock paper
- scissors
- coffee and a brush
- one-hole punch
- a non-absorbant surface (teflon, plastic sheet, craft mat, etc.) or an old book – to protect the surface
- gold metallic thread (or use what you have around)
- double-sided tape OR a quick-drying paper glue OR a hot glue gun (optional)
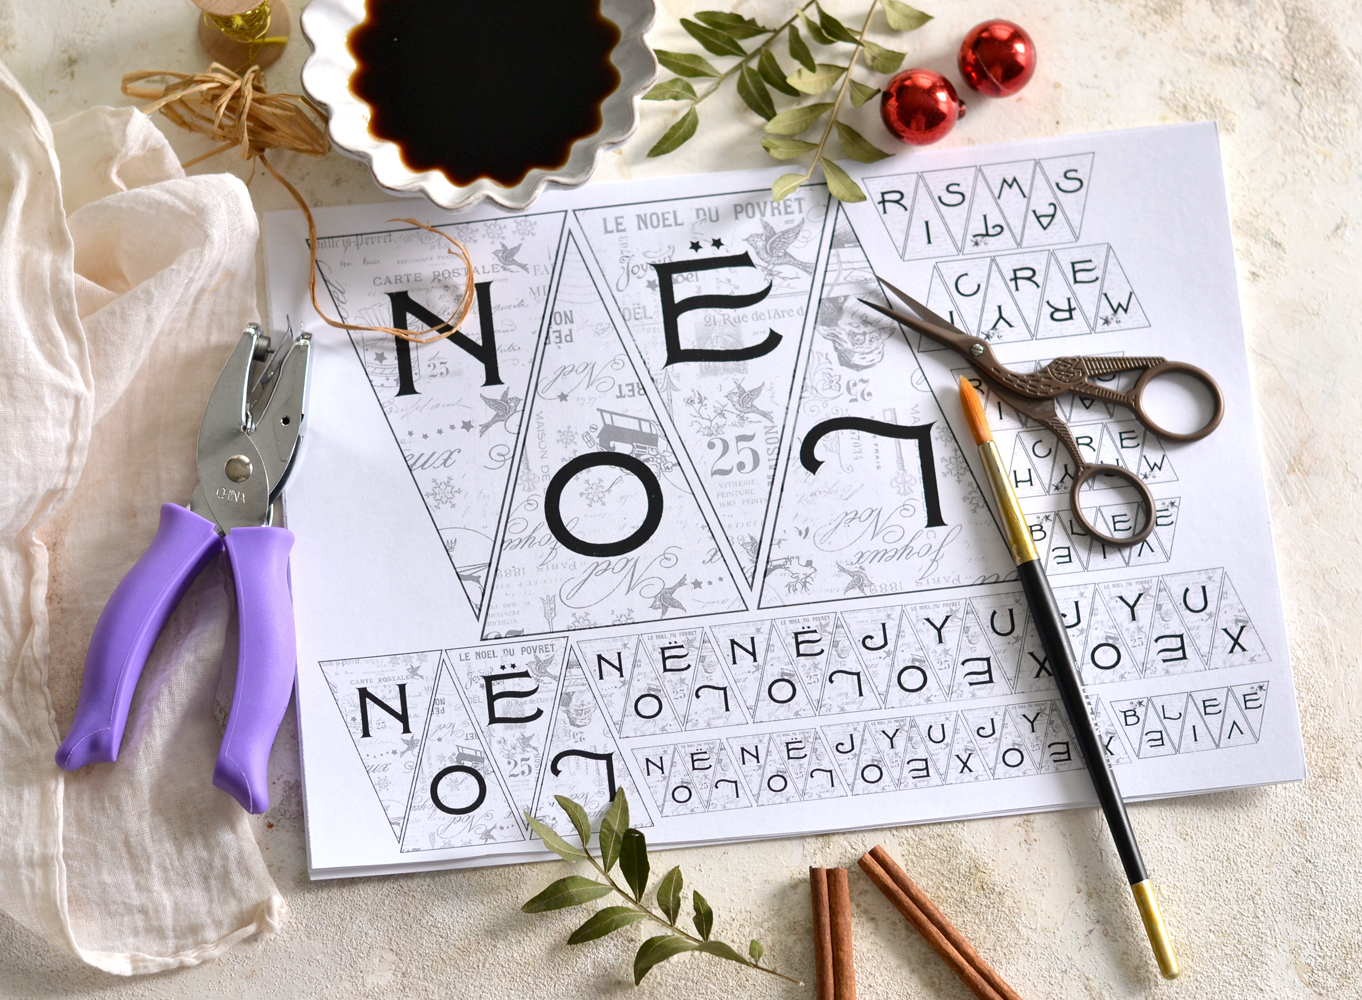 DIY Vintage Christmas Banners Instructions
1. DISTRESS WITH COFFEE
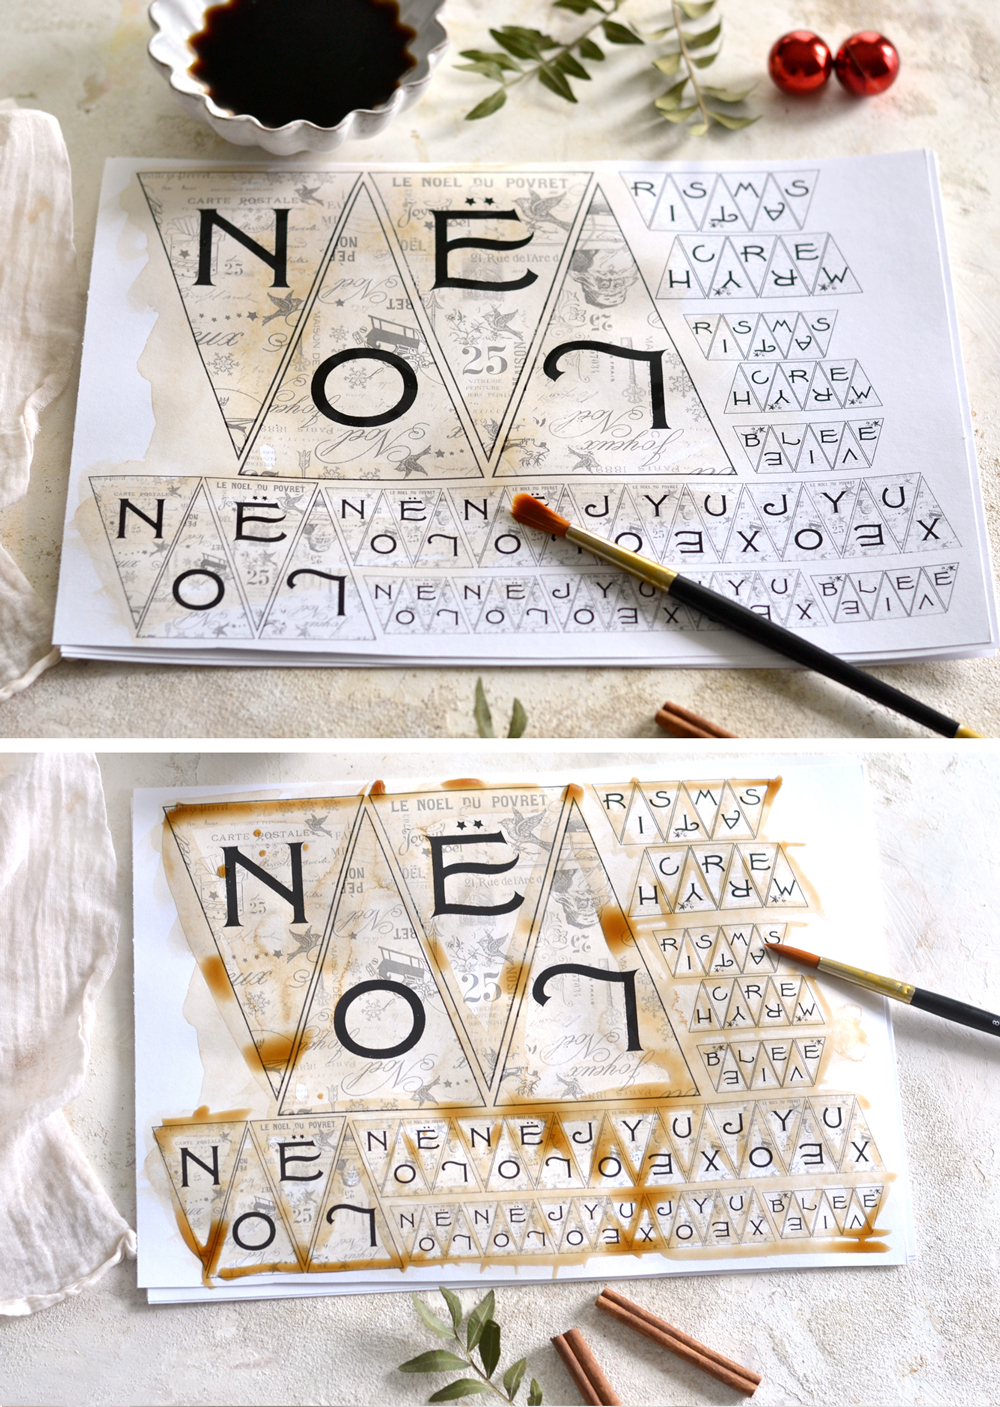
Distressing with coffee is really fun and has recently become one of my favorite ways of giving the paper an old look! The intensity of your coffee will give the paper a more or less stained effect, so make a few tests on some scrap pieces of paper before applying it to your banners.
First, I love going with a few brushstrokes of diluted coffee all over the design – the triangles in this case – just enough to cover ALL the whiteness of the paper and saturate it a little bit with this magical liquid.
Then I add more coffee all around the edges, following an irregular pattern and insisting on the corners. You can treat coffee like mono-colored watercolors, so it’s best to apply it using dabbing brush strokes rather than linear brush strokes to create more natural effects. Just like watercolors, if the paper is saturated enough, the dabbing motion of the brush will help the coffee better absorb into the paper and create organic shapes.
It’s best to work in layers and add more coffee according to your own tastes. Sometimes I like to let the paper to partially dry, then come back with another ‘layer’ of coffee, dabbed here and there, to add more depth. Try not to overthink this too much, just let yourself be surprised going all over the 5 sheets with all the different sized banners, coffee will do all the hard work for you! 😉
2. CUTTING THE BANNERS
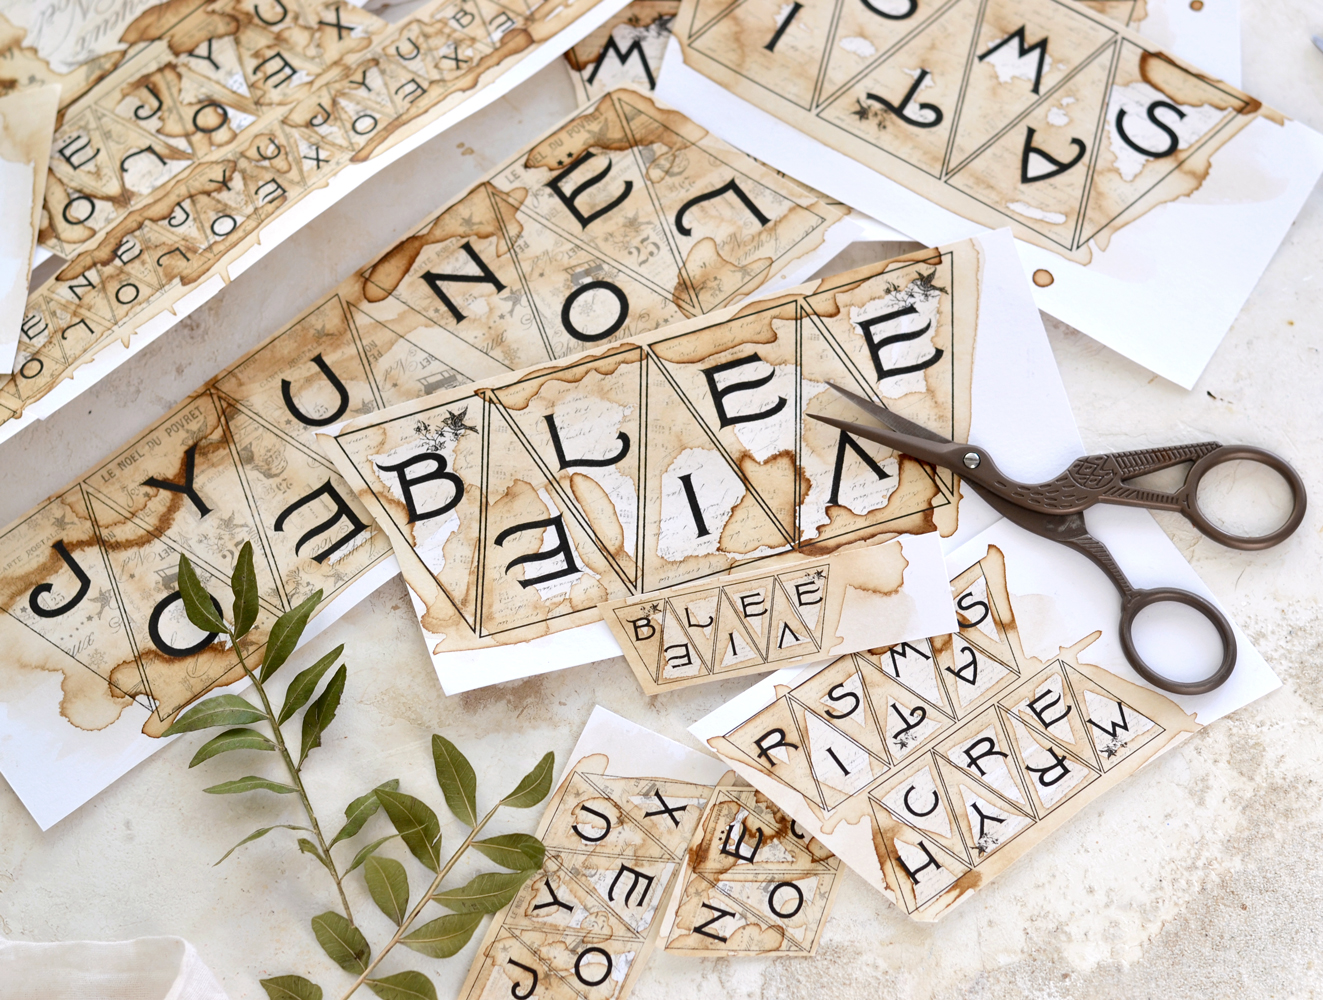
Let the coffee-stained banners dry completely before cutting them! This is really important, the not-so-dried paper might tear while cutting it!
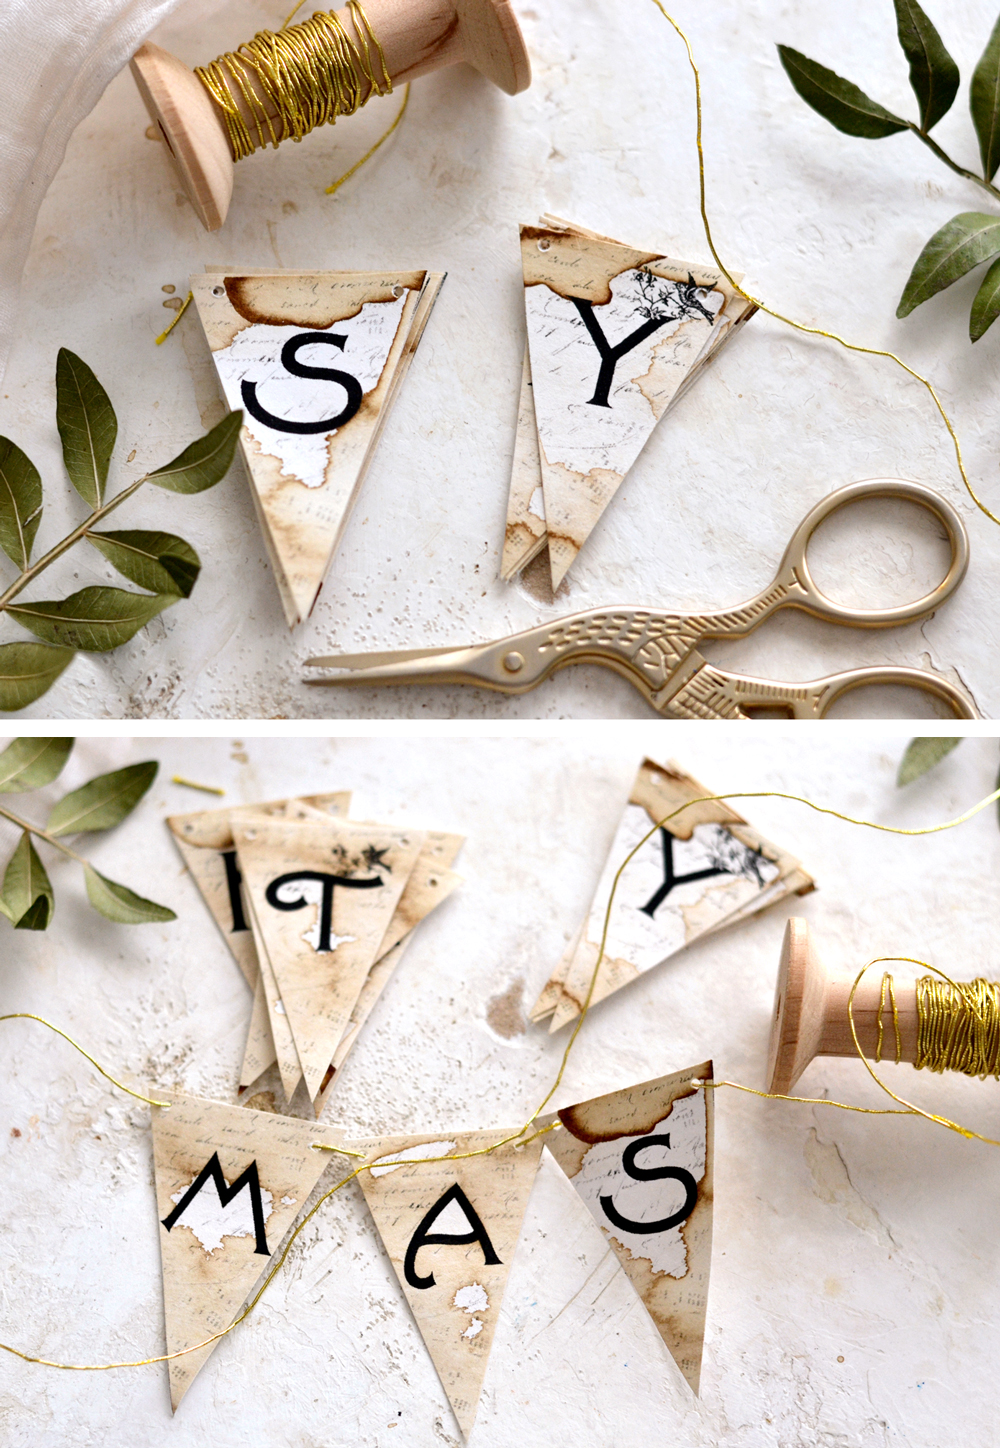
I started to roughly cut each set of banners first and arranged them on my table according to size – I thought it would be much easier this way.
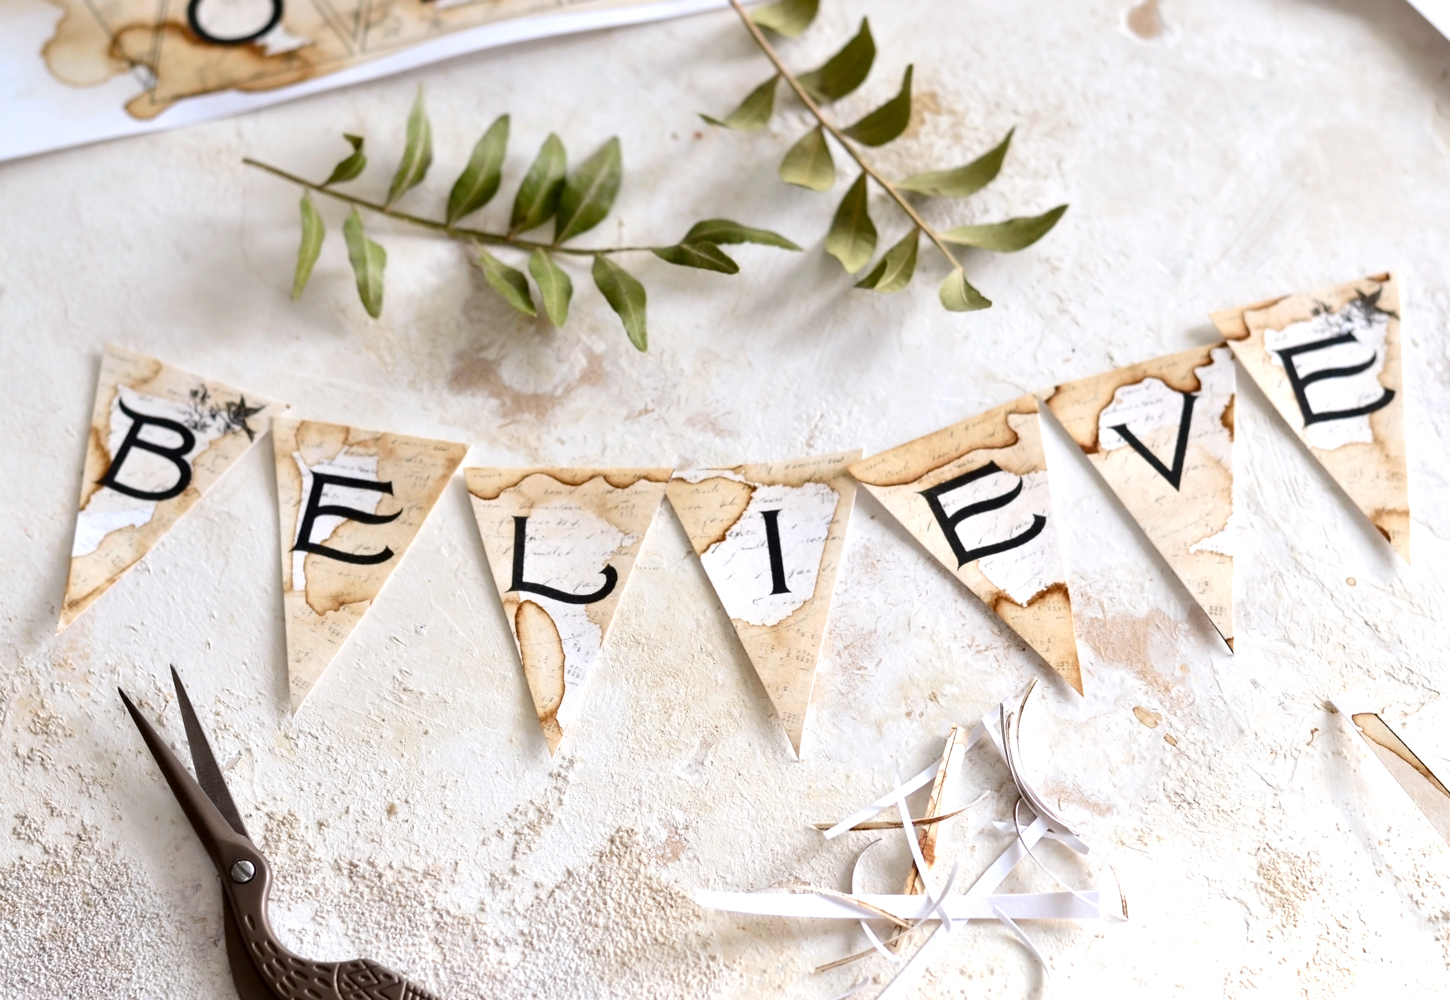
Then I started to cut each triangle from each banner, making a small pile on the side of the table for the scraps. You need to completely remove the black border around each triangle!
I stacked the triangles with the letters from each set so I could easily access them for the next steps.
3. PUNCHING THE HOLES
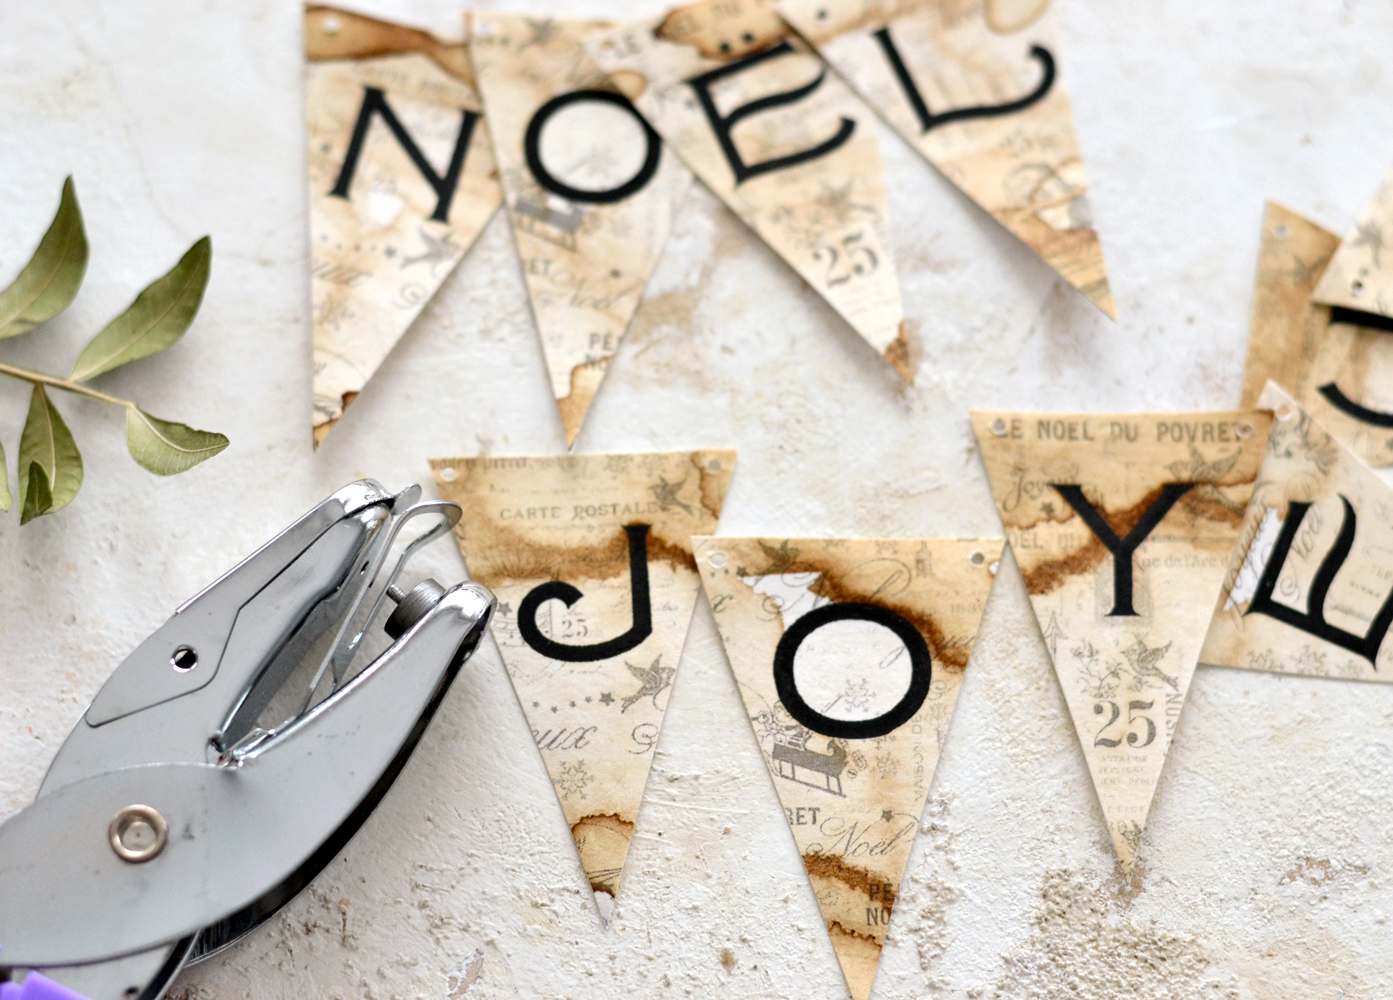
One thing to keep in mind on this step – try not to punch the holes too close to the edges!
I used a small one-hole puncher to make holes on the top sides of each triangle. I didn’t measure, I just eyeballed everything and they turned out perfect! OK, not really perfect-perfect, but OK-perfect and that was great, who wants perfect-perfection anyway?! 🙂
I only punched the large and medium-sized triangles, I left the small ones without any holes. As a tip, if you are not planning on using the smaller banners right away, it would be best to individually add each banner into a small improvised paper sachet, so you don’t misplace any of the letters.
4. ARRANGING THE BANNERS ON THE STRING
I stacked the triangles again on my table so I can easily access them and compose the words on the string. This way it was so much easier because I had stacks with all the ones that needed to be threaded, in the correct order!
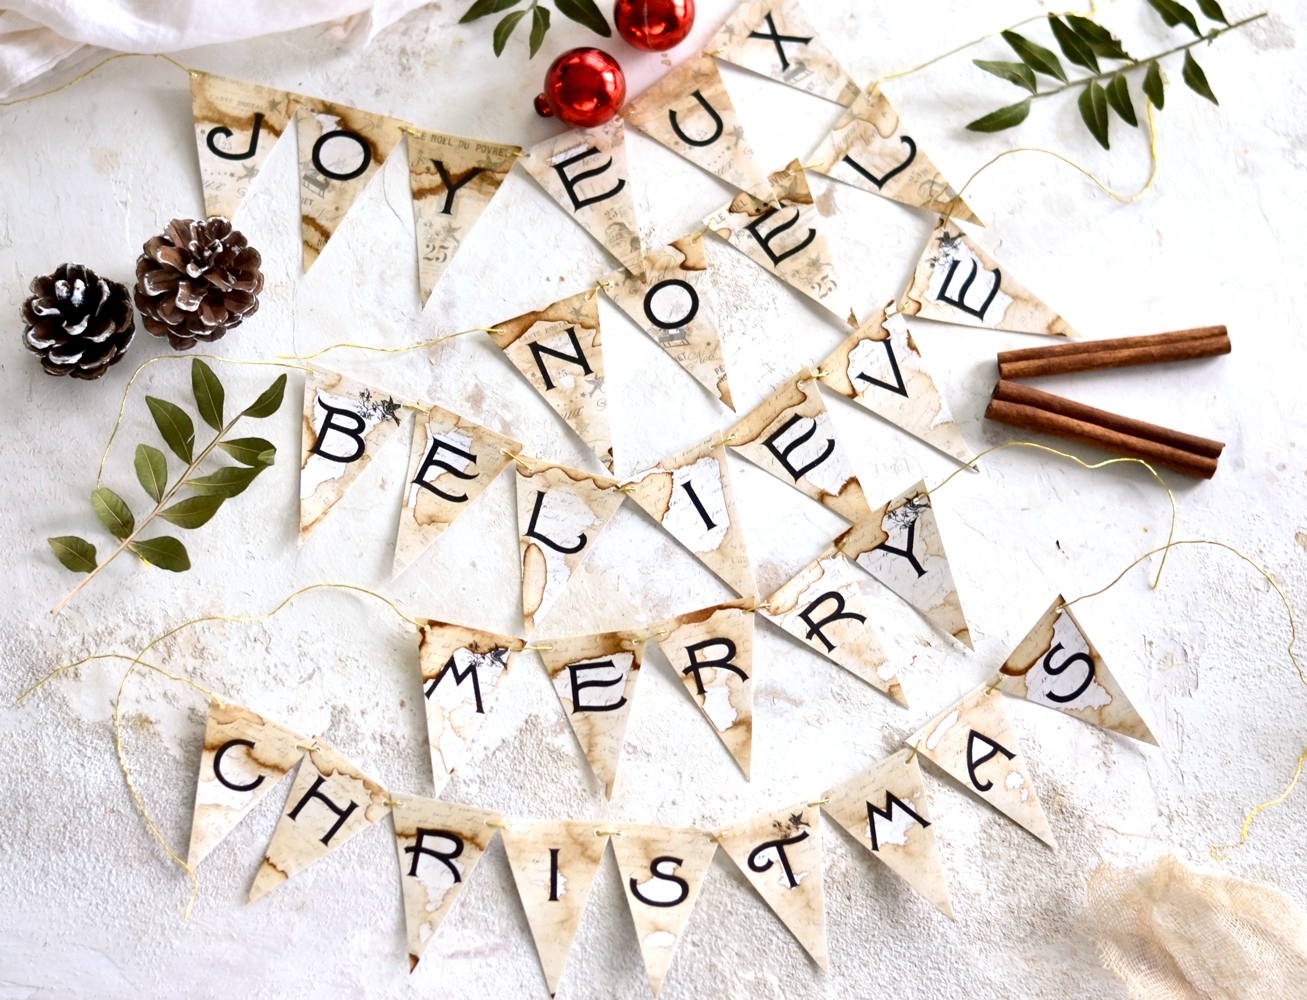
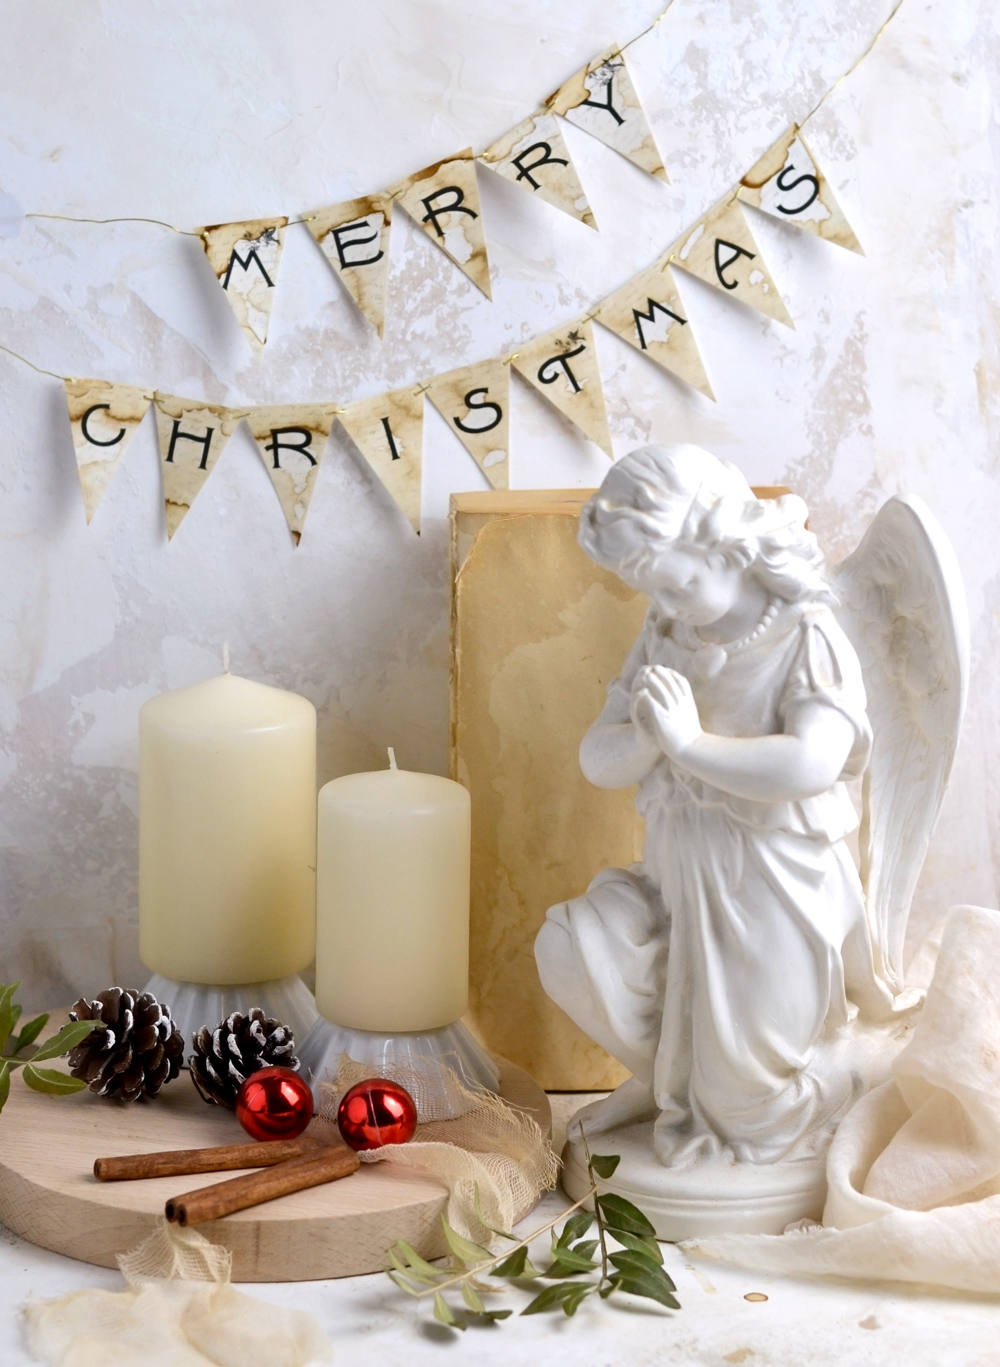
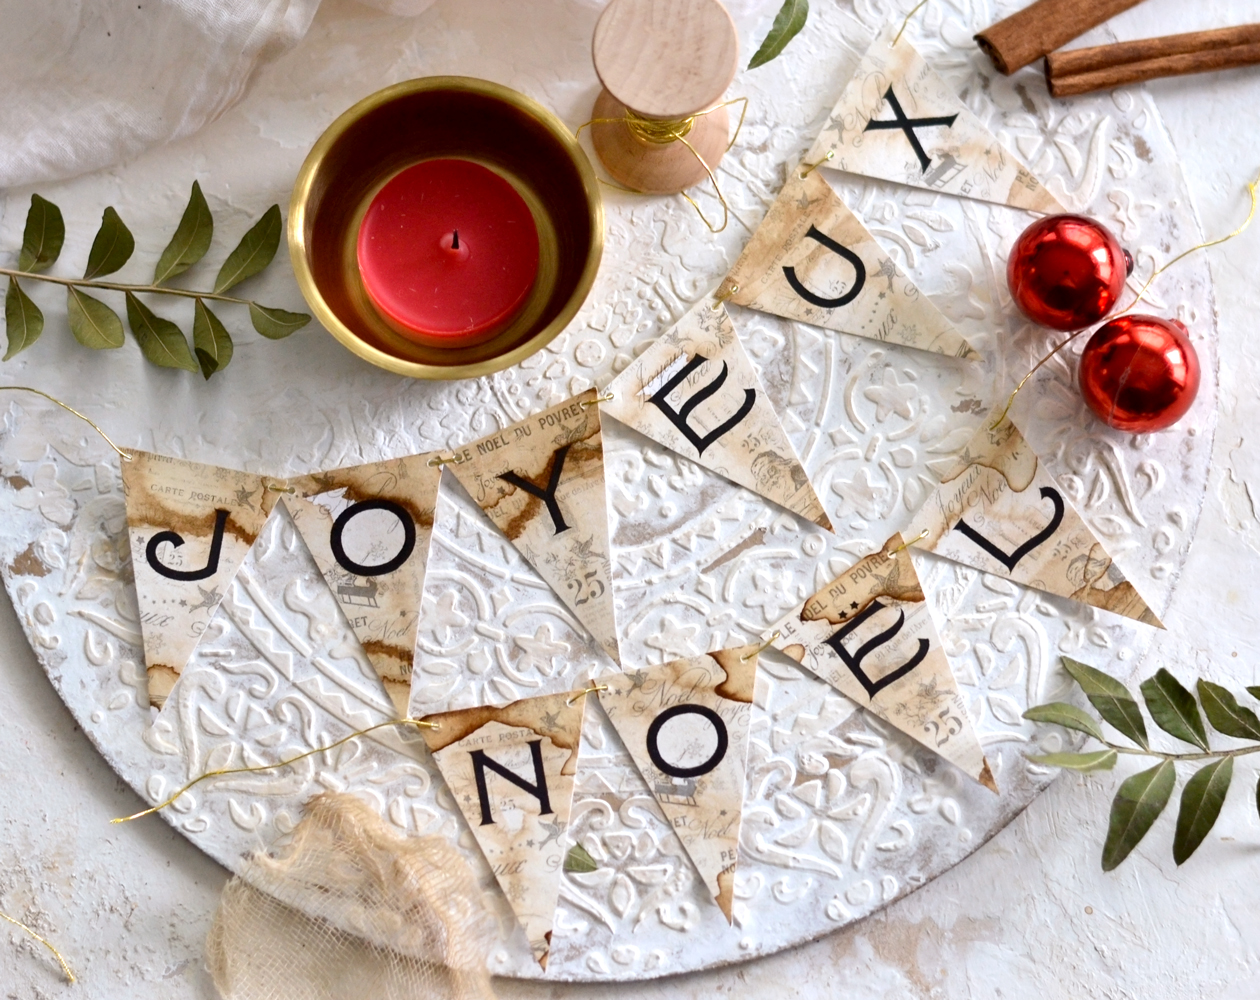
It’s best to start with a larger thread or string, then gradually add each triangle to compose the words. I used two strings for the ‘Merry Christmas’ and ‘Joyeux Noel’ banners so I can hang them on two rows, but you can use one larger string if you want to thread them on a single row.
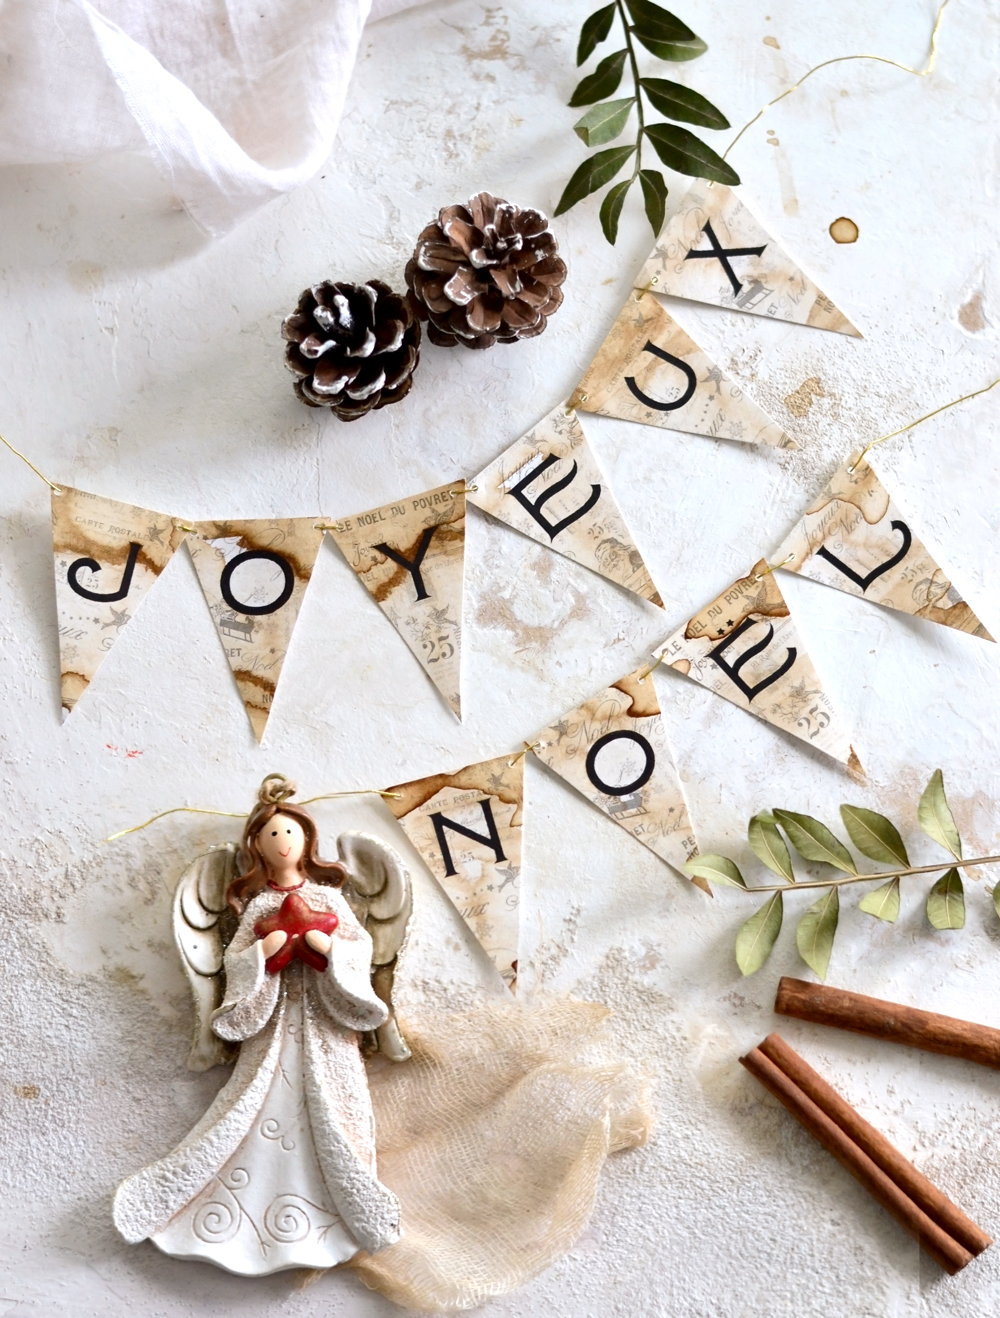
I’m loving all the amazing coffee effects I got on each of the triangles and I think they look even more beautiful when put together, as a final banner. You can see how amazing this coffee staining is, we managed to create letters that are truly beautiful and unique. Each effect is one of a kind, how amazing is that?! All without any fuss! 🙂
I adore the simplicity of these banners but I’m amazed how they can also look classy at the same time! Truth be told, I could stare at all these super chic banners for hours just to discover more and more of these delightful details. 🙂
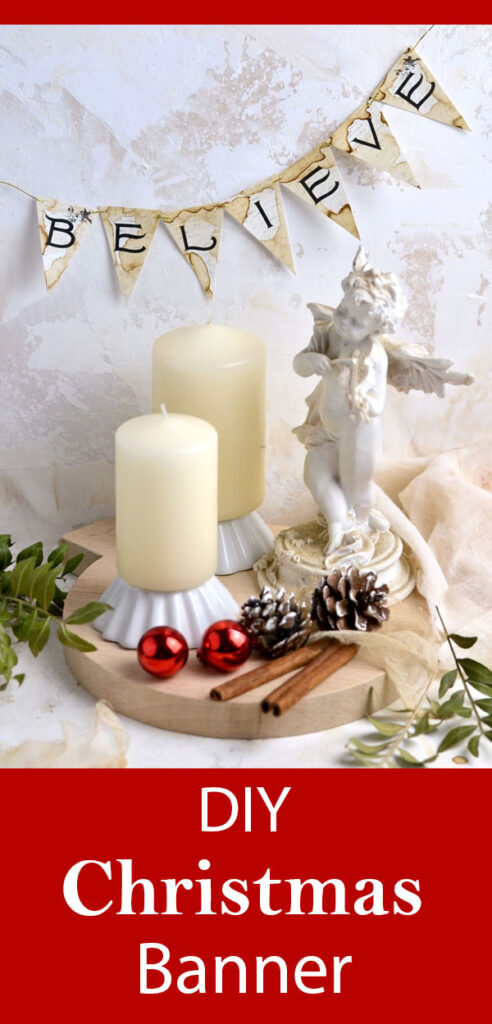
You can pair the banners with pine cones, greenery, cinnamon sticks, tree ornaments or any other seasonal elements to create simple, but beautiful vignettes anywhere in your home. Now it would be the best time to put your angel statue collection to good use, angels and Christmas banners are a match made in heaven if you ask me! 🙂
You can use small pieces of double-sided tape to temporarily adhere the DIY Vintage Christmas Banners to your walls or vintage cabinets, you can tie them up on drawer knobs or just hang them on your Christmas tree!
As an idea, here I used another angel statue from my collection and turned two small decorative bowls upside down to create some lovely ‘improvised’ stands for my candles. You can also use a simple or a French chic wood board to add some height and interest to your vignettes! And if you haven’t managed to make your own vintage books so far, use some of the leftover coffee from the banners to make some now!
If you’re feeling adventurous and want to get creative in the kitchen, make a special Christmas cake for your family, then use two skewers to hang some of the smaller banners directly on the cake!
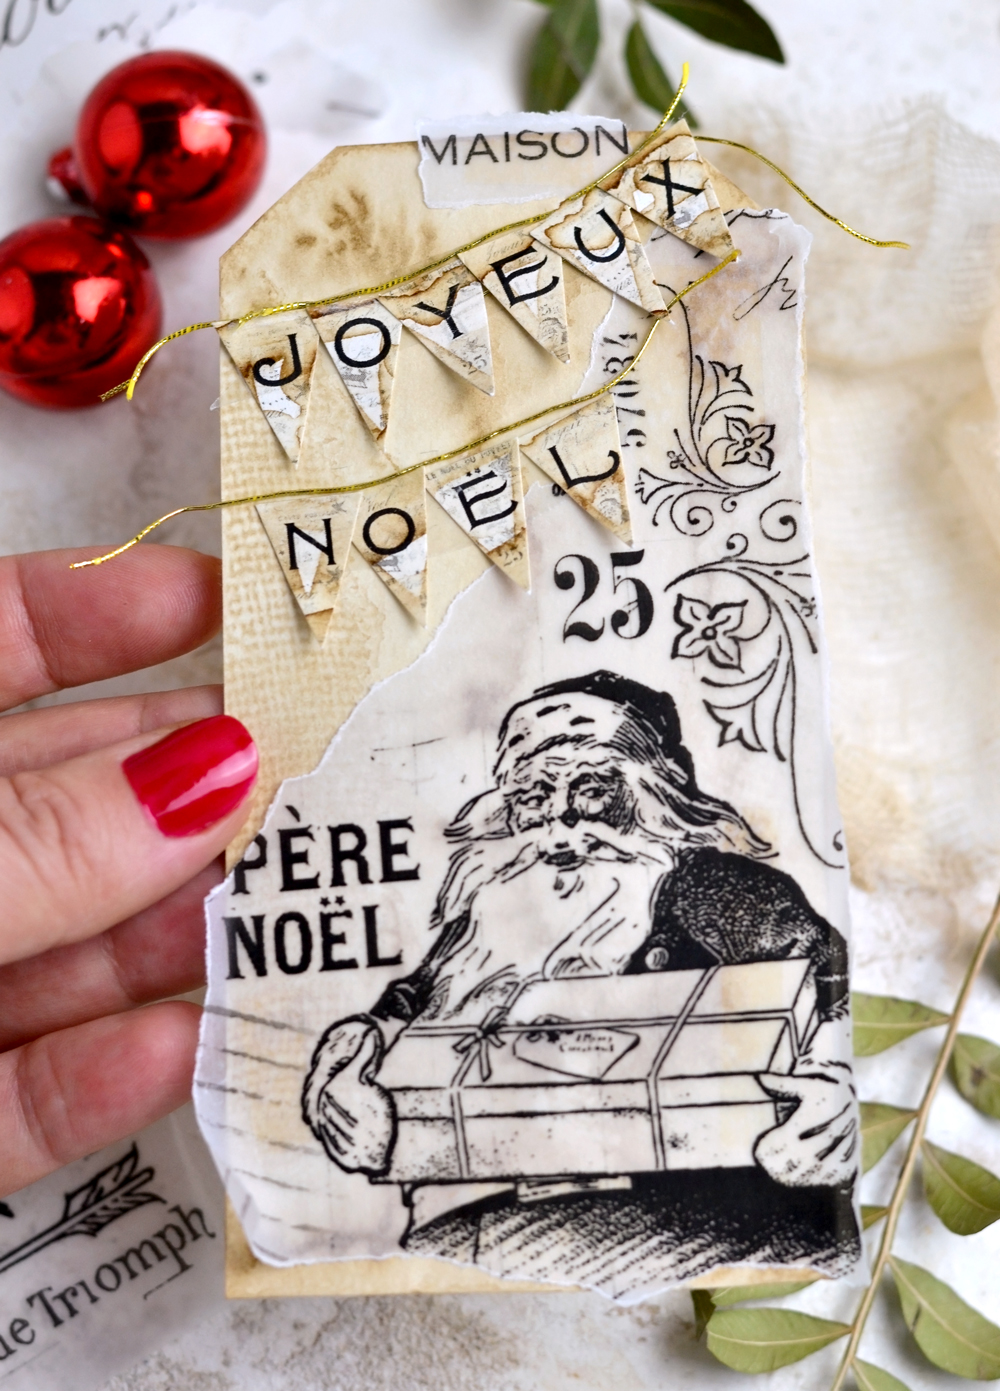
And speaking of the smaller Christmas banners – as a final idea, you can use some of them to create a faux banner effect on some Christmas tags or gifts! Faux because I haven’t actually threaded the triangles this time, I just glue them on the paper with some metallic thread, mimicking the idea of a banner. I started with one of my large tags that I had previously stained with coffee and a little bit of gauze. I tore some pieces from the super chic French Christmas collage (printed on tracing paper) that I shared a few weeks ago and used double-sided tape to secure them on the tag. You can use more double-sided tape to adhere the ‘Joyeux Noel’ vintage Christmas banner onto the tag, but you can also use Mod Podge, paper glue or any other craft glue that you have around. Add more glue to adhere the metallic gold string and you are done! You can use the same ‘technique’ to add faux banners to gifts or use it to embellish your junk journals for the holidays!
I hope you’ll love this project, I challenge you to find unique ways of decorating with ALL the DIY Christmas Banners from the 5 sheets set! 🙂 Hang them anywhere, include them in your other creative projects, this can be a fun activity for all family members, no matter the age!
Happy crafting,
Diana | Dreams Factory



Sharon Haggerty says
Hello,
I printed out your images onto heat transfer paper and pressed it to some drop cloth and cut out the banner, ice picked holes at the top and ran crinkled ribbon through the whole banner. Turned out really nice and has some weight to it and can be used year after year and does make a nice giftable.
Thanks for sharing.
Karen Watson says
Oooh!! I love that idea Sharon! Thanks so much for sharing your wonderful idea! 😊
Debbie says
I only have an ink jet printer, so a trick I learned is to distress the paper first. Iron it if it becomes to wrinkled the print what I want on it. Works a charm.
Karen Watson says
Cool! Thanks so much for the great tip Debbie! 😊
SHHDP says
Love the tag!
Karen Watson says
😊🎄