Dear Graphics Fairy Friends,
It’s Candie from CandieCooper.com and I’m so delighted to share my DIY Collaged Easter Eggs Idea with you. We are going to cut, collage, paint, and sparkle these eggs up! You might as well put your tu-tu on now, because by the end of this post, I’ll have you so full of Spring fever, you’ll want to be dancing around in your backyard summoning the daffodils to sprout!
The images are of course from the Graphics Fairy. You can pick Easter themed, florals, butterflies or whatever you fancy really!
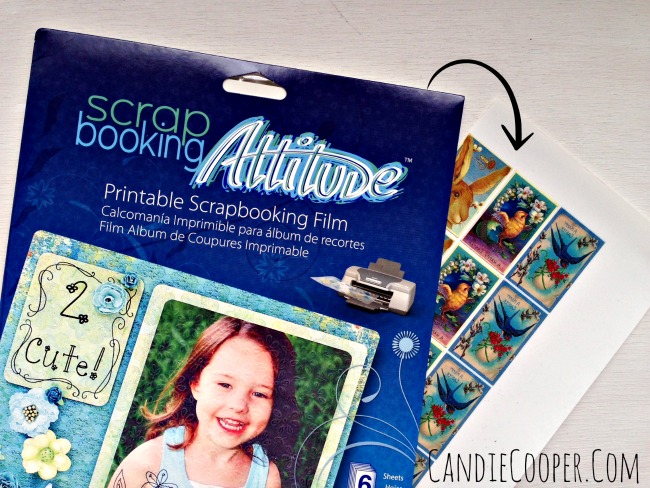
Print the images onto a very special film called Scrapbooking Attitude following the manufacturer’s instructions. SA is unique because it’s really transparent and thin, making it awesome for collage and mixed media projects.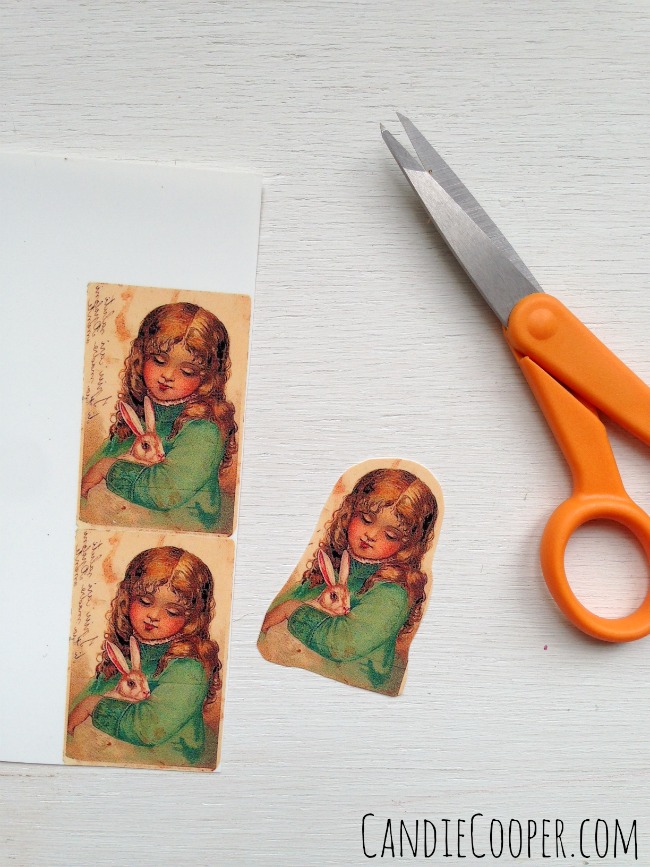
Trim around your image with nice sharp scissors leaving just a tiny edge from the focal image to where you cut.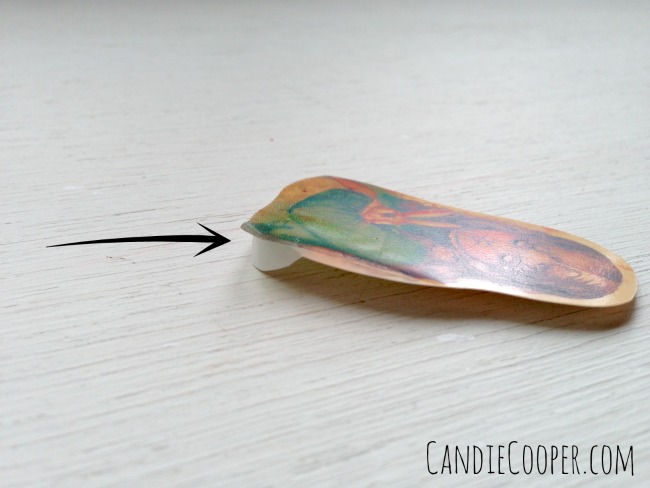
Peel the paper backing just a tiny bit–taking care to leave the majority of the backing in place.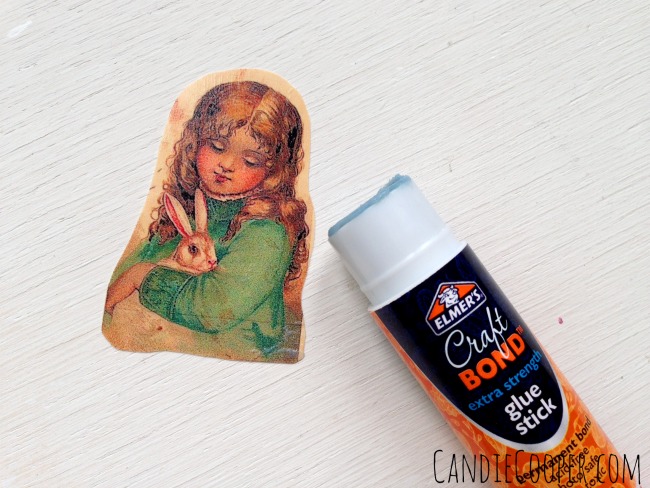
Apply a coat of permanent glue to the printed side of the image.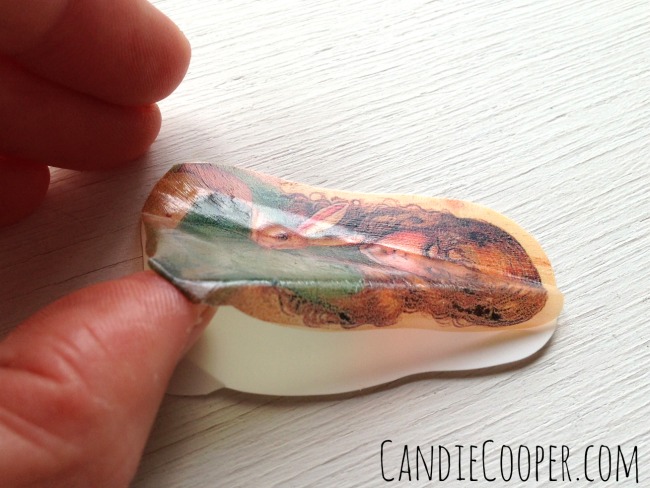
Peel the image from the paper backing (this is where the pre-peeling comes in handy) flip over and lay on top of your egg. Now the ink on the film is sealed and protected.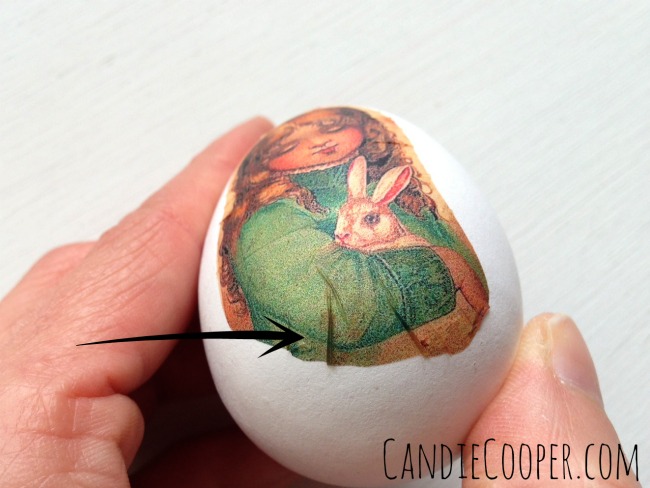
Take your time and smooth it out as best you can. It’s perfectly normal to have wrinkles! I tell myself that every morning when I look in the mirror too.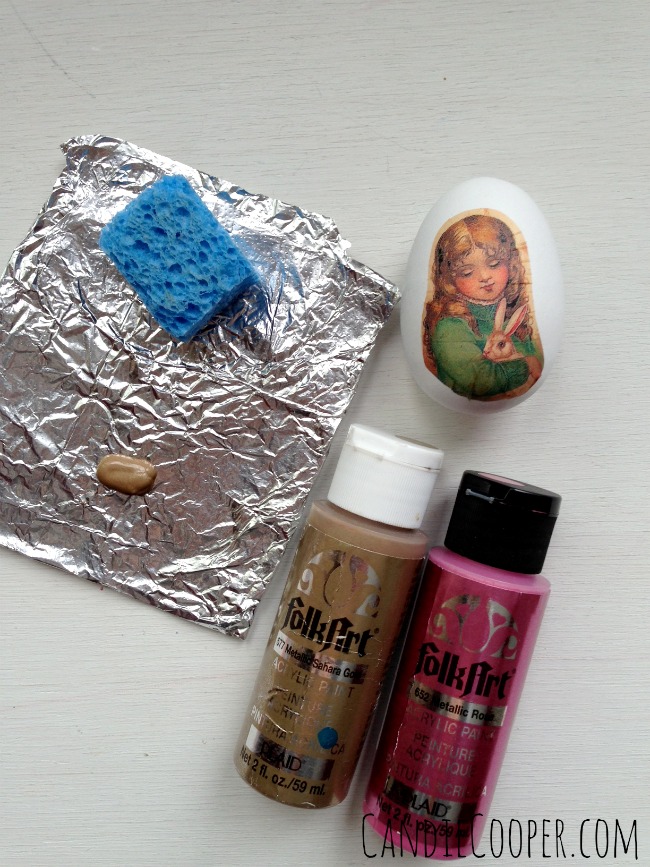
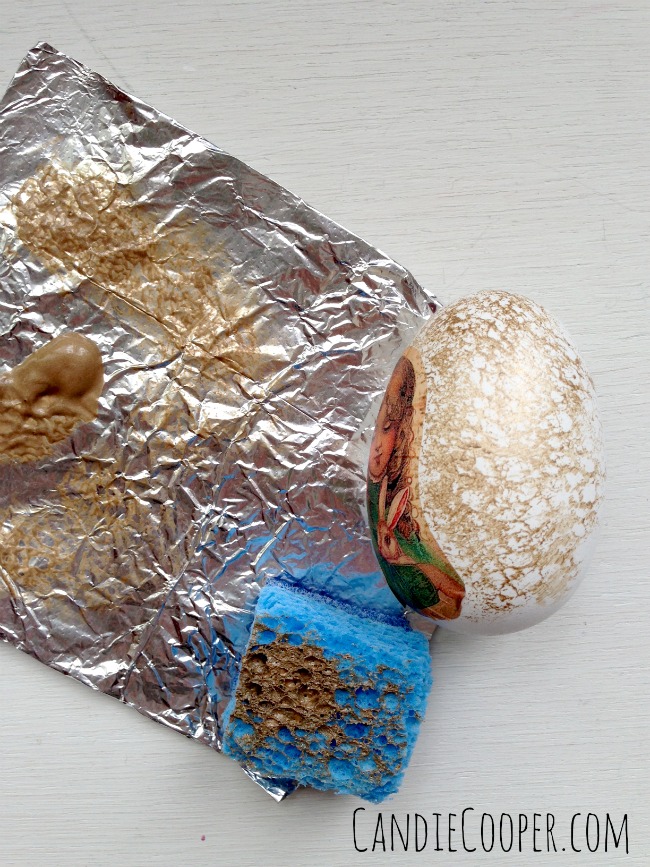
Cut up a house hold hold sponge and dip into gold paint. Blot excess paint off on a scrap surface (see foil) and dab paint onto the egg working up to the edge of the image. Use a hairdryer to dry the paint quickly and fill in any blank spots.
I love using metallic paints for this to make them shimmery.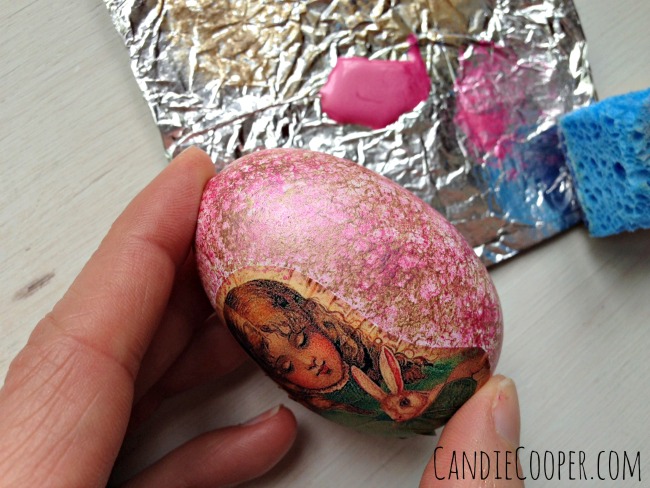
Next add a layer of sponged metallic pink paint. There are infinite paint combos–metallic silver looks wonderful too! Use a hairdryer again to dry the paint. Be prepared, your hairdryer will have paint on it too (smiling).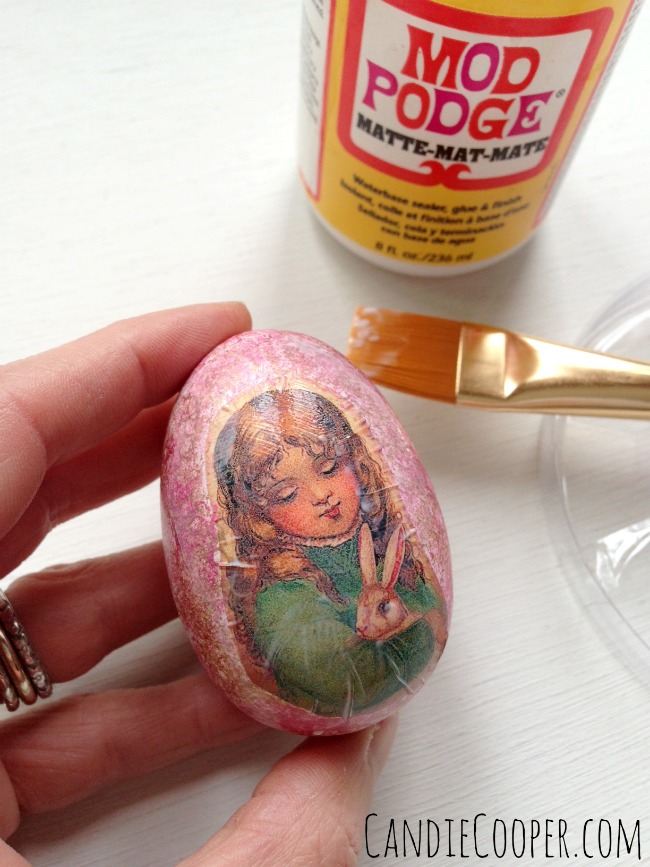
Seal the image and paint job with Matte Mod Podge. This gives it a really nice finished look!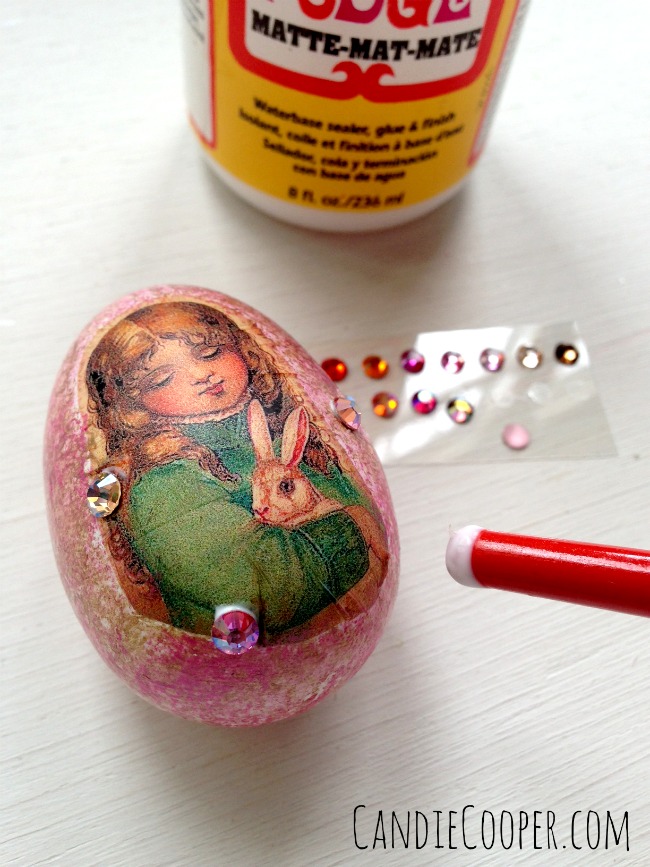
Then top it off with flat back Swarovski crystals. Ooo la la! Merci for the sparkle!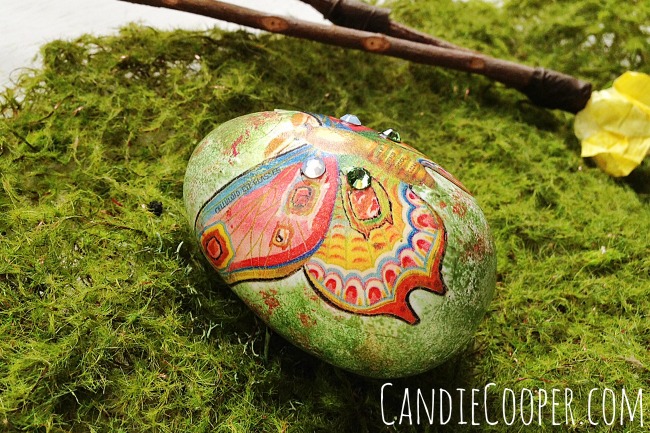
Here’s a green and copper egg with a butterfly (or moth maybe) hiding in some moss ribbon.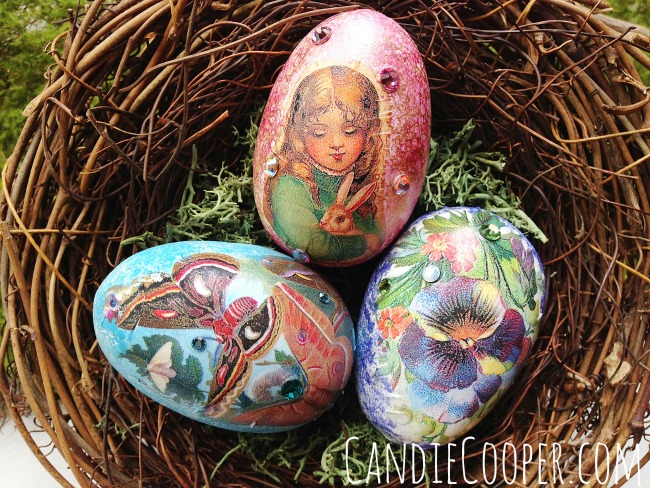
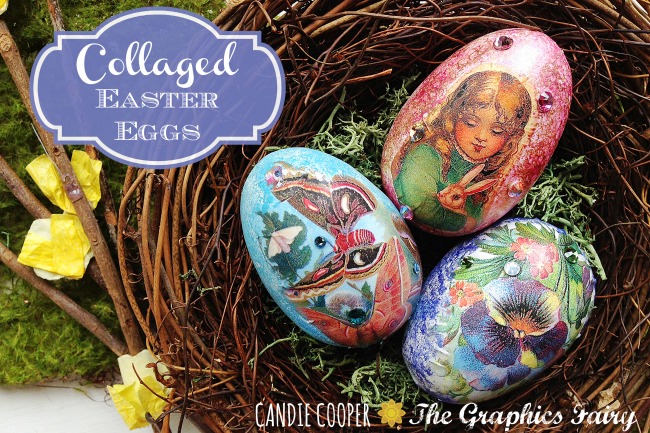
And a few more eggs in a cozy nest! Last year, I taught the ladies in our local Crafty Book Club how to make these and they turned out so lovely. It’s in my blood to decorate for spring with porcelain bunnies and handmade easter eggs. My mom had an Easter tree for as long as I can remember. So sweet with a white painted branch, ribbons and little eggs popping out of a flower pot. Hidden Easter baskets, chocolate bunnies, I could go on and on. Do you have your tu-tu on yet?
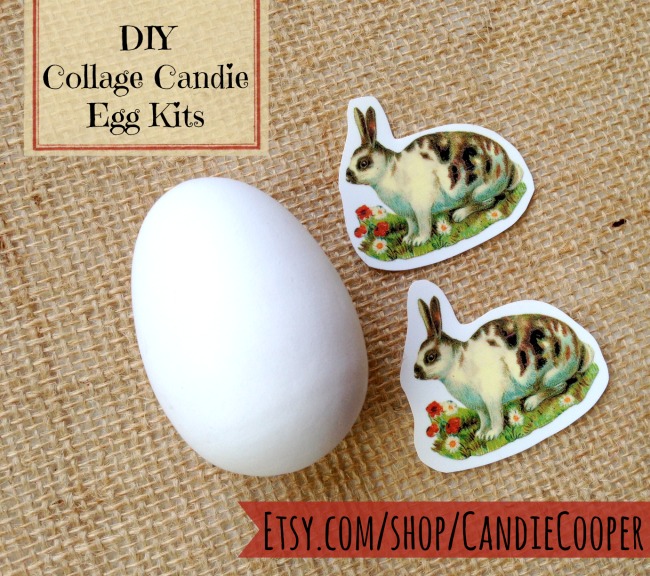
This year I’m selling kits to make your own Easter eggs exactly like the tutorial above on my Etsy shop. The kit includes one egg and two images of your choice (2 just in case you want to decorate both sides or mess the first one up in the application process). Visit my shop and take a peek if you like!
Happy Happy Spring!
Your friend,
***********************************************************************************************************************


Candie Cooper says
Thanks Mary Lou! <3
MaryLou says
Love the Collaged Eggs
Candie says
Craft eggs! These are wooden ones! <3 Candie
Jill says
Ooo! I think I have to try this! This might be a dumb question, but do you use real eggs or craft eggs?
Candie says
Thank you Cynthia!! <3
Candie says
Hi Anne! Great idea! Yes indeedy, the film will stick to painted surfaces. Thanks for the note! <3 Candie
Anne V says
Great idea, beautiful result!
Will the images still stick if you were to paint first-still leaving the majority of the area behind the image white-just apply the paint barely past(in) where the edges go? I think that might give a more filled in/smoother edge look on the background?
Cynthia says
Gorgeous creations, Candie! Thank you!