DIY Easter Paper Craft!
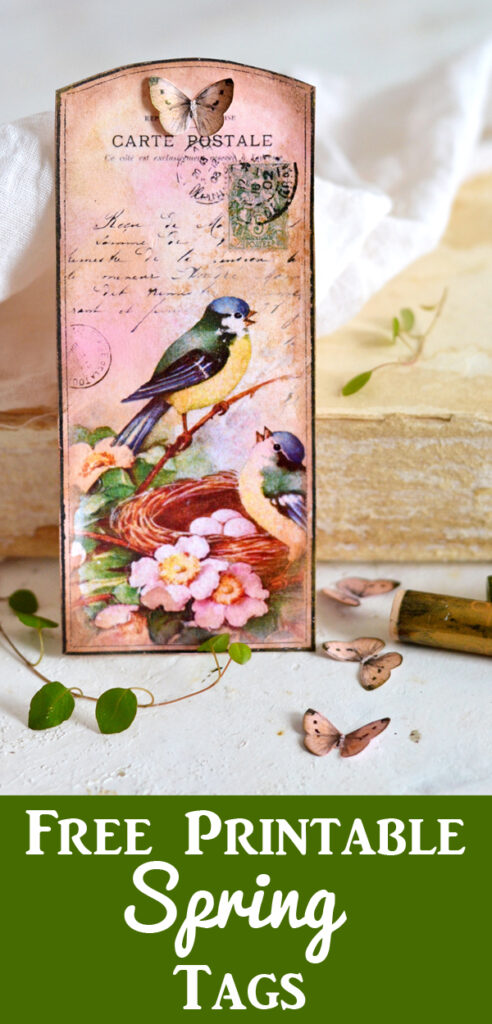
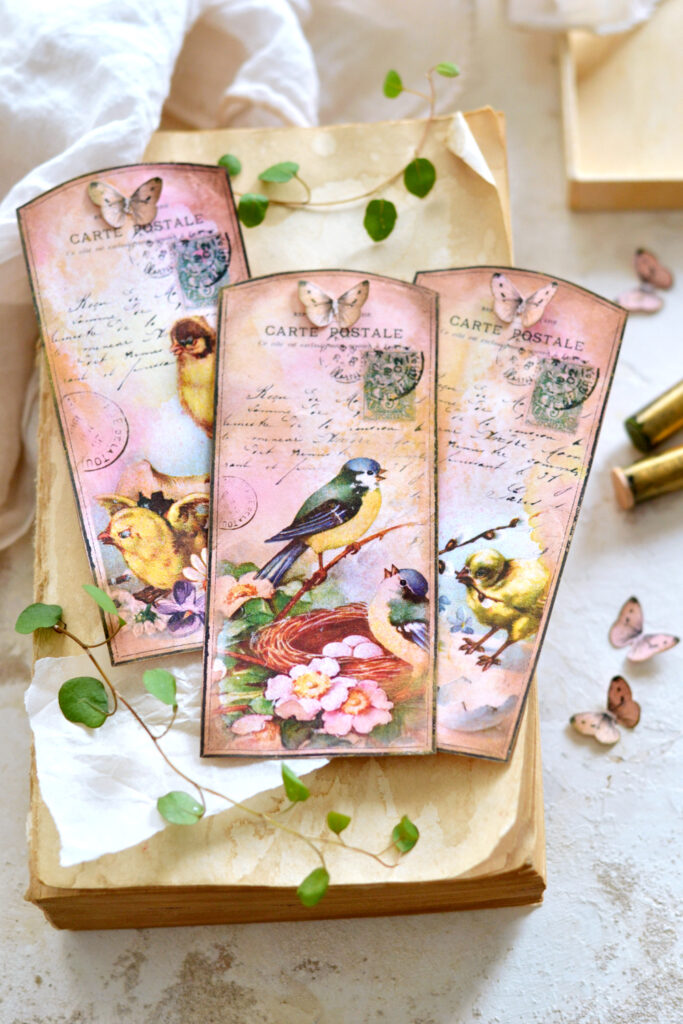
Hello, Graphics Fairy friends! I’m Diana from Dreams Factory, ready to share another DIY project with you – today we are making some gorgeous DIY Easter Paper Crafts! They are some lovely 3D Vintage French Tags, perfect to make for Spring or Easter. We will be bringing a little bit of color into our lives with these tags, which only seems like a logical thing to do, now that spring is officially here!
I wanted to keep things quite simple for this project – in terms of decorating the labels – because the printable that I created for you is quite colorful and joyful on its own. So I decided to put my ink sprays again to work, but only used 4 colors. OK, 5 – if we also count the chic gold spray that I used to sprinkle a little bit of ‘sunshine’ on top. I would definitely recommend not skipping the gold spray step, it really attracts light in an amazing way and creates truly beautiful effects. You won’t be able to notice the shimmery gold all the time, you’ll have to move the labels around to see it – it’s like a hidden gem that never ceases to amaze you!
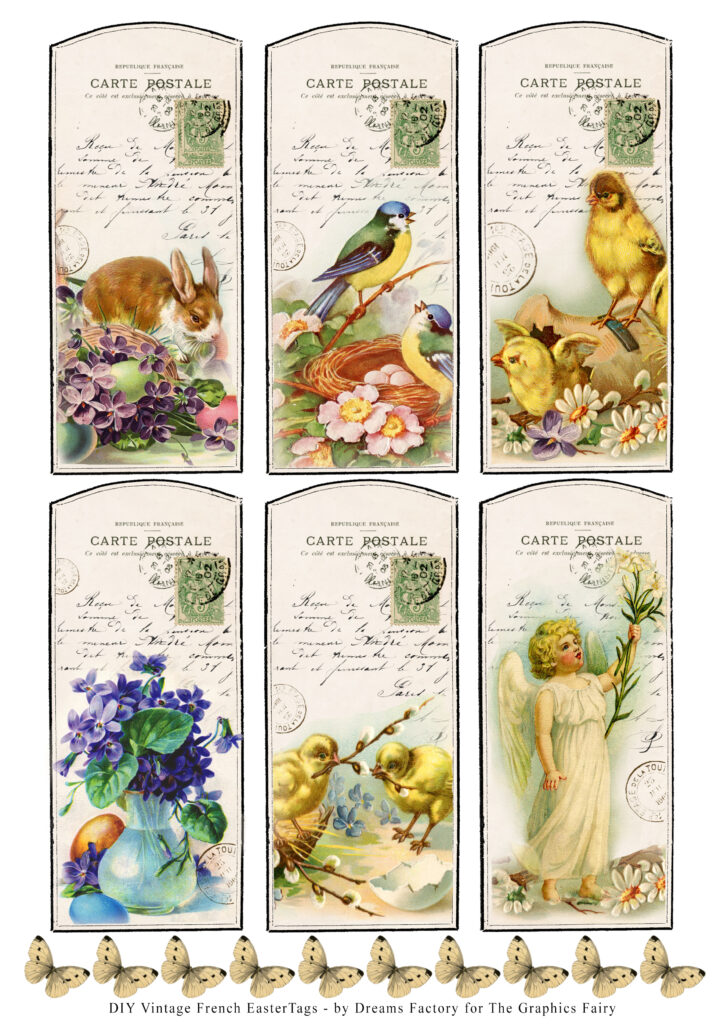
I just love how nature revives and restarts while showcasing all her amazing colors in the spring! Grays and dark colors are put aside, only to welcome a whole new color refresh. It’s like an exciting, ready to be discovered color palette is just being painted for us, all around us. So I went with colorful and playful images when creating the printable, I thought that we could all use a little bit of color into our lives at this point in time. Along with all the gorgeous and colorful Easter and spring images, I added a few French postcard elements and postage stamps, some French script elements … and some more stamps But I also wanted to add some sort of a 3D element, so I went with these lovely butterflies that you can easily cut and glue on top of your labels. The labels have a subtle vintage background and can also be used as they are. But where’s the fun in that, right?
—-> CLICK HERE TO DOWNLOAD THE FULL SIZE PRINTABLE PDF <—-
DIY Easter Paper Craft SUPPLIES:
-
- the free beautiful Easter printable
- cardstock paper (or regular white paper, or sticker paper) – I used cardstock
- laserjet printer (if you don’t have one, ask a friend who has one, to print the labels for you or go to a copy center)
- ink sprays – I used yellow, magenta, orange, brown (not shown in supply image) and some gold
- scissors
- a plastic sheet and some paper towels (to protect and clean your working area)
- Mod Podge or any craft glue to adhere the butterflies to the tags (not shown in supply image)
- distress ink pad (not shown in supply image)
P.S. As you can see, there are a few ‘not shown in supply image’ items mentioned above. That’s because I had a general idea of how I wanted my tags to look and only started with the ink sprays. Then I just improvised along the way! 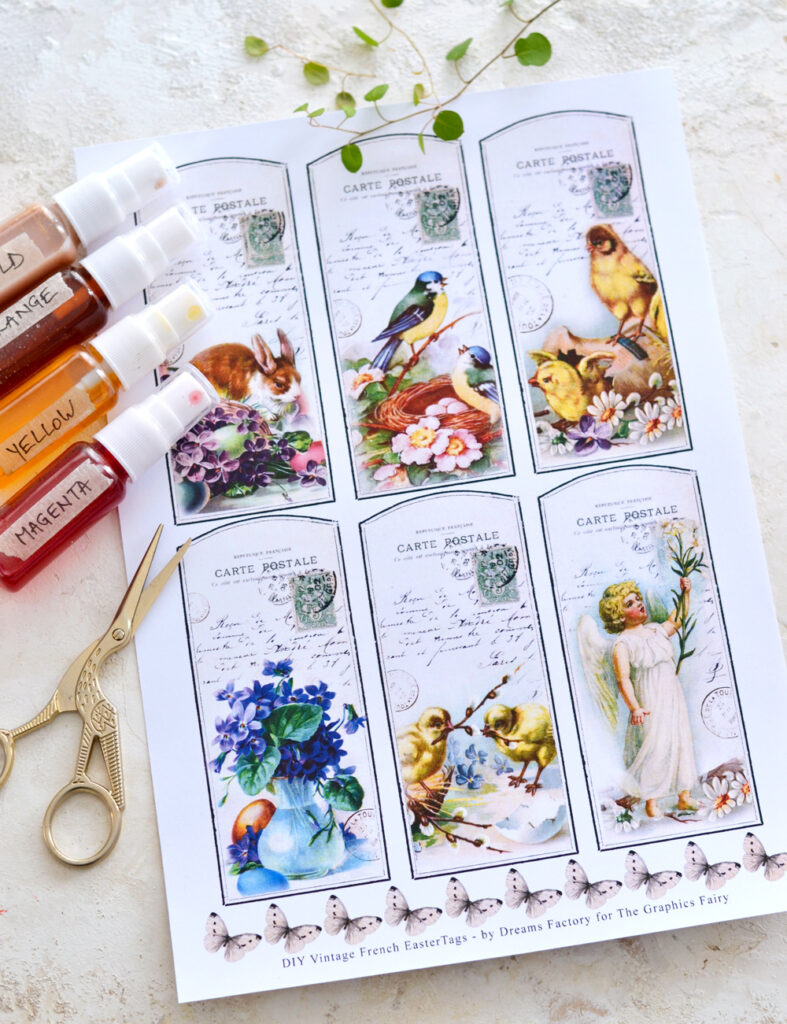
As I mentioned earlier, I only used a few colors today. I didn’t wanted my background to overpower my beautiful images so I went with warm colors like yellow, magenta and orange at first. You can choose any of your favorite colors and truly make these labels your own!
Instructions for DIY Easter Paper Craft Project
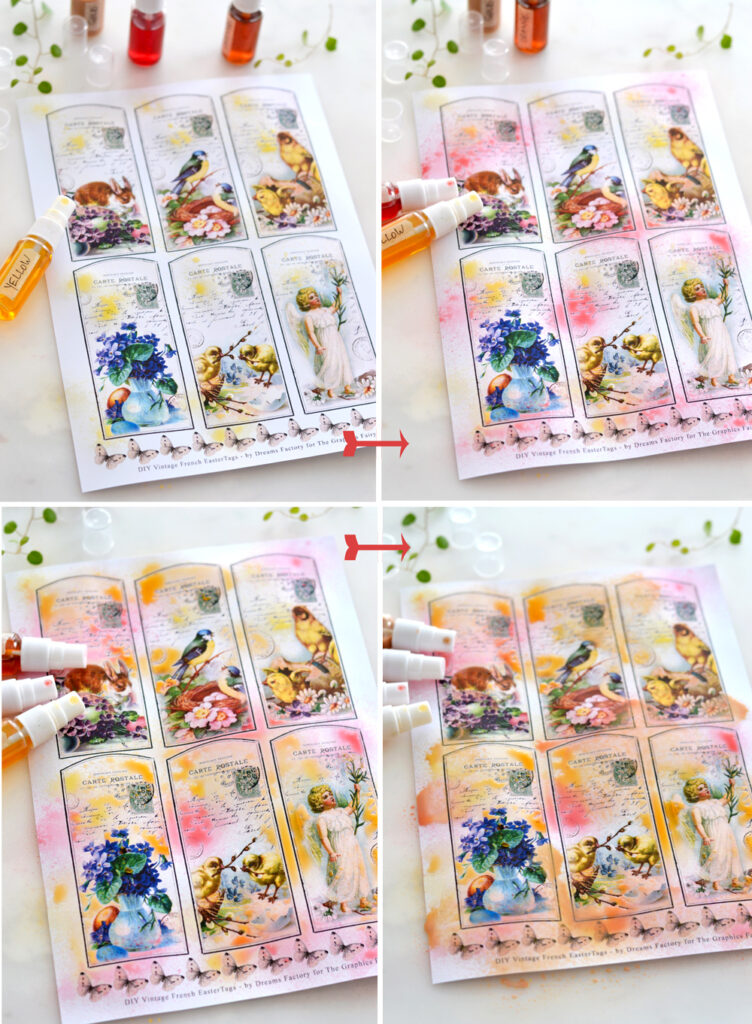
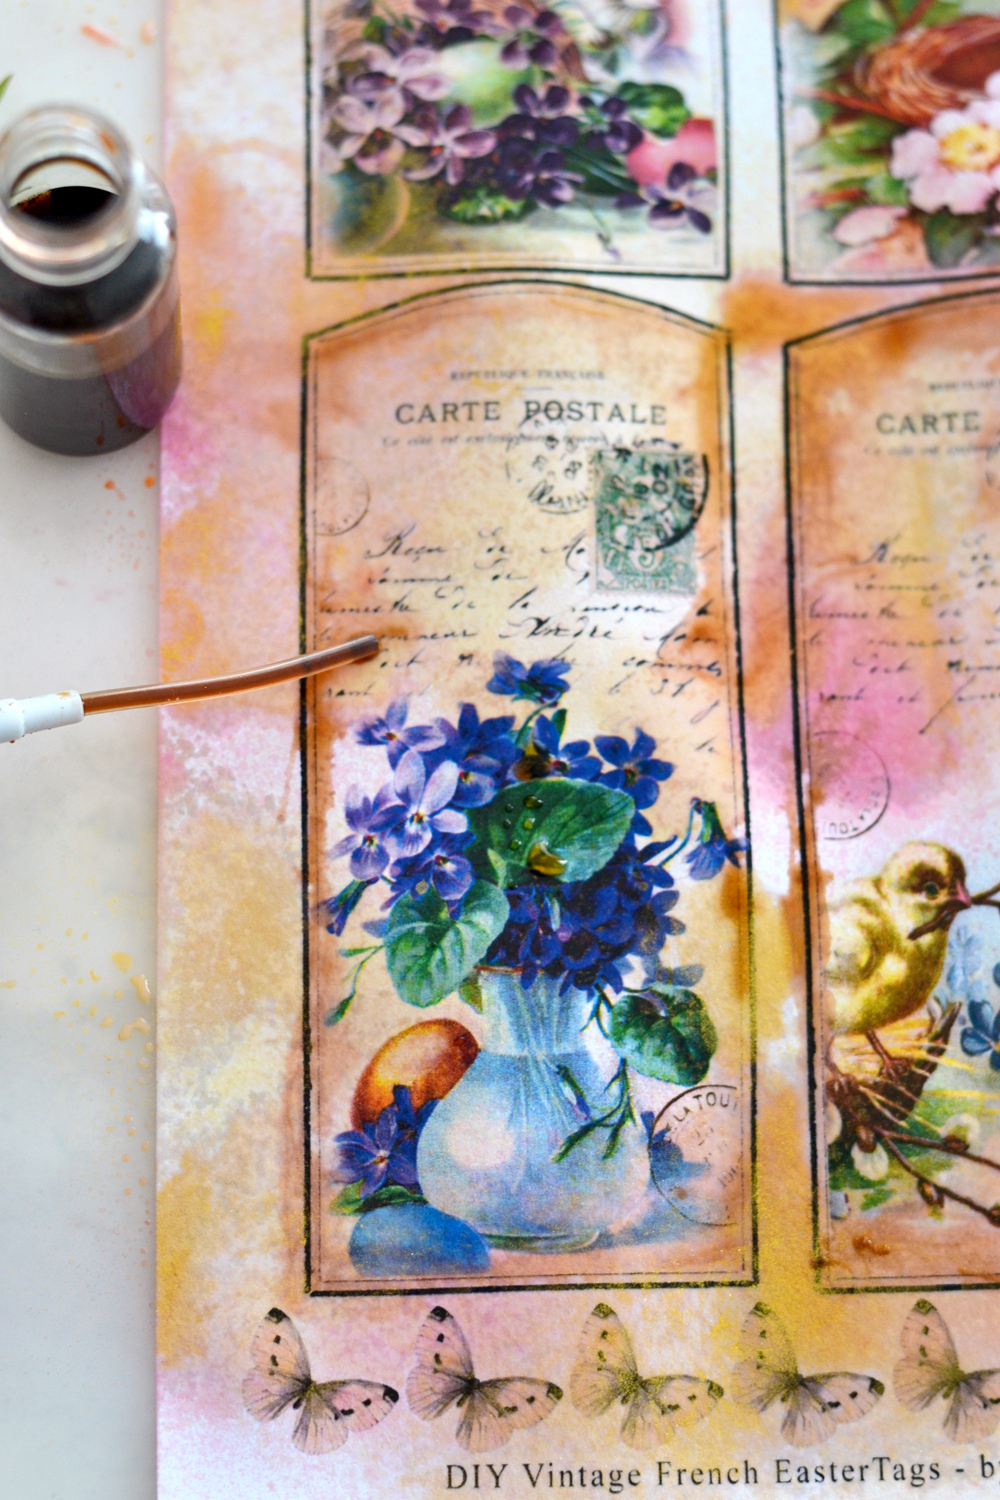
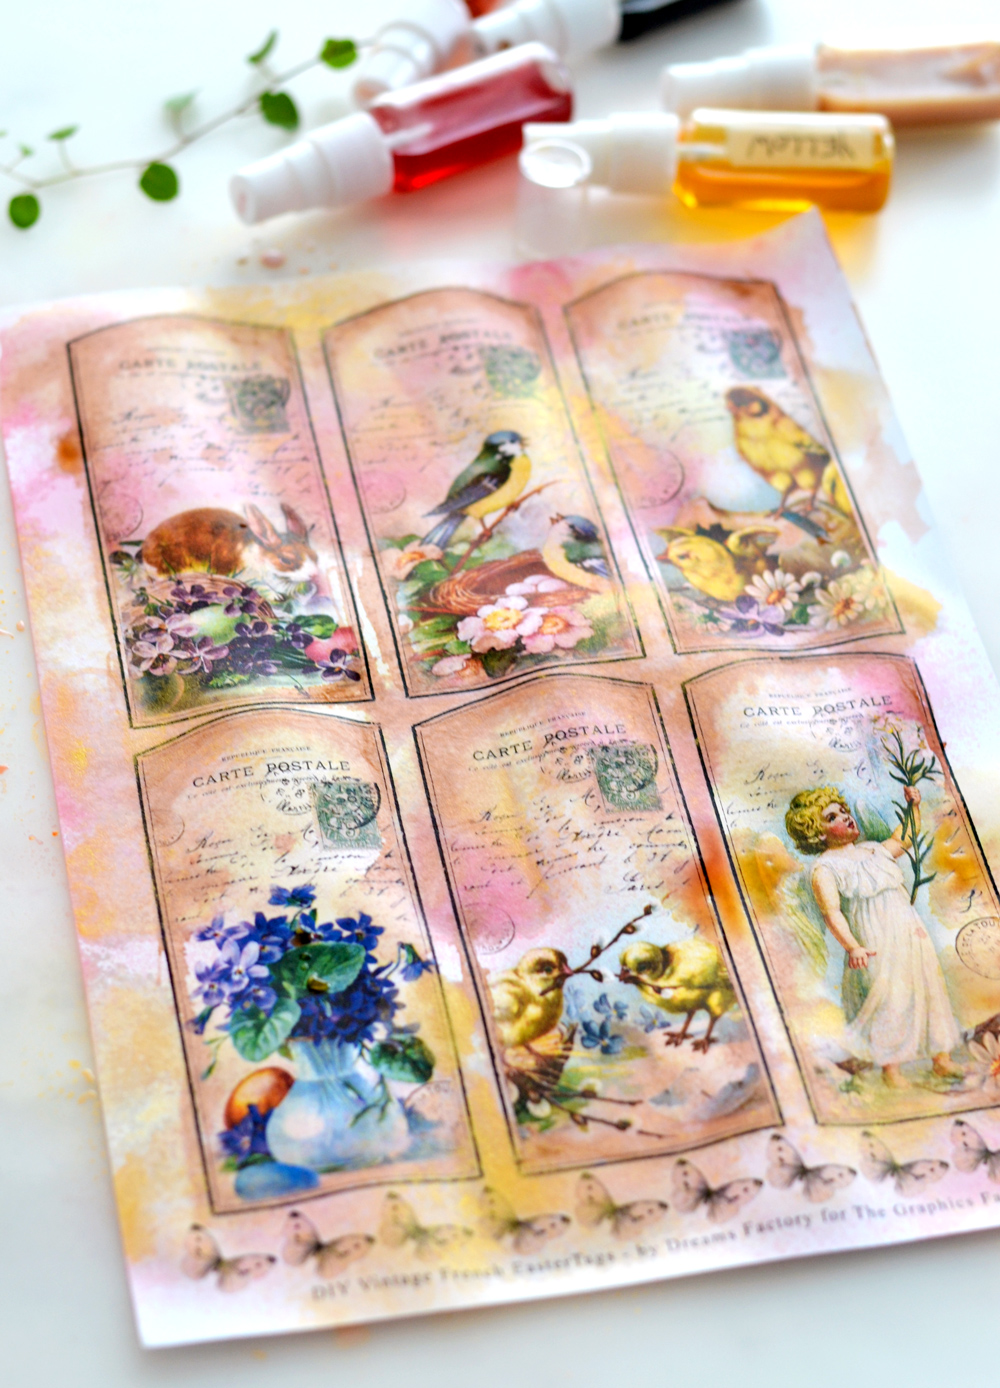
1. I started by gradually spritzing the ink sprays over the labels, trying to hit more of the white paper background than the images. You can see in the images below how I started with the yellow (1), then I moved to the magenta ink spray (2) and then I added a little bit of orange (3). It’s important to go outside the borders at this point, just to make sure all the surface of the labels is completely inked. My final spritz were the golden touches here and there, just to add that amazing golden shimmering effect.
Your labels will be quite transformed already, but don’t forget to also spritz some ink on the butterflies too! It’s really fun watching everything metamorphose right before your eyes – in a matter of seconds! It’s a really quick process with surprising and gorgeously different results every time. It’s a process that doesn’t let you think too much and allows you to just go with the flow! Or with the spritz … in this case! I’ve actually made my own ink sprays a few weeks ago (will be sharing the whole process on Dreams Factory) and it seems like I’m just finding new and exciting ways of experimenting with them. I simply cannot get enough of them! There are many brands of ink sprays as well, so you may already have these on hand.
2. I was in LOVE with the color combos I was getting, but I felt like I needed just one thing that would really bring everything together. So I used my brown ink spray to create some sort of a faux distressed vintage-y vignette around the edges. I didn’t sprayed the brown ink on the labels this time, but instead I used the small flexible tube inside the bottle to pick up the color and ‘paint’ with it over the edges. The previous colors need to be fairly wet while doing this step so they would all perfectly blend together. To create the vignette effect in the corners, I used the tube with some more ink and ‘painted’ shapes that would look like small triangles, then I followed the border of the labels and created an ink line that would connect those triangles. I did that horizontally first, then vertically, but I didn’t followed this triangles + lines rule exactly the same on all the corners, I still wanted to get different and unique results. Then I added some more brown ink here and there, just to give the labels more character.
3. My labels (and my butterflies) were ready, I just used my hairdryer to speed up the drying process. As you can see the labels will warp in some places after drying, you can use your steam iron (without the steam) or place them between the pages of a book to flatten them. If you are using your iron, make sure you place a small piece of scrap fabric on top on each label before ironing it, we don’t want to burn or damage the painted surface in any way.
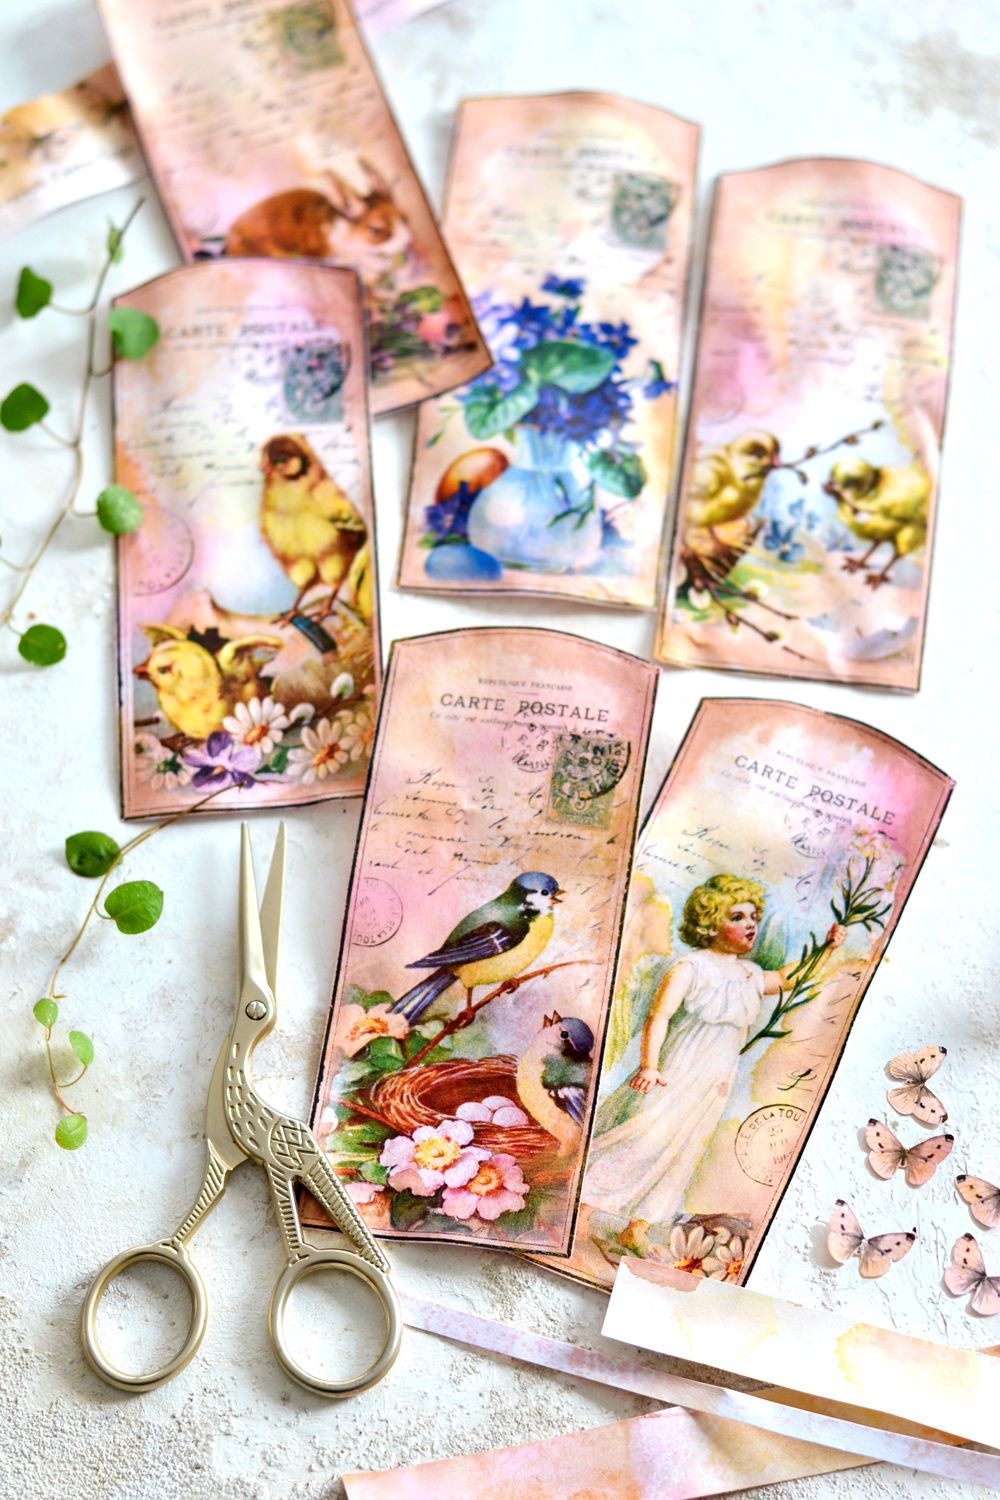
4. I was so happy with how they turned out, all the colors were so vibrant and beautiful! Then I used my scissors to cut the labels and the butterflies. The butterflies are quite small, so be gentle while cutting and handling them.
5. If you want to add more interest to your already gorgeous DIY Vintage French Easter Tags, you can use a small stamping pad (or anything else that you prefer) and go all over the edges and the corners. This will accentuate the brown ink vignette effect that we created earlier and will bring more depth to the whole vintage-y look. Then I ‘dipped’ the wings of the butterflies into the stamp ink to also apply to them the same vintage-y beauty process.
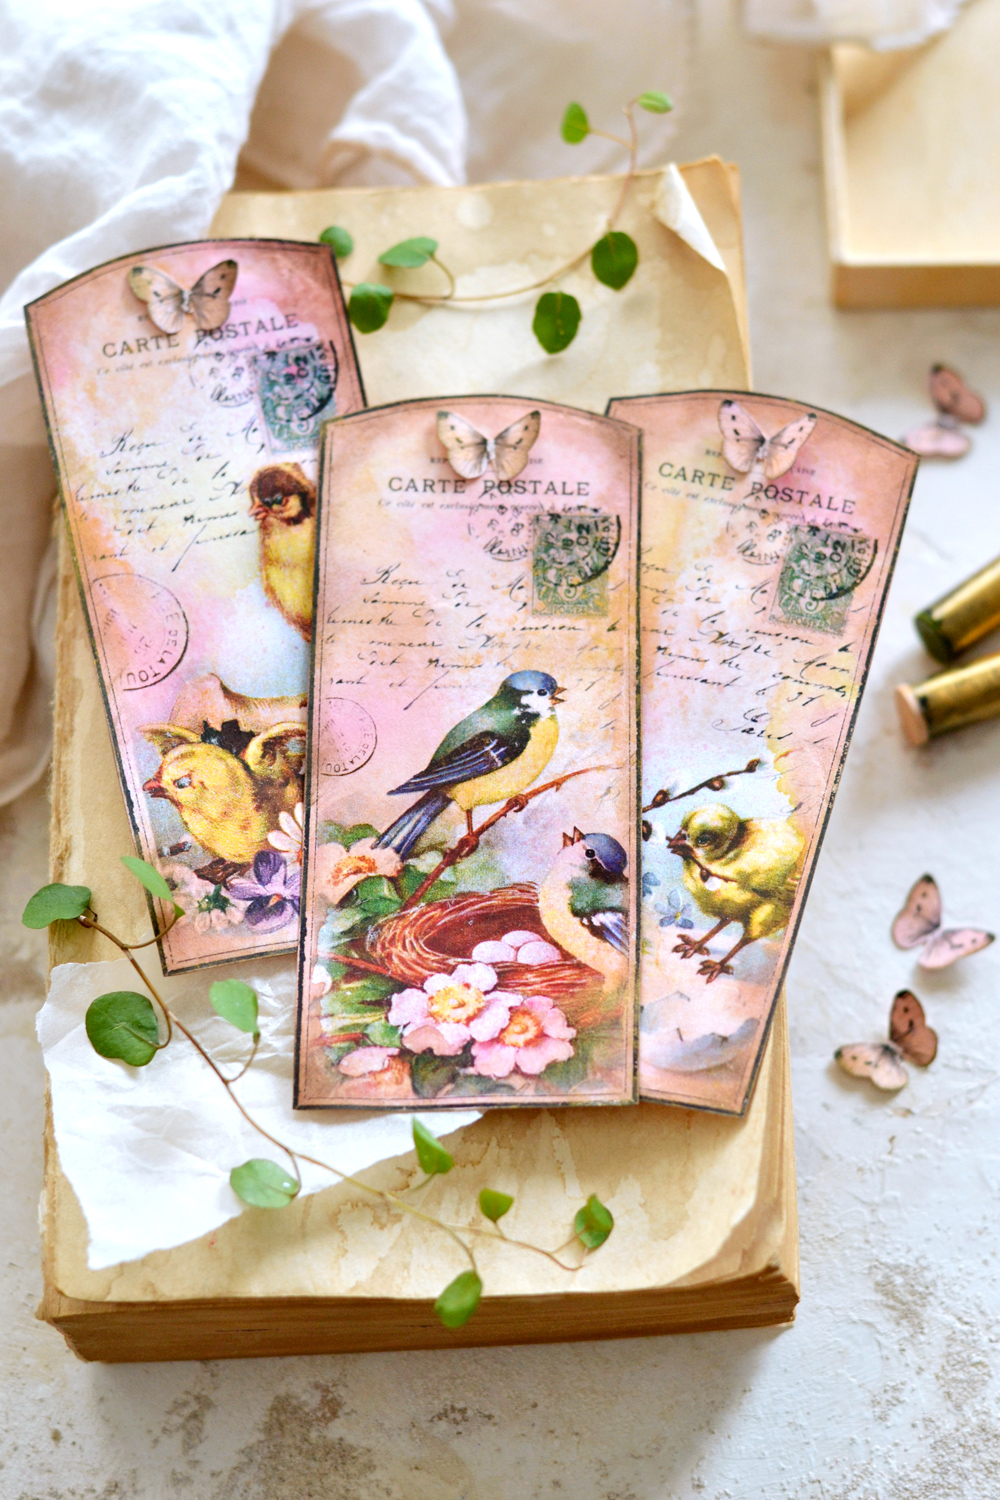
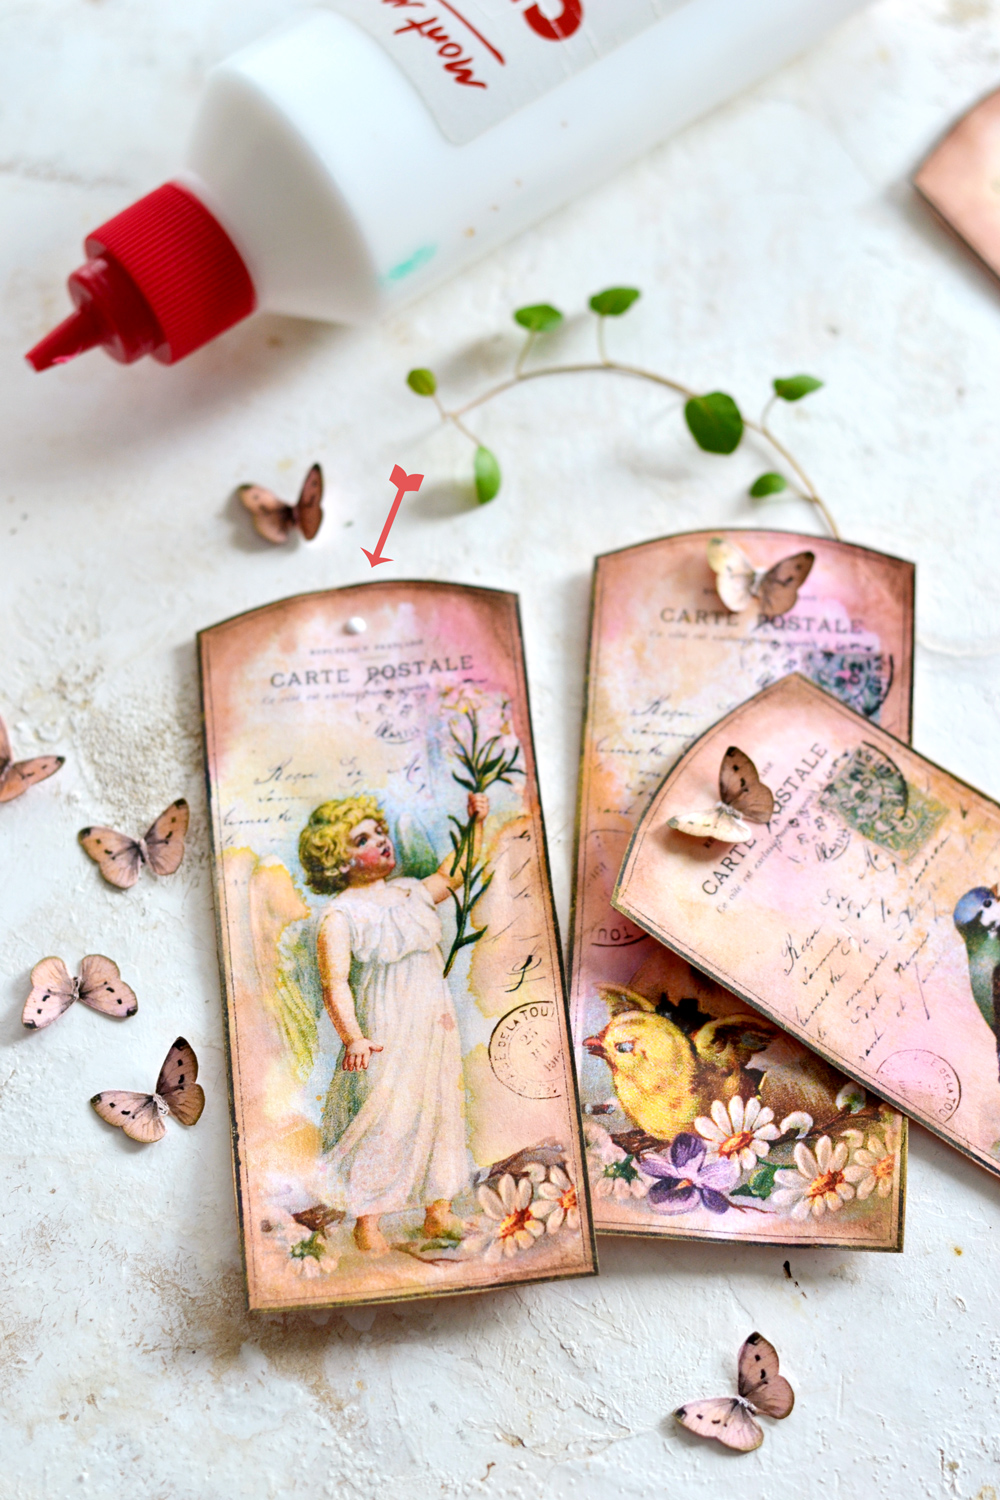 6. For my final step I placed a small dot of craft glue on the labels, then added the butterflies on top. You can choose to create a small raised 3D effect and glue the butterflies flat on the labels, or you can choose to only glue the middle part of the butterflies and create a more visible 3D effect. Just make sure you leave a little bit of free space on top if you plan on also making holes on your tags.
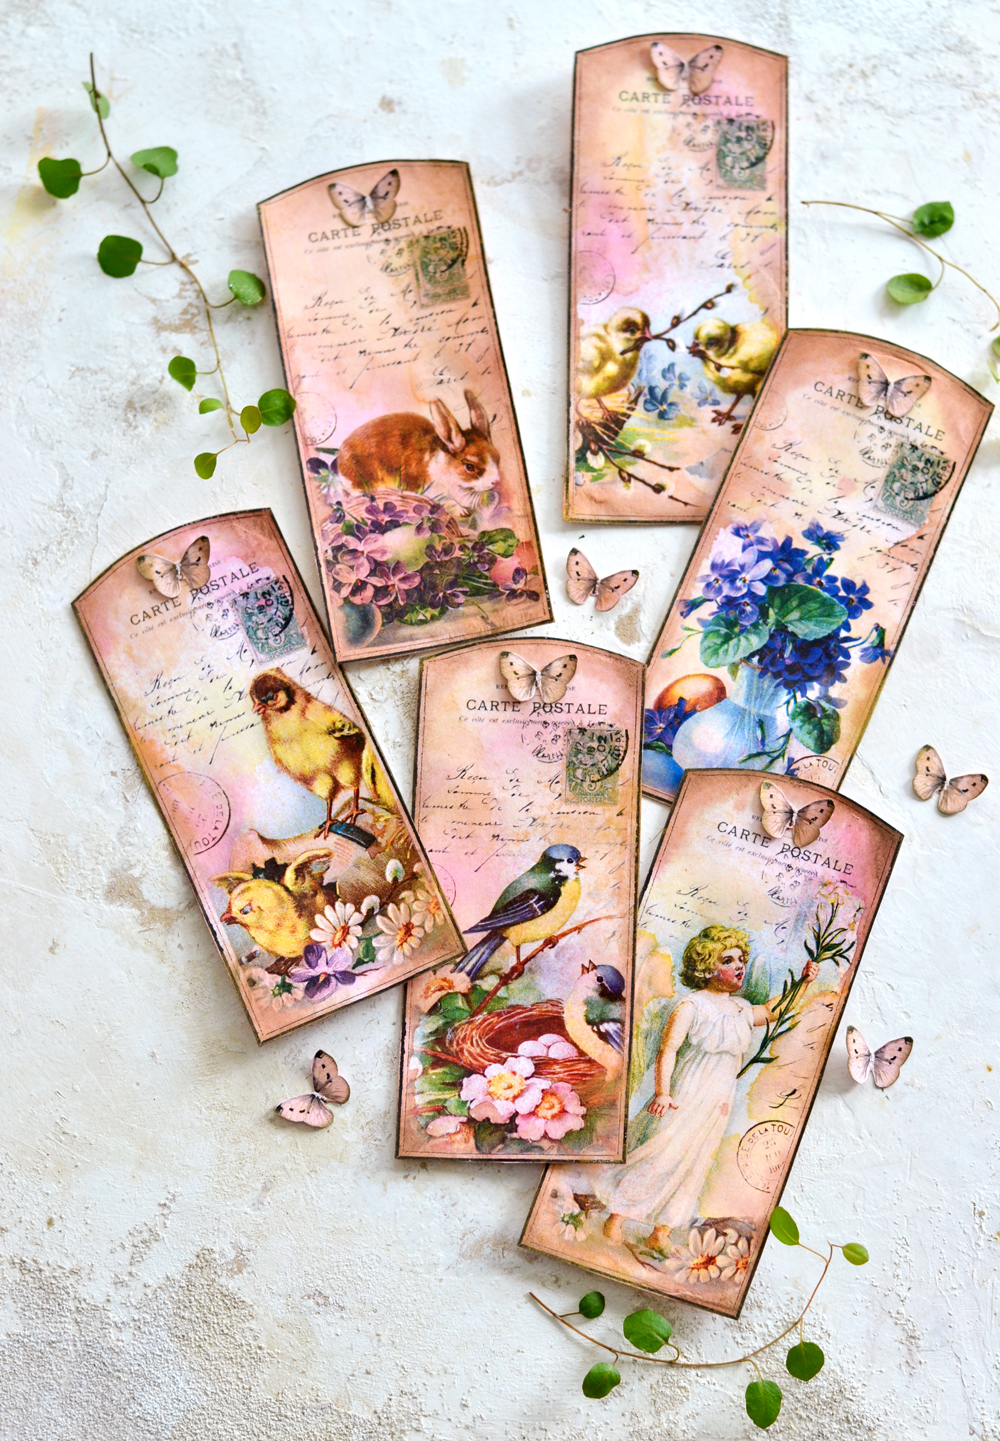
The final results are quite stunning, these perfectly blended spring-y colors with all the gold touches would bring a smile to anyone’s face!
So I’m sure you will totally agree with me that these chic and colorful DIY Vintage French Easter Tags would make the perfect embellishment for Easter or spring gifts, can be used (as tags or labels) to decorate different objects around your home, can be included in Easter/spring inspired themes in your art or junk journal. They can also be used as bookmarks while enjoying your favorite reads, there are so many possibilities of using these beauties.
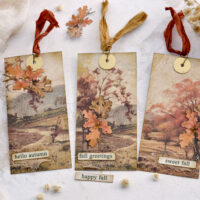
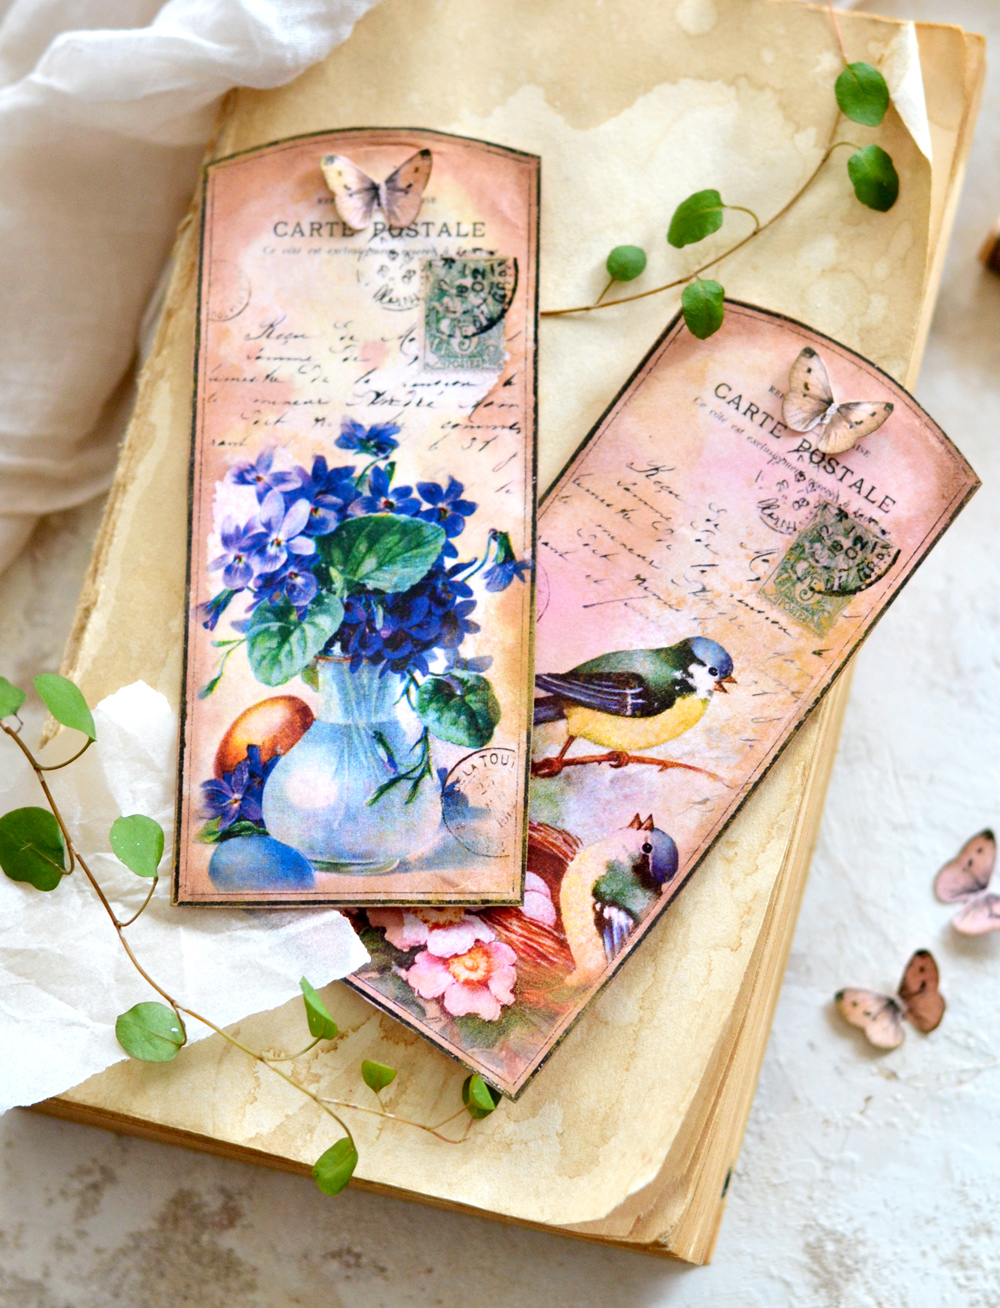 That’s it for today, you guys, I hope you have a peaceful and joyous, really colorful Easter and spring! These two tags below that look like charming miniature paintings, were definitely my favorites. I’m really curious, which one do you love the most?
You might also like some more Printable Tags for this Holiday HERE.
Happy crafting,
Diana / Dreams Factory


YVONNE TUCKER says
Beautiful
Karen Watson says
Thanks for your kind comment Yvonne!
Sandra says
So pretty, thanks for the freebie. 🙂
graphicsfairy says
Thanks Sandra, so glad you liked it 🙂
Gwyneth says
Just lovely!! You ladies are so talented and I appreciate your efforts in bringing designs to life. Going to add these tags to my Easter table and also doing the French Upcycled Candy boxes.
Thanks so much! Stay safe….
Karen Watson says
That’s wonderful Gwyneth! We love Diana’s projects too! Hope you are staying safe as well.
Deb Jacobi says
But how do you collate the image itself?
Karen Watson says
Hi Deb,
We have instructors and lots of tutorials on our Premium site here https://members.thegraphicsfairy.com/ that teach those skills using Photoshop Elements. It’s a bit too much to try to teach here in this post. Diana is one of our instructors in the Premium site too.