Hello friends, Diana from Dreams Factory here!
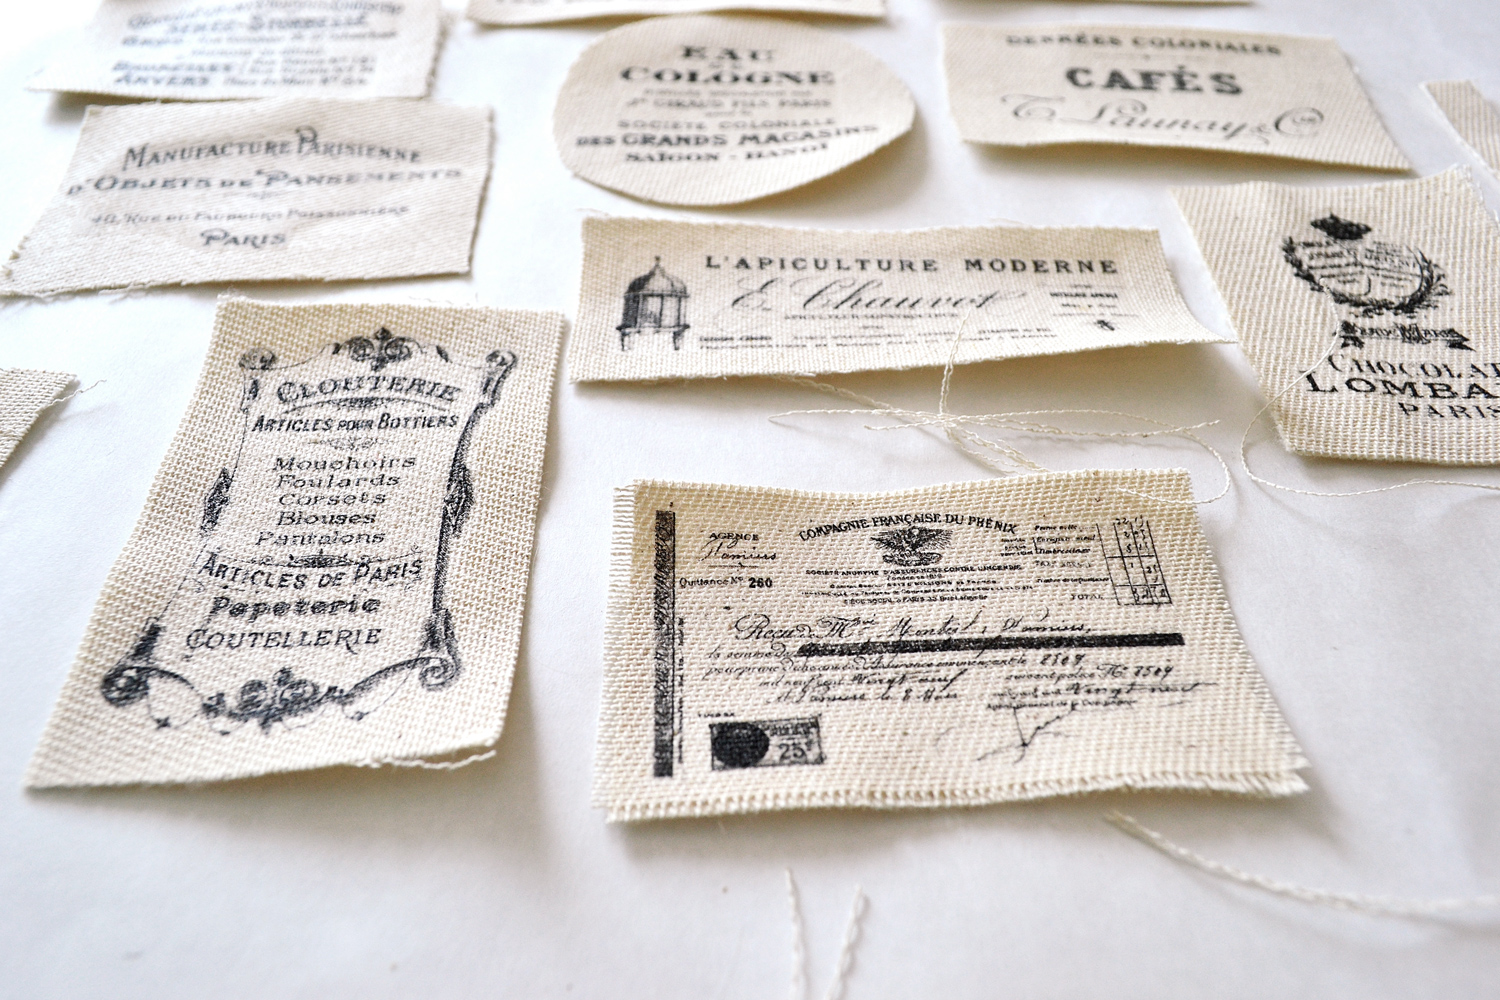
I hope you guys are ready for a new DIY project with chic French touches, because today we are making some DIY French Ephemera Fabric Labels! I’ll show you how to make these beauties using an iron on transfer paper technique and what to take into consideration when making them. 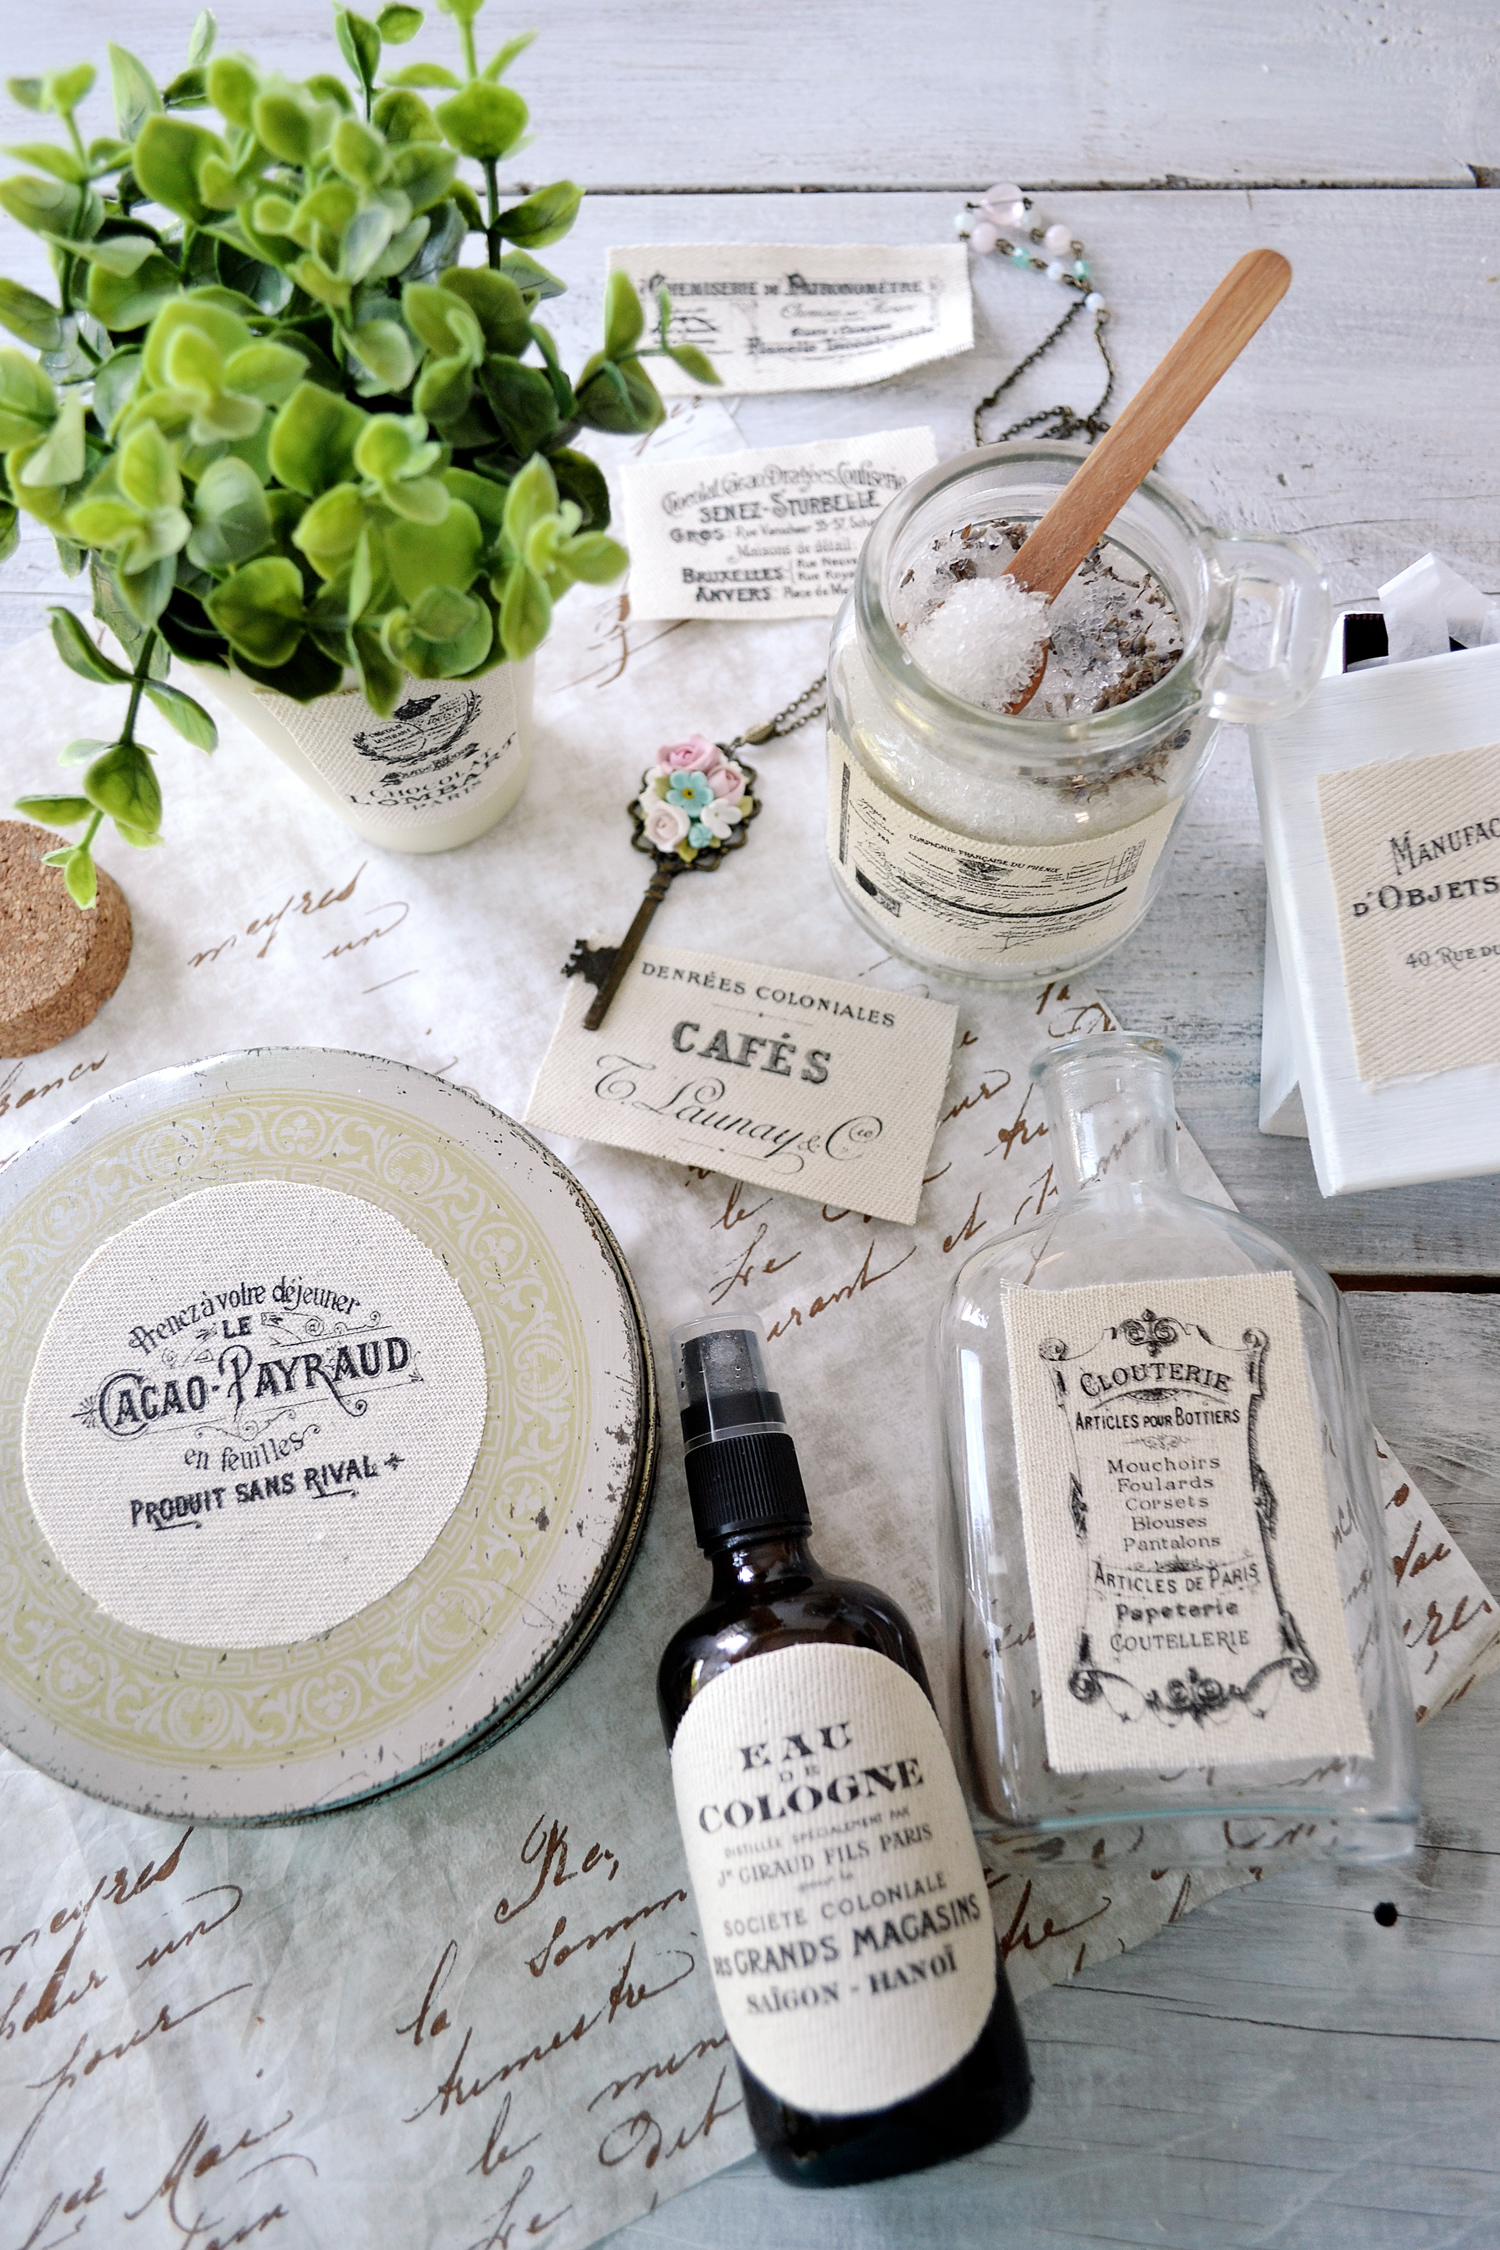 I’ll give you a few ideas on how to use them and how to quickly adapt them to the objects that you already have in your home. I suggest making a few extra, you might be falling in love with these! 🙂
When it comes to decorating, labels are some of the first things that come into my mind when wanting to beautifully embellish any type of object. I just love how a simple label can instantly add dimension and layering to a plain object and how it can turn it into a stunning decorative piece.
French Ephemera Fabric Labels can be classy and sophisticated, let’s go make some!
 {This post contains affiliate links}
SUPPLIES:
- fabric
- iron on paper for injket printers OR iron on paper for laser printers
- printer
- pencil
- iron
- brushes
- Mod Podge
- scissors
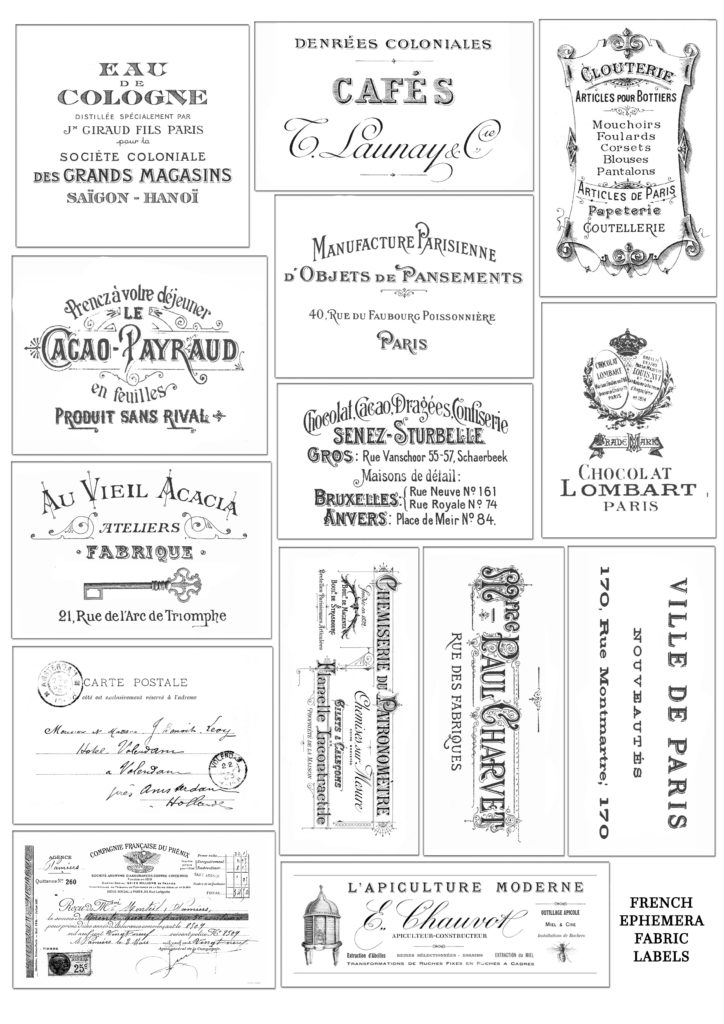
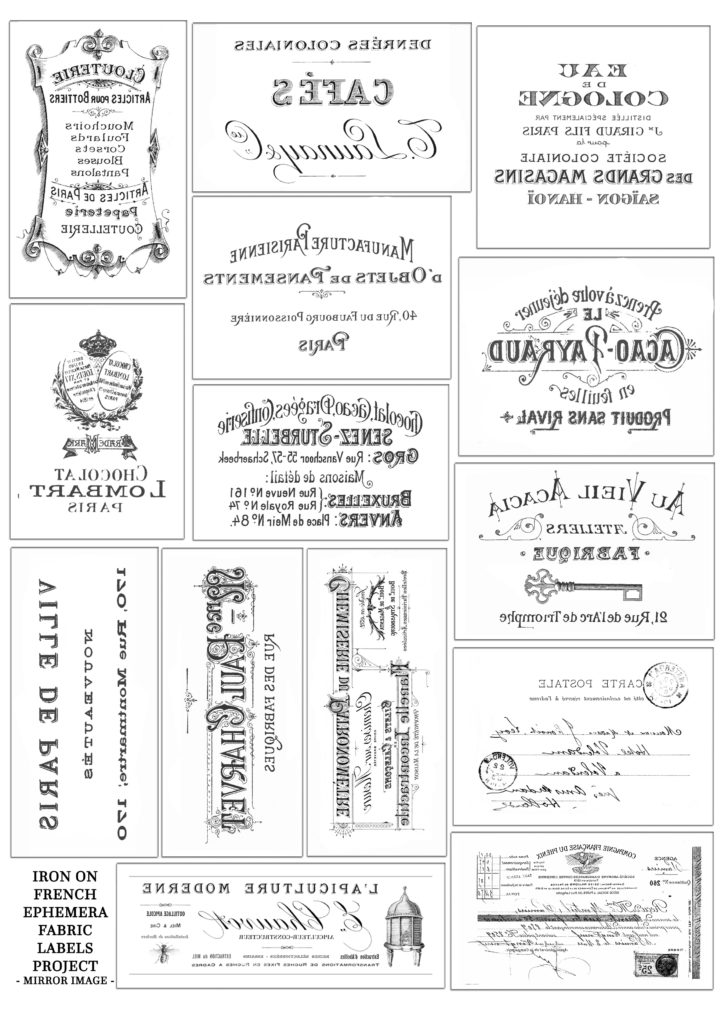
- French ephemera graphics (mirror image)
Optional:
- white acrylic paint
- apothecary jars and bottles (in different sizes and shapes)
- small cardboard boxes
- mini planters with natural or artificial plants
- small woven baskets
- tin boxes
—> Click here to download the full size PDF – regular <—
—> Click here to download the full size PDF – mirror image <—
1. Print your French ephemera graphics on the iron on paper in reverse/mirror image format. I provided both the regular and the reverse printable format above.
The reverse / mirror format is really important, make sure you don’t skip this step if using the iron on paper transfer technique!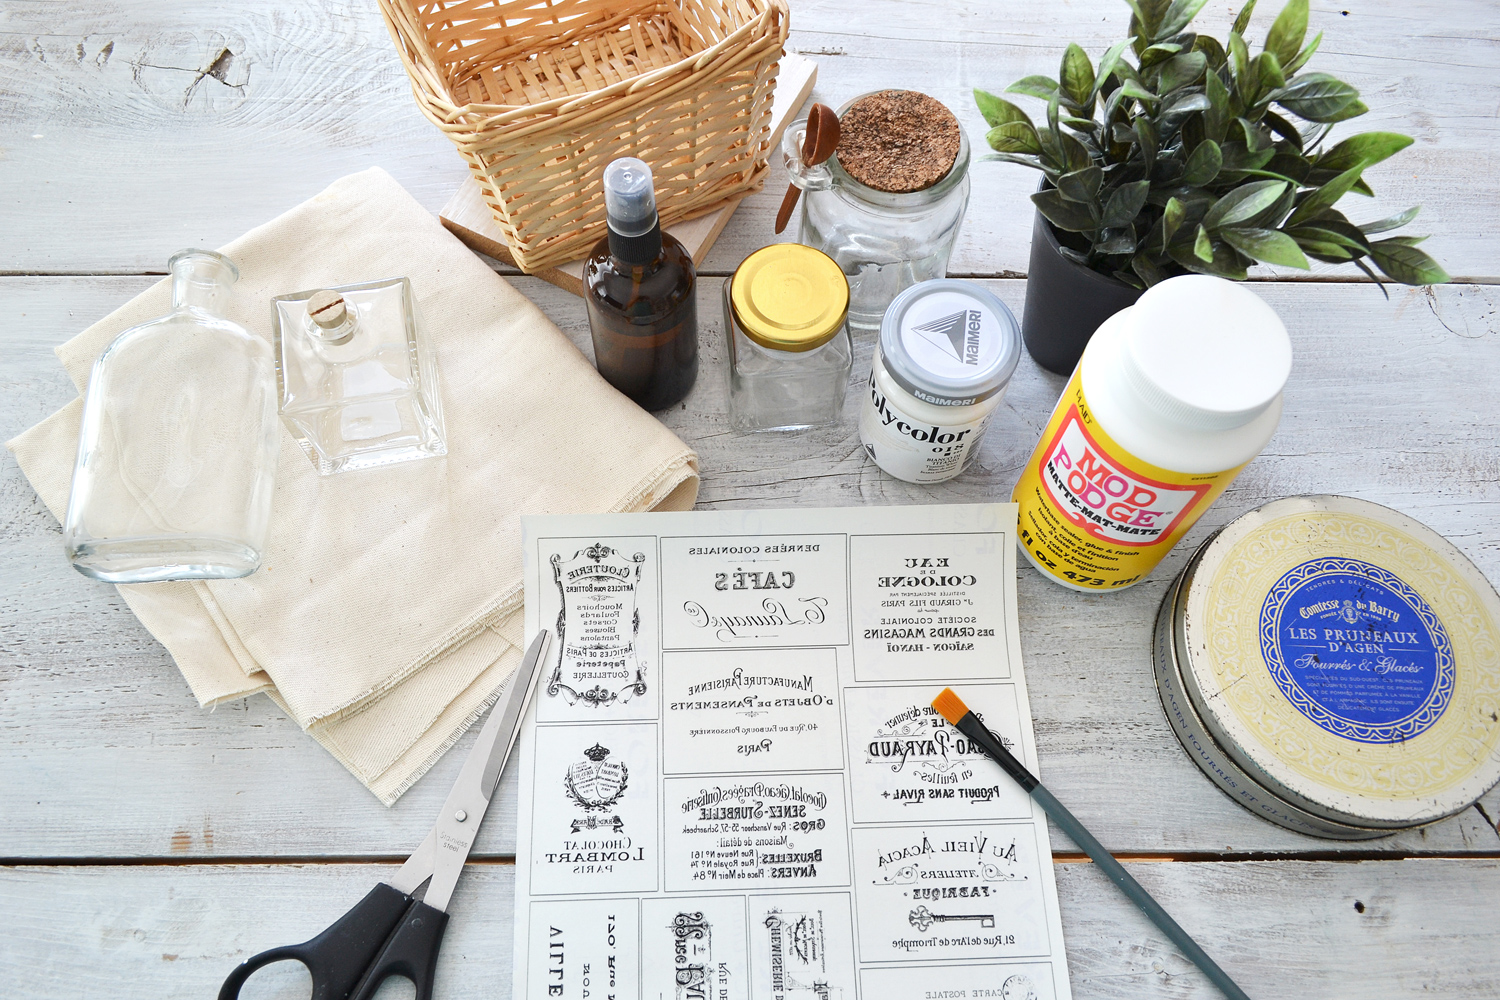
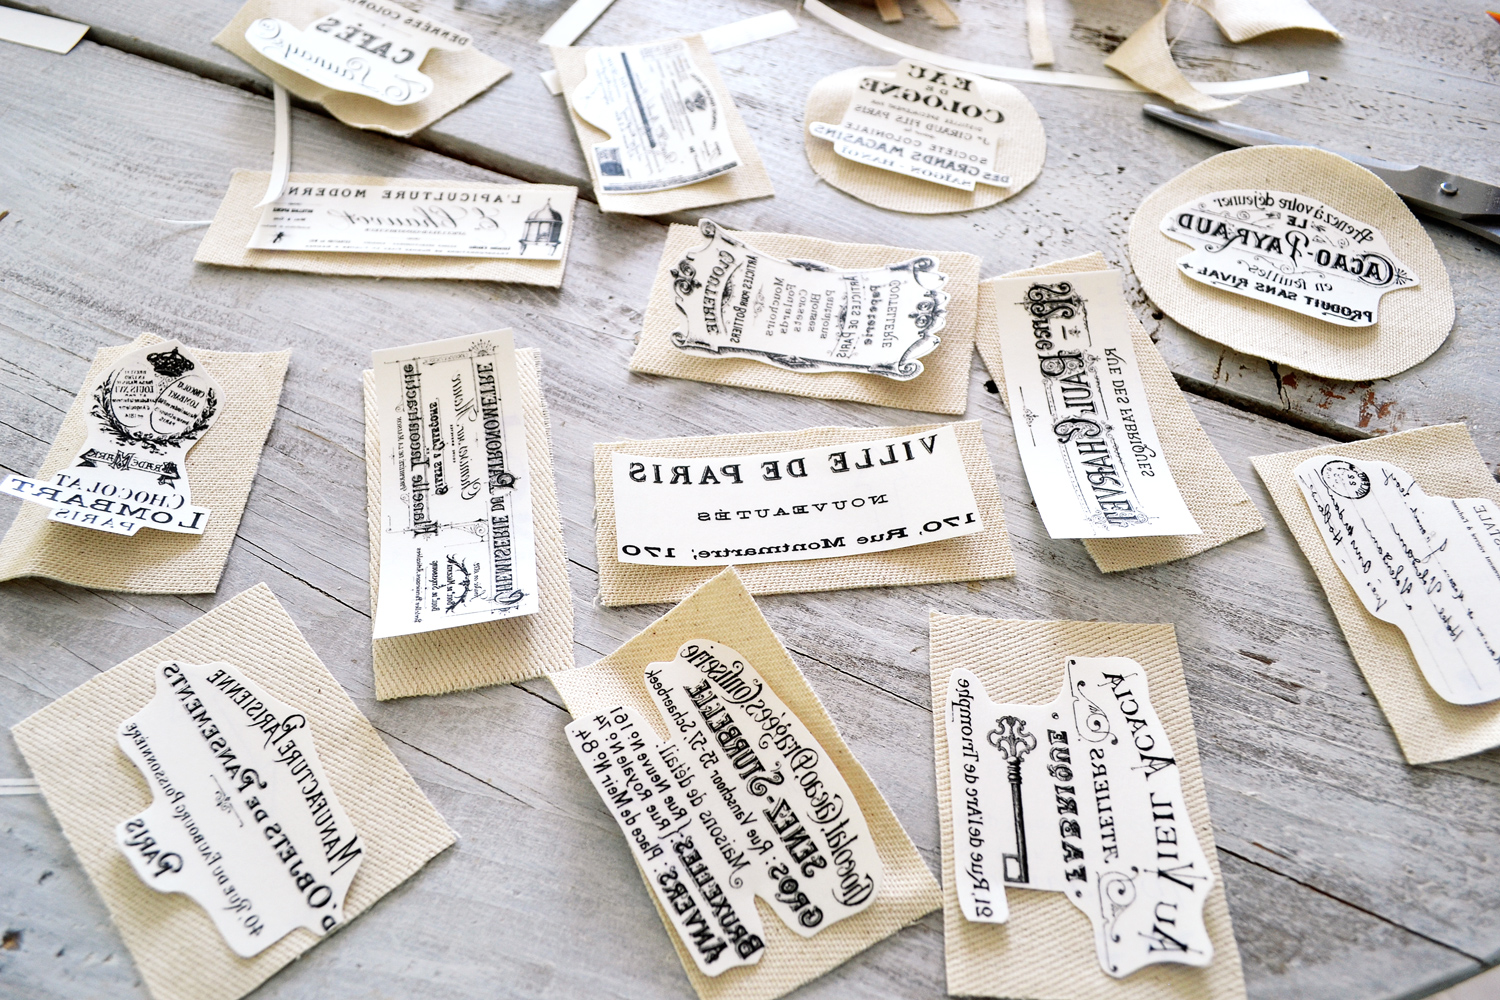
2. Cut each French ephemera graphic using your scissors on the outside of their borders.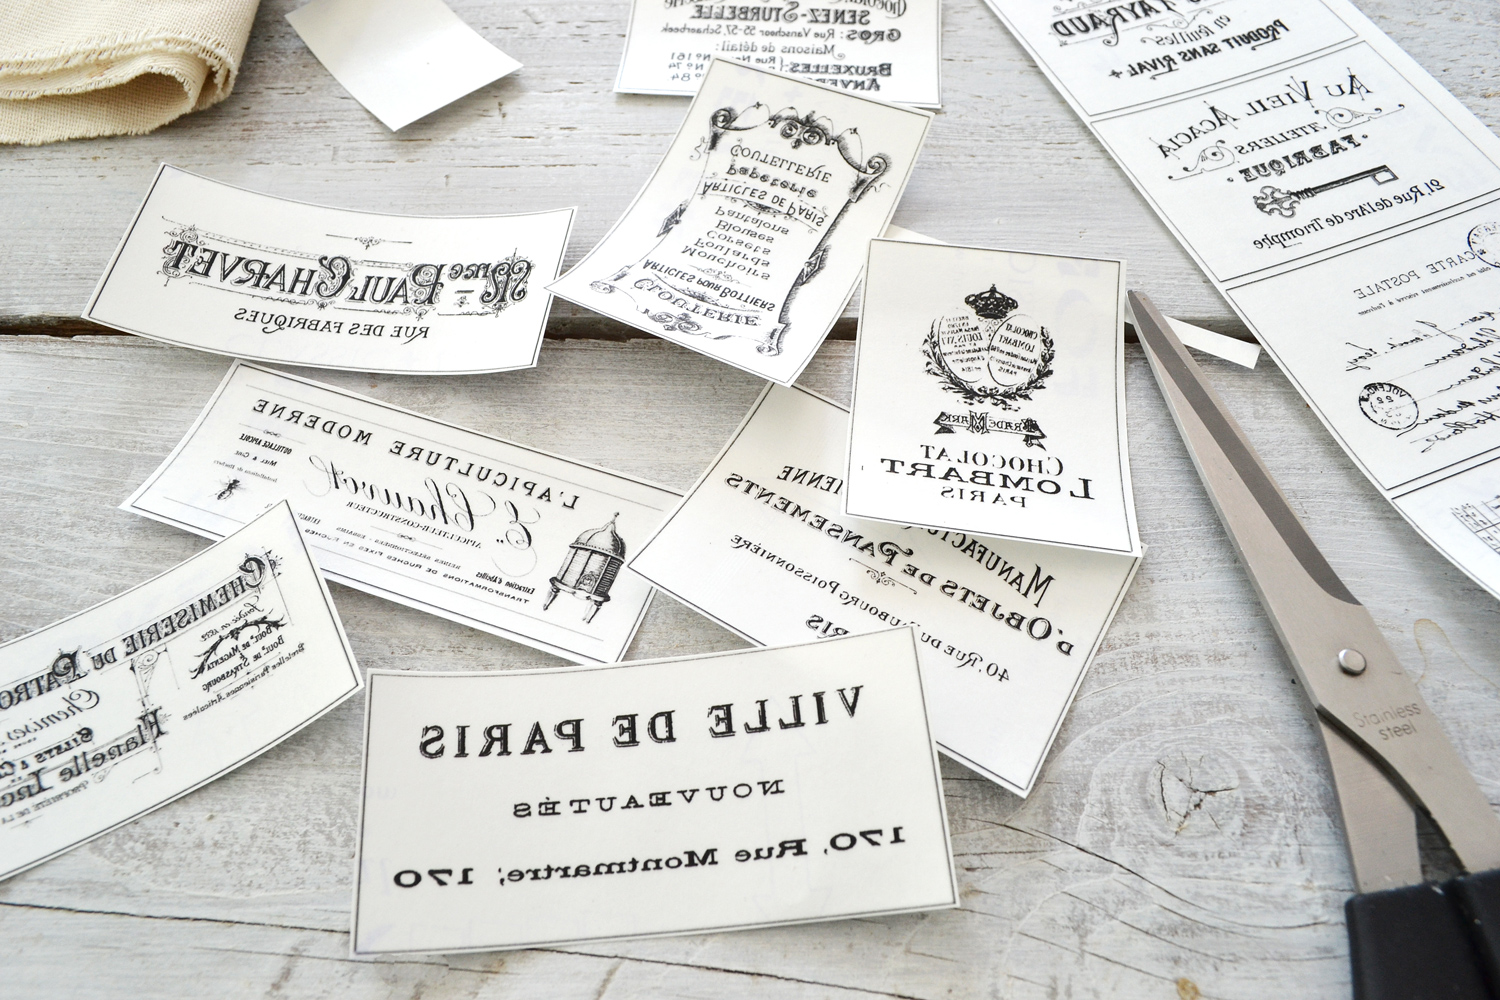
3. Use a pencil and trace each French ephemera graphic on the fabric, one by one.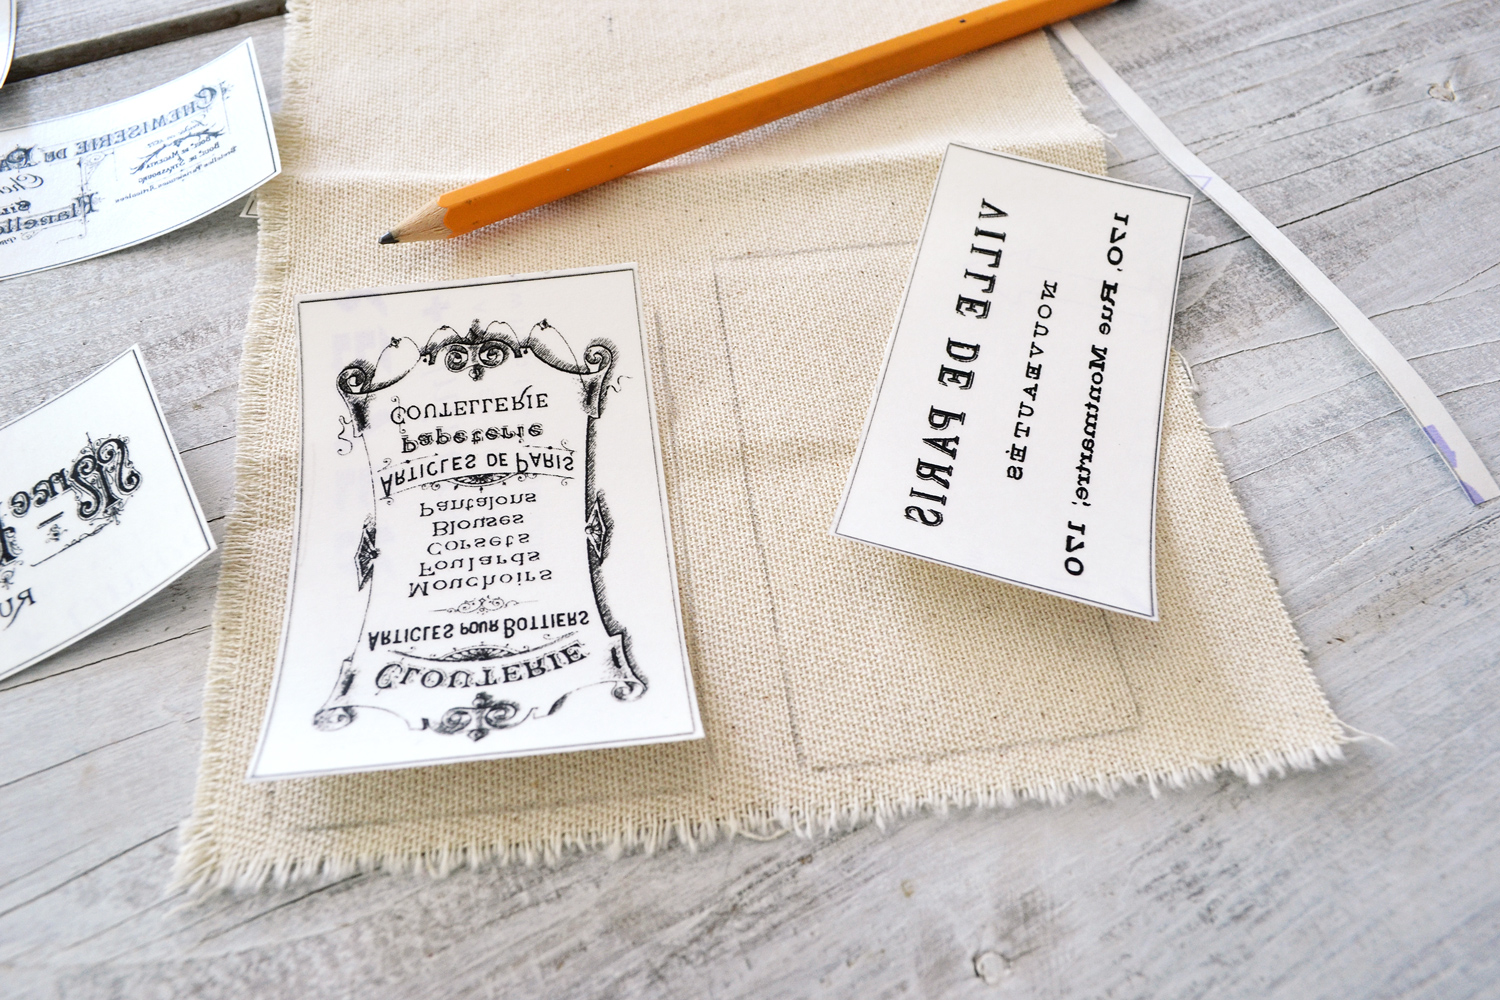
4. Cut the fabric on the inside of the pencil traced border (this will completely remove the pencil border). Don’t worry if you don’t get perfectly cut shapes, this slightly irregular form will only add charm to the whole concept.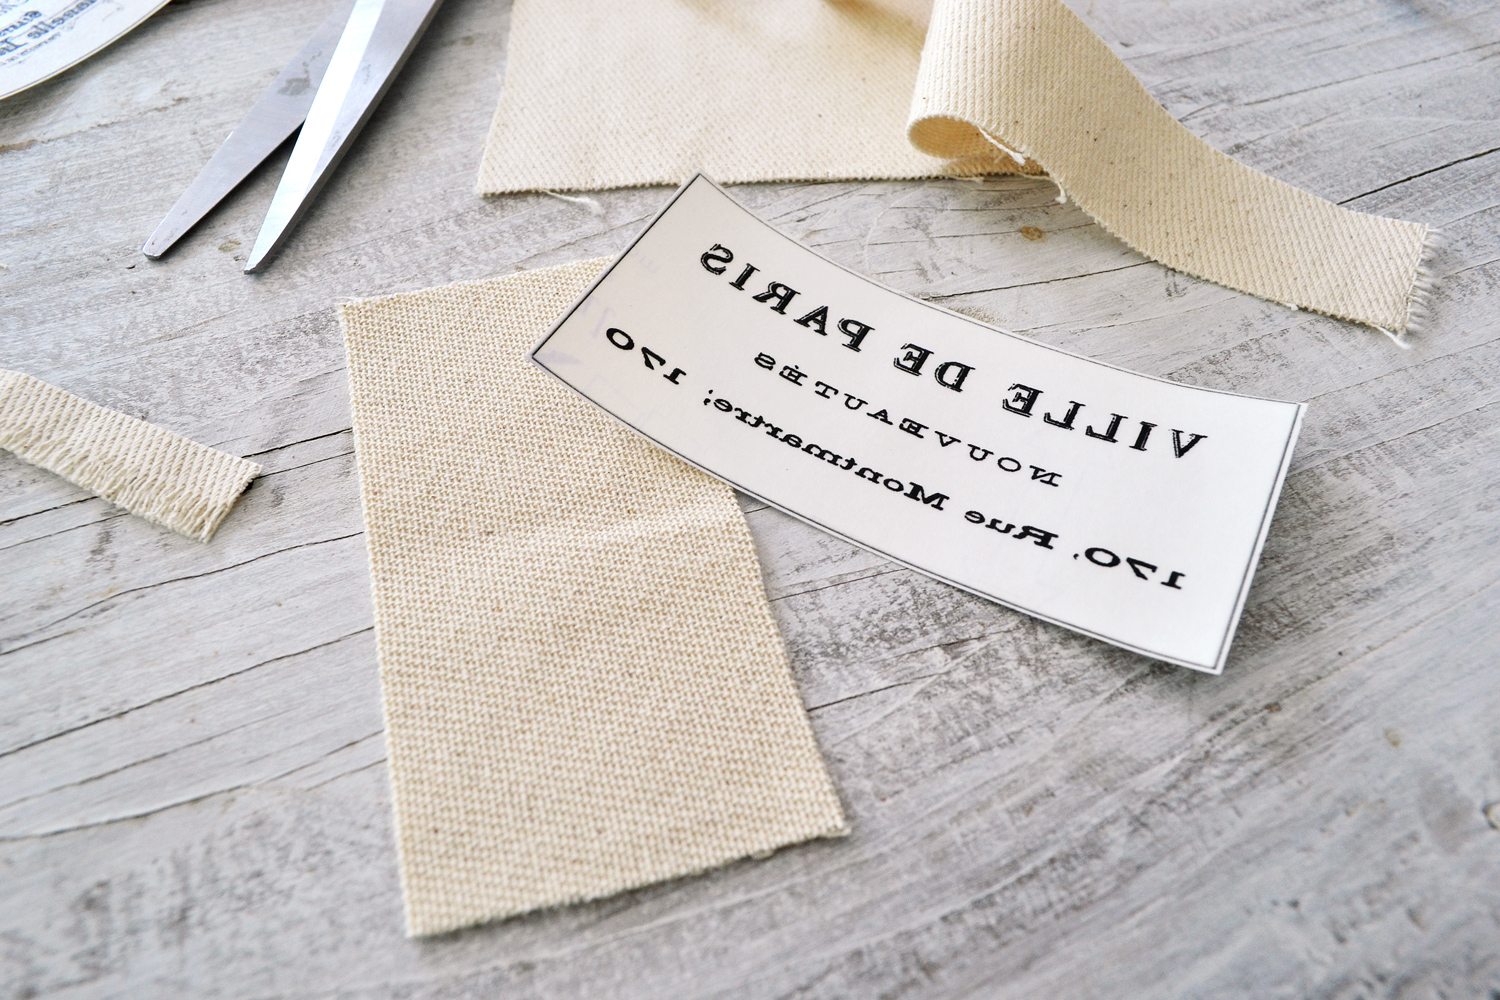
5. Go back to the iron on paper graphic and trim away the borders. Remove as much white space as you can, trimming as close as you can to the writing.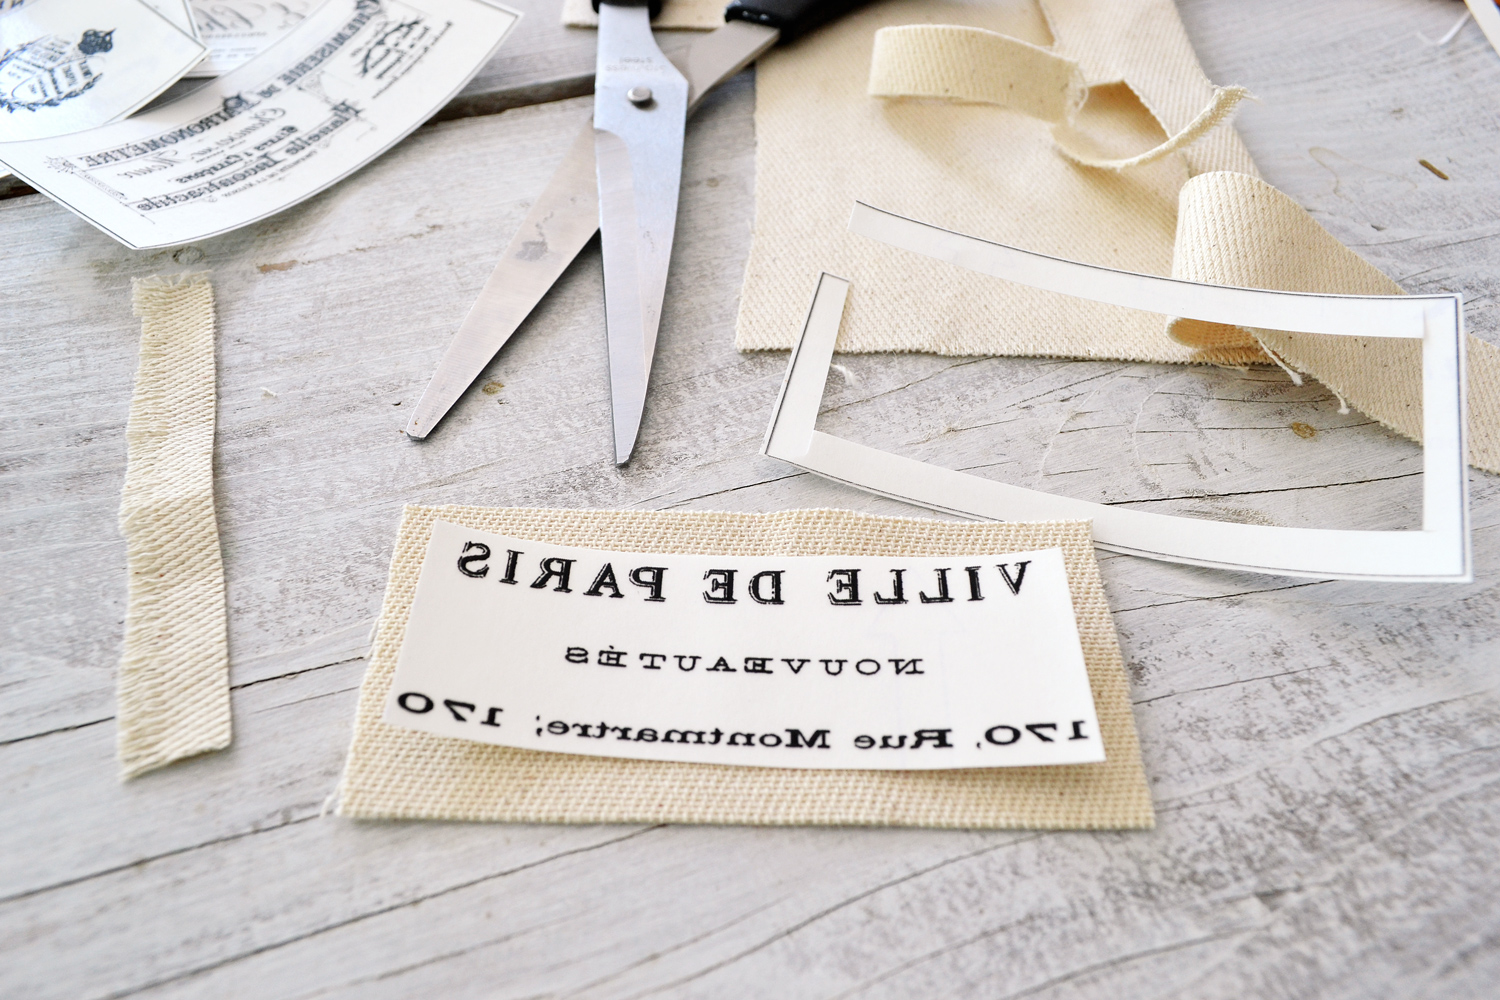
6. Follow the same steps for all the graphics.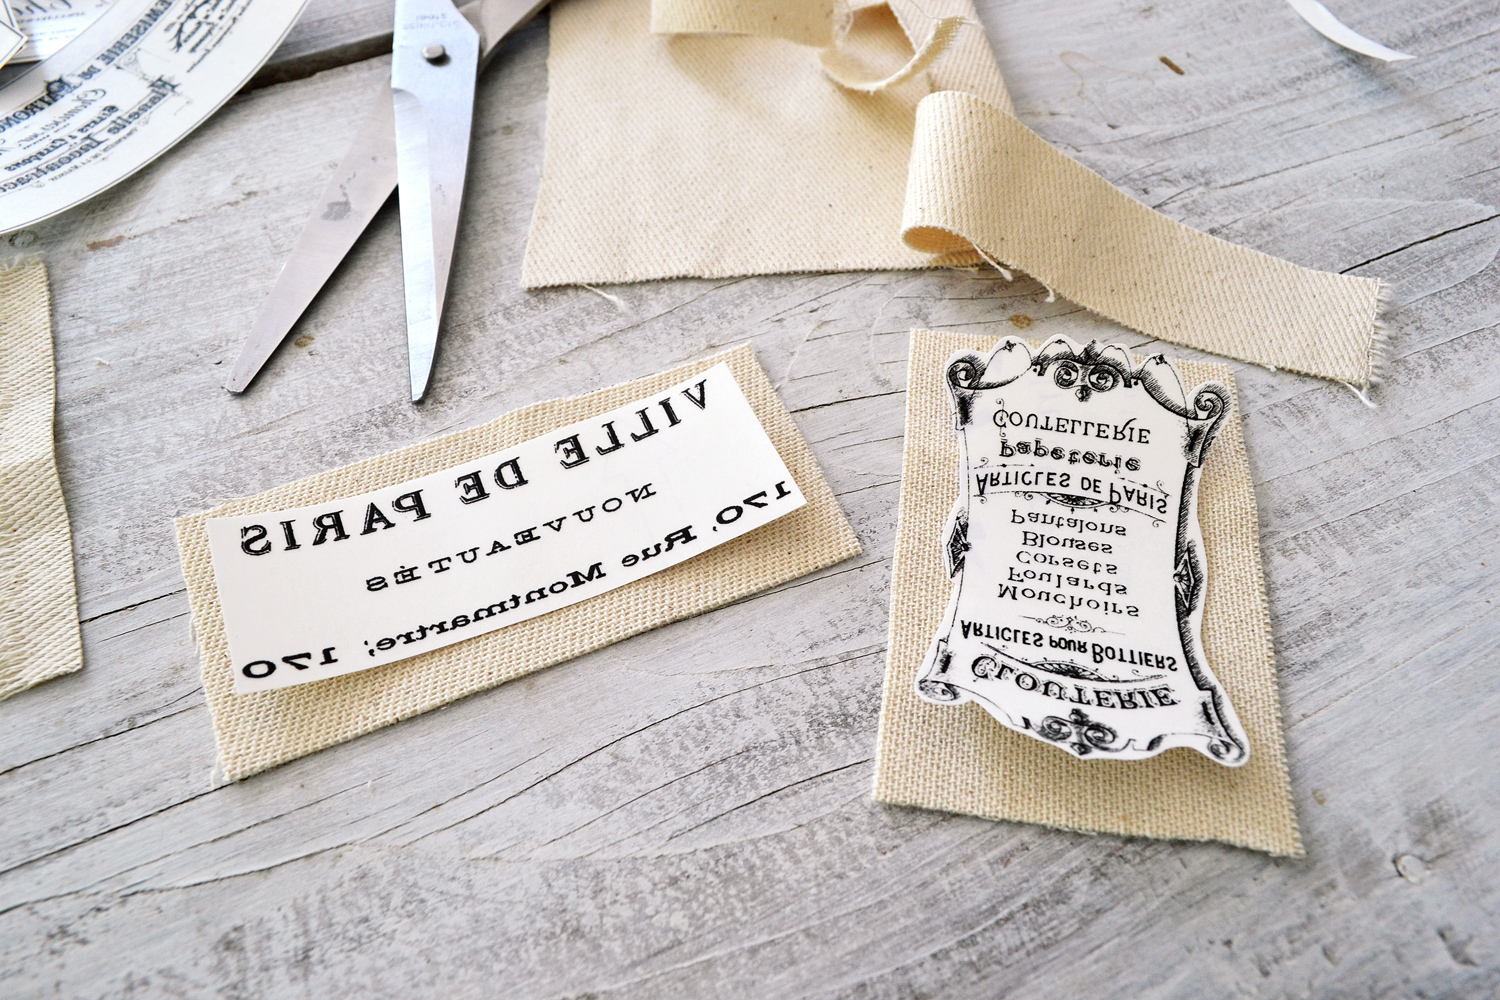
And make sure you know where each one corresponds!
7. Optional – If you want to make some round labels, use a glass or a small round recipient and trace a round shape on the fabric. Decide which graphic you will be using to create a round French ephemera label and cut the fabric and the iron on paper accordingly.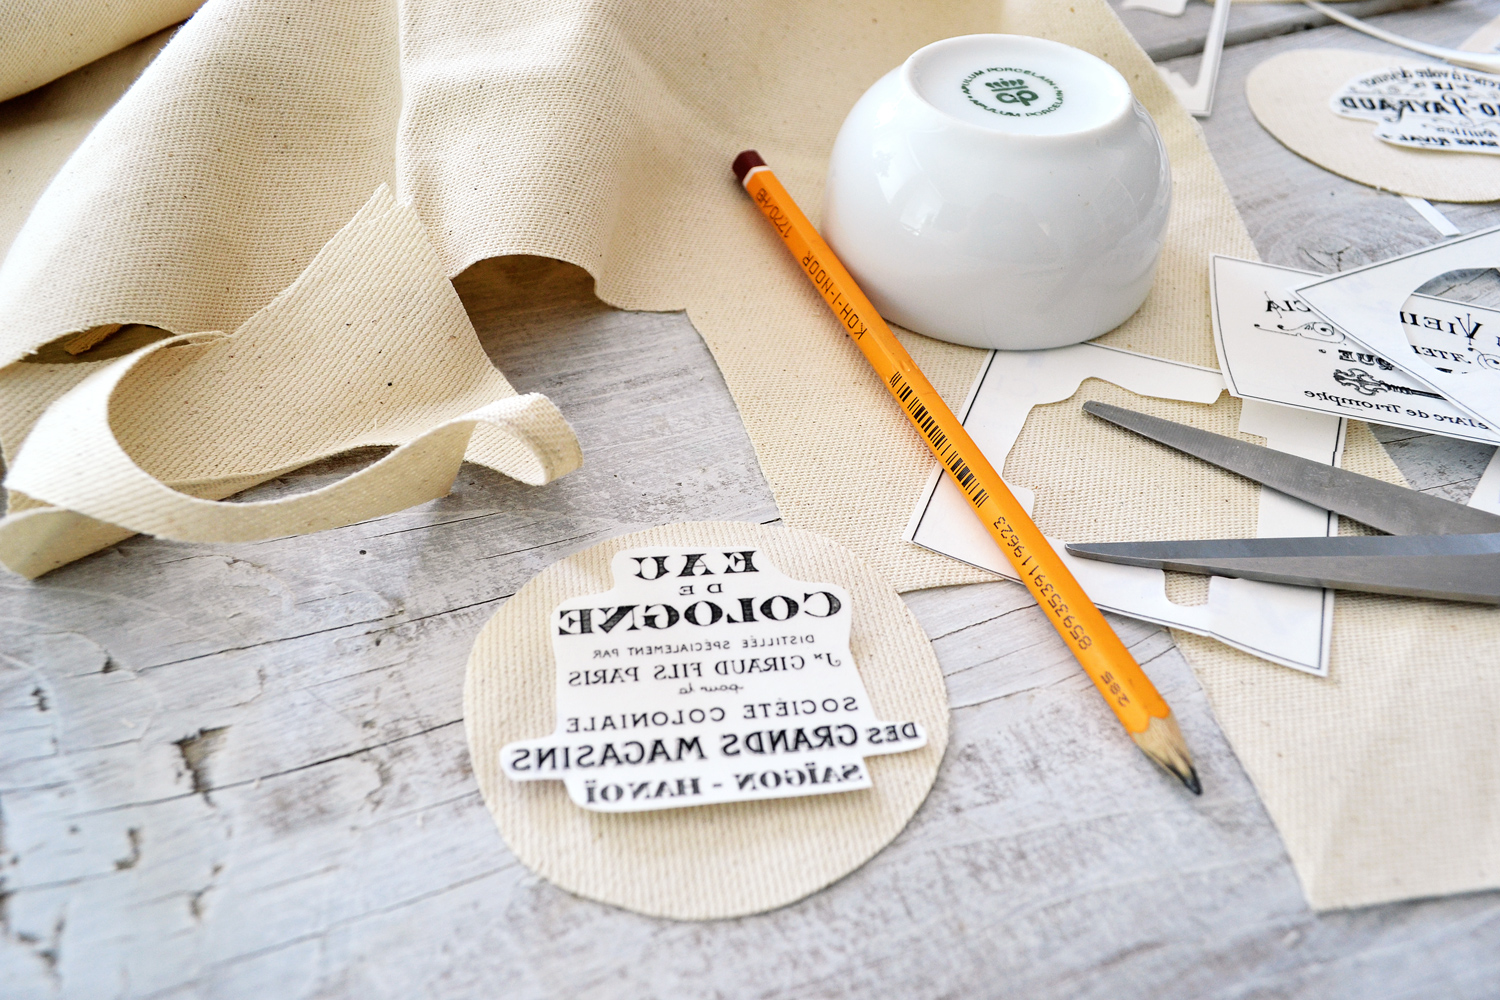
The iron on transfer paper technique
8. Heat your iron for a few minutes and turn the steam off.
9. Put a piece of fabric on a hard surface and add a piece of scrap wood on top (or use your ironing board and add a piece of scrap wood on top). Put a fabric label on the scrap wood and lay the corresponding graphic on top, with the printed image facing down. Center the image as well as you can and gently cover them with another piece of fabric (this step is optional but it will protect the label and the iron on paper of getting in direct contact with the hot iron).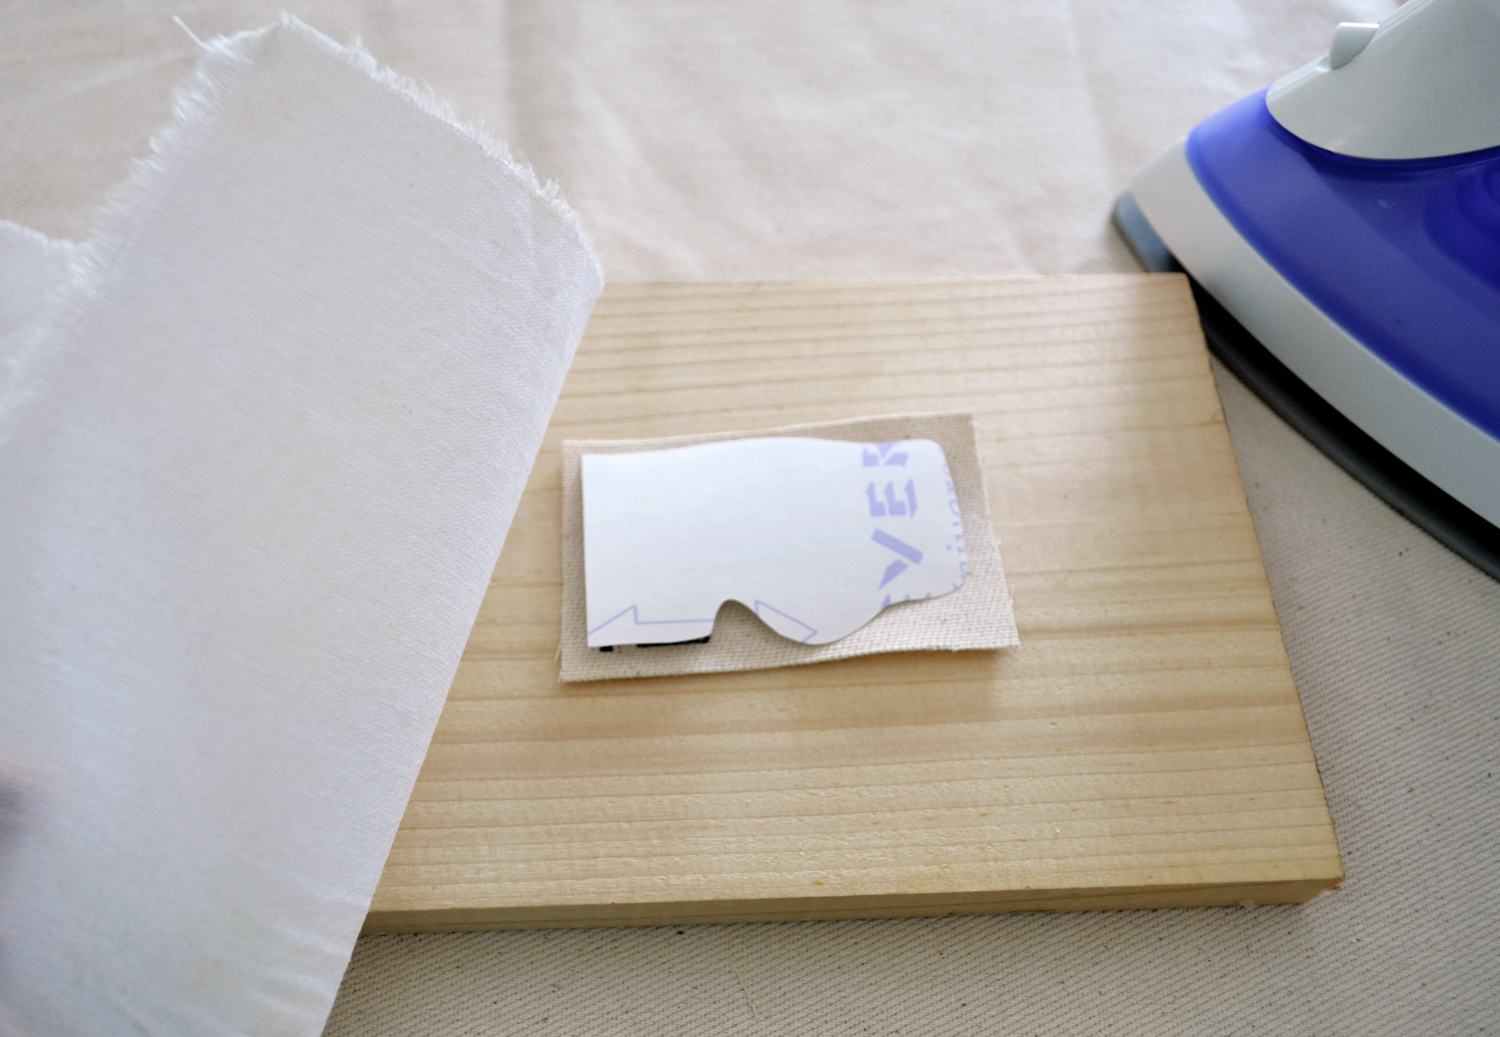
10. Continuously move your iron with small up & down / left & right moves and apply a medium to high pressure to the whole surface. I ironed each label for about 20 seconds -30 seconds but you should read and follow the instructions on the package of your iron on paper.
11. Let the iron on paper cool for a few seconds before trying to peel the white paper away. If the transfer was made in a proper way, the white paper on top should easily come right off, leaving the graphic beautifully imprinted on the fabric label.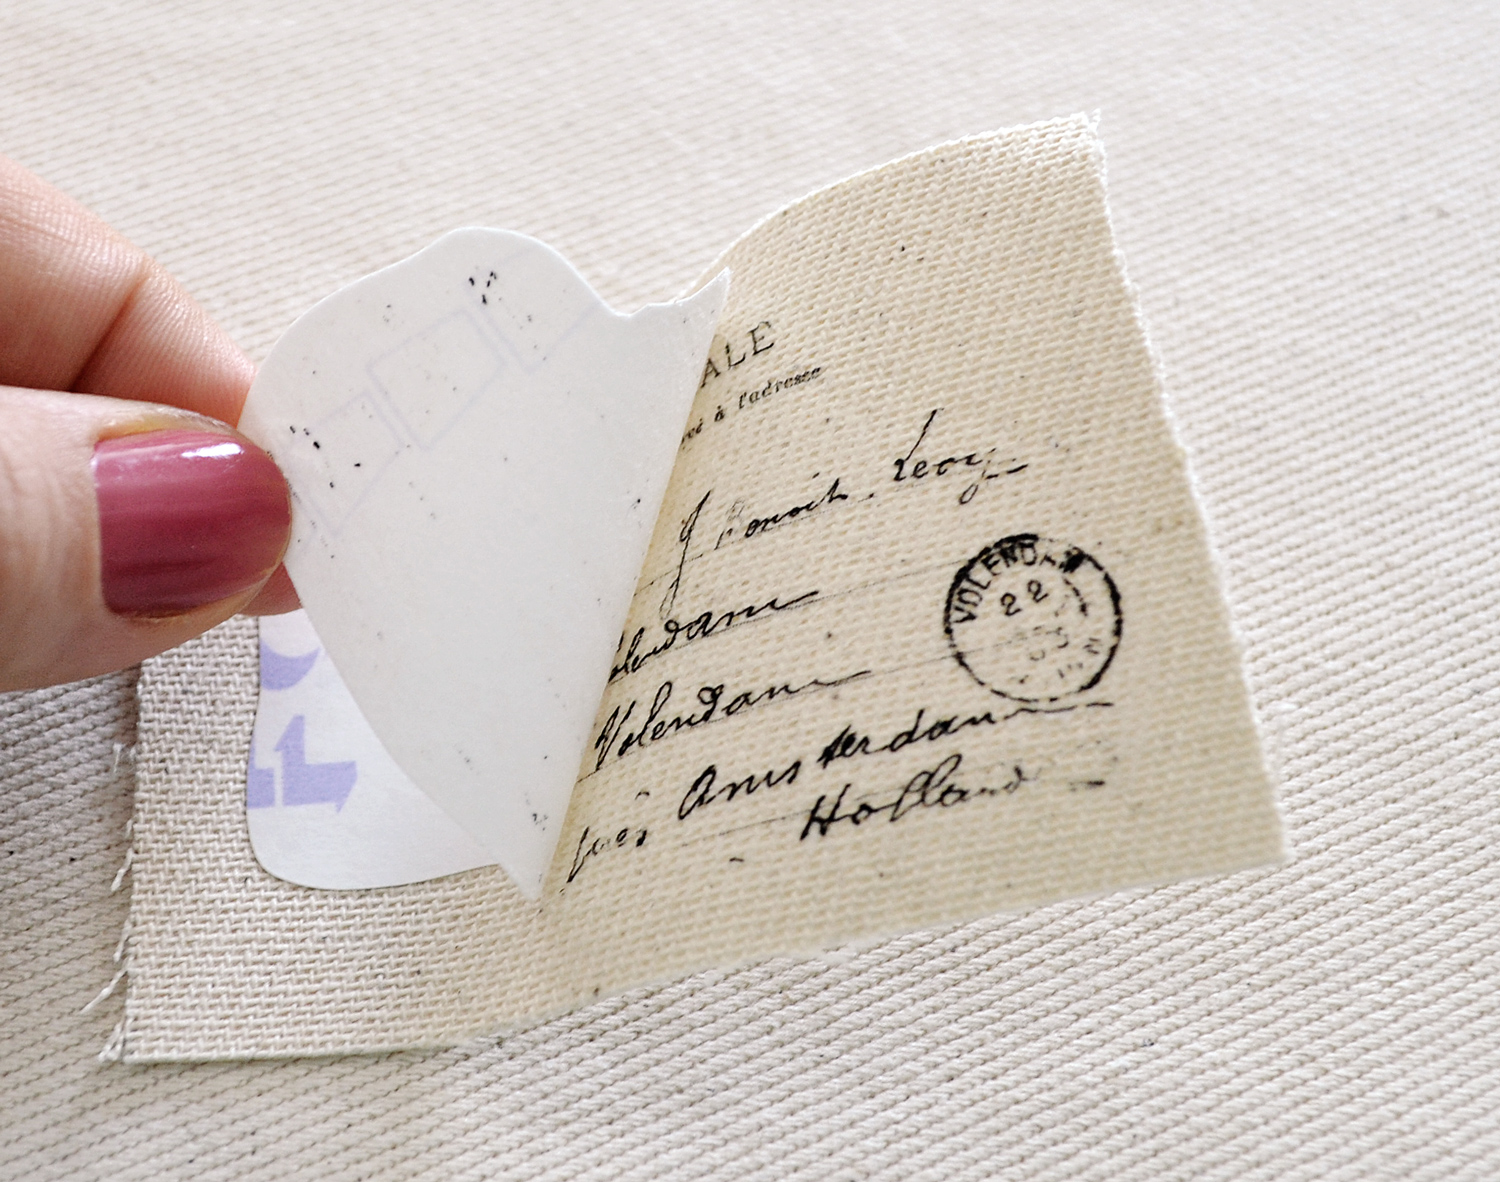
NOTE: If you feel the paper doesn’t want to come off or the image doesn’t stick to the fabric labels, don’t peel the white paper just yet and use your iron (and that other piece of fabric) to iron it some more.
12. Follow the same steps for each label, you’ll see that once you get the hang of it, things will go super smooth! 🙂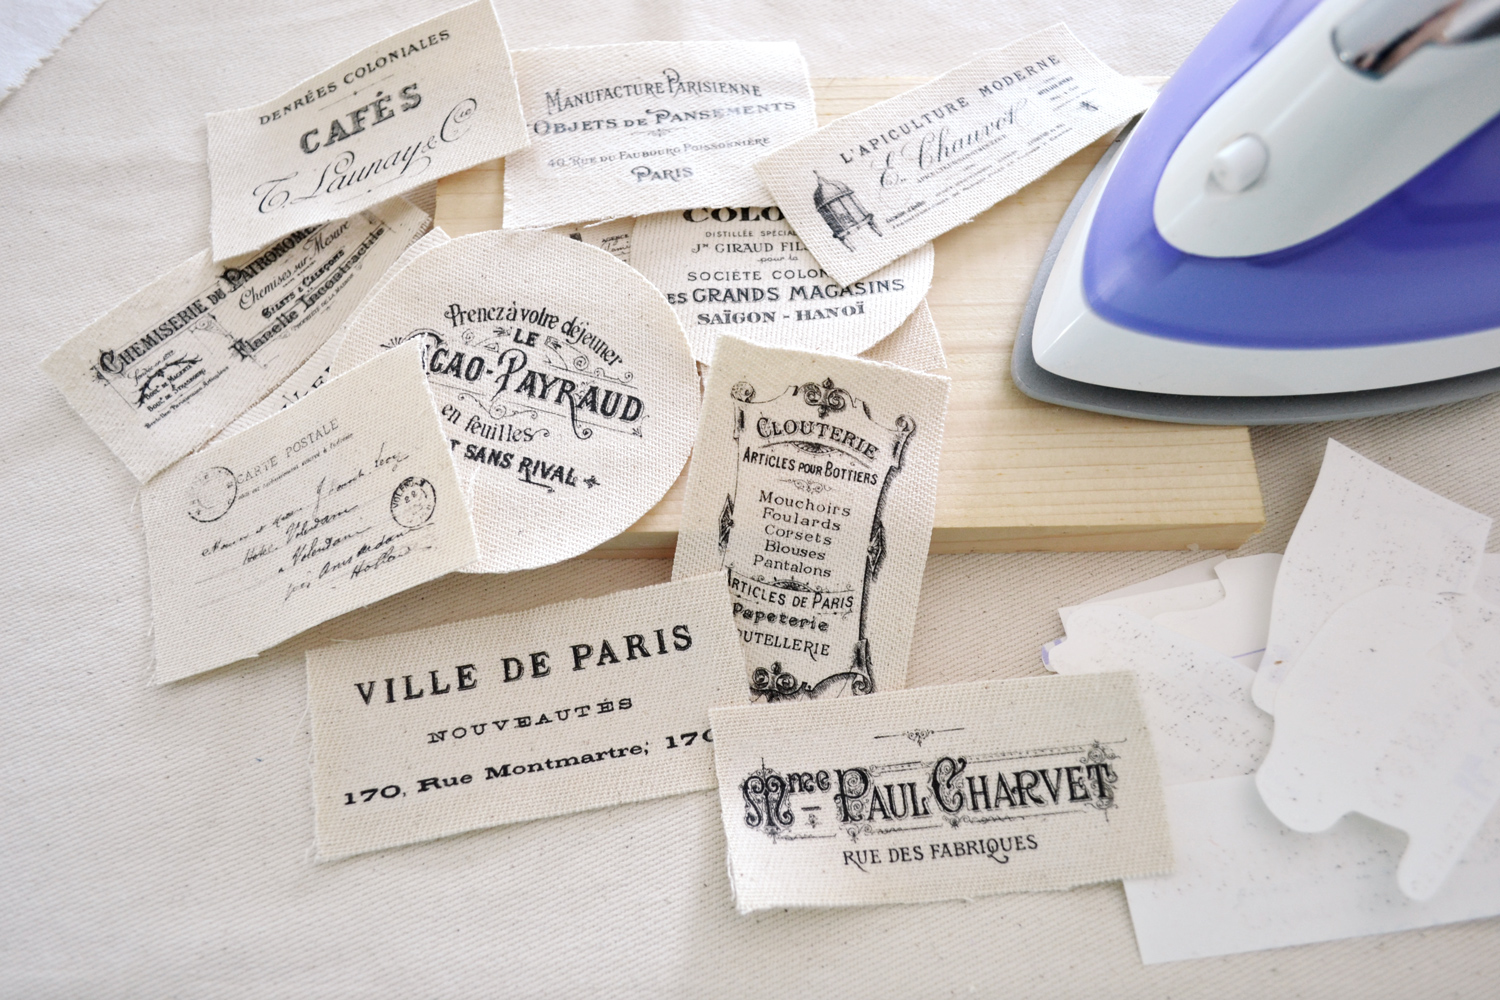
Your new French Ephemera Fabric Labels are done and ready to use! 🙂
You can unweave the margins of the fabric labels to make them look more worn or you can use them with their clean simple cut. It’s all up to you.
Ideas on how to use the French Ephemera Fabric Labels
Add Mod Podge on the back of the French Ephemera Fabric Labels and they will adhere to almost any surface. I tried gluing them on wood, metal, glass and plastic and had great results so far. Mod Podge worked like magic! 🙂
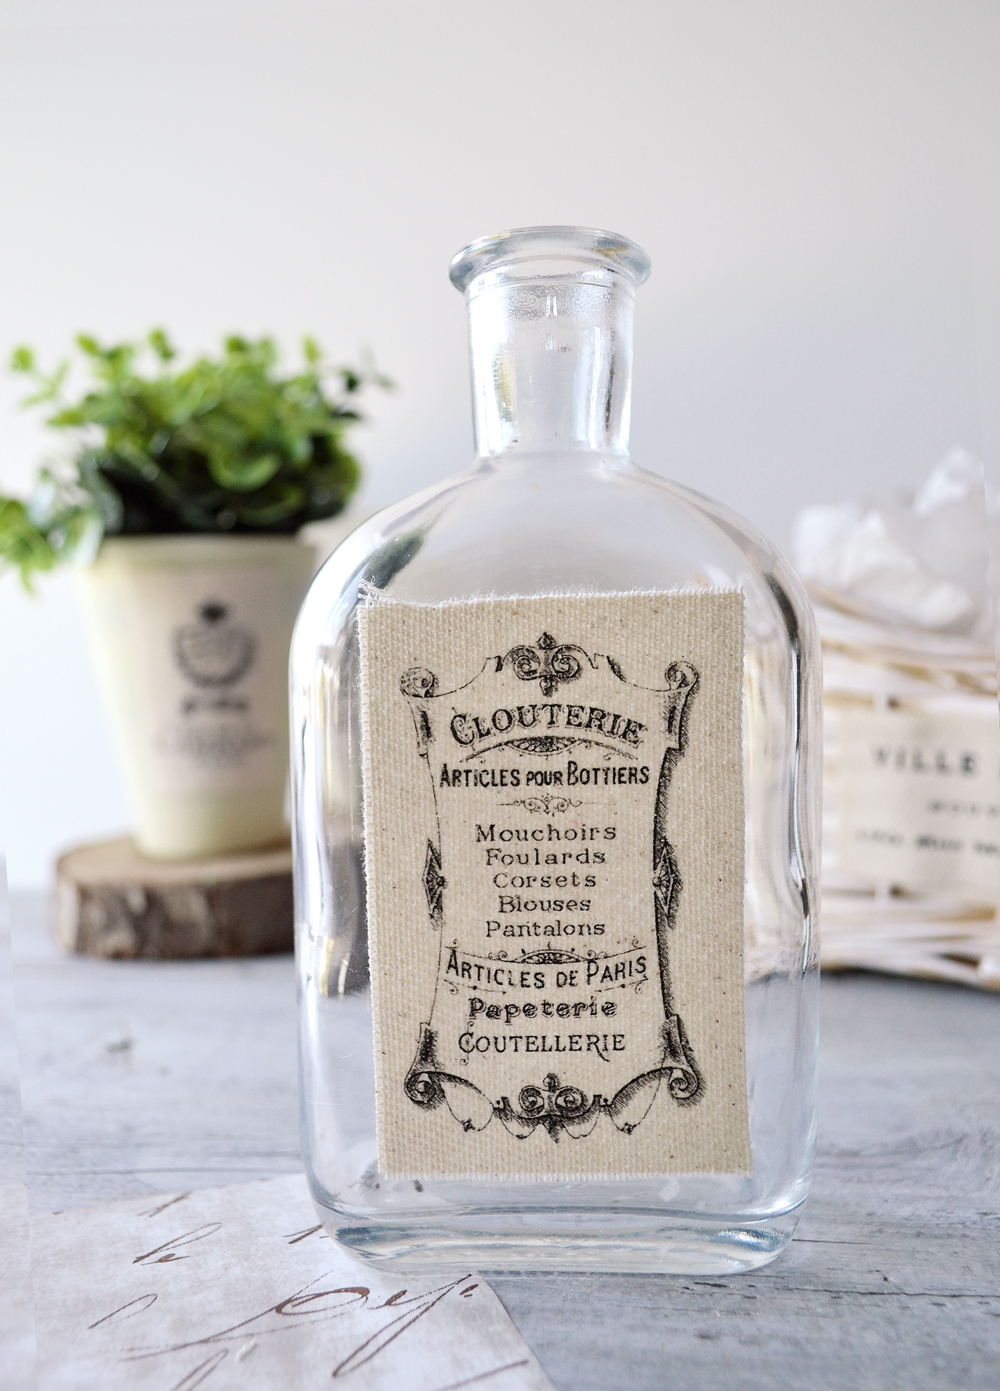
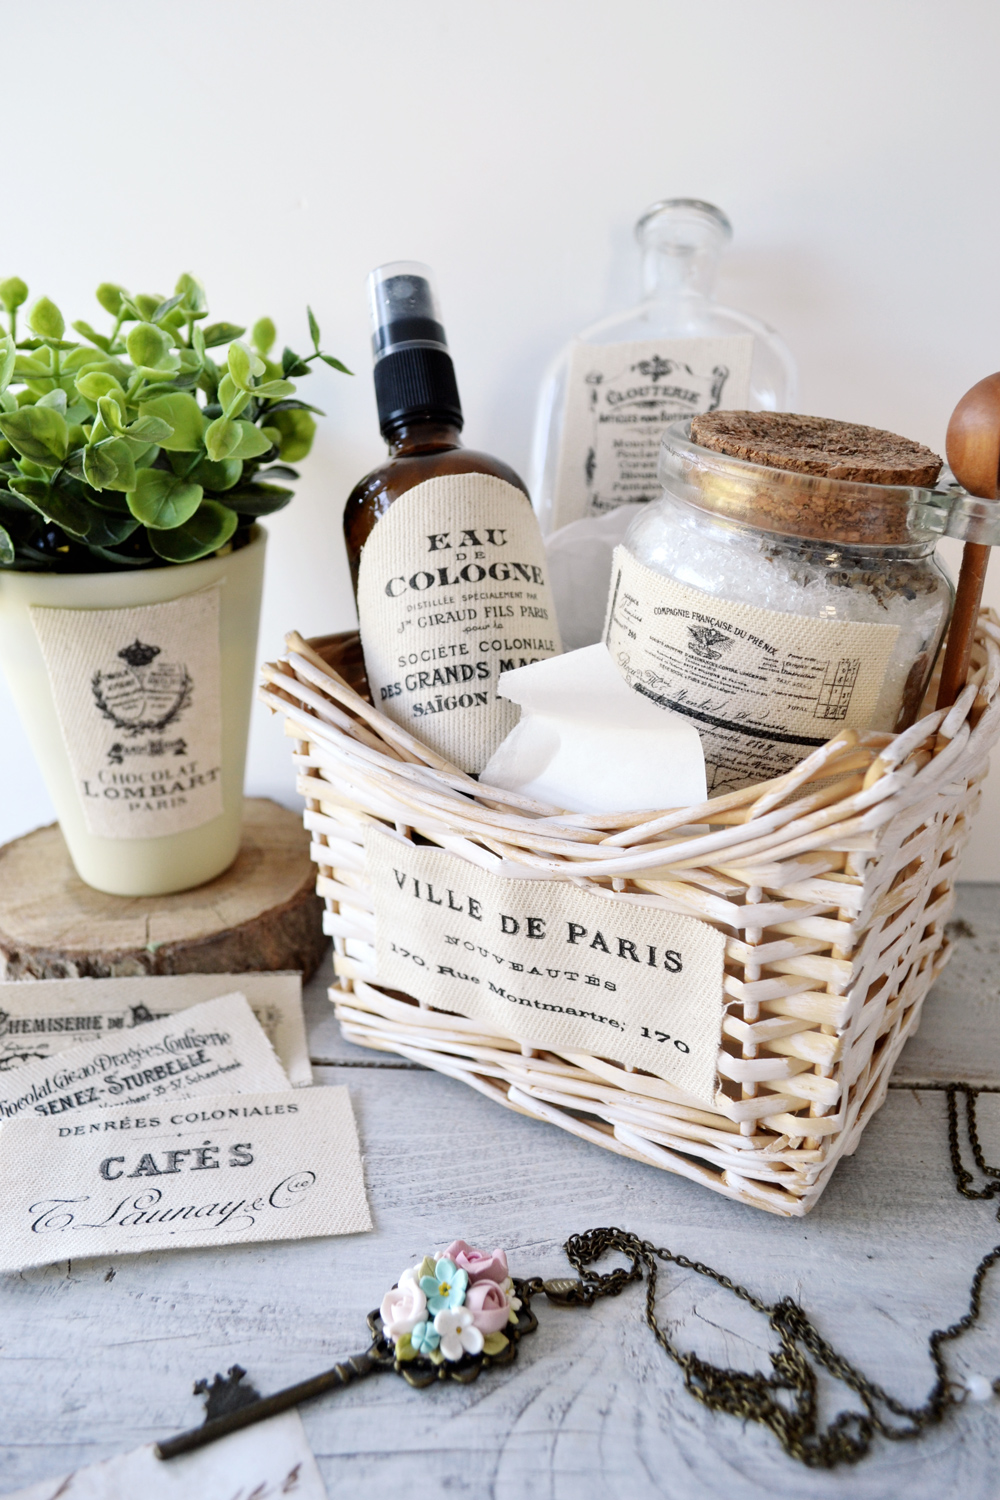
Use them to decorate lovely apothecary jars or small bottles.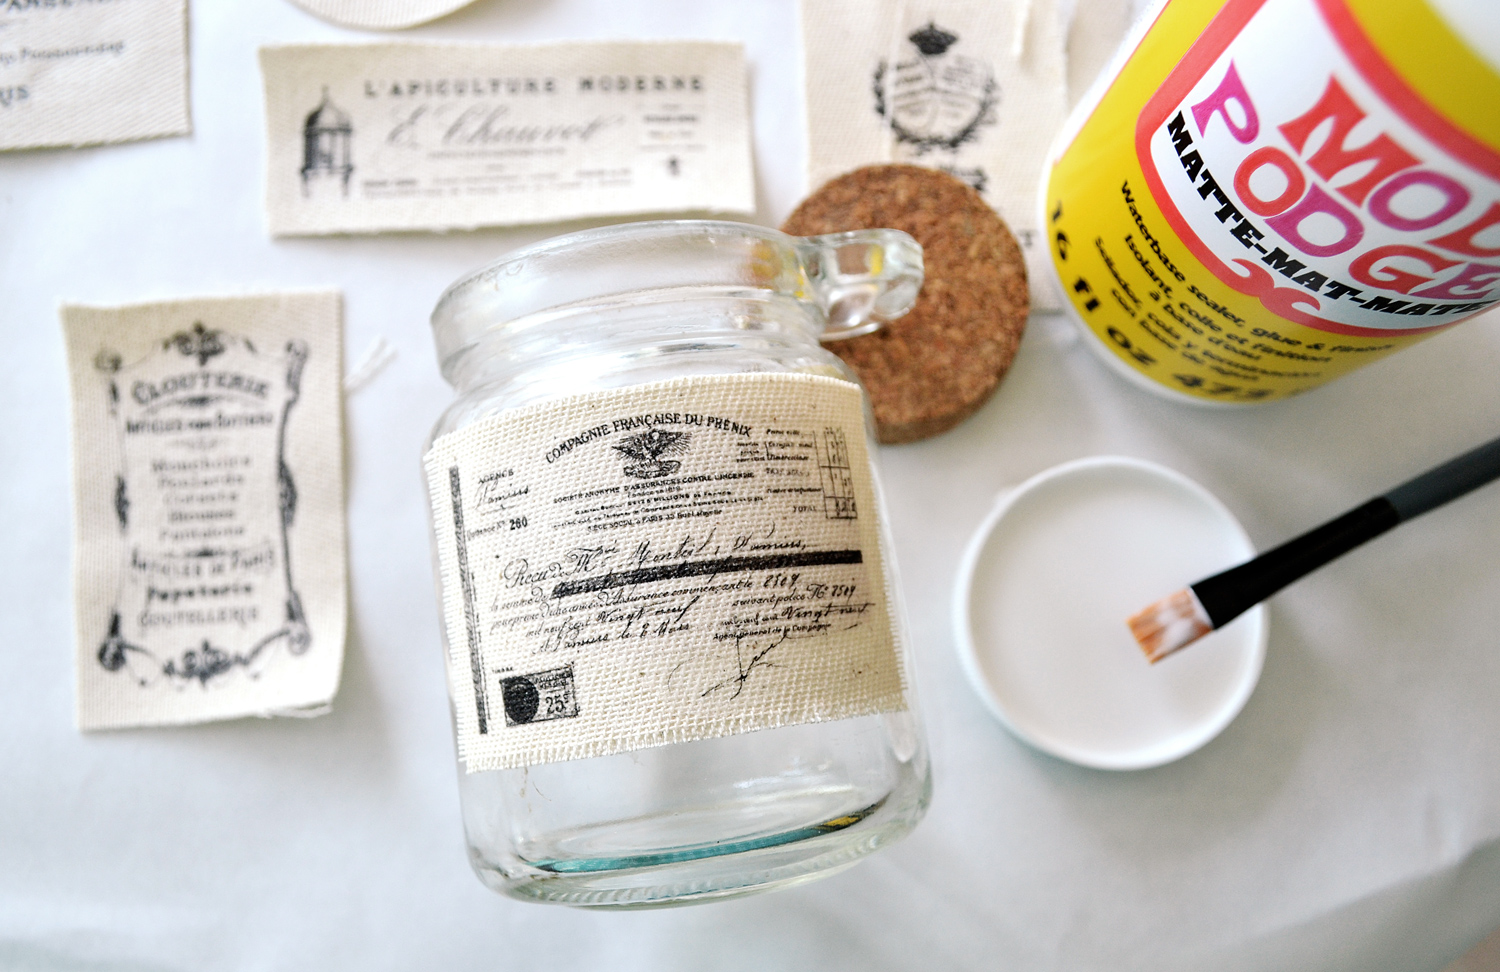
You can use this type of bottle (with a narrow opening) to create a reed difusser or you can use it as a small vase for fresh or dried flowers.
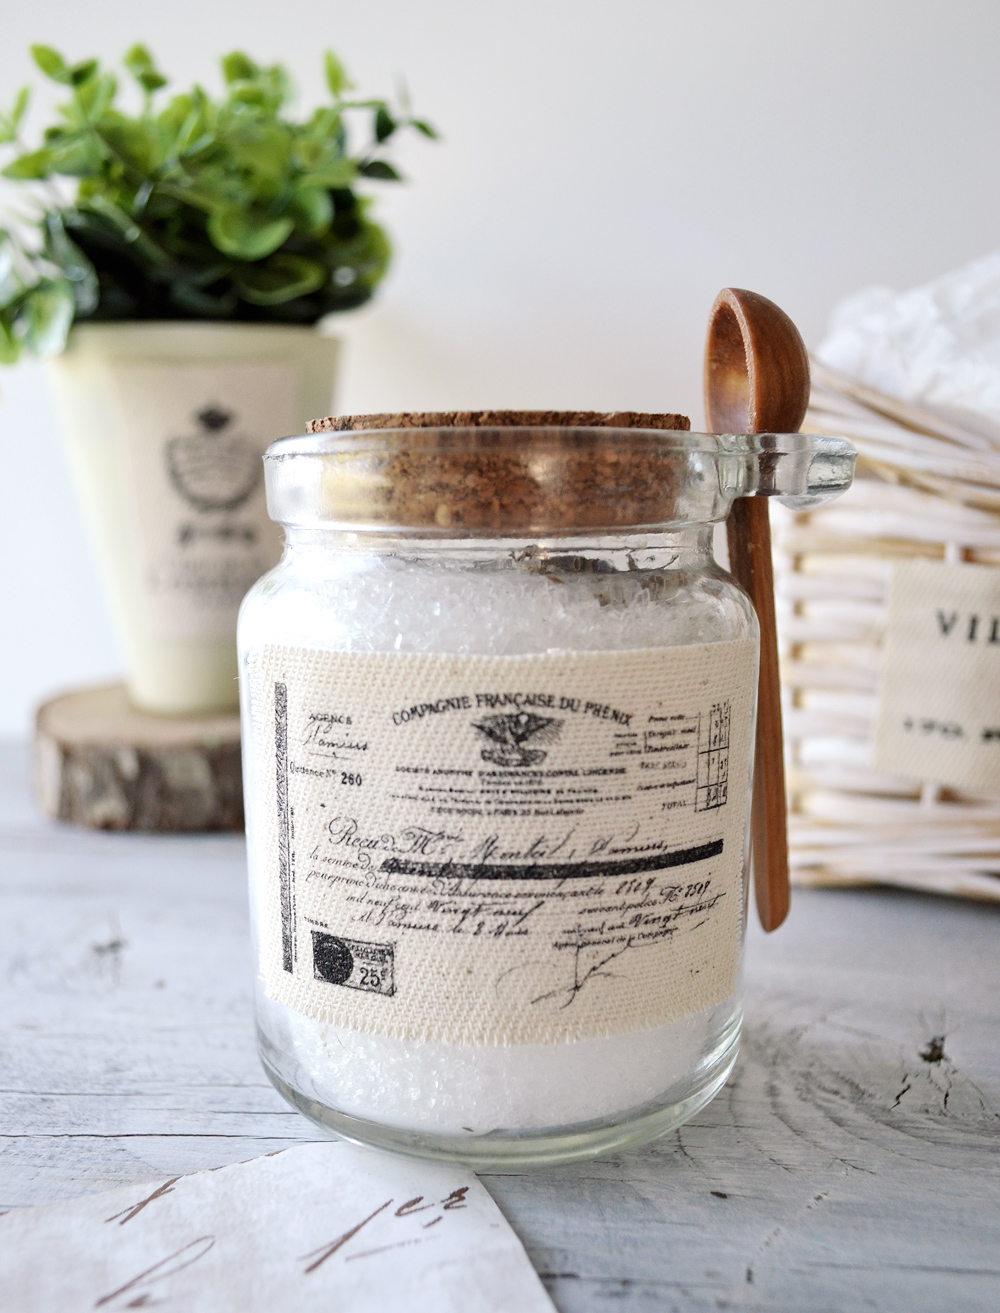
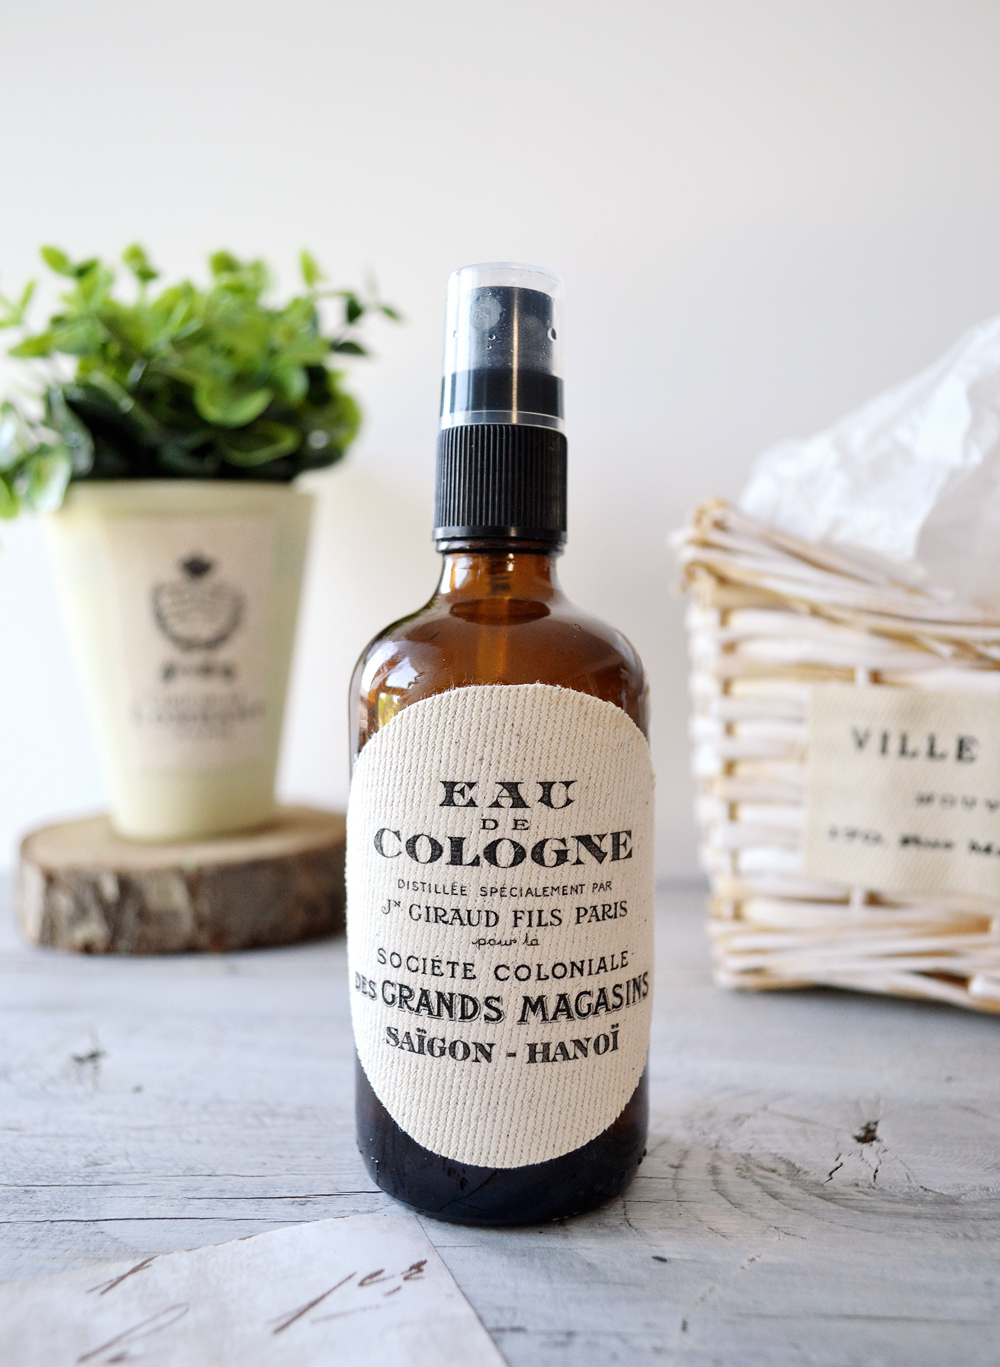
You can fill a jar with cork and spoon with Epsom salt and dried lavender flowers to create a unique (and relaxing) gift for friends. Or you can use an amber spray bottle, that can also be the perfect gift when filled with a homemade room spray made with beautifully fragrant essential oils.
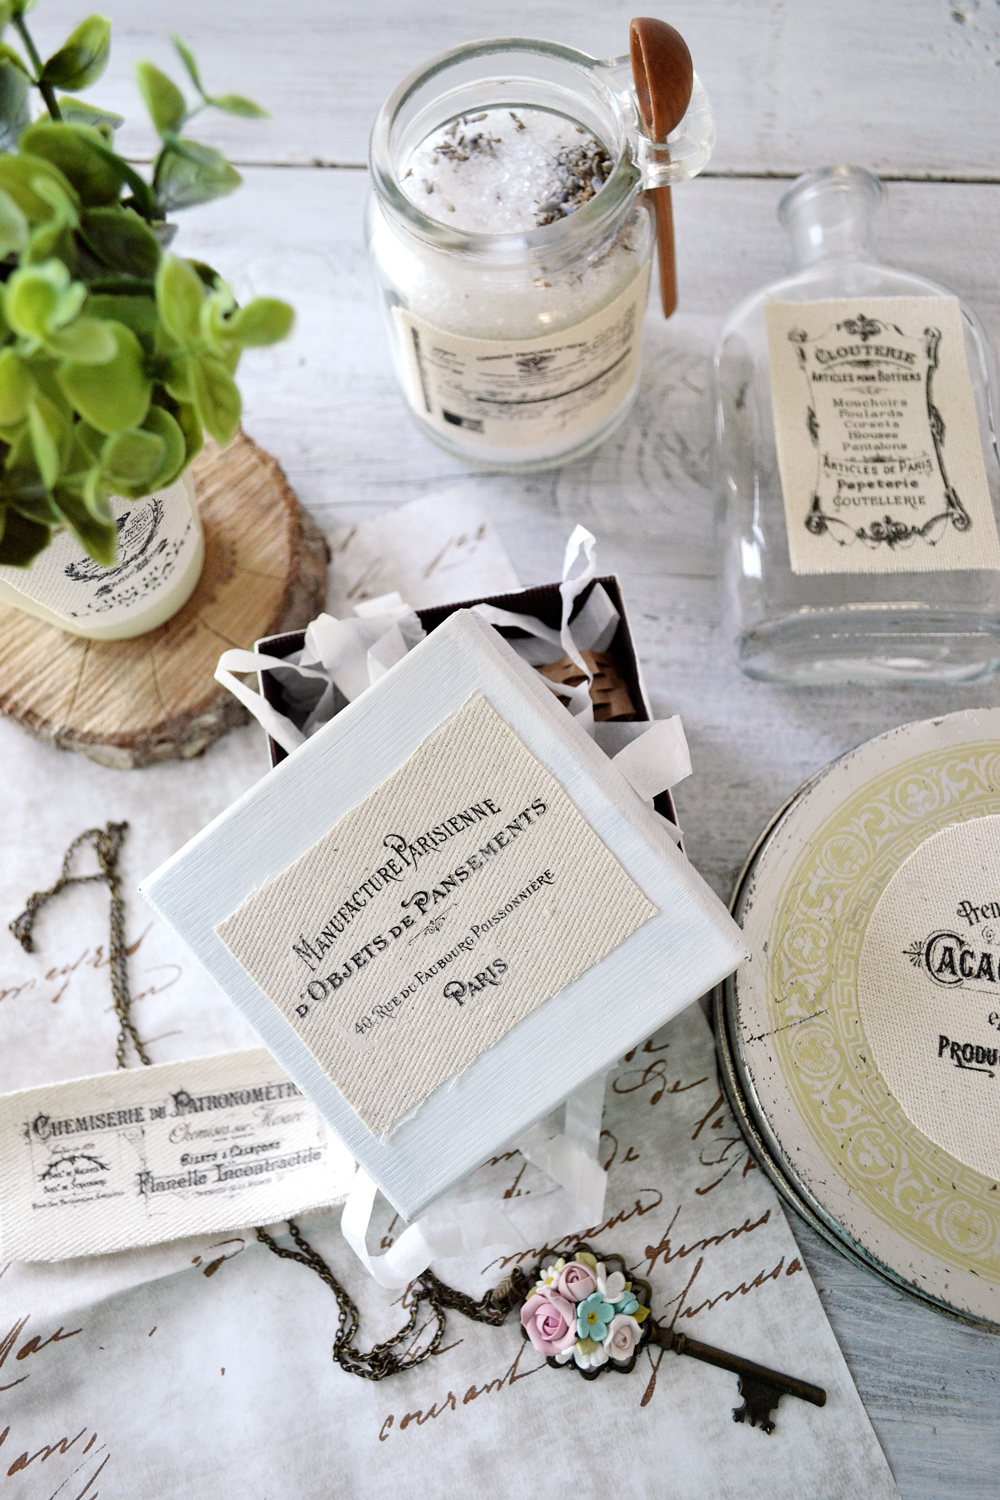
Remember that piece of scrap wood that I used when ironing the labels? I dry brushed it with a little bit of white acrylic paint, glued a French ephemera fabric label on top and voila! A beautiful decorative small sign that would add character to open shelves or beautiful vignettes in no time!
I even added one of the round labels I created on a round tin box. So now we have successfully completed the mission of adding the French Ephemera Fabric Labels on glass, wood and metal!
But wait, there’s more! 🙂
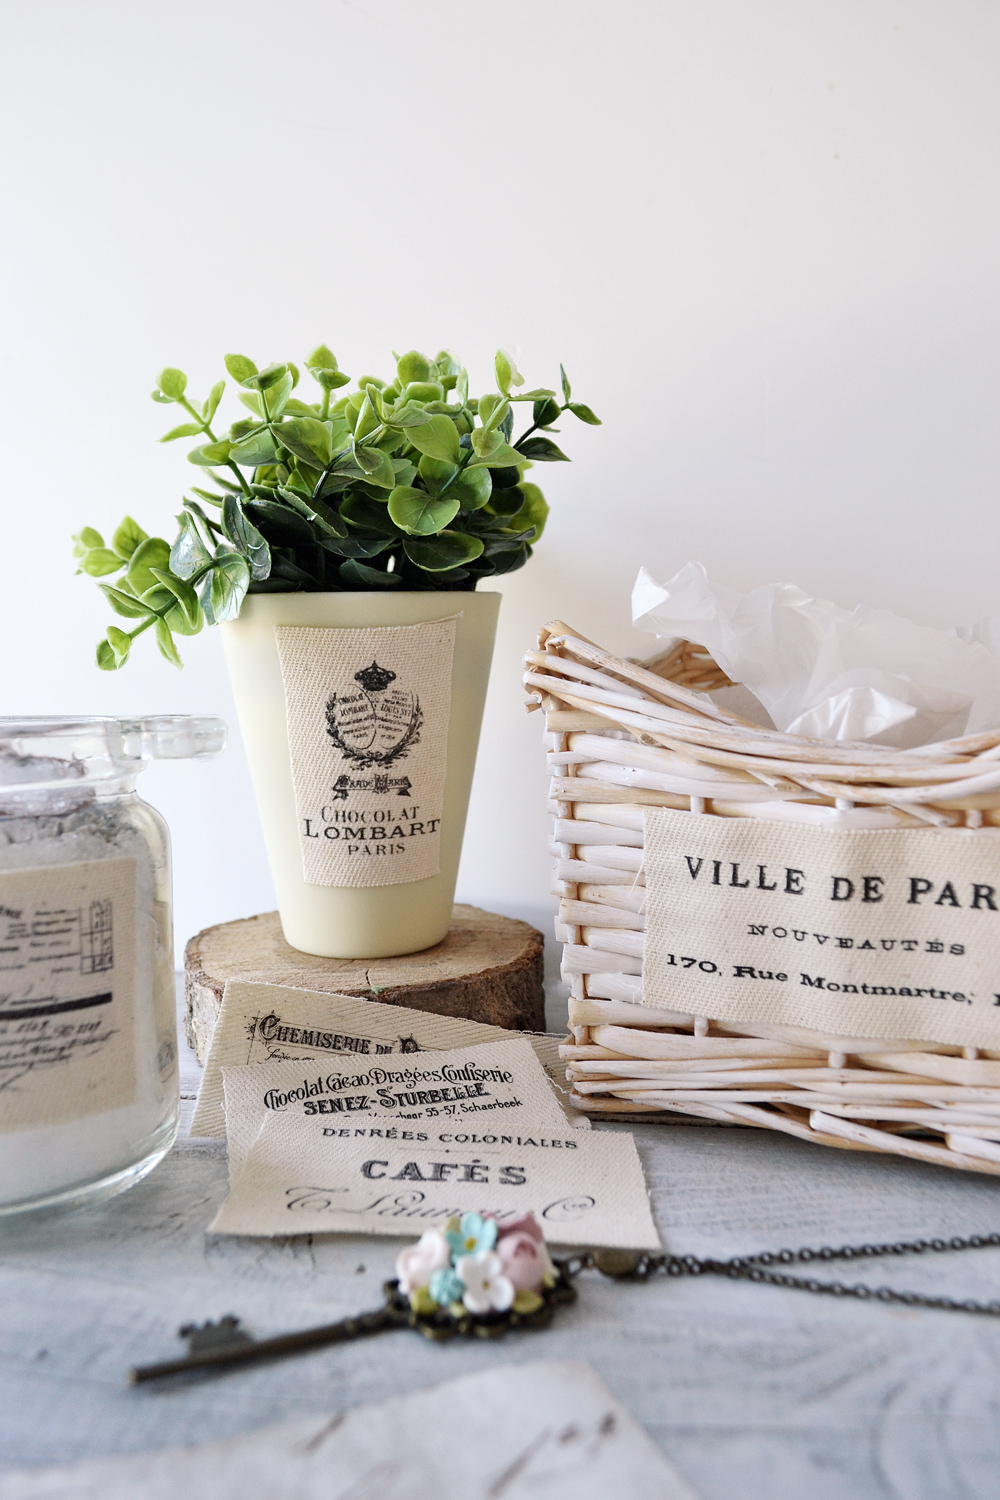
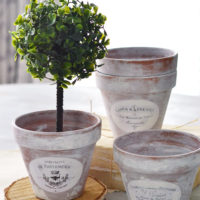
Here is a lovely small planter with another French label.
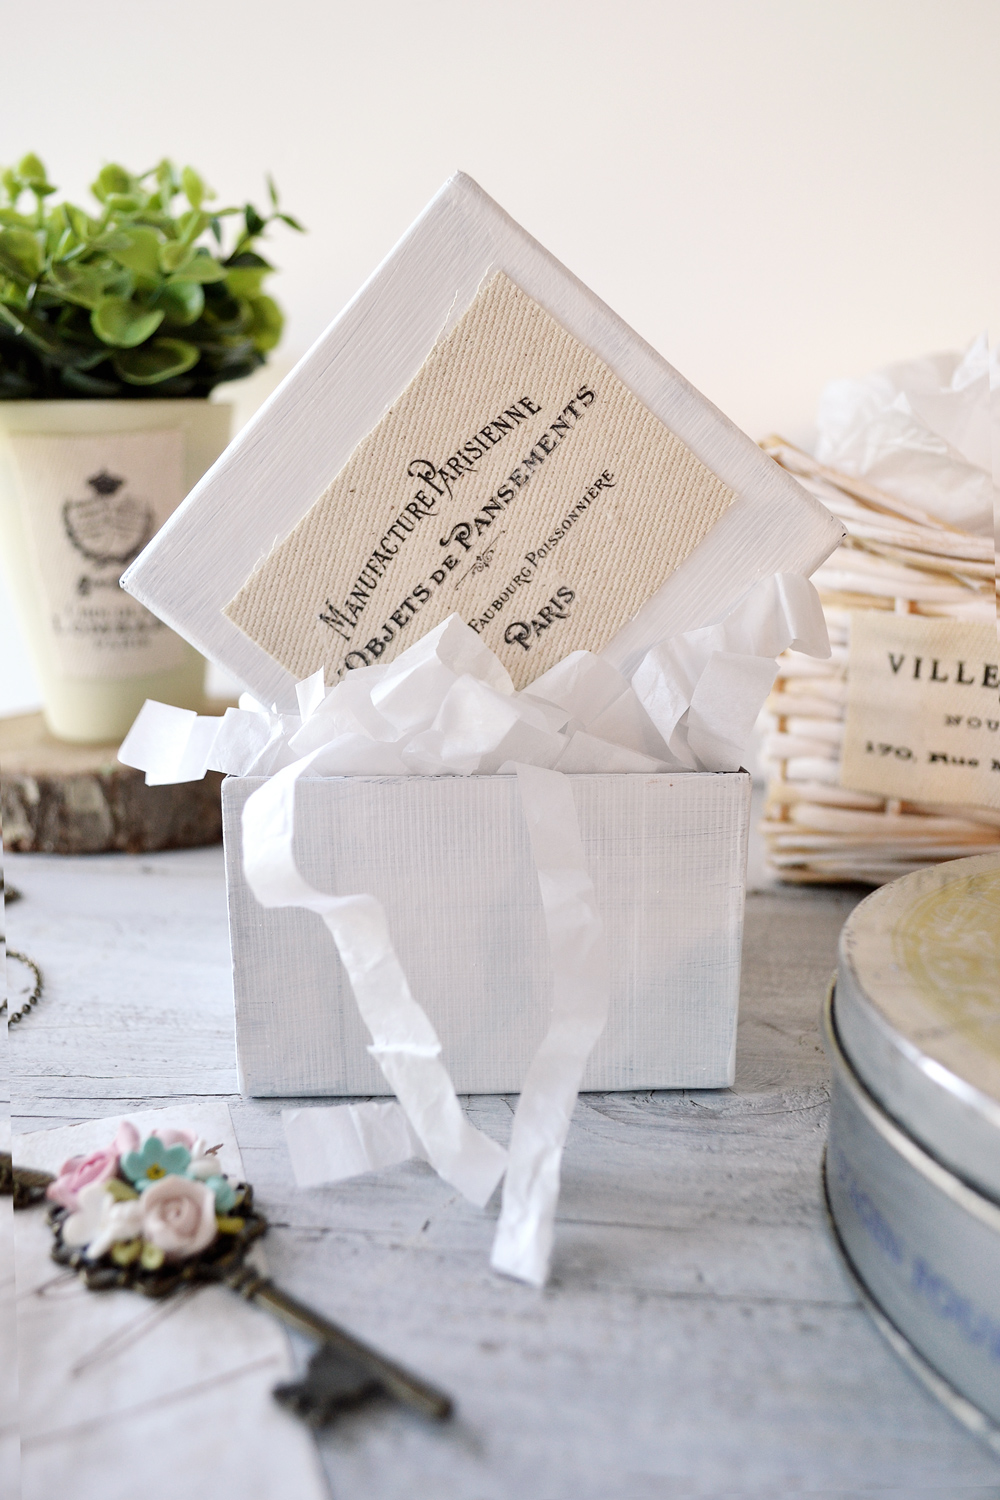
A small cardboard jewelry box that I painted white and decorated with another amazing fabric label.
And a woven basket that I dry brushed and beautified with another gorgeous fabric label.
I’m sure you are already thinking about some other one million things that you can use them on! I told you these DIY French Ephemera Fabric Labels are easy to fall in love with! 🙂
I hope you guys like this project and decide to give it a try! You can find me on Dreams Factory for more inspiration and ideas! ♥
Don’t forget to smile,
Diana



Debs says
Hiya, are we allowed to sell these sheets as part of an image transfer kit to sell on a commercial basis?
graphicsfairy says
Hi Debs,
The Graphics Fairy is an Angel Company, you can read our terms of use here https://thegraphicsfairy.com/terms-copyright/
You cannot sell anything from this site in its original digital format. We do have a paid membership site that was created with the professional crafter/designer in mind Here is a link to our Premium Membership site http://members.thegraphicsfairy.com/, which requires a monthly fee (or annual fee) to join.
A big benefit of the Premium site is that these images come in much more useable file formats, particularly for those people that design or craft professionally. Creating these additional formats is hugely time consuming, which makes them much more valuable to our members, as the formatting work has already been done. Particularly with the PNG’s which have transparent backgrounds, perfect for digital collage. It would take you many many hours to erase all of that by hand.
And unlike our free blog, there is no restriction on Commercial, or personal, use. Again, this is a huge perk for our professional designers or crafters. I hope that helps 🙂 Please let me know if you have any questions.
María says
Desde España, gracias por compartir todas esta maravillas.
Un saludo.
graphicsfairy says
De nada Maria 🙂
RUPA says
Such a beautiful project! I can see how this label addiction will only get worse over time lol! Diana’s projects are always simple and elegant, much appreciate the gorgeous images shared here as well!
graphicsfairy says
Thank you Rupa! I completely agree with you, Diana’s projects are always elegant and beautiful!
Connie says
I want to make some for hurricane victims. They will like something special. What a mess some people have. Imagine throwing out your entire household. Everything.
graphicsfairy says
That is a wonderful and very kind thought and gesture Connie!! I completely agree with you, such a tragedy!
Fred says
This looks great , I can’t watt to try it
graphicsfairy says
I am so glad you like it, have fun creating 🙂
Pamela says
I love your labels they are so pretty.. I had to completely delete my computer I lost everything. I was just about ready to make some labels for my laundry jars. So now Im starting all over.
graphicsfairy says
Oh I am so sorry Pamela! Good luck redoing everything and I am so happy you like and will use these beautiful labels!
JULES says
Wow thank you so much!
graphicsfairy says
Thanks Jules 🙂
Deb Discher says
Love this tutorial. Can you help me? I bought and Ikea chair and would like to use the same process to create a Vintage French Script. I would like to use the names of cities in France. Any idea what program I can use or who may have the Vintage French Script so I can create my own?
graphicsfairy says
Hi Deb,
I’m not sure where you could find the cities, I have some vintage Paris images. Here is a link to what came up on my site with a search for French cities,https://thegraphicsfairy.com/?s=french+cities
I hope that gives you a start at least 🙂
Susan H says
Love all your post, ideas, instructions, and free printables.
Thank you for all you do and share.
graphicsfairy says
It is my pleasure Susan, I am so happy you enjoy it all 🙂
JaneEllen says
Diana,oh my, how I do love this project, had to print out all needed right away, hoping had enuf ink left.
Have no idea why but when am in middle of putting together a project, need to concentrate, the cat, dog and Mr. are right in here bugging me, asking me questions, grrrr. Drives me batso. When am in creating mode want to be left alone, bad wife.
Anyway got all the copies printed out and transfers ready, got my fabric, had to go digging, so will be working on these tomorrow. Can hardly wait to make labels for some jars, bottles I have.
Love when I can make something different, put my own slant on it. I made a cotton boll wreath, hung it on a perfect size cabinet door and will put copy of the birds. music in middle since it’s open. This will be 2nd. project using birds/music. Will be making the cd coasters along with making something else with coasters images. The coaster images would make awesome ornaments for holidays with special papers.
You inspire me so much Diana.Happy Daze
graphicsfairy says
Thank you so much JaneEllen, you are so kind!