DIY Pinecone Ornaments
Several people have asked me to post a Tutorial on the Glitter Pine Cones that I made this year. These DIY Pinecone Ornaments are fun and easy to make and you won’t break the bank with these either, as you can use Pinecones that you find in your yard or in the woods! My favorite part is the idea that I came up with for the hanger, it matches the pinecones perfectly and gives the ornament a more finished upscale look I think. I’m sliding this one in practically moments before Christmas Day! A little late I know, but you can always Pin this to Pinterest and make them next year.
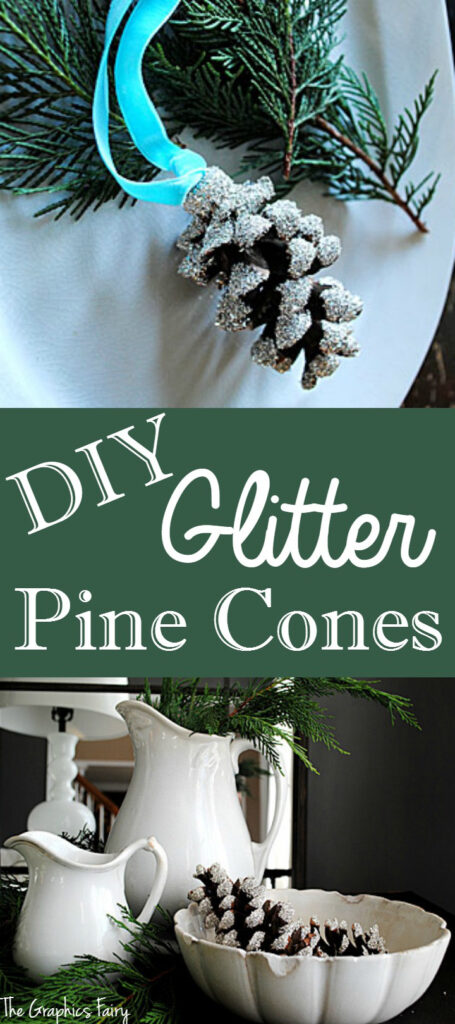 DIY Pinecone Ornaments Supply List:
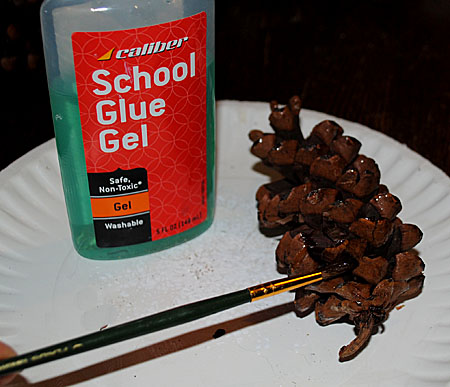
- School Glue Gel
- Small Paintbrush
- Silver German Glass Glitter (or glitter of your choice)
- Metal Ornament Caps
- Hot Glue Gun
- Ribbon
- Pine Cones
- Pliers (for cutting wire)
If you found your Pine Cones out in nature like I did, the first step is to bake them in the oven, to make sure you get any critters out, and to get rid of the stickiness of the sap! As a a bonus, your house will smell fabulous and Piney Fresh!! If you would like a link to a Tutorial that Debbie from Refresh Restyle did, on How to Bake Pine Cones Click HERE. (If you purchased your Pine Cones from a Craft store, you can skip this step!)
Step 1) Apply the School Glue Gel using a Small Paintbrush, just to the outer tips of the Pine Cone.
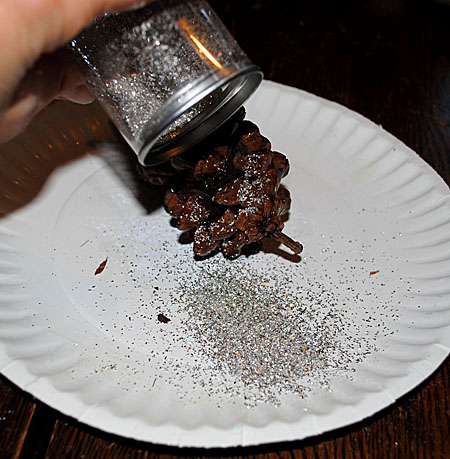
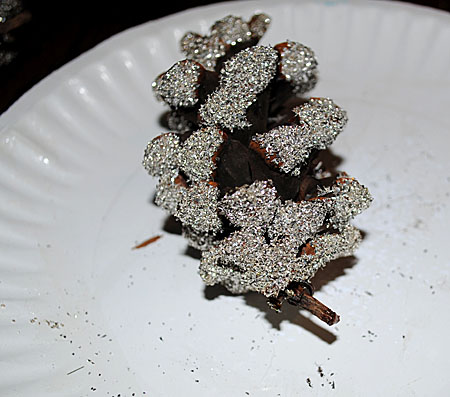
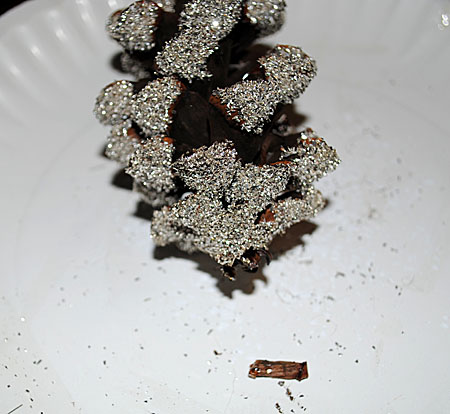
Step 2) Sprinkle on the Silver Glitter. ( I usually work on about 1/3 of the cone at a time, glueing and glittering each third, and then moving on to the next section.) Shake off any excess glitter and allow to dry.
Step 3) This is another step that you can probably skip if you purchased your cones. If you found them in nature though, they may have a little stem, like you see on mine in the photo above. You just want to snap that stem off with your fingers.
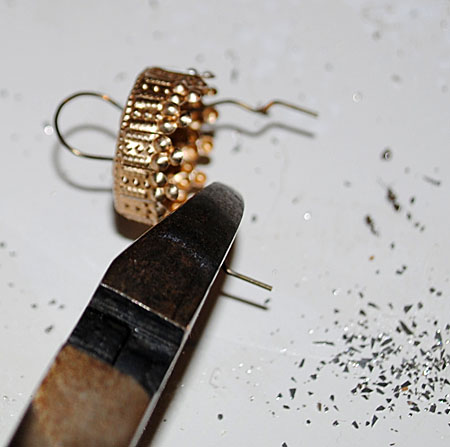
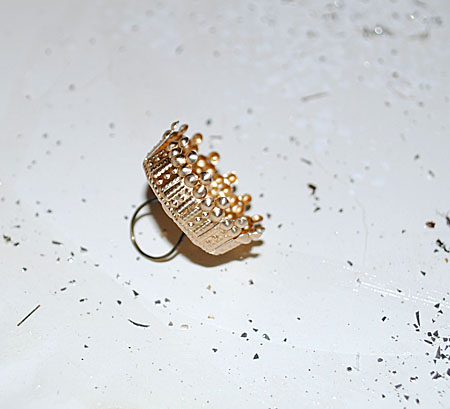
Step 4) Take your metal ornament cap, and cut off the excess wire, with wire cutters. You want to keep the metal loop, so just cut the wire part so that it matches up with the edge of the cap.
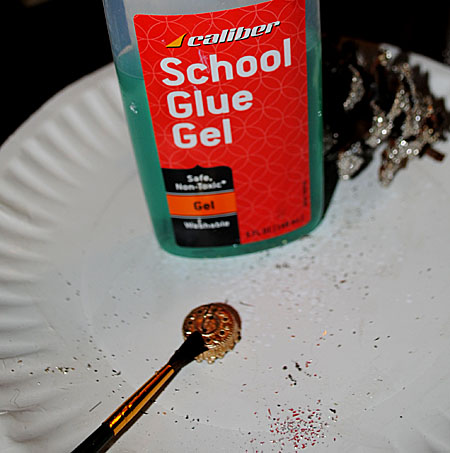
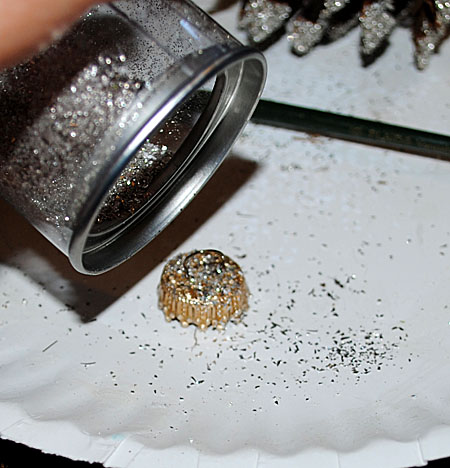
Step 5) Apply more of the School Glue Gel to the Ornament Cap.
Step 6) Sprinkle on Glitter to cover it and allow to dry.
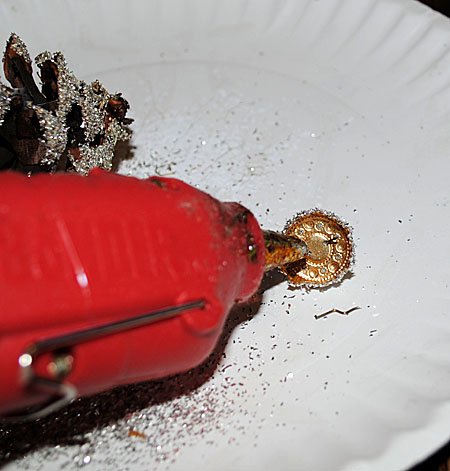
Step 7) Fill the cap with Hot Glue and apply to the end of the Pine Cone.
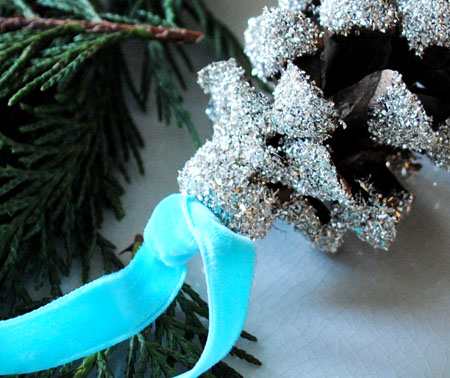
Step 8) See how nicely the cap blends in with the glitter on the Pine Cone now?! Then just add a pretty Ribbon or you can use a wire hook if you prefer.
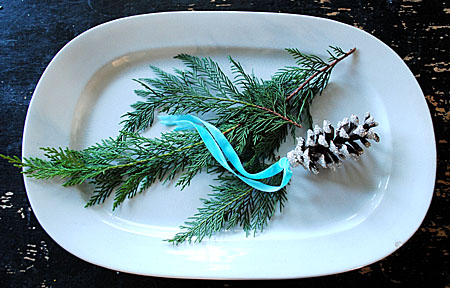
That’s it! Now you have a lovely glittery bit of Nature to hang on your Christmas Tree …
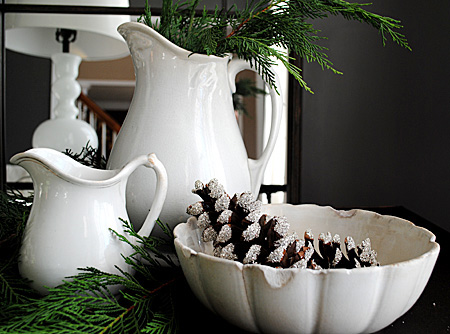
or you can display them in bowls, or on a pretty package, or use them however you like!
I hope you enjoyed this tutorial for making DIY Pinecone Ornaments and that you try this yourself as they are so much fun to make!



Maureen Hayes says
These are really lovely, thanks for sharing the tutorial on how you made them. I missed the pinecones this year thanks to hurricane Sandy, but I will pin this for next year.
Merry Christmas and thank you for all you do all year and the many crafts, images, etc. . .that you share with all of us. You are a very generous soul.
debi beard says
love these! so genius to use the ornament topper as a hanger:)
Dawn LL says
Beautiful!!!
Karen Watson says
Thank you Dawn!