DIY Vintage Advent Calendar
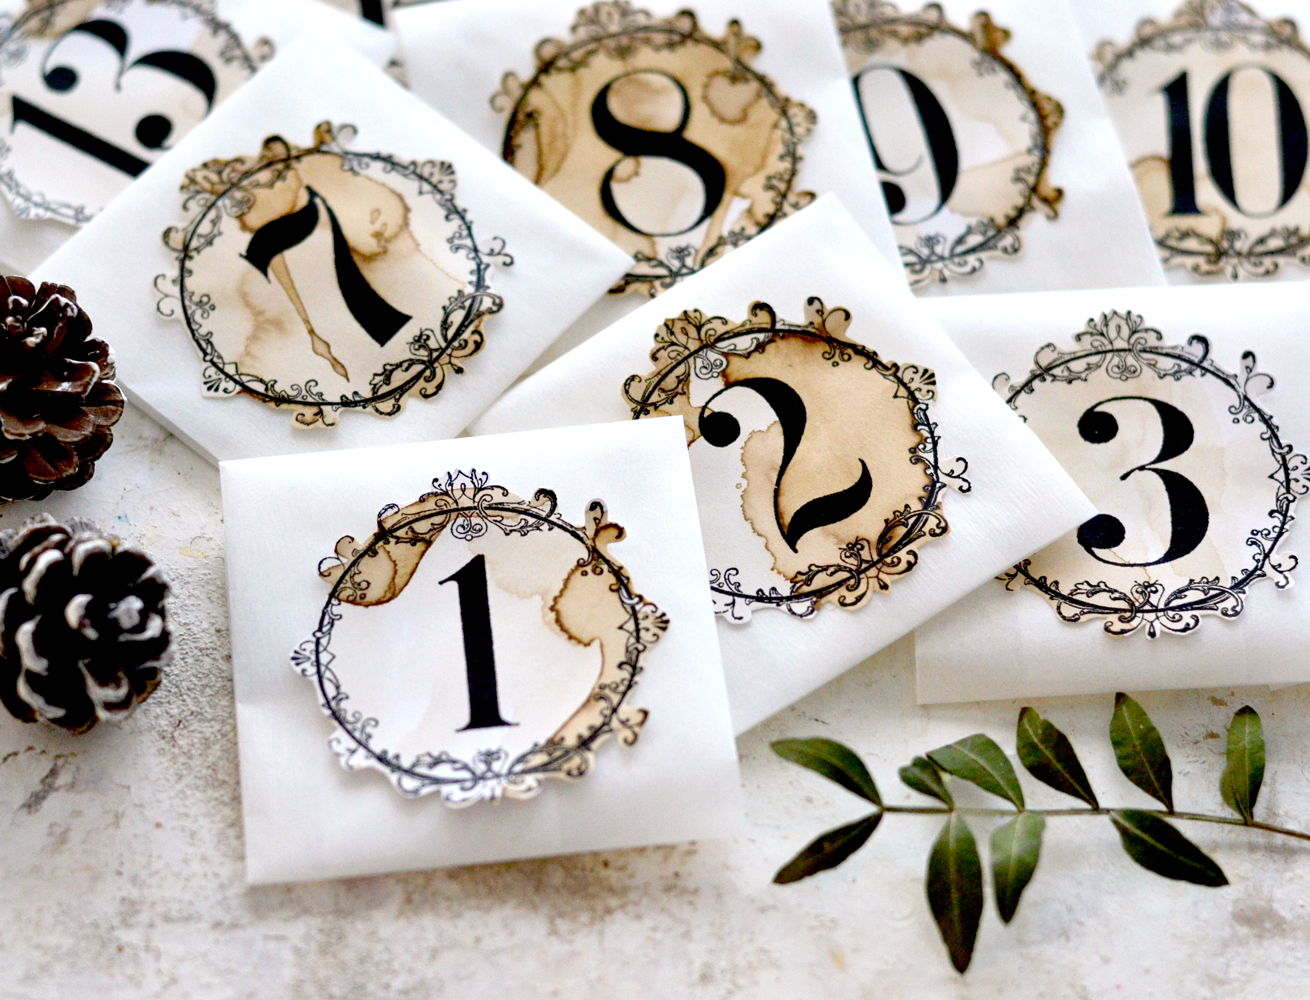
Hello Graphics Fairy friends! I’m Diana from Dreams Factory and today I have a really special treat for you – I will be showing you how to create this super chic DIY Vintage Advent Calendar! I decided to make my own no-glue folded envelopes for this project and I will be sharing with you my foolproof technique of making these in basically any size, so you can easily adapt them to your needs. Along with the handmade envelopes, the amazing vintage frames with these old-looking stunning cardinal numbers are taking things to a whole new dimension of gorgeousness, I’m sure you will agree with me on this one!
For this project we will be using only a few supplies that I bet you already have on hand right now. One of them is actually a bit unusual and we’ll need to raid our kitchen to get it, but you know how I love improvising and just working with what I have around, so I guess there’s no surprise here. The unexpected supply item that we will be using from our kitchen is parchment paper and we will be using it to actually create the no-glue folded envelopes for this DIY Vintage Advent Calendar! I used white parchment paper and I absolutely adore their final sheer look!
Another ingredient that we will be using from our kitchen is coffee and it will help us give the paper labels and the paper inserts a worn, aged look. Maybe this one could also be called unusual if you not are used to staining paper using coffee or tea, but it is a little bit different, especially if compared to regular paint that we would normally use – like watercolors, diluted acrylics or distress inks.
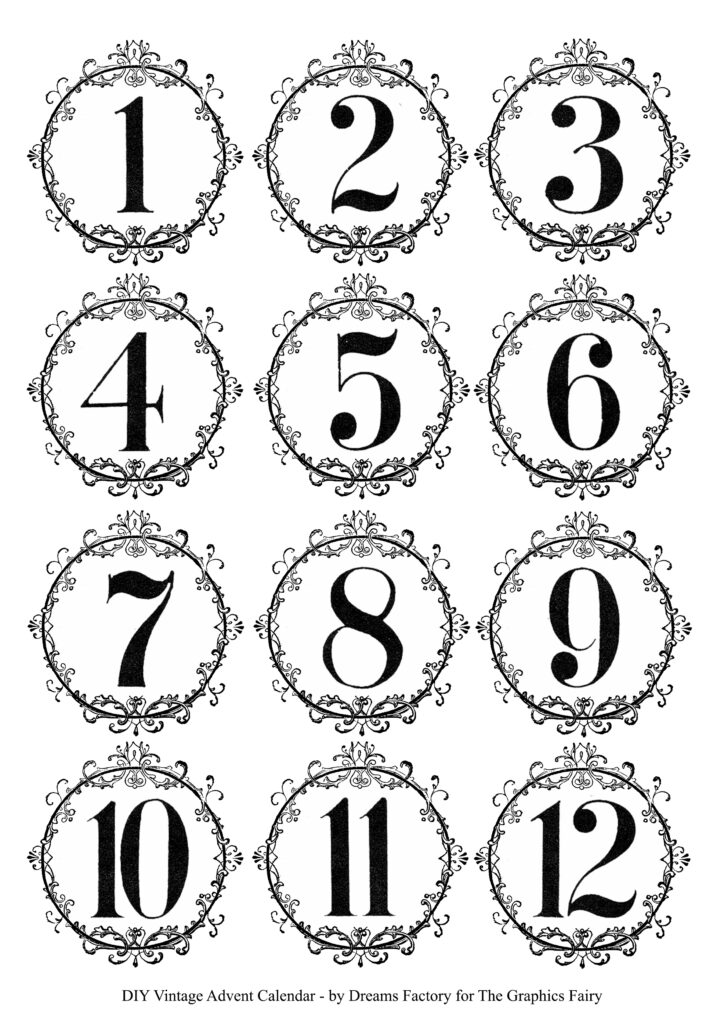
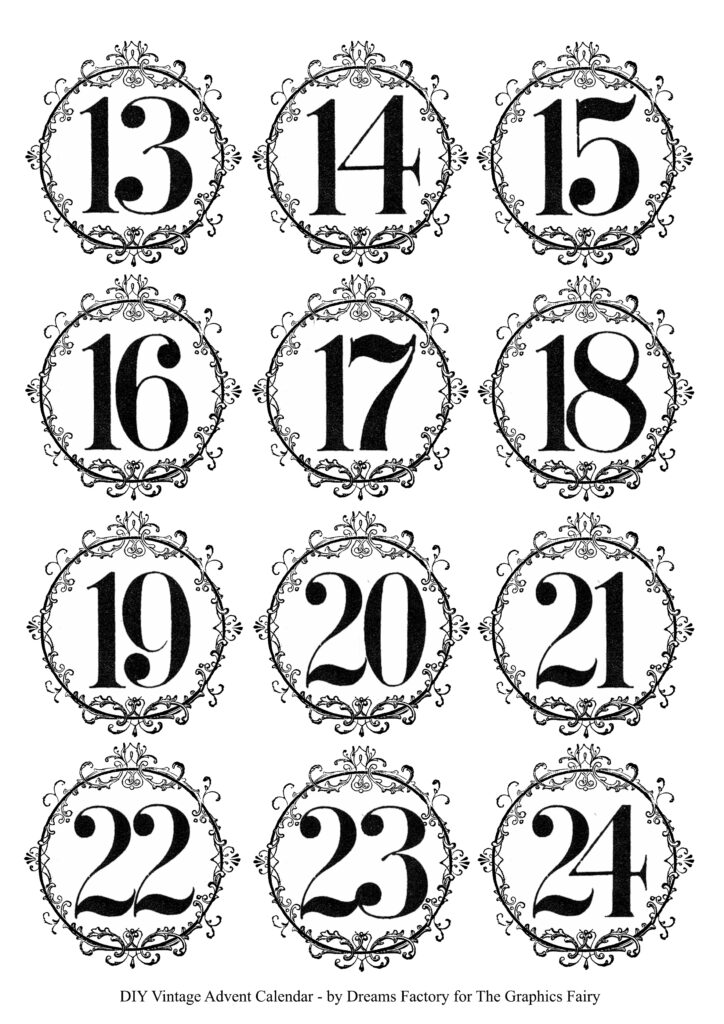
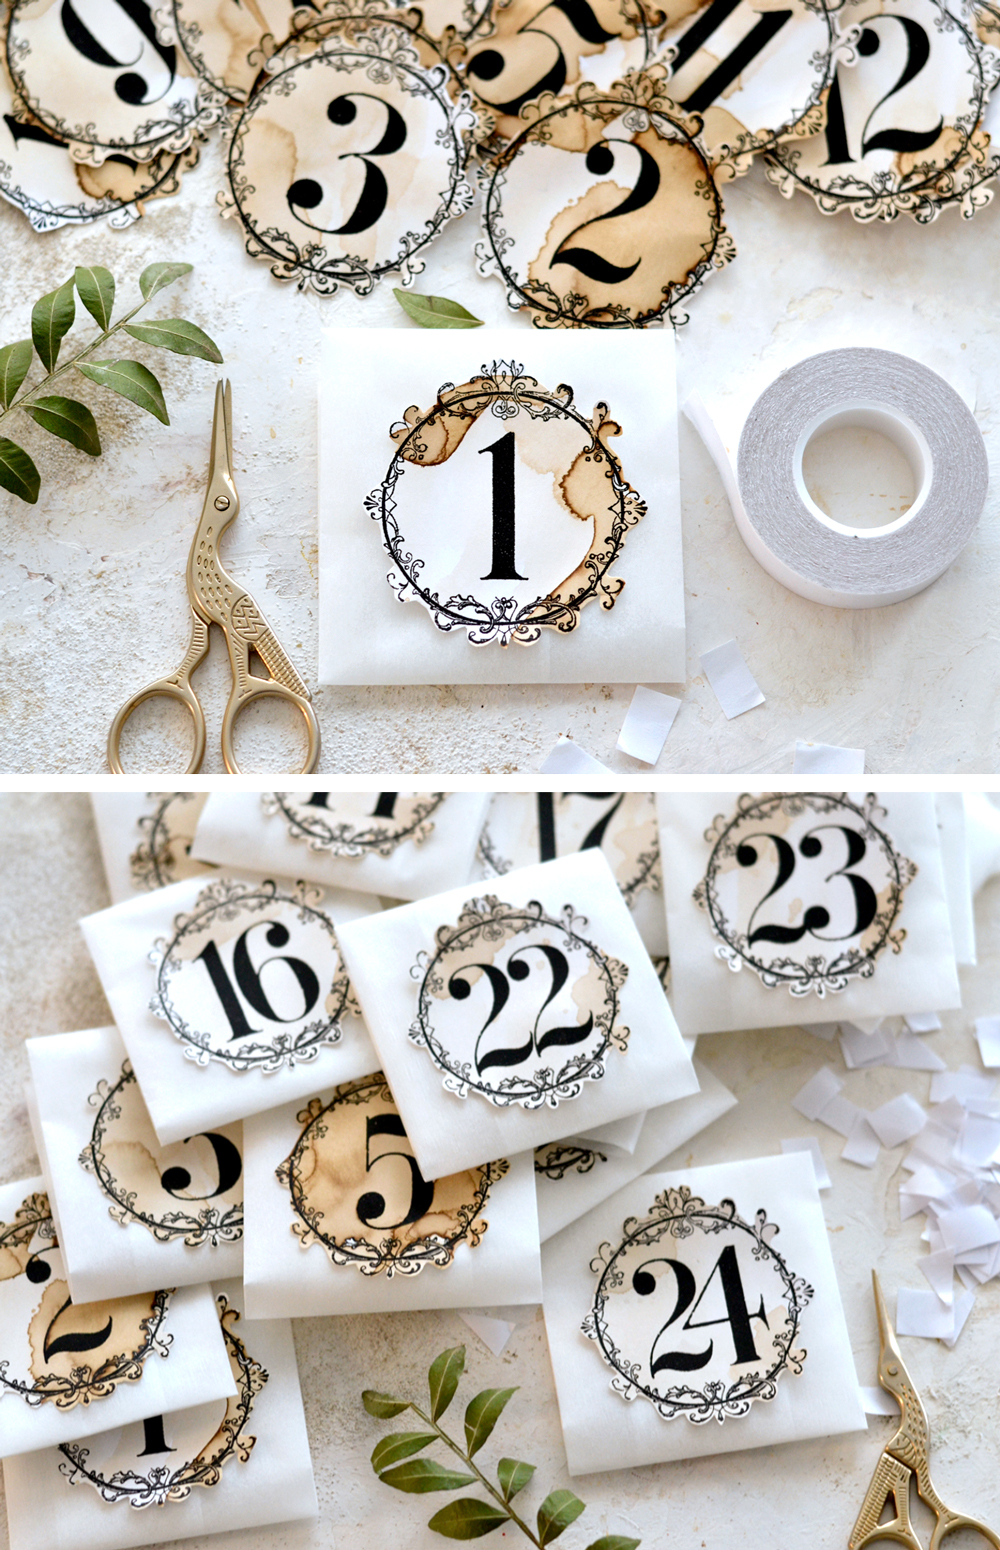
 To make this project you will need to download the free printable labels with numbers first (2 pages). I also included a free printable for the paper inserts, these have a double purpose and will act as templates too. There are 6 inserts on each printable, so if you want to include one paper insert into each of your no-glue folded envelopes, you will need to print them 4 times to get 24 inserts.
—> Click here to download the full size PDF labels (1-12) <—
—> Click here to download the full size PDF labels (13-24) <—
—> Click here to download the full size PDF inserts <—
DIY VINTAGE ADVENT CALENDAR
SUPPLIES:
- the free printables with the 1-12 & 13-24 numbered labels
- the free printable with the 6 inserts (print it 4 times to have inserts for all the 24 envelopes)
- 24 square pieces of white parchment paper (cut to about 20×20 cm OR 8×8 inches) – for the no-glue folded envelopes
- cardstock paper – for the labels and the inserts
- scissors
- decorative scissors (optional)
- coffee and a brush
- a non-absorbant surface (teflon, plastic sheet, etc.) or an old book
- double-sided tape OR a quick-drying paper glue OR a hot glue gun
DIY VINTAGE ADVENT CALENDAR INSTRUCTIONS
DISTRESSING THE LABELS WITH COFFEE
The intensity of your coffee and the amount you are using will determine the level of distressing. It’s best to start with a lighter concoction and gradually add more ‘layers’ of this magical liquid to create vintage-looking aged effects.
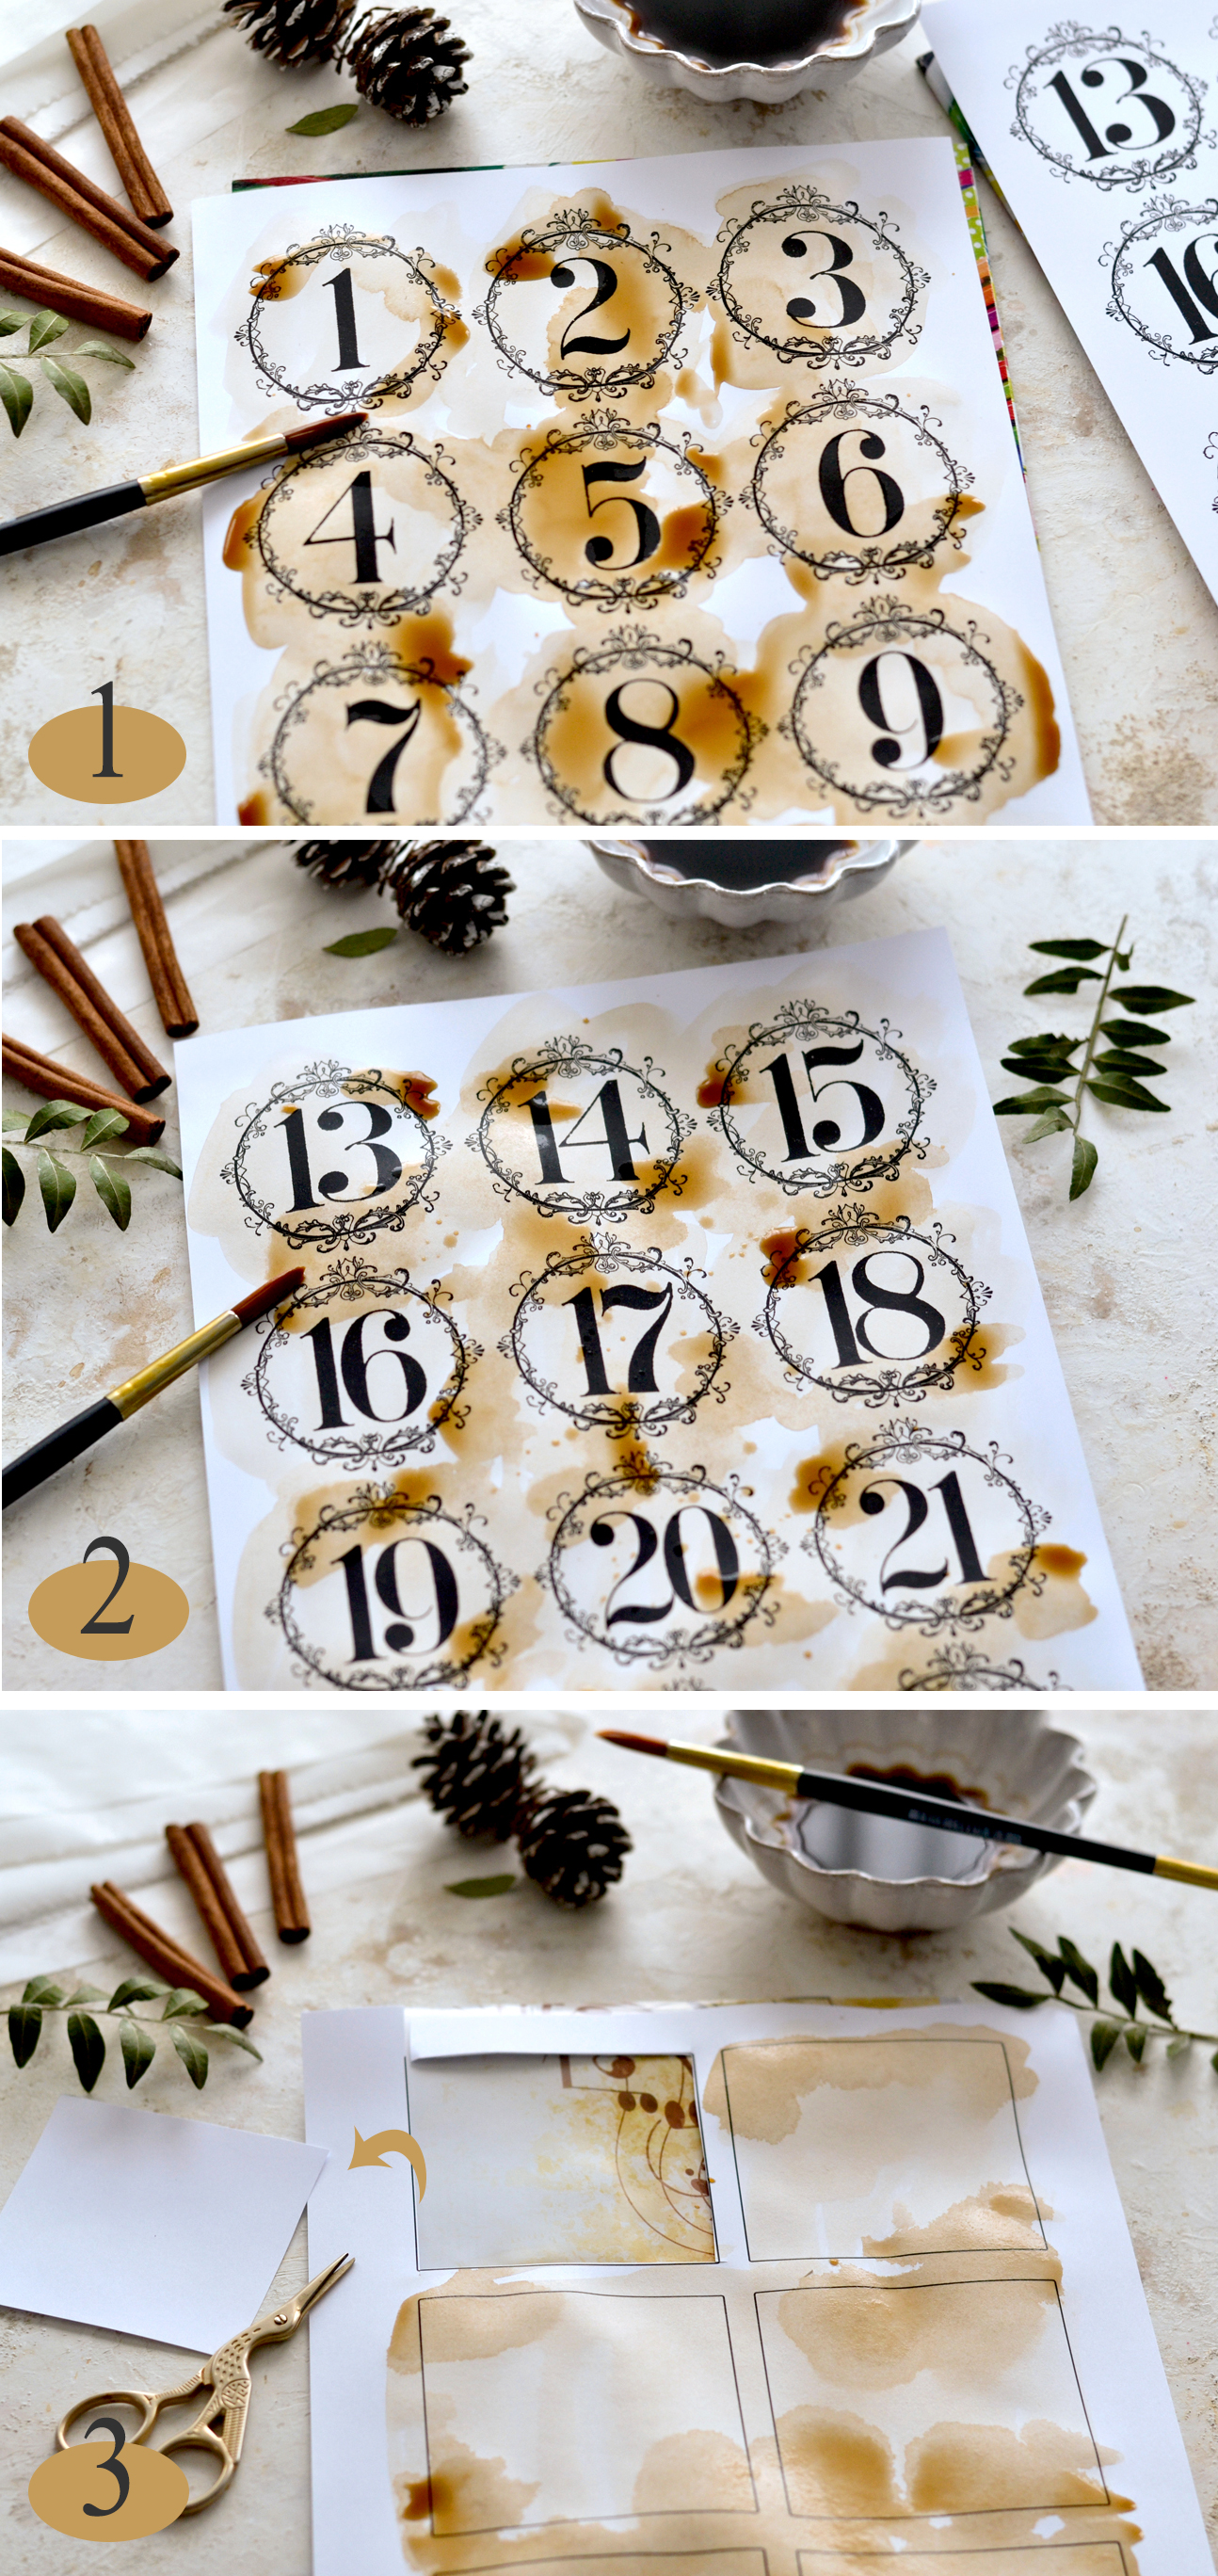
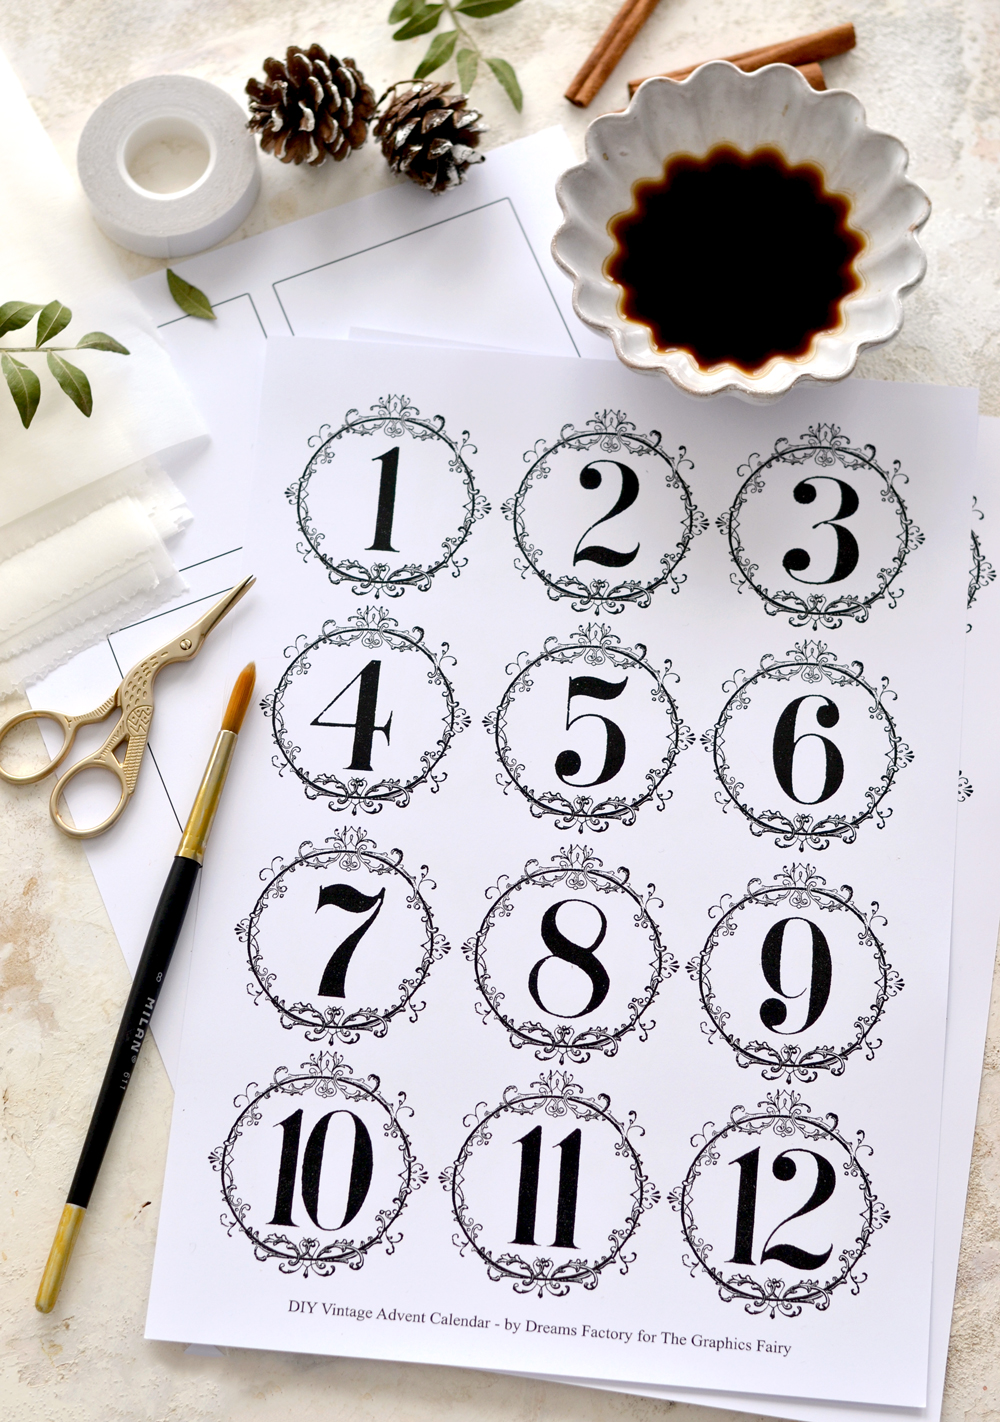
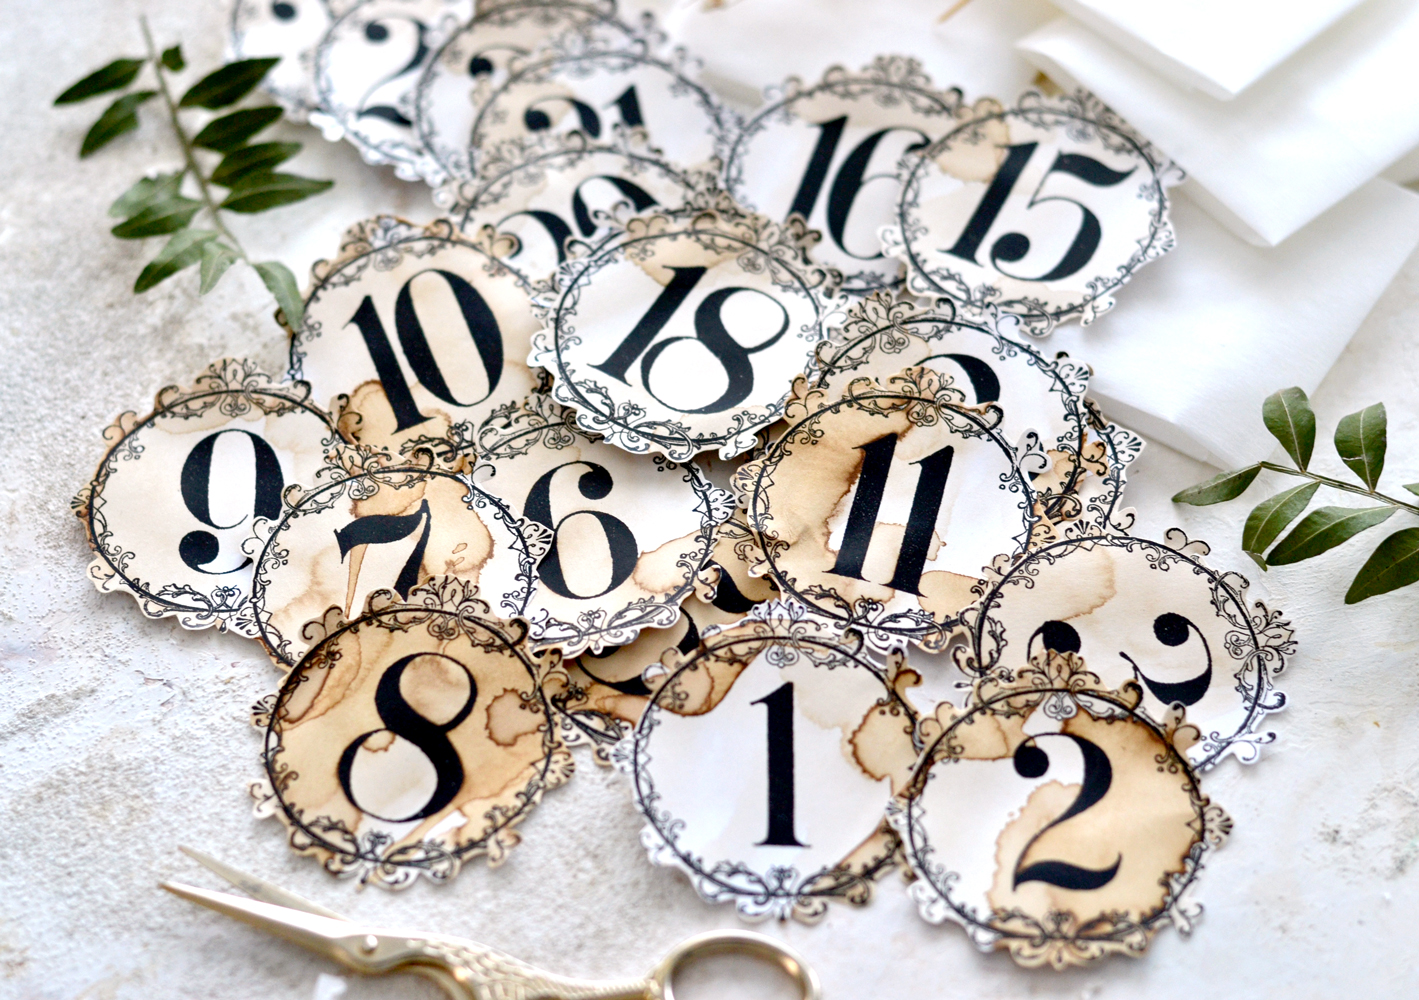
Start by brewing your coffee and make a few tests on scrap pieces of paper to determine the intensity of the color, before applying it to the labels. Pick a small amount of coffee with your brush and go all over your labels – cover all their surface, but also go outside the frames, to completely cover all the outside details. This will remove the whiteness of the paper and will give the labels a uniform stained look. Pick a larger amount of coffee with your brush, but this time only dab it here and there. At this stage I usually start from the outside and go to the inside, letting the coffee and the already soaked paper do their thing in creating interesting effects. Add splashes by shaking your brush over the labels, create splotches, and don’t forget to have fun! 🙂
I’ve used this coffee staining technique on other projects too, but today I wanted to emphasize how the same coffee can create stronger or lighter effects. On the first printable with the labels (1) I added a larger amount of coffee on the edges (after removing the whiteness of the paper) and on the second printable (2) I only used a smaller amount of the same coffee to distress the edges (after removing the whiteness of the paper). For the inserts, you can go as crazy as you want, following the same technique, just make sure you cut out one of the squares first (3), so we can work on our no-glue folded envelopes while the coffee is drying.
P.S. Don’t forget to protect your surface before painting with coffee, I used old sketchbooks under each printable.
MAKING THE DIY NO-GLUE FOLDED ENVELOPES FROM PARCHMENT PAPER
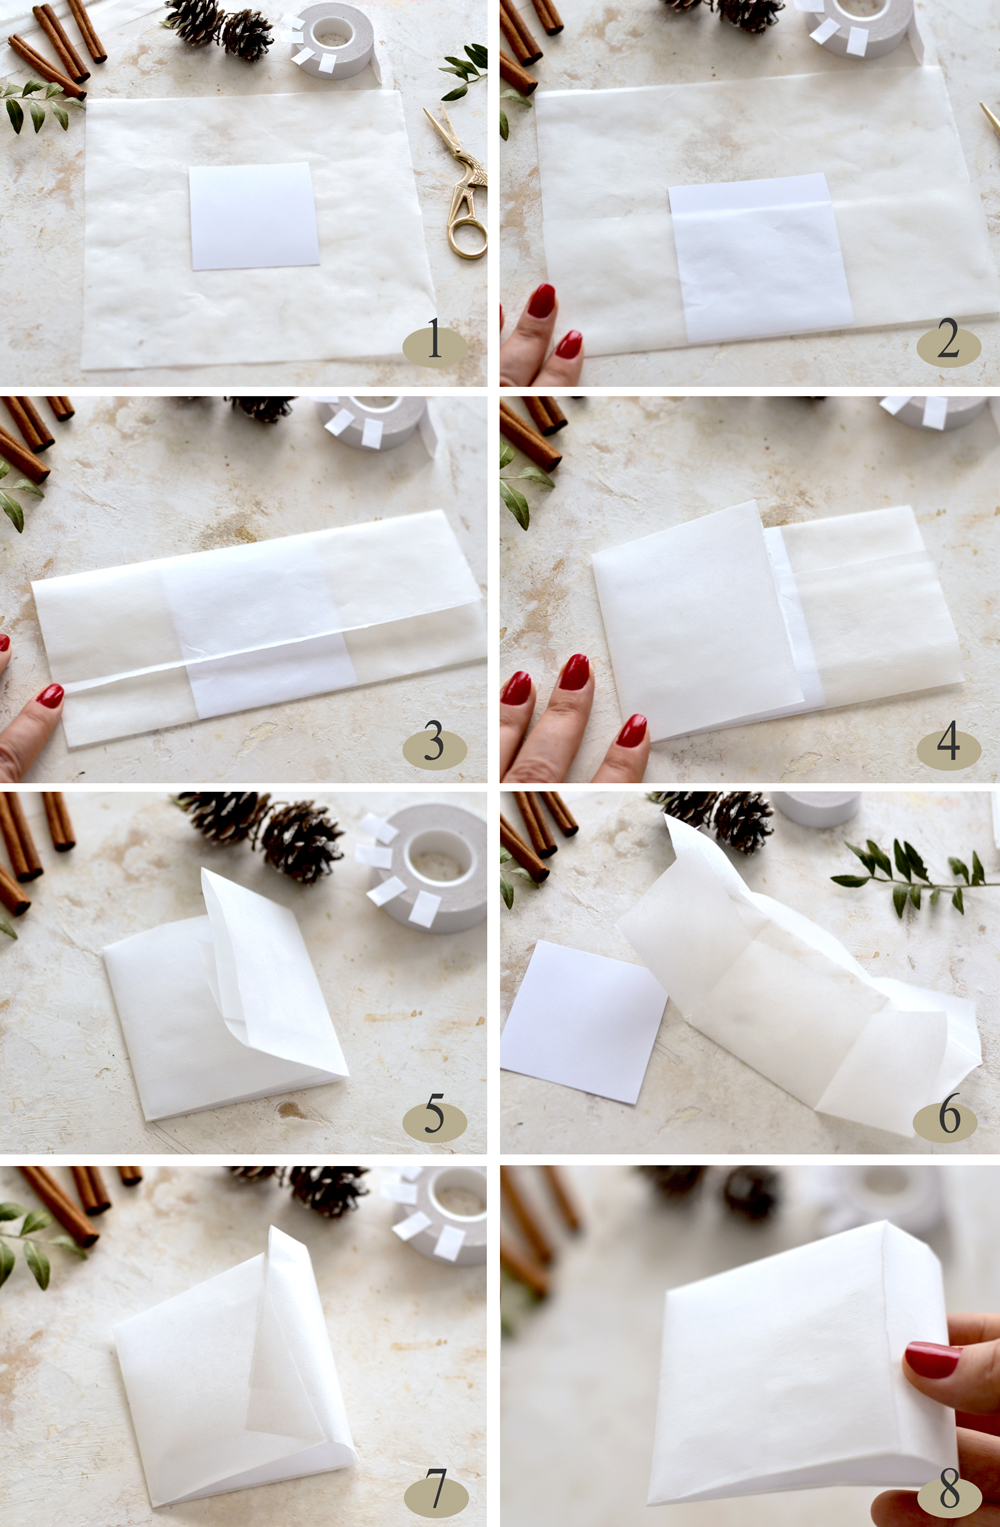
Making these no-glue folded envelopes is really easy! You can determine the final shape of your envelopes (square or rectangular) – depending on what you need. I used one of the square inserts as a template to create a square no-glue folded envelope, but if you start with a rectangular shape and rectangular template, you will have a rectangular final envelope. The square or rectangular paper template is mainly used for guidance here, once you’ll learn the idea behind this folding technique, you’ll be able to fold paper like a pro, even without a template. Moreover, if you have a specific object (this works best with flat items) that needs to be wrapped, you can quickly adapt and use this easy technique, no matter the size of that object!
P.S. I’m calling these ‘envelopes’ for the lack of a better word, this is actually a folding technique that was used throughout past times to turn the letter itself into an envelope.
Place the square parchment paper on your table, then add the square paper insert (template) in the center (1). Fold the parchment paper over the square template while creating a score with your finger – go upwards (2), downwards (3), rightwards (4) and leftwards (5). Unfold the envelope to remove the paper insert template (6) so we can use it to fold our other envelopes too. Fold the parchment paper again, then tuck one of the flaps into the other flap (7) – you might have to slightly bend it until it slides in. Finally, use your fingers to completely tuck it in (8).
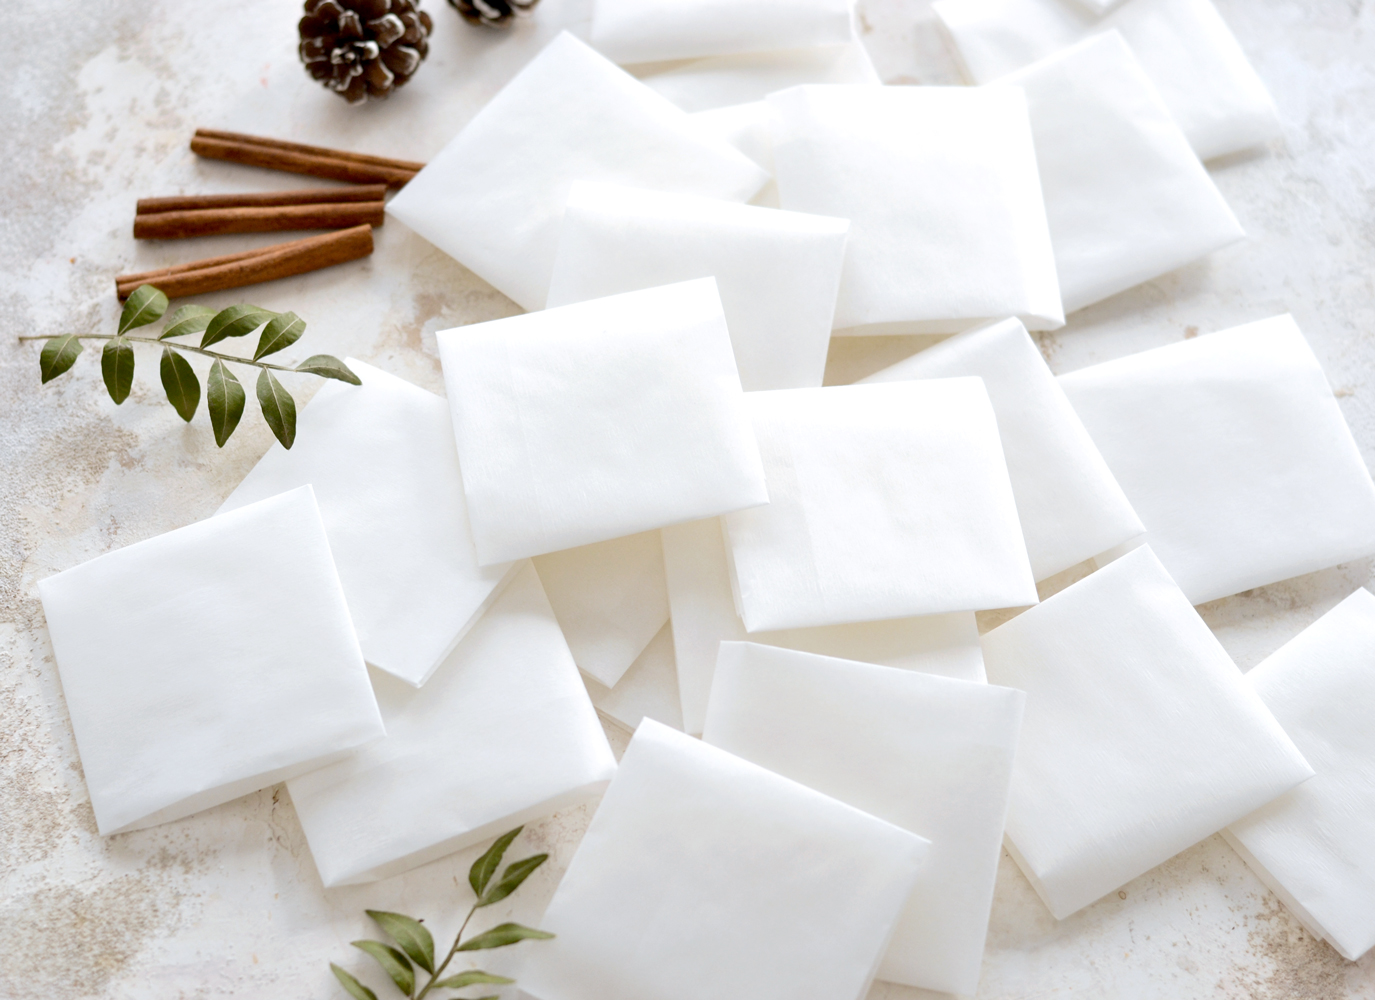
If made this way, the envelopes will be around 3 x 3 inches (8 x 8 cm) in size.
And that’s pretty much it! It is THAT easy to make a no-glue folded envelope!
Now you only need to make another 23 more to have a full DIY Vintage Advent Calendar! Just follow the same steps to make the other no-glue folded envelopes and consider this as the perfect time to practice and becoming a pro. 🙂 You will simply love the final results, I would say using parchment paper was a really great idea, these sheer-looking envelopes are absolutely stunning!
Of course, you can use any type of paper that you want or anything that you have around. Regular printing paper, kraft paper (I’ve made one here), cardstock paper, wrapping paper or tracing paper, all will work here. You might have to use a bone folder to create a perfect scoring on heavy paper, but it’s doable.
P.S. When you are done creating the envelopes, don’t forget to also stain with coffee the paper insert that we used as a template.
CUTTING THE VINTAGE LABELS AND THE INSERTS
After drying, use a small pair of scissors to cut the labels, trying to preserve as much as you can from the outside details of these gorgeous vintage frames with numbers.
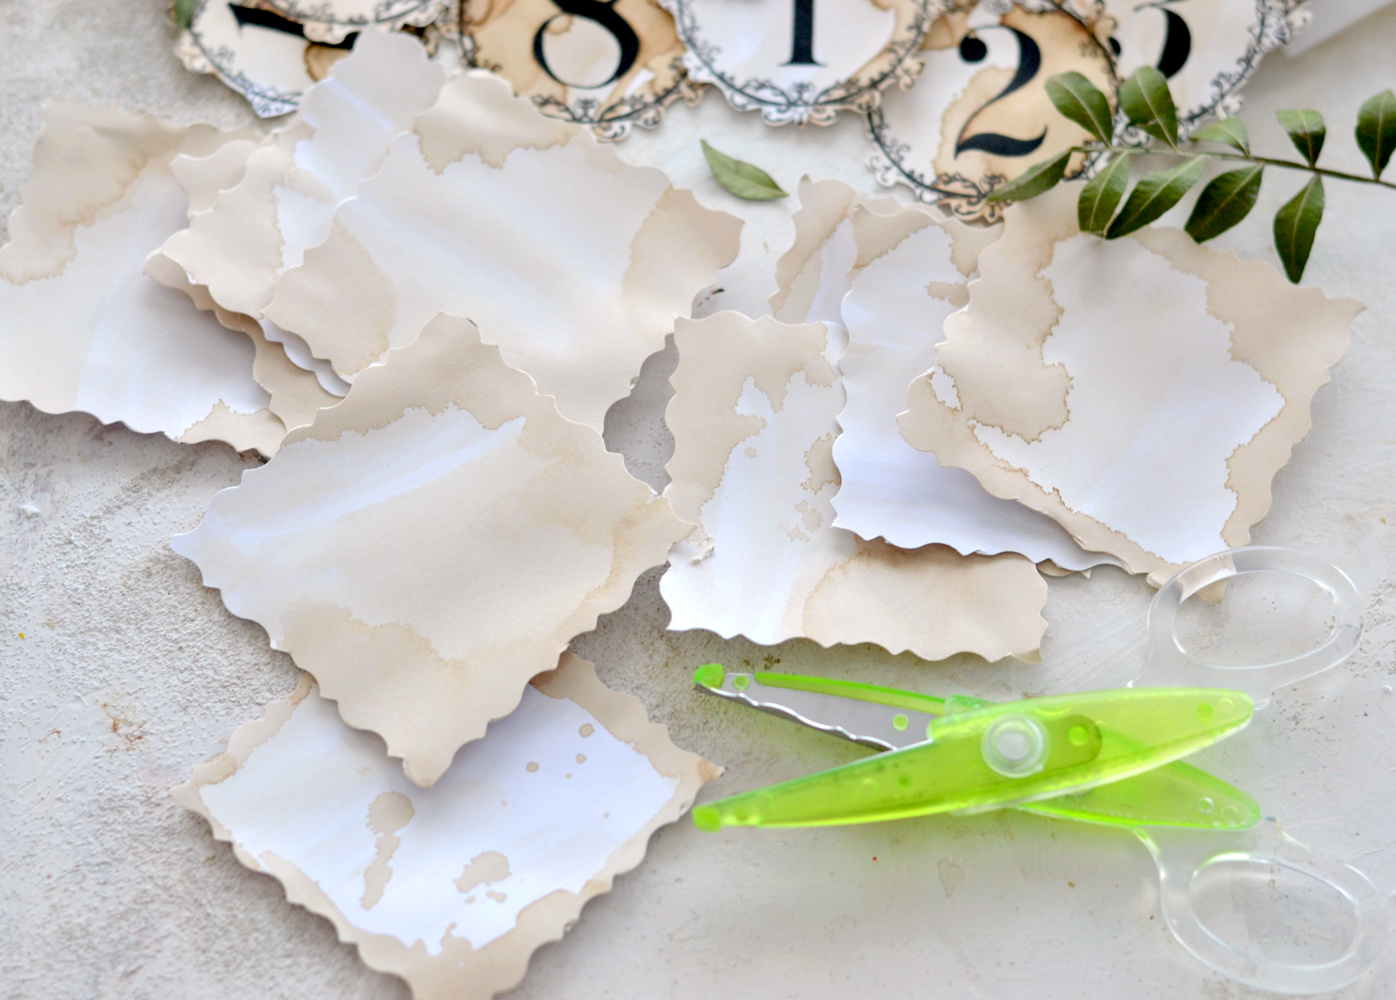
I decided to use decorative scissors for the inserts, just to give them more oomph on the edges. They looked simply beautiful! Just make sure the paper is COMPLETELY dry when performing this action, the decorative scissors will have a hard time cutting through if the paper is wet. Don’t ask me how I know that! 🙂
ATTACH THE VINTAGE LABELS TO THE ENVELOPES
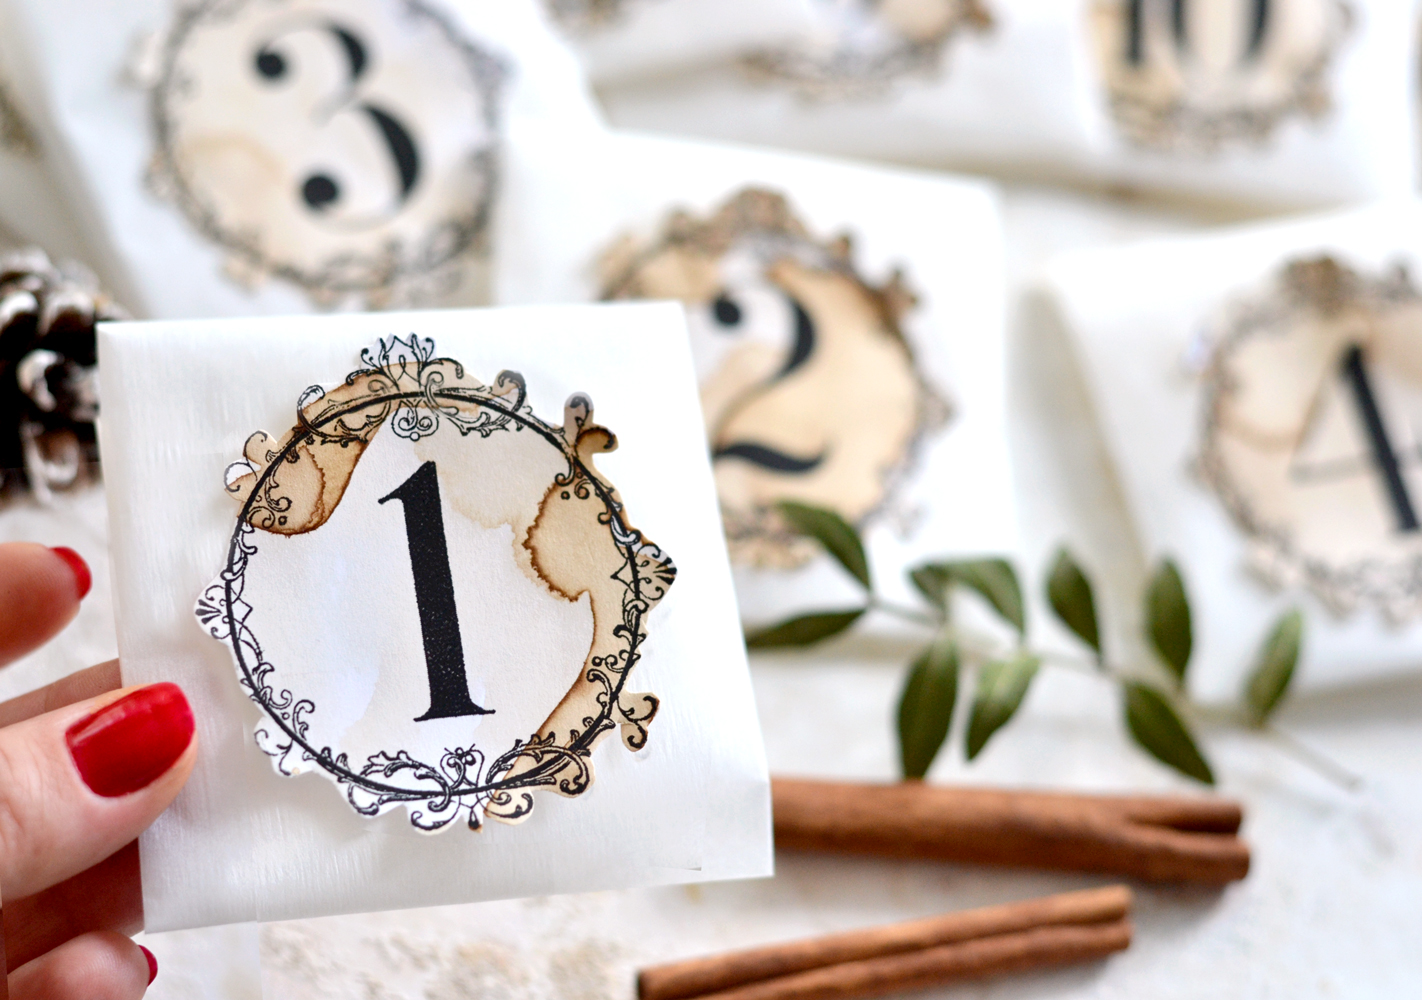
Now that we have all our beautiful elements, it’s time to attach (or glue) the vintage labels on the envelopes. I applied small pieces of double-sided tape on the back of the labels (around the edges) and just placed them on the envelopes, trying to air center them as better as I could. I used 4 small pieces of double-sided tape for each label, so I cut them all (96!) beforehand and temporarily glued one of their edges on the side of my table so I could easily access them! 🙂
You can also use craft glue or a silicone glue gun to glue the labels, just make a few tests before, parchment paper can react differently to different types of glue.
Each of these three elements – the gorgeous labels with numbers, the sheer parchment envelopes and the paper inserts – can be used as separate elements if you want, I can totally see them included in other home decor or crafting projects, gift-wrapping sessions or as chic journal embellishments too!
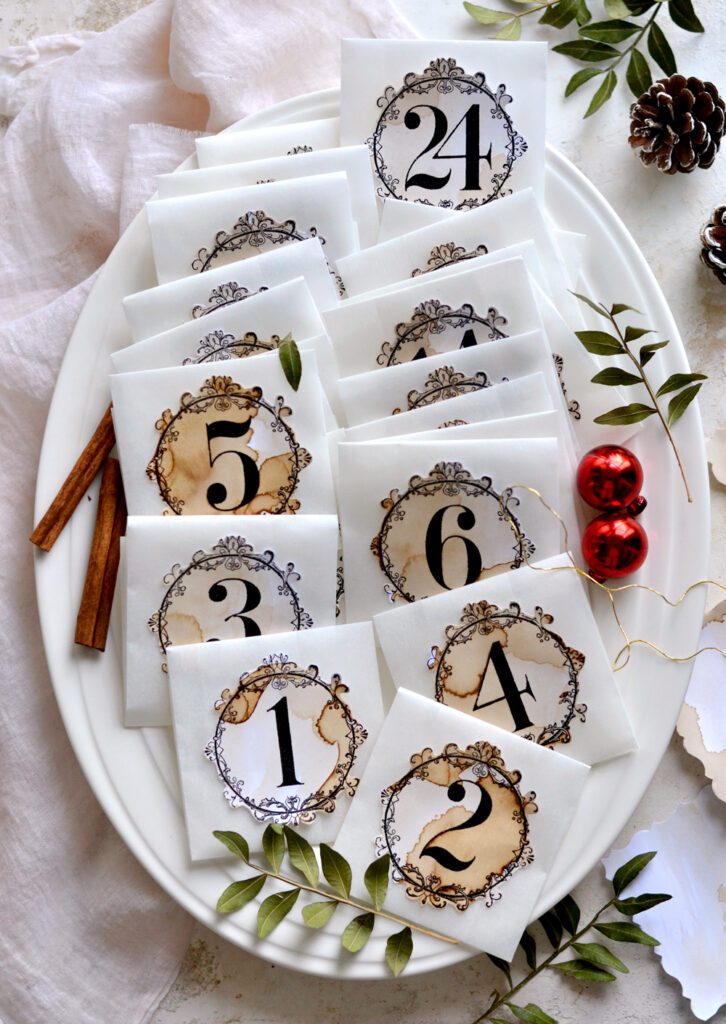
The final results are absolutely stunning, I love each and every one of these separate elements, but I love them all together even more!
What I love most about this project is that it looks unpretentious, but classy and chic at the same time. It’s pretty universal too, so I’m sure you won’t have a hard time including it in your home, no matter if you are going for a vintage, farmhouse, cottage or a Shabby Chic style.
Not sure if it was the fact that I’ve never made an advent calendar before and this one was my first, but I can say I’m REALLY proud of myself! 🙂 I haven’t included the inserts with the fun activities for each day just yet, I still need to figure out the direction I’m going with this. I’m thinking of including a few fun and easy crafting projects I wanted to try so far (like painting, sketching or drawing a specific object), watching our favorite Christmasy and non-Christmasy movies, playing board games, there are plenty of ideas that you can try, depending on what you and your family or friends love to do. It’s best to be realistic and include something easy that you and your family love to do, so you can stick to the everyday countdown program! 🙂 Of course, you can include a small everyday treat, a little bit of chocolate didn’t hurt anybody!
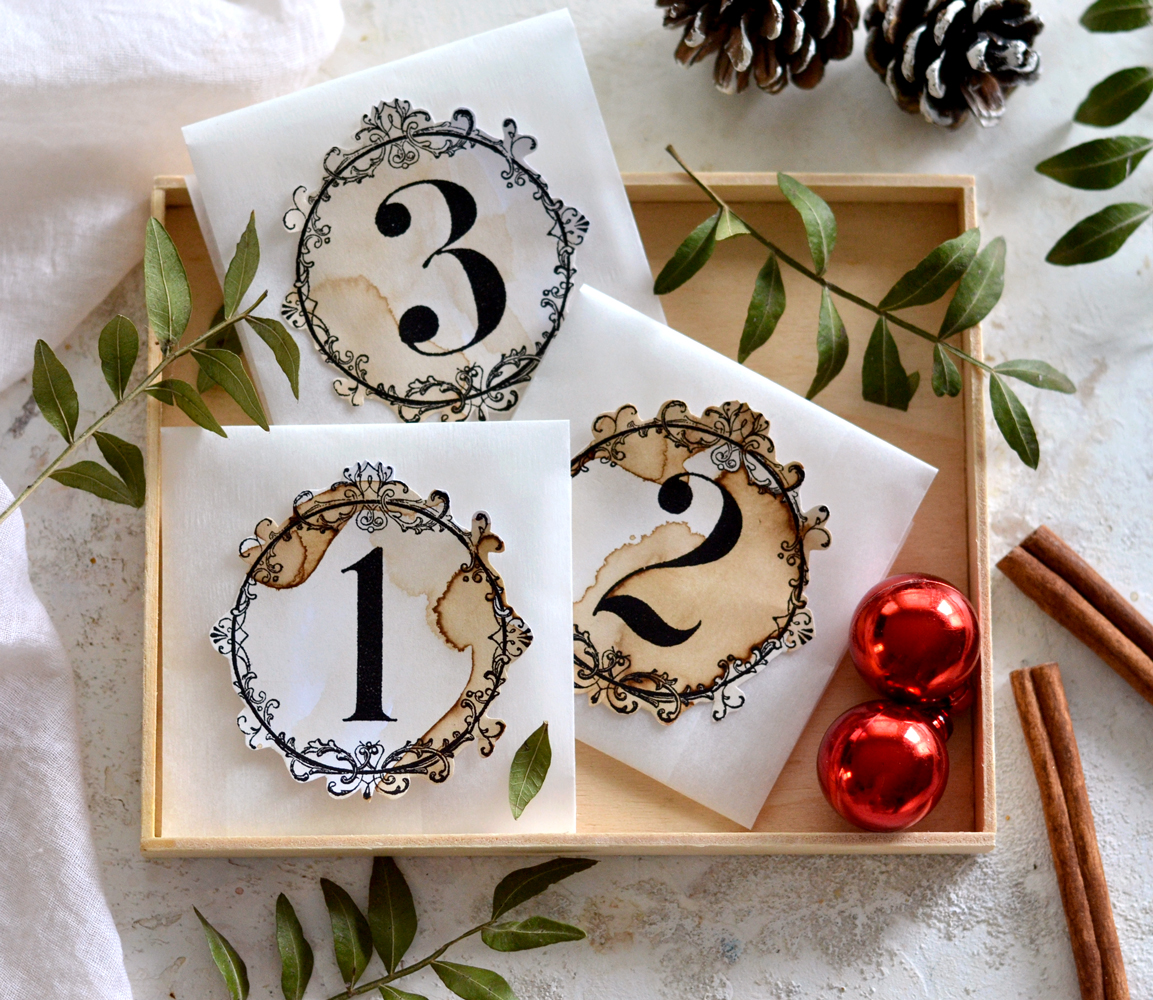
Below you can see the different staining effects I managed to achieve. Remember how I mentioned that I used the same coffee to distress all the labels, but I played around with the amount added to get a more or less visible effect? I added more coffee and layering on the 1-12 labels that were placed on the same sheet and less of the same coffee on the 13-24 labels that were placed on another sheet. You can clearly see the difference, but I would say they all have their own charm and it really depends on the final effects that you are trying to achieve.
You can display your super chic DIY Vintage Advent Calendar in your home as you want. You can hang them anywhere or include them in seasonal vignettes, I would probably use a lovely ceramic platter to place them on our table and turn them into a gorgeous arrangement for Christmas, along with other holiday-related embellishments or ornaments. I love adding small clippings of greenery, pine cones or cinnamon sticks to bring a little bit of nature indoors!
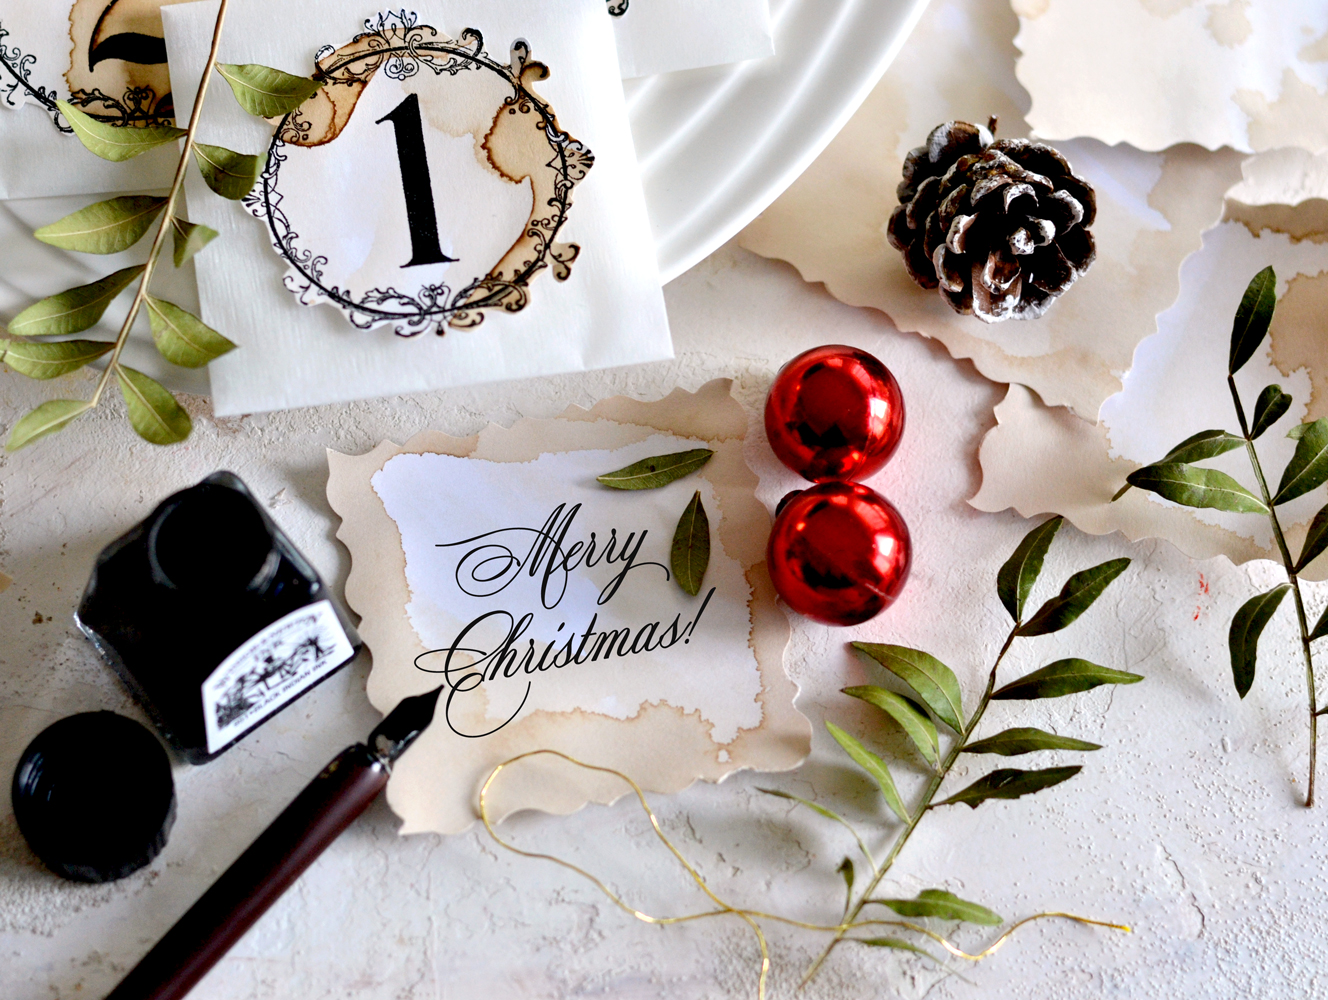
You can definitely write the inserts by hand if you have a beautiful calligraphic writing. As an alternative trick, if you have already decided on the activities you want to include for your advent calendar countdown, you can use your computer to write your inserts before coffee distressing them. Here I used a script font called Mozart as an example, it’s one of my all-time favorites!
 I hope you’ll LOVE this DIY Vintage Advent Calendar as much as I do, you’ll have plenty of time to make it for your Christmas countdown this year! A DIY Vintage Advent Calendar can also be turned into the perfect gift, just make sure you finish and gift it in time, so your friends can enjoy it throughout the whole month of December.
Happy crafting,
Diana | Dreams Factory



Shauna says
Hi Terri,
I would make them into a garland by paper or binder clipping (rusted or gold coloured depending on your style) to string or yarn or chain or….the possibilities are endless!!
Thanks to Diana for another really pretty project idea…my brain is riffing on it already!!
Karen Watson says
Those are great ideas Shauna! Thanks for sharing. Have fun creating this pretty calendar for the holidays! 🎄
Iwona K. says
Great idea
Karen Watson says
We’re glad you liked it! 🎄
Terri says
what are you using to display your advent calendar? These are really cute and just my style. 🙂
Karen Watson says
Hi Terri, Diana just used an Oval Ironstone platter to display the advent calendar envelopes. Is that what you were asking about?