DIY Vintage Valentine Pop Up Card
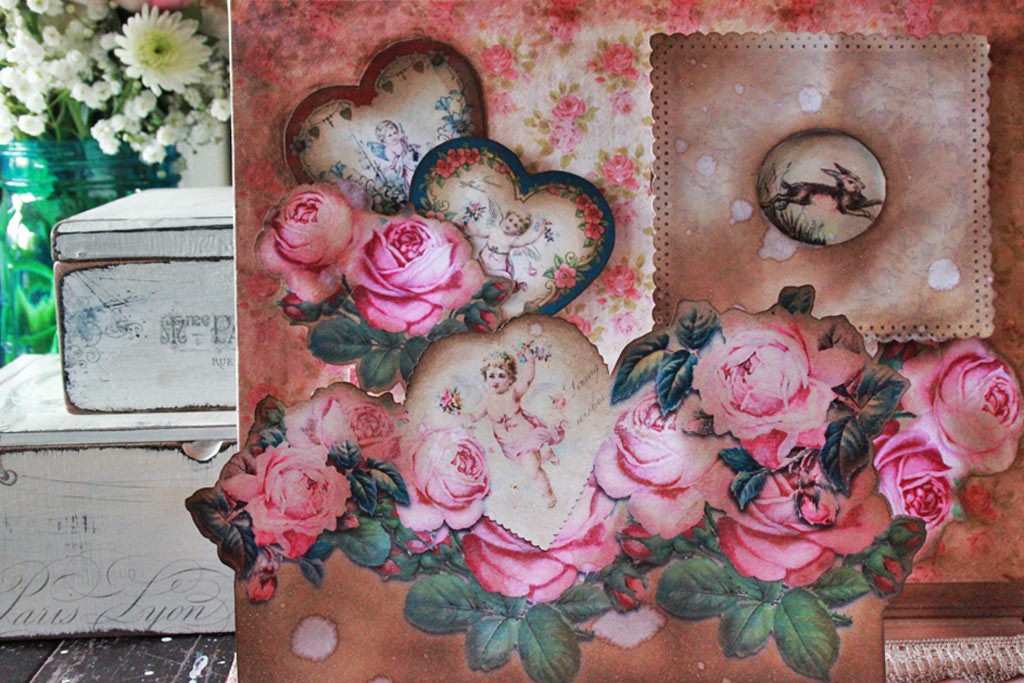
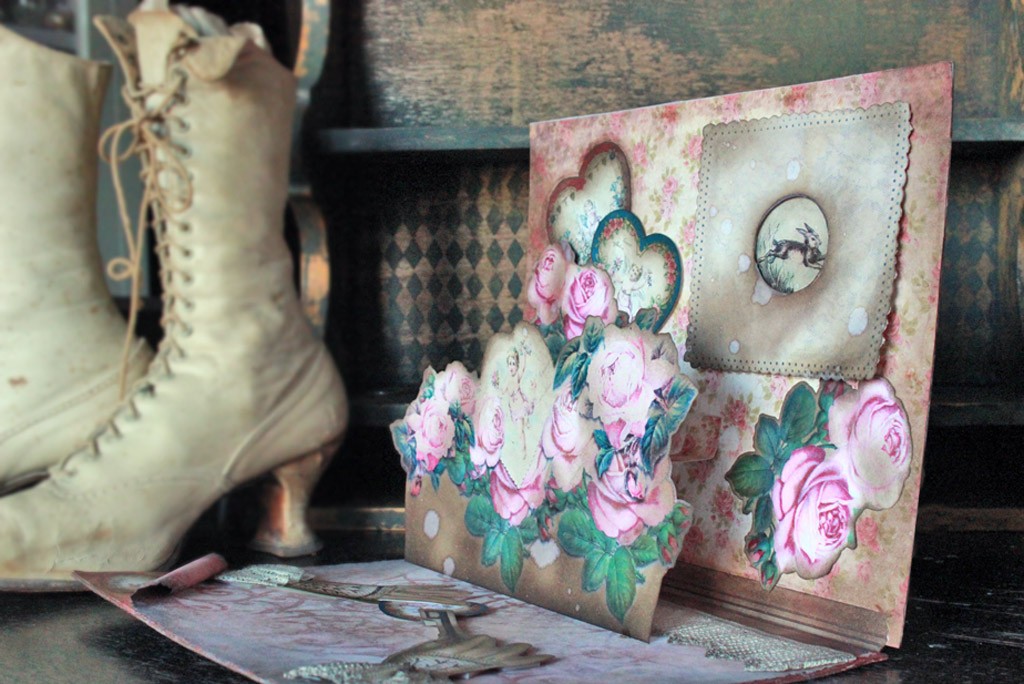
This Vintage Valentine Pop Up Card was a labor of love! It combines romantic imagery with a super fun pop up technique. The finished keepsake is suitable for a cherished friend or loved one, or even just as a seasonal accent for your decor. Hello, Graphics Fairy Readers…Heather from Thicketworks here with a project that is near and dear to my heart. You already know I adore The Graphics Fairy, and the free graphics that Karen offers are second to none. However, my absolute favorite Graphics Fairy resources are the Premium Membership Bundles.The quality of the images is so superior, and the file formats are unbelievably useful. The fact that there are so many Photoshop Brushes and Tutorials available to Members is amazing. What I love the most about being a Premium Member is the ability to access EVERY Premium Bundle that has ever been offered. Right now, that means that there are over 200 Bundles from which I can draw imagery. Each week the TGF team publishes a new Kit!
Inspiration that feeds the creative soul.
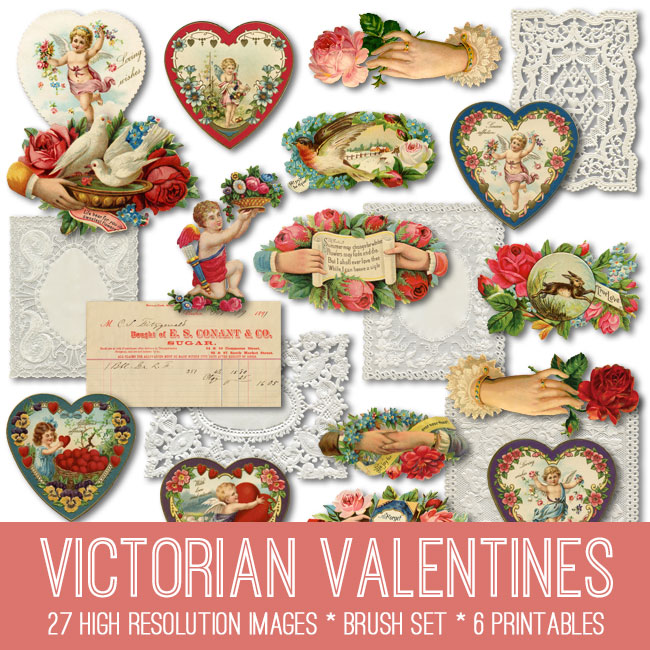
When I saw the Victorian Valentines Kit, I HAD to use it in a Valentine project!
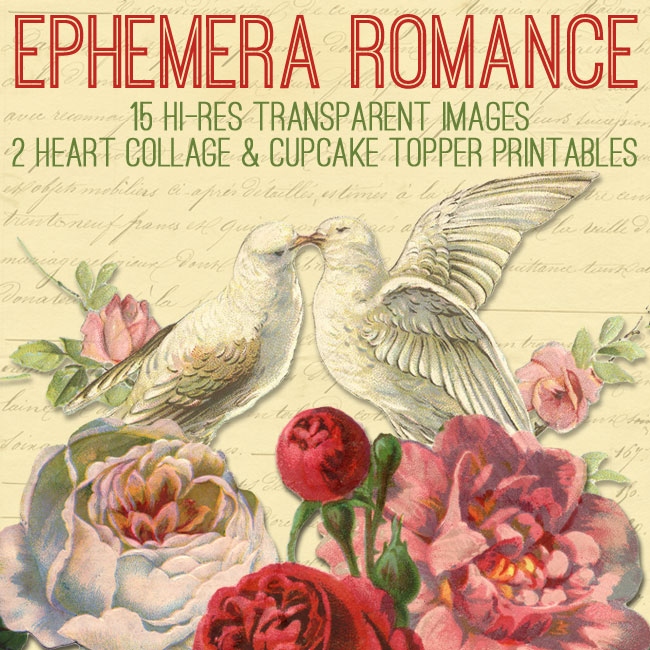
Making it even sweeter is the fact that I could also reach back and gather images from another of my favorite Premium Kits – Ephemera Romance:
So I surrounded myself with a selection of charming images from both of these Premium Bundles, and got to work!
Of course, you don’t have to use the same images that I selected – use whatever romantic graphics suit you.
Pop up cards are so fun!
This is the perfect occasion to do a quick demonstration of the simplest method.
Try your hand at creating a Vintage Valentine Pop Up Card!
Tools and Supplies:
- Your favorite romantic images printed onto white card stock (I created digital collages for some elements, and printed hearts and roses in several sizes)
- Scissors
- 2 Sheets of lightweight 8.5” x 11” chipboard (I get the EcoSwift brand on Amazon)
- Decorative paper to cover the chipboard sheets
- Glue (I use Aleene’s Tacky Glue)
- Double sided tape (I use Miracle Tape from Viva Las Vegas Stamps)
- Double Sided Sticky Tape Foam Adhesive (I found mine at the Dollar Store)
- A Score Board (I used a Martha Stewart Scoring Board and Envelope Tool) or similar
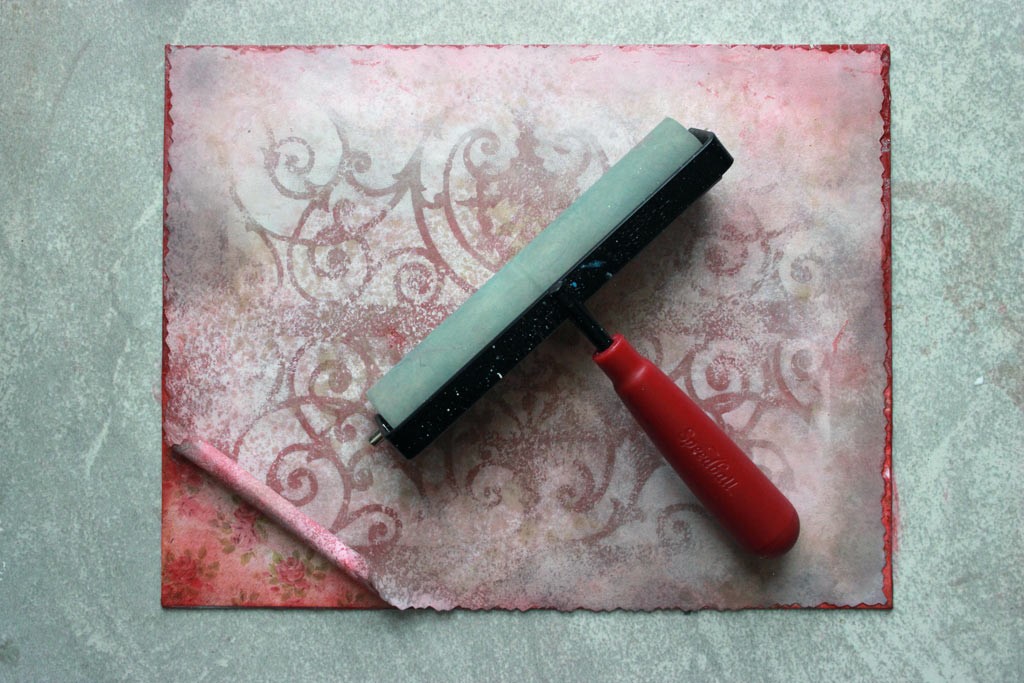
- A brayer or Bondo Spreader helps to glue everything flat
Optional:
- Your favorite romantic rubber stamps (I used Tattered Angels “Timeless Romance” Grand Scale Stamp set)
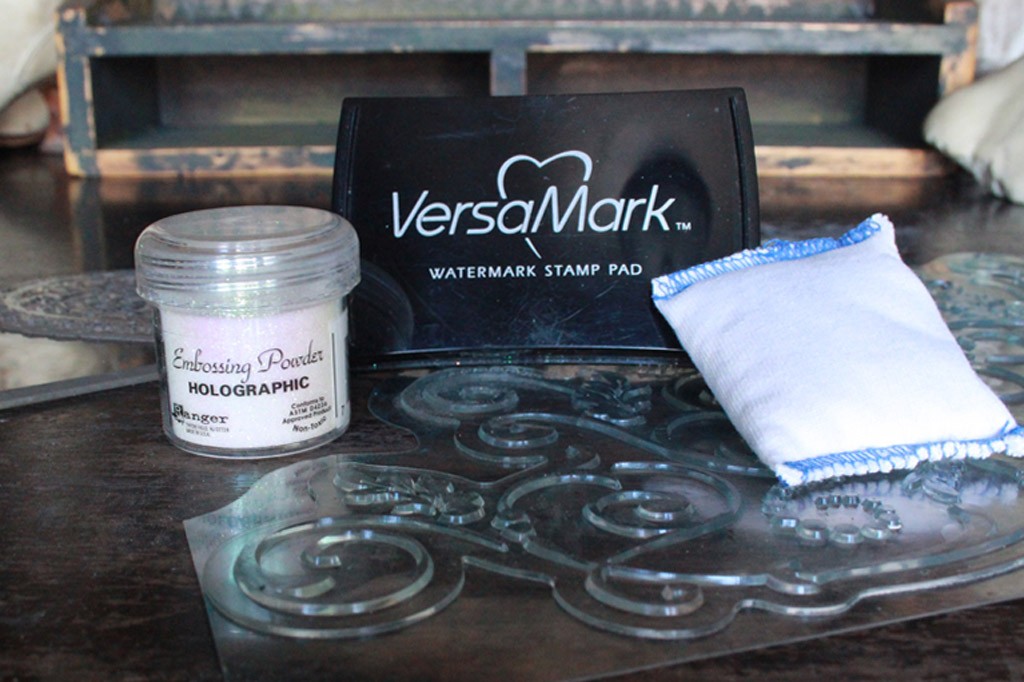
- A VersaMark Ink Pad
- An Inkadinkado Embossing Magic anti-static pad
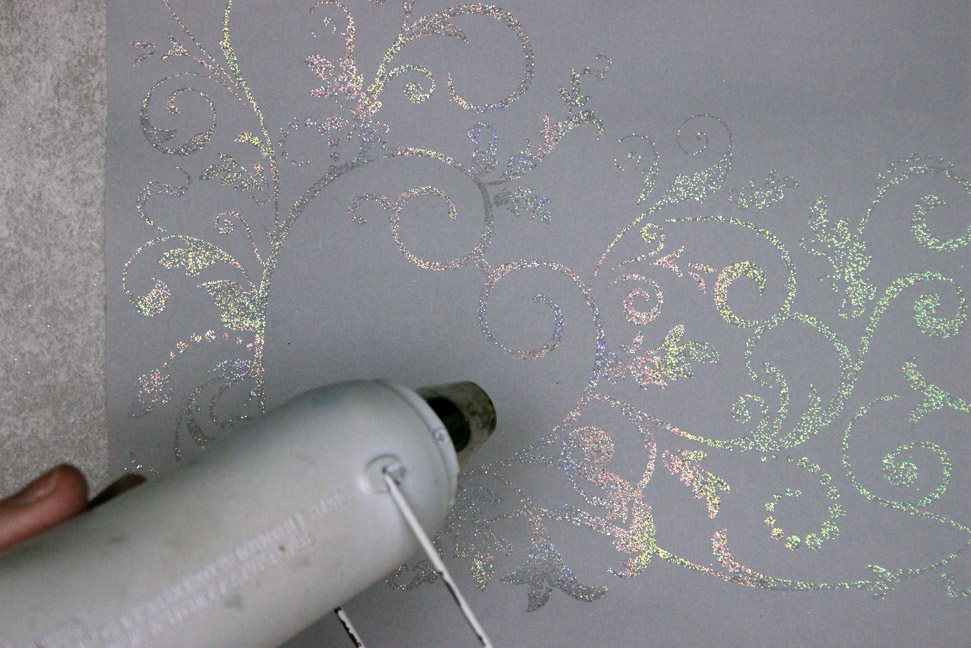
- Ranger Holographic Embossing Powder
- A Heat Tool
- Your favorite Distress Inks and Foam Applicator (I used Walnut Stain and Festive Berries)
- Decorative Edge Scissors (I used Paper Edgers, by Fiskars)
- A decorative Paper Punch (I used a Martha Stewart Crafts Deep Edge Punch, Scroll Heart)
- A Stabilo All Pencil, in Brown and a paint brush to blend the color with
- Lace scraps
Let’s get started!
- Re-size and print out a generous selection of your favorite Valentine themed graphics, onto white card stock.
2. Once all your images have been printed, and the ink is fully dry, fussy cut! I like to leave a margin of white around the edges of each graphic – cutting is faster and easier than if you follow the contours perfectly, and the result is pleasing to the eye.
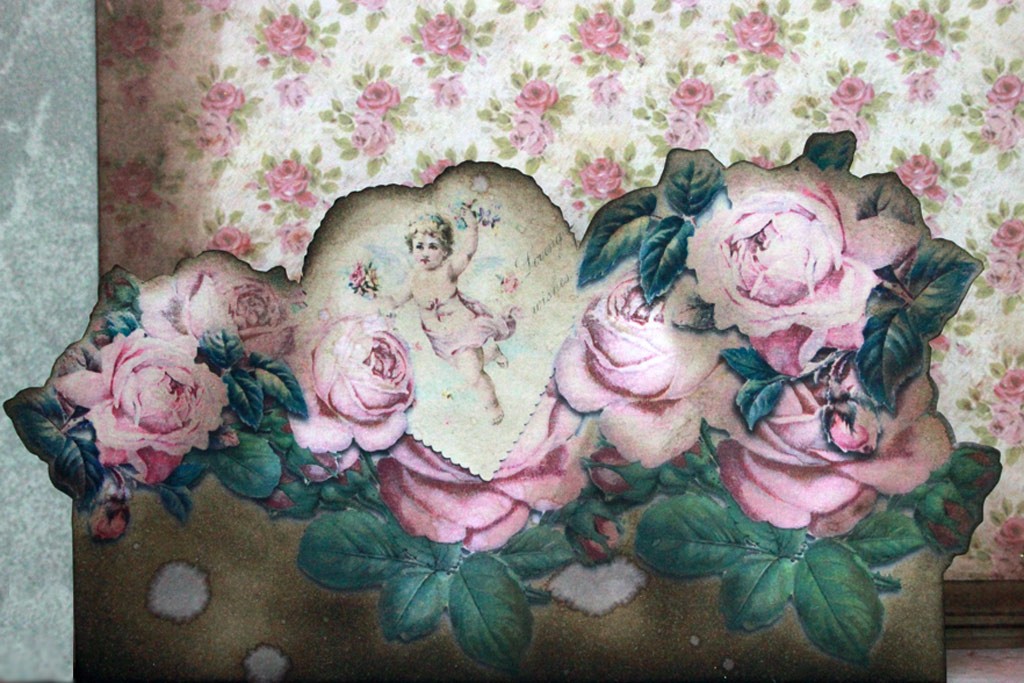
3. For your main Pop Up element, make sure to contour cut only along the upper edge of the graphic, leaving a rectangle of white card at the base, large enough to fold over into a ‘footer’. The garland of roses in the upper left of this image has been cut this way:
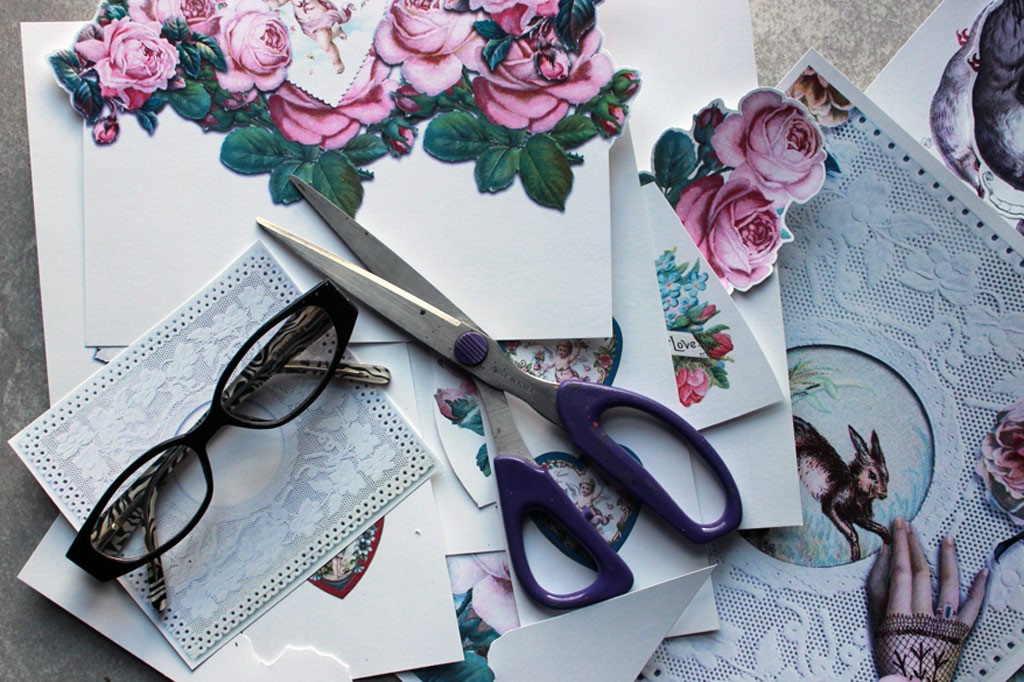
Be generous – it’s always preferable to err on the side of excess…you may not use every element that you cut out in this project, but I’m sure you’ll put them all to good use!
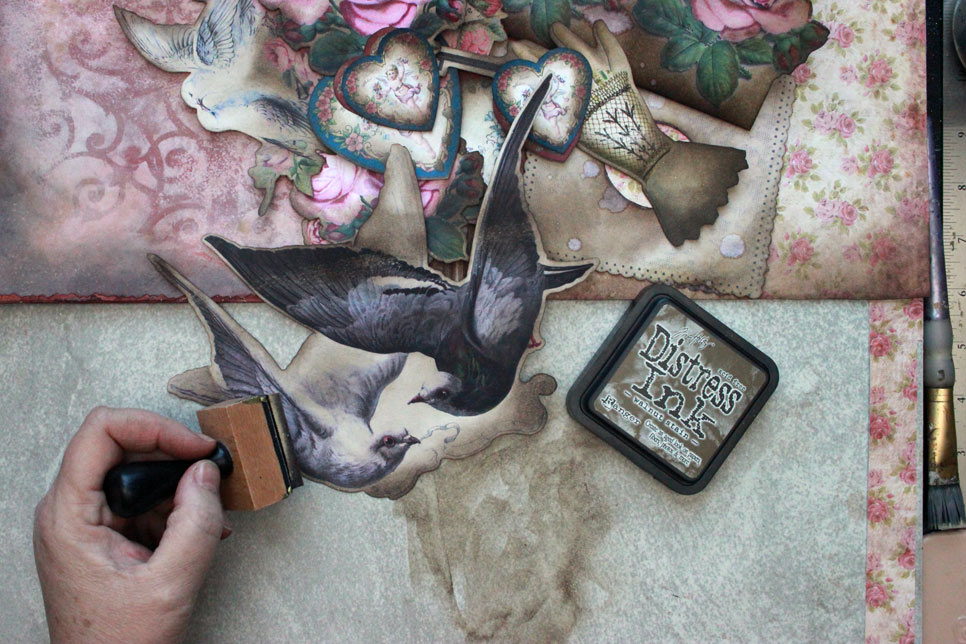
4. Skip this step if you prefer a clean look. Otherwise, grab your Distress Ink and edge all of your cut outs:
Another gorgeous mess!
5. Set your cut outs aside, while we tackle the ‘covers’ of the card.
The basis for this simple card is 2 sheets of 8.5” x 11” chipboard, which are then “hinged” together with an inner and outer spine of card stock.
6. Decorate your chipboard sheets to suit your taste.
I had fun using embossed designs and Distress Inks. I also dug into my stash of patterned Scrapbook Paper.
I’m not really a glitter kind of girl, but the shimmer of the Holographic Embossing Powder is perfect for this project.
Decorate the chipboard sheets so that they form a pleasing background for your featured Pop Up and the other components you’ve selected.
Here’s one variation, used as the base for the card:
7. To join the two ‘halves’ of the card together, cut one strip of cardstock about 10.5” long by 1.5” wide. Score it several times along the length, using a bone folder and Scoring Board. This will give the spine flexibility.
8. Glue it firmly to the interior edges of your decorated chipboard sheets, leaving a gap of .25” or so between the chipboard sheets. Distress this ‘spine’ with ink, if you like.
9. For the exterior of the ‘spine’, cut another strip of card stock about 10.5” long, but about 2.25” wide.
10. Use a decorative punch to create fancy edges, if you like. Score several lines along the center of this spine, also. Distress, then glue firmly to the chipboard on the exterior of the card.
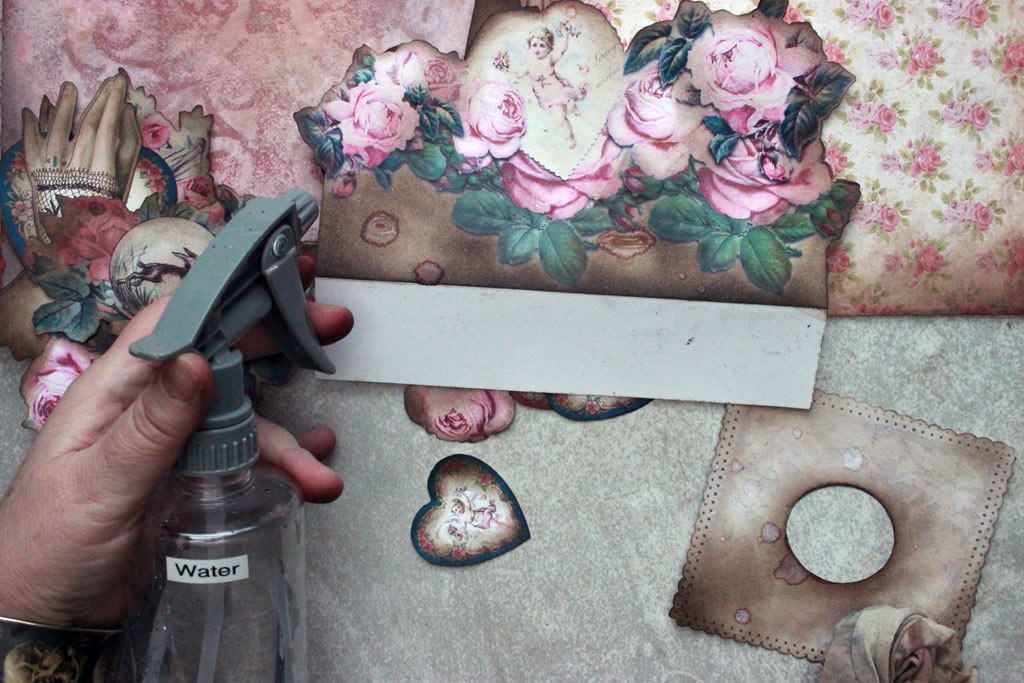
11. Before beginning to attach the cut outs to the card, I like to use droplets of water to add interest to the areas colored by Distress Ink. Here, I’m adding water stains to the main Pop Up element:
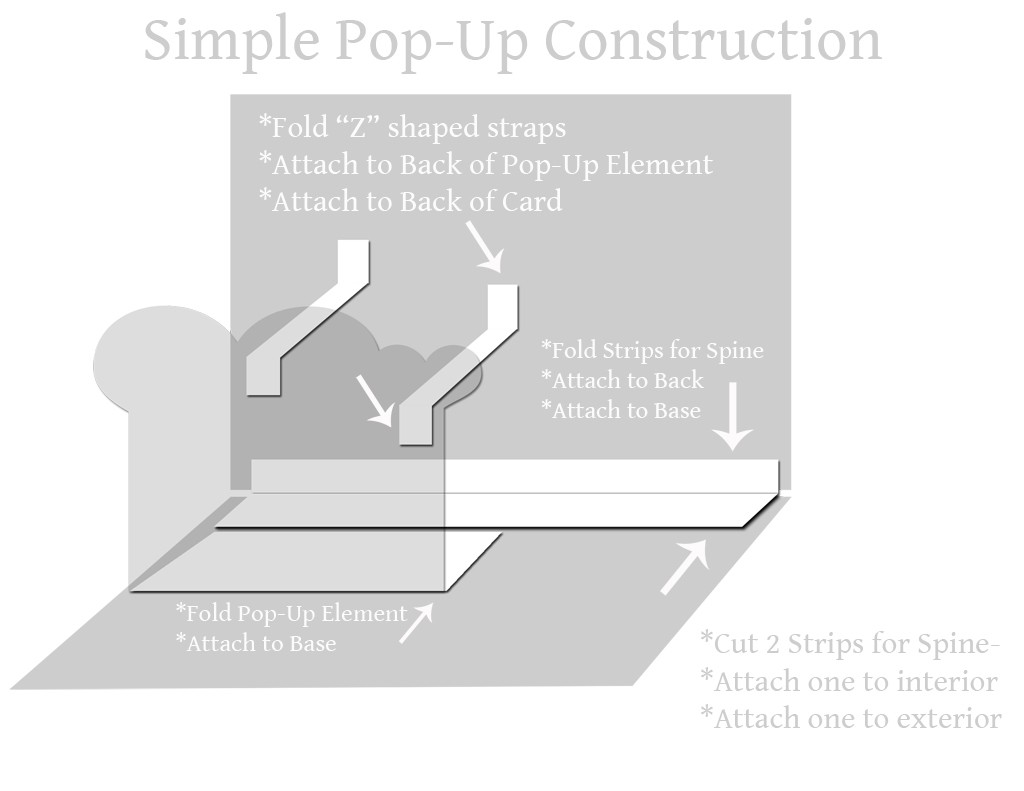
12. To create the Pop Up, fold the base of your focal element to create a ‘flap’ that will be glued to the base:
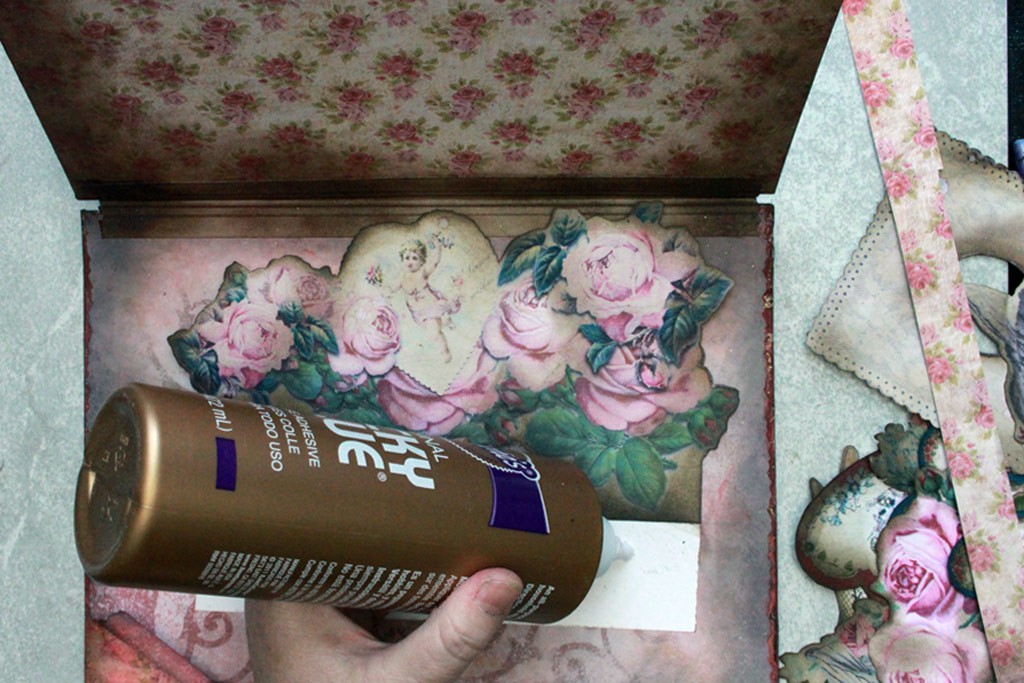
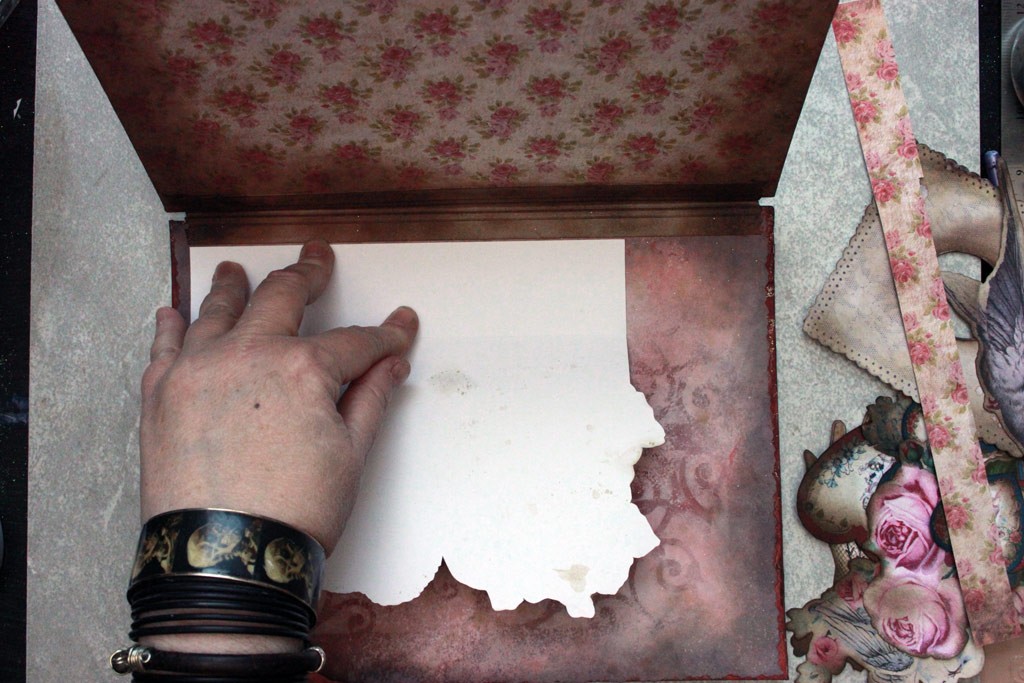
13. Once you’re happy with the placement, apply glue to the bottom of the flap.
14. Press the flap firmly against the base:
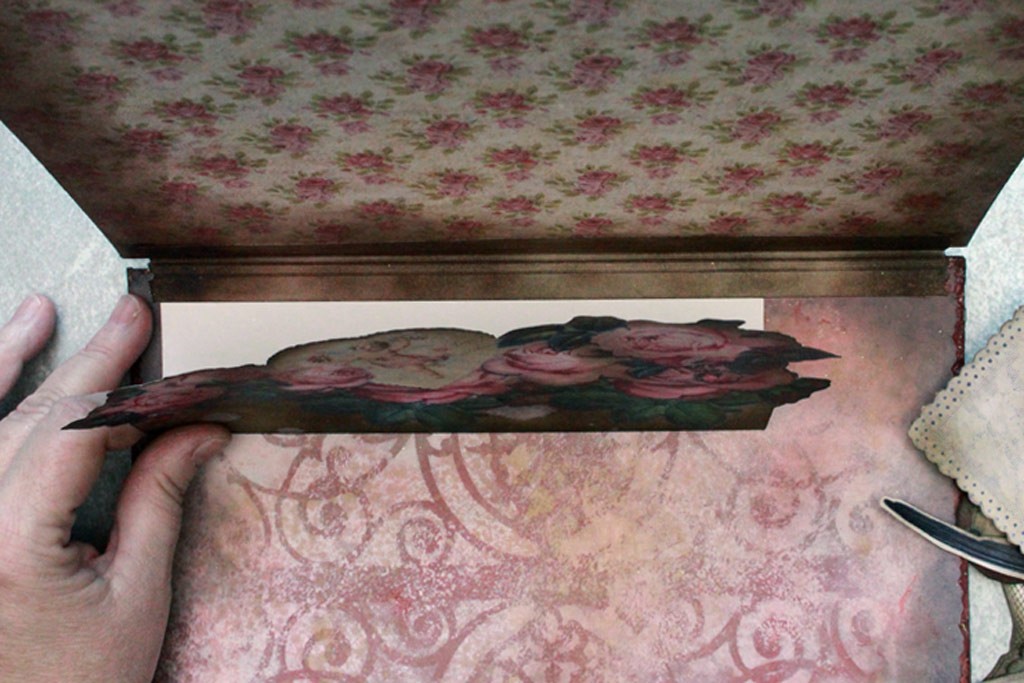
15. Prop the back of the card up at a 90 degree angle. Fold the Pop Up image up, aligning it with the back.
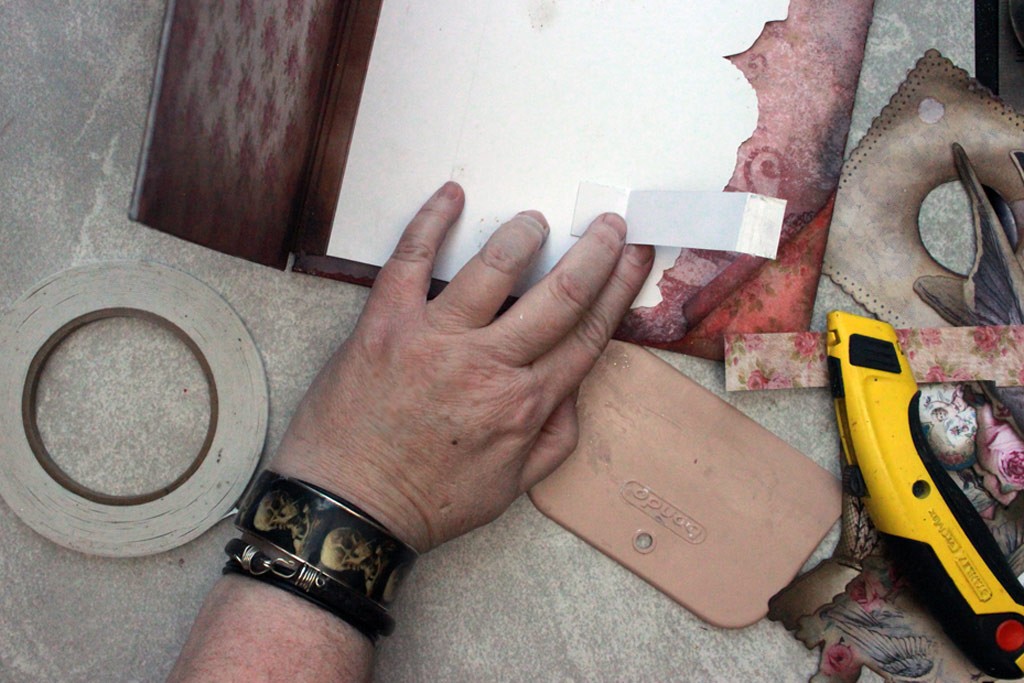
16. Cut a strip of patterned paper that will span the gap between the image and the card back:
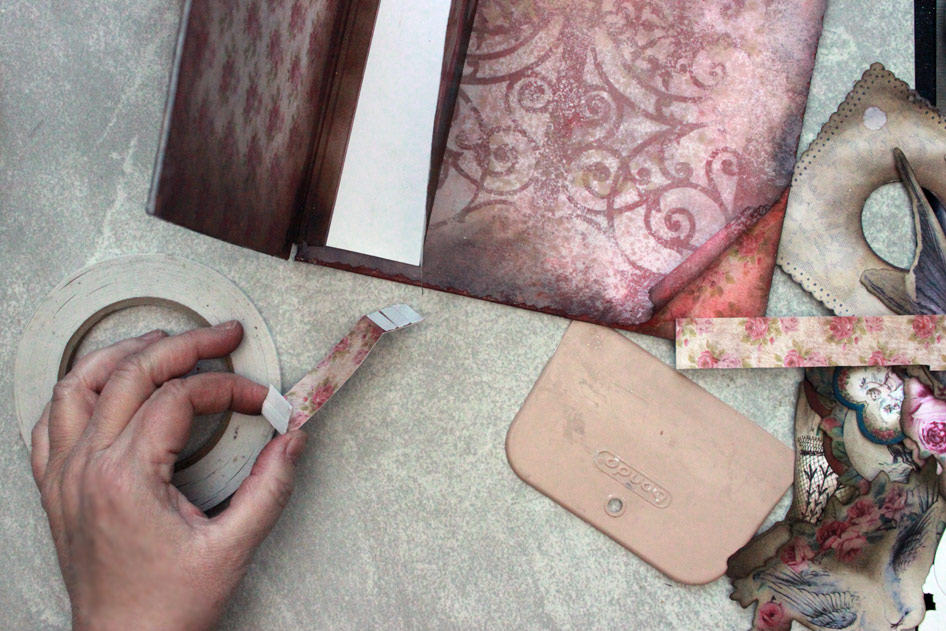
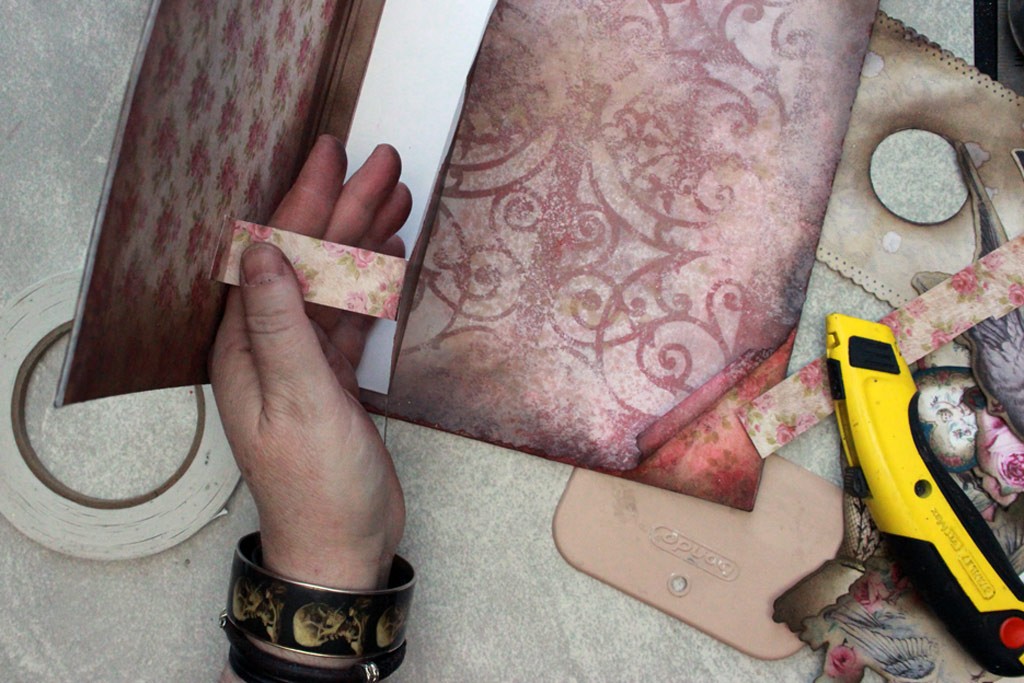
17. Fold the strip into a ‘Z’ shape, and add double sided tape to both ends of the strip, but on opposite sides of the paper:
18. Glue one end of the strip to the back of the Pop Up image:
19. Glue the other end to the back of the card, creating a support:
Once the straps are in place, the Pop-Up element will naturally ‘unfold’ as the card is opened, and fold flat when the card is closed.
20. Once the main Pop Up element is in place, go to town decorating the rest of the card!
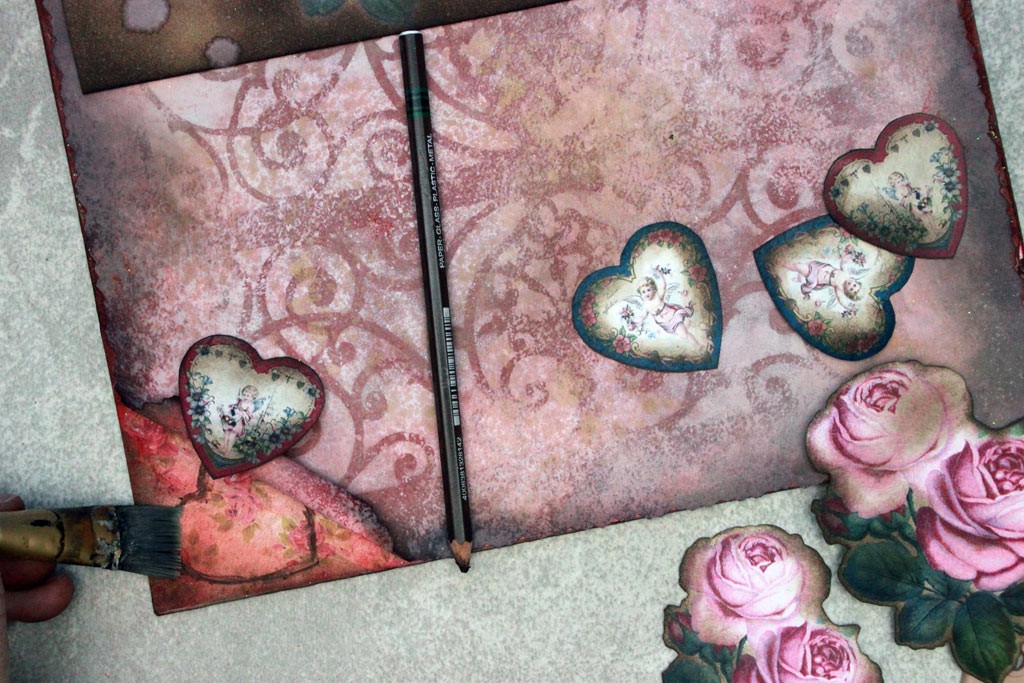
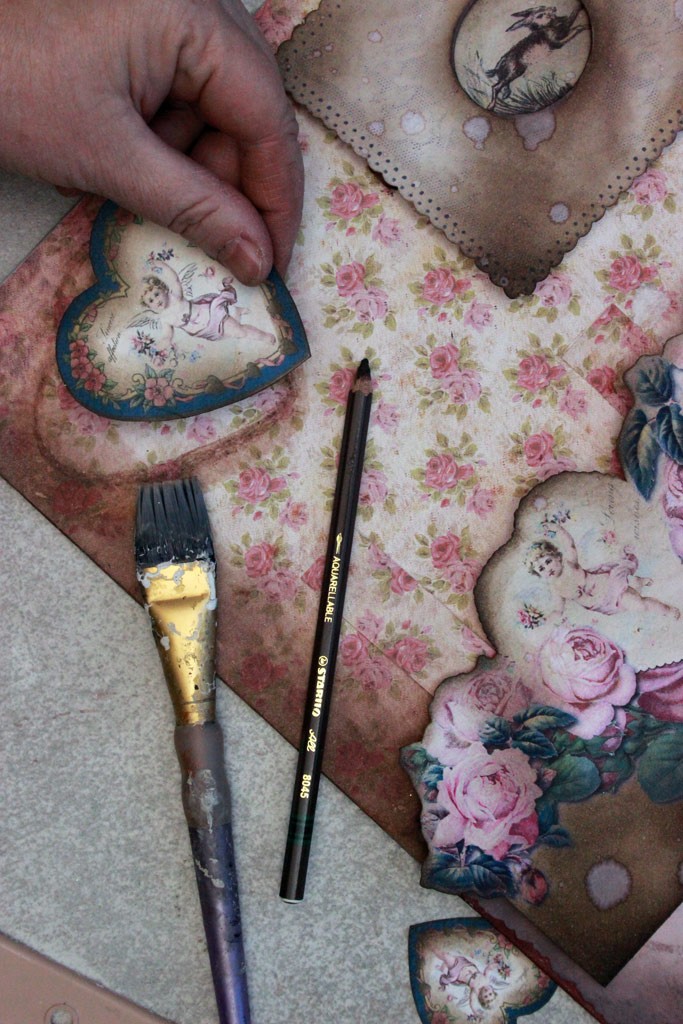
Here, I’m adding a ‘shadow’ layer beneath where one of the hearts will be glued. The Stabilo All pencils are wonderful for this…The brush is damp with water – this will blend the pigment to a soft shadow effect:
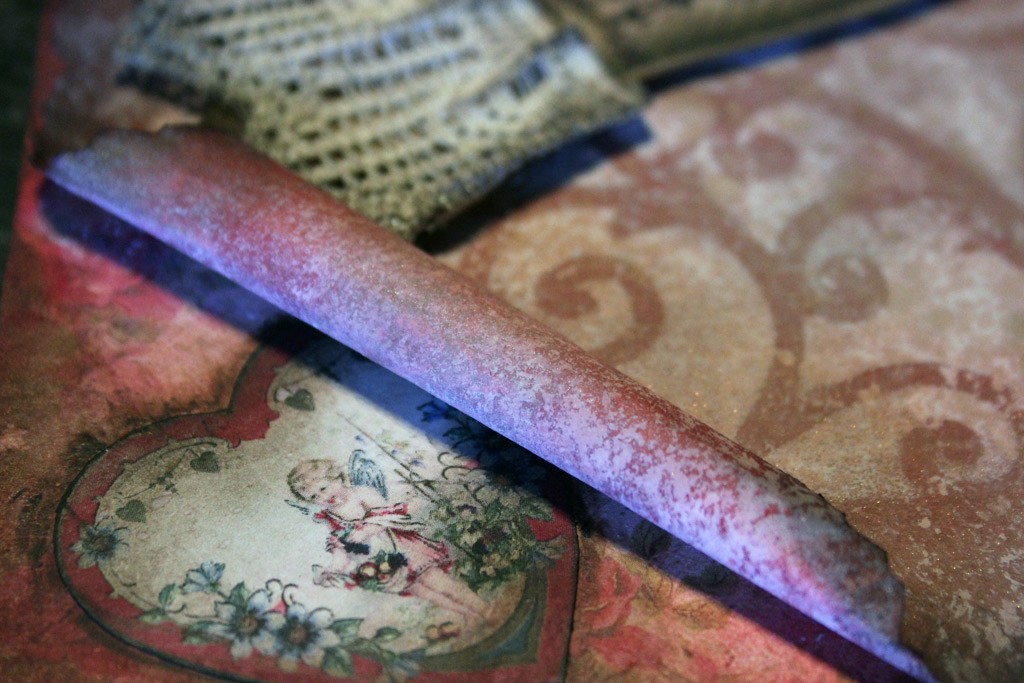
The ‘shadowed’ heart peeks out from beneath a rolled edge of paper:
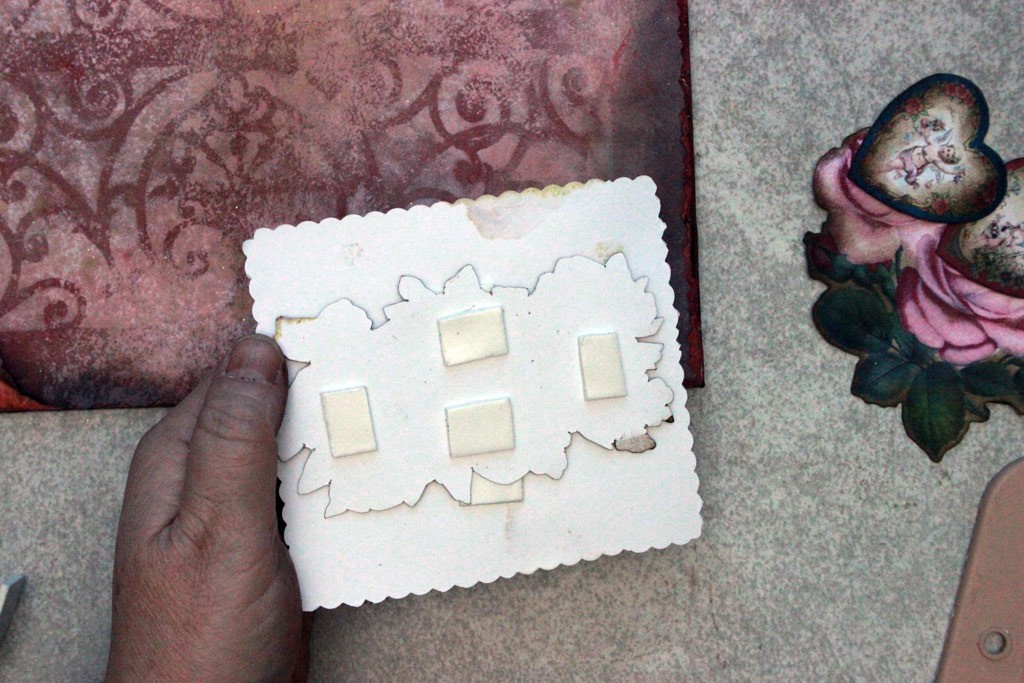
21. Continue to add your cut out elements. I like to use a combination of cut outs glued directly to the card surface mingled with elements raised up by foam tape:
Shadowing added behind some elements reinforces the 3-D effect:
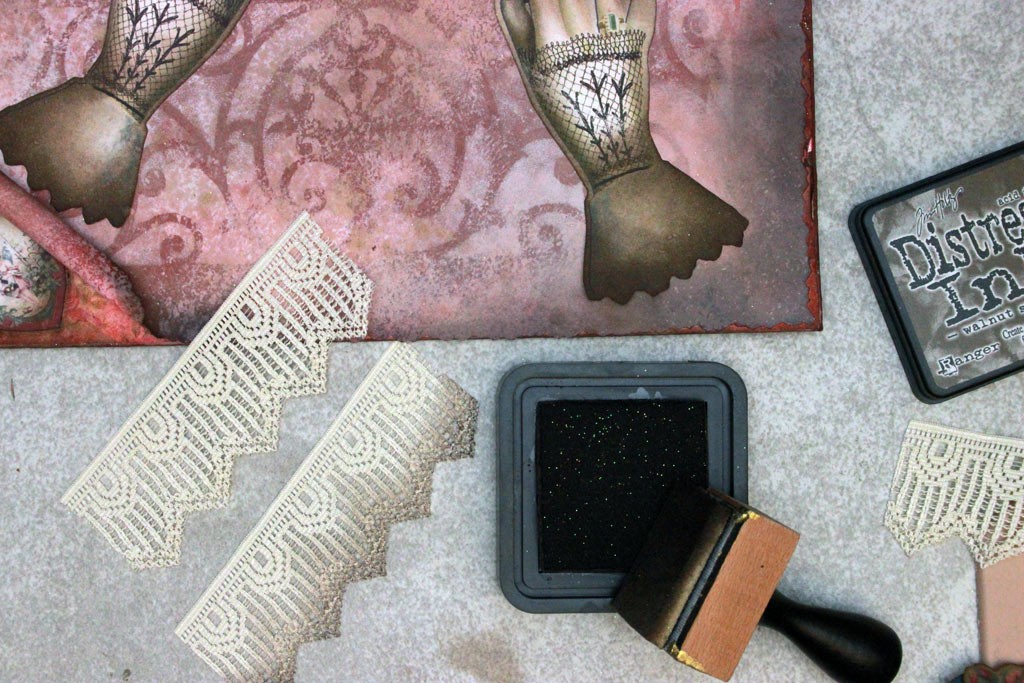
You can add scraps of lace, aged with Distress Ink. Here, I’m ‘aging’ lace to enhance the cuffs of the hands:
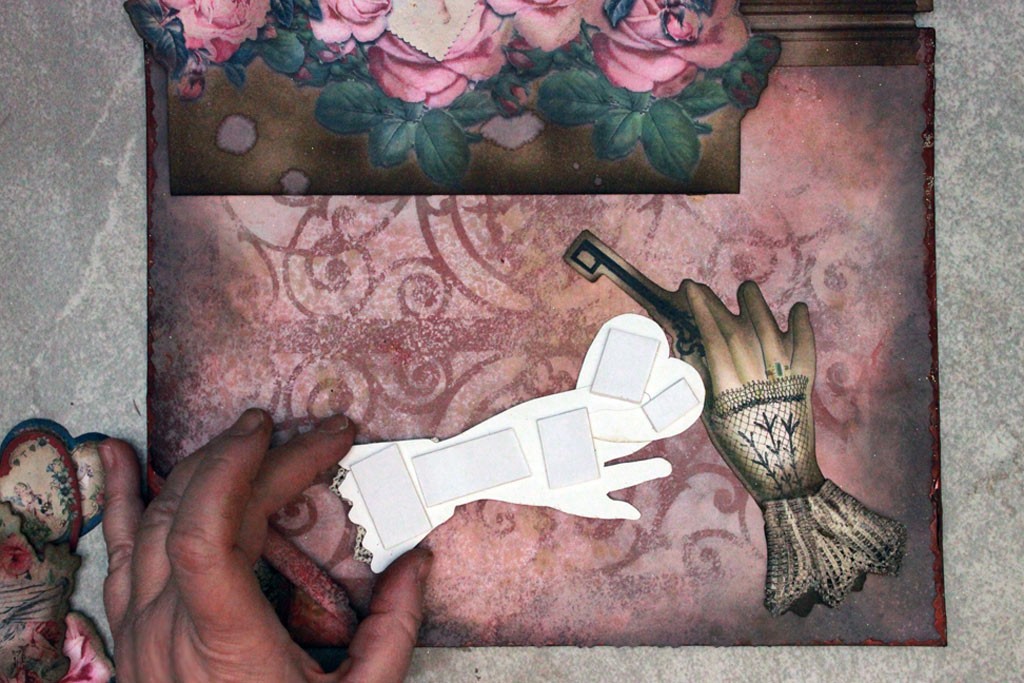
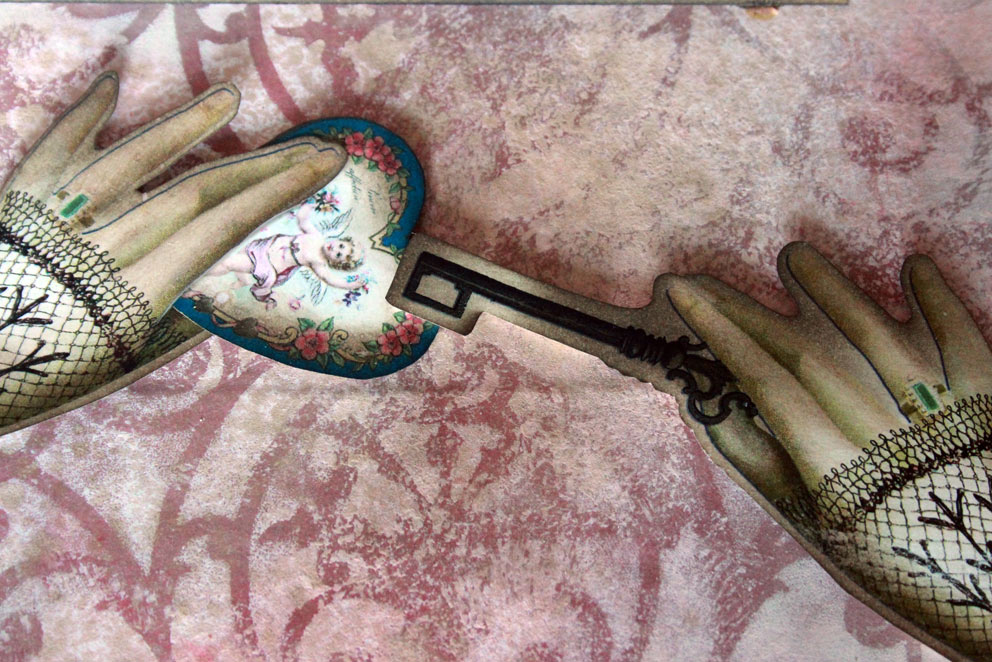
Elevate the most interesting cut outs on foam adhesive tape, like these lovely collaged ‘hand’ elements:
The effect is so charming when the elements are layered:
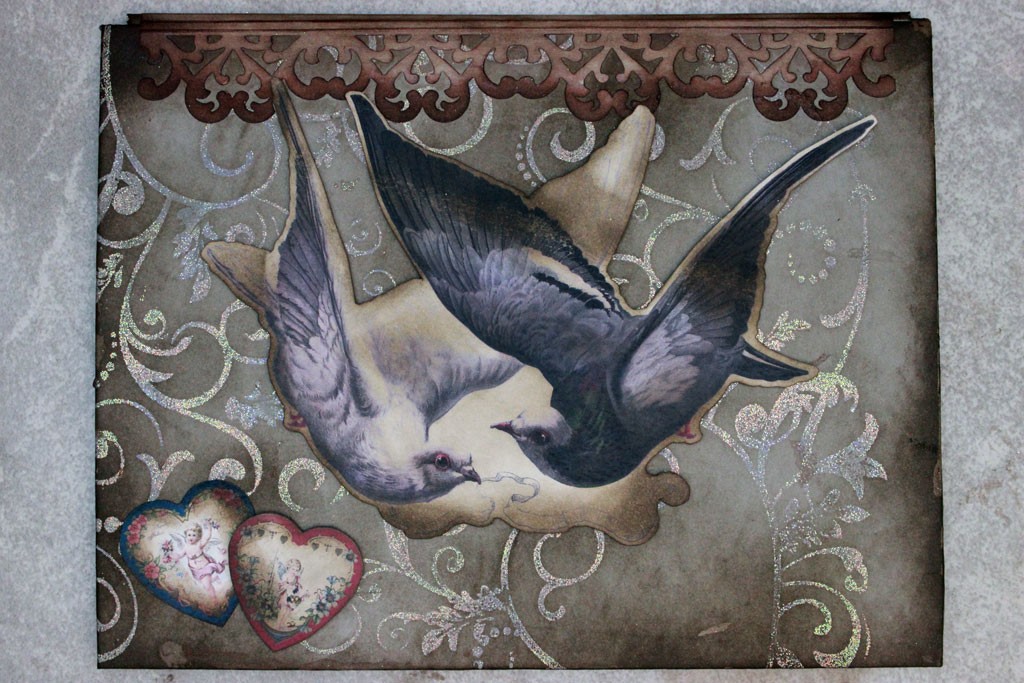
22. Decorate the front of the card to suit your taste.
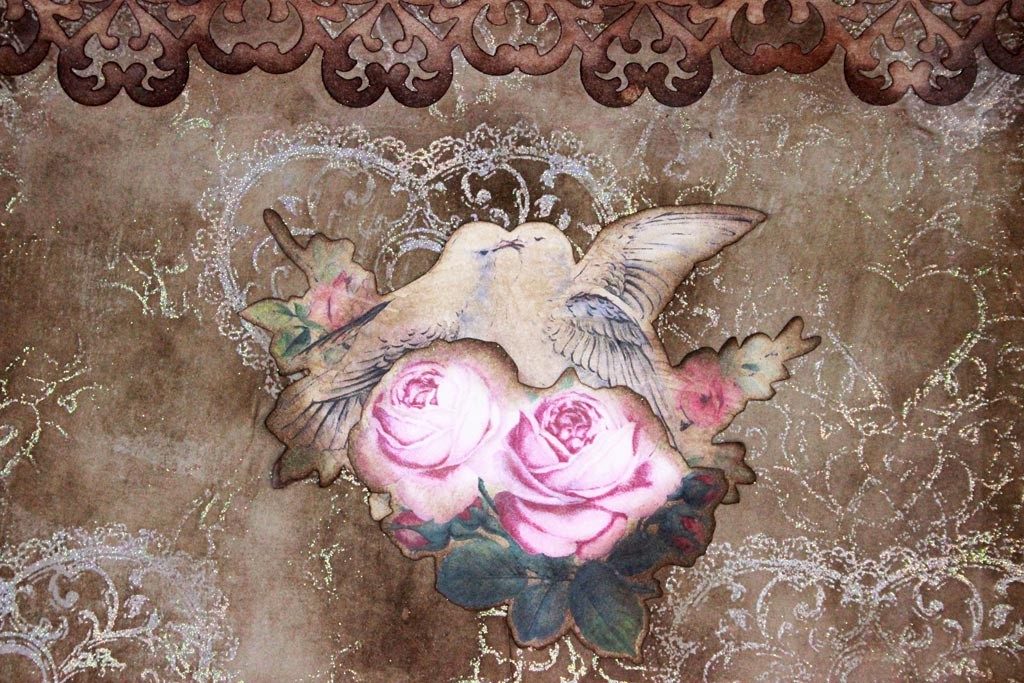
23. Do the same for the back:
Surprise your Sweetheart with this one of a kind treasure:
It’s sure to be cherished for years to come…
Thank you for visiting The Graphics Fairy today…It’s my hope that you enjoyed this project, and that you’ll make your own Vintage Valentine Pop Up Card!
Visit me anytime at Thicketworks, where there’s always a happy creative mess in the making!
Heather






cmt says
Beautiful card. Thanks for all the tips. Great motivator to give it a try.
Heather says
Hi cmt – thanks for taking the time to stop by and leave such a sweet comment! Hope you do try it, I had a blast making this card.
Poly says
Fabulous project Heather:) You are a lady after my own heart. I too am a premium member and have been able to complete numerous projects because of Karen and her team! Thank you for your very detailed description (with photos) of your project progression:)
Poly
Heather says
Hi Poly – the kits are an amazing resource. So fun to hear from you today – happy crafting!