Family Pets Junk Journal
Hey, everyone! Julie Rohrer of August Birdsong, one of our amazing NEW Junk Journal Design Team Members, created a fabulous Family Pets Ephemera Junk Journal for us this week. As you know, we feature one new Junk Journal project each week created by one of our creative team of artists. Our Design Team Members select from the 100’s of Vintage Image Bundles on our Premium Membership Site, for their creations, in order to show you beautiful ways to use those images. We hope you will be totally inspired by this series!
Therefore, please make sure you check out the video tour at the bottom of the page…please scroll all the way down to see it. Are you ready to be inspired? I will step out of the way and let Julie introduce herself, and tell you all about her lovely project…
 Hello Everyone! I am Julie Rohrer, aka August Birdsong on Instagram and YouTube, and I am so happy to bring you my first design team project for The Graphics Fairy. I chose to create a visual journal about pets since I have enjoyed the company of many animals throughout my life.
A Little about Me
I am not a trained artist, rather a former middle school English teacher. I discovered art journaling about seven years ago, but only began creating visual journals about three years ago. My art journals are a place for me to practice in all mediums, like paint, inks, stenciling, etc. while my visual journals tend to be theme-based mini-canvas collections that tell a visual story.
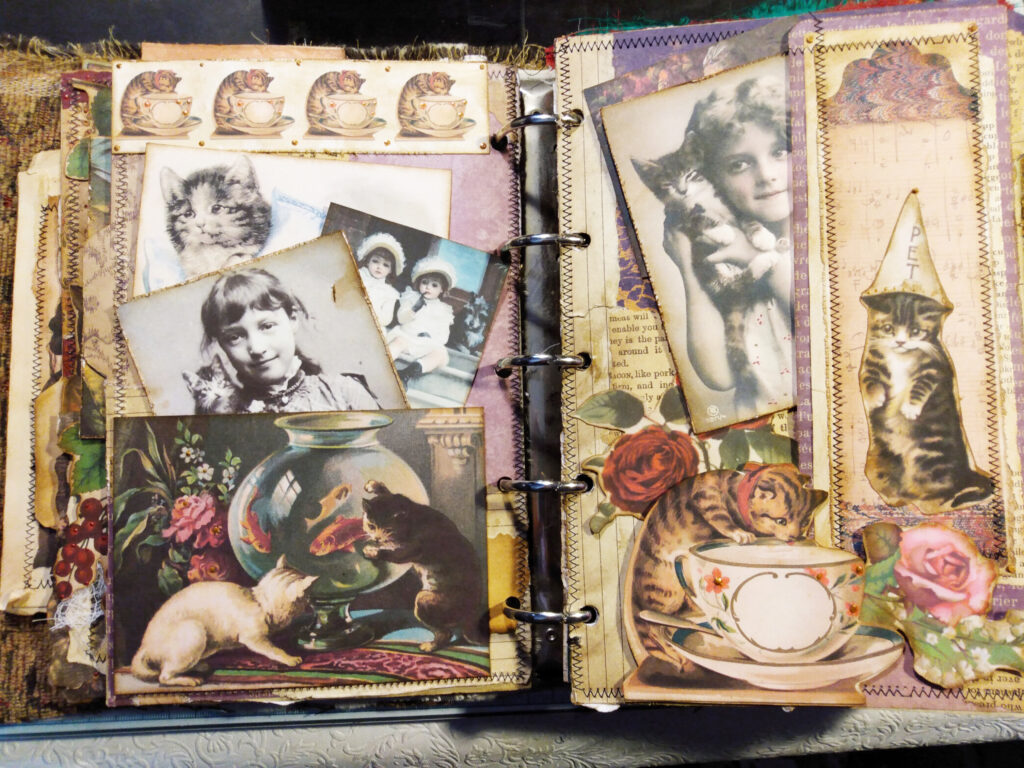 For this project, I chose the theme of pets because I have always had many pets in my life, mostly stray cats and rescued dogs, but even a rehomed cockatiel, rabbit, and a bearded dragon.
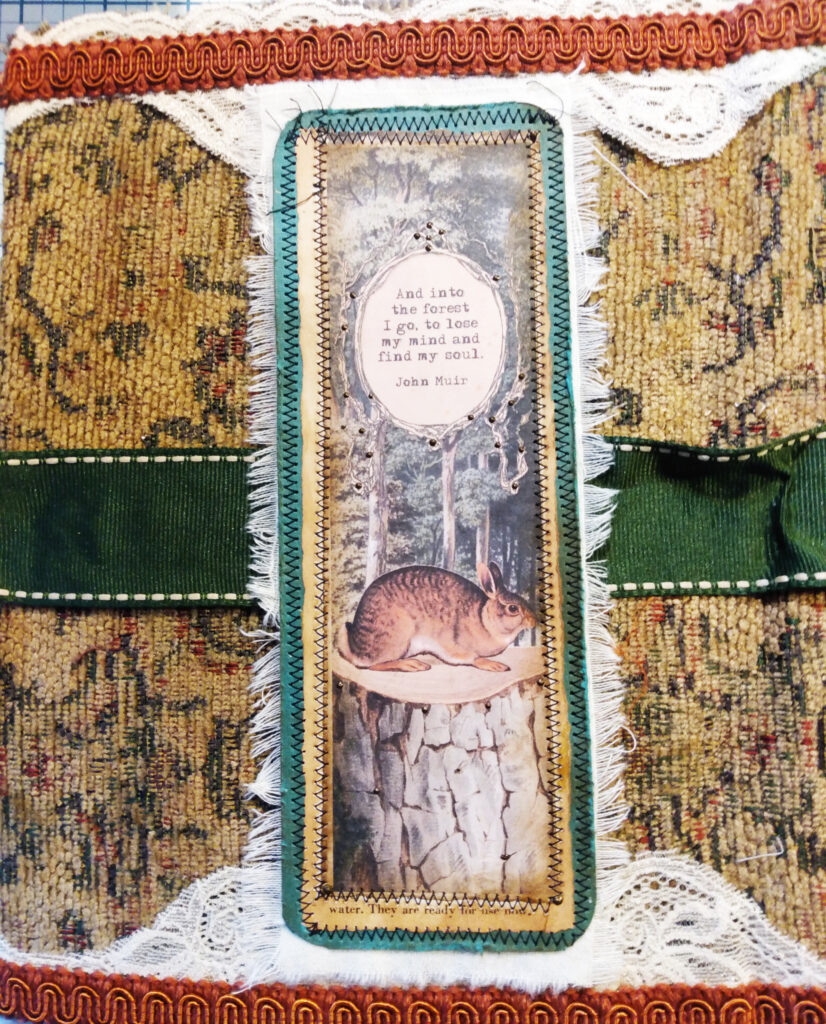 My approach to journaling is more about the visual elements and images rather than the pages for writing. Notice that I treat each page as a small canvas to capture my subject matter. I have added journaling cards to most pages as well; they are usually on the backs of the vintage photographs that are tucked in the pockets.
Almost everything you will see in my journal came from The Graphics Fairy Premium Membership website. You will find everything you need at the site to create your own journal or creative project.
So let’s take a look at more of the pages and then directions for how to make a visual journal like this will follow.
 These two pages focus on children with dogs. The vintage photo on the left is of a boy named Louis and his dog in the early 1900’s. I bought it at a thrift store years ago because the boy and the collie reminded me of my husband with his collie as a child.
 These two pages again reflect the joy of man’s best friend, with another springer spaniel picture on the right for my dog Napoleon. The young man on the right in the vintage photo is my great-grandfather, Emil Kuester, with his dog in the 1880’s.
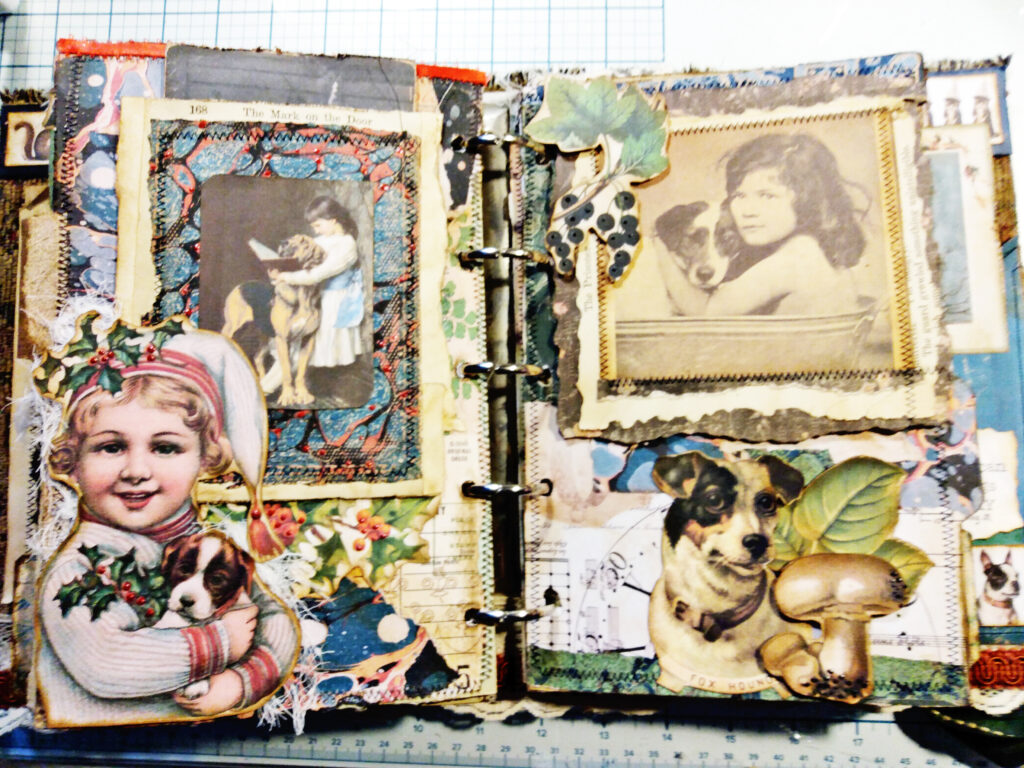 I loved how the dog in the vintage photo on the right looks just like the graphic image I used in the ephemera. Both were from TGF.
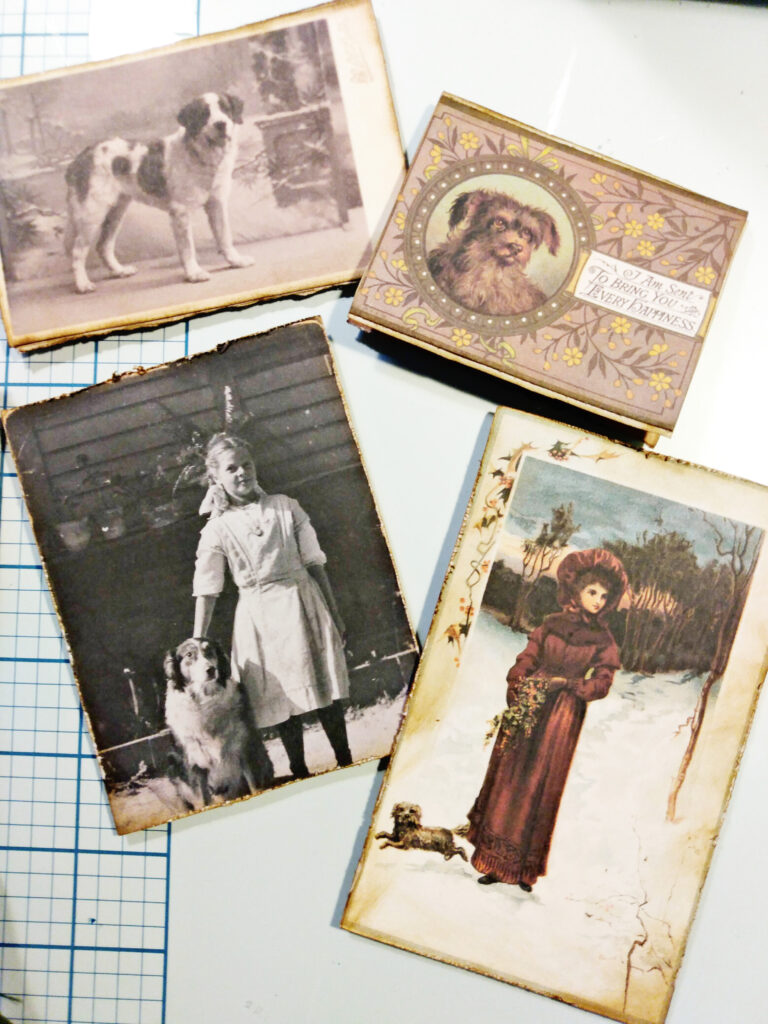 This copy of the vintage photo of the girl with the dog is my grandmother, Lillian Scholl, in about 1910. See how I put journaling postcards on the back sides of the photos.
On these pages, I made pockets with tuck spots for small journals.
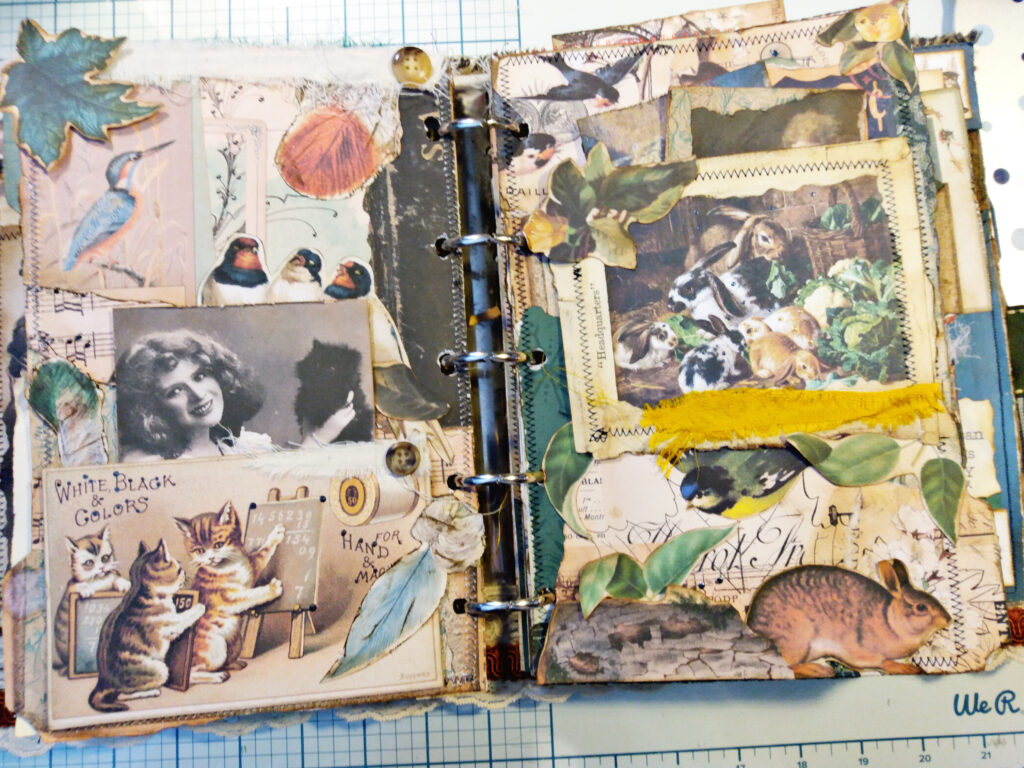 I have had several cats and parakeets in my life, and this card of the kitties at school got me thinking of how cats are always strategizing how to get close to birds, like the ones above the vintage photo. As a play on that idea, I added the feathers floating down. The bunny page is dedicated to my rabbit, Bun-Bun, who I adopted a number of years ago.
 The turtle page is a nod to my older brother’s desert tortoise, Peggy, who I grew up with, and who is about 80 plus years old. I have also rescued two turtles crossing the street, separate incidents (see my Instagram page for that story).
All the construction details follow after the video walkthrough!
FAMILY PETS JUNK JOURNAL SHOW & TELL VIDEO TOUR
Let’s take a tour of it together:
Construction Details: How to Make a Visual Journal
 First, I like to use an old vintage binder for this kind of journal. I have found several Better Homes and Gardens Cook Books and Garden Books at thrift stores and online used bookstores for under $5.00. I take out the pages and save them for collage or other paper crafts. I use the vintage dividers, 10 with this journal, for the pages.
Background Pages
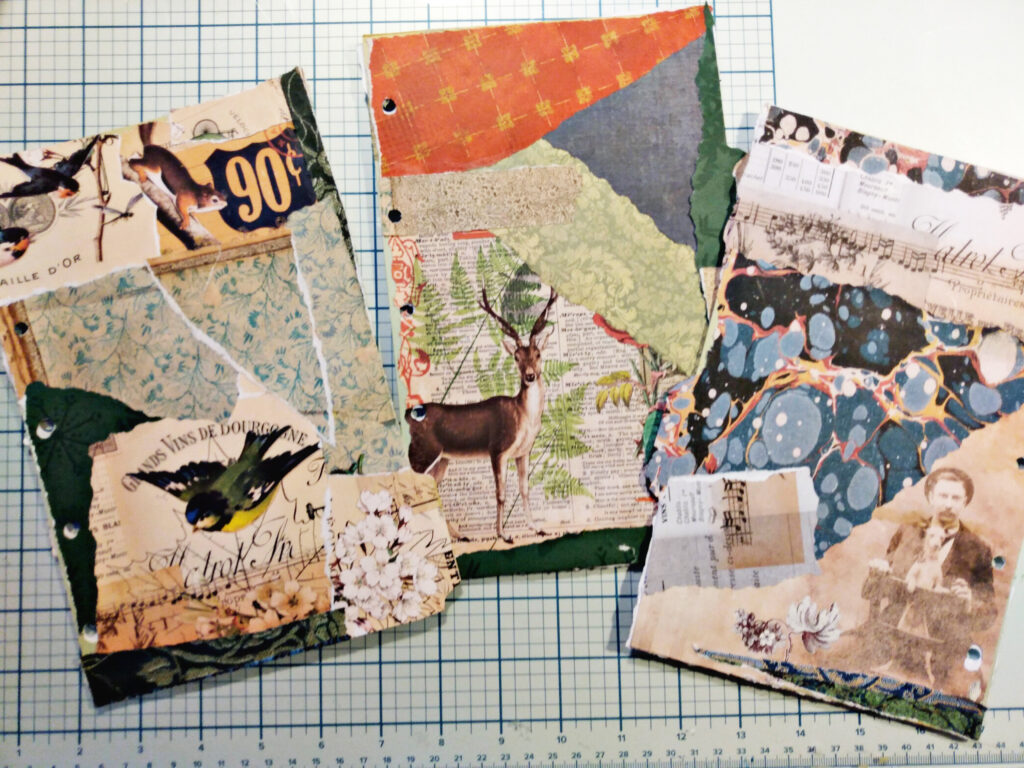 Next, once the glue was dry, I stitched around the edges. Then it was time to decorate the pages with images as well as pockets to hold the vintage photos and journaling cards.
Embellishments
I used sturdier cardstock when printing off embellishments for decorating and for making pockets. Some of the decorations came directly from the Printables section of TGF website. Other images, like animals, flowers, and ephemera, were copied and pasted from various bundles to a google document (see below) where I could resize them and make my own embellishments for fussy cutting and layering. When searching the Bundles, I used the filters to focus on topics like animals, pets, flowers, vintage photos, etc…to zero in on my topic of pets.
Once I cut the images out, I used distress ink in a soft brown to soften the look of the cut edges.
See how nice the images blend together in the layering. Some of the ephemera, like the apple and nuts, are raised using adhesive squares to create more depth and dimension. Cheese cloth was tucked in around those adhesive squares to add texture to the pages. Sari silk remnants were also used to add further texture and color to the pages.
Notice the little dog peeking out from the boy with the puppies (on the right). I raised the boy with those adhesive squares to create a small tuck spot for the dog card. The sleeping boy (on the left) is actually a pocket I created out of an ephemera image from the website. It’s actually very easy to add hinges behind the ephemera you want as a pocket or tuck spot.
How to Create a Pocket or Tuck Spot
First, I score some cardstock that will be mounted underneath the ephemera for the pocket. In this picture, I was making a corner tuck spot. I usually score 2-3 of the sides at one half of an inch. By scoring it, you can tuck the flaps under easily when you glue the tuck to the page.
Here, I have scored three sides of the paper for a traditional horizontal pocket. Next, you cut those scored areas at a slight angle, so the scored tabs will not poke out at the edges.
Now you can add the ephemera to the pocket and glue it in place with a strong glue.
The pockets are deeper because of those hinges you made by scoring the sides, so they can hold more journaling cards, pictures, or even a small journal.
Altering Ephemera
Notice the birds behind the journaling card (on the left) and the log by the bunny (on the right). In both cases, I altered those images to create more dimension on the pages.
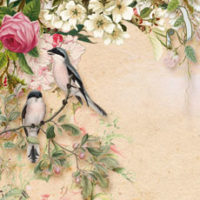
I cut the birds out and glued them to the page. Then I cut the leaves off the roses, and glued them beneath the birds like leaves on a branch they were perching on. Some dark pencil lines created the branch for the leaves.
In the case of the tree stump. I cut it vertically in half to make it into logs. I placed adhesive squares beneath the log by the rabbit, so it would appear that the bunny was slightly behind the log. This creates depth and even a sense of movement on the page.
With the turtles, I wanted to create the feel of them sunning themselves by the pond, so I angled the logs and placed leaves strategically on adhesive squares to disguise the “floating” logs. Remember, you’re creating the illusion of the pond and logs for the viewer; they don’t have to be logically placed. You just want to trigger a memory or connection for them.
My final alteration of ephemera includes using an exacto knife or scissors to cut a thin line for ephemera to be inserted. If you look at the suitcase (on the left), you’ll see that I cut the slit so that the animals appear to be popping out of the suitcase. I prepped the suitcase, glued the two dogs and cat in it. Then I layered up other images behind the suitcase, mounting them before I placed the suitcase on the page with adhesive squares. Note: I also cut the little hat off the kitten and glued it to the bigger cat’s head just to add more whimsy to the page.
Decorating the Binder
When I covered the old binder, I first glued down some soft flannel; I added this for some padding, but it’s an optional step in the process. Next, I covered the inside and outside of the binder with some brocade fabric I had on hand. The lace was added to further enhance it.
Inside the Cover
Inside the cover, I glued in two pockets. In the back cover, I added decorated envelopes with photographs of many of my pets. Note that I also added some lace to the bottom of the binder to disguise the edge and then added the rust colored trim as well.
The Outer Cover
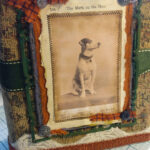
For the front and back cover, I added lace and trim as well as the green ribbon for tying the binder closed. The back cover image was created using a bookmark from The Graphics Fairy site. The front cover image was built up on a die cut base with layered papers and textiles.
Creating the Cover Focal Point
Using the kraft side of two die-cut cereal boxes, I measured and taped them together to fit the vintage photo after I distressed them with some ink. Then it was just a matter of layering the image with some sari silk remnants and glueing the focal image to the binder.
So that’s it! Remember that any of the techniques I showed you could be used for other craft projects, like cards, soft-covered journals, or canvases. Maybe it’s because I am a former teacher that the vintage binder is my favorite foundation for creating. But whatever project you choose to do, have fun playing with the papers and embellishments you can easily find at The Graphics Fairy.
Elements from the following Graphics Fairy kits were used:
- Antique Sheet Music 1 & 2
- Beautiful Birds
- Birds and Nests
- Blissful Blossoms
- Botanical Fruit
- Cabinet of Curiosities
- Cardinals and Canaries
- Delicate Endpapers
- Dog and Cat Antique Scraps
- Fall Colors Ephemera
- Forget Me Not
- Holiday Fruit and Flowers
- Instant Ancestors
- Le Champignons
- Le Chien
- Marsh Song
- Masculine Elements
- Peacock Hues
- Rich Marbled Endpapers
- Romantic Roses
- Snow Birds
- Spring Meadow Endpapers
- Take Flight
- Victorian Scrap Roses
- Winter Birds
- 1700’s Sheet Music
Happy crafting!
Julie
Check out the Graphics Fairy Premium Membership Site HERE!
