How to Make a Bow out of Wrapping Paper
Hello Graphics Fairy friends! Diana from Dreams Factory here, today I will show you how to make a Bow out of Wrapping Paper! This is simply perfect for embellishing all your presents in a stylish way, no matter the occasion, whether you are wrapping a Birthday gift, Christmas Present or Wedding gift. Obviously, we will be using regular wrapping paper to create one of the bows, but I’m super excited to share with you a secret to substitute wrapping paper with great results. We could call this a quick and easy faux gift wrap, after all it’s all about discovering unique ways of experimenting and creating personalized things on our own terms.
We’ve updated this post with a second printable for Christmas! Be sure and scroll down to see the new version.
I’m guessing you are already wondering what’s the deal with this faux wrapping paper, right? Well, I’m ready to share the secret!
I initially thought about using regular paper (that’s why you can see it in the supply list image) and then turning it into faux vellum using this technique, but then tracing paper came into my mind, and I decided to give it a try. So our faux wrapping paper is actually tracing paper! So cool right? I find tracing paper to be the closest to a good quality wrapping paper when it comes to the first visual impact, so I thought it would be a great substitute for our project.
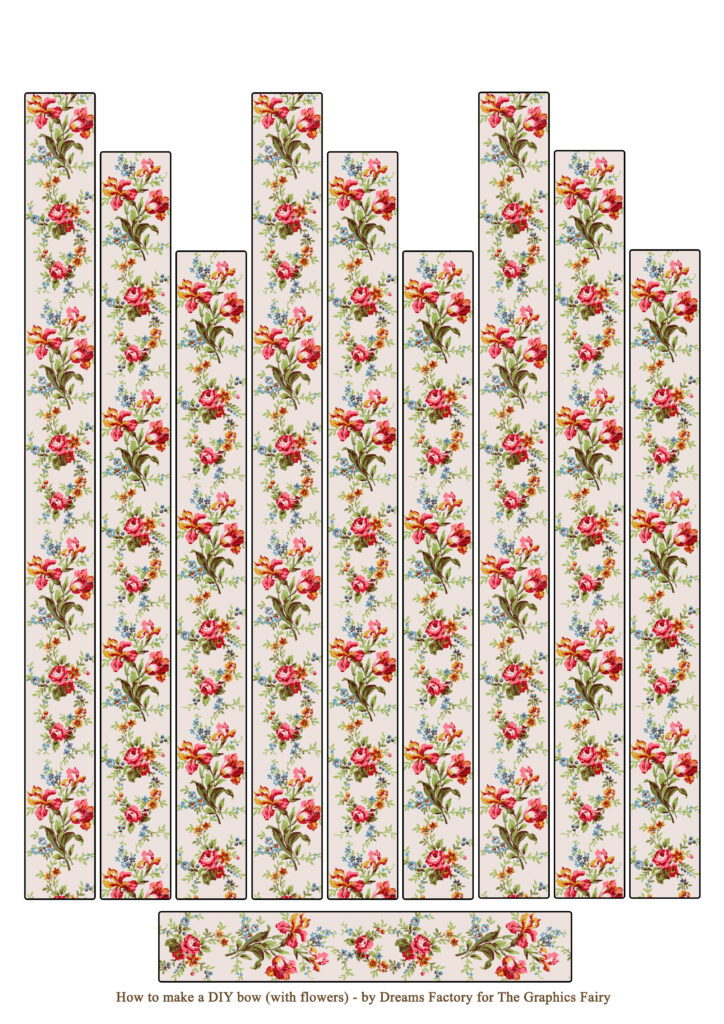
I’m sharing this absolutely amazing printable with gorgeous flowers so you’ll be able to create this paper bow in no time using the faux wrapping paper that I mentioned earlier. I’ve created the design using one of the images from the Premium Membership site which is like a dreamland for crafty people like you and me, filled with vintage images, bundles, handcraft and digital tutorials, one more intriguing than the other. The flowers that I used to create the strips for the bow are actually a cutout from a larger wallpapery image from The Lacemaker bundle and when I saw them … I knew they would be PERFECT for our chic project! If you love this gorgeous design with flowers that I created for today, you can simply print the predesigned strips on tracing paper (our faux wrapping paper), then use them to create the bow.
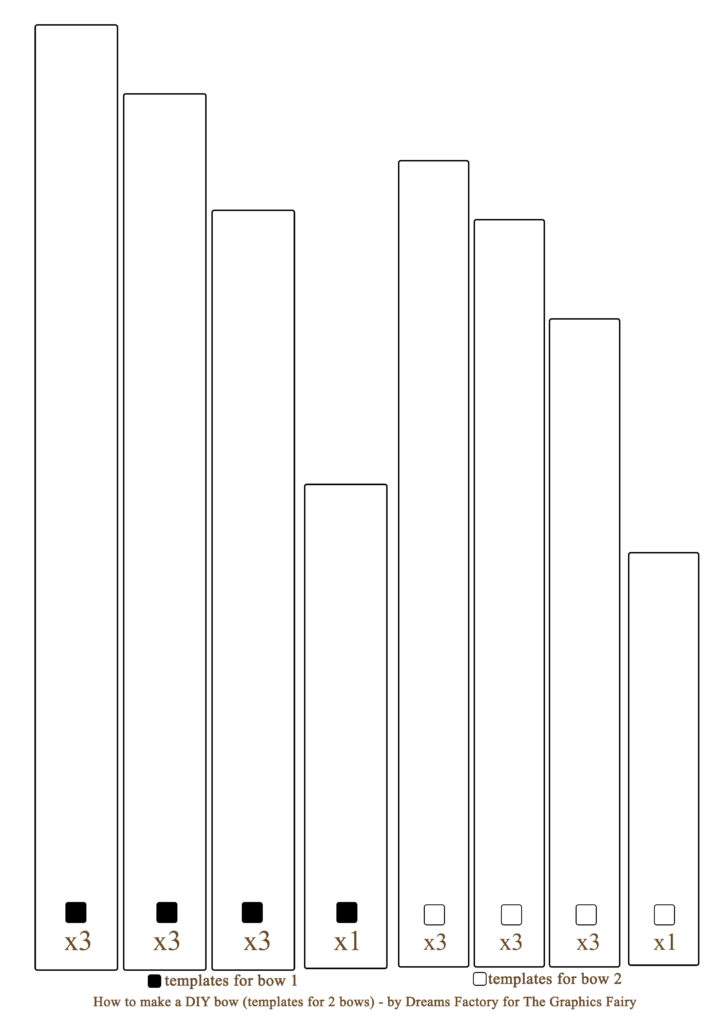
Of course, you can try this technique with regular wrapping paper, especially if you have one that you love! I’ve actually created a template with the strips needed to create 2 different-sized bows, if you prefer using regular wrapping paper. You will need to print the strips templates on cardstock paper first, cut them using your scissors, then trace them on regular wrapping paper.
You will see that whether you use regular wrapping paper or faux wrapping paper, once you have the strips, the assembly part is basically the same.
Free Pattern and Printable Wrapping Paper Strips
—> Click here to download the full size PDF – the predesigned floral strips <—
—> Click here to download the full size PDF – the templates to make your own strips <—
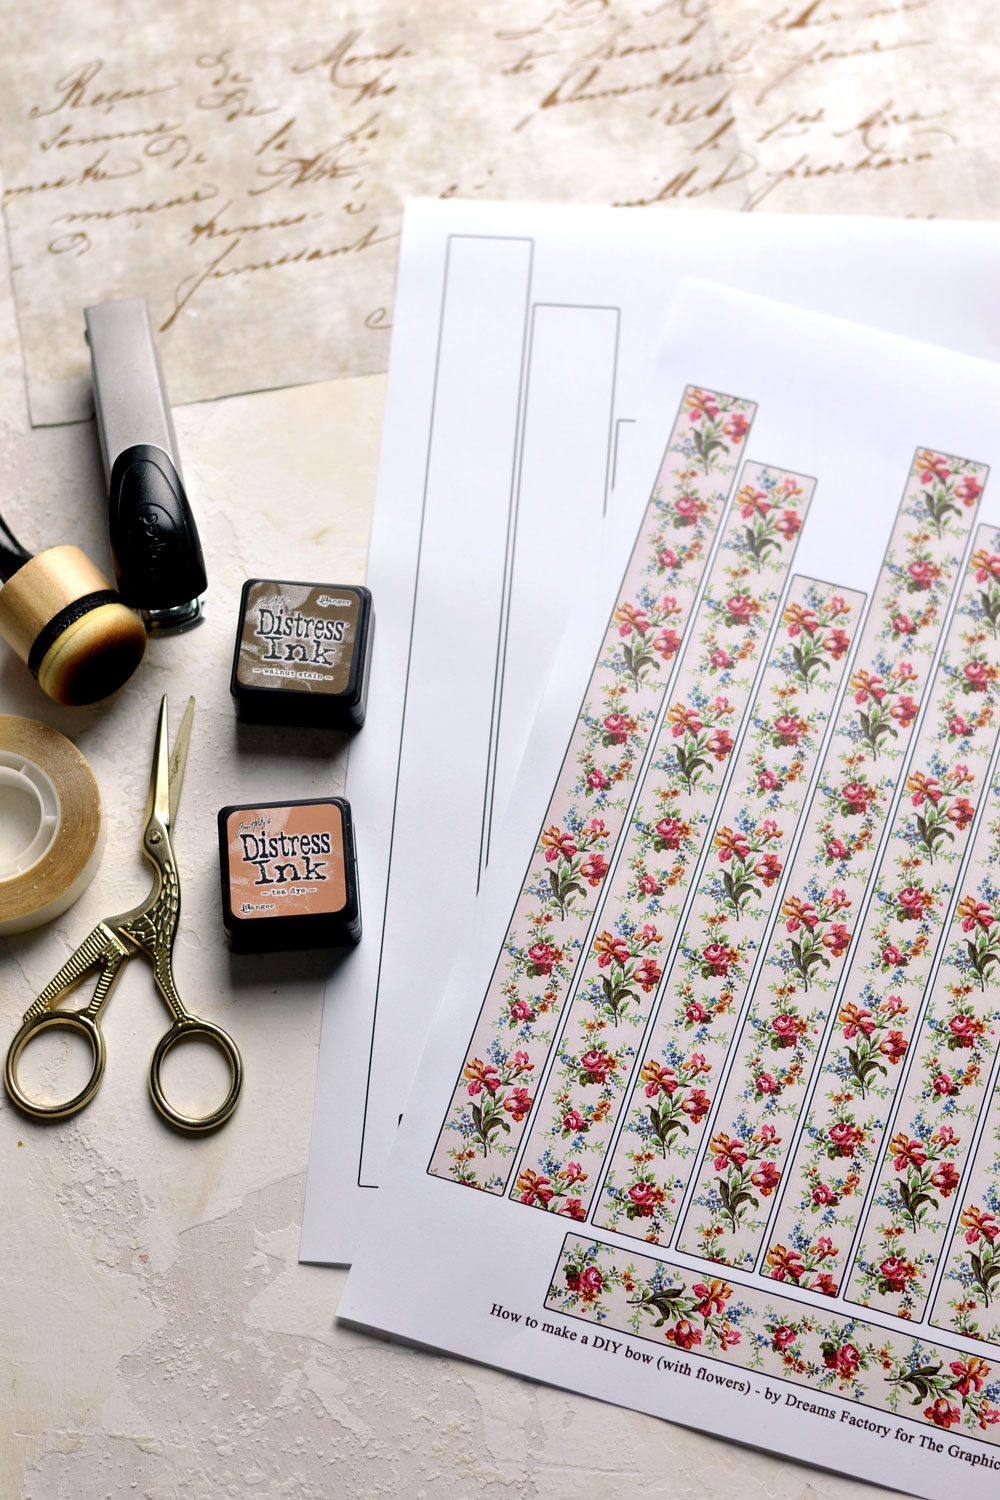
Craft Supplies for DIY Wrapping Paper Bows
- regular wrapping paper (use your favorite)
- cardstock paper
- tracing paper (as a substitute for regular wrapping paper)
- laserjet printer or inkjet printer
- scissors
- mini distress ink – I used Tea Dye
- blending tool with foam (I prefer the domed one)
- stapler (preferably a small one)
- double sided tape
How to Make a Bow out of Wrapping Paper Step by Step Instructions:
TRACING AND CUTTING THE STRIPS OF PAPER – USING REGULAR WRAPPING PAPER
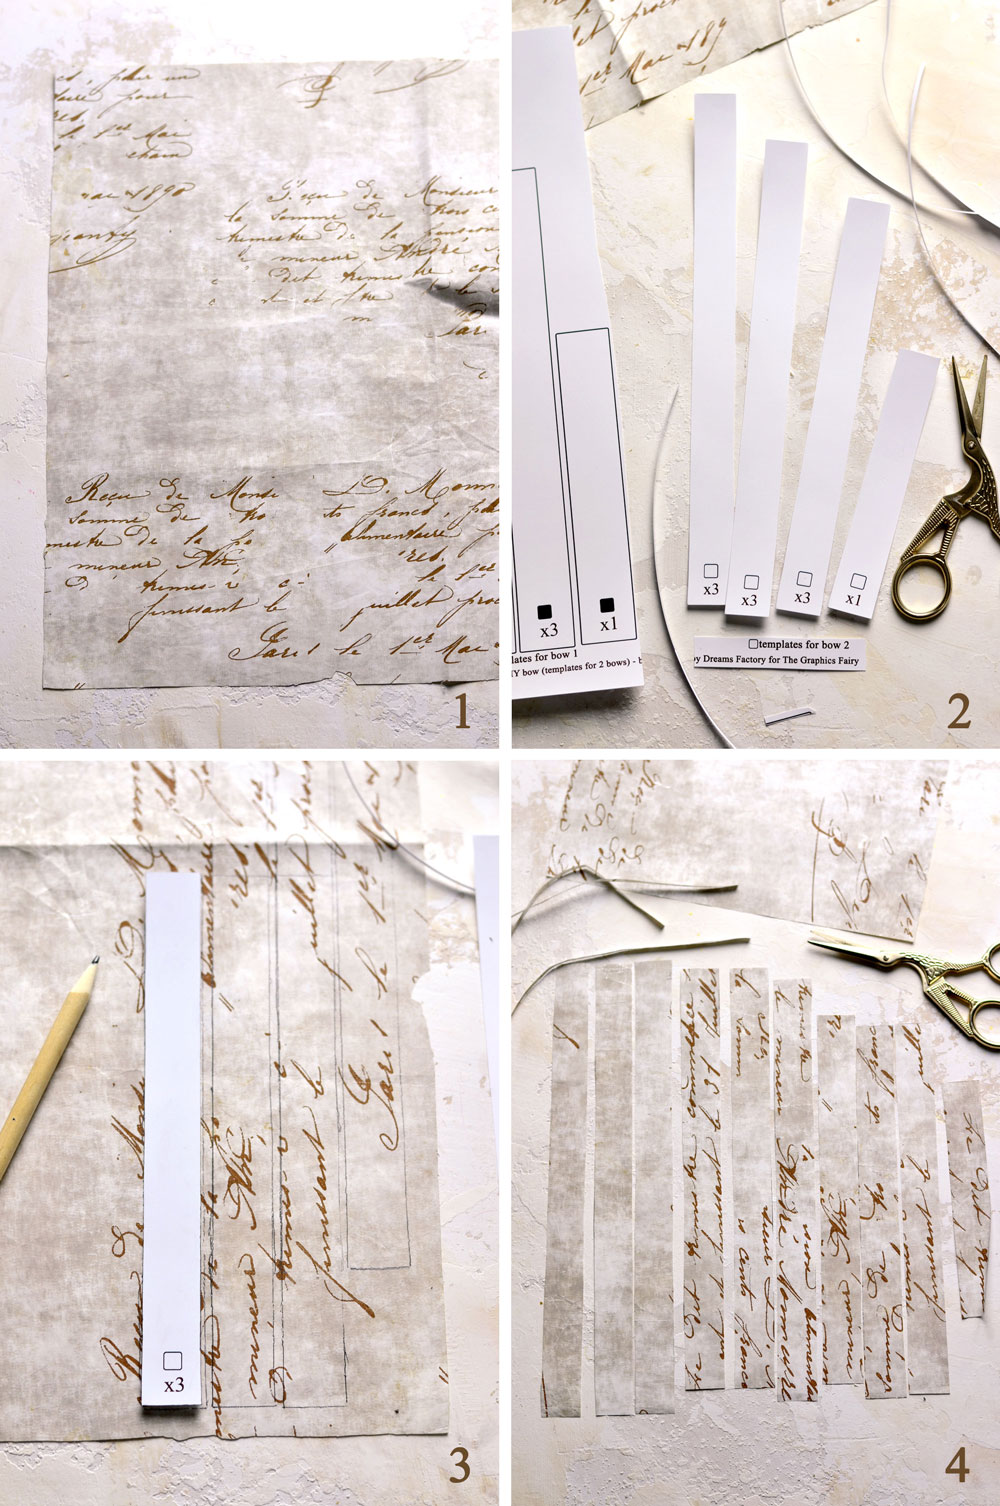
If you are using regular wrapping paper, just use your favorite! I know sometimes it’s hard to find one that you truly love, but I actually had one I bought a few years back with this beautiful French ephemera script … from The Graphics Fairy. I know, what are the chances, right?
1. Raid your wrapping paper stash and decide on one that you would love to use.
2. Print your bow templates on cardstock paper and choose the larger or the smaller set of strips (the squares on the templates will help you identify/differentiate the 2 bows at all times). I cut the smaller strips (the empty squares) to create the smaller bow.
3. On each of the templates there is a number that will point to how many strips of that size you will need. Use a pencil and trace all the strips on wrapping paper. No ruler needed!
4. To create one bow, you’ll need to have 3 of each: large, medium and small strips, and 1 separate smaller strip!
The technique for assembling the bow is the same, no matter the paper you are using!
CUTTING THE FLORAL STRIPS – USING FAUX WRAPPING PAPER
1. Print the predesigned floral strips that I created for you on tracing paper (our faux wrapping paper).
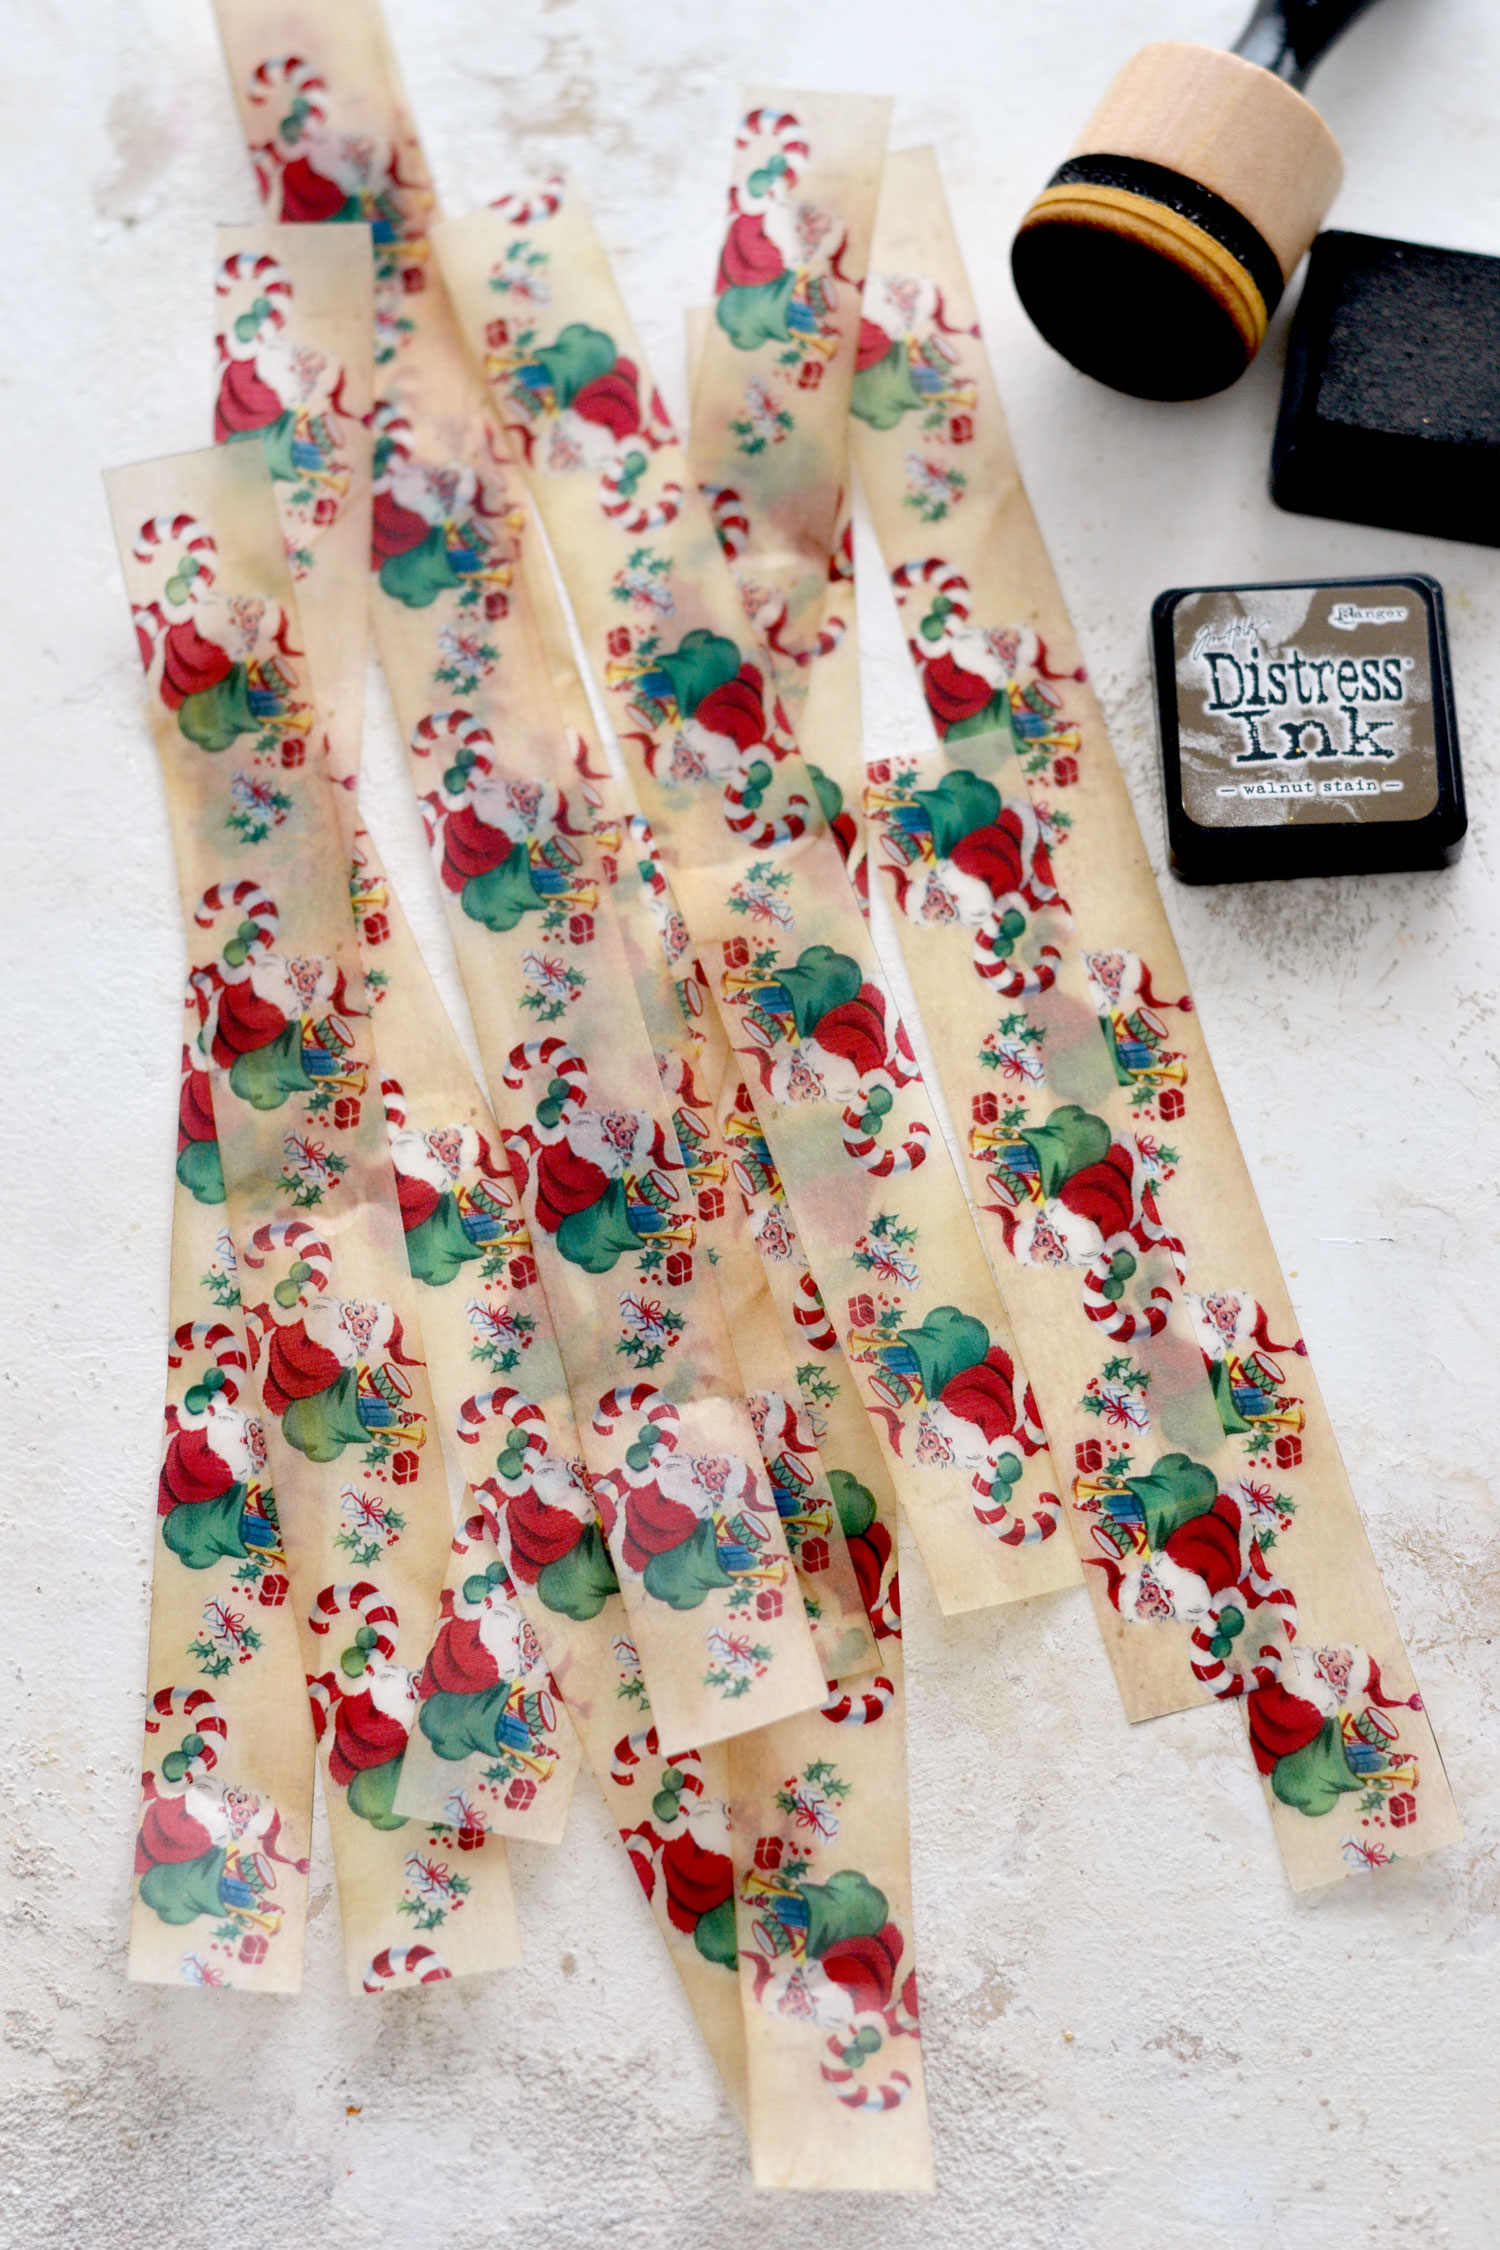
2. Use your scissors to cut all the strips – cut inside the black border and remove it completely. To create one bow, you’ll need to have 3 of each: large, medium and small strips, and 1 separate smaller strip! Use distress ink and lightly distress the edges if you want to give the paper a vintage feel.
Place your strips on the table and group them according to their size – it’s so much easier if you have everything organized like this for the next steps.
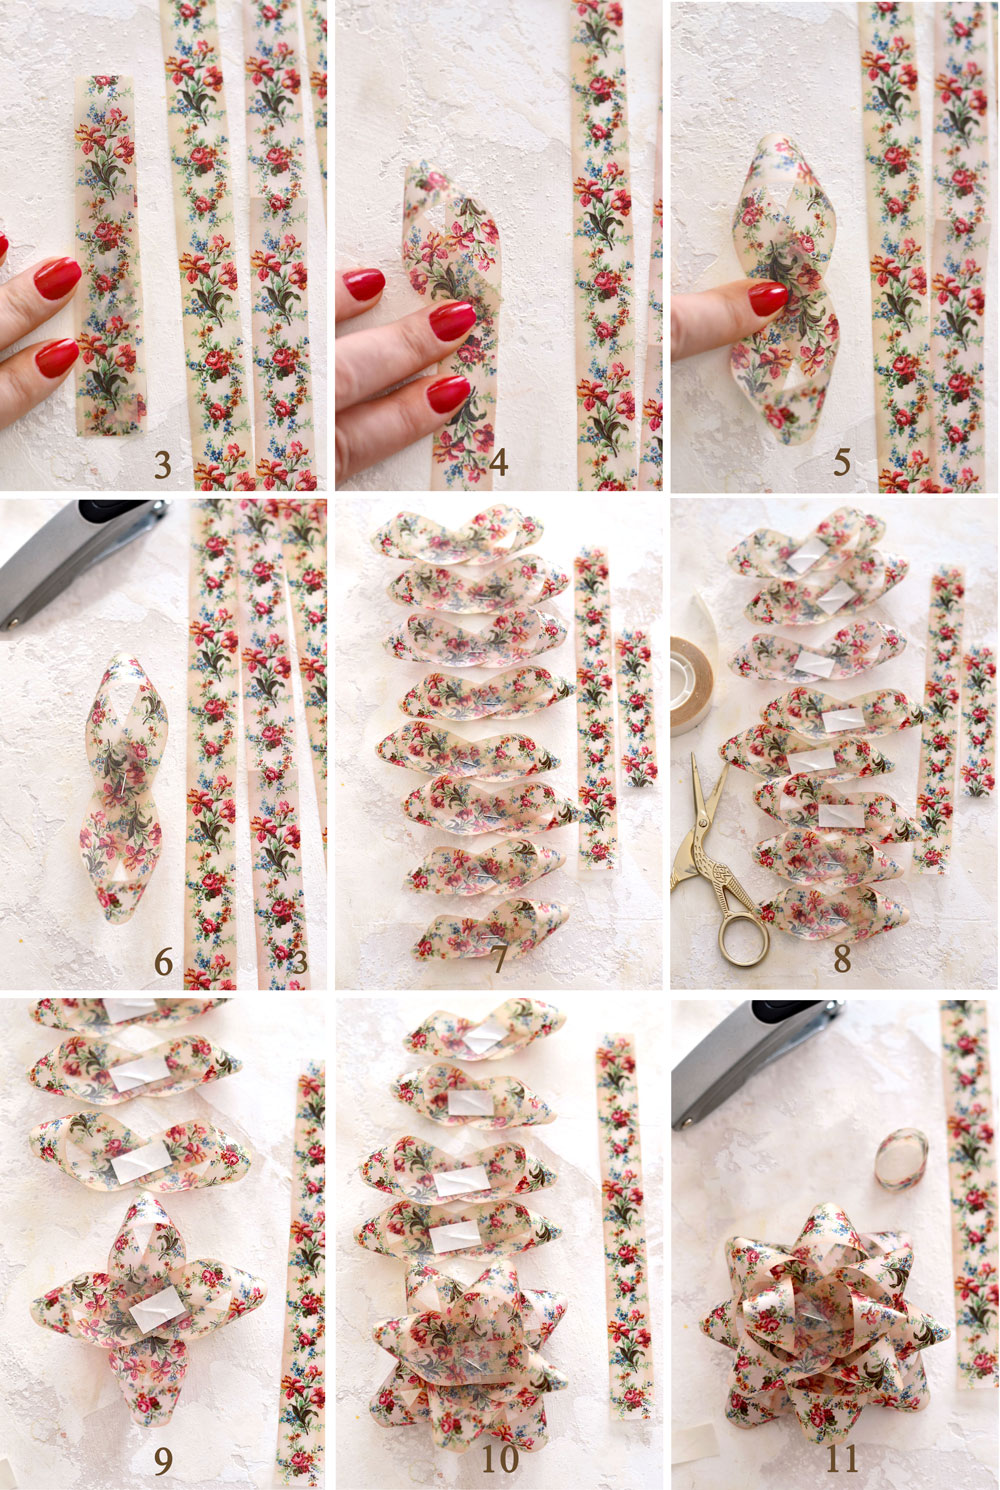
To create the bow, we need to turn all 3 large, 3 medium and 3 small strips into eight-looking loops – I like to call them infinity signs, so let’s just go with that! We need to turn the 1 separate smaller piece into a circle.
3. Fold one strip in half, press it with your fingers to create a crease in the middle, then unfold it.
4. Take one of the ends and bring it towards the middle. When you reach the middle, twist the end once to create a loop, then press it in the middle of the paper and keep it in place with your fingers.
5. Carefully rotate the strip and create another twisted loop on the opposite side. The two ends need to slightly overlap in the middle to create a more or less perfect infinity sign!
6. Staple the two slightly overlapping ends in the middle using a small stapler.
IMPORTANT! Depending on the type of paper you are using, you might not need all the strips to create one bow! Leave one of the three small strips and the really small one unfolded for now.
7. Follow the same steps (3-6) to turn each strip into an infinity sign (except for the two mentioned). I actually found it easier to fold, flip and staple the strips while holding them in my hand and not on my table, just see what works best for you.
8. Cut a piece of tape (I used double-sided tape) and place it in the middle of each infinity sign, right over the staple.
9. Start to assemble the bow using 2 of the large pieces and create a plus sign, gradually working your way from the large ones to the small ones.
10. Remove the top of your double-sided tape only after placing the next infinity sign on our assembly and pressing it really well. Add the infinity signs on top of each other – the idea is to always create this sequence: a 90-degree angle (our plus sign) followed by a 45-degree angle with the previously added piece. Repeat this 90-degree & 45-degree sequence until you get to the last two strips that we’ve been saving unfolded.
11. Depending on your paper, you might not need the last piece from the 3 small strips. The space on top will get narrower as you add the infinity signs and this piece will be really difficult to squeeze in. If this is the case, just leave it out and use it for something else.
As a last final thing, fold the 1 smaller piece into a circle and make a few tests to see how it fits in the middle of your bow. Cut the excess paper (if necessary), then staple and adhere it to your bow.
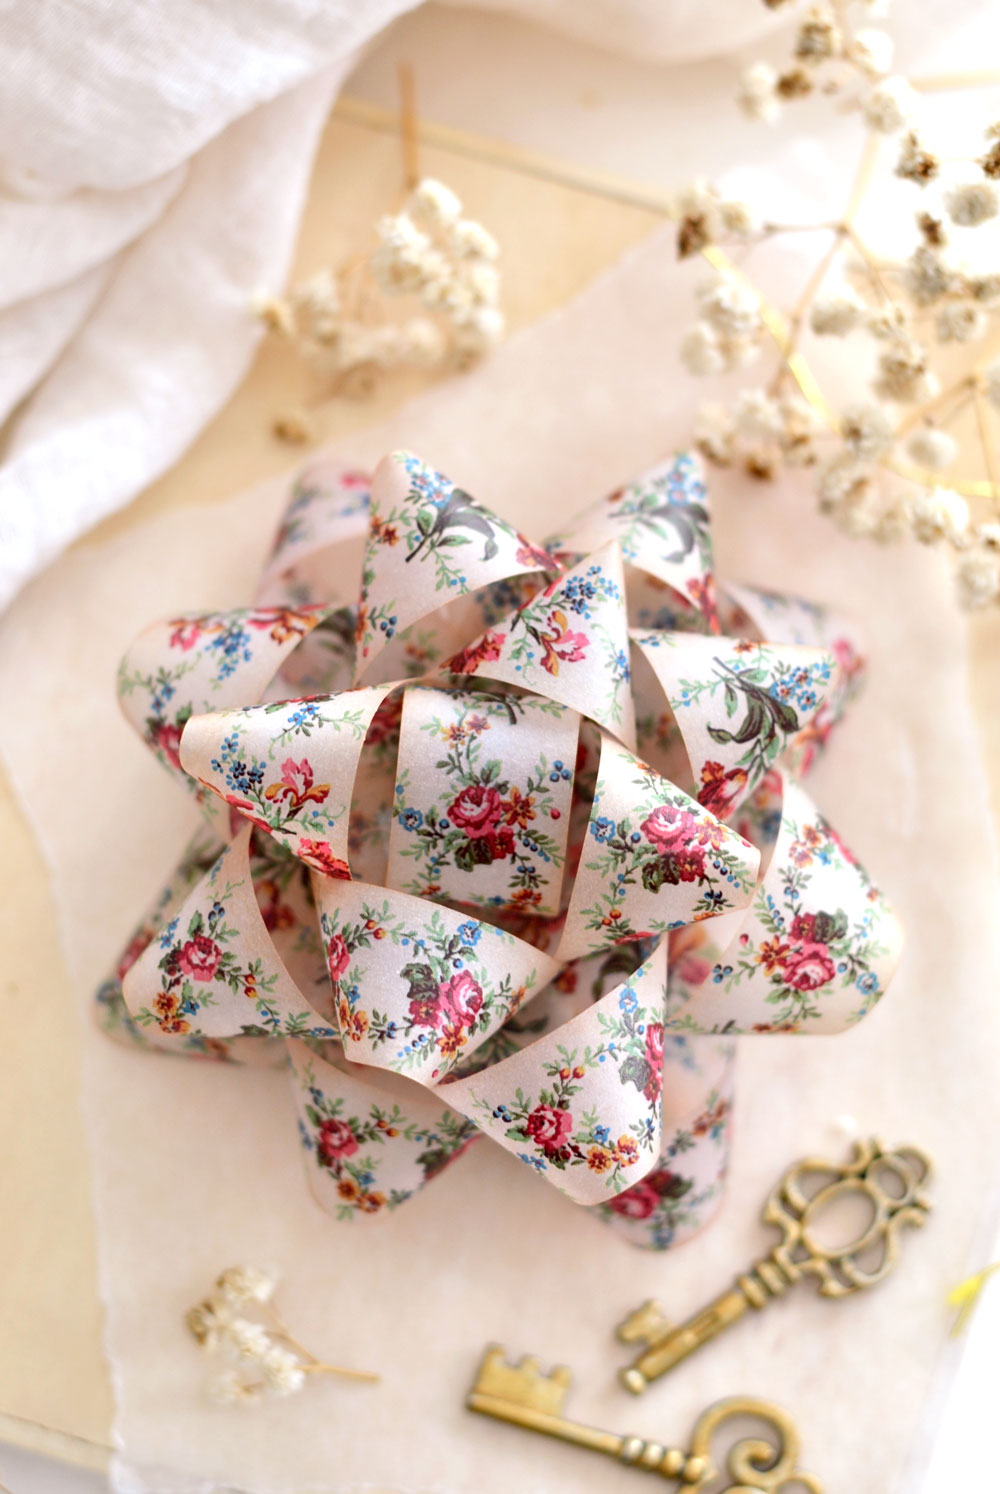
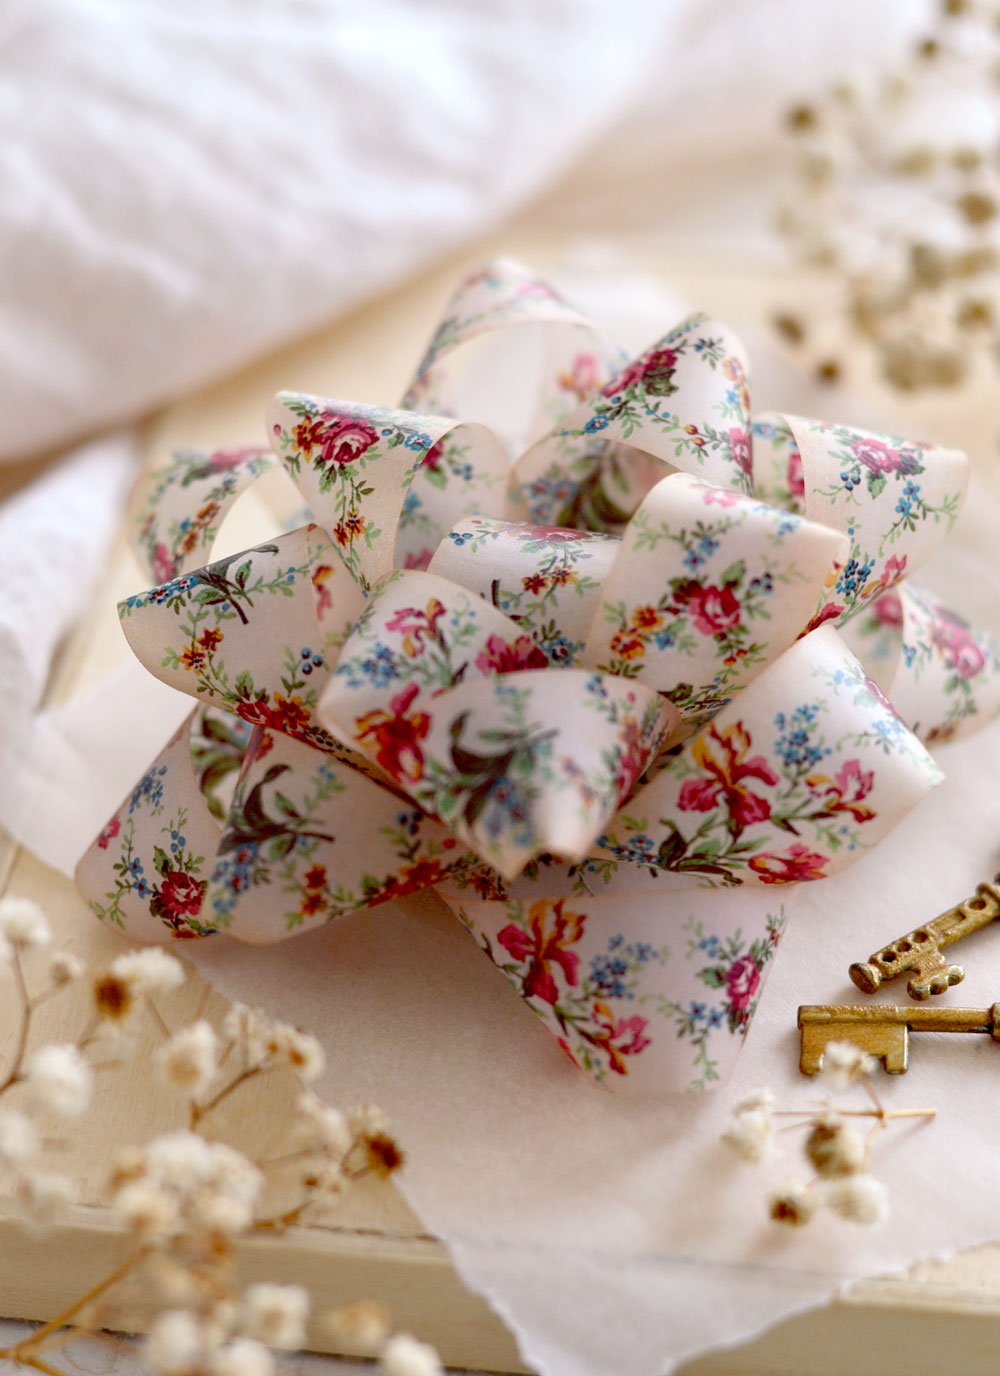
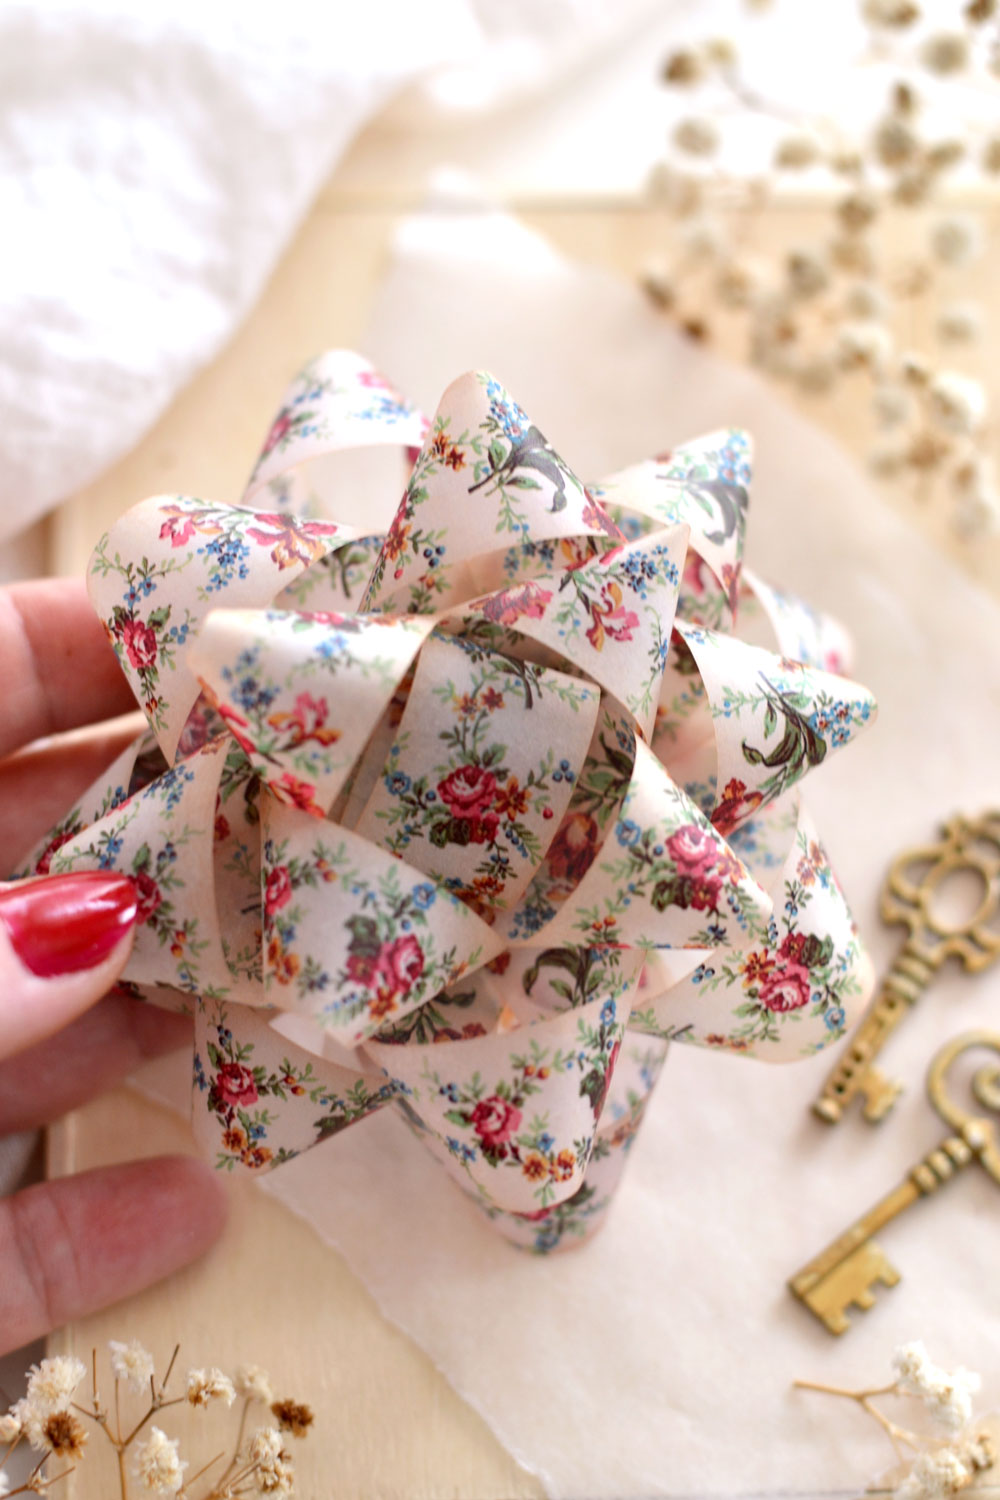
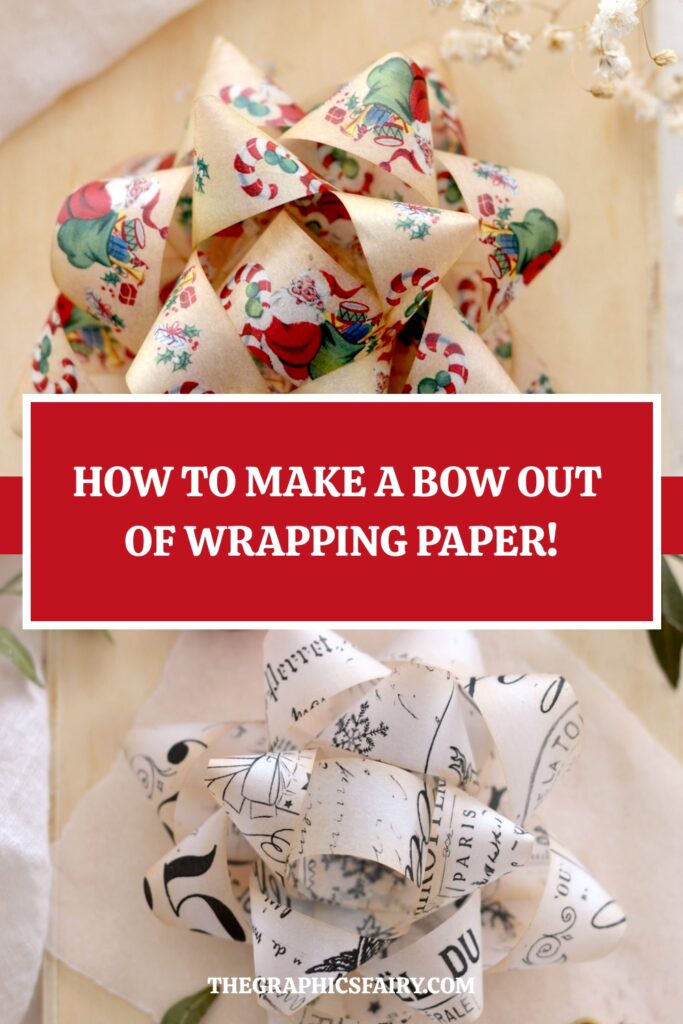
Wow, our faux wrapping paper bow turned out simply gorgeous! It’s not perfect-perfect, but I think the more you practice, the better you get at this!
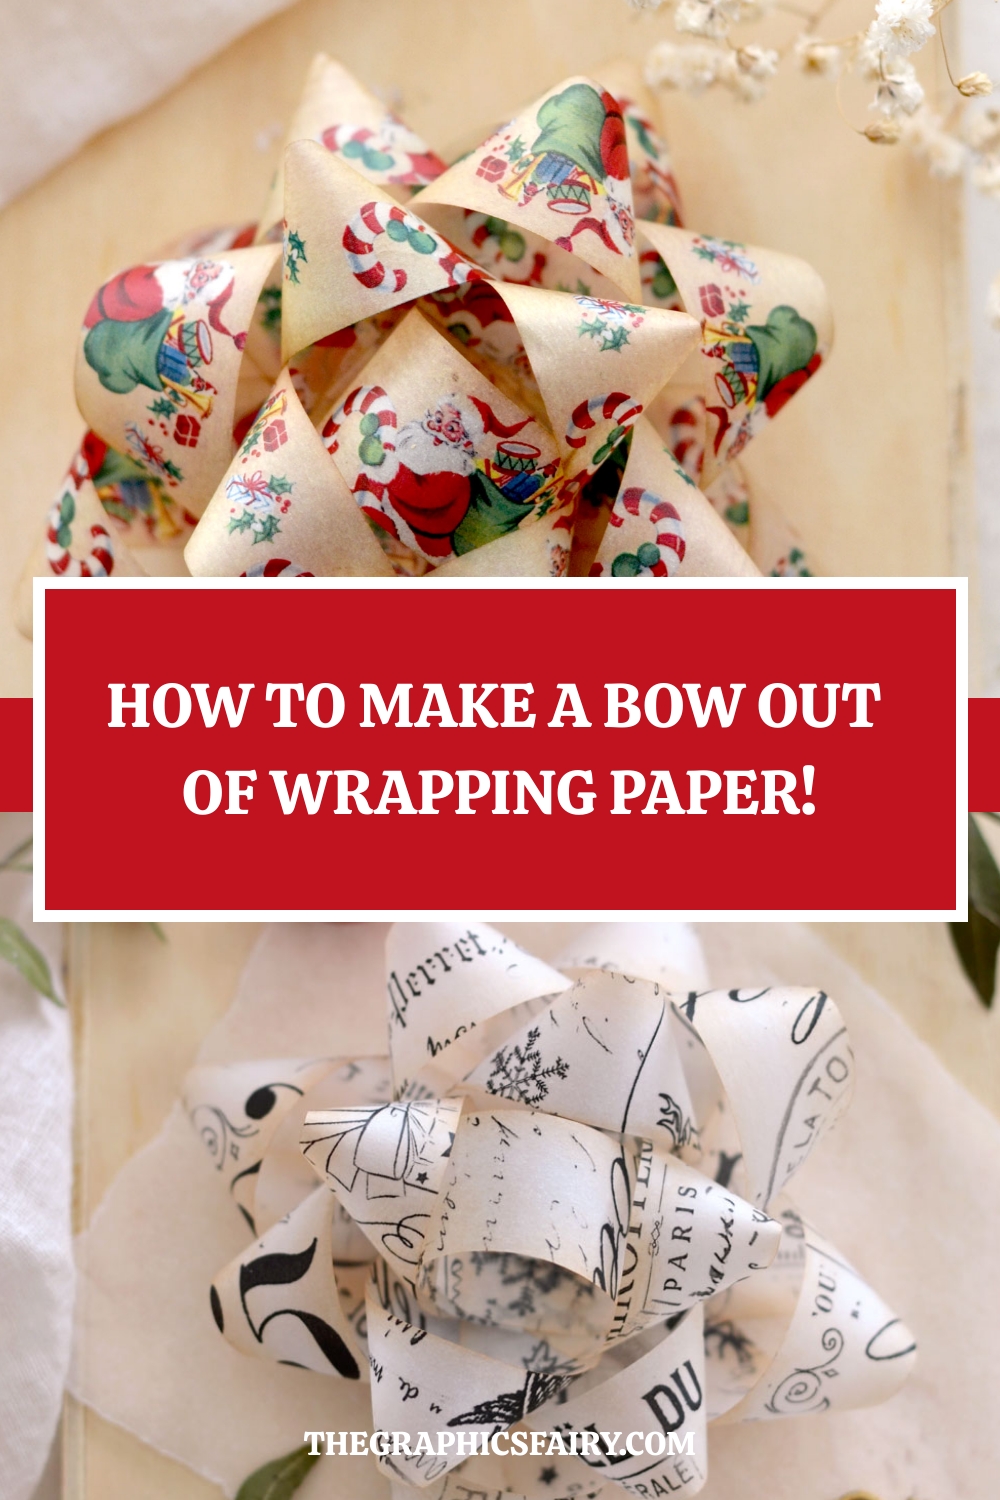
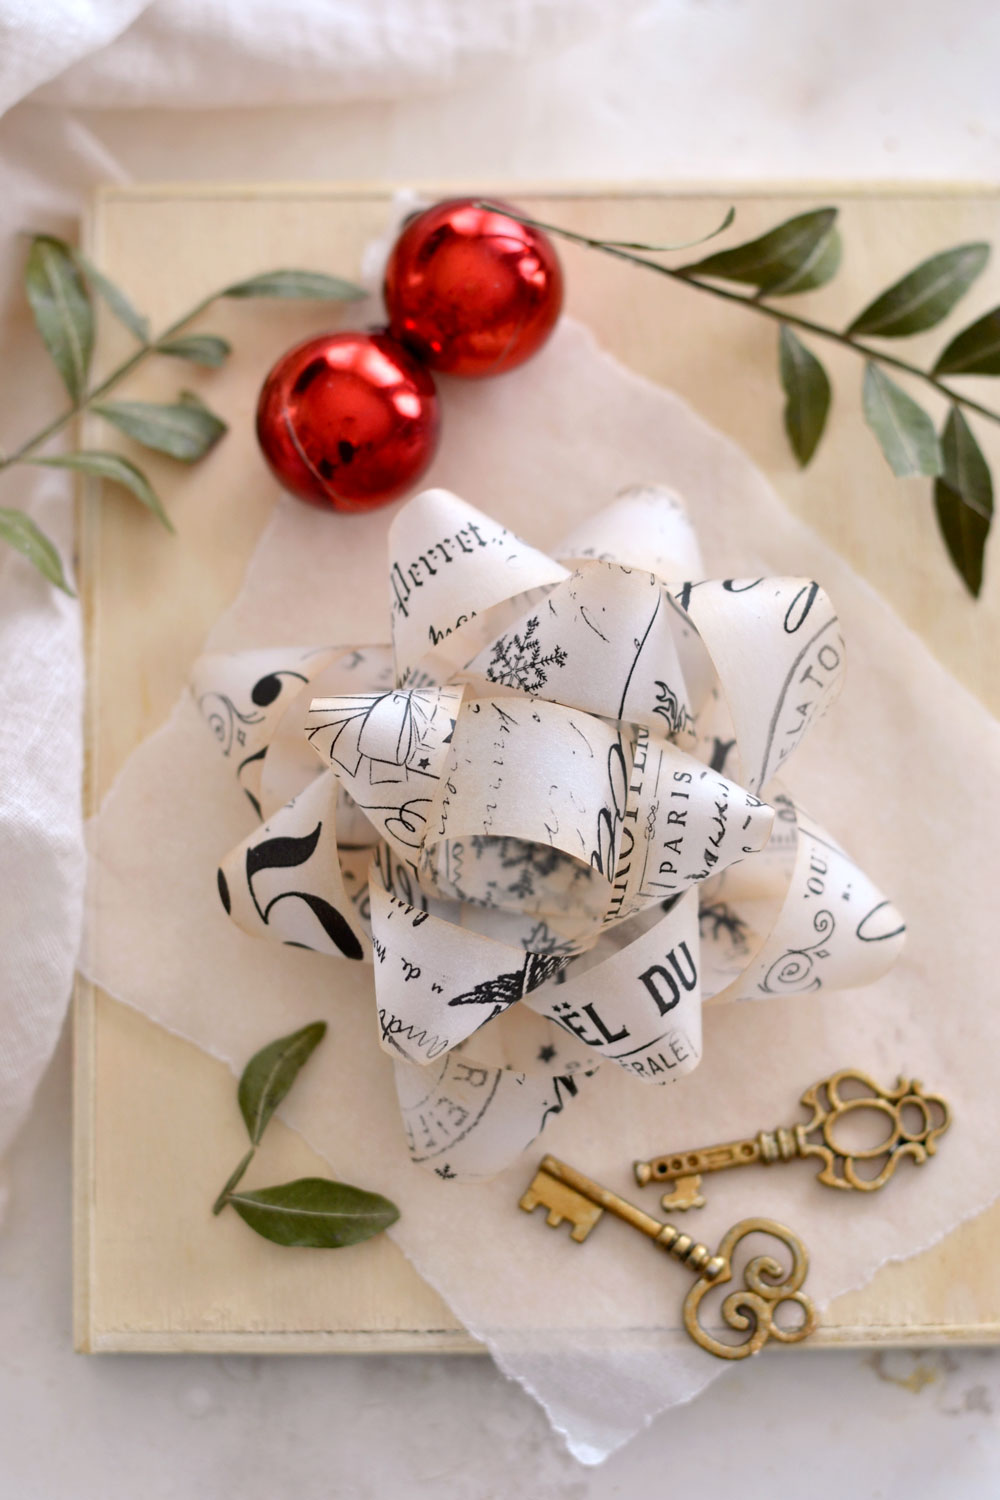
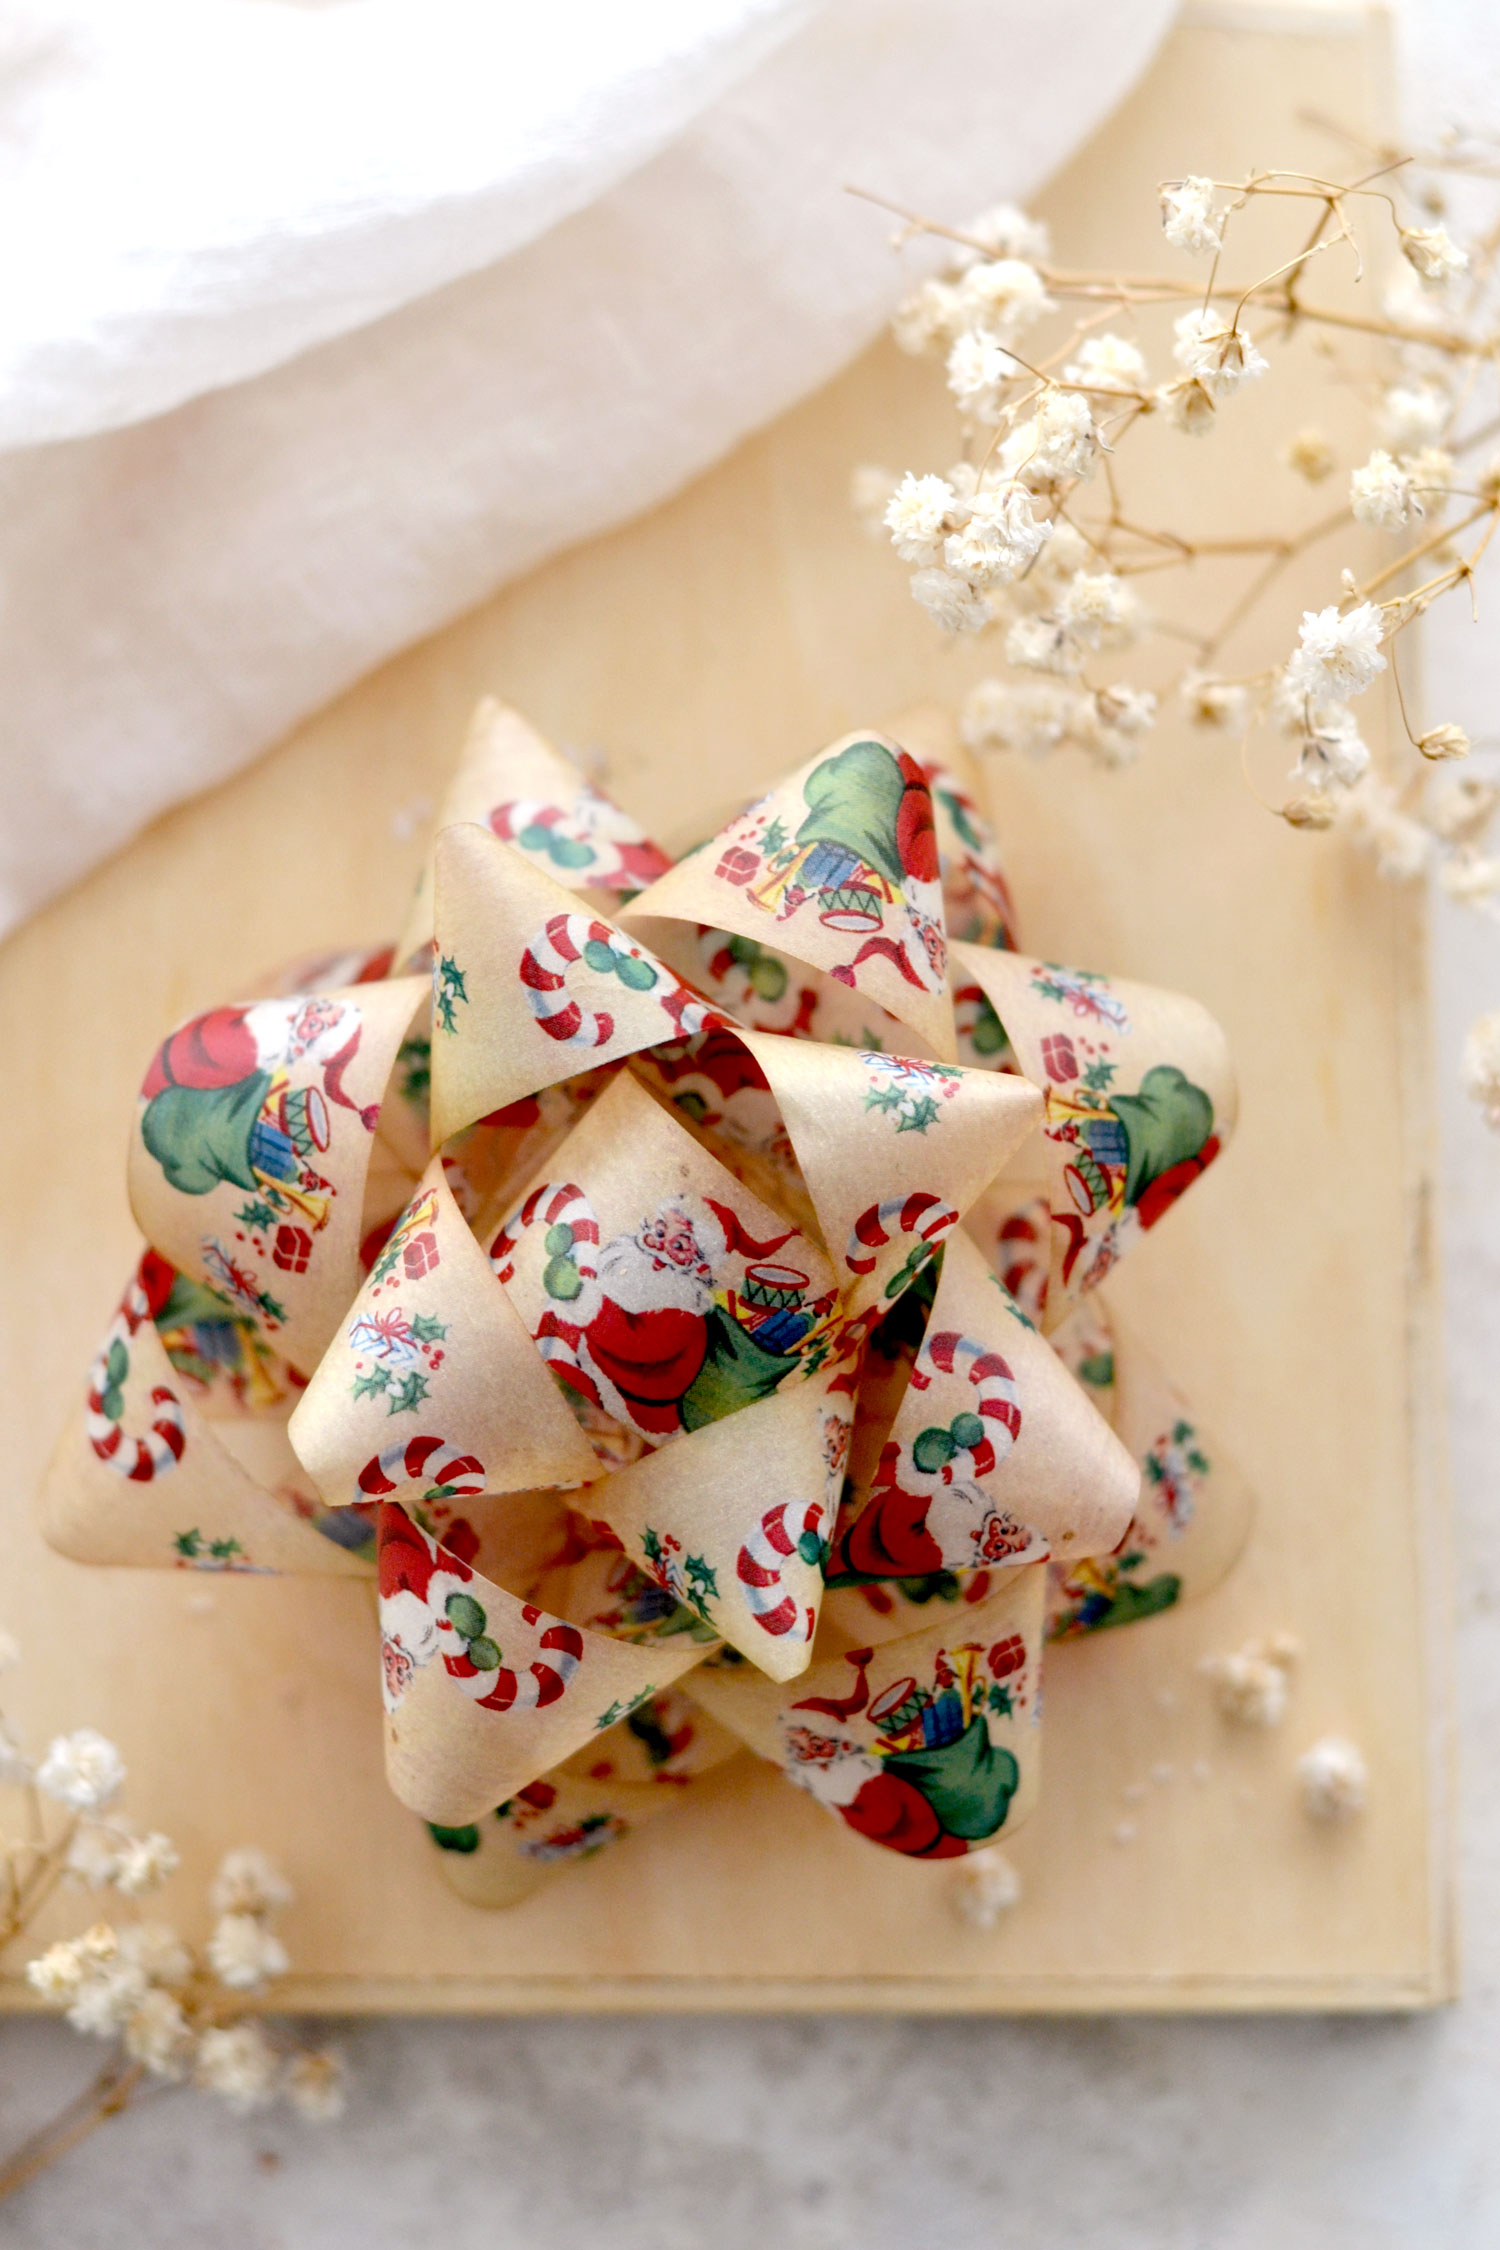
You can follow the same steps to create the regular gift wrap bows, once you have the strips! I’m really happy with how this one turned out, too. It has a more neutral vibe, but it’s really charming in a more classical and subtle way. OK, the next one might seem a little bit strange, considering we are impatiently waiting for summer right now! Why? Because I wanted to follow the same technique to create a Christmas bow! So I used some wrapping paper scraps, leftover from the holiday season. This paper has a French collage pattern, you may remember it from my DIY Christmas Crackers project! The Christmas collage was already printed on tracing paper, so it was perfect for our faux wrapping paper project. Loved this one too!
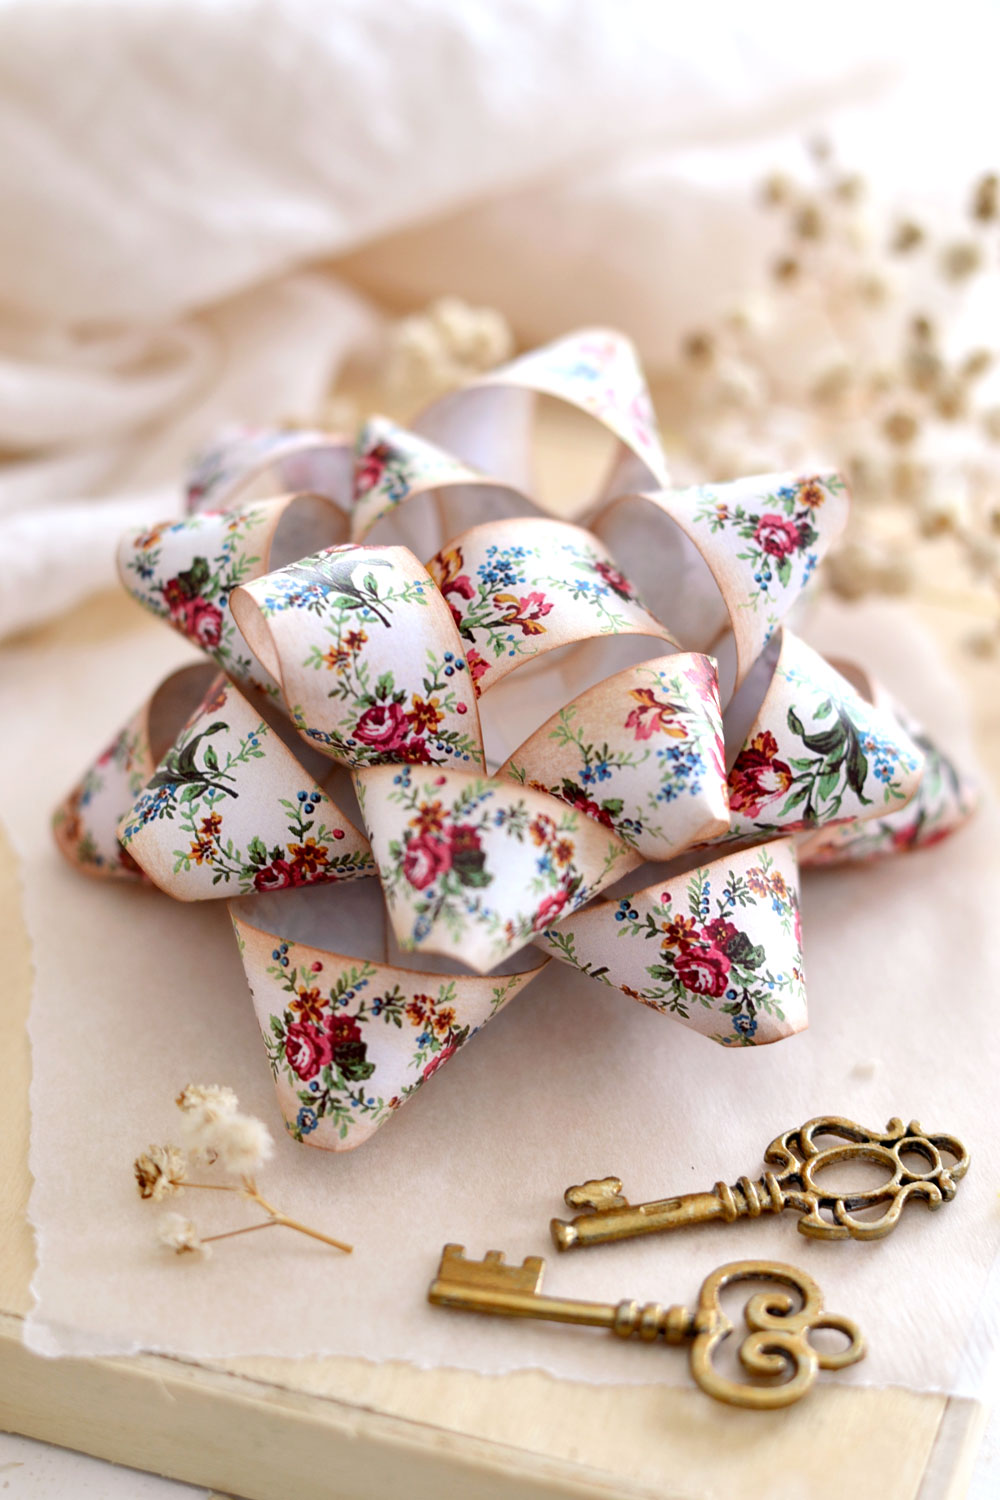
I have to confess my paper gift bows experiment might have gone a little bit wild at this stage. This time, I wanted to try this with regular paper and I’m happy to report … it worked like a charm! I distressed both the front and the back paper strips (on the edges) before turning them into infinity signs. Regular paper is more fragile so it was a little bit difficult to press it while adding the top layers and I had to leave two strips out. This one has a different feel to it, but it’s gorgeous nonetheless!
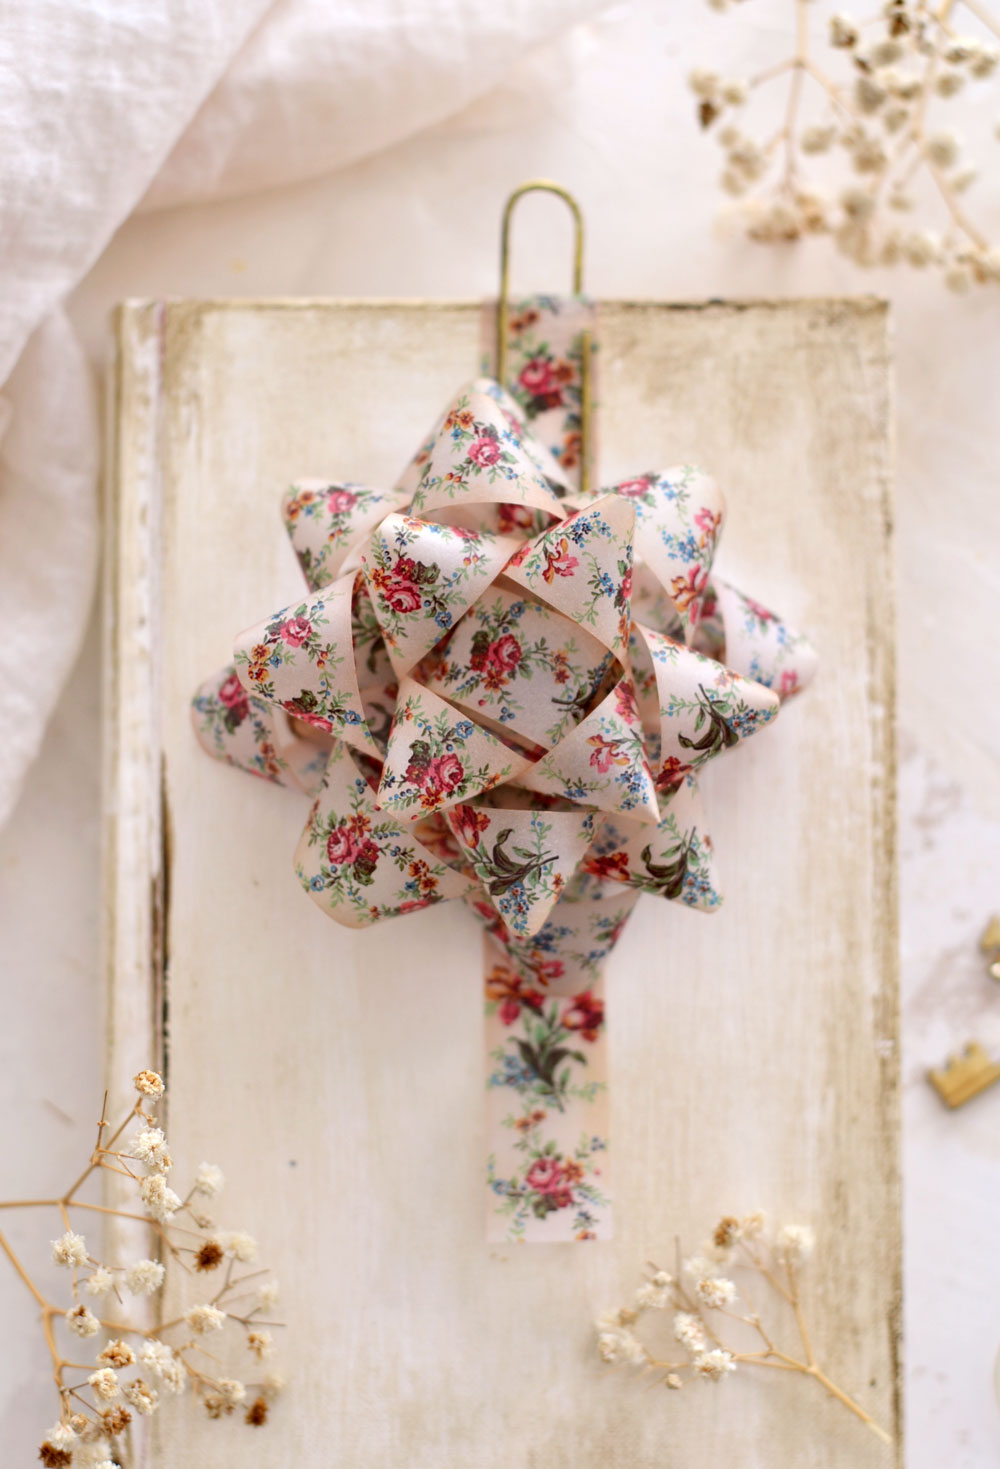
Just to give you a quick idea, you can easily turn a handmade gift into the perfect gift for your friends or family. The DIY Book Box can be embellished with one of the DIY bows that we created today. Start by using a large paper clip to attach one of the leftover strips to the book cover, apply a piece of double-sided tape on the strip, then place the bow on top! You can fill the box with a few homemade cookies, I’m pretty sure this right here could be your winning combo!
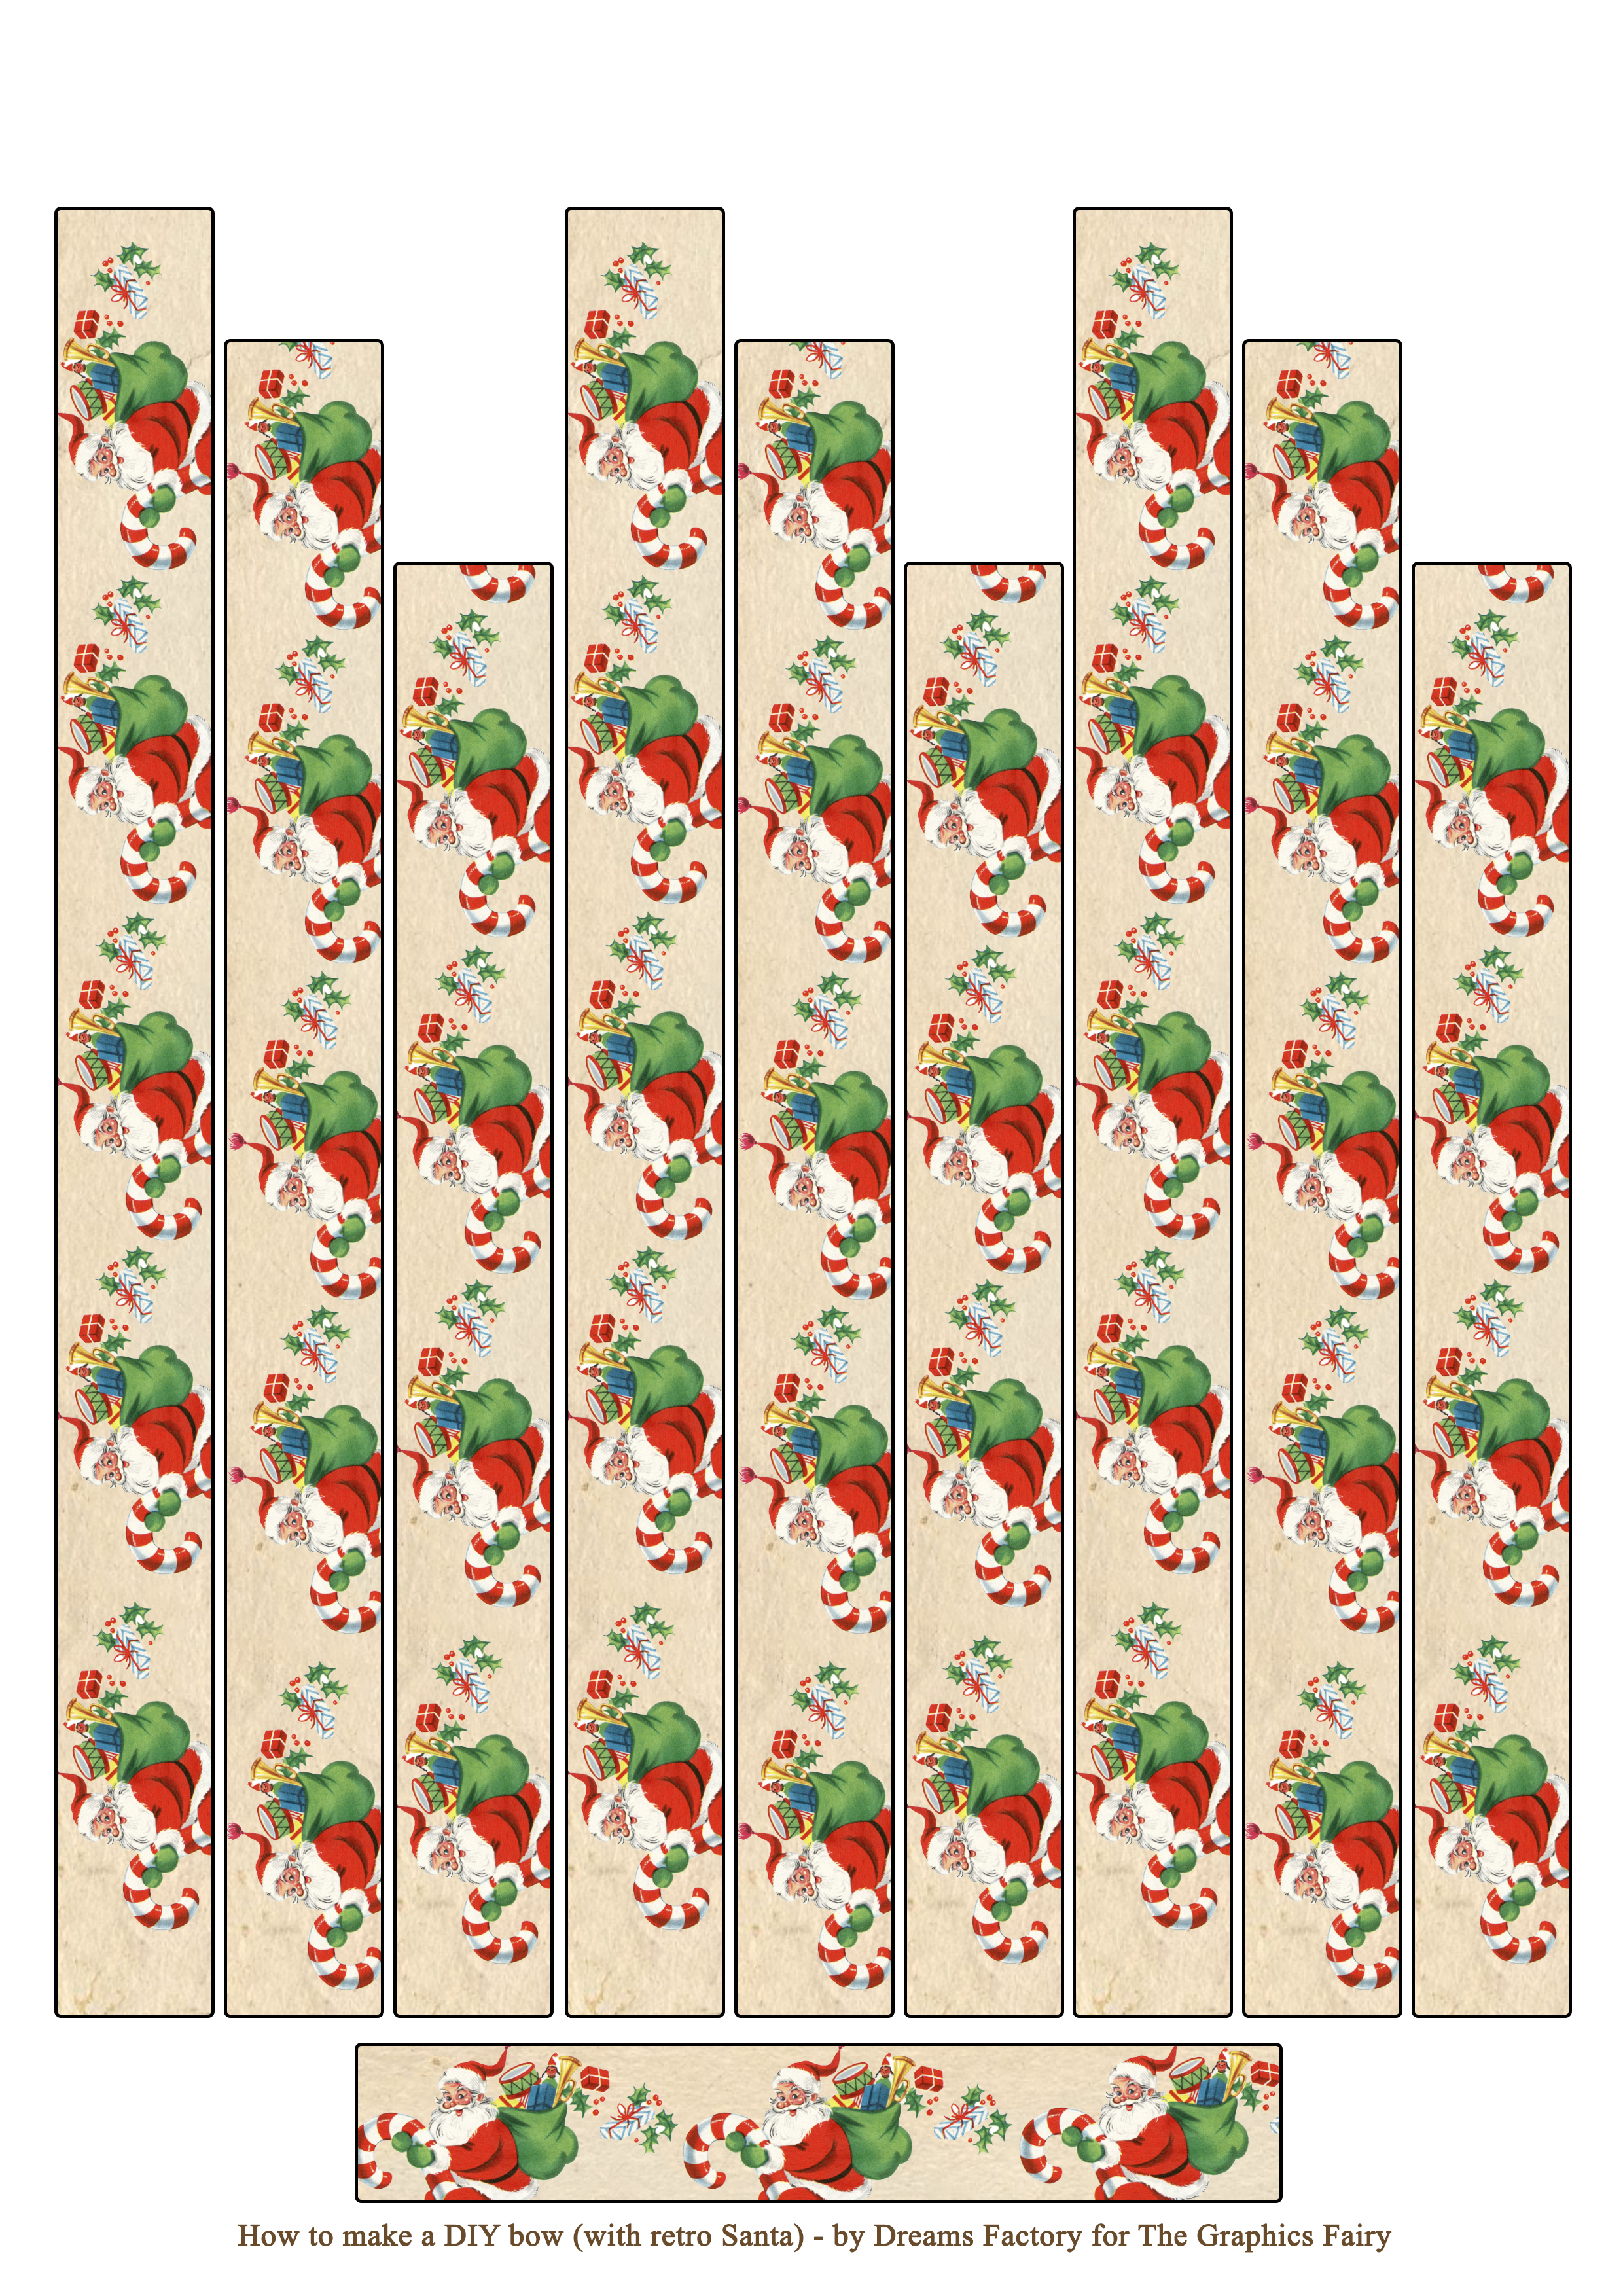
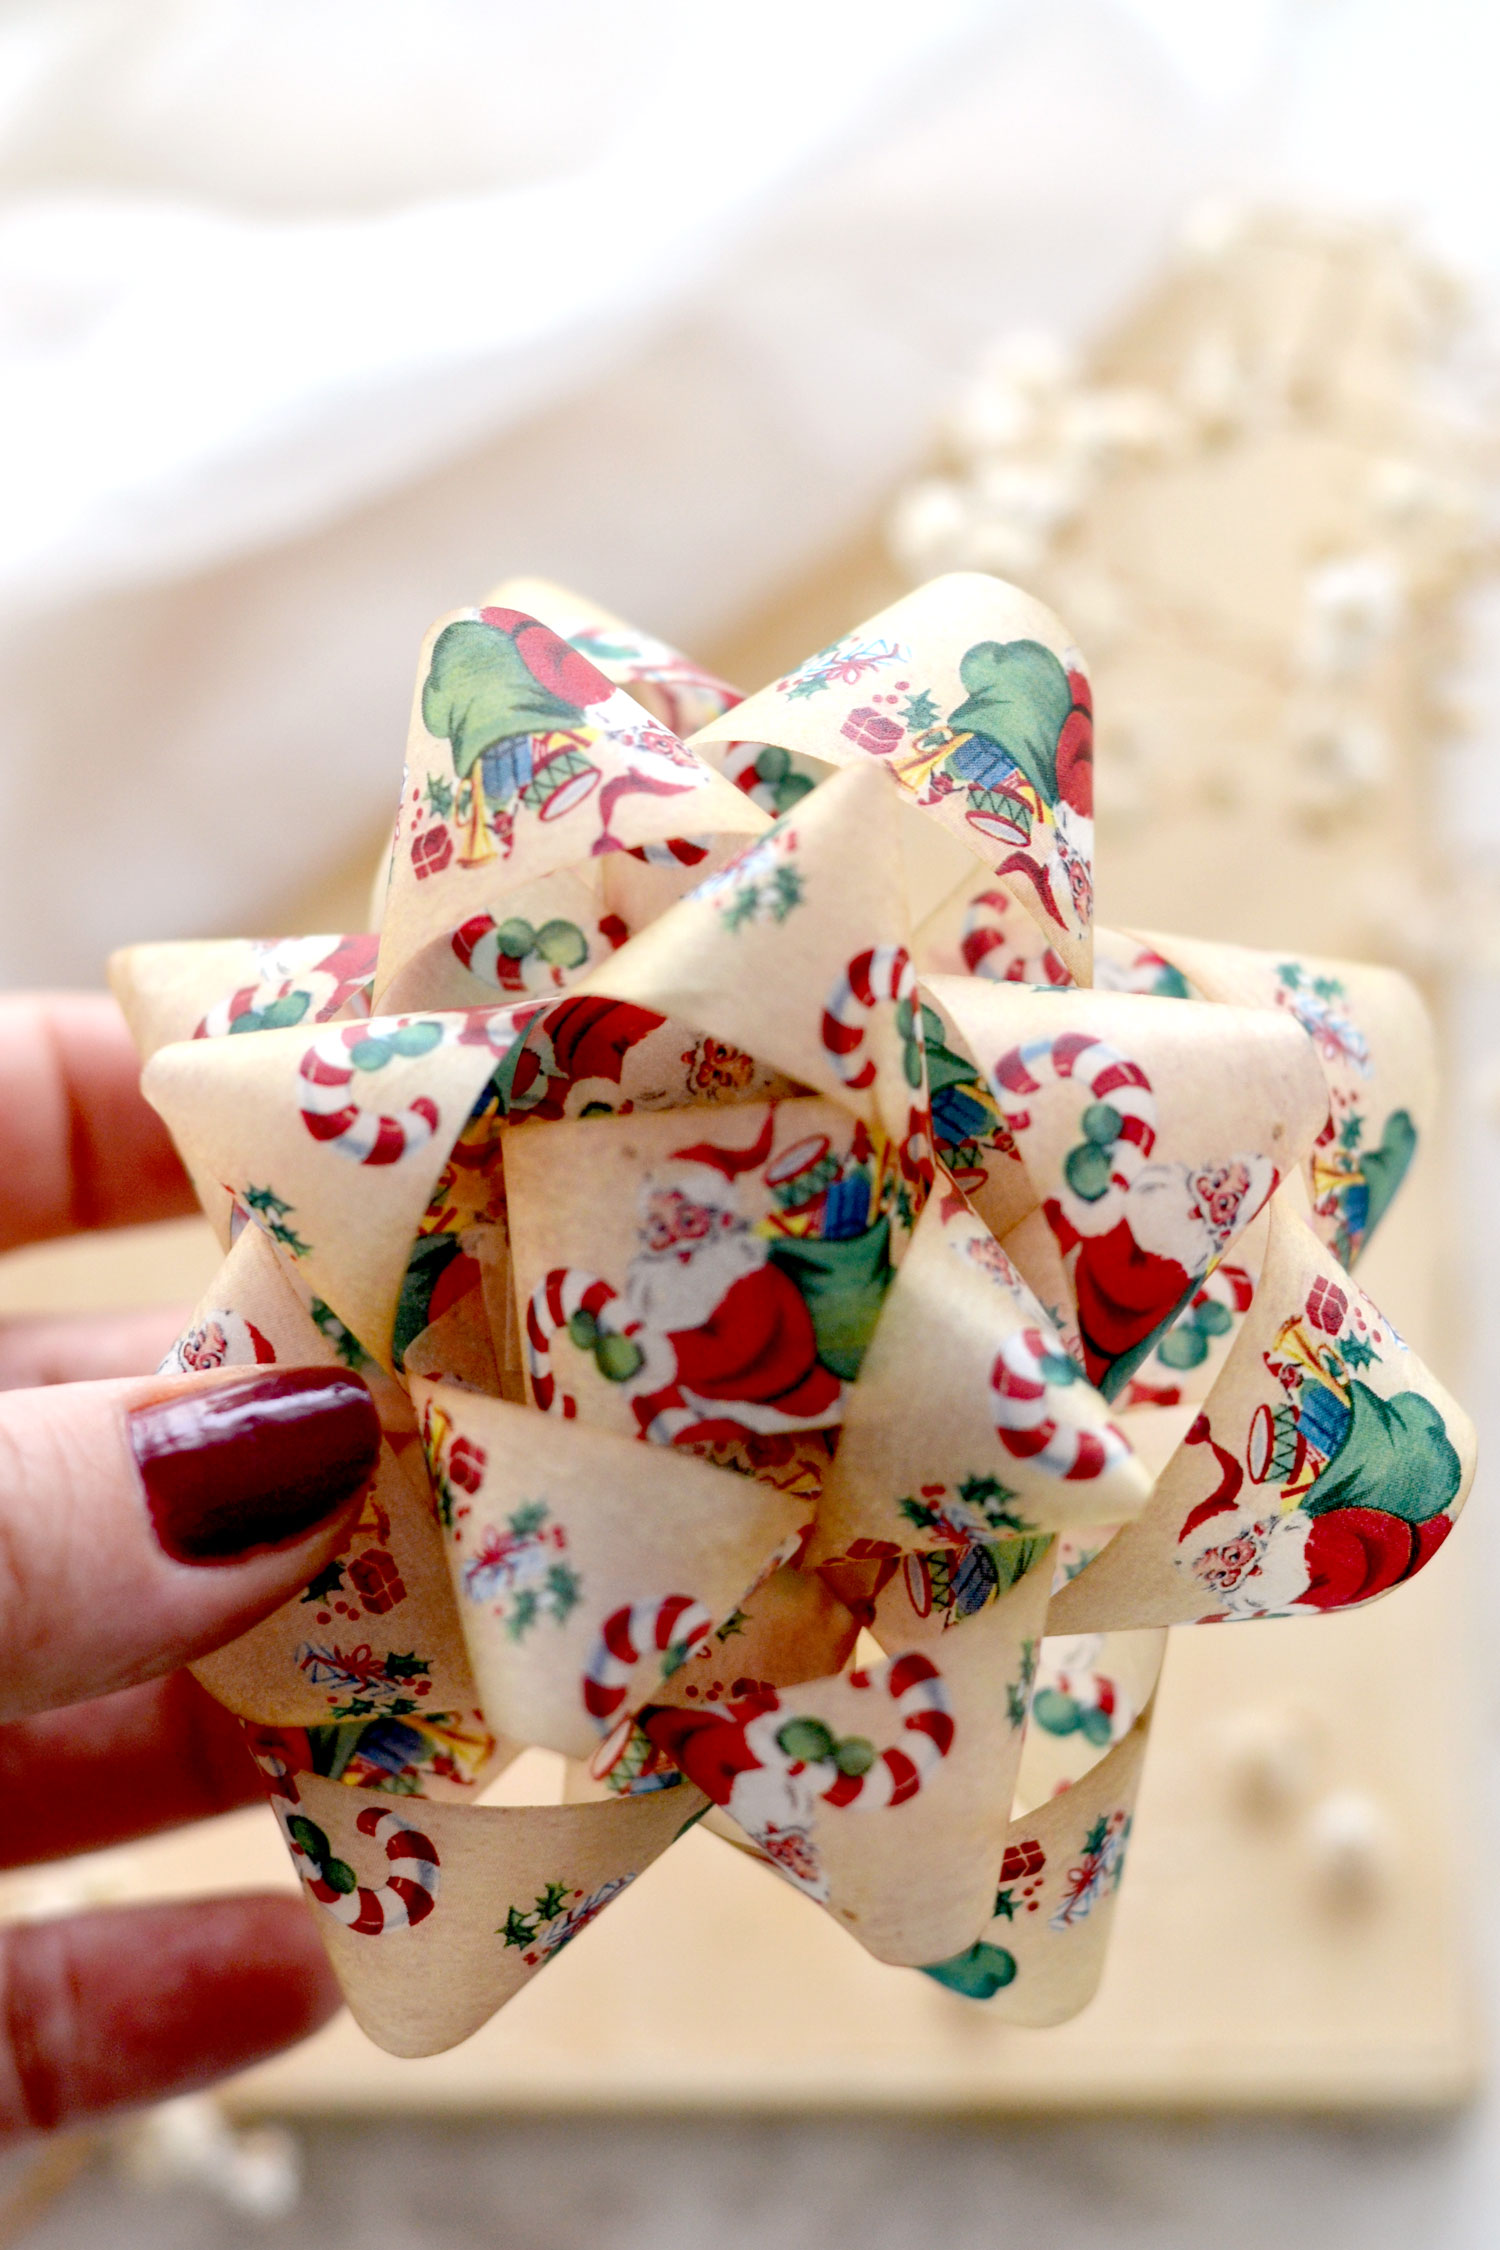
Christmas Bow
Free Printable
I hope you’ll love this project and decide to give it a try! Practice at becoming a bow folding master and use your creativity with your leftover wrapping paper! The floral faux wrapping paper bow definitely turned out to be my favorite of all I really love the end result, maybe it will bring a little bit of joy and hopefully a big smile to anyone receiving it with a gift! For more Gift Wrapping tips check out my post How to Put Tissue Paper in a Gift Bag HERE.
Happy crafting,
Diana | Dreams Factory



Satu says
Could you give the measurements of the stripes in centimeters or in inches,please? My printer just broke and I would love to do these ASAP from existing papers.
Karen Watson says
Hi Satu, each strip is one inch wide. For the ones with the black squares on them … the longest strip is about 11″ long, the next one is about 10″ long, the next is about 8.5″ long and the shortest one is about 5.5″ long. For the ones with the white squares on them … the longest strip is about 9″ long, the next one is about 8.5″ long, the next is about 7.5″ long and the shortest one is about 4.5″ long. I hope that helps!
Satu says
Hi, Thank you very, very much <3. Present for my very dear friend will now get (hopefully) a beautiful bow!
Karen Watson says
You’re welcome Satu. Happy bow making!
Tracee Anderson says
I love the bows! Is there a way I can print things from here that will take out all of the ads out? I’ve wondered this several times when there is something I want to keep. Thanks!
Karen Watson says
Hi Tracee, No, I’m afraid we don’t have anything like that. I can look into it, but I created this blog in 2007 so we have a massive amount of posts here and converting them could take a very long time I’m afraid. You could try taking a few screenshots and printing them out. I hope that helps!
Audrey Liverman says
Do you have a pdf of the bow template that doesn’t have the info on it so I can print directly onto colored paper or scrapbook paper?
Karen Watson says
Hi Audrey, No I’m sorry, we just have the one template. I’m wondering if it would work on the colored paper if you printed the template on the back side of the paper. Maybe the guides would be hidden on the back then? I hope that helps!
Bruna Azevedo says
Thanks for the post, I’ve always wanted to make these bows and thought it was too difficult but it’s actually quite easy with the patterns.
Karen Watson says
Have fun making some lovely bows! 😊
Laura says
Beautiful bow – wish you would put it in a printable format.
Karen Watson says
I’m glad you enjoyed it Laura. We are looking into that.
Laura Rairigh says
I agree this needs a printable format.
Karen Watson says
Thanks for your input Laura.