DIY Glass Glitter Easter Egg
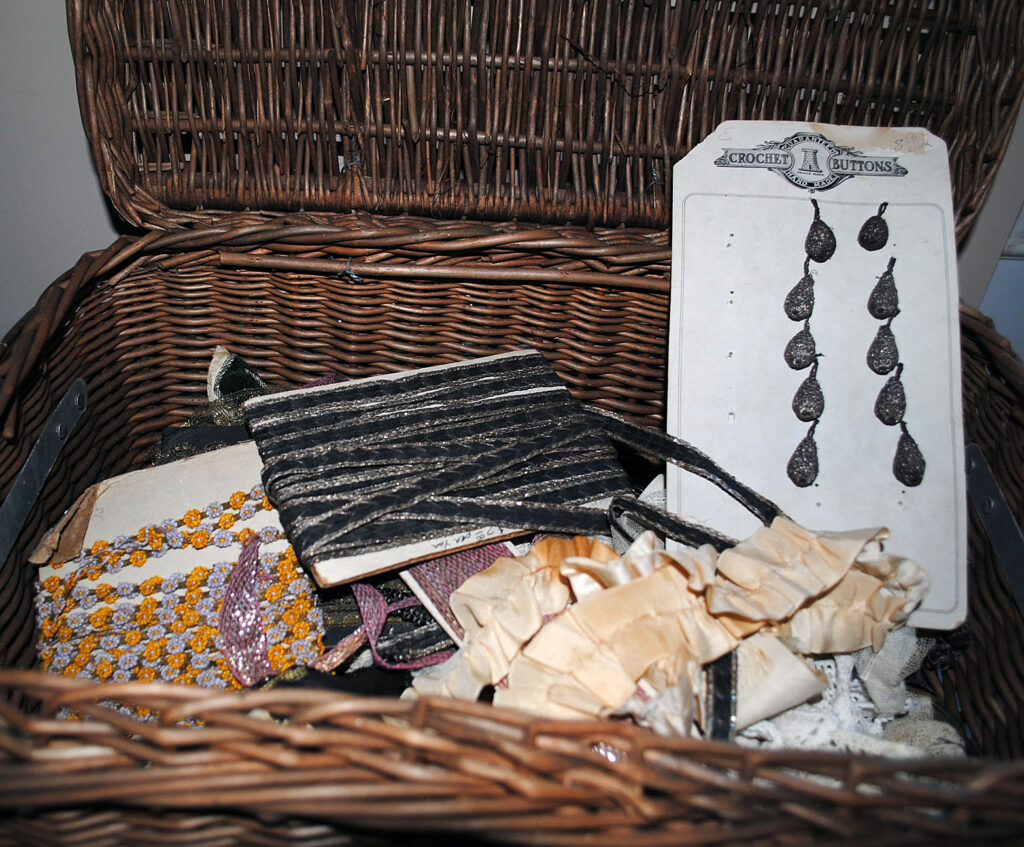
This is a pretty Easter Craft Project that I created quite a few years ago. It’s a large Vintage Style DIY Glass Glitter Easter Egg! I was inspired to make one, after taking a class taught by amazing artist Wendy Addison!! In the class Wendy taught us how to make a similar Egg, only we used Vintage Millinery Flowers from her personal stash. What a treat that was!! Since I’ve collected antique Ribbons and Trim and other assorted Passementerie for years, I have a pretty good stash of my own, so it wasn’t hard to come up with some bits and pieces for this Easter Egg! If you don’t have such things at your disposal, you can certainly use new ribbons and such. You might also try aging them with a little Tea or Coffee to give them an old world patina, if desired.
Safety Note: German Glass Glitter is made from crushed glass, if you’re making this project with children, you may want to substitute the glass glitter for something a little safer! Also, it’s best to wear rubber gloves, to protect your skin and safety glasses for your eyes.
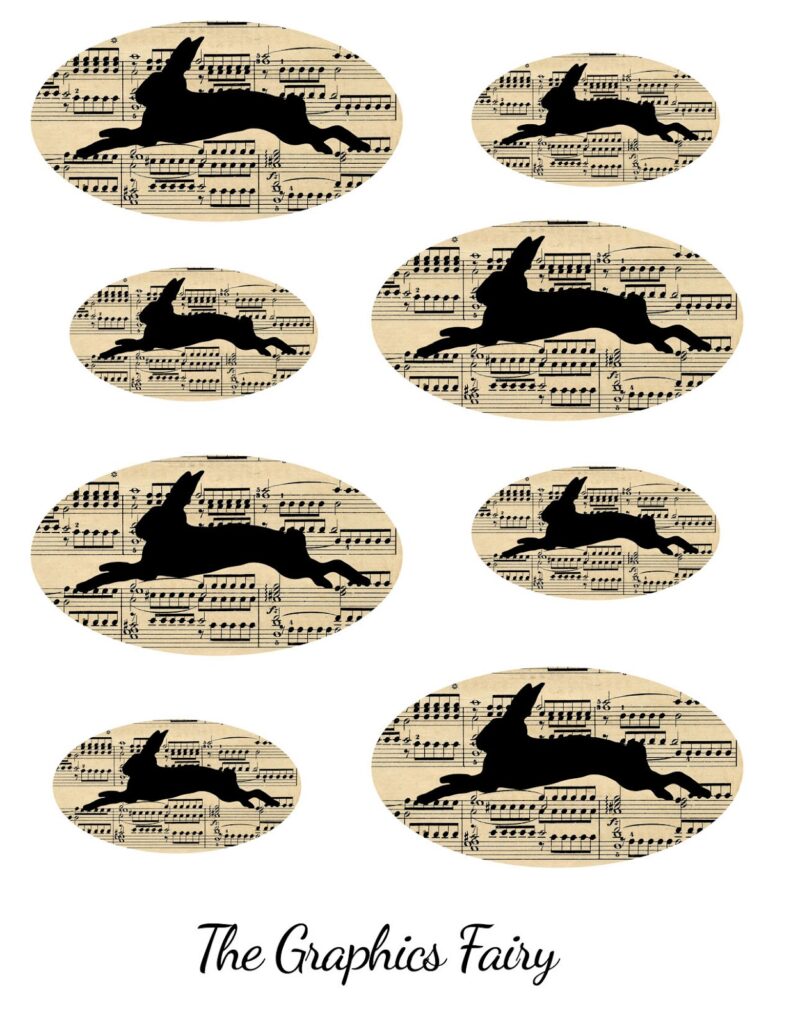
Click HERE for the Full Size Printable PDF of the Bunny Silhouettes
Here is the printable that I created to go with this project. I used the larger sized Bunnies for my Egg, but I made some smaller ones too, in case you use smaller Eggs.
Supply List for DIY Glass Glitter Easter Egg:
1) Paper Mache Egg (Mine are from Ikea)
4)Ribbons and Trims
5) Rub and Buff – in Gold
6)Hot Glue Gun
7)Krylon Clear Spray (Optional)
Instructions
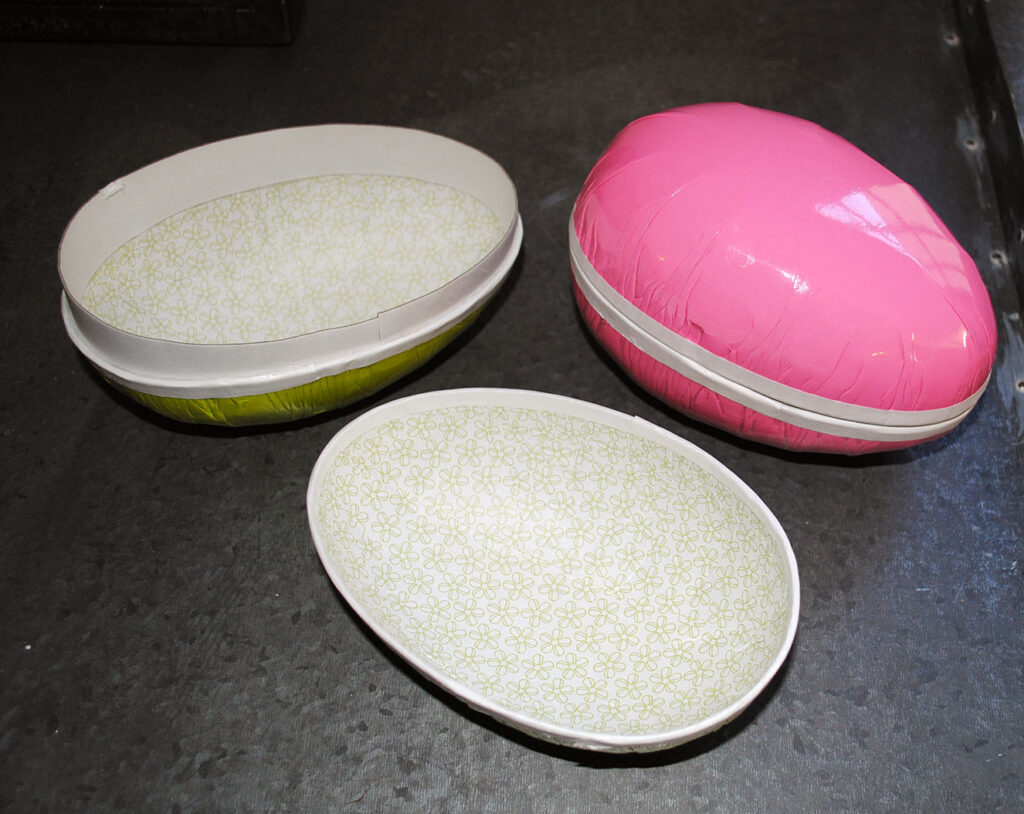
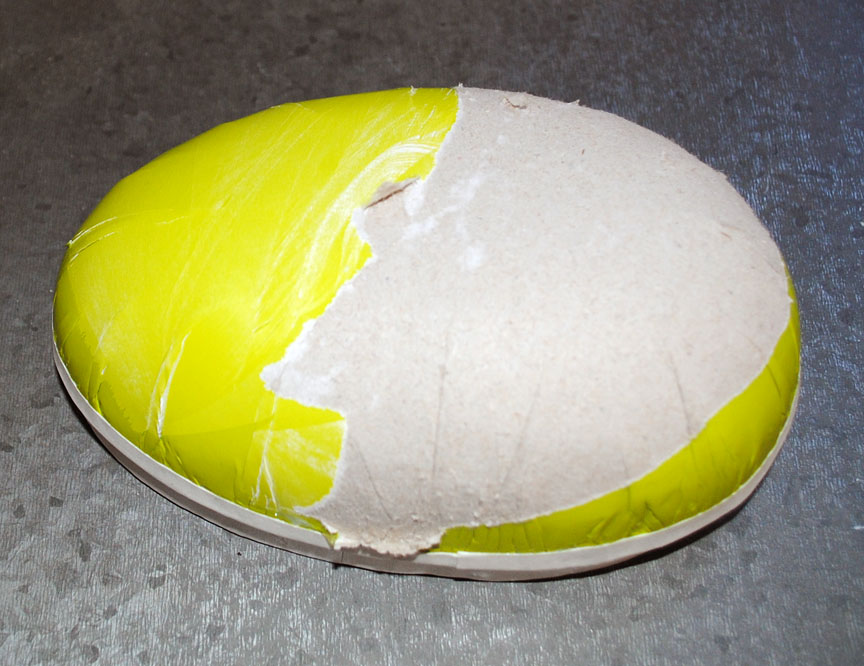
I was so excited to find these Paper Mache Eggs, so nicely lined with pretty paper inside. I purchased these at Ikea and they cost $1.99. They are quite large, I’d say around 5″ across or so.
Step 1) First remove the outer neon paper, to get to the plain cardboard underneath. I used an X-acto Knife to get it started and then peeled with my fingers. Maybe if you are lucky you will find an egg with out neon paper on it!
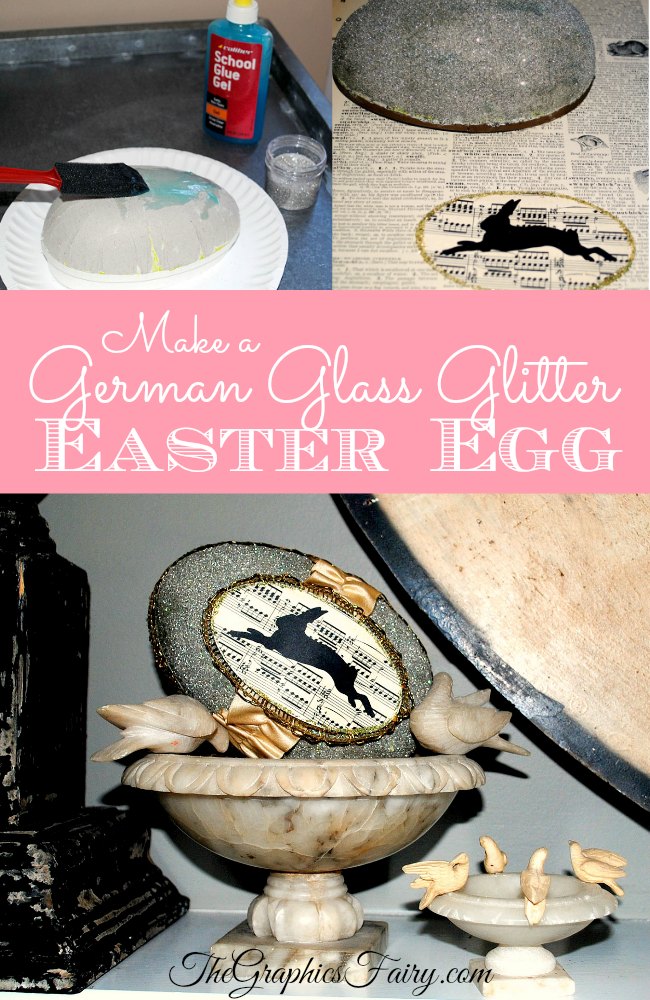
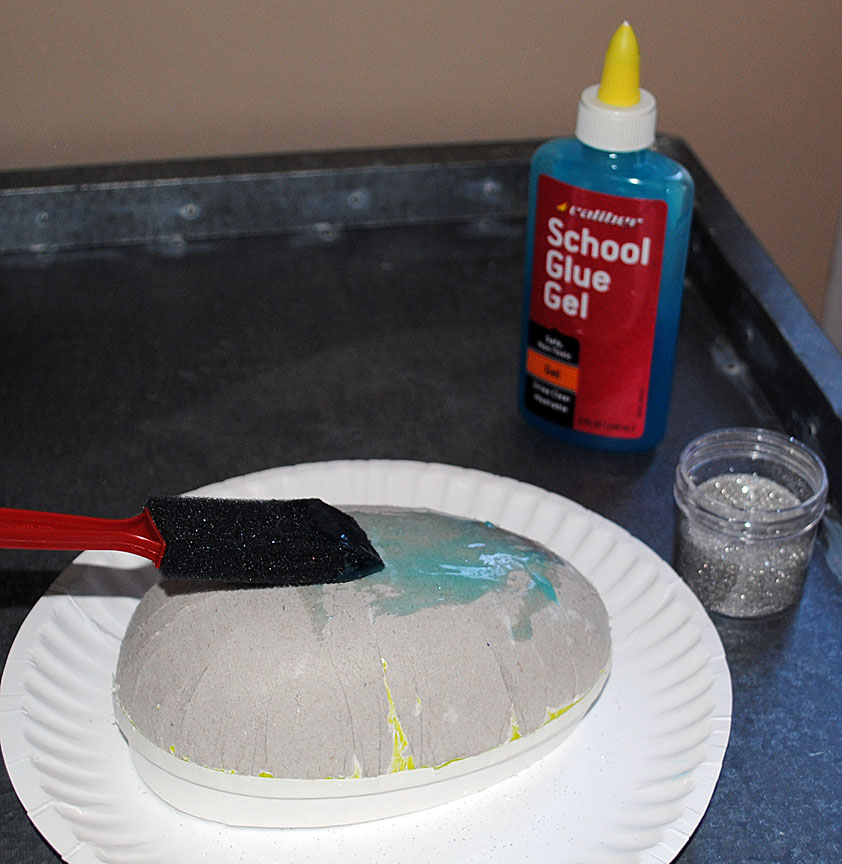
Step 2) After peeling off the paper, brush on a layer of Blue School Glue. I love using this particular glue with the glass glitter, because it really seems to grab the glitter better than any other glue that I’ve tried. Go ahead and leave the white rim alone for now.
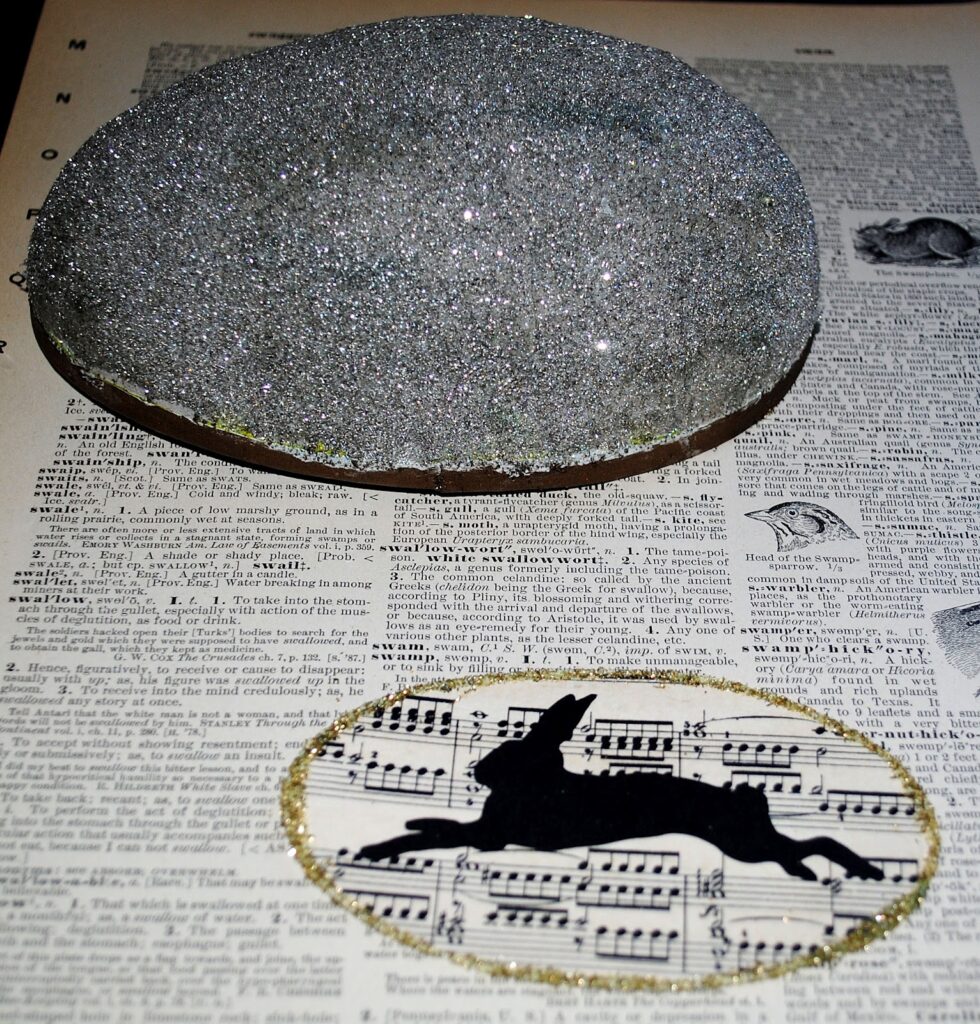
Step 3) Sprinkle on the Glitter and let dry. Make sure you do both the top and bottom!
Step 4) Rub the Gold toned Rub and Buff onto the white rim of the Paper Mache Egg (where the two pieces meet, make sure it’s just the outer rim that your buffing).
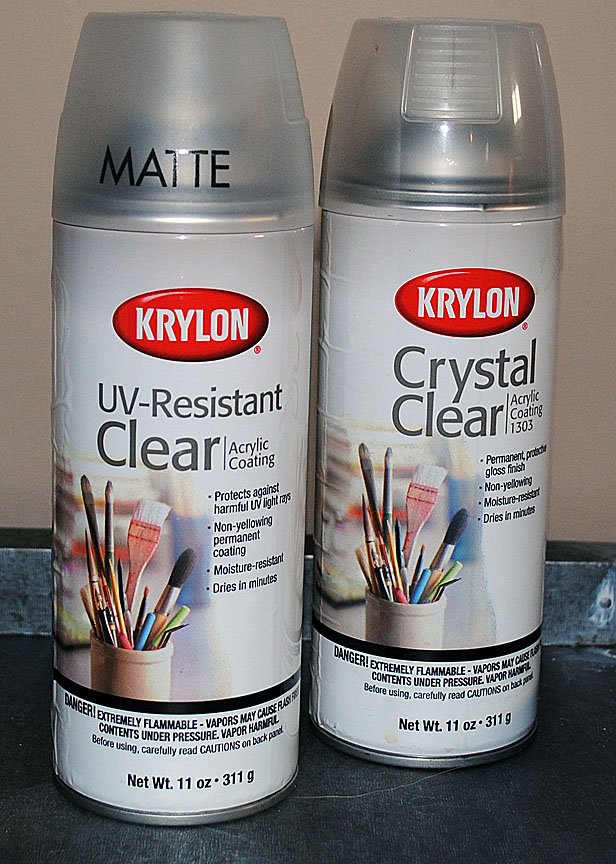
Step 5) Print and Cut out your Rabbit Ovals, and glitter the edges with some Gold Glass Glitter. Optional Step: If the ink you printed with is not waterproof, you can seal it with a spray sealer like the Krylon Sealers in the following photo.
These are the sealers that I use. They will set the ink on your printed pieces and protect it, so that the image will last a long time.
Step 6) Love this part! Select some pretty Ribbon and Trims. I used some Antique dressmaking trims from my stash, but you could use new trims, or lace, or even paper trims. Whatever you have that appeals to you!
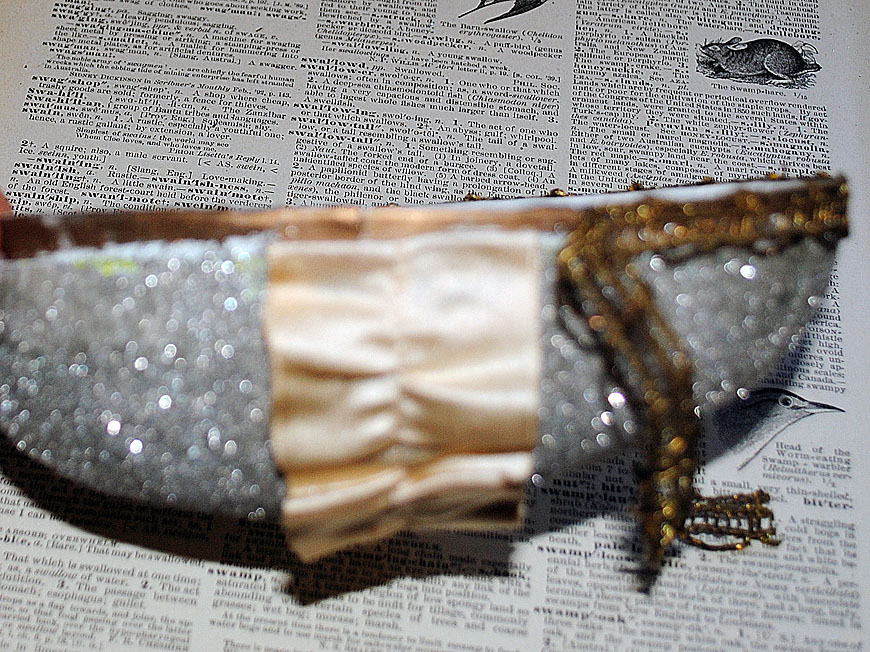
Step 7) Sorry, about the blurred photo! Once your eggs are completely dry, hot glue the ribbon on first, folding down the edge on either end, for a clean edge. Then hot glue the trim along the rim, that you applied the Rub and Buff to earlier. Do this for the top and bottom. Make sure you fold the end of the trim over when you finish too, to give it a nice clean edge also.
Step 8) Using your Hot Glue Gun, Glue some more trim around the paper Rabbit Oval and then glue the whole thing to the top of your Egg.
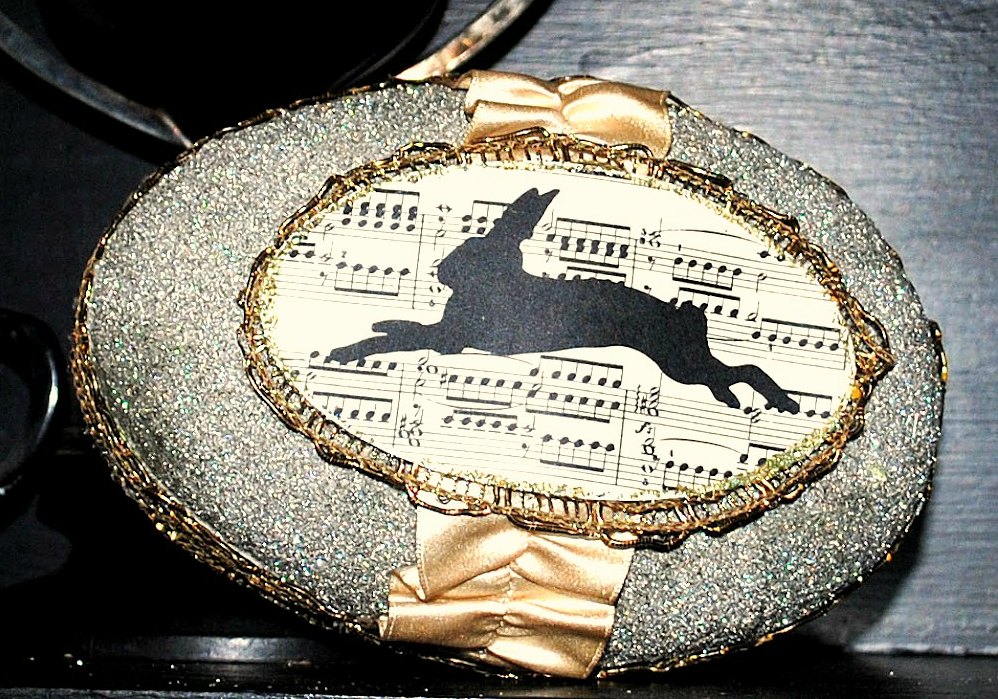
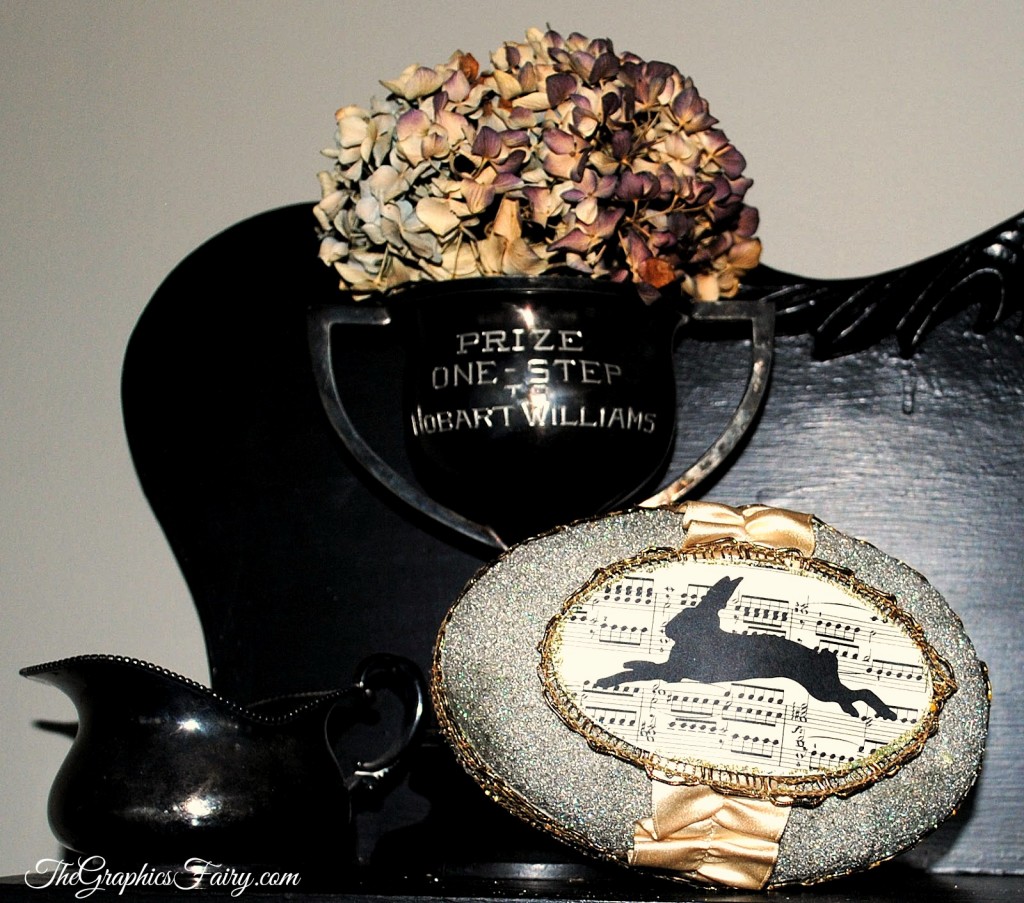
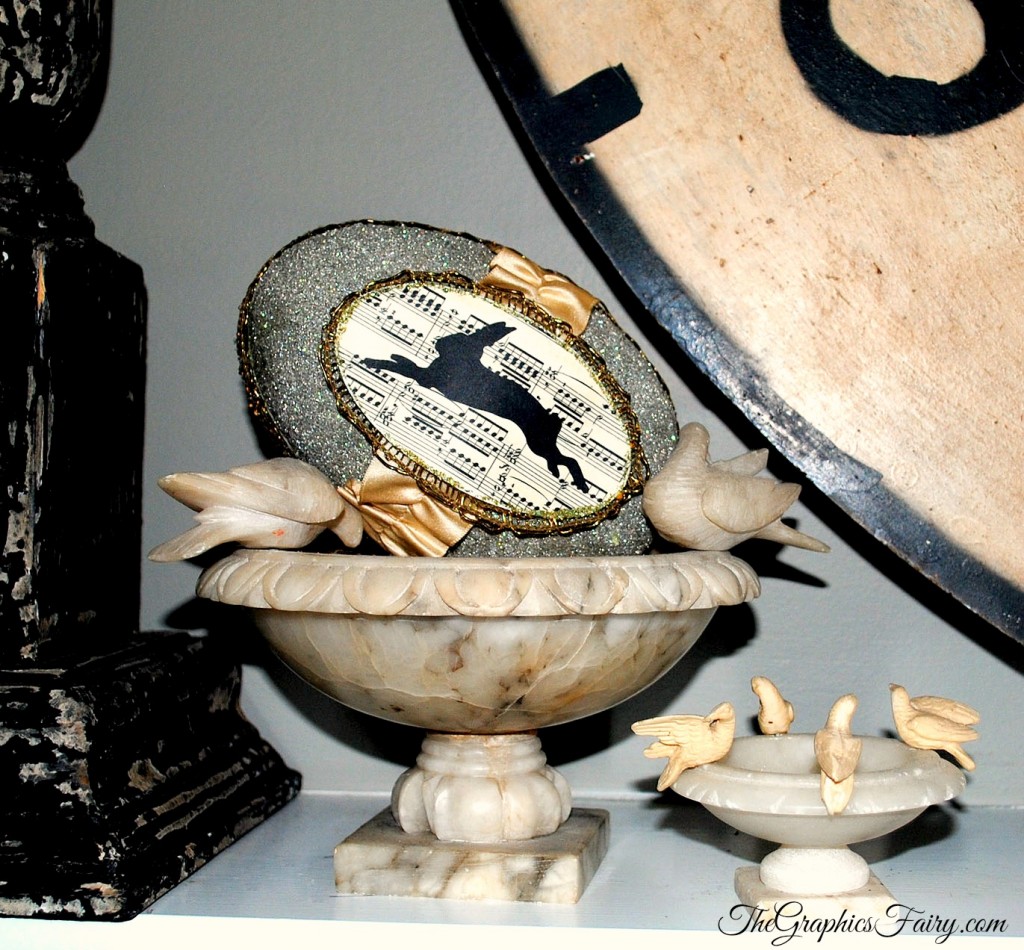
Here it is! So sweet right? This was a pretty quick and easy project, removing the paper(and choosing the trim ), are what took the most time. Other than that it was a snap and so much fun to make!
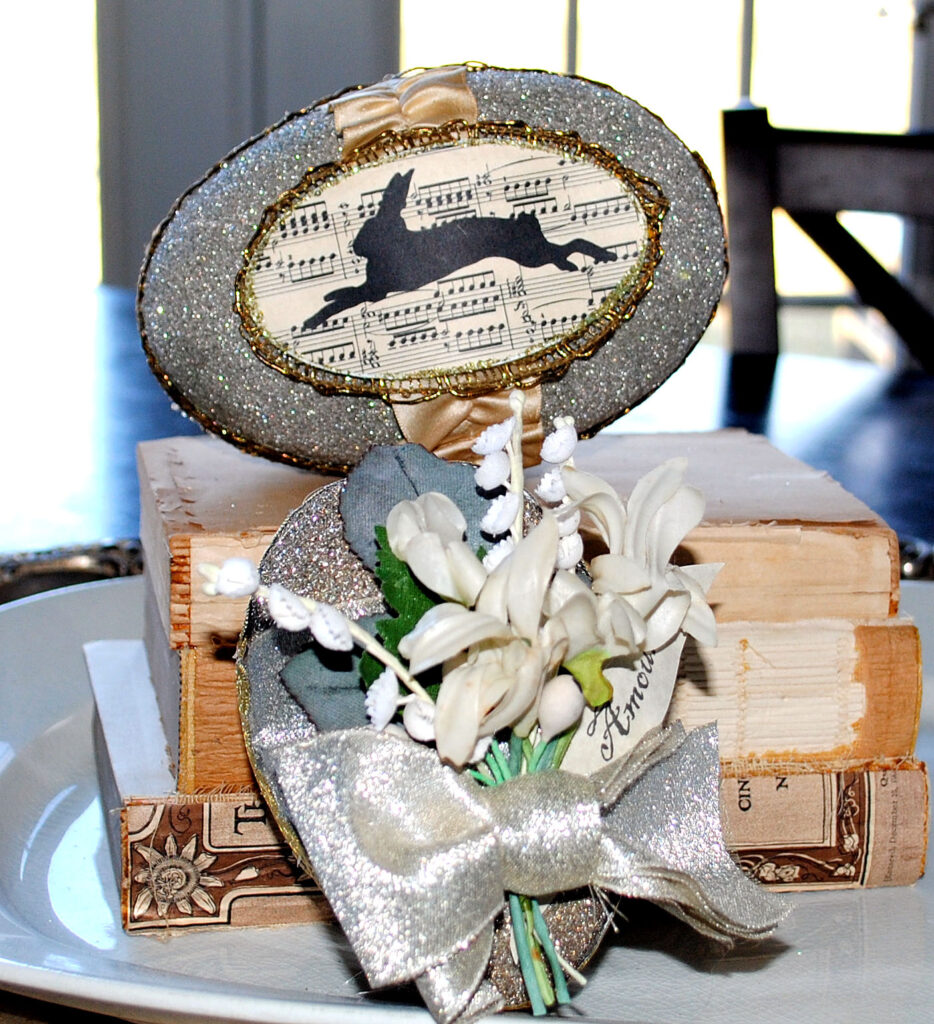
Here you can see it next to the Egg that I made in Wendy Addison’s class. Love those millinery flowers from her collection!
I hope you enjoyed this Tutorial for making a DIY Glass Glitter Easter Egg!


Jennifer Rizzo says
this turned out so cute! I love Wendy addison
Karen Watson says
Thanks Jennifer! Wendy is amazing, and she is super sweet too!
Lorraine Finkbeiner says
So pretty a Karen! I haven’t tried the blue school glue but I will now!
Karen Watson says
Thanks Lorraine! That school glue really is the best that I have found!
Robin says
I had pretty paper mache eggs gifted to me many years ago. I’ve always wanted to make some of my own, but couldn’t find any plain eggs…thanks for this tutorial and thanks for the IKEA lead! You are so generous with your tutorials etc!!!
Karen Watson says
You’re welcome Robin! I hope they still have them, I got these last year. If it’s a far drive for you, then you might want to call ahead first and check!
joolaa says
interesting!
Laura Strack says
Very pretty, Karen!
Karen Watson says
Thanks Laura!