DIY Glass Ornaments
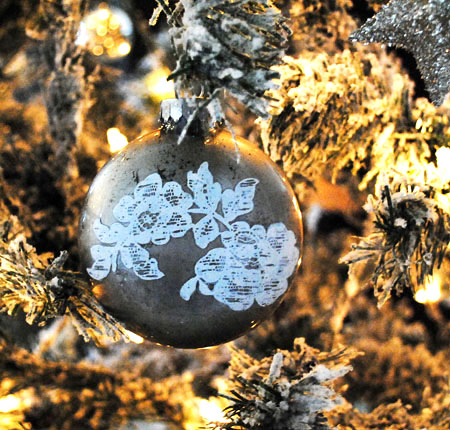
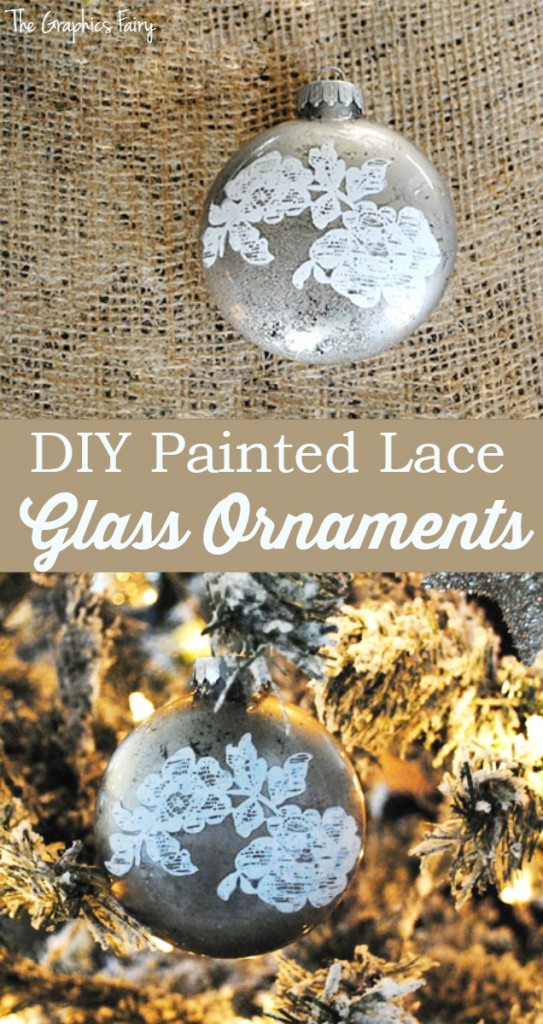
This is a Craft Tutorial for making some pretty DIY Glass Ornaments! I’m sure many of you have tried your hand at the traditional way of making painted glass ornaments. We are going to paint the inside of them in that same way, but then we will pretty them up even more by adding a lace stencil on the outside of the ornament. Also the metallic silver paint, gives them an old world look and a rich patina, especially when we add the secret ingredient to them! I hope you enjoy making some of these for your Christmas Tree.
Well, I pulled out my Martha Stewart Adhesive Stencils yet again! This time I made some lace painted glass ornaments. I just can’t seem to stop using this stuff, it’s so easy and fun!
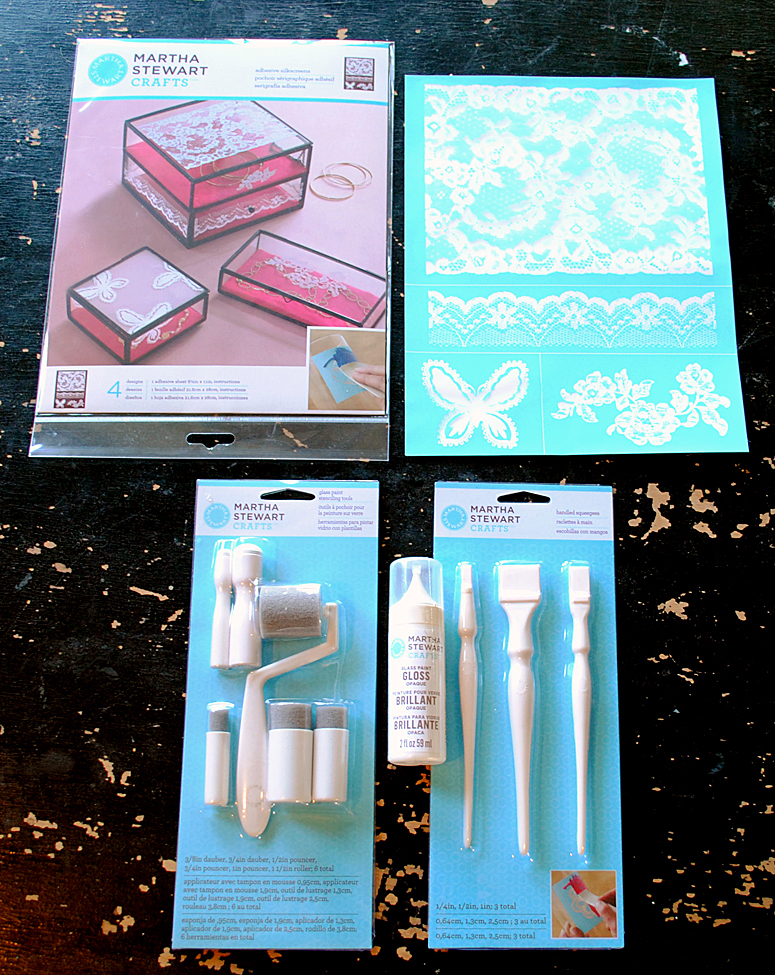
Supplies for Painted Glass Ornaments:
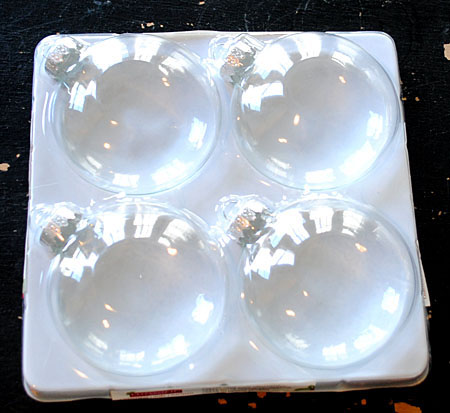
I used these flat glass ball ornaments that I found at Michael’s. You can find them at many craft stores now as well as online at Amazon and other places.
Supply List:
- Silkscreen Stencils (the stencil that I used is no longer available, this one has some nice Christmas themed stencils)
- Foam Pouncer
- Martha Stewart Glass Paint (White Opaque)
- Flat Glass Ball Ornaments
- Silver Paint
- Silver Glitter – Optional
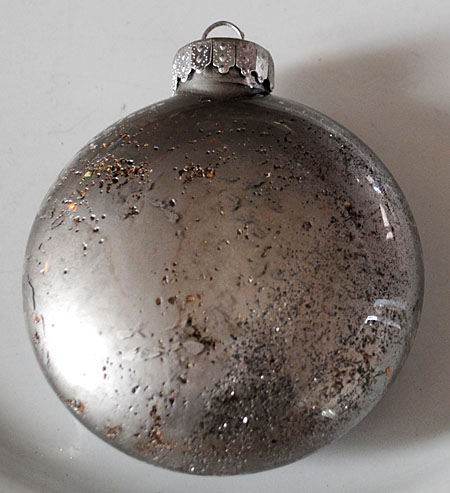
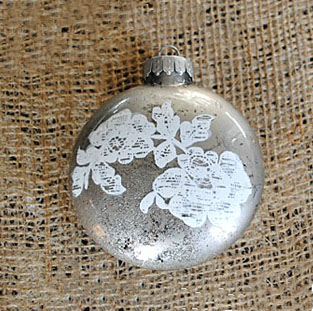
Step 1: Remove the cap and pour some silver paint into the glass ball ornaments. Swirl the paint around to coat the inside of the ornament. You may want to add a couple of drops of water to help move the paint around more freely. I left a few blank spots and poured some glitter in, (that’s the secret ingredient!) which gives a nice sparkly effect on the bare areas. Allow to dry.
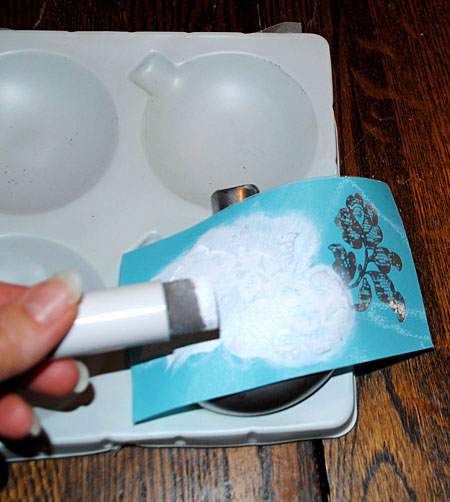
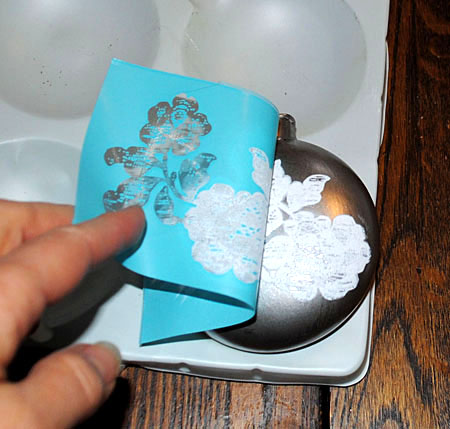
Step 2: Stick the Adhesive Silkscreen to the outside of the ball ornament.
Step 3: Using the Foam Pouncer, apply the paint over the silkscreen. I chose this floral lace design, It was too big, so I just painted the portion that fit on the ornament.
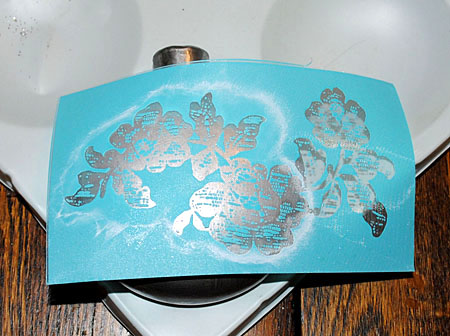
Step 4: While the paint is still wet, carefully peel back the Silkscreen to reveal your design. That’s it! Just make sure you wash your Silkscreen right away, so that you can reuse it again.
I love how these look, so delicate and pretty and so easy to make! I really like the way the added glitter kept the paint from sticking perfectly. It gave it a lovely time worn look, as if it were an Antique Christmas Ornament passed down through the generations. I hope you liked this DIY Glass Ornament Craft Tutorial! You might also like these Easy DIY Holiday Snowflake Decor Blocks HERE.



Vintage Gypsy says
Gorgeous vintage look!
Céline says
C’est très beau !
It’s beautifull !
Thank you for all yours shares … Your blog is a “réelle source d’inspirations” !
My english is not good, Sorry 🙂
Bonne journée
Céline
Tatty says
I love them, great idea…
Thank You so much for sharing it.
Mimi Mine says
This is simply gorgeous. It has that shabby sort of mercury glass look about it. Beautiful!!!
srpprcrftr says
Love the vintage look of the glass ornaments with the paint. Thanks for sharing this technique. I might have some of the tools needed already so I don’t have to make Michaels and Martha Stewart richer. I do have to agree that her products are superior to many others I’ve tried.
The look of the glass is gorgeous without the lace but with it, superior and splendid. Thinking of other objects I could use that technique on. As always you’ve done beautifully. What would we do without you Karen and Gina? Sure hope we don’t ever have to find out.
Teddee says
Really lovely! Thanks for sharing this idea.
SheilaG @ Plum Doodles says
So pretty, Karen! I love the silver & glitter as a backdrop to the lacy stencil.
Shannon says
I think the balls were pretty even before you stenciled them–that paint effect is great! These are beautiful.
Pat C. says
I completely agree with Shannon! Your paint and glitter technique gives the “plain” silver ornaments such a lovely, vintage look.♥
But the painted lace version is gorgeous, too!! I have to check out these stencils–it looks as if the adhesive-ness meant that you didn’t even have to worry too much about the stencil slipping while you were painting the ornament.: )))))
Thank you for sharing this wonderful project, Karen! xoxo
Karen Watson says
Thanks Shannon and Pat! Yes, it was a happy accident! I’m not sure what made me pour the glitter in, but I liked the effect too!
Pat, They are very easy to work with, they aren’t super sticky, but sticky enough to keep them in place pretty well. I didn’t have to redo any of them, all 4 turned out on the first try.
Sarah K says
Oh how fun!! So sparkly and pretty-just my style
Karen Watson says
Thanks Sarah!
Jil~Say It With Roses says
I can hardly wait to try this! Thank you so very much!!!!!
♥ Jil
Karen Watson says
You are so welcome Jil! Thanks for stopping in and leaving a comment!
patriciadavis says
these are so beautiful. can’t wait to try it myself
Karen Watson says
Thank you Patricia! I hope you have fun with this!
Dear Emmeline says
so pretty!
Karen Watson says
Thanks Jessica!
DeAdesign says
like!!! soooo amazing!!!
Karen Watson says
Thank you!
Artsy Chicks Rule says
Those are so pretty! I’ve seen those stencils but never bought any! I might have to try them. 🙂
Nancy
Karen Watson says
Nancy, These are truly my newest favorite thing! They are not like regular stencils, the details are so intricate it’s amazing! I think you will have fun with these, and there are so many to choose from. I used my Michael’s coupon to save money on them.
Kim @ Savvy Southern Style says
I love how these look very old. Just gorgeous.
Karen Watson says
Thank you Kim!