Mixed Media Collage Art
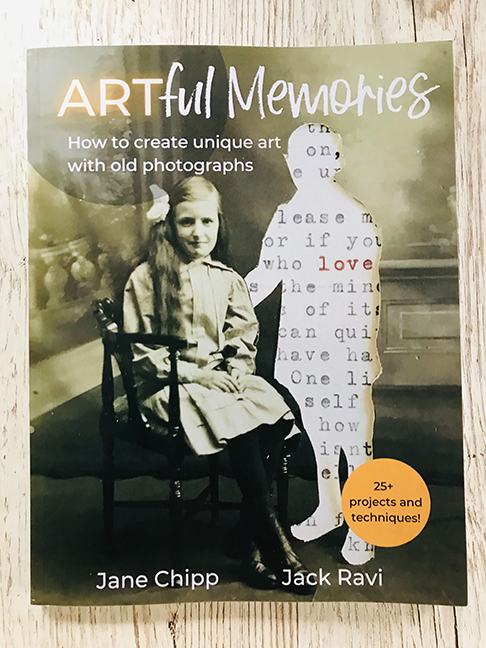
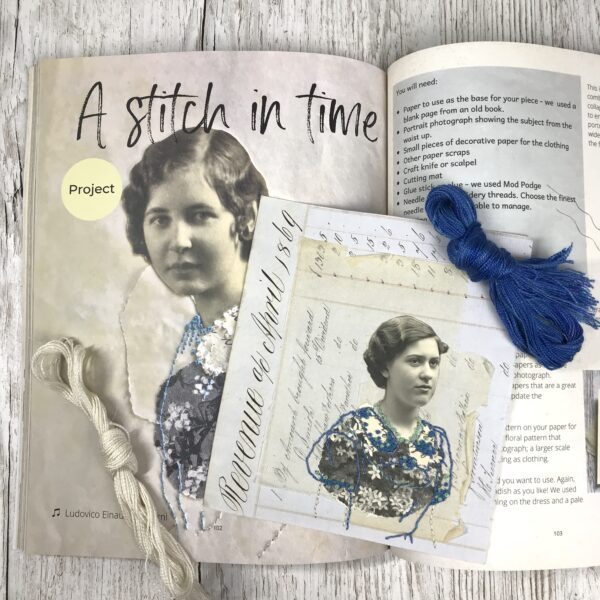
Hey guys, today’s project is by Mixed Media and Collage Artist Jane Chipp! She has created a wonderful Mixed Media Collage Art tutorial for all of us. You may recall Jane’s name, as she was one of our UK Design Team members during the last year and she is also one of our instructors over on our Premium Membership site. Jane has been working hard the last few months writing a fantastic new Craft book all about creating with Old Photos! The book is called Artful Memories and was cowritten by Jack Ravi, who is one of our newest Design Team members actually, and it is so much fun. The project below is actually one of the photo collages taken from the book. It’s called “A Stitch in Time” and it’s so lovely, I think you will get so much inspiration from this project! And now I will let Jane take it away in her words below:
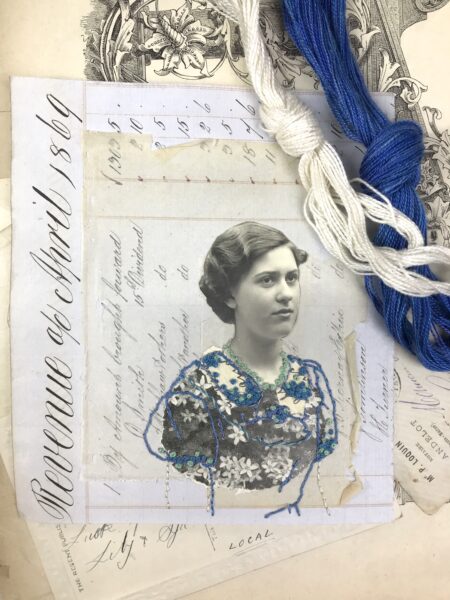
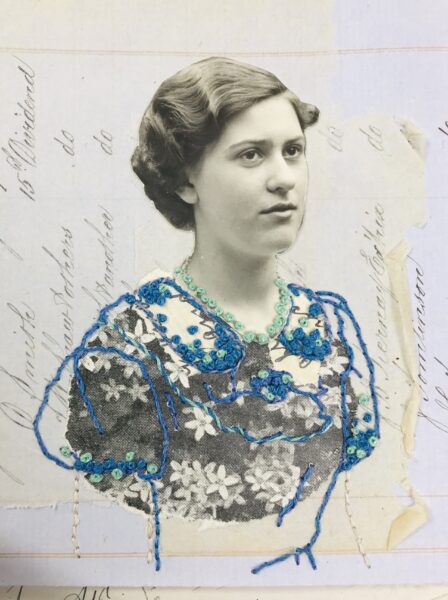
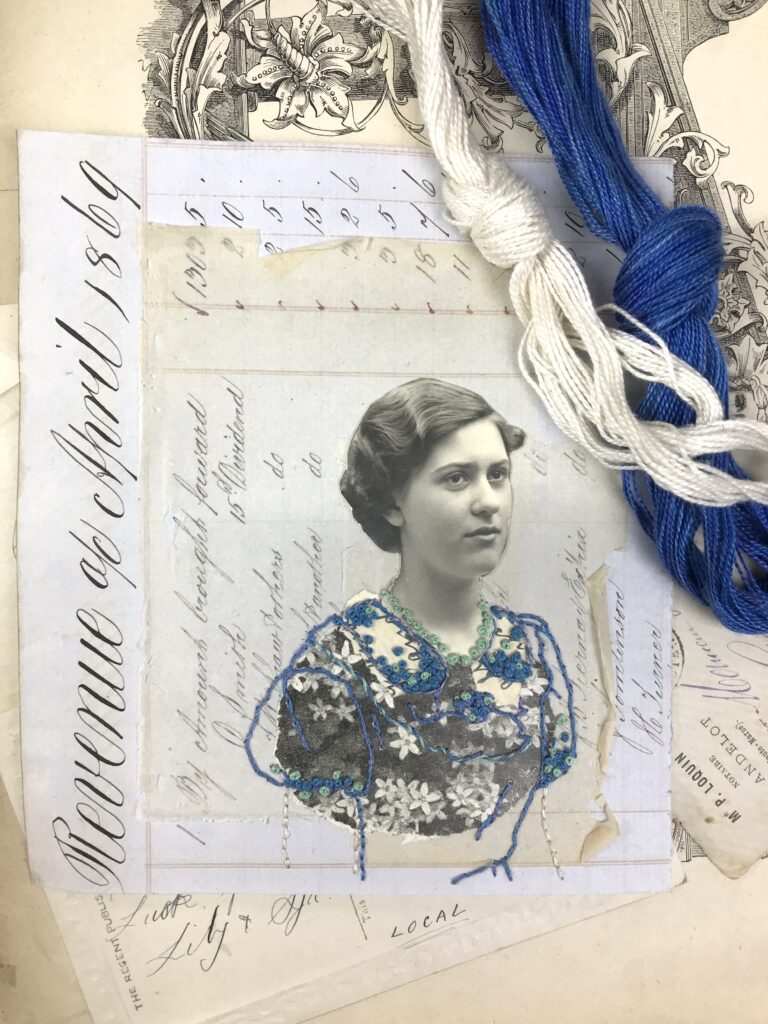
This project shows you how to add collage and stitch to an old photograph to create a beautiful artwork that could be framed or added to a media art journal. I’ve created quite a traditional vintage image using black and white floral paper but you could choose any papers and threads to create whatever look your prefer.
Art Supplies for Mixed Media Collage Art Project
What you will need:
- Paper to use as a base, I used a piece of old ledger paper with handwriting on it
- Portrait photograph showing the subject from the waist up (I’ve included a copy of the one that I used). For free downloads of other photographs go to the website for my book artfulmemoriesbook.com
- Small pieces of decorative paper
- Paper scraps to use as collage behind the photograph
- Craft knife
- Cutting mat
- Glue stick or glue such as Mod Podge
- Needle and embroidery threads.
- Tracing paper
- Pencil
- Lightweight iron-on interfacing
- Scissors
- Sticky tape
Mixed Media Collage Art Tutorial
Step 1
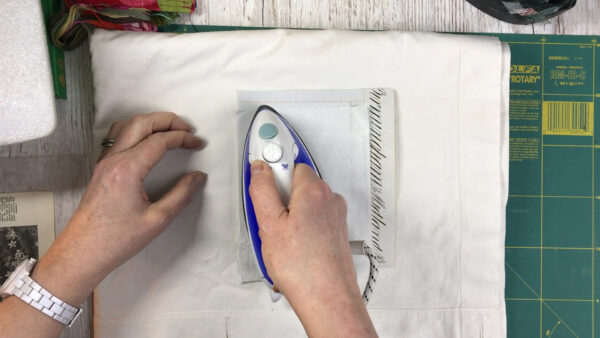
Before stitching, strengthen the back of your base paper with interfacing by ironing it on to the reverse. Iron-on interfacing has a side with dried glue that is activated by a hot iron; make sure you have the glue side facing the paper. Put something over the top so that the interfacing doesn’t stick to your iron as it is synthetic and could melt if the iron touches it directly.
Step 2
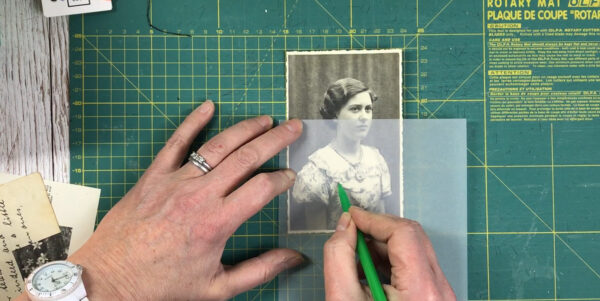
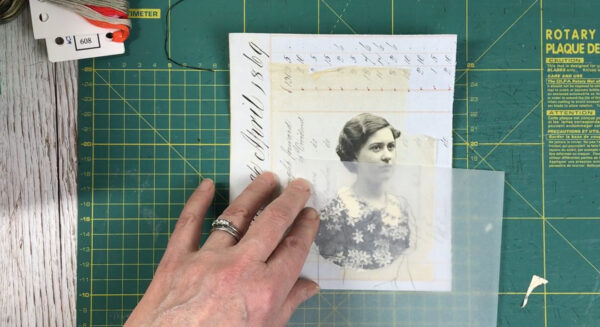
Place your tracing paper over the photograph. Using a pencil, trace the torso and clothing up to the neckline. Ensure that you trace any features of the clothing and the arms.
Step 3
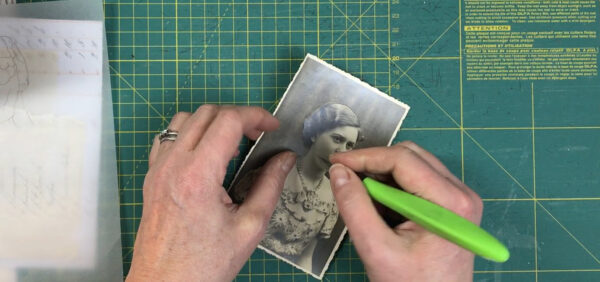
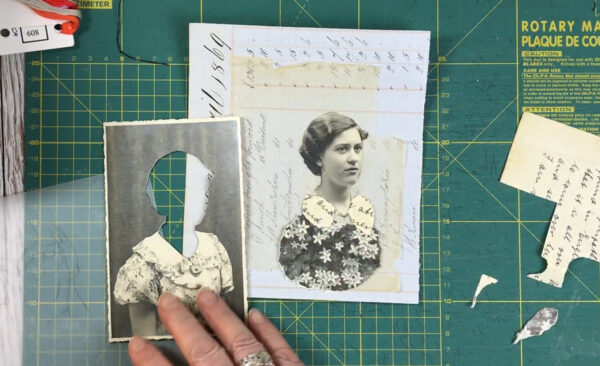
Using your craft knife, cut out the head and neck of your photograph. Take great care to be as accurate as possible.
Step 4
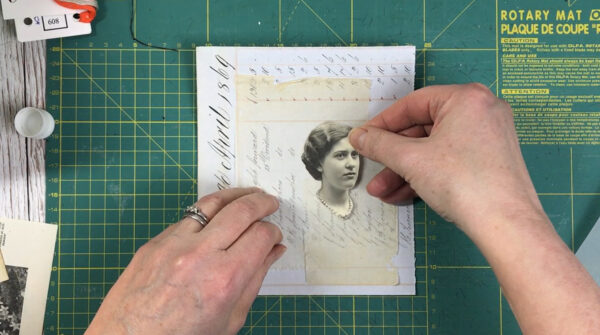
Create a collaged layers background. I used a piece of ledge paper as a base (there are several on the Graphics Fairy Premium site) and added some pieces of neutral colored papers on top. Place the photograph head onto the background to work out where you wish to position it; slightly off-center looks better than right in the center usually. Glue the head to the paper.
Step 5
Tear the pieces of decorative paper that you will use for the clothing roughly into the shape of the body. You can check the position of the pieces by placing the tracing paper over the top to see how it matches up to the traced lines. I like to have the clothing paper smaller than the tracing so that there are parts where the stitching goes off the sides of the ‘clothing’. When you are happy with your composition, glue the papers in place.
Step 6
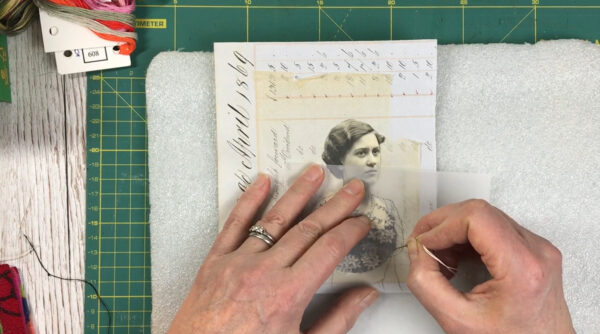
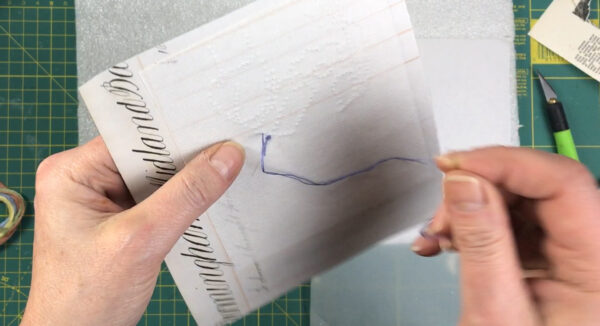
Place your page onto a soft surface, such as a folded towel. Line up your tracing paper so that it accurately meets the neck on your photograph. Use your needle to follow the traced lines and make dotted lines of holes. These will be the holes that you will stitch through.
Step 7
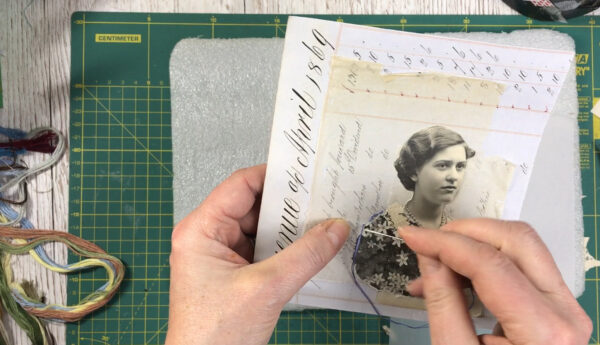
Thread your needle and knot the end of the thread. Starting at the back, stitch through one of the holes and attach the thread at the back under a piece of sticky tape.
Stitch along all the dotted lines that you traced. I used a continuous stitch and added some French knots for areas where I wanted more height.
This is one of many projects in the book which shows you numerous ways to use old photographs in your art.
Jane’s Mixed Media Art book ‘Artful Memories’ and can be bought on Amazon HERE.
I hope you enjoyed Jane’s project and that you will check out this beautiful book! Of course you could change up any of the elements in the project to make something all your own. You could use Fabric, Stamps, Postcards, Old book pages, print words, newspaper clippings, your own photography, lace, feathers, scrapbook paper, collage papers, Acrylic Paint, Charcoal, Wax and pretty much any artistic mediums or variety of materials that you can think of! Just use your creativity and I’m sure you will come up with tons of ways to alter this.


Linda says
Such a lovely project! The colorful stitching adds a wonderful texture to old photos.
Karen Watson says
Yes, she often does stitching on her projects and it’s always so lovely! 🧵