Milk Carton Crafts
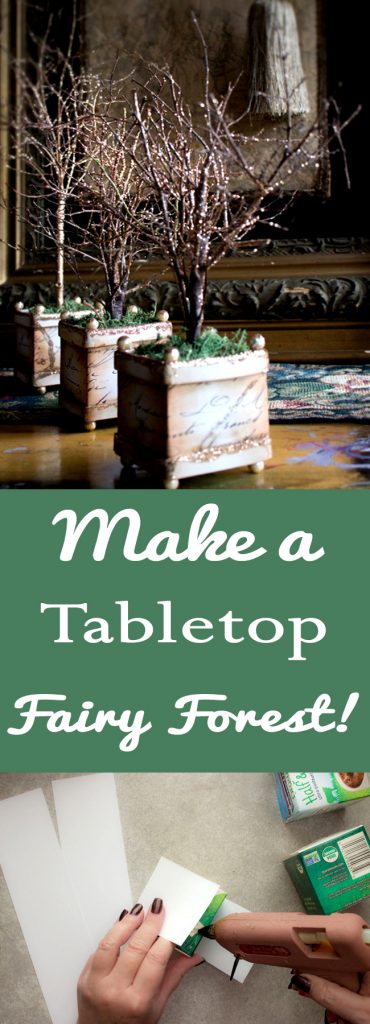
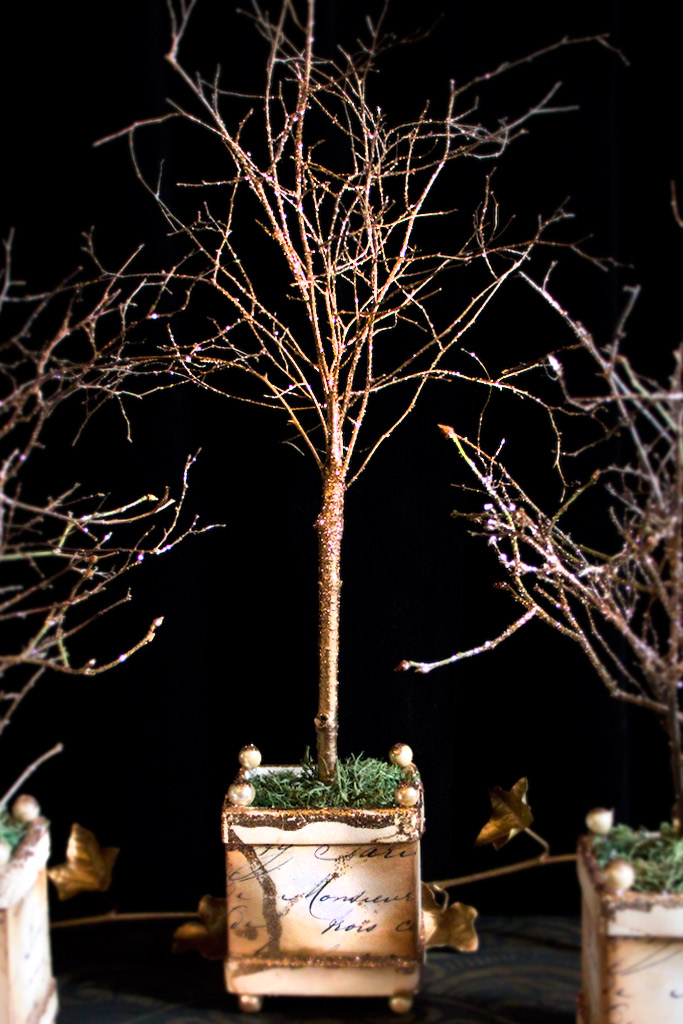
Hello, my wonderful Graphics Fairy Friends! Heather from Thicketworks here with a fun project that uses upcycled materials and twigs from the yard! You are going to love this Milk Carton Craft, as we learn how to make beautiful French planter boxes for a Tabletop Fairy Forest. This DIY craft project is perfect for your Holiday, or special occasion, table. Follow the full tutorial below to make this beautiful project.
This humble adaptation takes inspiration from the garden boxes created in 1670 by André Le Nôtre for the growing of orange trees at the Château de Versailles under the reign of Louis XIV.
This classic design depends on a basic square box, so that got me to snooping through the recycle bin…I’ll bet you can find several alternatives if you ransack the pantry!
If you’d like to create a Magical Tabletop Fairy Forest, you’ll need a few basic ingredients –
Milk Carton Crafts Supplies:
- Small square open topped boxes (3)
- A Craft Knife
- A ruler
- A pen
- A Hot Glue Gun + Glue Sticks
- White Cardstock
- Your favorite Graphics Fairy Images – I used the exquisite French Handwriting Printable
- One white adhesive foam sheet
- Scissors or Snips
- One Artificial Berry Spray + wire cutter
- A Needle Tool
- Foam Packing Material sized to fit into the French Mini Planter Boxes, & cut into squares
- Craft Moss (I got mine at the Dollar Store)
- Twigs! Lots of Twigs!
- Brown Floral Tape for binding the twigs into Fairy Trees
- Optional: Gold Spray Paint
- Optional: your favorite shade of Distress Ink & a Blending Tool for adding instant history…
- Spray Adhesive
- White School Glue
- Glitter!
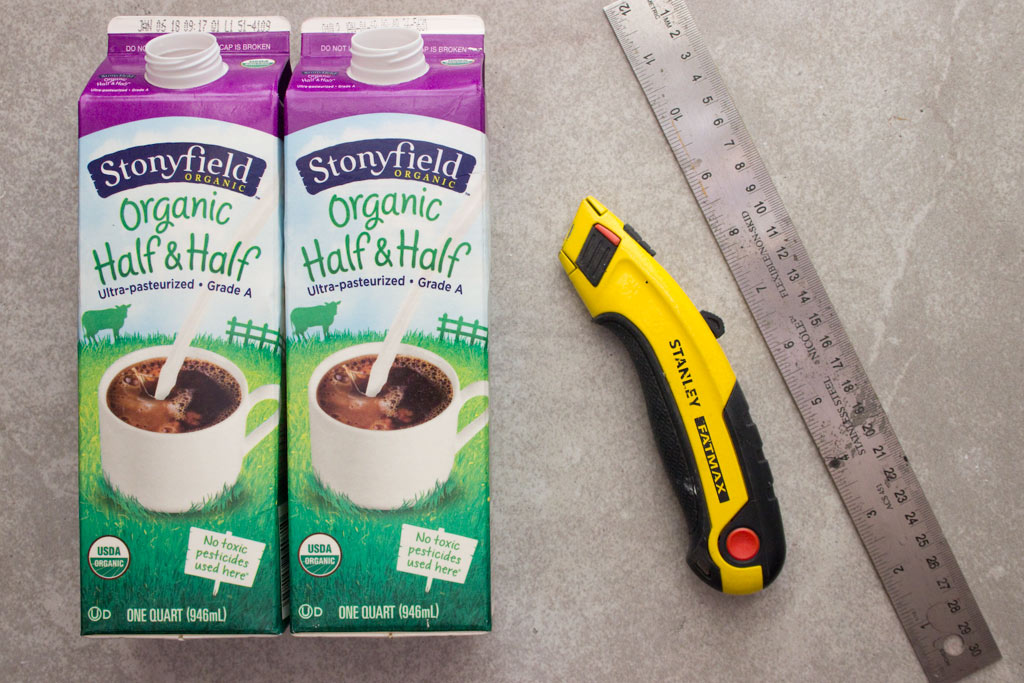
These quart Milk cartons were perfect! (or technically Half & Half Cartons, but milk is fine too) They are square, and it’s possible to get 4 of them from 2 cartons…(only 3 required for this project)
A quick wash, and they are ready to become something glorious!
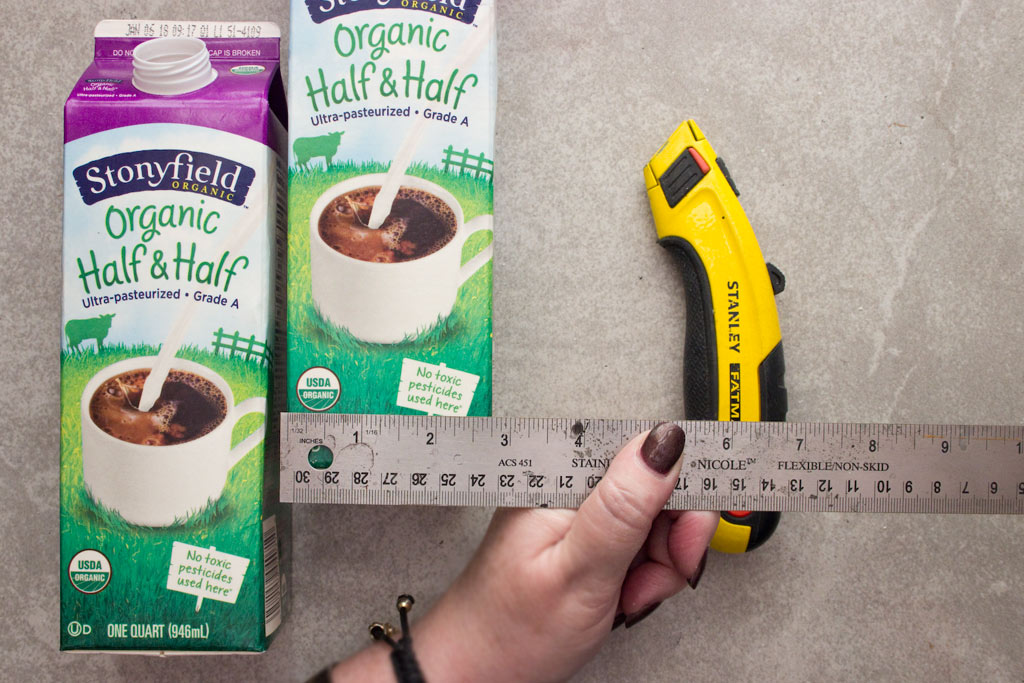
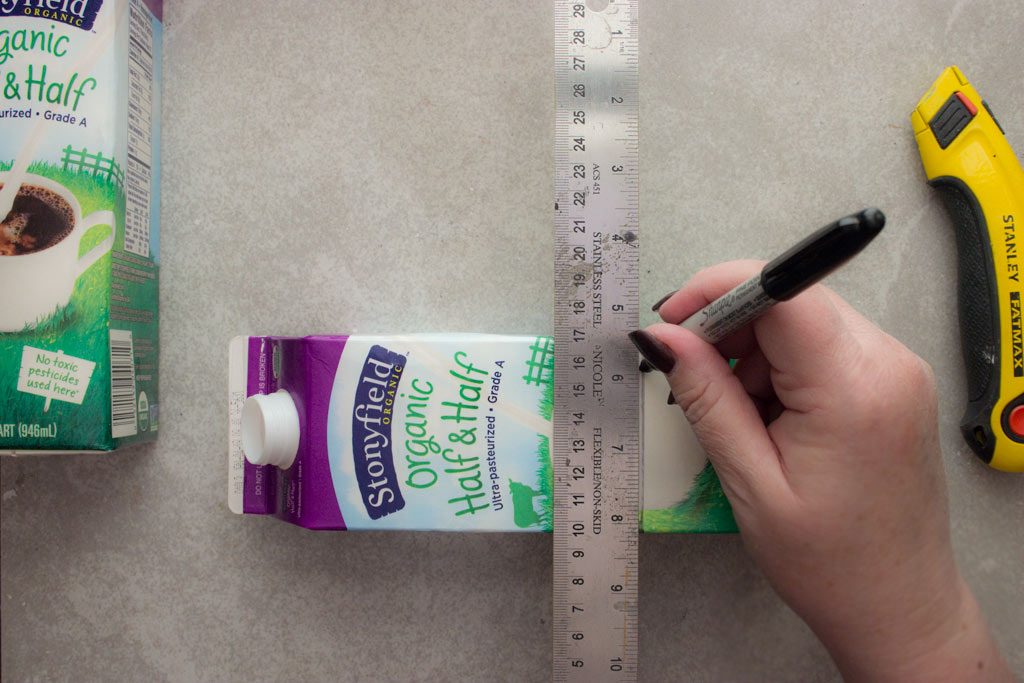
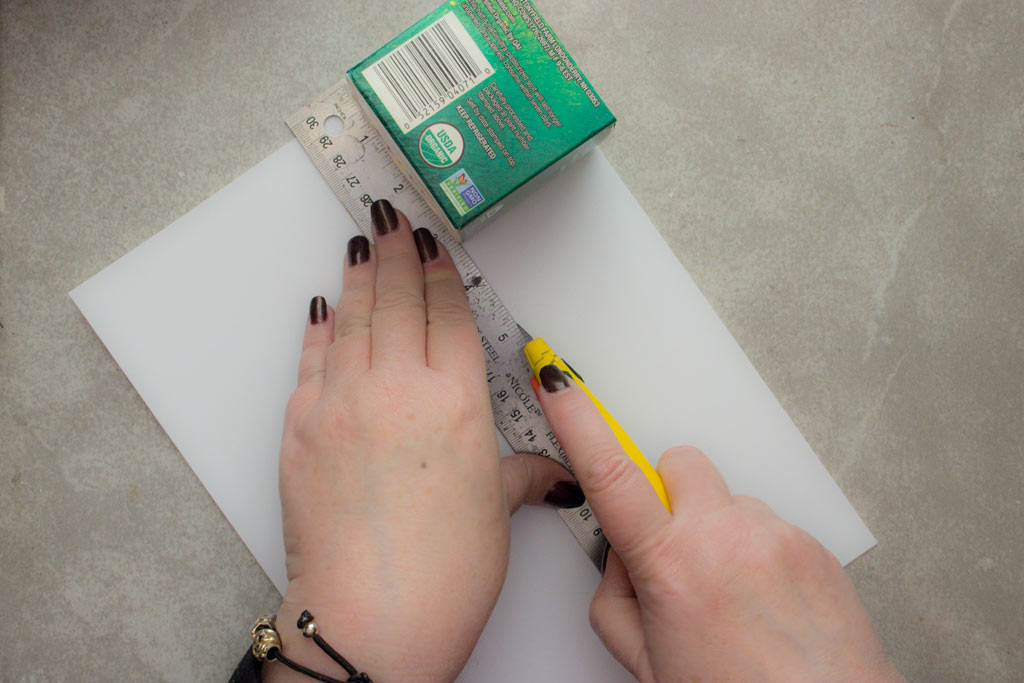
Decide which square empty boxes or cartons will work for you, and measure the width:
Mark a cut line the same distance from the base as the width of the box. In this case, 2 3/4 inches from the base:
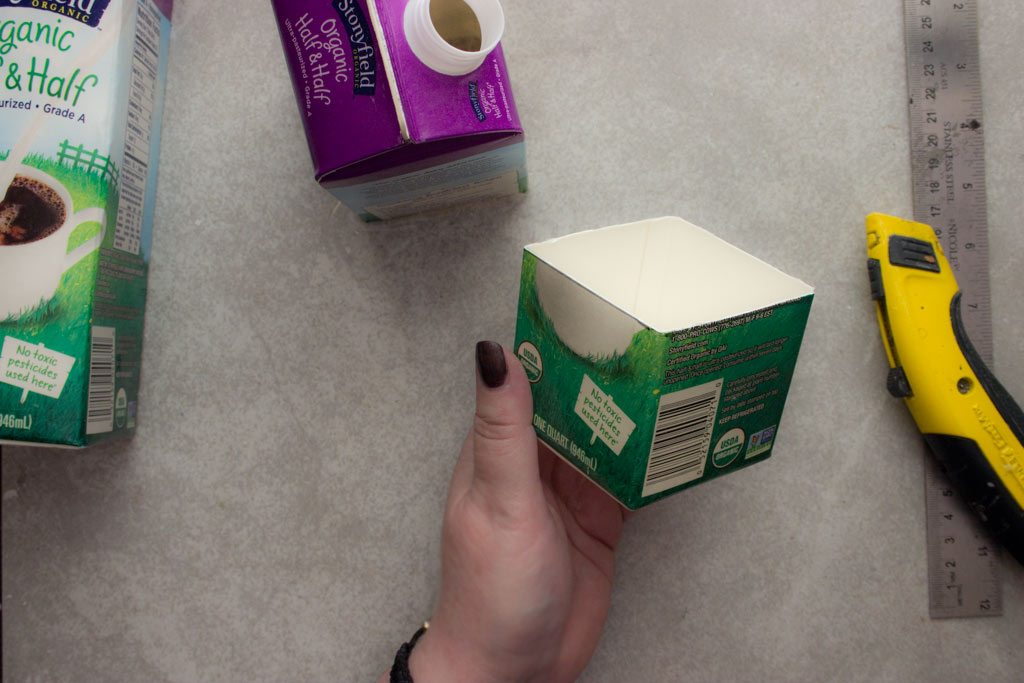
Carefully cut through the sides of the box or carton, attempting to keep the line even all the way around.
The result should look something like this:
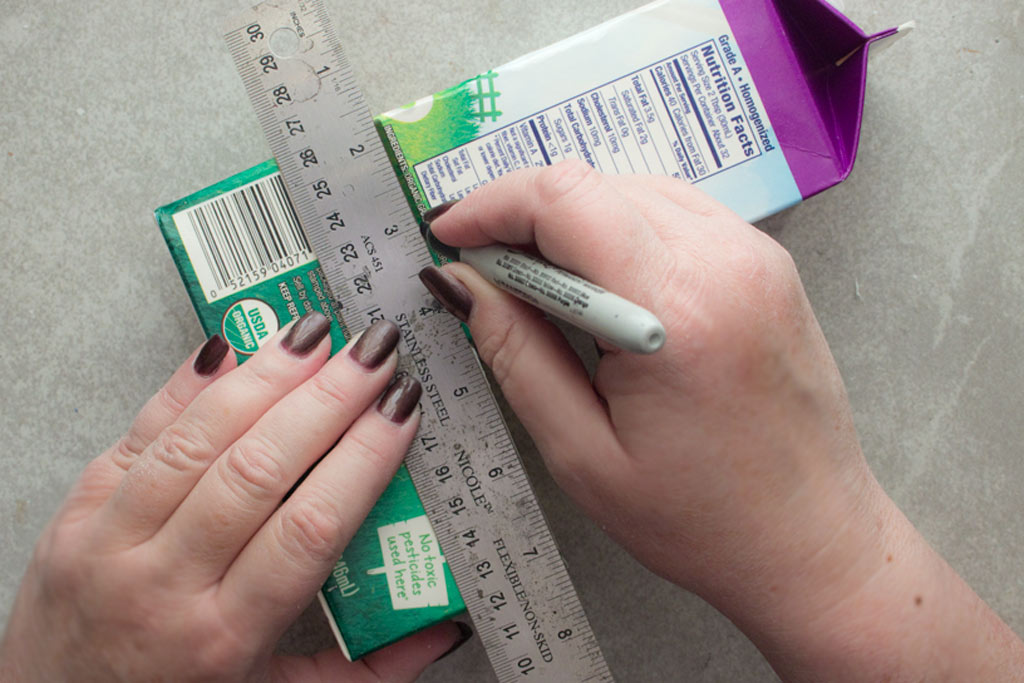
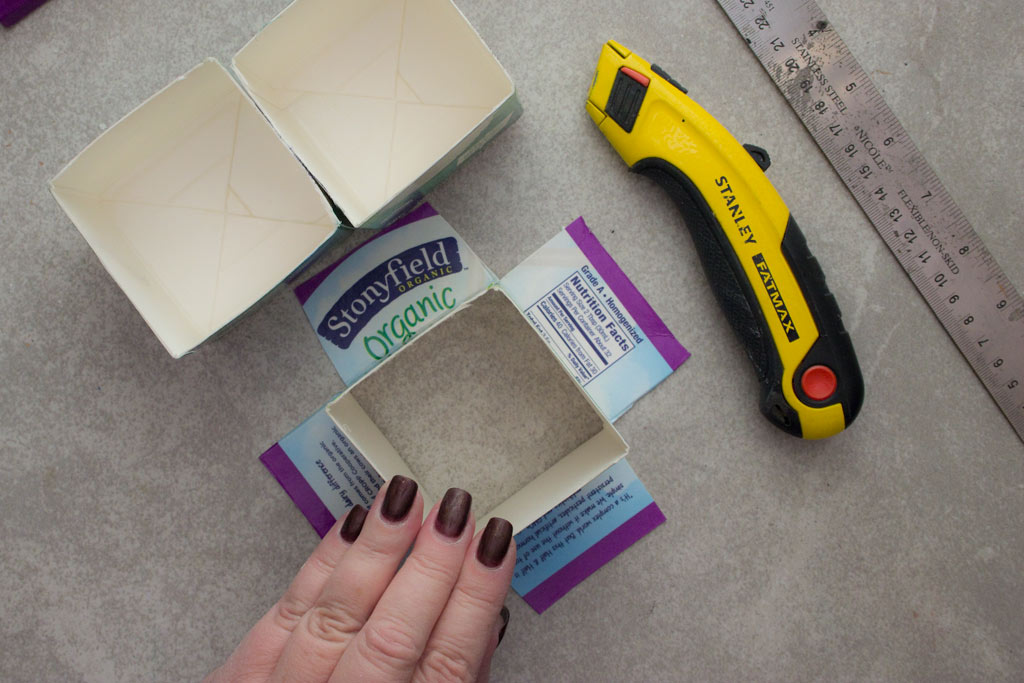
Next, use your first box to determine where to cut box number 2.
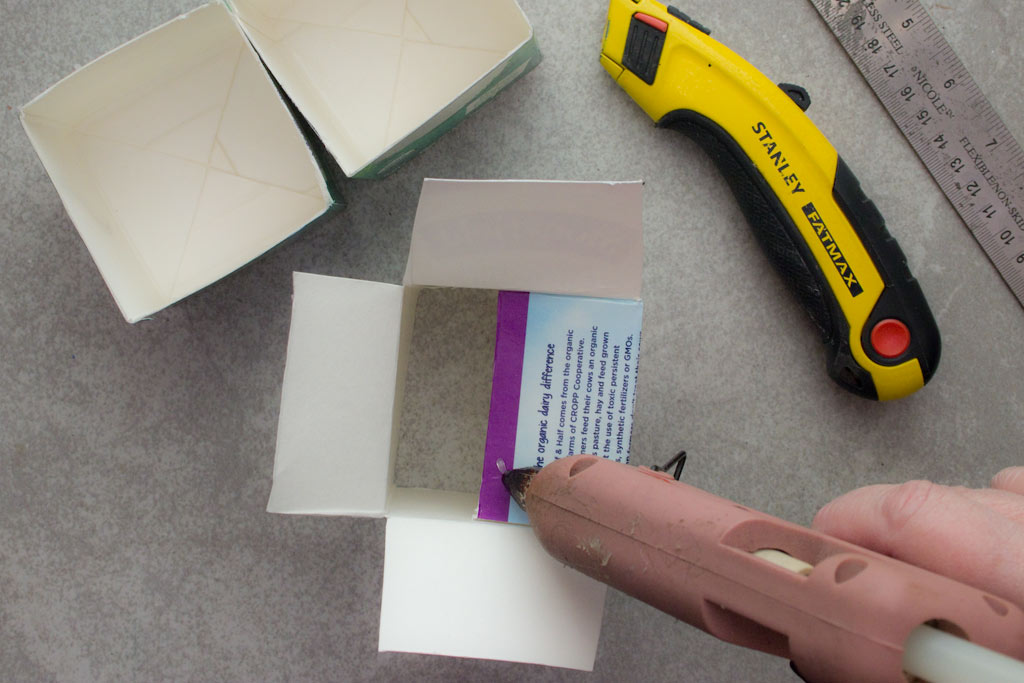
If, like me, you’re fashioning a 3rd box from the remainder of the carton, measure the height of the sides, then cut 4 flaps long enough to overlap, with slightly angled sides on two of them:
Use hot glue to assemble the flaps of your box – first folding in the square flaps:
Holding in place until the glue sets:
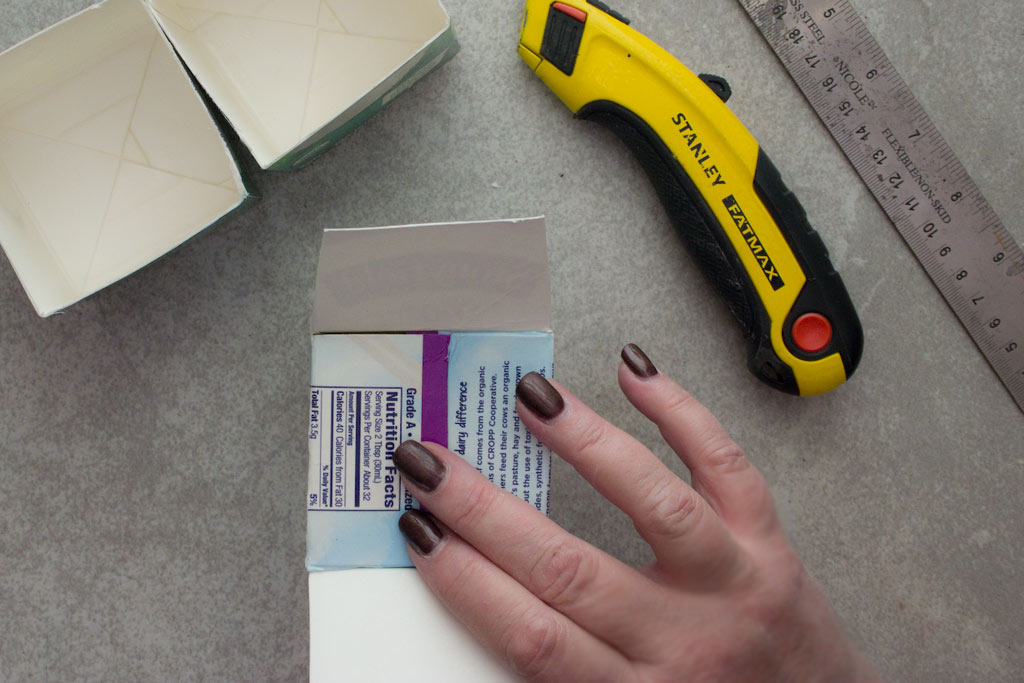
Then gluing the slightly angled flaps – one on top of the other:
Press in place until the glue sets:
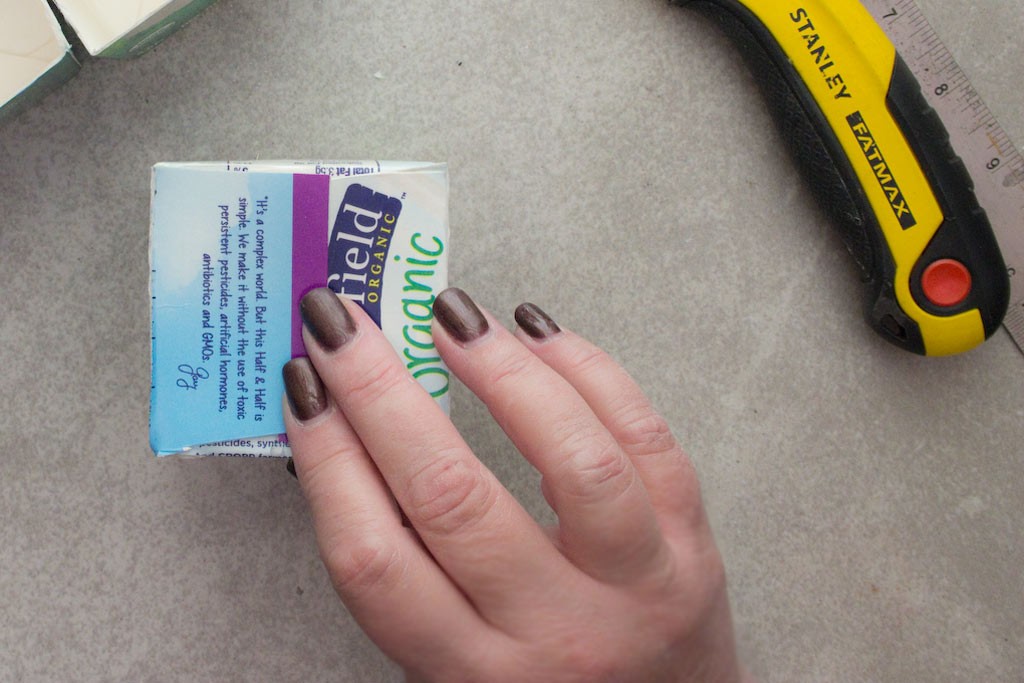
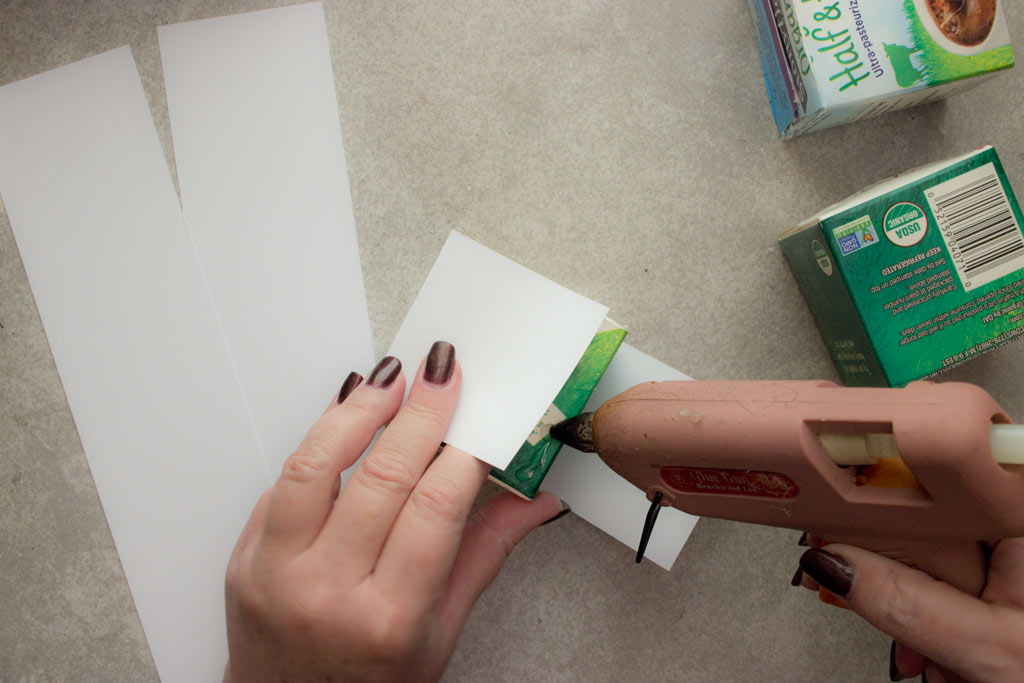
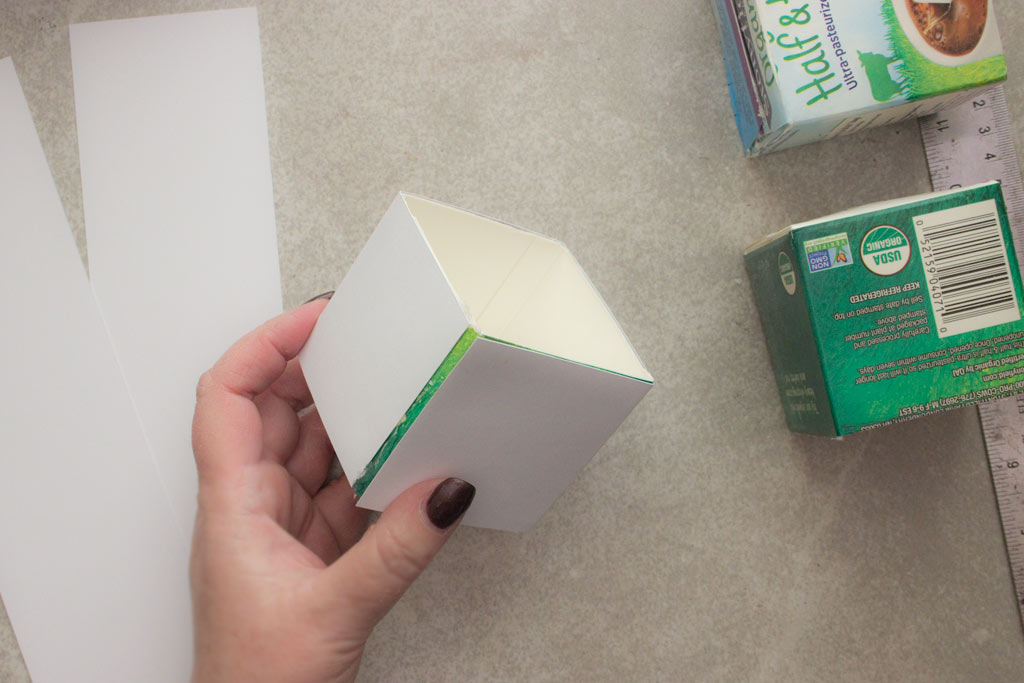
If your boxes are brightly colored, like mine, cut 3 strips of white cardstock to cover all those barcodes!
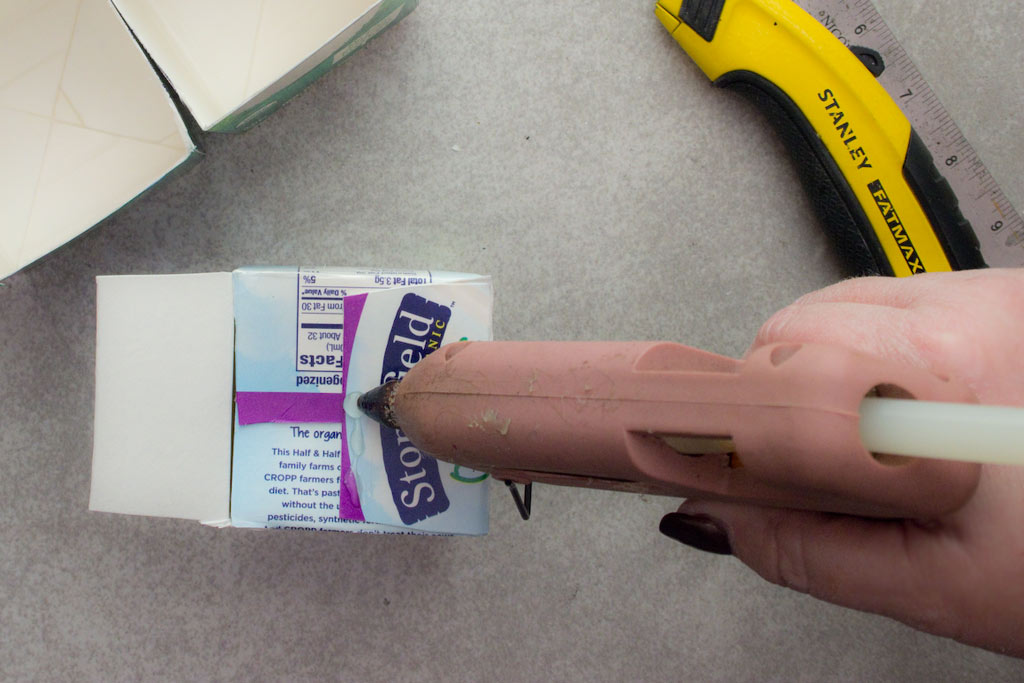
Glue with whatever adhesive you like – I had the glue gun out, so that’s what I used…
Because my cartons are slightly larger than the length of an 11″ strip of cardstock, a tiny bit of bright green is still visible. Not a problem.
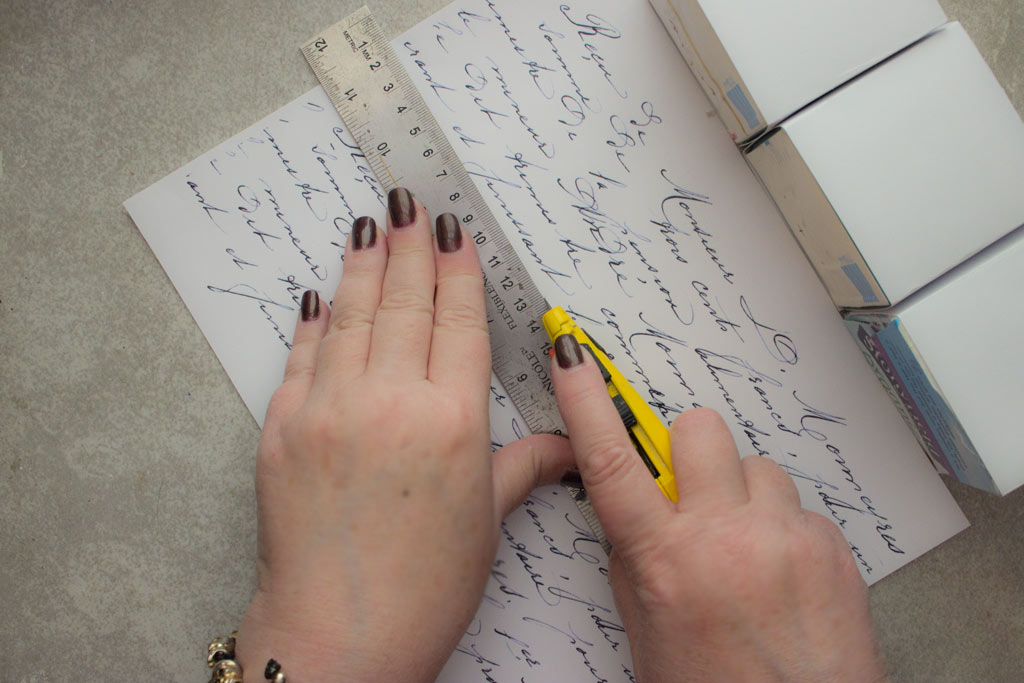
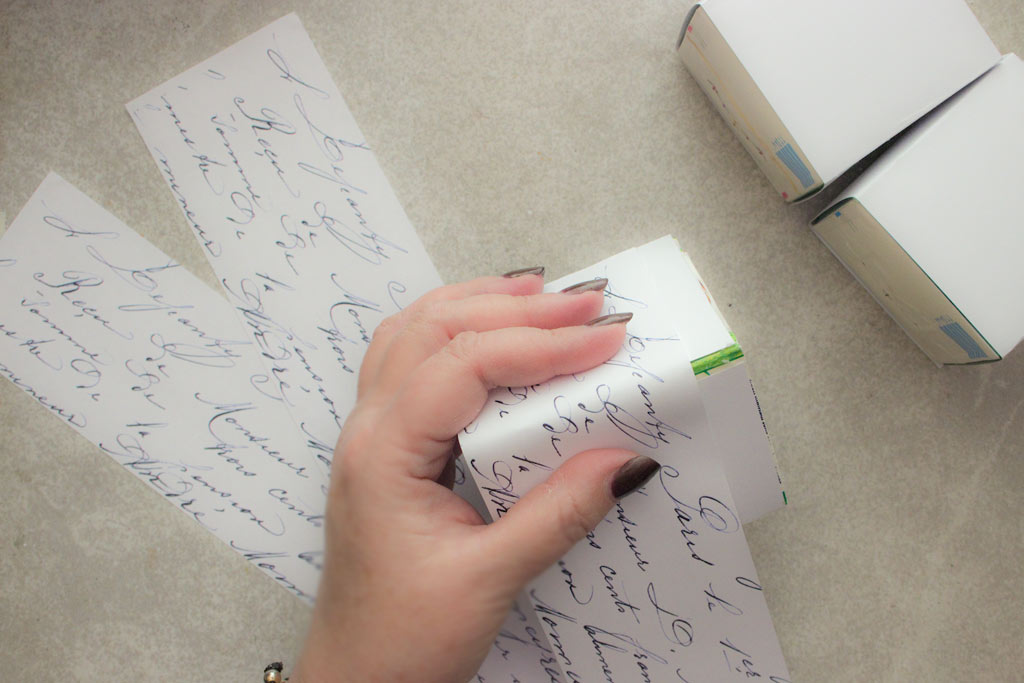
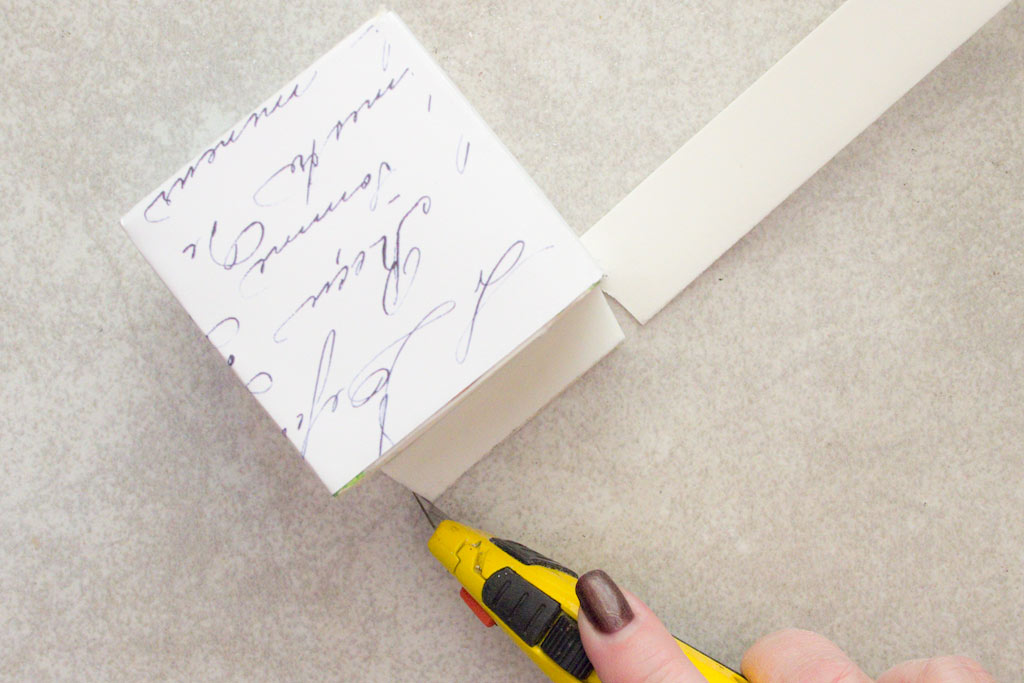
Cut 3 strips of your chosen graphics, the same width as the height of the boxes.
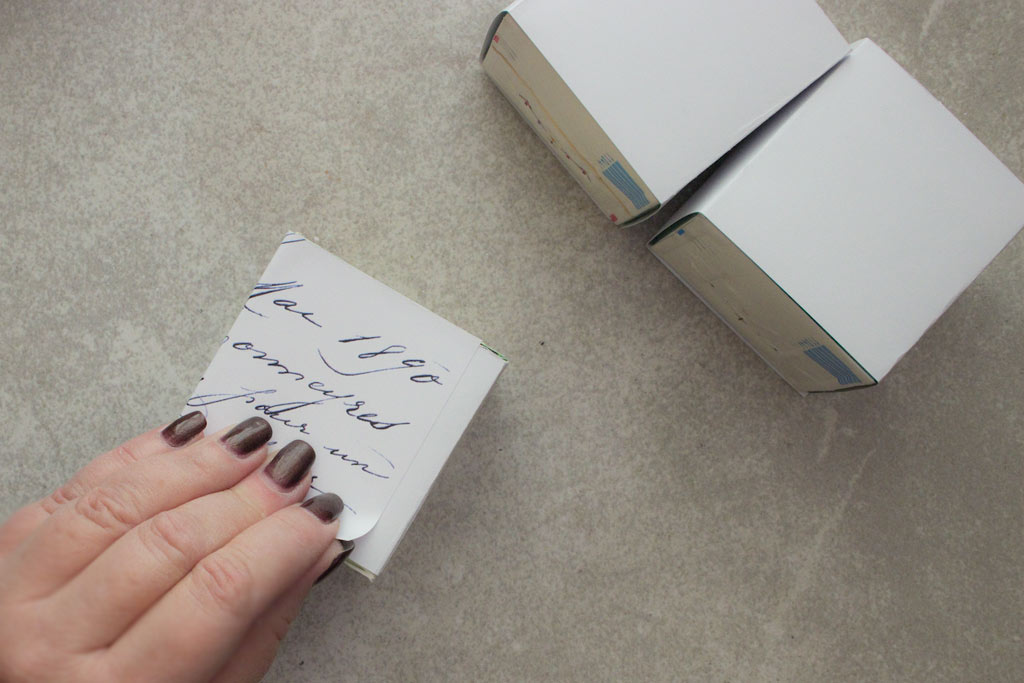
Take care to offset these strips, so that the exposed box is covered:
Glue the graphics in place:
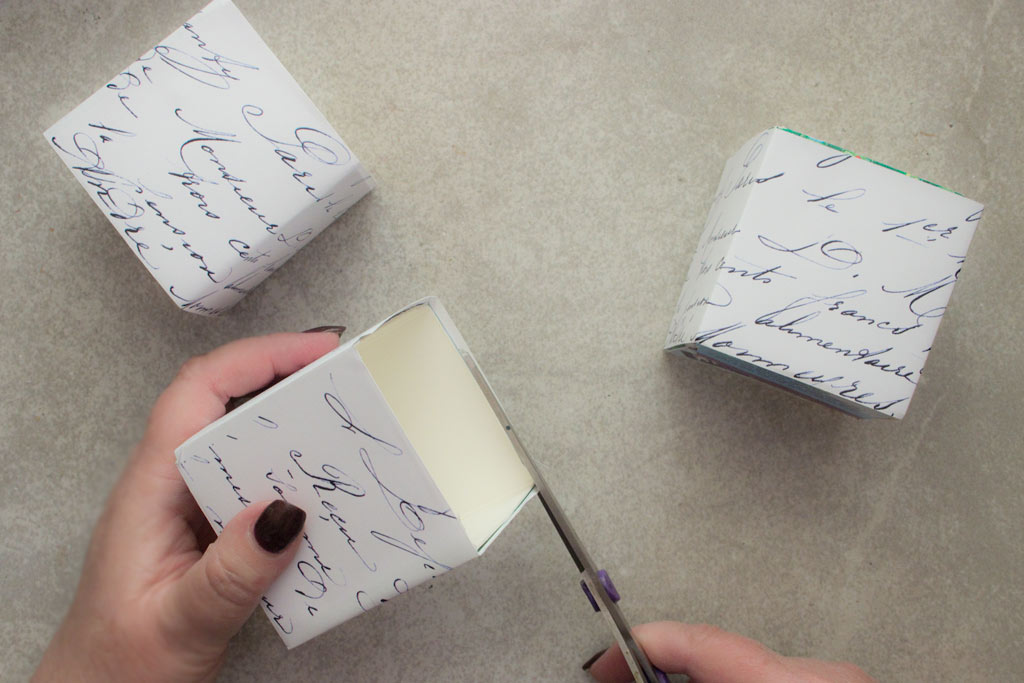
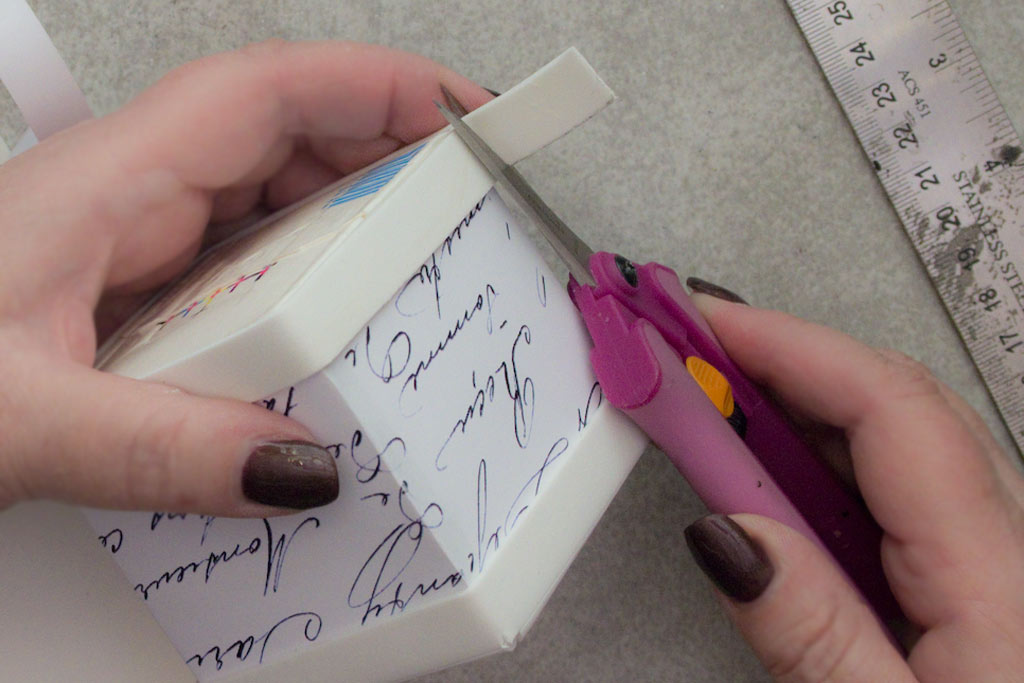
Trim away any excess with scissors. If your strips are slightly too short – not to worry, we’re covering up the top and bottom edge of the boxes.
Adhesive Foam Sheets – you can never run out of uses for them!
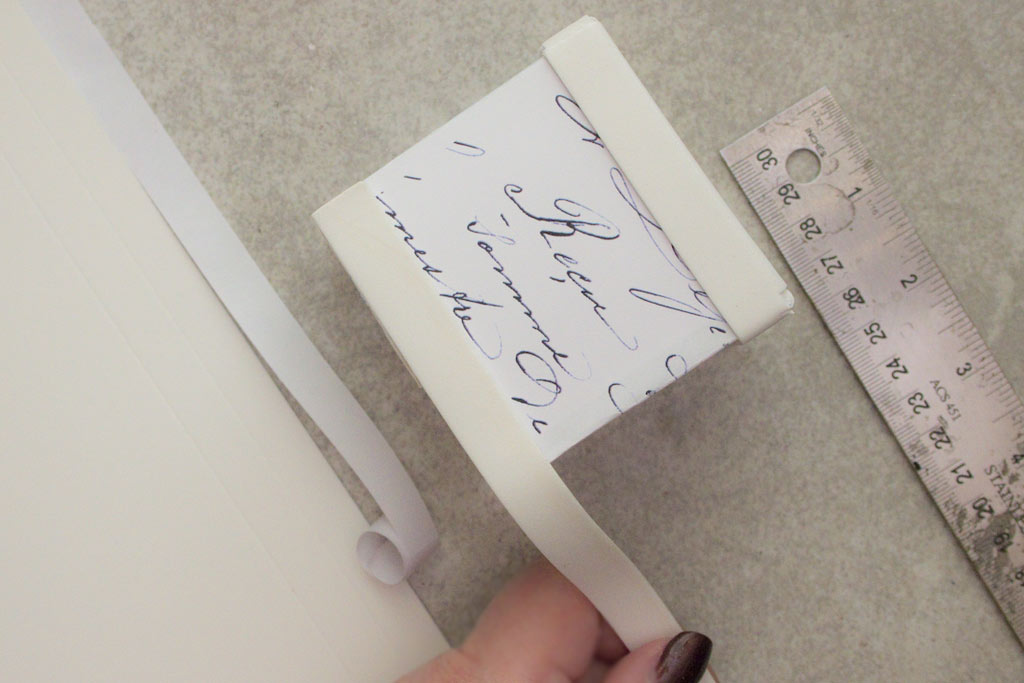
Because they are 12″ long, strips of this foam will easily circumnavigate our little box edges!
Which is what we want – creating the appearance of substantial top and bottom boards is a must…
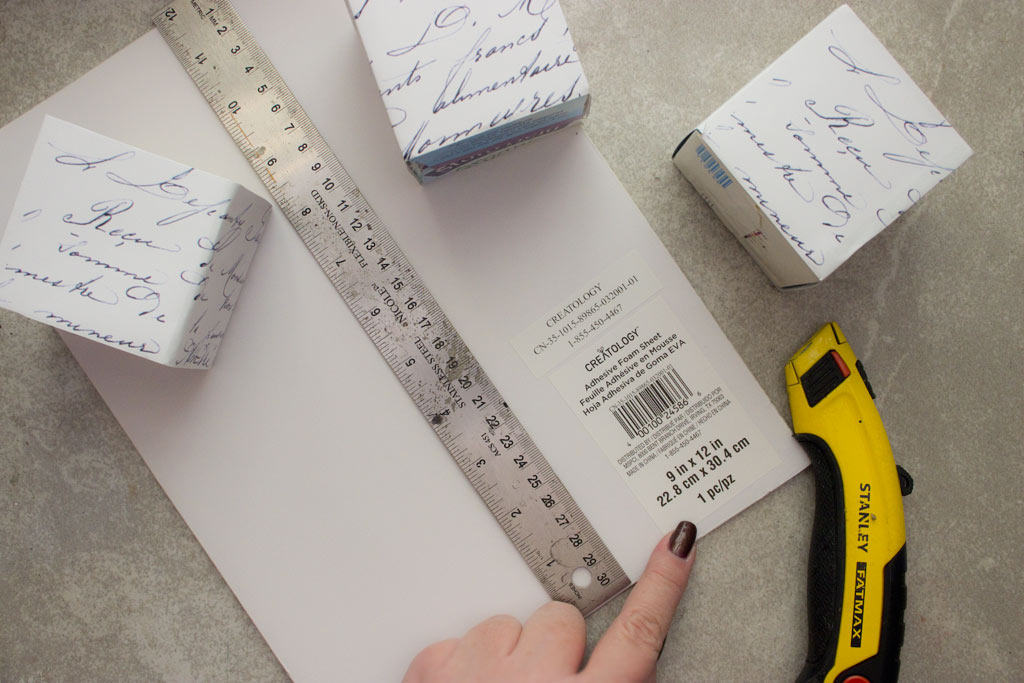
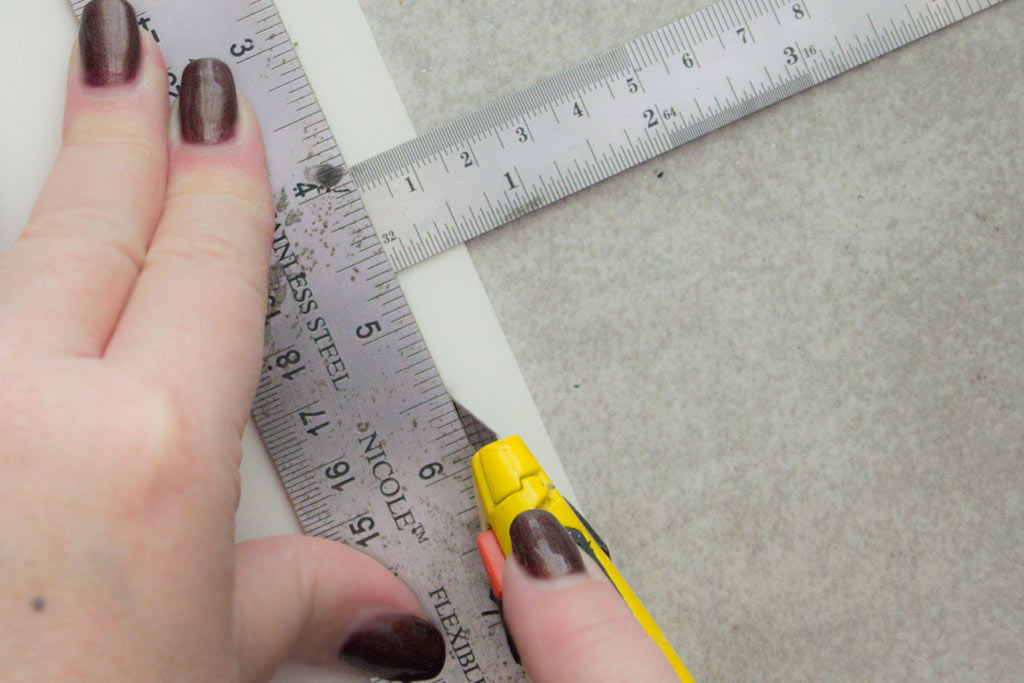
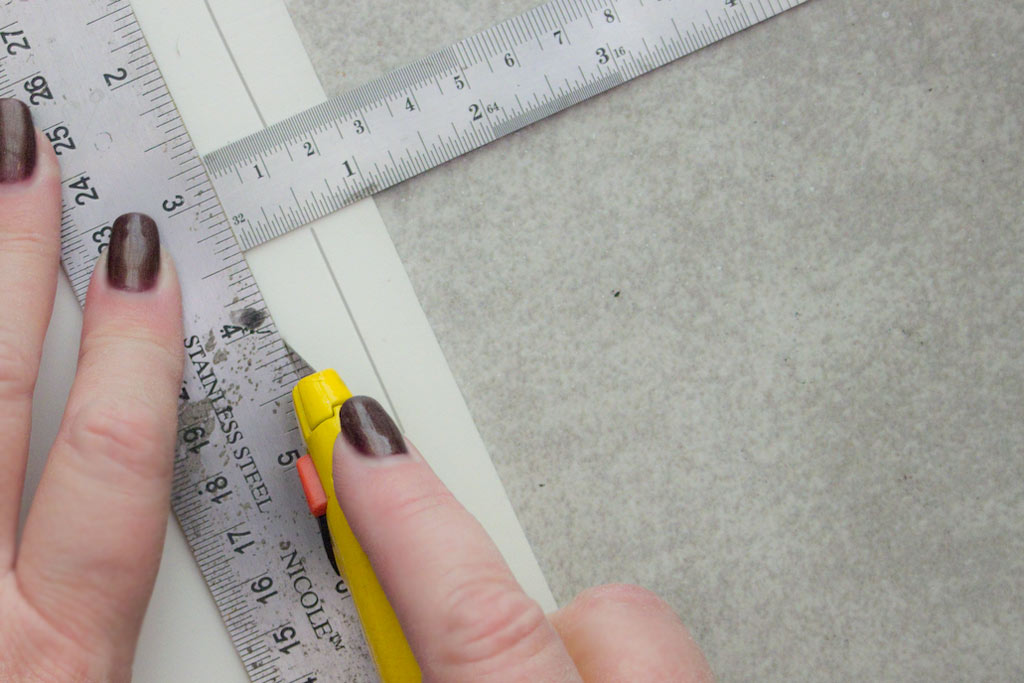
Score the foam all along the length, 1/2 inch from the edge.
Then, CUT the foam at the 1 Inch mark, creating a long strip that will fold lengthwise.
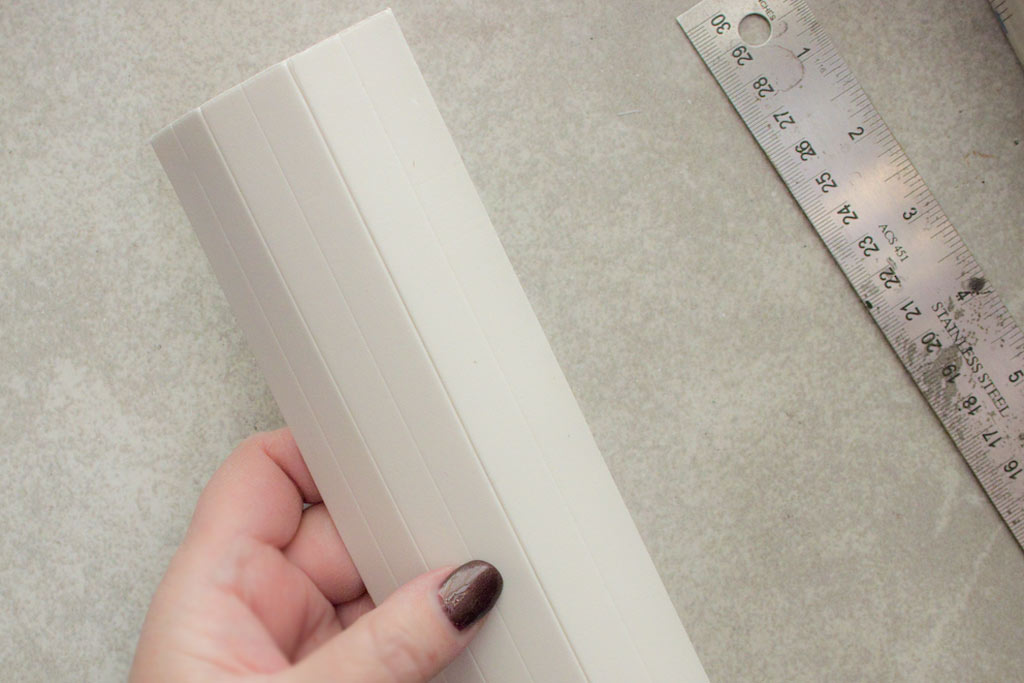
Do this for a total of 3 strips, each with a score line along the center:
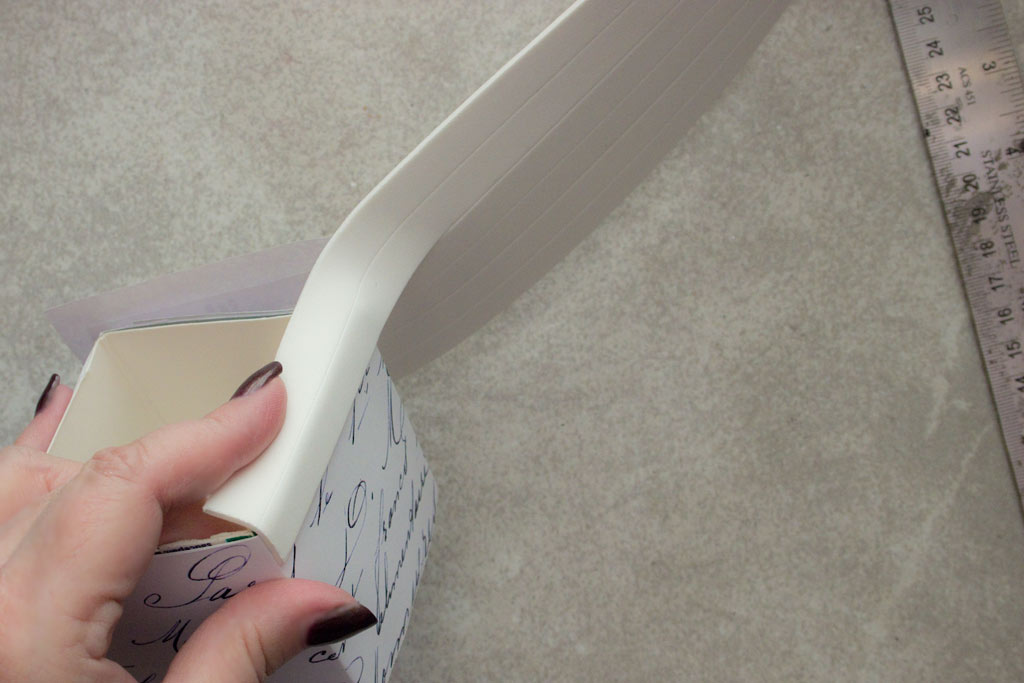
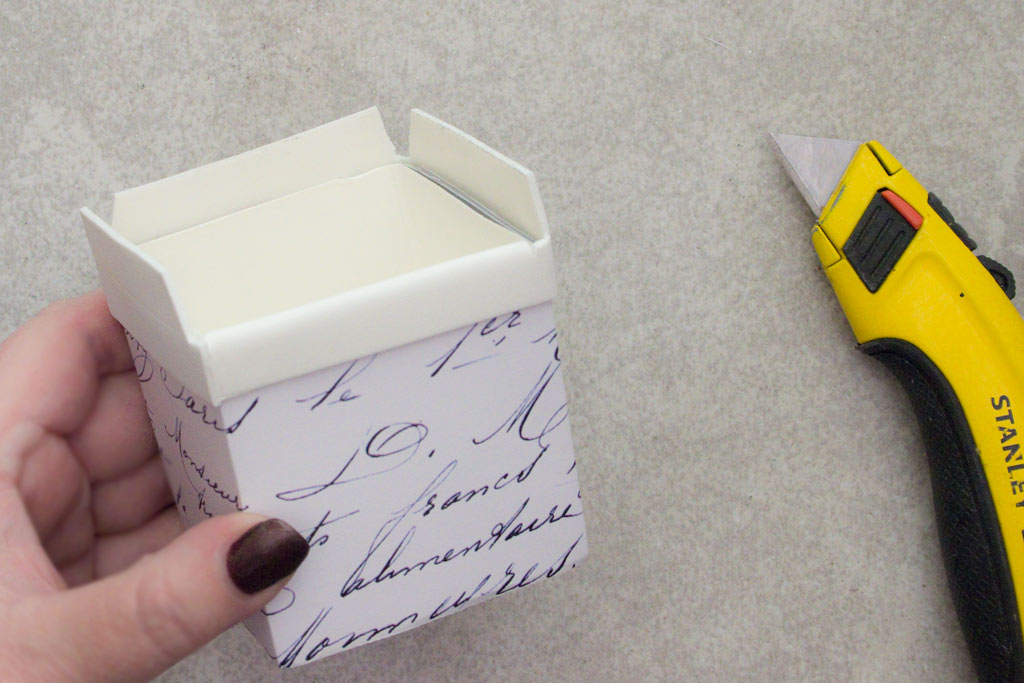
Line the foam up with the upper edge of the box, beginning at one corner:
Make little snips or cuts at the corners – this will allow the foam to fold over the upper edge neatly.
Fold the first segment inside the box edge:
Work your way around the upper edge, adding little snips at each corner, then folding the flaps inside:
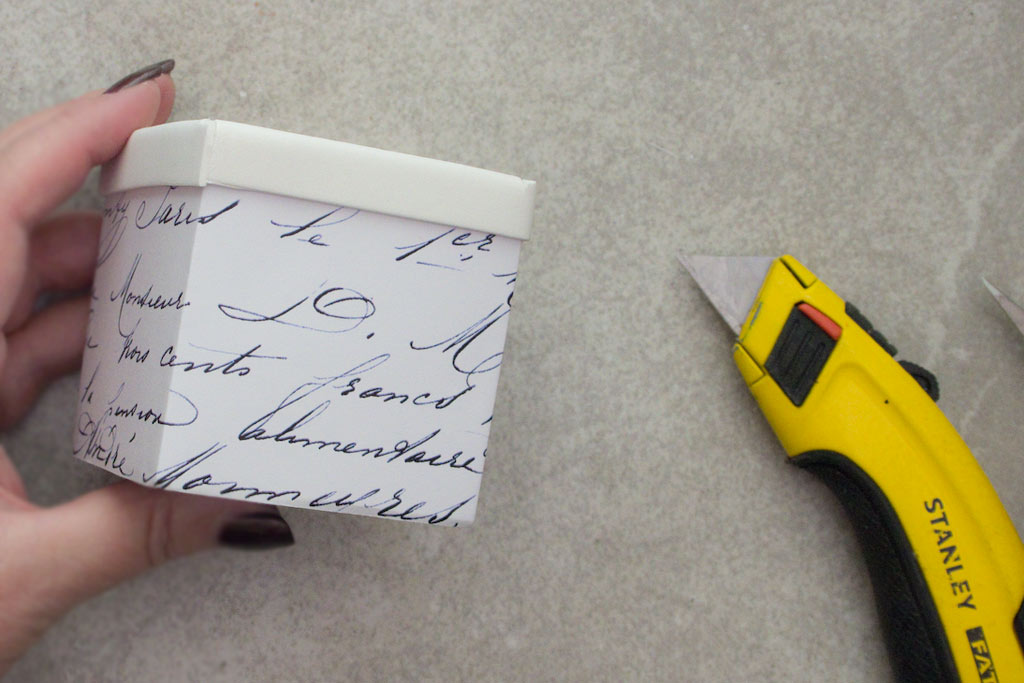
Trim away the excess when you’ve reached the last corner.
Cut 3 more strips of the adhesive foam, 1/2 inch wide, and apply along the base of each box:
Trim away the excess when you reach the last corner:
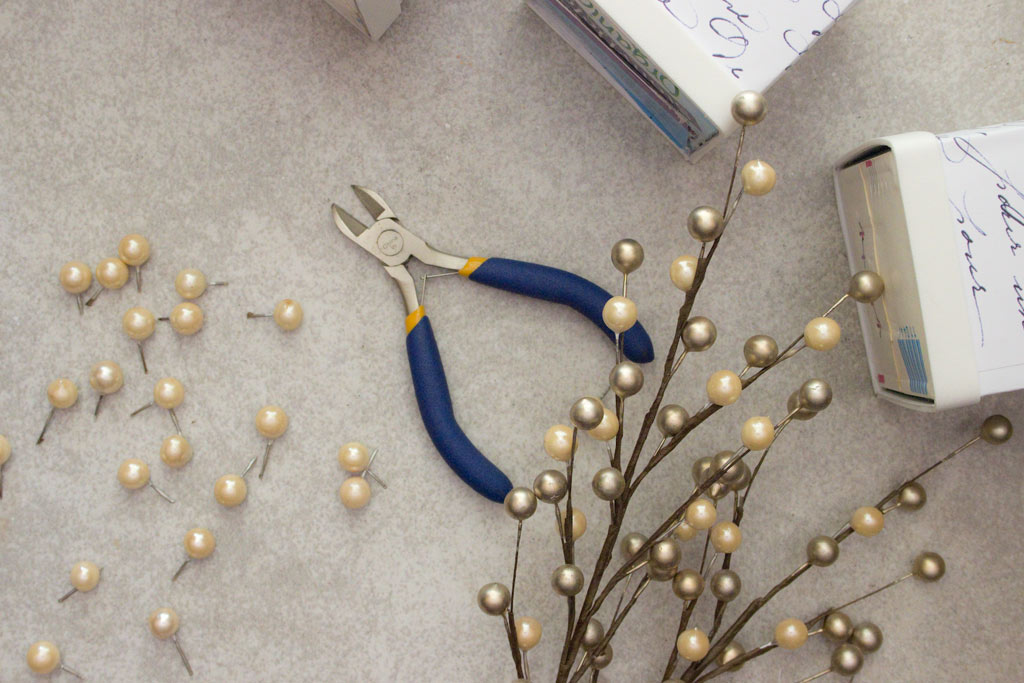
Sneak away with one of the lovely berry sprays we all have around the house and snip off 24 berries + tiny tails of wire!
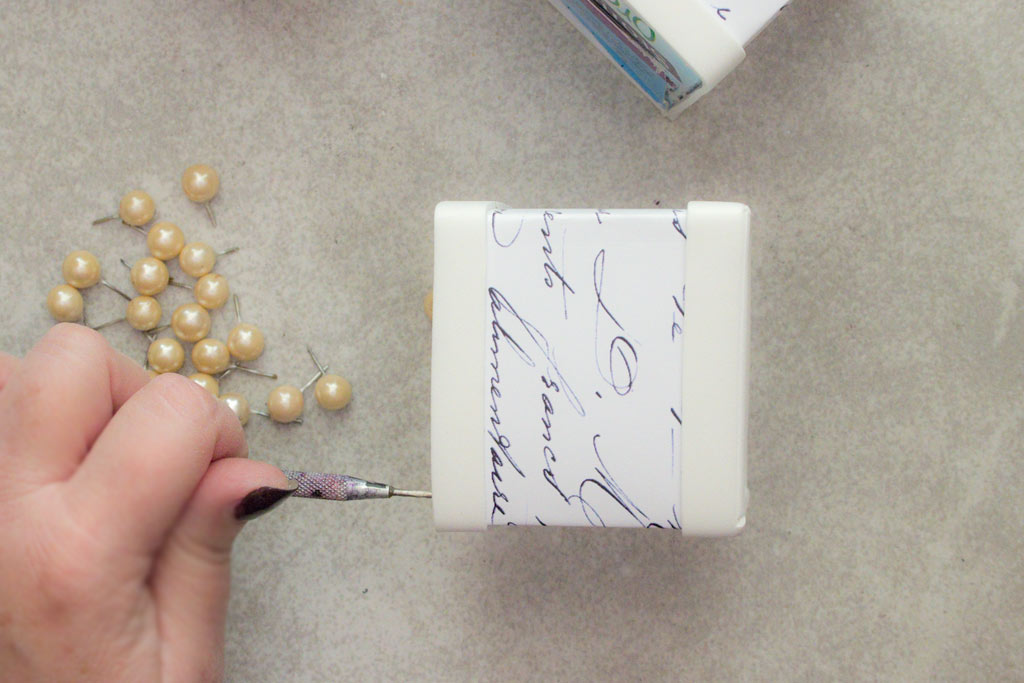
Use a Needle Tool (or a nail, whatever you can poke a small hole with) to make tiny holes in the corners of the bottom of each box:
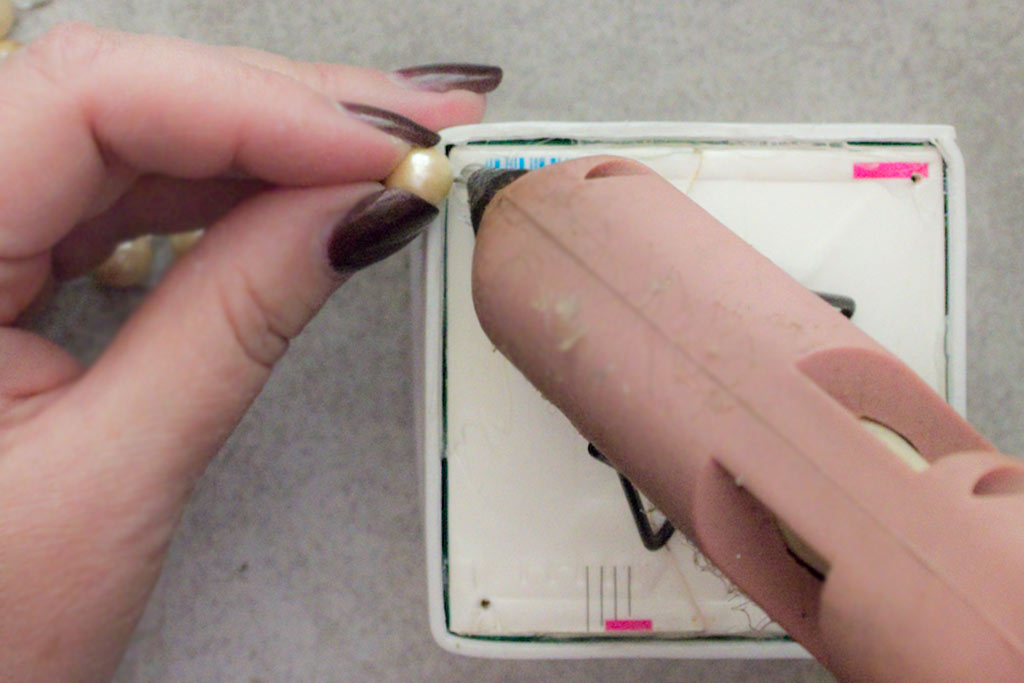
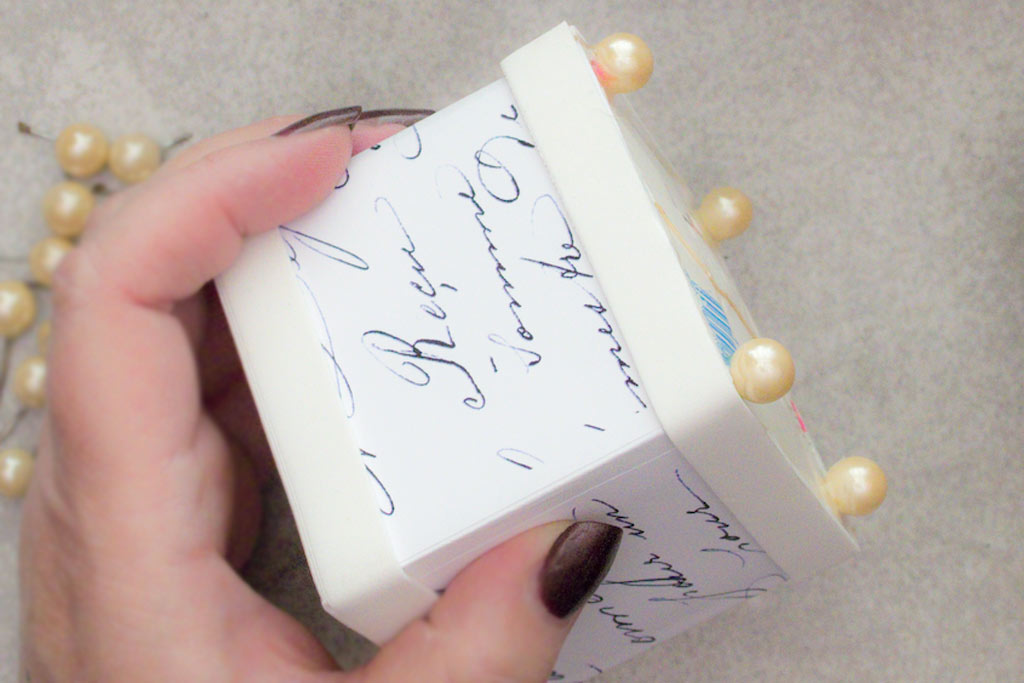
Apply hot glue at the hole, then insert one of your purloined berries…these will be the feet of your boxes!
Once the glue has set, it will look like this:
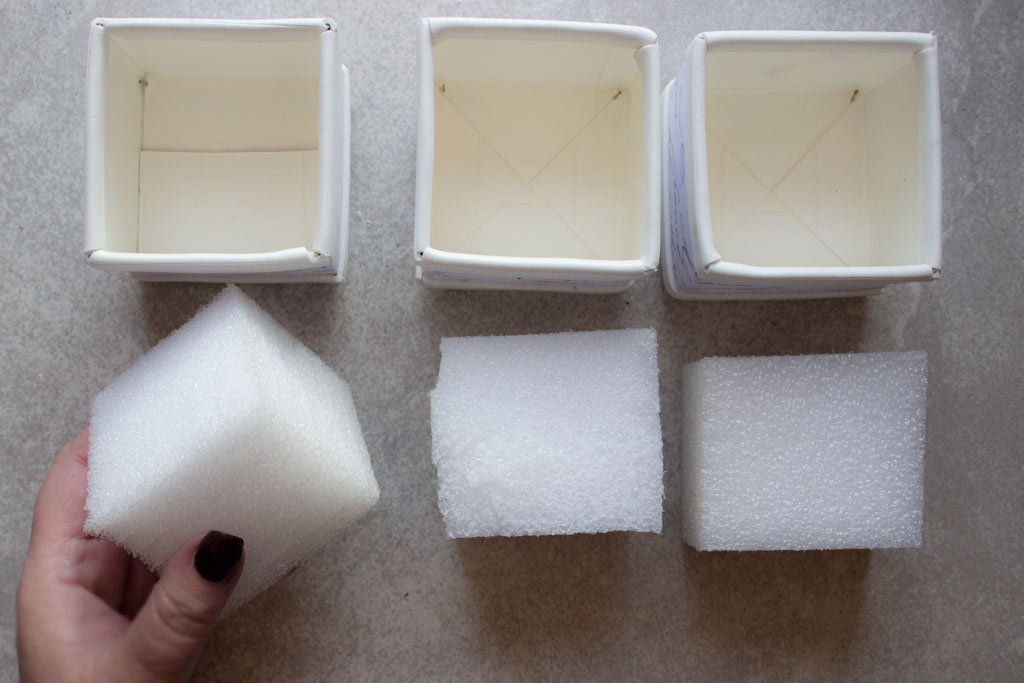
Rummage around for some packing foam, and cut it into squares that will fit into each box, almost filling it to the top…(but not quite!)
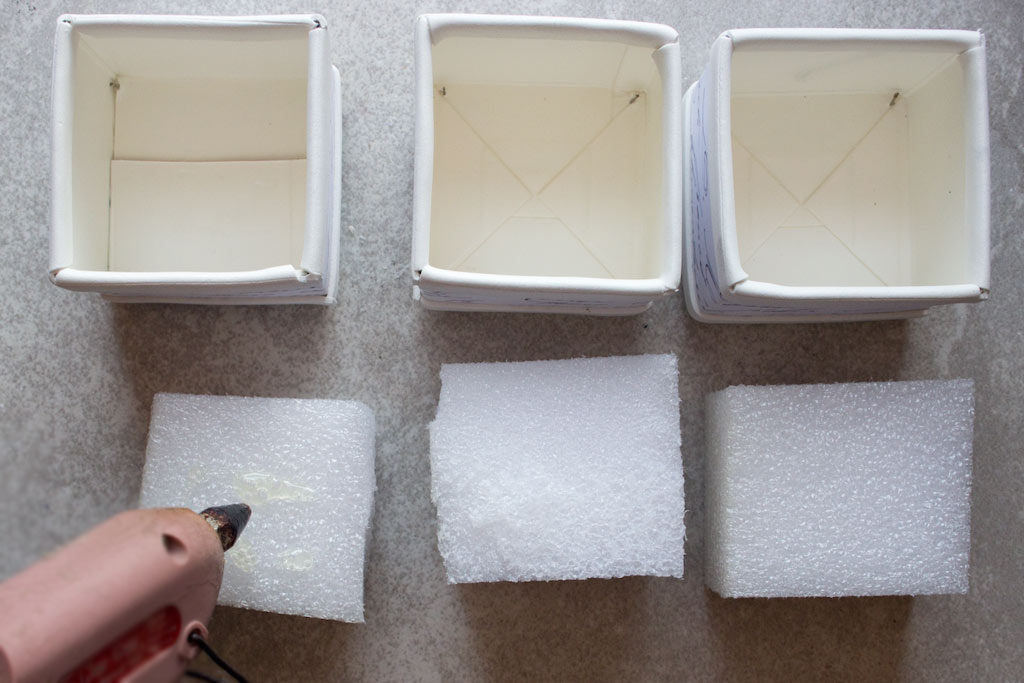
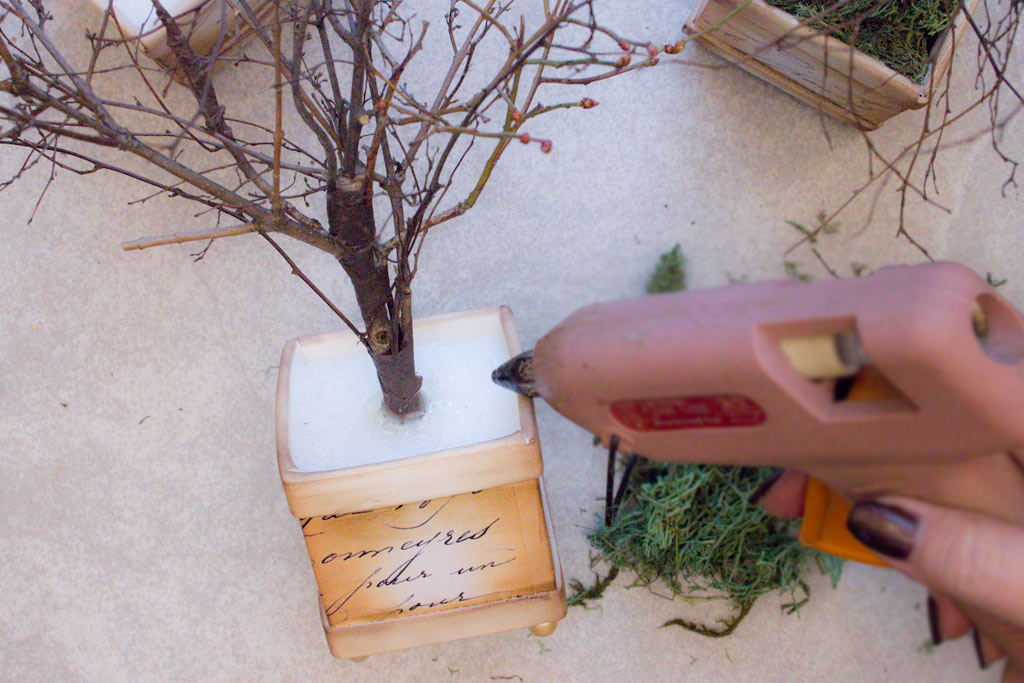
Apply hot glue to the foam – it’s okay if it melts a bit. No harm done.
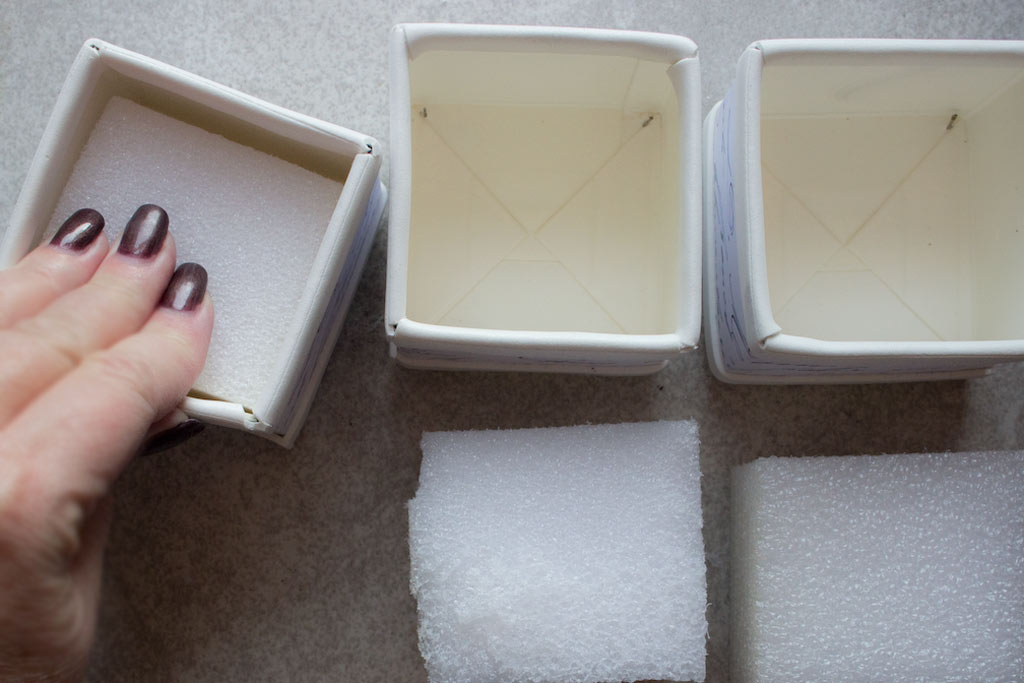
Firmly press the foam into the box while the glue sets.
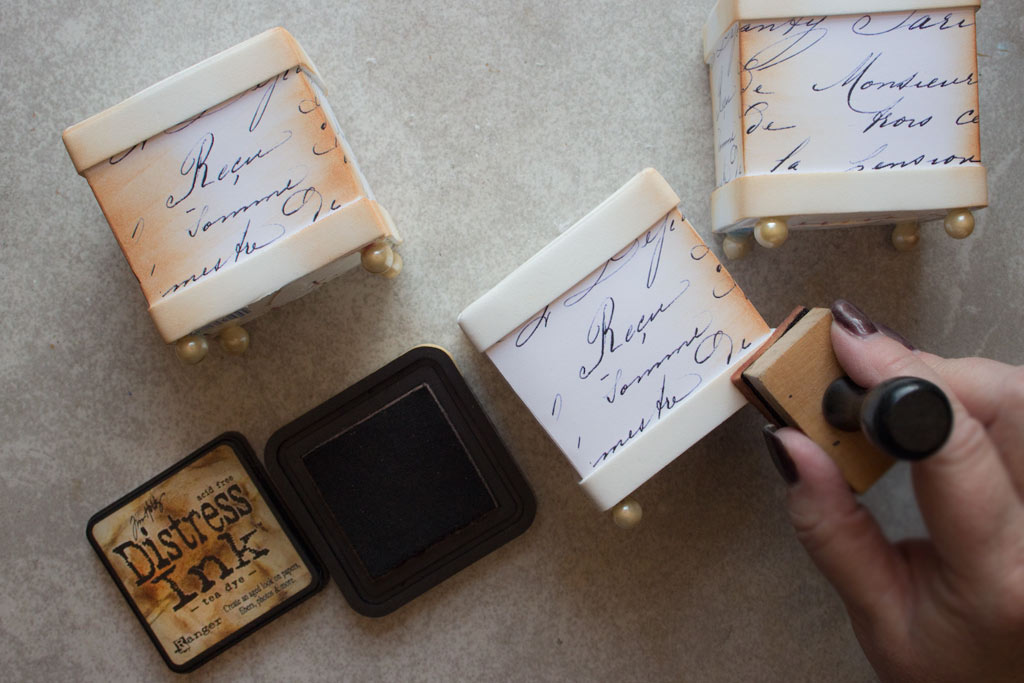
Apply Distress Ink if you choose:
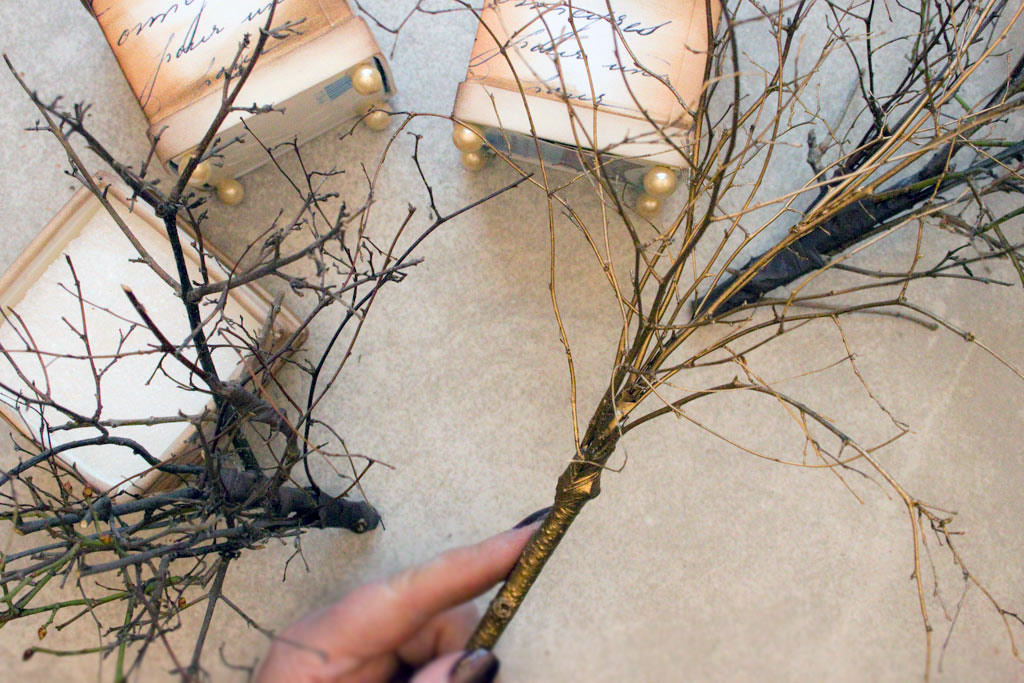
Make tiny twig trees by binding masses of little branching twigs together with floral tape…
Head outside and spray paint your twig trees gold, if you so desire:
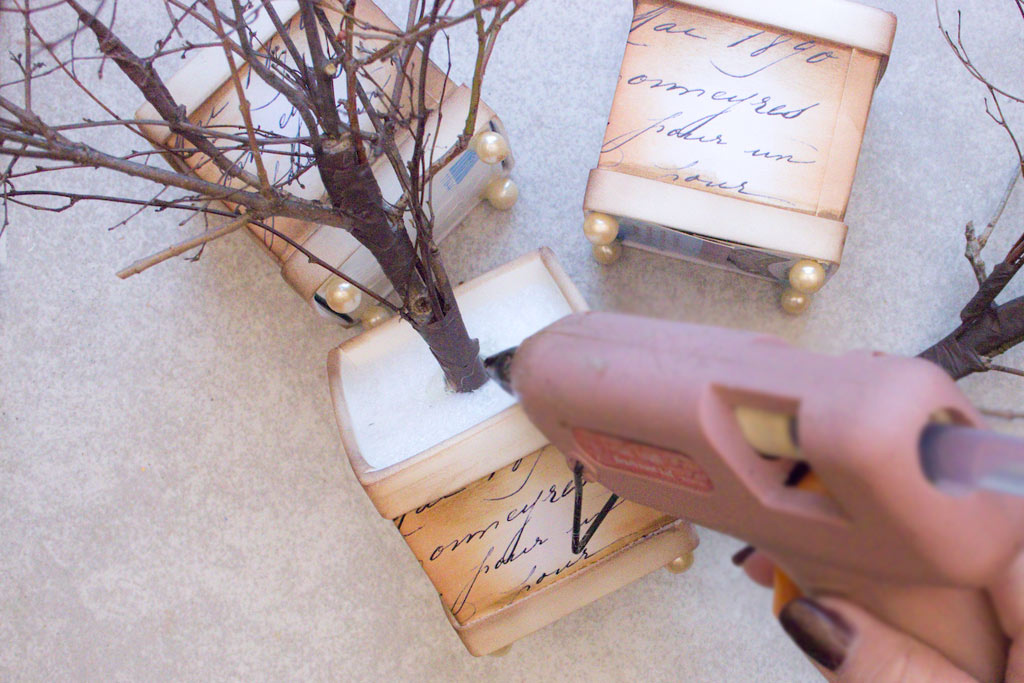
Poke a hole in the foam and insert the base of the tree. Secure with hot glue.
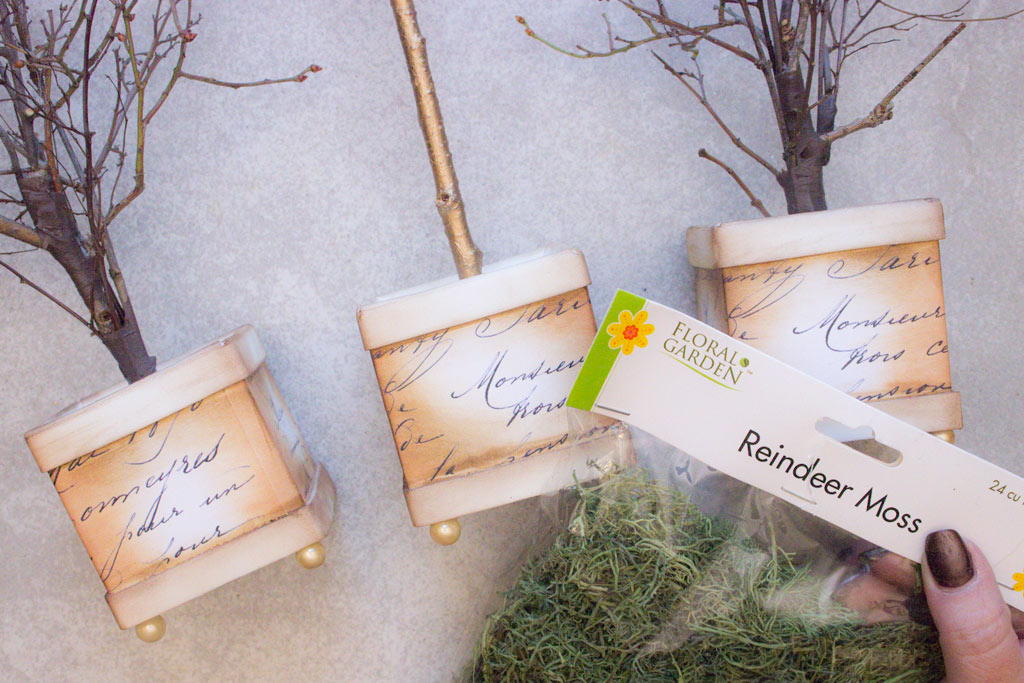
Reach for your craft moss!
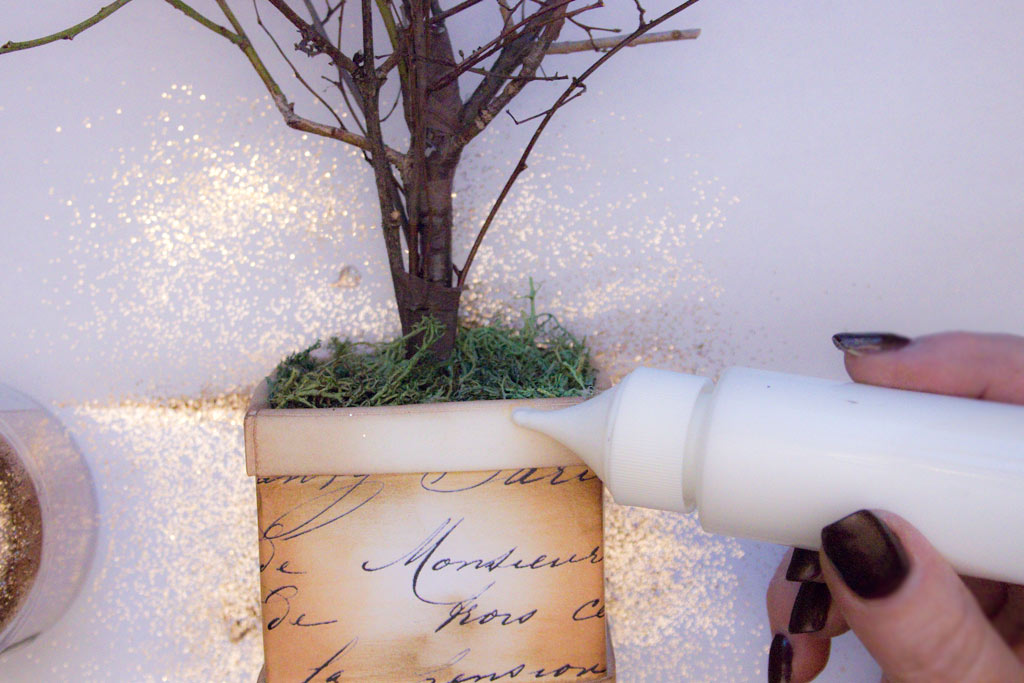
Hot glue a layer onto the top of the foam:
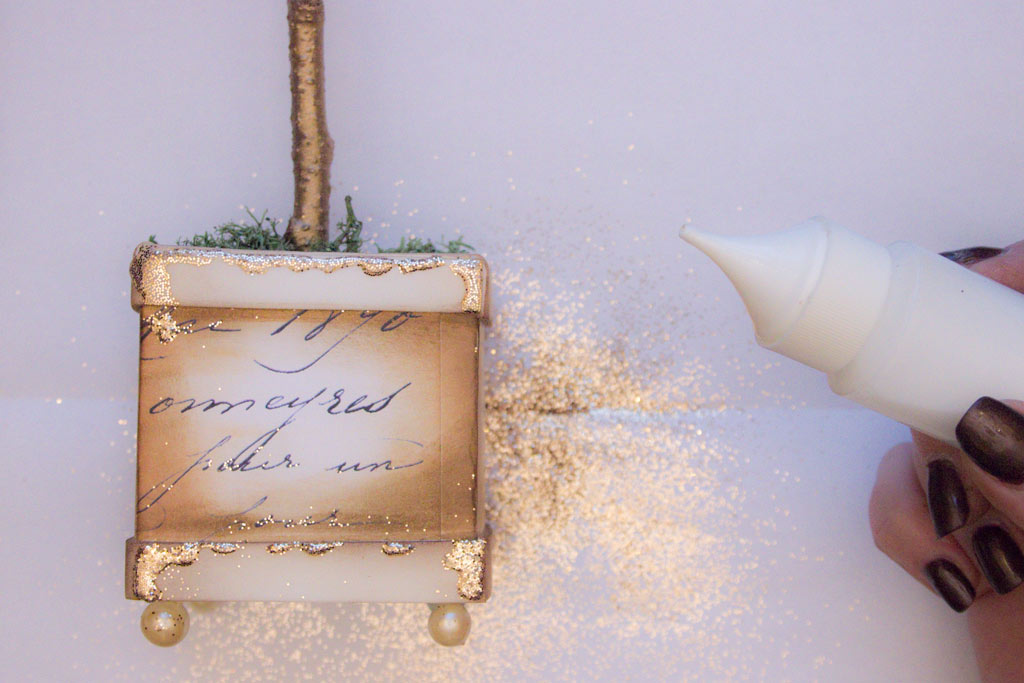
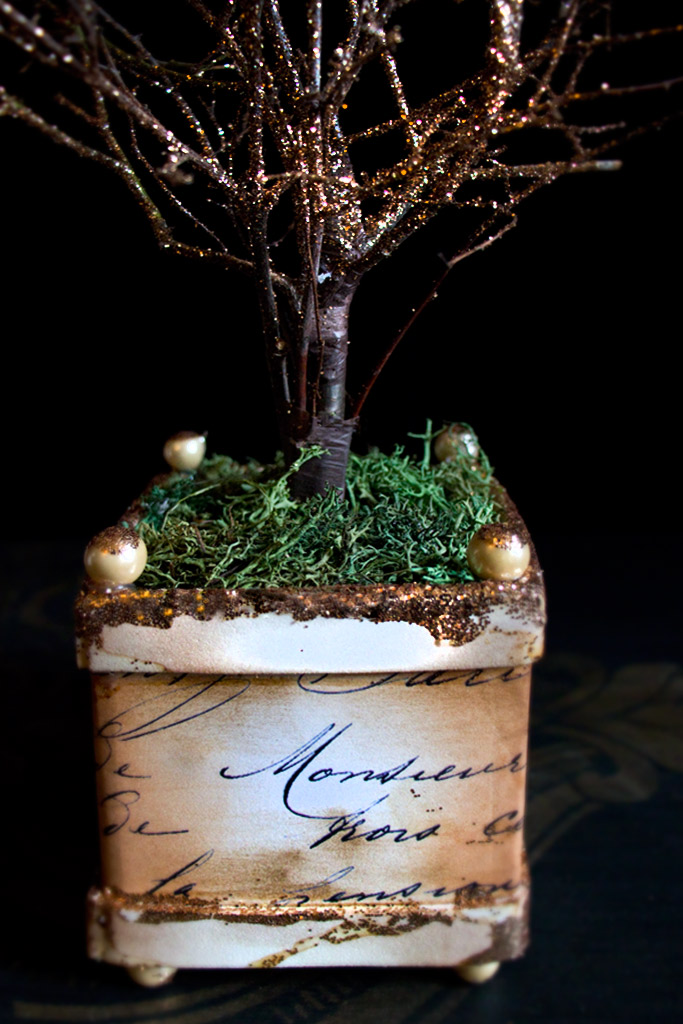
Add sparkle with white glue + GLITTER!
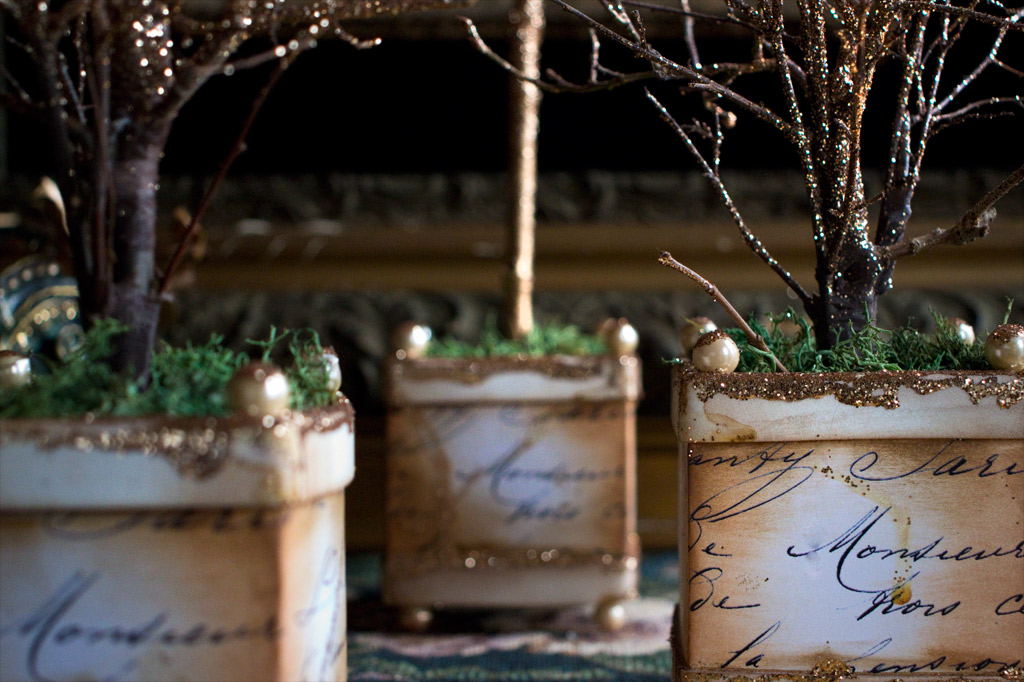
Devise your own color scheme…I was in a Gold Mood…
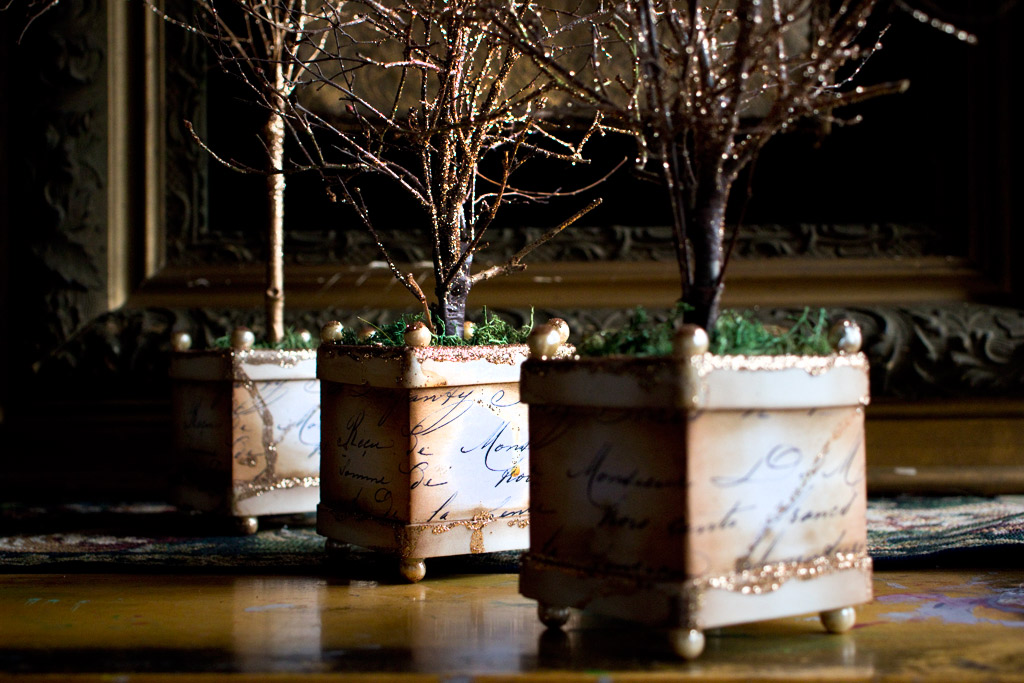
Hot glue the remaining Berries at the top of each corner, to create finials on each box!
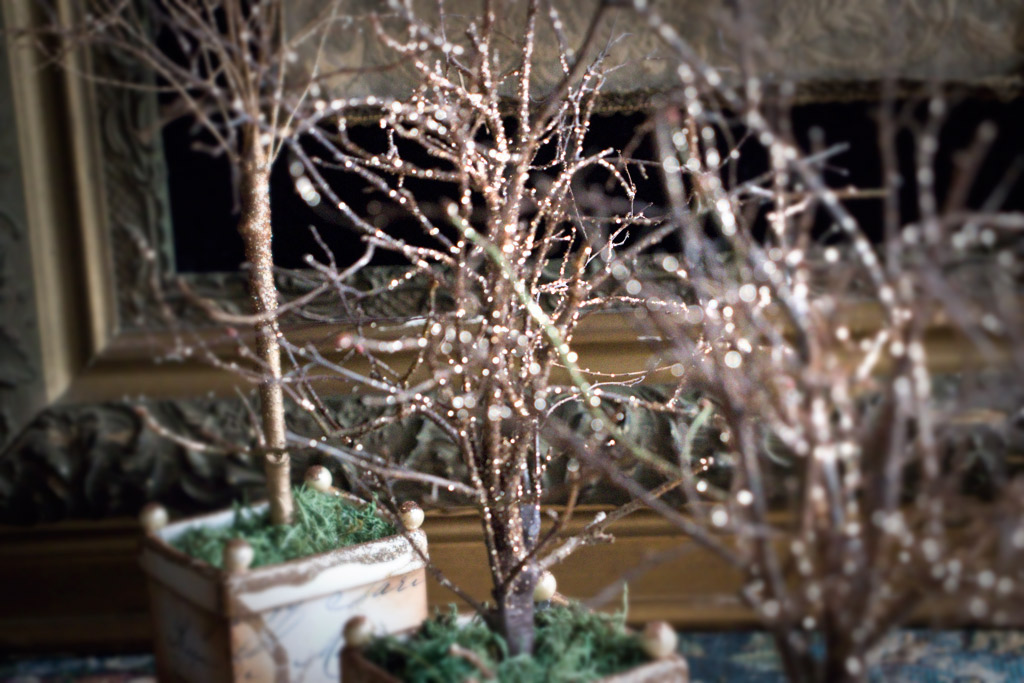
Use spray adhesive (outside!) and more glitter to enhance the twig trees, if you like.
I went a bit mad with the glitter!
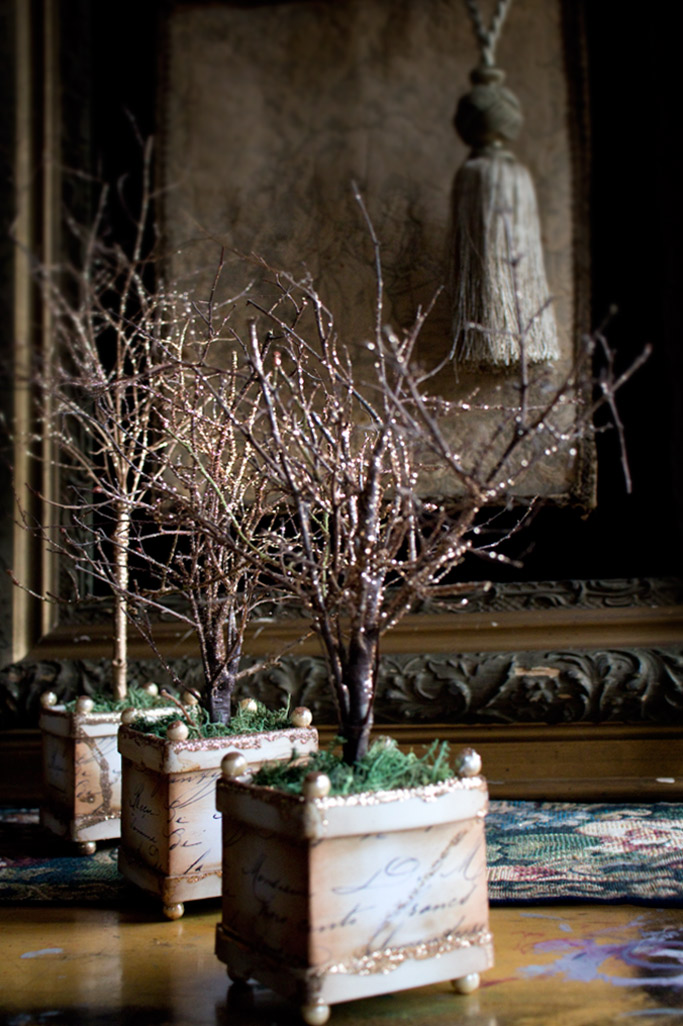
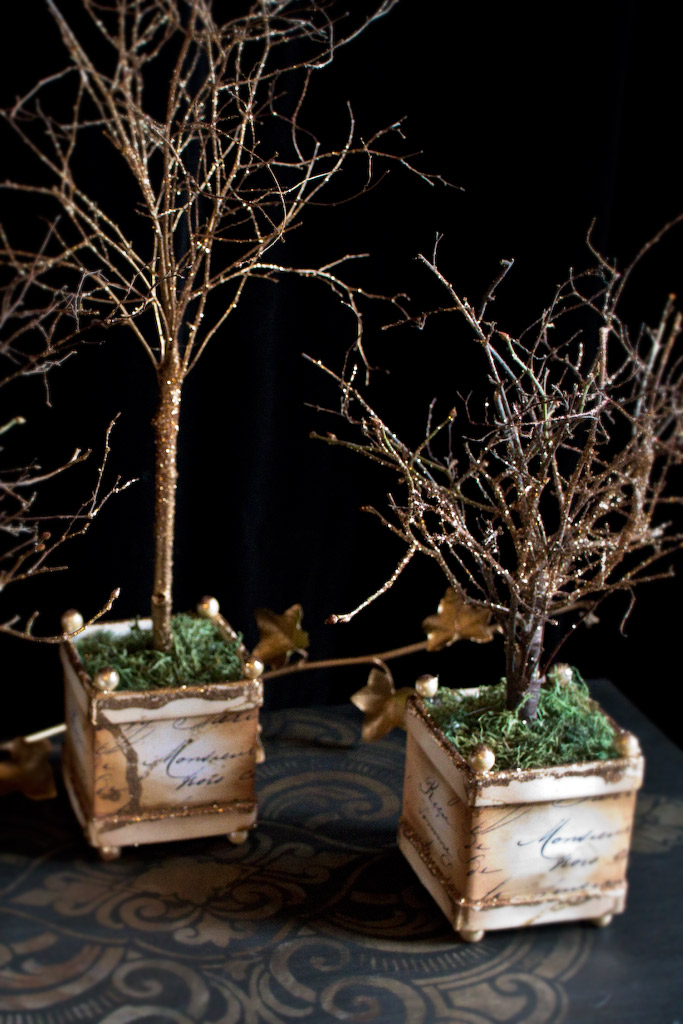
Ahh…now you can sit back and gaze in wonder at the Magical Fairy Forest that has appeared in your life!
Perfect for these long winter evenings…
All the sparkle of frost, and none of the chill…
This Tabletop Fairy Forest has stolen my heart…
From the humblest of materials to a Grove of Romance… who knew such elegance could emerge from the Recycle Bin?
Shhhh! I think I hear the Fairy Revelers approaching…
Thank you so much for visiting The Graphics Fairy today…it has been a joy to share this simple upcycle Milk Carton Crafts project with you, my friends.
Until next time,
Heather ♥
Anytime you’d like to dip a toe into the Odd Side of Creativity, come visit me at both the Thicketworks YouTube Channel and Thicketworks Blog – we’ll have us some Messy FUN!
Our students have SO much fun in the Mixed Media for Beginners online course…






Shirley Smeaton says
I Love recycling and these are just gorgeous. They are the only thing even close to a winter Christmas, I get down here in the southern hemisphere, where it will be mid Summer, I have to give these a try to give my Christmas Table a sparkle this year.
Karen Watson says
Have fun making these Shirley! I live in Florida, so I get it! 🌞
pawanna says
Magic trees. Beautiful work, great tutorial. Thank you!
Heather Tracy says
Yay! Thanks, Pawanna…it was pure joy to share this one, my friend. xox
Eileen says
Gorgeous!
Heather Tracy says
So glad you think so, Eileen! Thank you for visiting The Graphics Fairy! xox
Rupa says
You genius woman!! These are so darn cute! While I may not need fairy forests for now, succulents have been on my mind a lot lately. I could use faux succulents and create a grouping with these “bins”.
Heather Tracy says
Hi Rupa! Ooohhh…I love your idea of using these Mini French Planter Boxes with faux succulents! That would be so pretty…thank you for your wonderful idea, my friend! xox
Dorthe Hansen says
Dear, Heather,
Such magic , arising from the bin- they are stunning, and truly elegant , I so love them, and hope I find time to create a few for my Christmas Table. Thank you my dear friend, for always uplifting and feeding me with such gorgeous ideas, and magic results.
Hugs, Dorthe , xoxoxo
Heather Tracy says
Hello, Dorthe! Dark winter evenings are drawing in – we NEED some sparkle! Thank YOU for always lifting me up, my dear friend. xox
Ardith says
Brilliant! Just brilliant and gorgeous. Happy Holidays.
Heather Tracy says
Hi Ardith – (such a beautiful name!) and Thank You! It was SO fun to share this delightful little project! xox
cj says
These are FANTASTIC! They are most definitely one of the best Christmas projects I’ve seen, and one that I definitely want to make. Thank you so much!
Heather Tracy says
Hi CJ! You just made my week, my friend! So very happy that you want to make a Fairy Forest, too! Thank YOU for visiting, and for taking the time to leave such a lovely comment. xox
Reba says
This is the PRETTIEST thing I have Ever seen!!!!!!
I am in Love with this and want to make!
Heather Tracy says
Oh, Reba! Girl, you are the SWEETEST thing ever! Makes me grin from ear to ear that you are inspired to make a Fairy Forest of your very own! xox
Sue Thomas says
Oh, my goodness! How fabulous are these? We can always rely on you to come up with something amazing from the simplest and most ordinary things. I think you must really be part fairy yourself! I will have to channel my inner magic and create a few of these. Thank you so much for sharing your ideas and expertise.
Heather Tracy says
Hi Sue! Here’s to channeling our Inner Magic! Thank YOU so much for your generosity, my friend. xox
MF says
Delightful. Magical. Gorgeous.
Heather Tracy says
Yay! So happy you like the Fairy Forest, MF! Thank you for visiting today. xox
Daphne says
Gorgeous project! And so easy. Thanks!
Heather Tracy says
So happy that this one pleases you, my friend! Thank you for taking the time to visit The Graphics Fairy, Daphne! xox
Linda K says
Nicely done 🙂
Heather Tracy says
Hi Linda – thank you, my friend. It’s always a pleasure to hear from you! xox