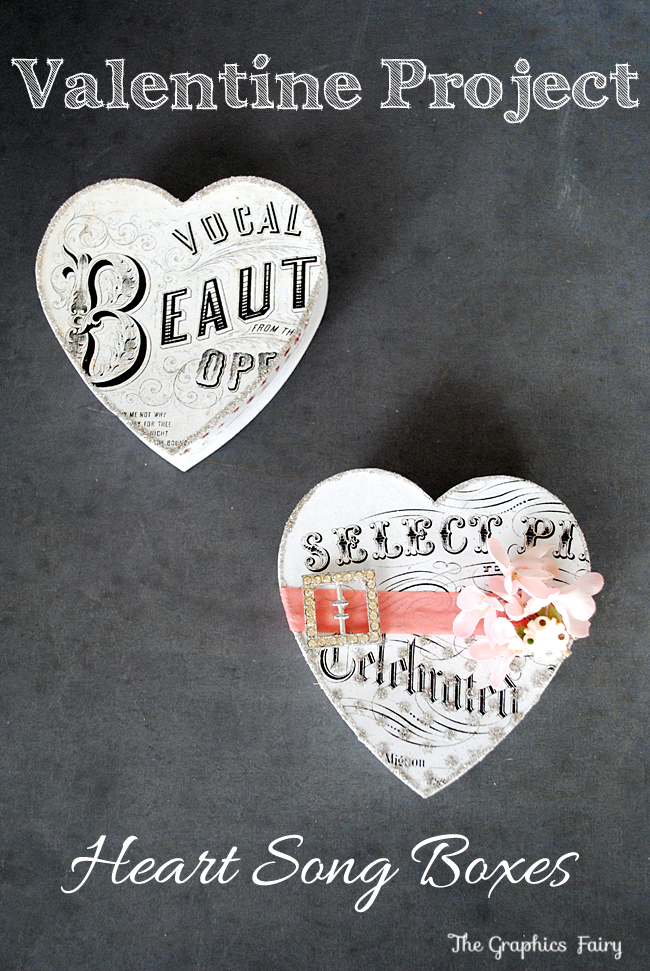
Today I’m sharing a fun Valentine DIY Project! I’m also going to share an awesome new technique, using Glitter, Mod Podge and a cute Polka Dot Stencil, from the new Mod Podge Rocks line, designed by my pal Amy Anderson, and made by Plaid! This is an inexpensive, easy project, that repurposes a Dollar Store Candy Box and there’s even a Free Printable, so hopefully you will find lots that you can take away from this Tutorial!
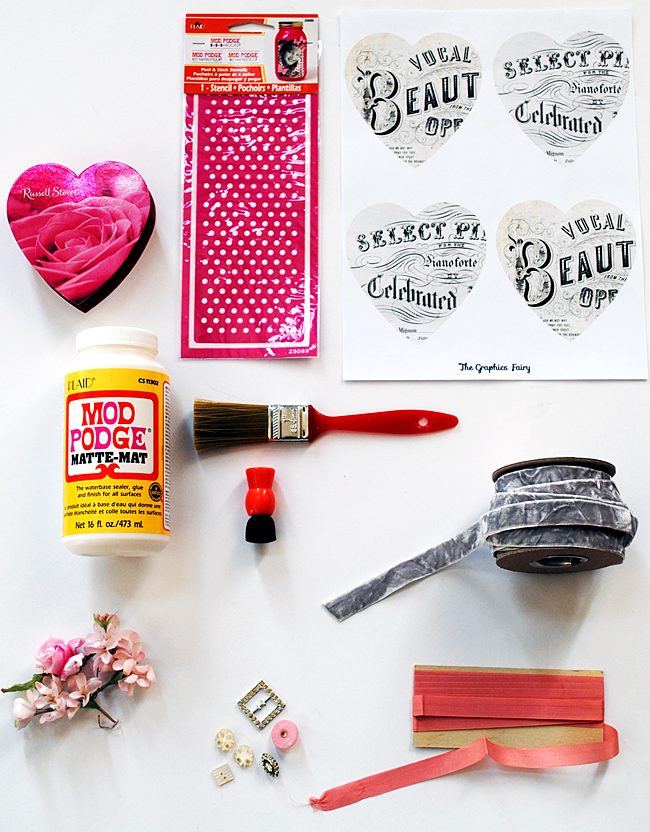
Supplies:
(Make sure you read the list because, I forgot to put some of the supplies in the photo above!)
- Mod Podge Rocks Peel and Stick Dot Stencils
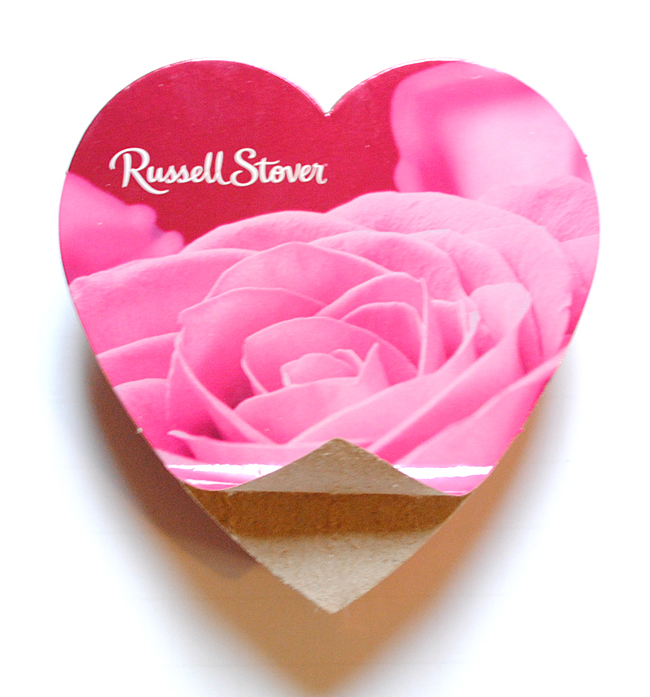
- Russell Stovers Small Candy Box (I got mine at the Dollar Store)
- Mod Podge
- Glitter
- Foam Pouncer or Brush
- White Craft Paint
- Masking Tape
- Paint Brush
- Ribbon
- Embellishments
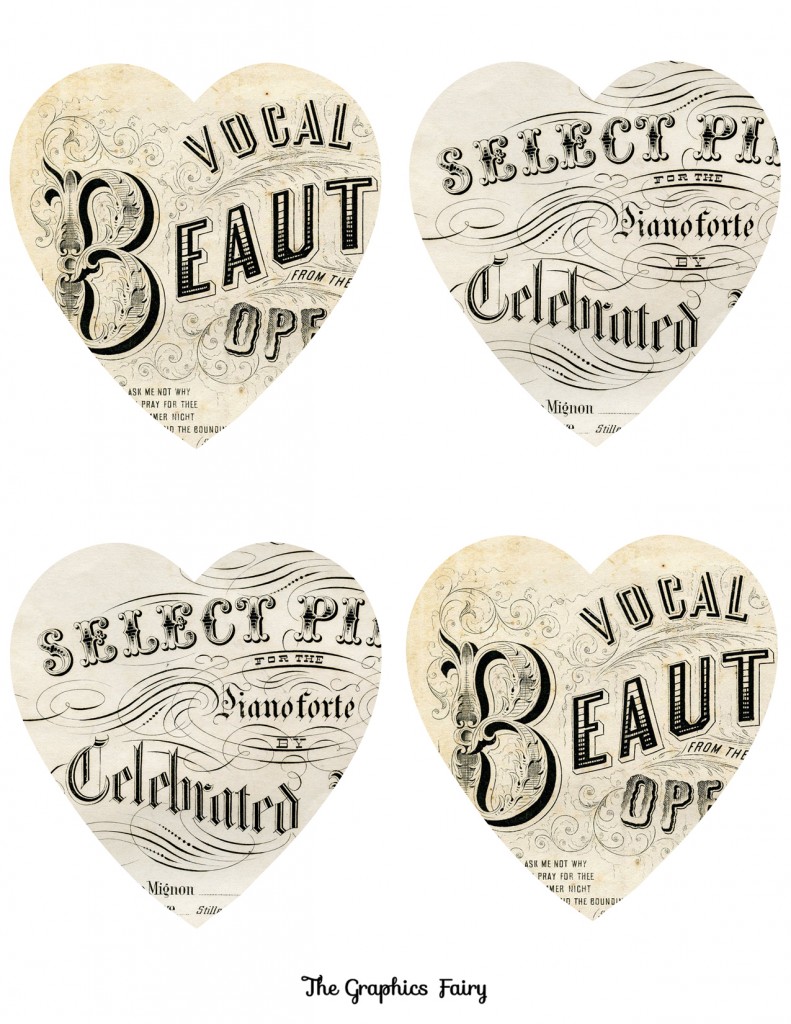
- Heart Song Printable
- Hot Glue Gun
Click HERE for the Full Size Printable
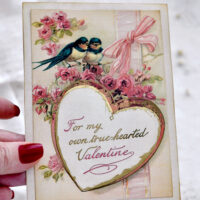
Step 1: Download the Printable by clicking the link above. Print onto plain white printer paper, and cut out as many as you need. You will need one heart for each box that you make.
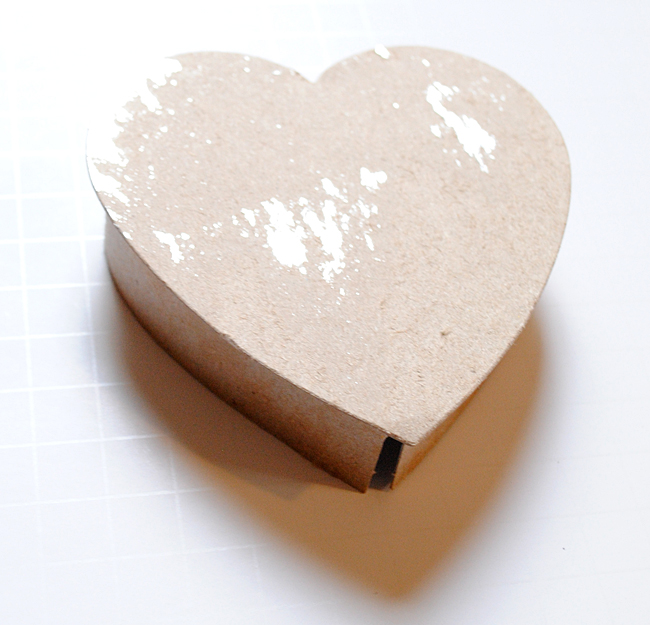
Step 2: Gently Peel off all the shiny colored paper/foil off of the lid of the heart shaped candy box. You just want the very top layer, it’s a pretty thin layer.
Step 3: This is how it should look. You will be left with a little gap, along the bottom edge, that’s ok!
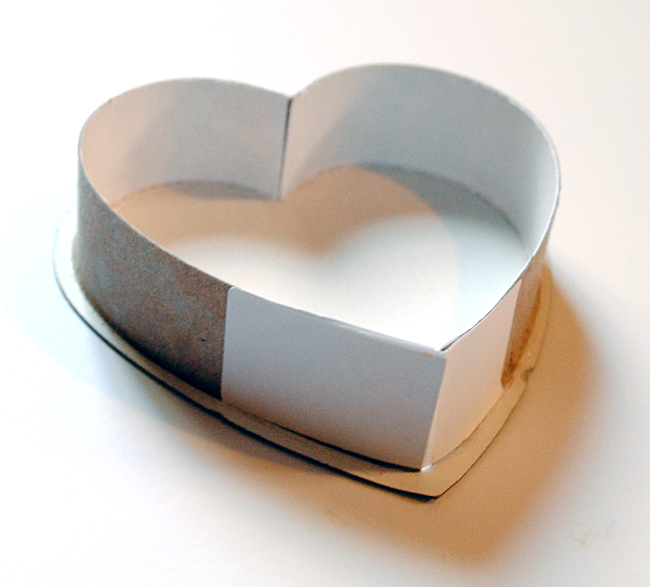
Step 4: Reinforce the bottom edge where the gap is. You can use masking tape, I was out of it, so I just used a plain white address label. I also taped up the inside edge for extra support.
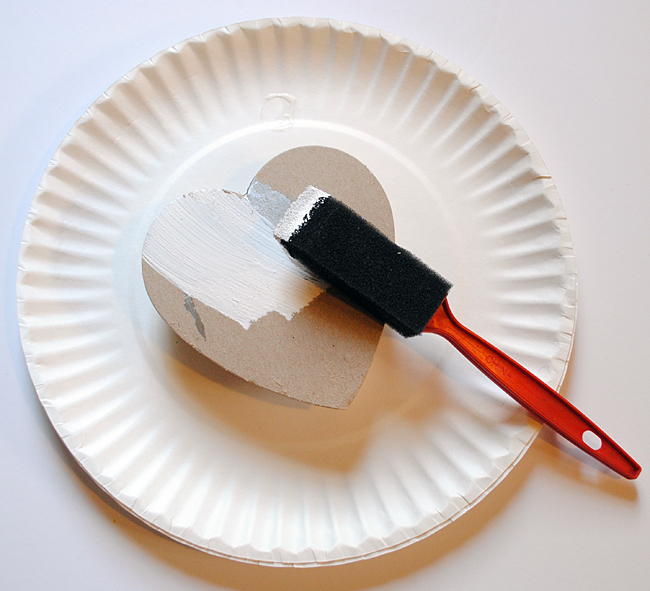
Step 5: Paint the lid of the box with the White Acrylic Craft Paint. Also, you may want to paint the rim of the bottom of the box as well. The bottom edge of the box was red, which I would have kept had I been using red ribbon, but since I was using pink I painted it white. That’s totally up to you!
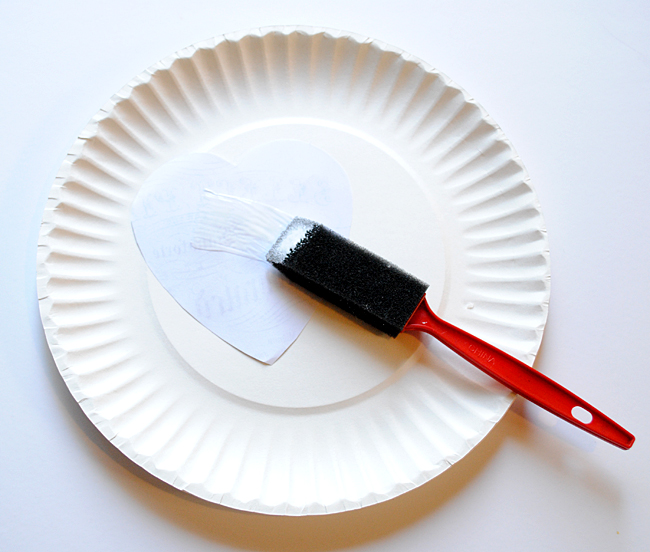
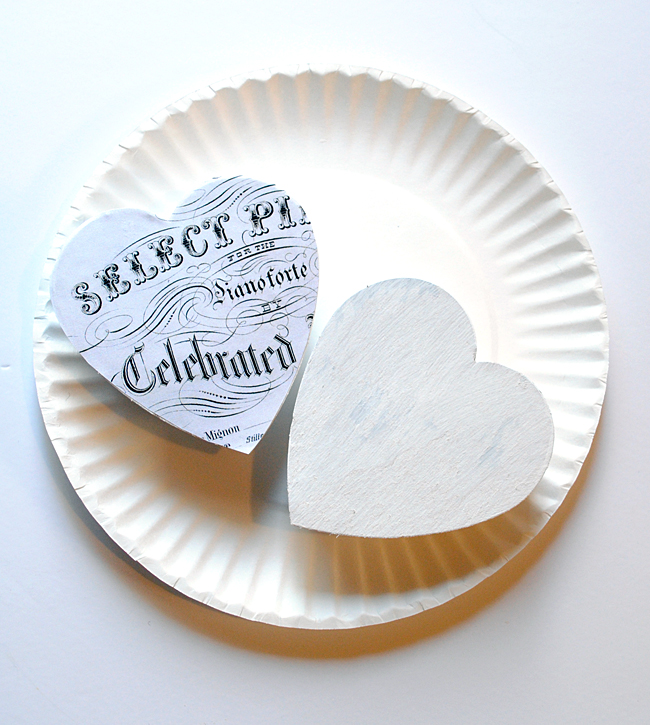
Step 6: Apply Mod Podge to the back of one of the cut out Paper Hearts and apply to the top of the lid of the Heart Box.
Step 7: It should look like the one on the left.
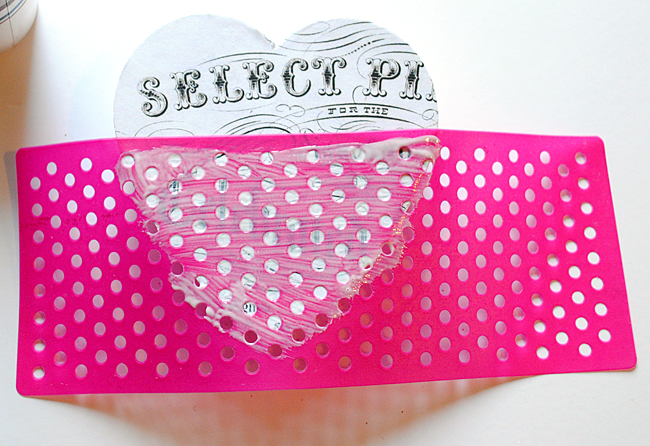
Step 8: Now for the fun technique!! These are the new Mod Podge Rocks Peel and Stick Stencils, from my friend Amy Anderson’s line! Amy came up with this awesome technique of stenciling Glitter with Mod Podge! So fun!! Simple apply the Peel and Stick Stencil, where ever you want some gorgeous glittery texture, and apply some Mod Podge over the Stencil using a foam pouncer or brush.
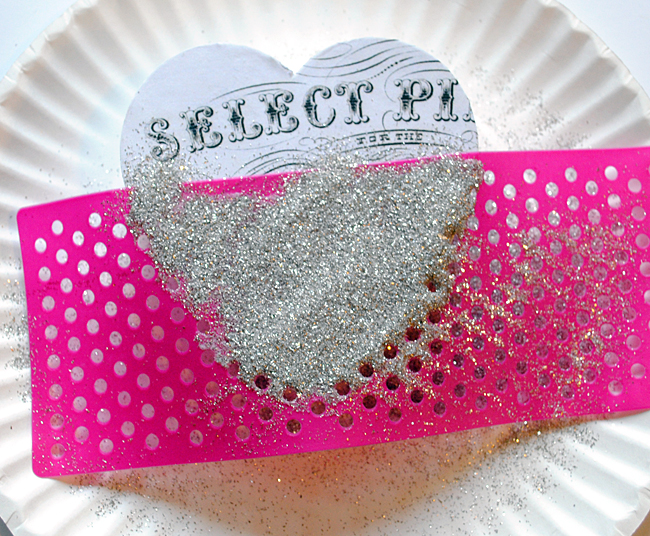
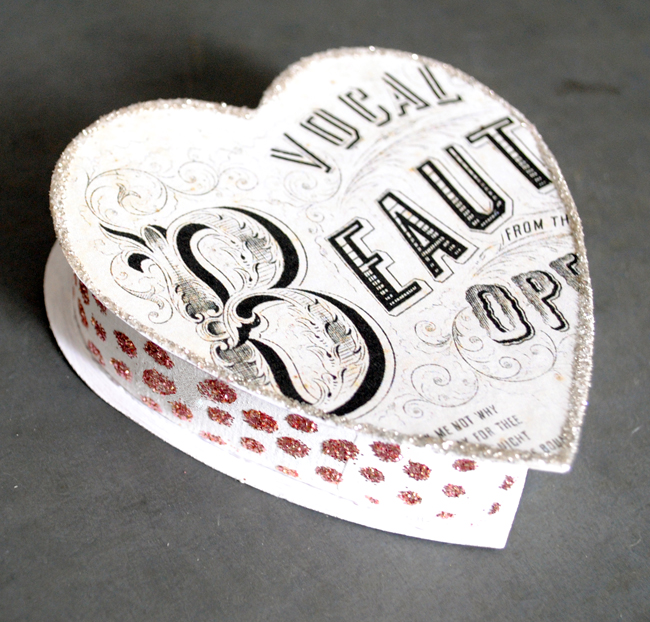
Step 9: Next sprinkle on the glitter, shake off the excess, and then remove the stencil and wash it immediately so that you can reuse it. Allow the glitter and podge to dry.
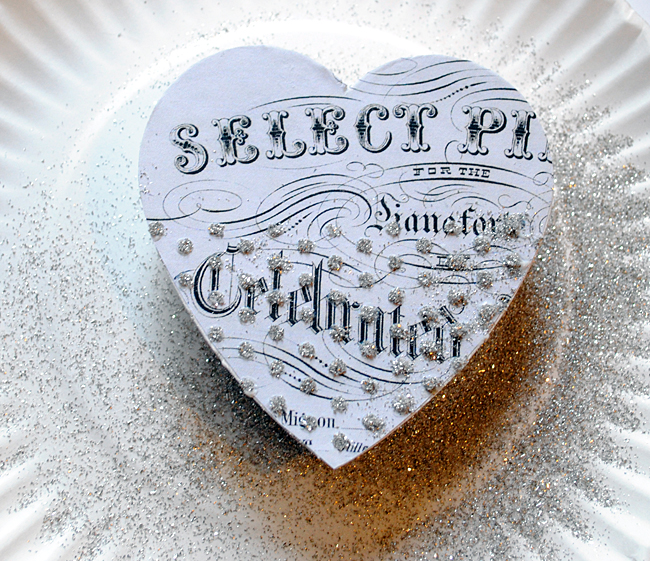
I love the texture that it leaves behind, so pretty!!
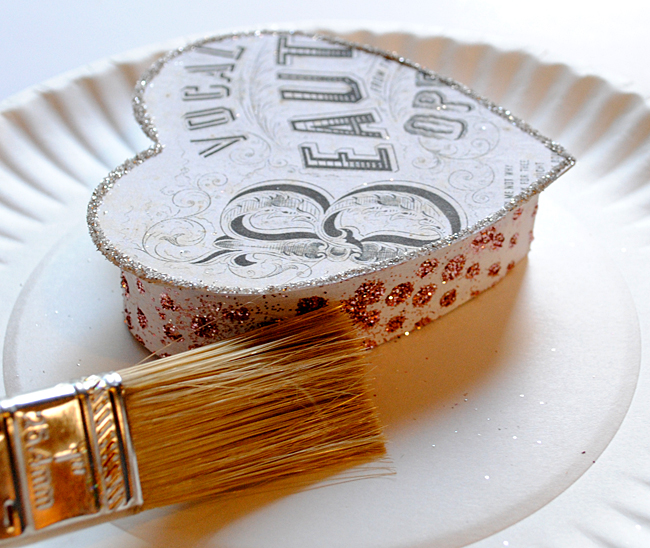
Step 10: Once dry you can remove extra glitter with a soft paintbrush. I did some pink glitter dots on the side of one of the boxes. So fun!
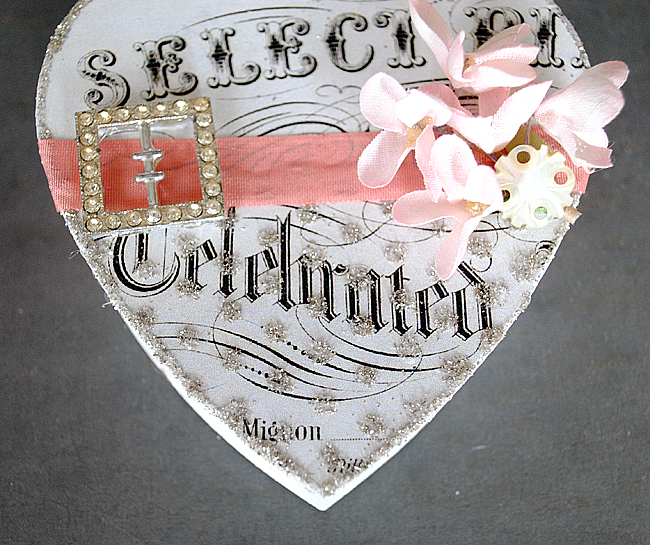
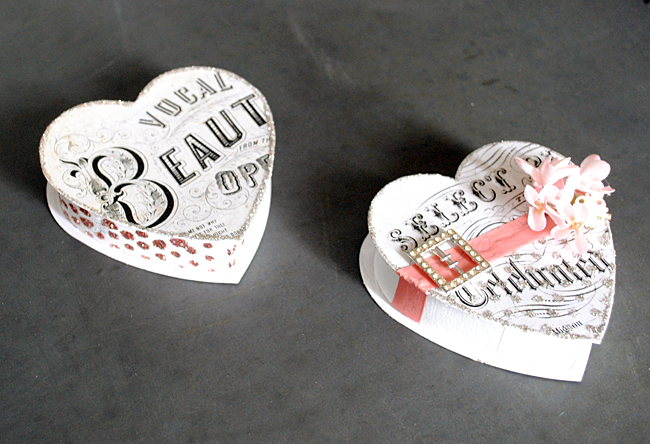
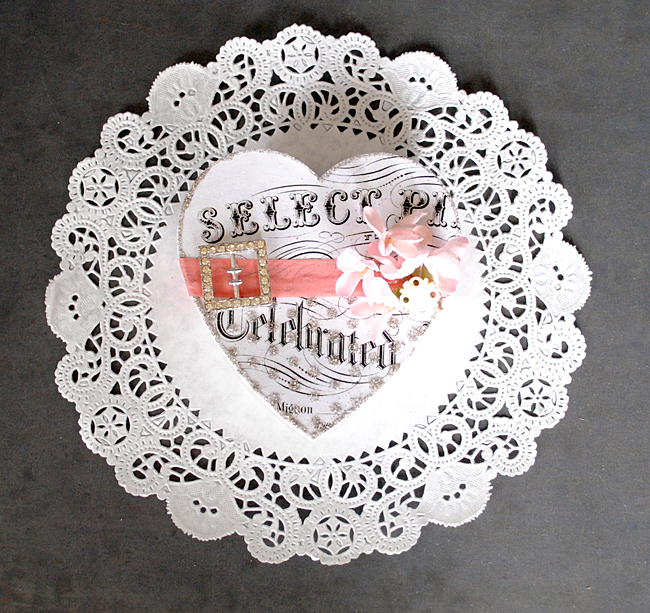
Step 11: Use your hot glue gun to glue on any embellishments that you like. I added some pink seam binding ribbon, some millinery flowers, an old button and a vintage buckle. I also added more glitter along the edge of the box lid.
I’m so happy with how these turned out, and they were so easy to make!!
And I’m over the moon over Amy’s Glitter and Mod Podge and Stencil technique!
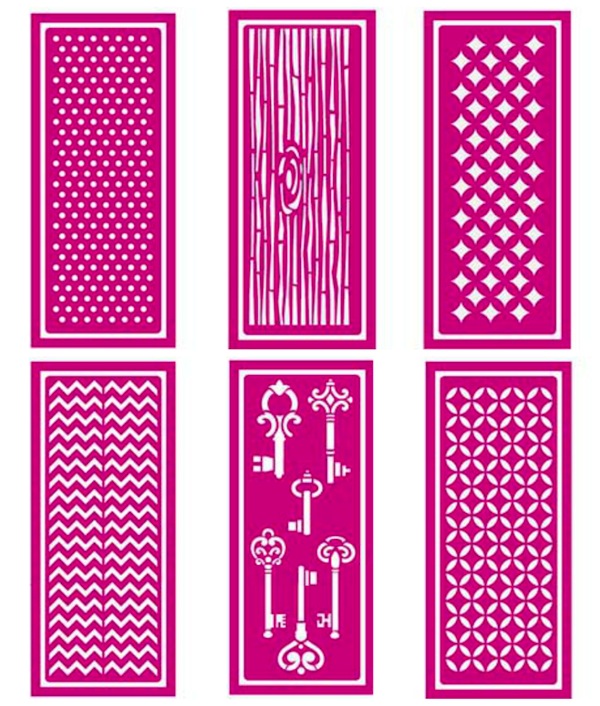
Amy’s Peel and Stick Stencil line is sold at Michael’s Crafts. She has so many cute ones to choose from! I love that they are simple patterns, that can be used on a wealth of different projects. I think I’m going to have to get that awesome wood grain one next!! You can see more cute projects using these stencils, and learn more about Amy’s line HERE.


Annie Spackman says
These are so cute Karen! I went out and bought most of the materials to make these. My local Michaels store didn’t have the stencils though:( I still went ahead and made one anyway and it tuned out just fine. I’m looking forward to purchasing the stencils when they hit the shelves!!!
Kat Wynveen says
Don’t you have a button to link each graphic to Pinterest anymore? I couldn’t find one. Love your graphics and I try to pin my favorites to my graphics board.
maureen says
Love it! But duh, how do you get the printed valentines to be the exact same shape as the box?
Karen Watson says
Hi Maureen, As long as you buy the $1 small Russell Stover’s boxes, they will fit perfectly! I’ve sized them to be an exact match. The boxes are very easy to find if you live in the U.S.
Linda K says
Wow, thanks for the tutorial AND the images! This is a MUST MAKE.
Made by Gigi says
So cute and class. I love that vintage look. You can see my valentine’s diy here:
madebygigi.blogspot.com/2014/02/212-diy-walentynki.html
Cynthia says
This is beautiful! So inspiring! Thank you!
Karen Watson says
Thanks Cynthia!!
Amy Anderson says
Gorgeous Karen! I love how the stencil overlaps the design – really looks pretty! These graphics are awesome too. Thank you!
Karen Watson says
Thanks Amy!! I had so much fun playing with that stencil and I’m crazy about that glitter technique!!