Hello, Graphics Fairy friends! Diana from Dreams Factory here, with a new DIY project!
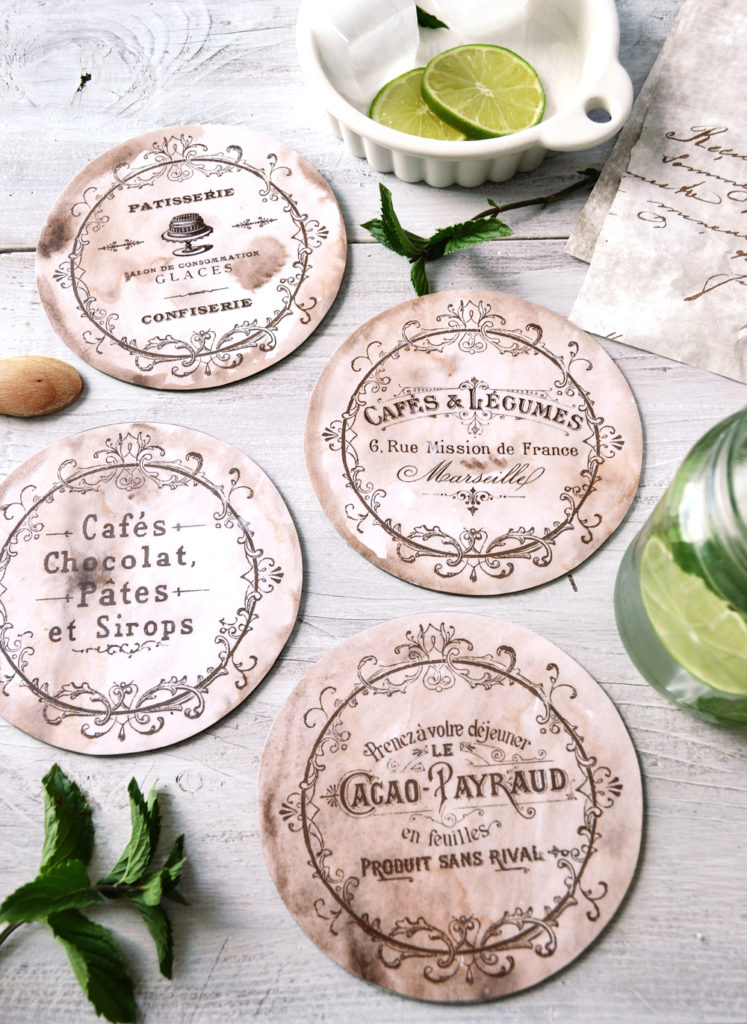
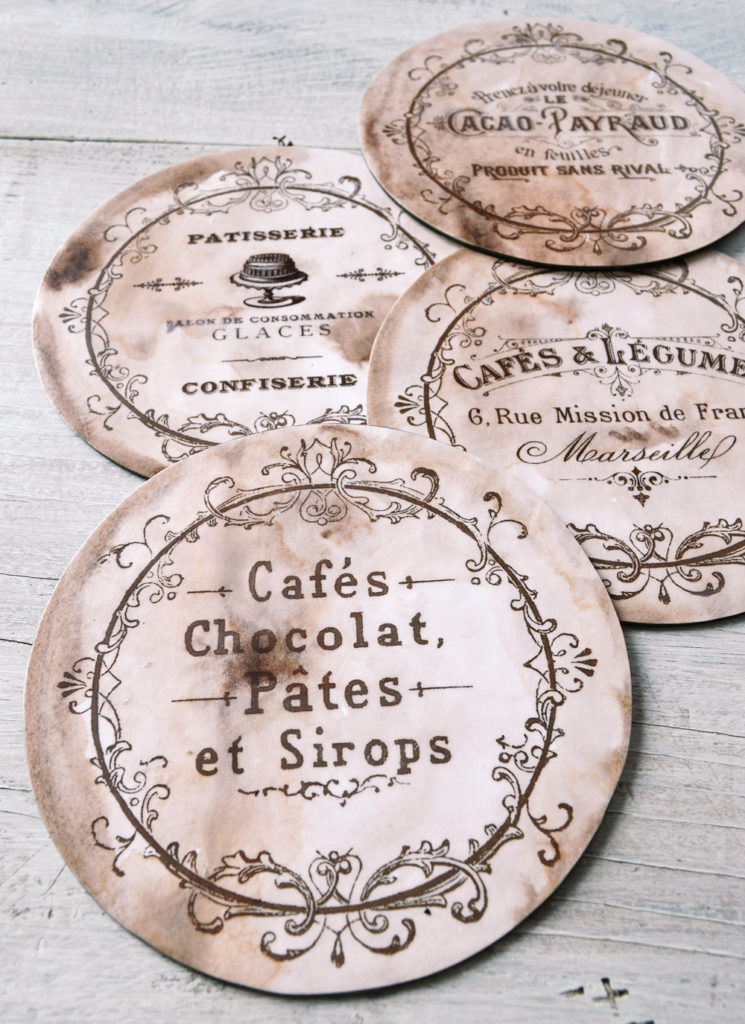
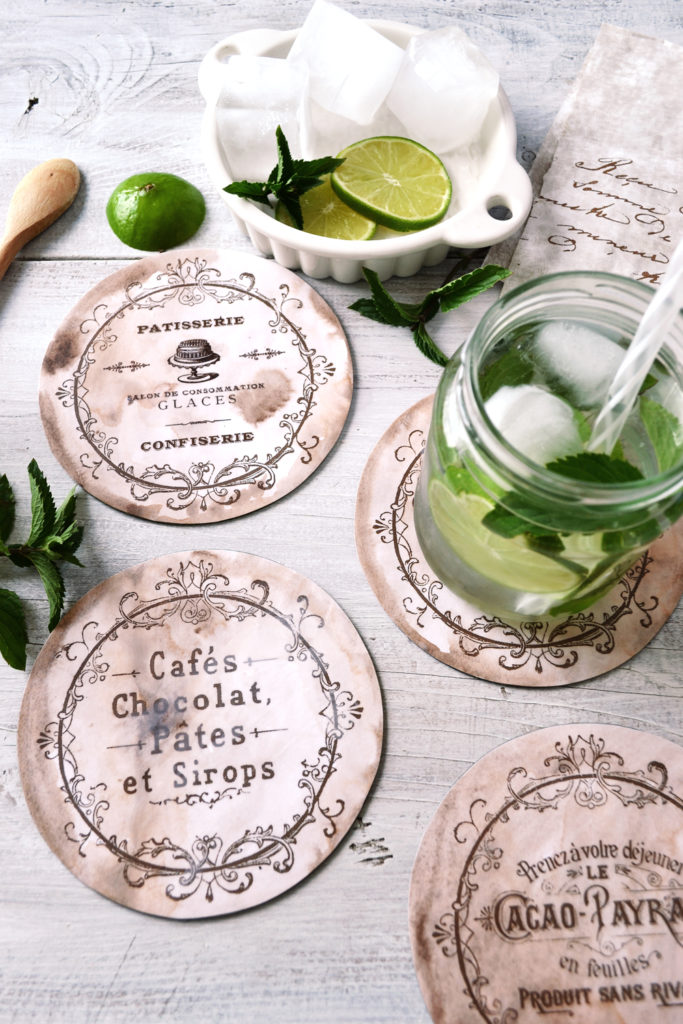
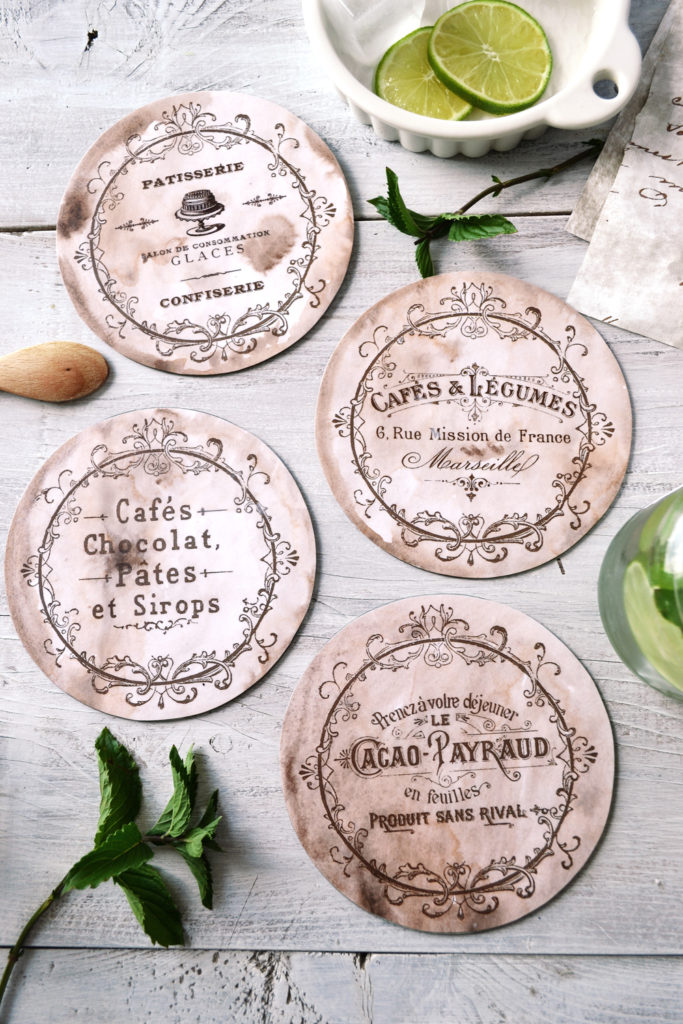
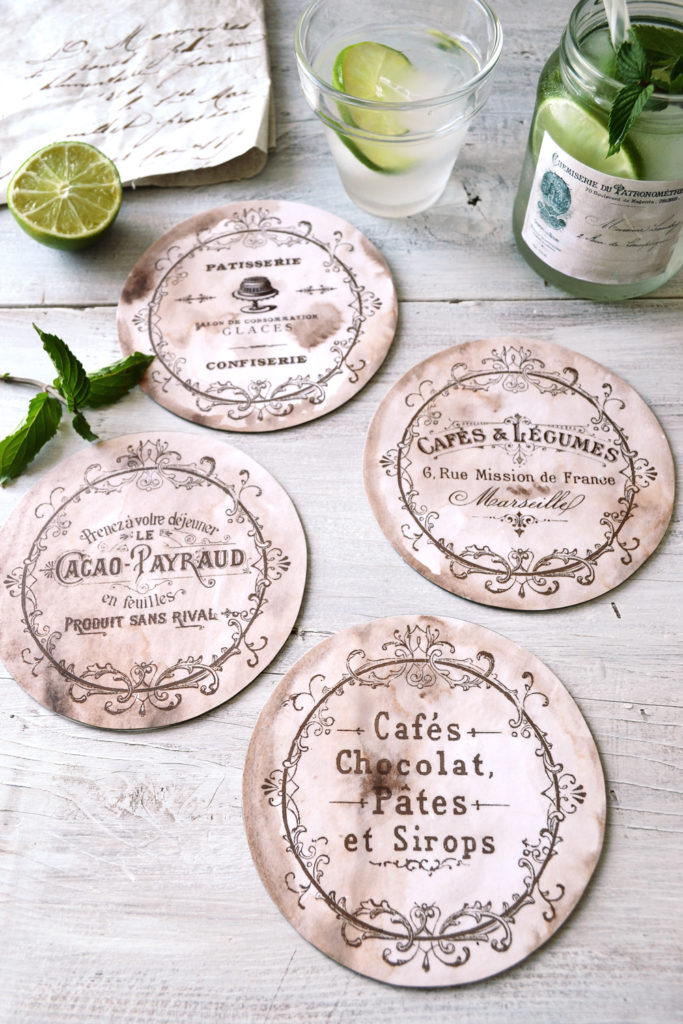
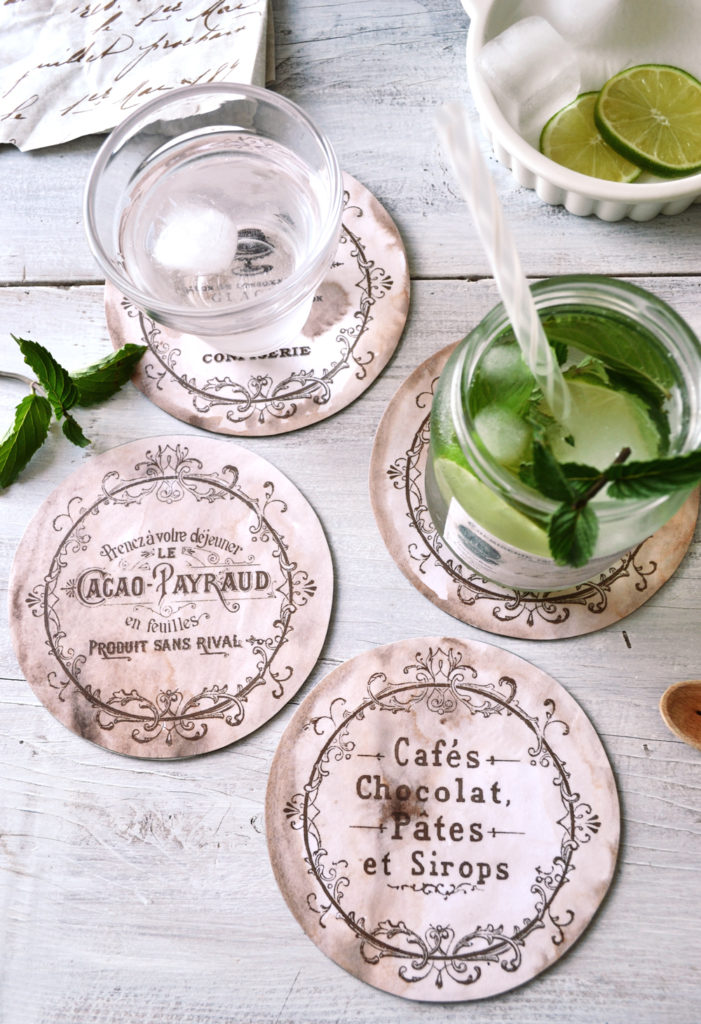
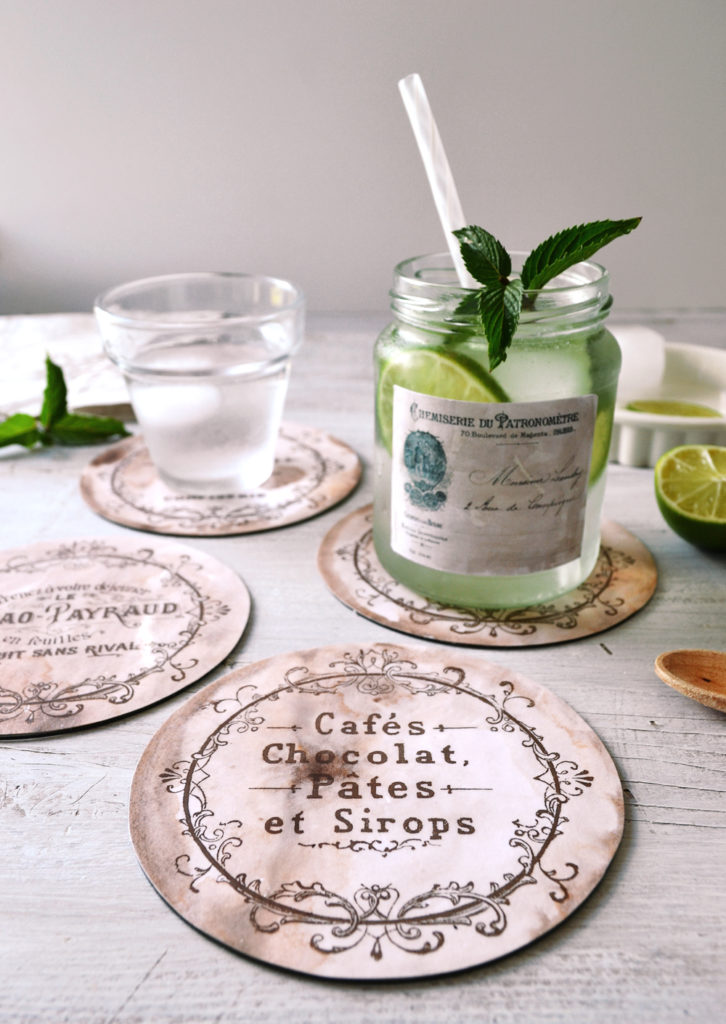
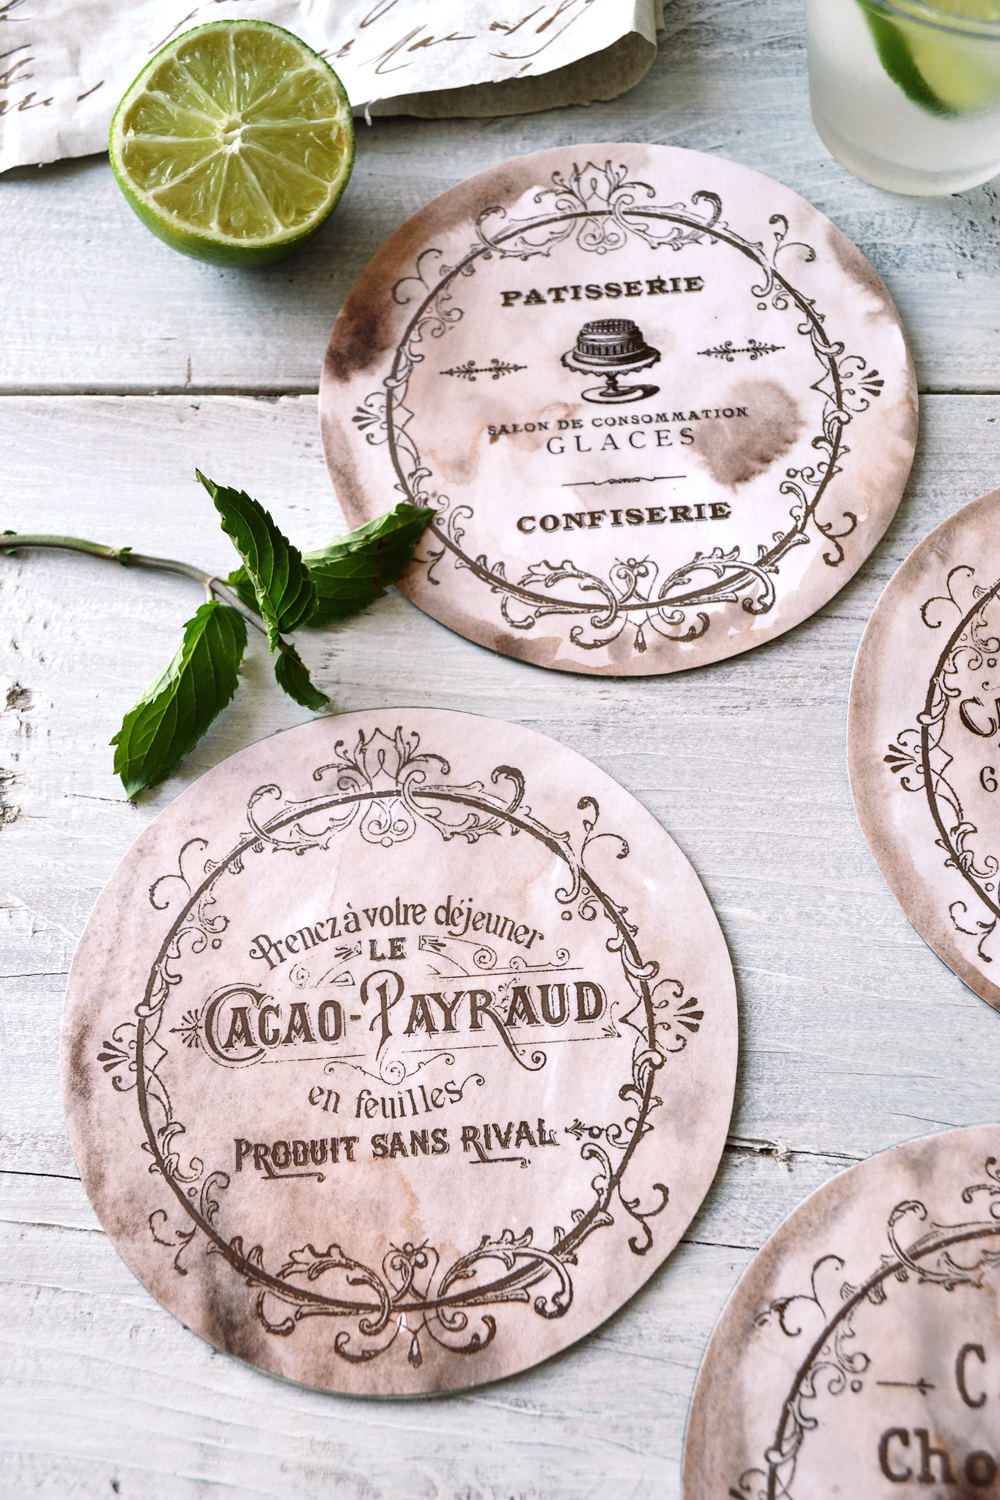
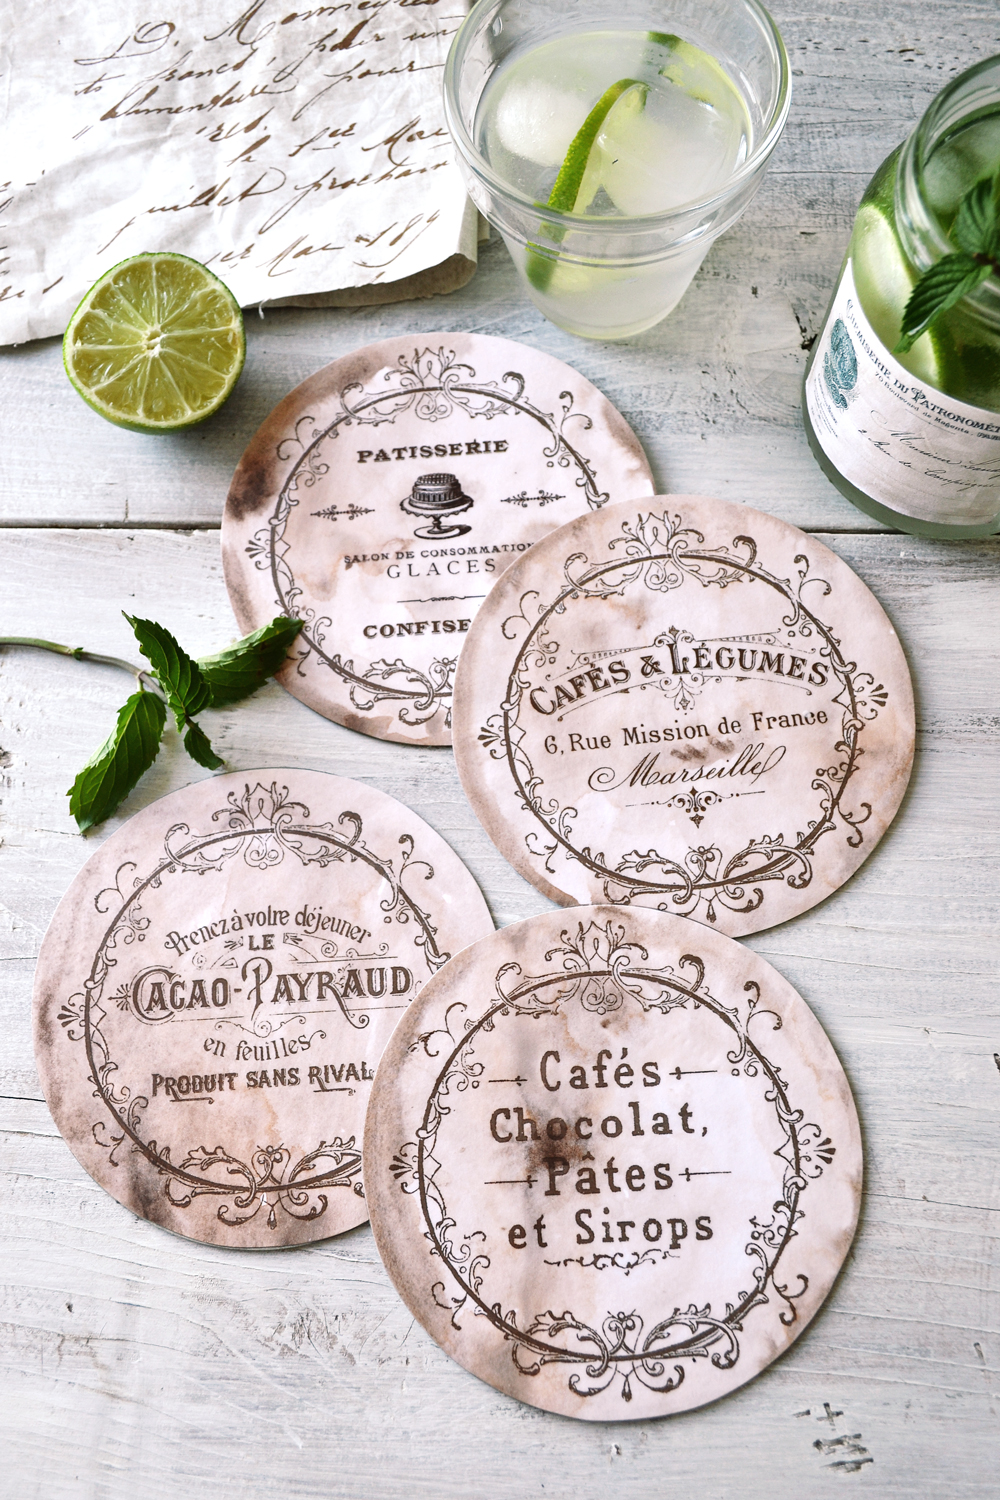
Today’s project is one of those fun summer projects that only require a few ‘ingredients’ to make. The best part? You might already have some of these ingredients (if not all) on hand! We are putting old CDs to good use with this project and we are recycling them into beautiful DIY Vintage French CD Coasters. These would be perfect for summer entertaining (or for any other season), sipping cold Mojitos with friends and family has just got so much better!
{This post contains affiliate links}
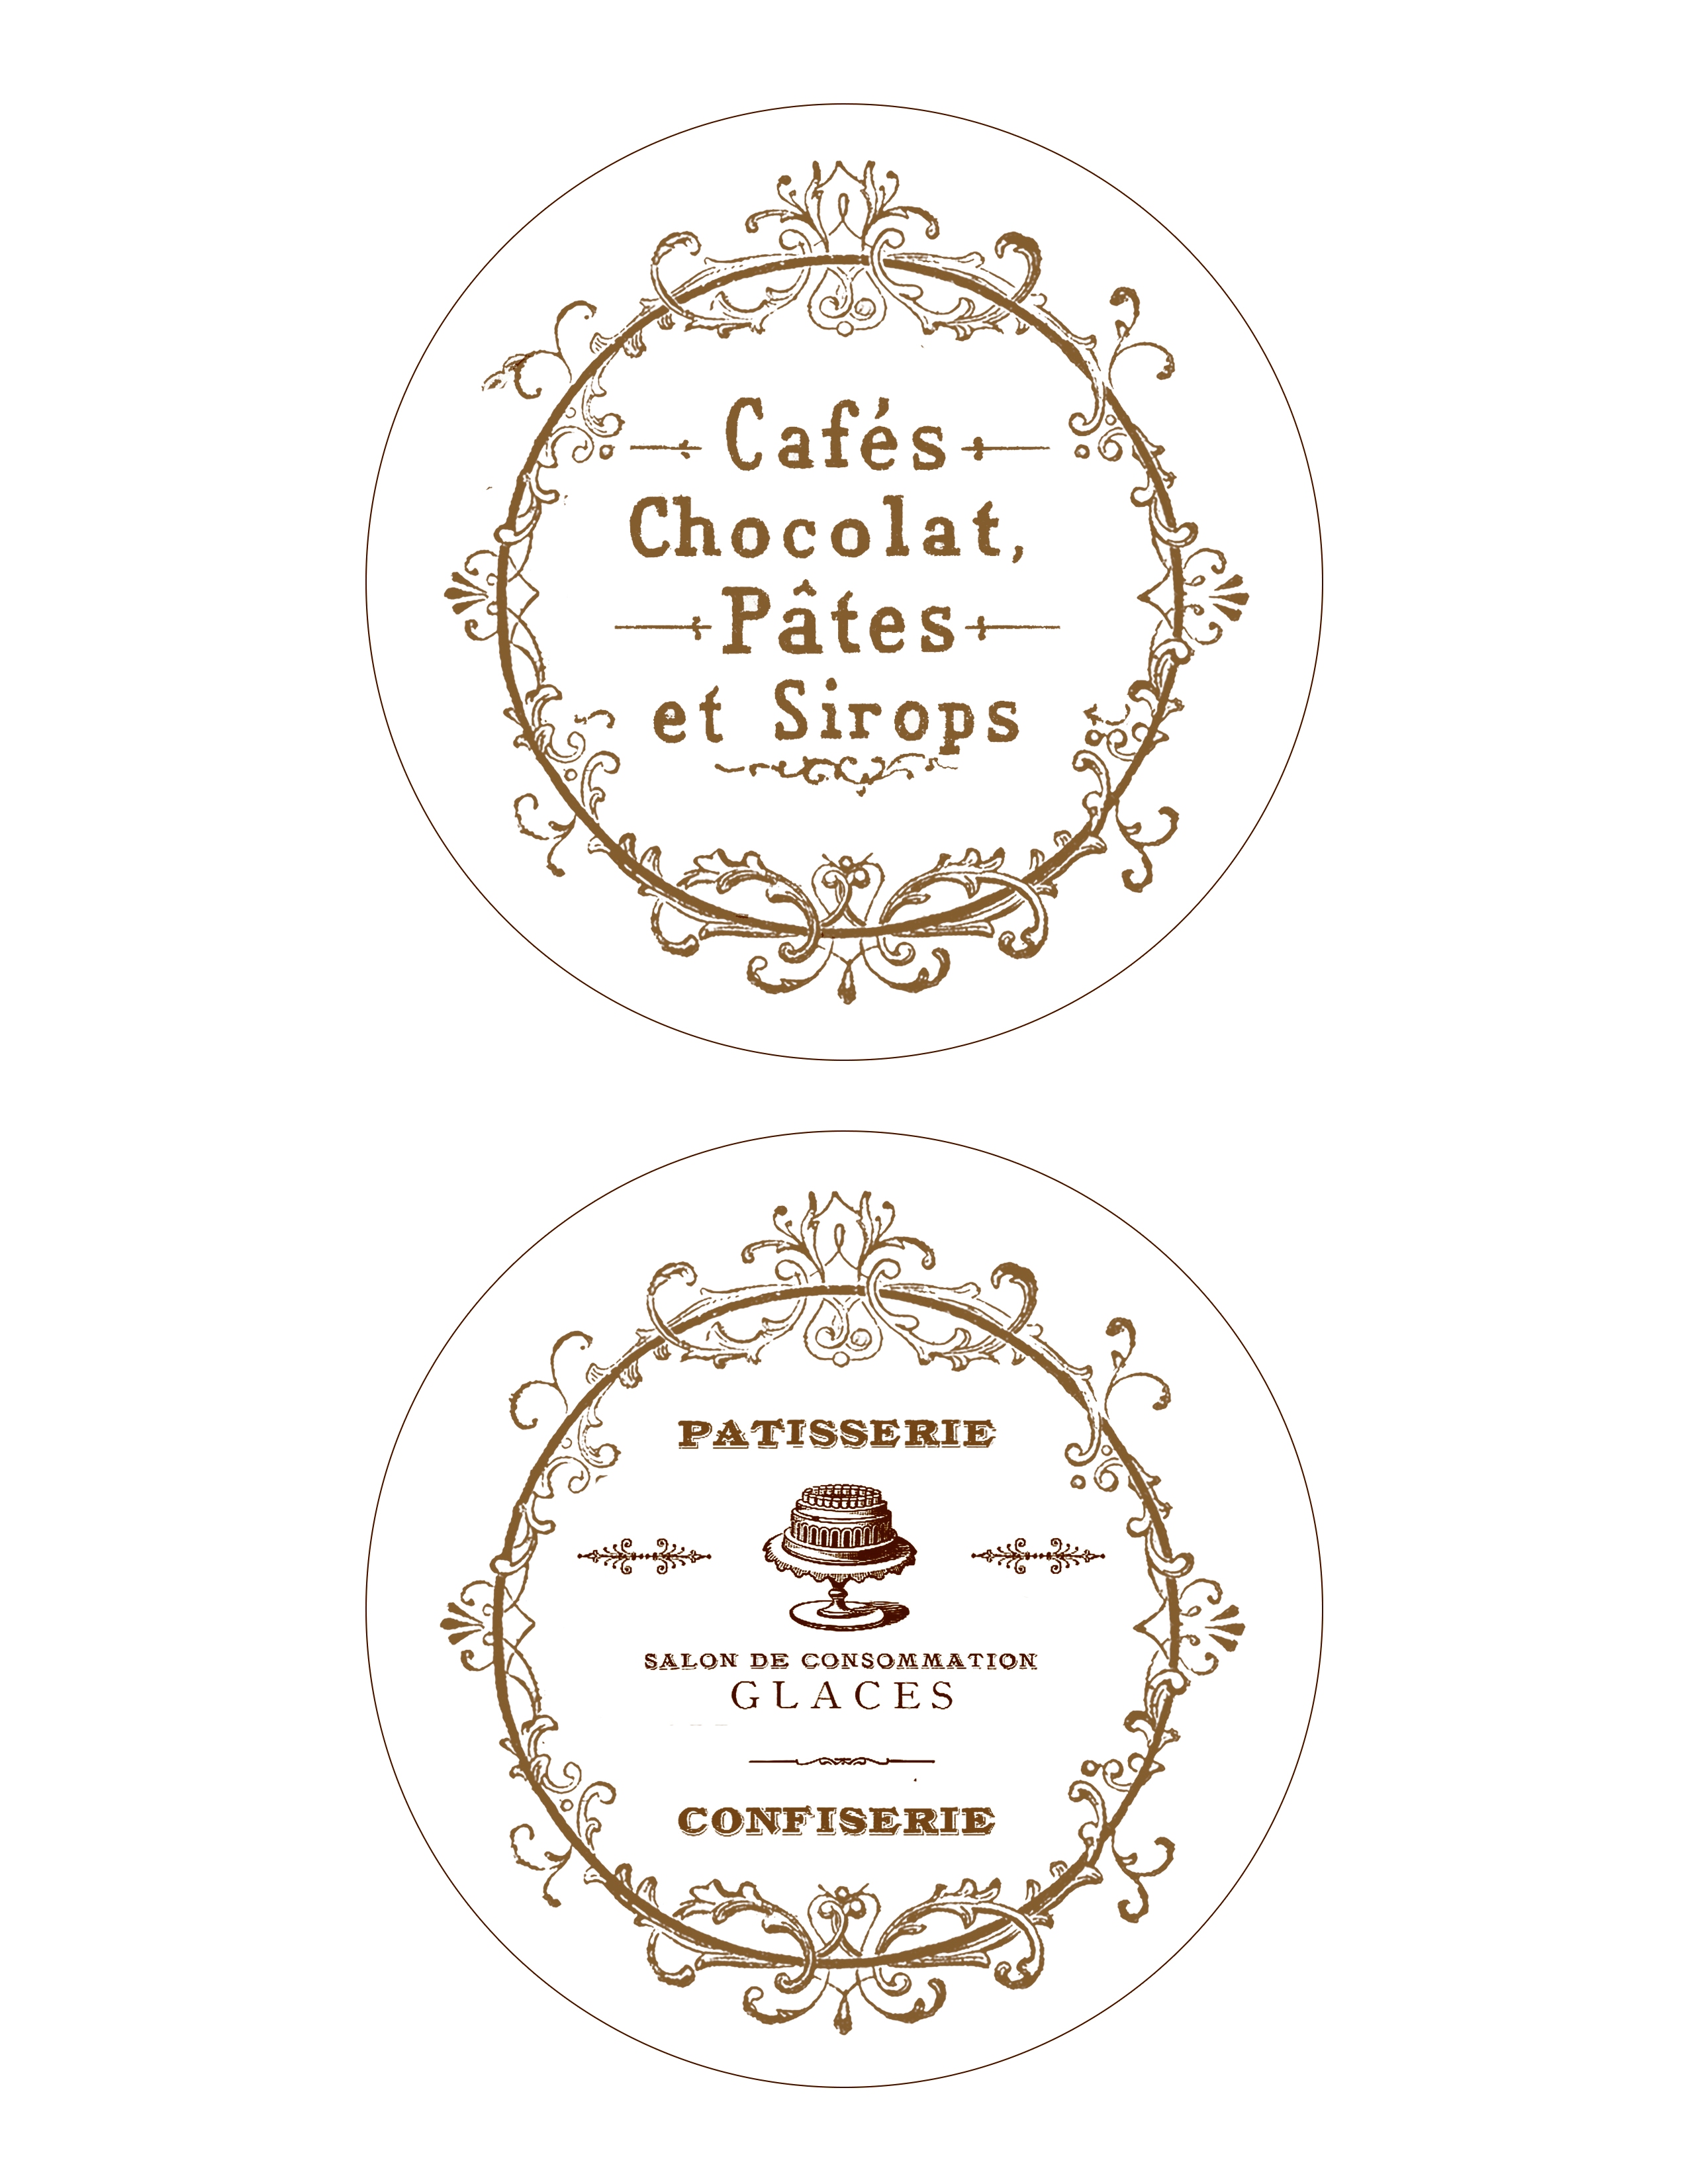
For this project I played (again) with some of my favorite graphics from The Graphics Fairy and a stunning embelished frame. I managed to create a clean and simple design, that was perfect for how I envisioned these DIY Vintage French CD Coasters would be.
The plan was to use white cardstock paper so that anyone trying this project could add their own ‘signature’ while distressing them as they wished.
It was a great plan! 
DIY Vintage French CD Coasters
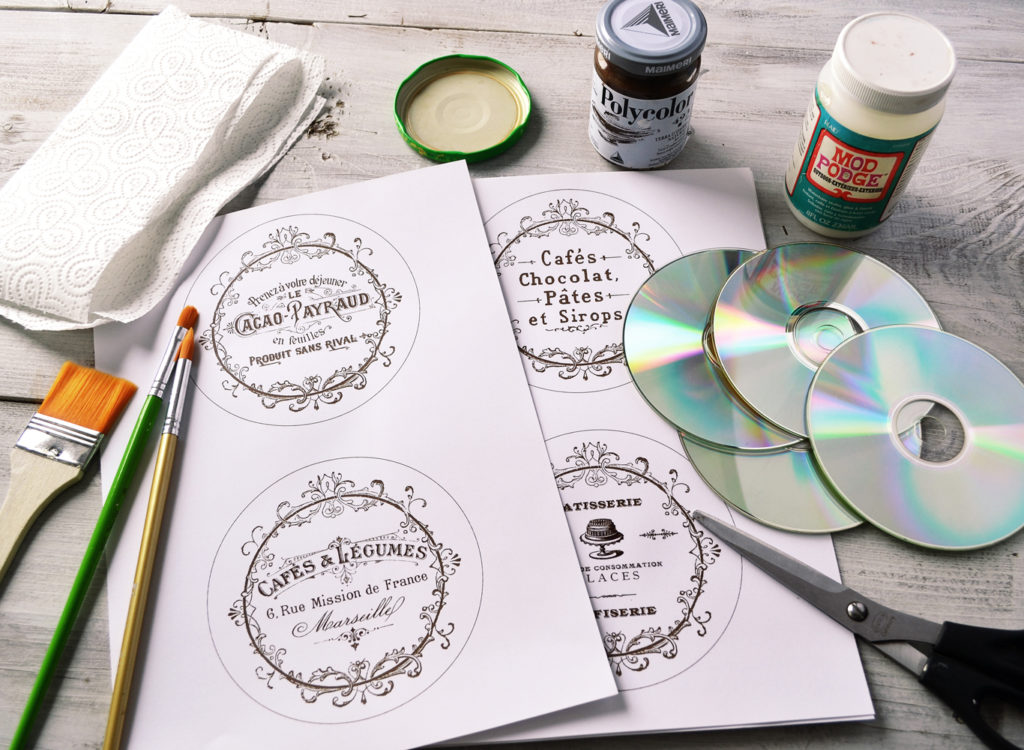
SUPPLIES:
- old or new CDs
- brown acrylic paint
- brushes
- Mod Podge
- cardstock paper (2 sheets of paper will make 4 coasters)
- paper towel
- scissors
- mechanical pencil
- laserjet printer
- matte finish spray
- French graphics
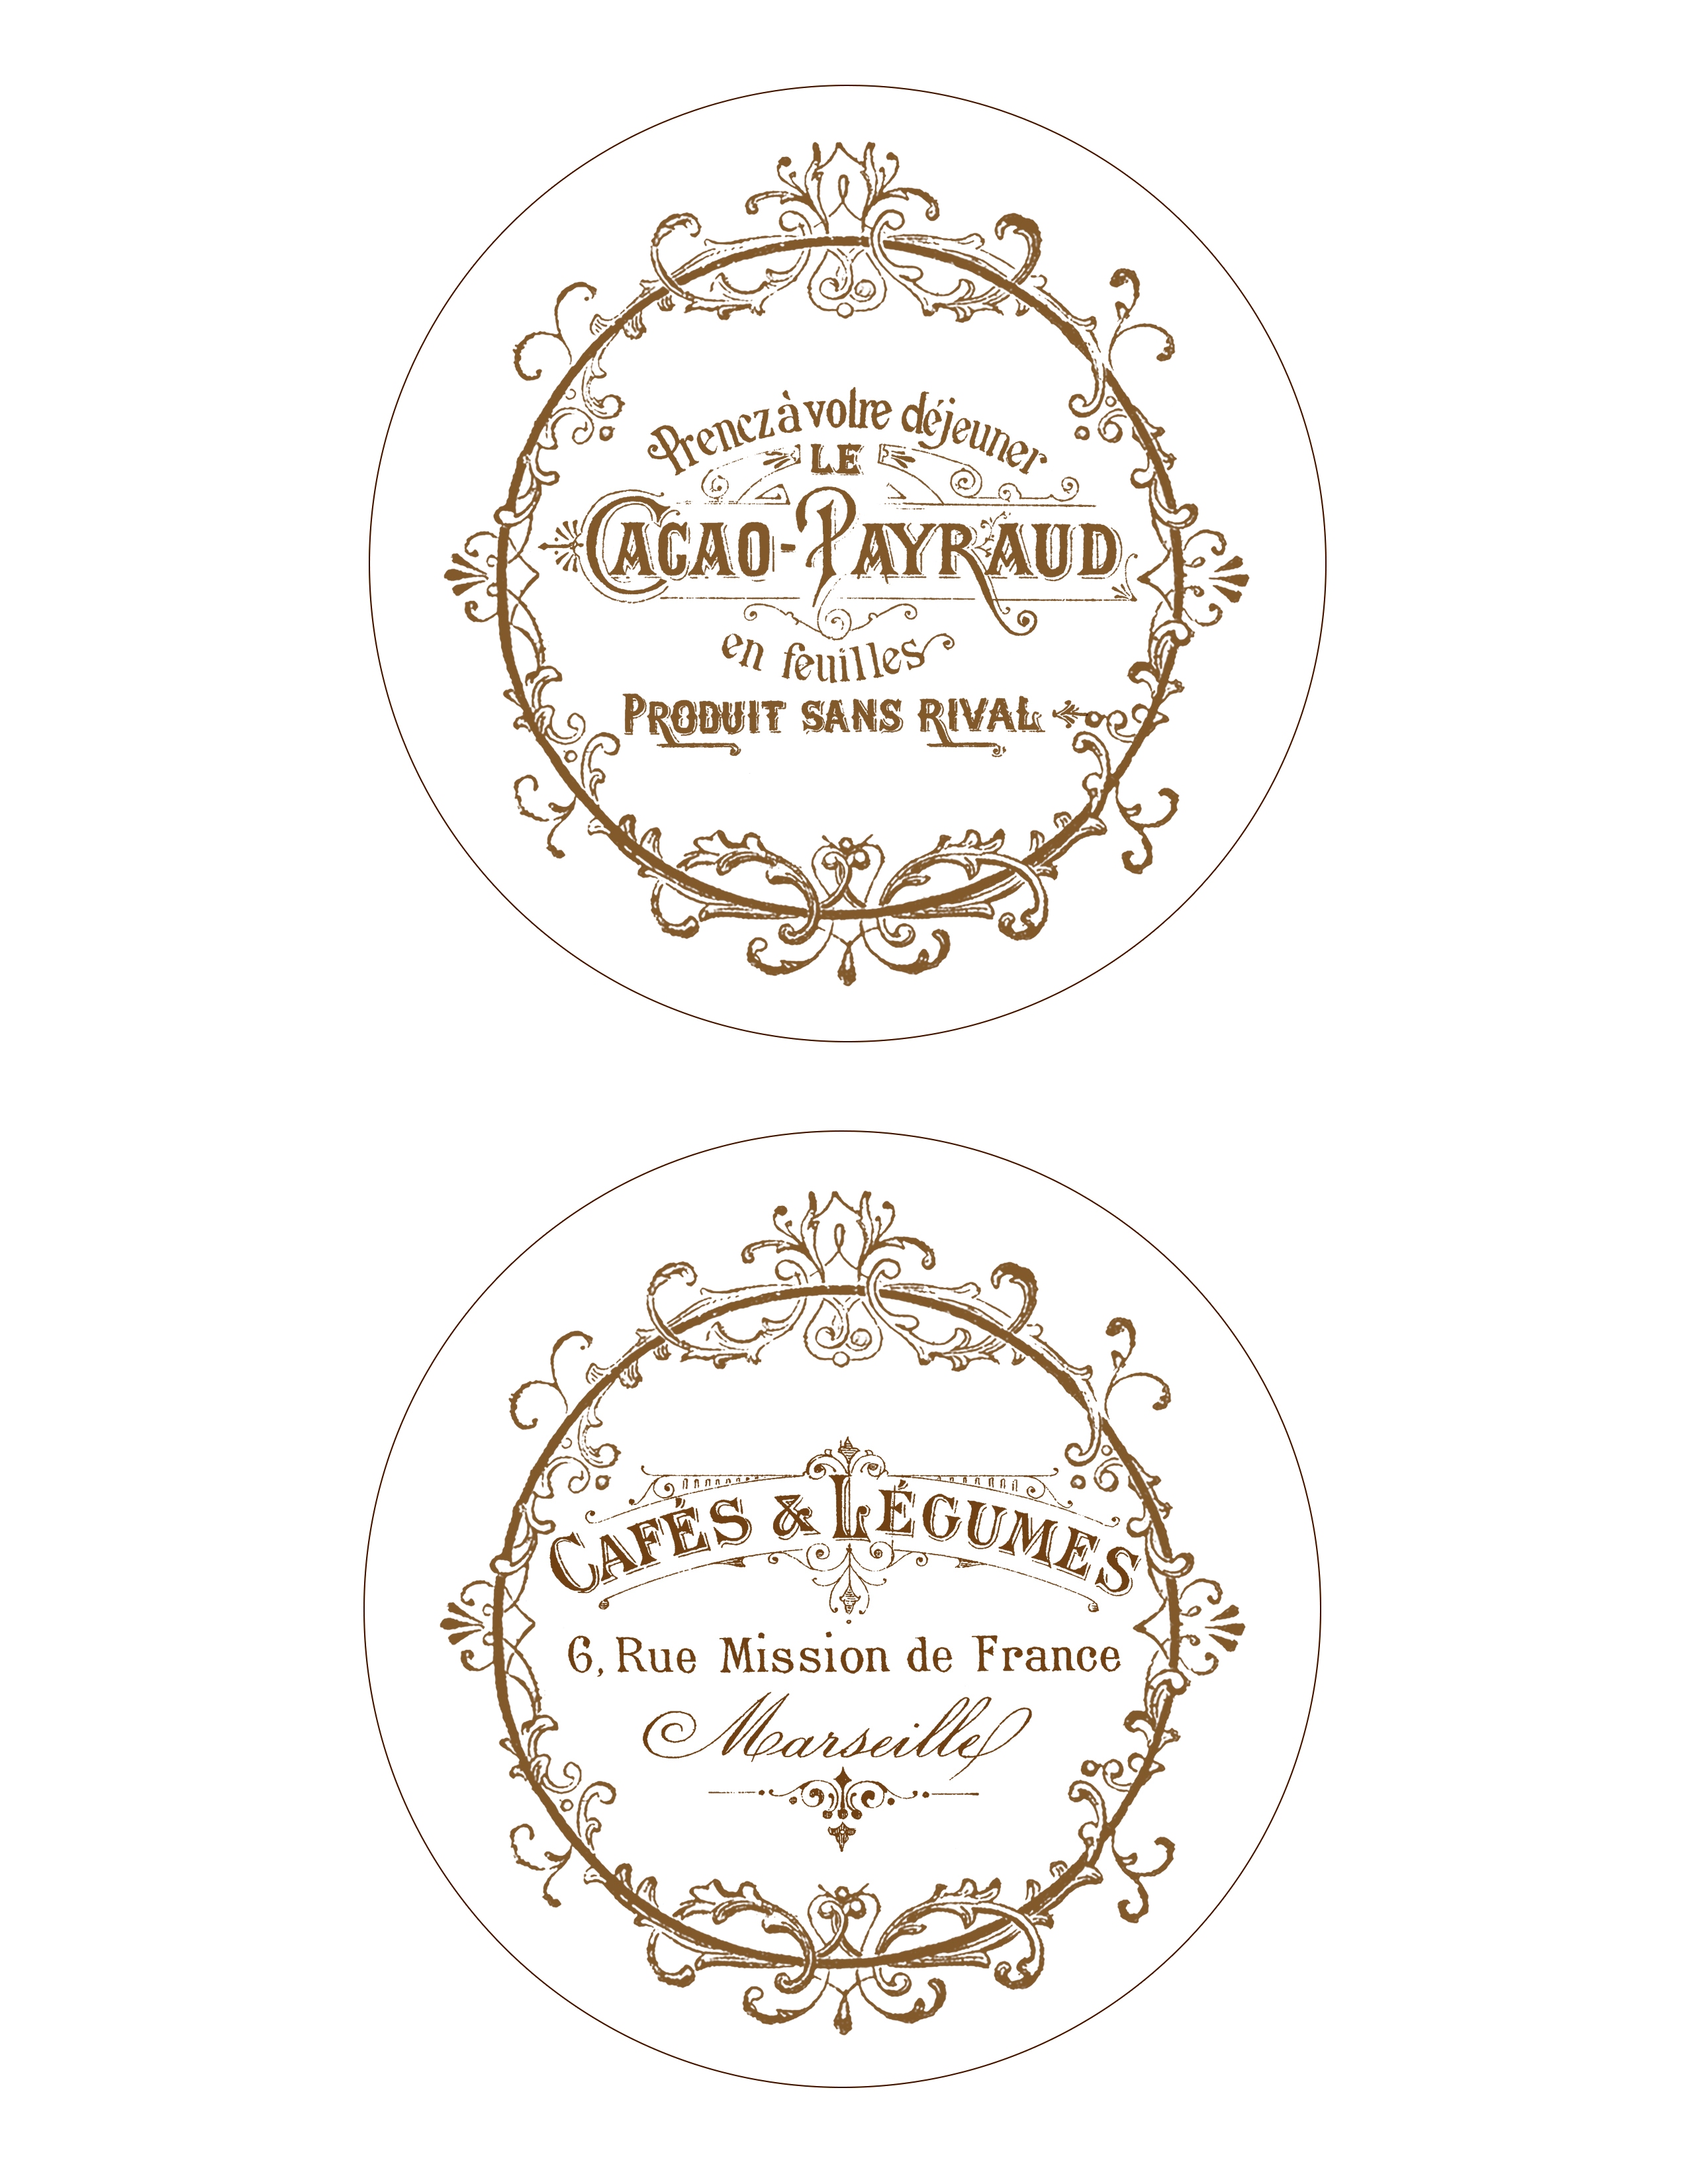
—-> Click HERE to Download the Full Size Printable PDF <—-
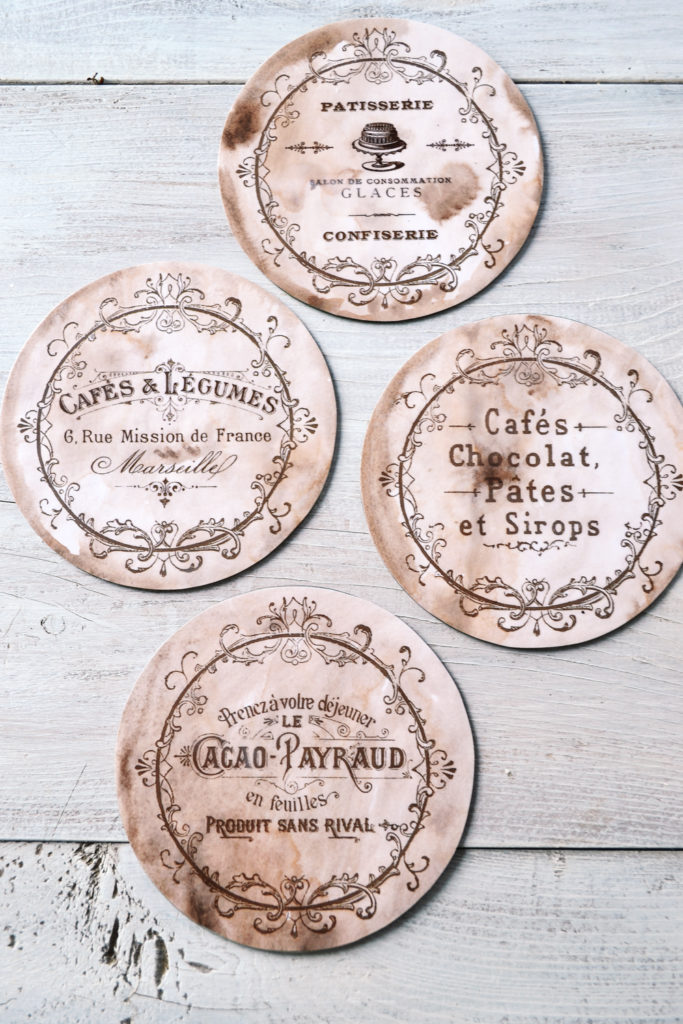
1. Download and print the French graphics on white cardstock paper. As mentioned before, you will need 2 sheets of cardstock paper to make 4 different coasters. If you want to make some more, double or triple the cardstock paper used and print the designs a few more times.
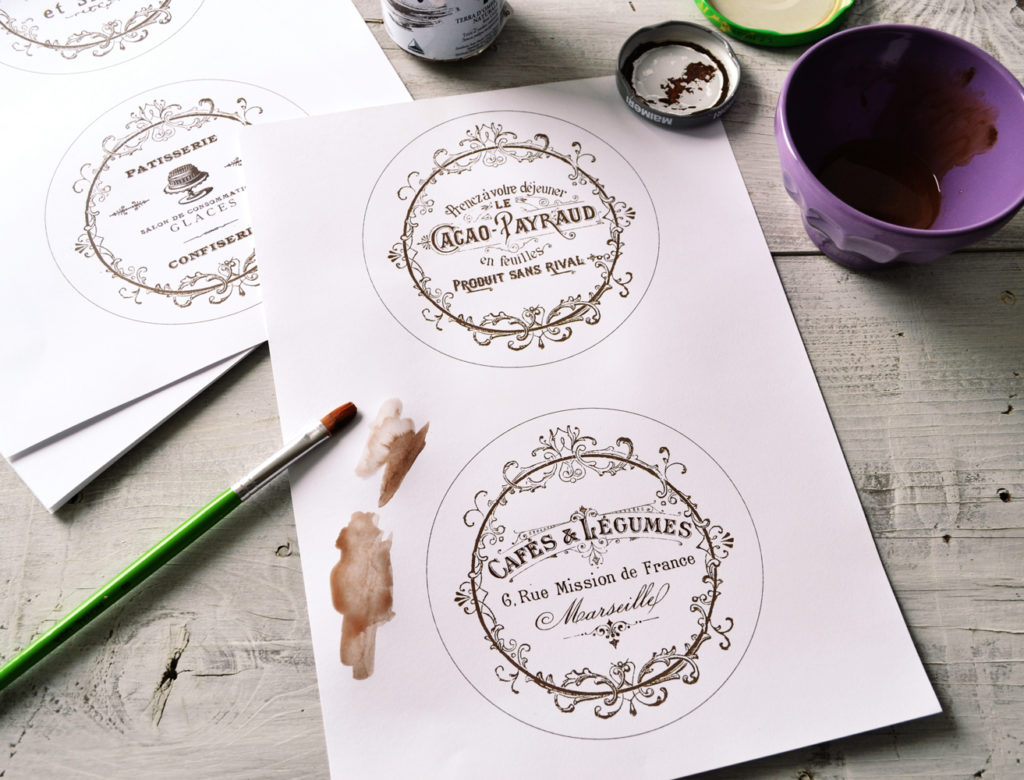
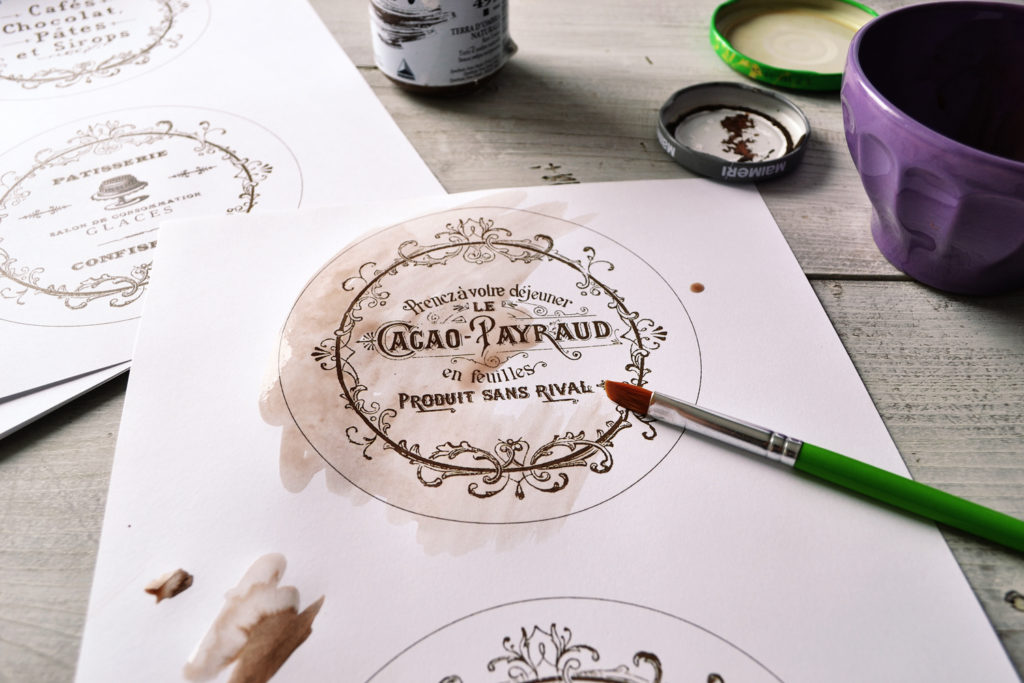
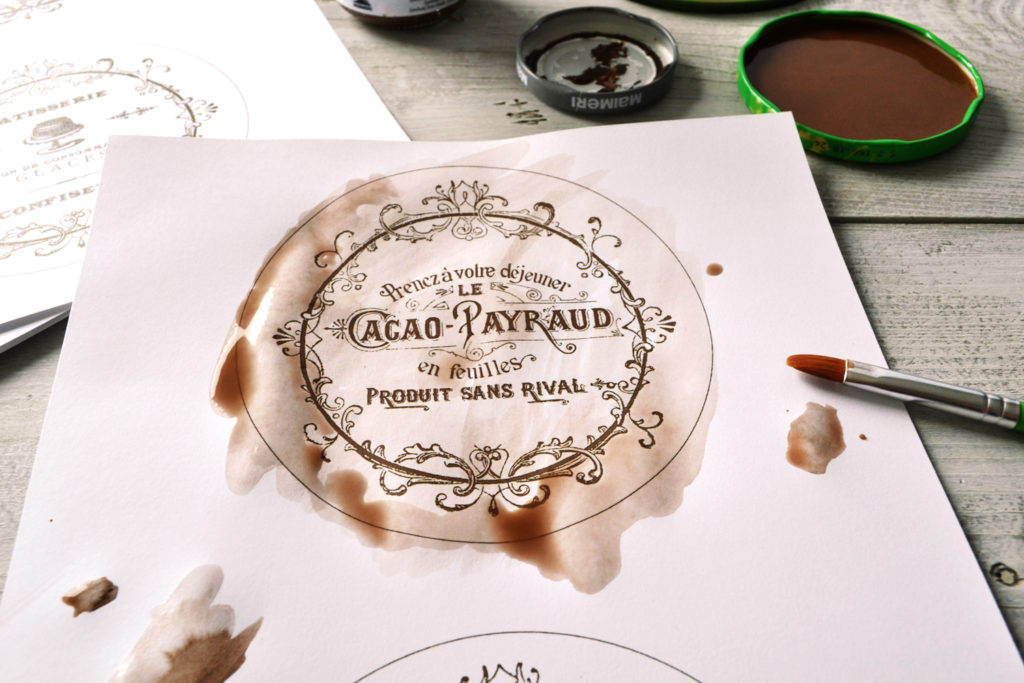
2. Put some paper towels under your cardstock paper and use highly diluted brown acrylic paint to ‘stain’ the paper and add a little bit of patina to every design. I did that before actually cutting the templates, I thought it would be much more easier this way. Use your brush and test the consistency of your paint outside the templates first to see if you need to add more water.
I completely covered the design with the highly diluted paint, but if you want, you can leave some white spots unstained – especially if you are going for a more contrasting final look.
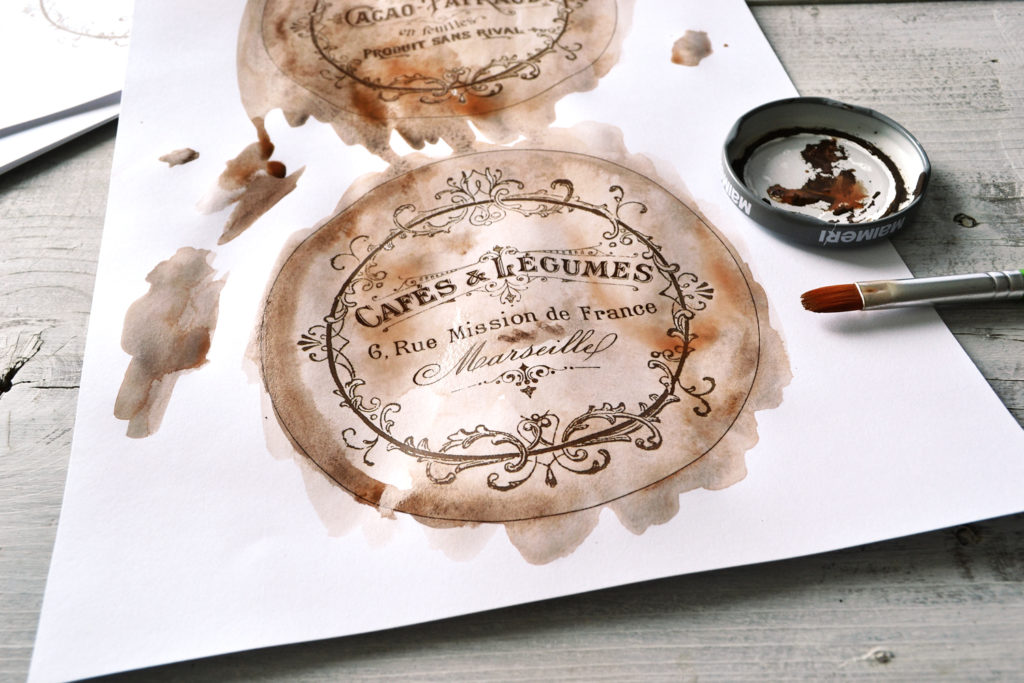
Add some more paint on the edges and randomly on some of the areas that you want to distress more.
You can even add a small amount of undiluted brown paint on the edges, at this point the soaking paper will create some beautiful contrasts and effects with the paint.
Play with water and paint until you get the stain effect that you love. Let the paint dry a little bit and add some more layers of water and paint, if you wish. The sky is the limit here, my friends! There is no right or wrong, just experiment until fully satisfied!
I used the same layering technique with the printable I made for the distressed clipboard frame – for more inspiration, you can check that project too.
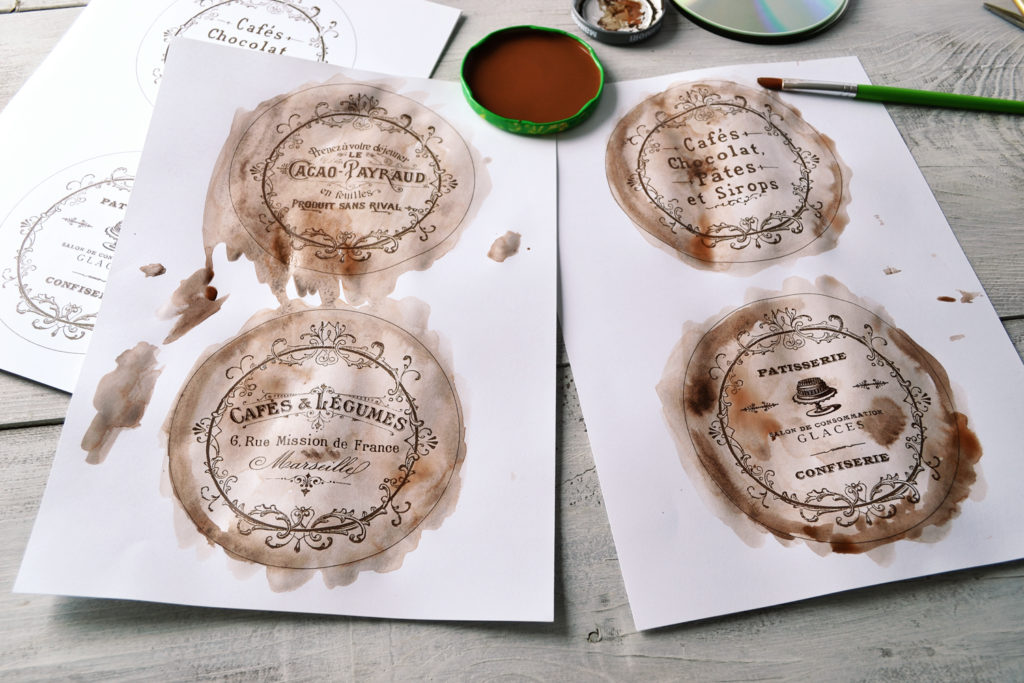
At this point, the paper will start to have a mind of its own, it will curl like crazy. But that won’t be a problem, just let it dry completely before moving to the next step.
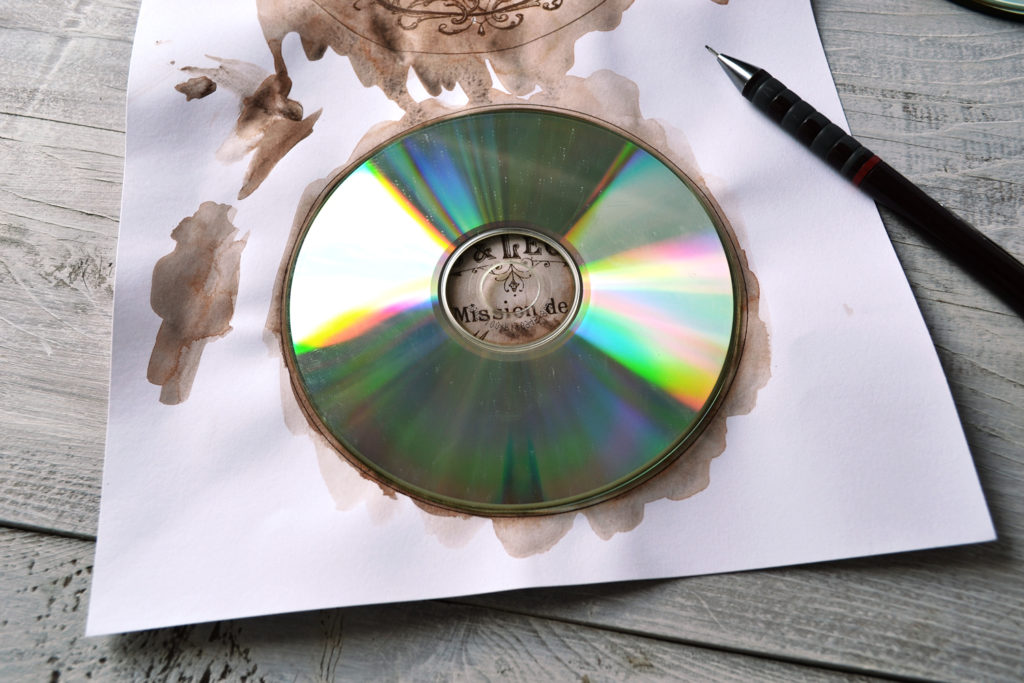
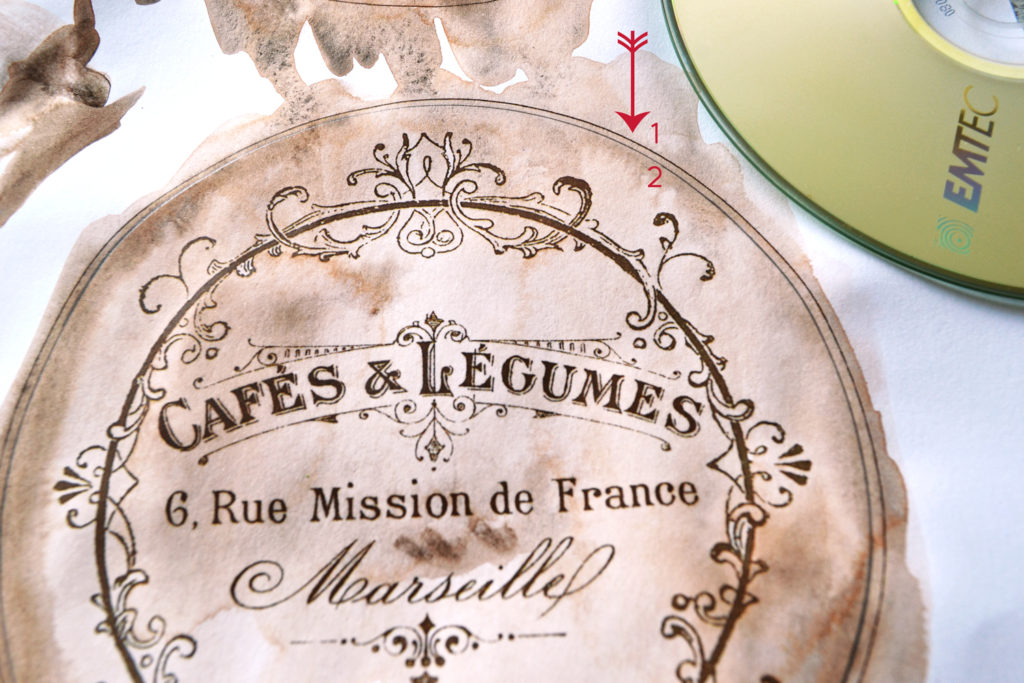
3. Take one of the CDs and put it in the middle of one of the designs. Try to center it and press it down really hard (to flatten some of the curled paper). If your CD is smaller than the outside line that I traced around the design, slowly trace a circle around your CD, using a mechanical pencil. Do not move the CD until you have a fully traced circle, parallel to the one that was already traced on the design.
As you can see in the picture below, now you should have the circle I traced when I made the design (no. 1) and the one you traced with your pencil (no. 2). Regardless of the paper size you are using (the US Letter size or the A4 size), the circle that is on the inside should be the one to take into consideration when moving to the next step.
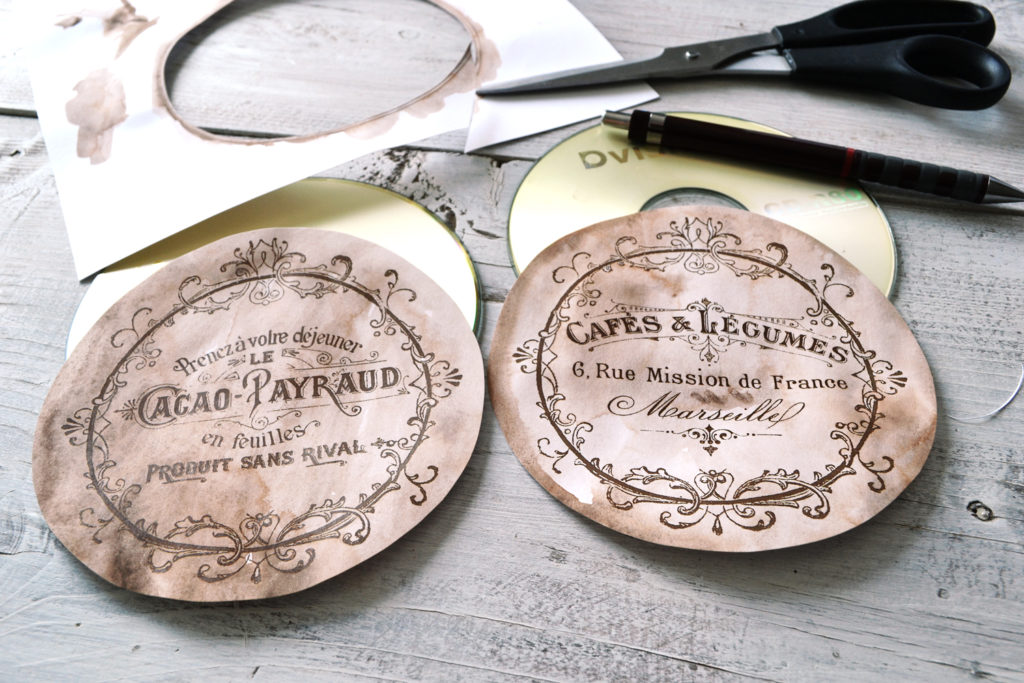
4. Using your scissors, cut the designs by leaving all the traced circles (mine and yours) outside.
No more traced pencils on your design and guess what? You now have the perfect paper size for your CDs!
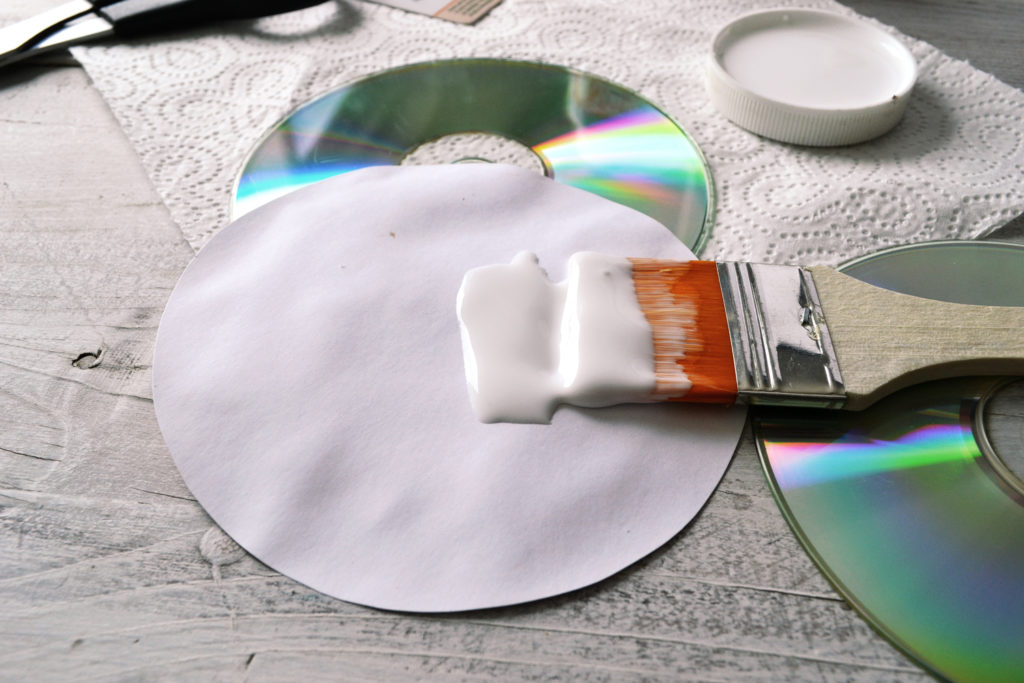
5. Use a generous amount of Mod Podge and apply it with a brush on the back of one of the designs. Make sure you completely cover all its surface.
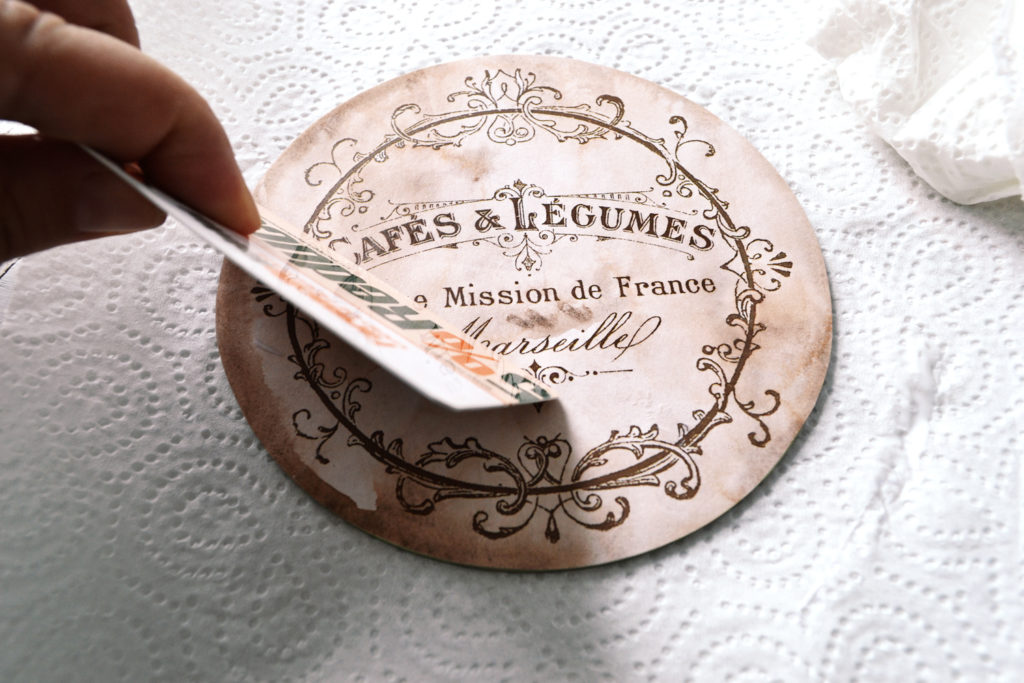
Turn the design up and apply the part with the glue on the surface of the CD – just like you would do when decoupaging. Use an old credit card to smooth out the surface and remove any air bubbles. Start from the middle and firmly press toward the edges. This will remove the excess Mod Podge too. Make sure you use a paper towel to protect the table you are working on, there might be some serious dripping involved here.
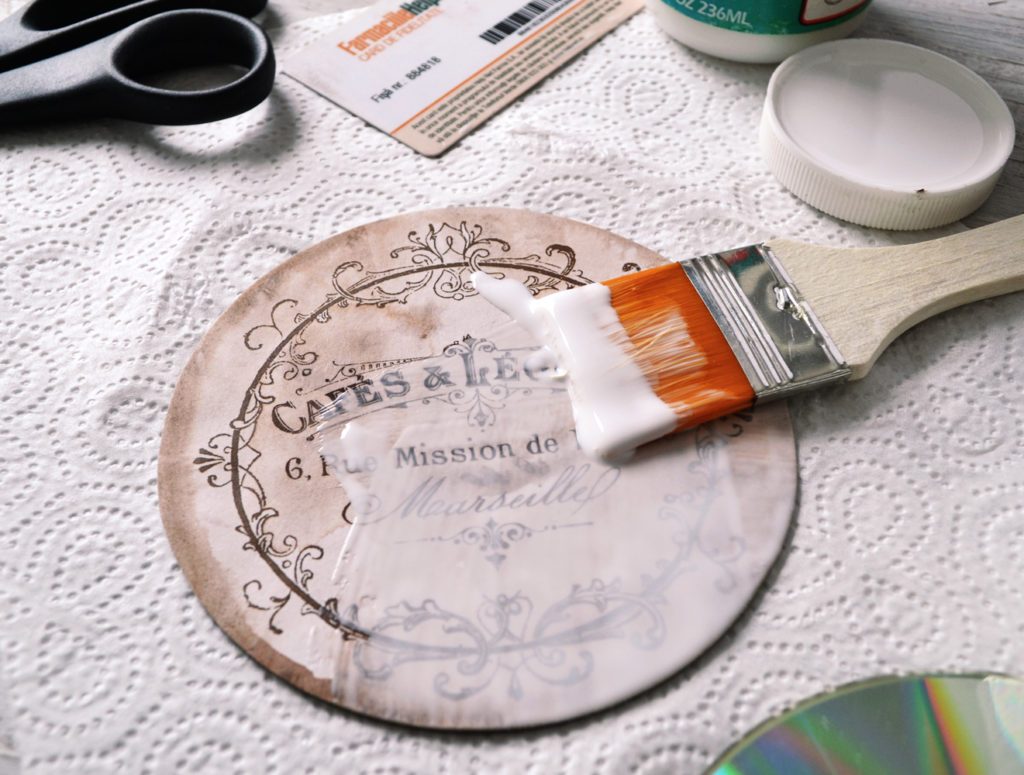
6. Again, apply a generous amount of Mod Podge, but this time, on top of the design. Work quickly to completely cover the whole surface with an even layer of Mod Podge.
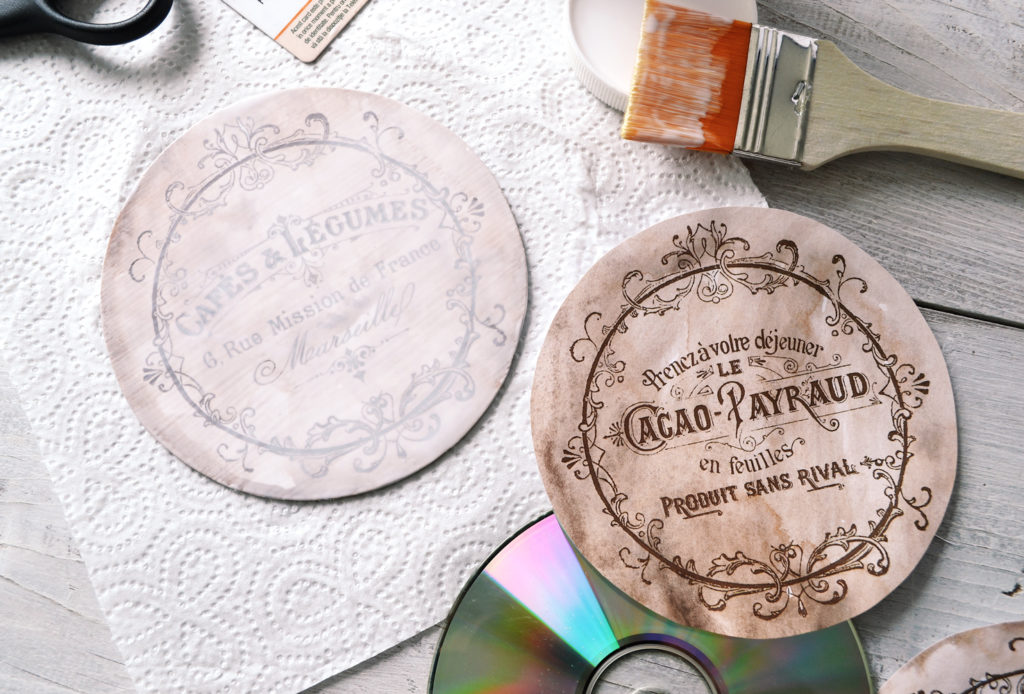
This new layer of white glue will almost completely hide the design, but that is perfectly normal with this type of glue at this stage.
So don’t worry, because after drying, the white film will turn into a translucent one, that would also act as protection for your coasters!
Follow the same steps for all the coasters and let them dry completely (even overnight) before using them.
Be carefully where you put them to dry, if there is some Mod Podge left on the back of the CDs, you might find them glued to the table in the morning! 
The Mod Podge that we used on top of the DIY Vintage French Coasters also acts as a sealer and will protect your coasters even from water spills. If you want to add another protective layer, you could spray some Krylon on top and let it dry completely before using. But this step is totally optional.
Remember these DIY Vintage French CD Coasters are handmade items and should be treated like so! Only use a paper towel or a damp cloth to gently clean and wipe them, do not submerge them into water!
If you want to further beautify them, you could add a little bit of (cut to size) fabric on their backs.
Or you could follow the same steps included in this DIY tutorial all over again and decorate their backs with these beautiful French designs. This way you could have some chic double sided French coasters. But that’s all up to you!
Your new amazing DIY Vintage French CD Coasters will hold your cold or hot drinks with style! They are perfect both for soothing tea lattes in the morning or large family gatherings, I’m sure everyone will love them!
Want another idea for using these beauties this summer? Try preparing some (more) Mojitos in my Vintage French Apothecary Jars and Bottles!
Hope you like my project and are already contemplating the idea of making some DIY Vintage French CD Coasters!
For more similar projects, you can also pay me a visit on my blog – Dreams Factory.
Enjoy your summer, don’t forget to smile!
Diana


Tresna Wood says
I just love these and started to make some. when I went to trace around the edge my CD’s were larger? than your template. Do you have any ideas as they look great?
graphicsfairy says
Hmmm, I don’t know Tresna, if you have an editing software you could probably enlarge the template or you might need to find smaller cd’s. Good luck
Meanne77 says
It’s nice and all and I’m going to remember to use CD as coasters but… I guess it’s not as cool an effect when you’re French and actually understand what’s written on the labels (To make “cool” labels or designs or whatever, we use English
  )
)
Larry says
These are absolutely gorgeous, but I had a wee bit of trouble centering them, until I remembered my trusty old CD labeler and I stole a trick from that. I placed the printed side of the circle down, used the Mod Podge on the back side, but did NOT flip the label up. Instead, I centered the CD over the label, and in one quick movement, i pressed down with the CD on the Mod Podge side and Voila! It was centered and stuck down good. I then took a French rolling pin and rolled it across the CD a few times to press it on good and tight onto the label.
After that I followed all the other steps, and treated the label with Krylon Matte Acrylic Clear Spray. I now have some beautiful coasters for gifts for friends and family.
My next trick will be to take an old CD labeler,(I have 4 of them) remove the center post, and lock down the small label post into the labeler base. will let you know how that comes out!
Thanks for the beautiful artwork, I truly enjoy it all!
graphicsfairy says
Wow Larry! Please do let us know how it comes out, it sounds like a great idea!!
Lisa says
Do you have any suggestions on other objects to apply these to for making coasters? I wonder if it would work on something like cork or wood slices? Maybe tiles?
graphicsfairy says
Hi Lisa,
You can use this transfer method with pretty much anything! Here is a link to my favorite transfer methods that might give you some ideas :)https://thegraphicsfairy.com/12-easy-image-transfer-methods-for-diy-projects/
Good luck
Blume Bauer says
These are absolutely adorable! Thanks for the idea!
Karen says
Thank you Blume. Have fun creating.
LINDA J says
I AAM UNABLE TO DOWNLOAD these wonderful coaster graphics, but I have 8 old CDs waiting for dessing up….any suggestions? I have always been successful at downloading your wonderful graphics…not this time…boo-hoo !!
Karen says
Can you tell me what happened when you clicked the link?
Charlotte Barron says
Can you use an inkjet printer or does it have to be a laser?
graphicsfairy says
I’m not sure if an ink jet printer would work with my highly diluted paint technique. Maybe you could do a small test on a piece of paper before and see how that goes? Or maybe you could let the ink dry for a while before moving to the next step. I’m not really familiar with inkjet printers myself, I’ve always used a laser one. I hope that helps
Sandra Malbrough says
I enjoy everything you do..especially the step by step instructions..These coasters looks great, definitely will try this. My granddaughter just told my yesterday she needs coasters and this would be perfect. I have lots of old CD’s to play with.
graphicsfairy says
I am so glad, it sounds like the perfect gift! Thank you so much for the kind words Sandra
Diane says
I need Mod Podge – Love them can’t wait to make these! Love the site too, so inspirational!
graphicsfairy says
Thanks so much Diane! I hope you have fun making them
Rupa says
Mojo toys. Yeah, I am in! It’s one of my fav summer (and anytime) drinks. Coasters are beautiful, thanks for this great upcycling project. We all have some old CDs languishing in the drawers?
graphicsfairy says
Thanks Rupa, have fun upcycling
Cynthia Murphy says
I know this is a late comment, but wanted you to know how much I love making the distressed clipboard. I made it 4 times! Three to give away and one for me. Everyone loved their gift.
I am having a little more difficulty completing the CD coasters. Just can’t seem to find the center. Have ruined a few, but I am determined to finish. Thank you for taking the time to post your creations. I plan to complete the hat boxes next.
graphicsfairy says
Wow!! Good for you Cynthia, I am so happy that you are enjoying the projects and creating your own!! Have fun!!
Cindi Dukes says
I just love this web site.
graphicsfairy says
Thank you Cindi, you are so kind!
Gilmer Gal says
These would make a great gift, also! I am going to make some for my friend, and I think I’ll cover the underside with felt. Thanks for sharing!!
graphicsfairy says
That is a great idea!!
Donna says
Enjoy the step by step instructions on your projects. You provide lots if images so one can easily follow along. Would love to be a Premium member..but even at the low monthly price my fixed income (social security) just can’t allow it to happen. But thank you for allowing those like me to still enjoy your web sight. Looking forward to Friday !! Have a blessed week!
graphicsfairy says
Thanks so much Donna, I am so happy you enjoy the images and projects. You have a Blessed week as well
BARBARA FELBURG-JACKSON says
Genius, adorable…(wacakawakckawaka, my DJ sound effect).
graphicsfairy says
Ha ha, thanks Barbara! I hope you have fun making them!