Altoids Tin Projects
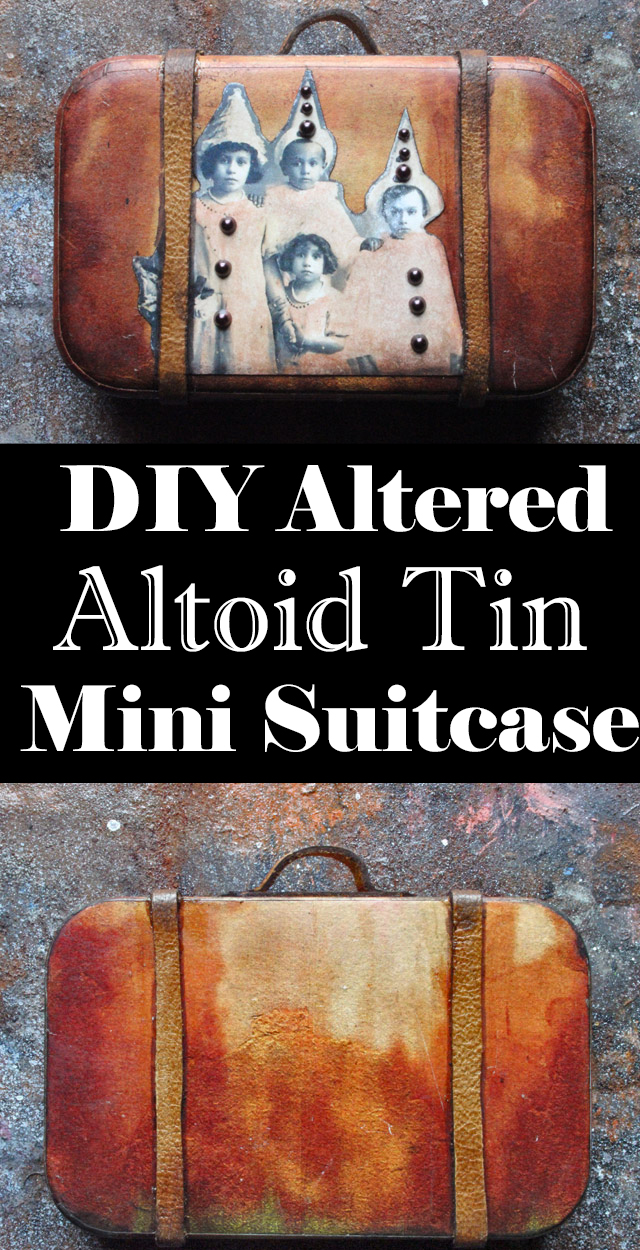
Hello Graphics Fairy friends! It’s Heather from Thicketworks, and I can’t wait to show you how simple it is to create one of these little charmers- Altoids Tin Projects. Creating this project was a wonderful way to spend an afternoon… Now I want to make a gazillion of them!
Settle in, and join me for a little journey…
Altoids Tin Projects Supplies:
- An Altoids tin (I know, pretty darn obvious)
- A sheet of sticky-backed fun foam
- A ballpoint pen
- Aleene’s Tacky Glue
- Water
- An artist’s brush to apply the glue
- Scissors: craft & cuticle
- Ruler & craft knife
- Double Sided Foam Tape
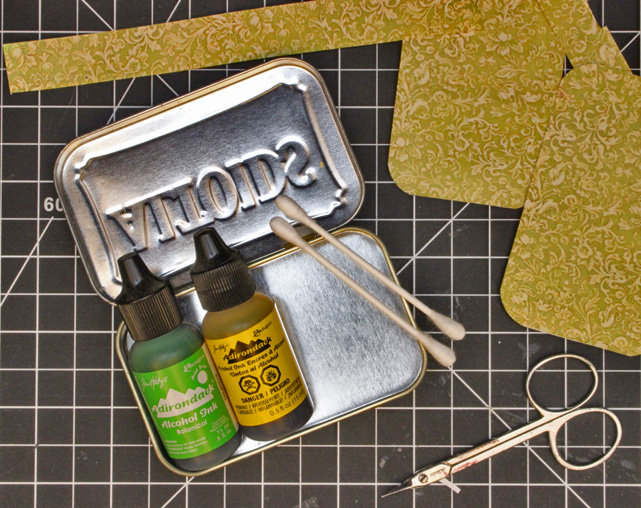
- Sanding block or heavy grit emery board
Optional:
- Thin strips of leather
- Tiny flat backed pearls
- Assorted scraps from your stash
- Crop a Dile Corner Chomper
- FabriTac Adhesive
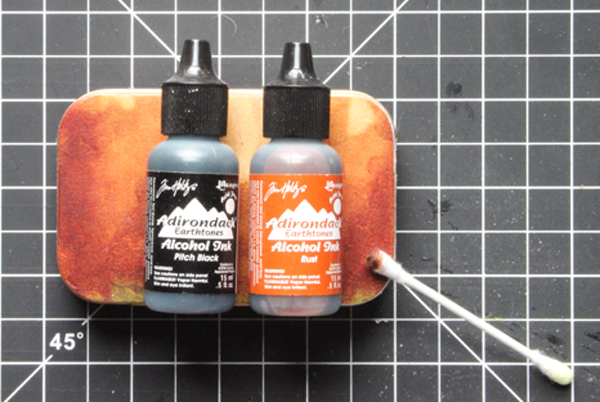
- Alcohol Inks in Rust, Black Soot, Botanical and Sunshine Yellow
- Rubbing Alcohol
- Cotton swabs
- A Faber-Castell Pitt Artist Brush Pen: dark sepia
- Graphics Fairy images printed with a laser printer
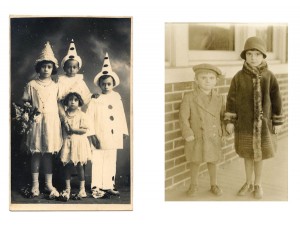
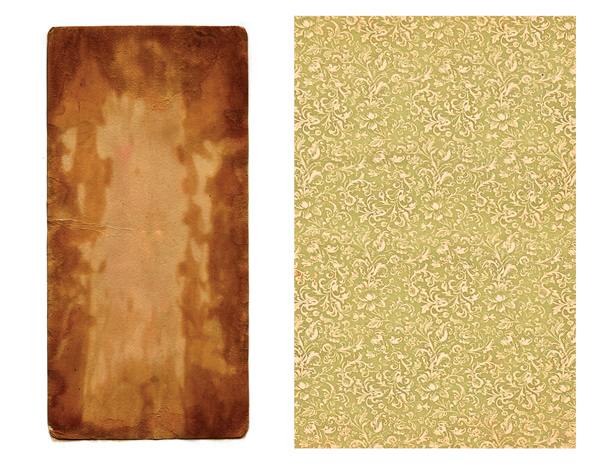
For this tutorial, I began with these lovely images:
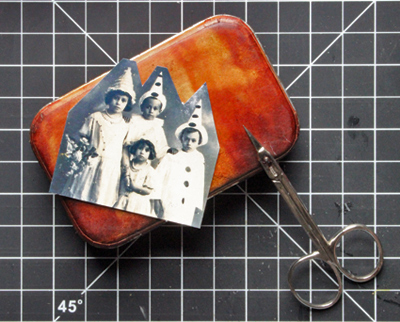
Digital files have been created for you to print as PDF’s if you like.
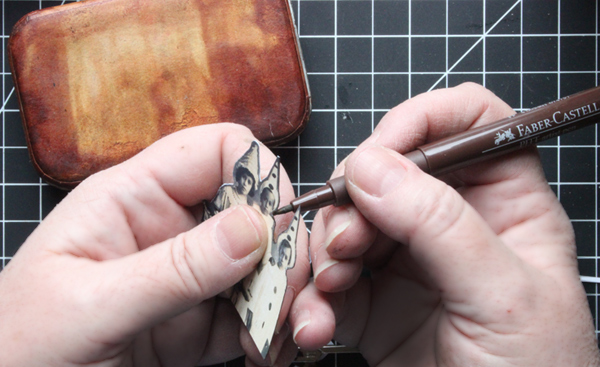
Note:
- The the children’s portraits have been resized to fit perfectly on this project: print them on on white cardstock.
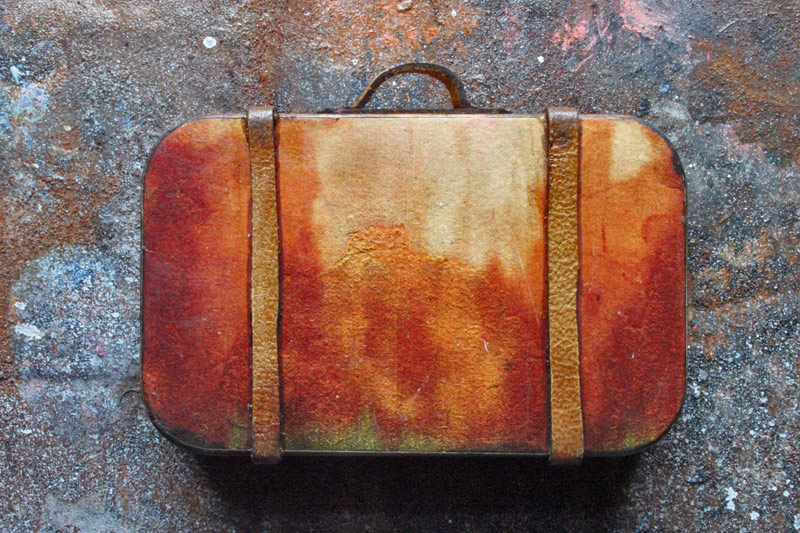
- Print the background graphics on regular printer paper.
Free Printable Altoids Tin Printables:
Click HERE to grab copies of these files:
Step by Step Tutorial:
Now that we have all our supplies at the ready, let’s have some fun!
- The first problem with altering most Altoids tins these days is the embossed lid.
2. You can purchase blank tins, in which case this won’t be an issue. But if what you have is a regular tin that has the embossed lid, you can easily take care of the problem.
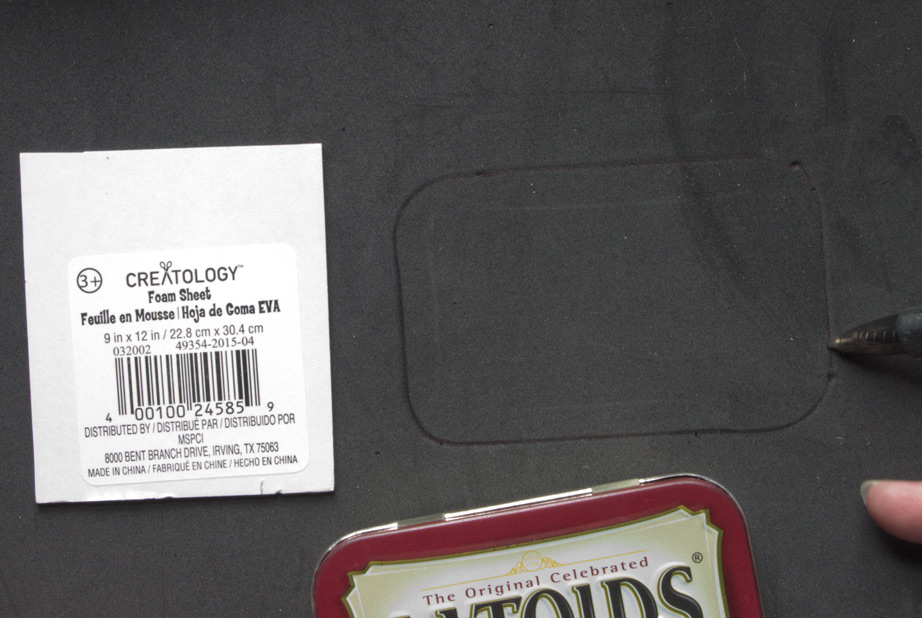
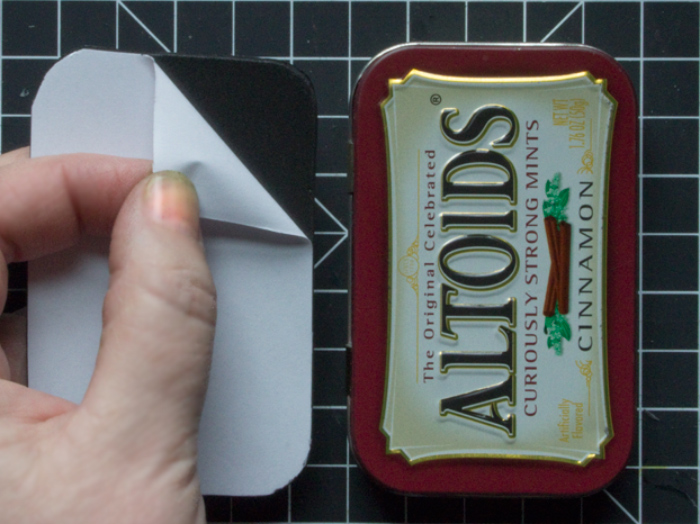
3. Just trace the shape of the lid onto a sheet of sticky-backed foam with a ballpoint pen, and cut it out with scissors.
4. Once you’ve cut the foam into the shape of the lid, remove the protective backing paper, and adhere it onto the lid, right over the logo.
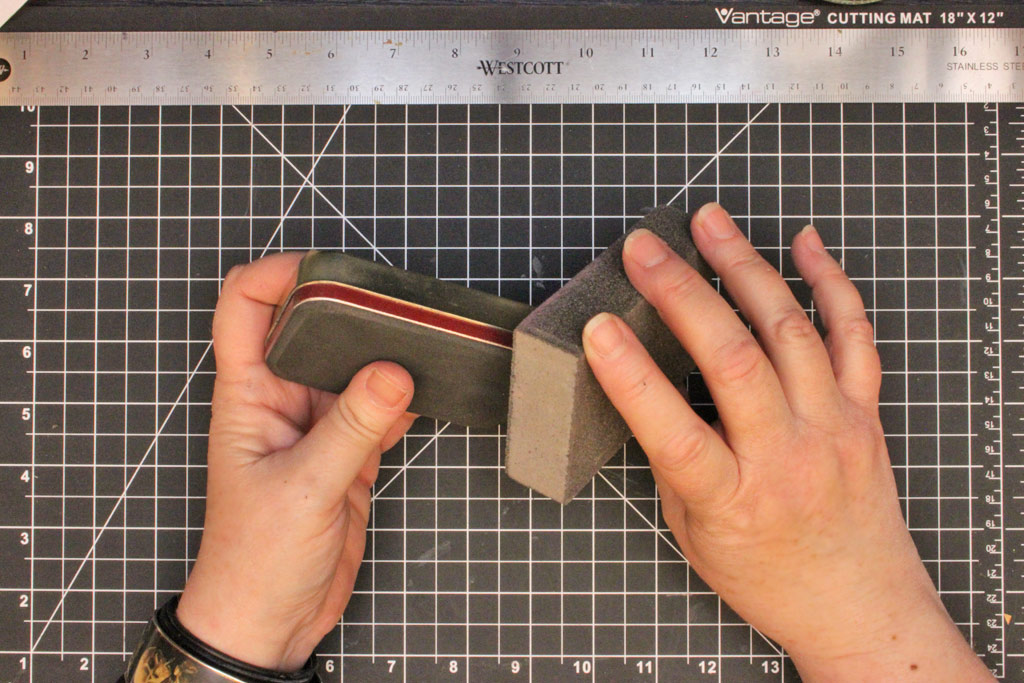
5. Using a sanding block or a heavy-duty emery board, smooth the edges of the foam to create a smooth transition between foam and metal:
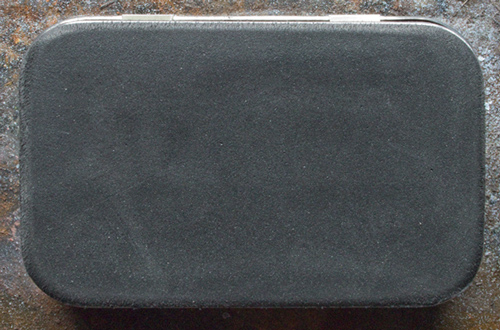
The foam sands very easily, leaving a smooth edge.
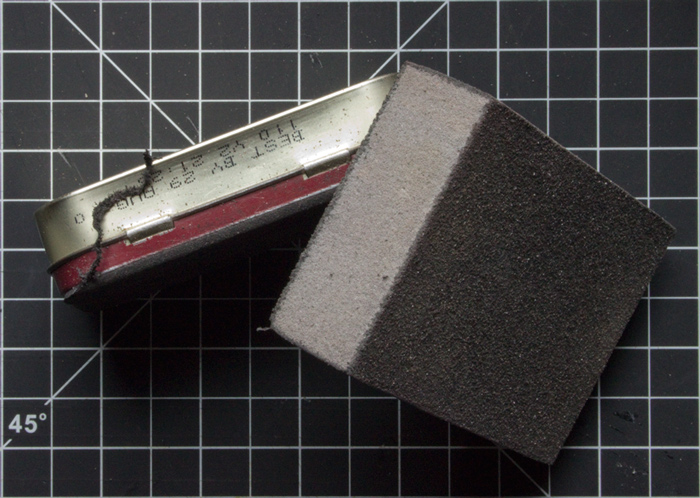
6. Bevel the edge slightly while sanding:
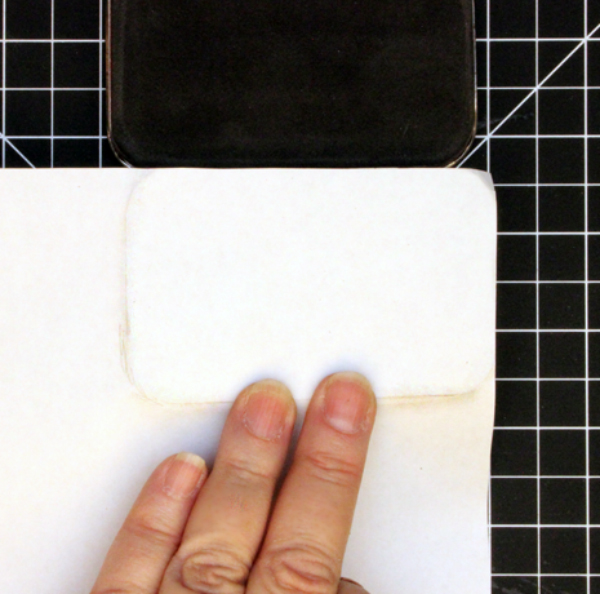
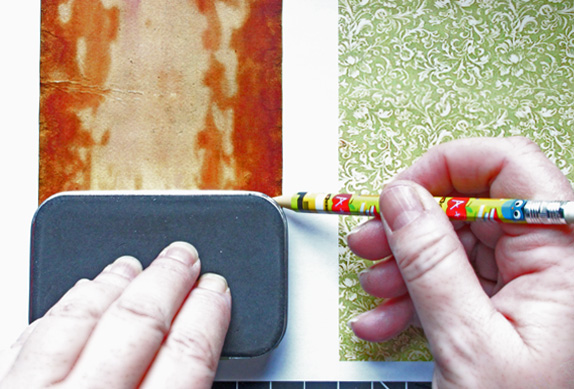
7. Place the tin face down on your work surface.
8. Place the Antique End Paper face down on top of it, and use your fingers to trace along the contours of the bottom of the box.
9. Carefully cut the paper along the crease you just made.
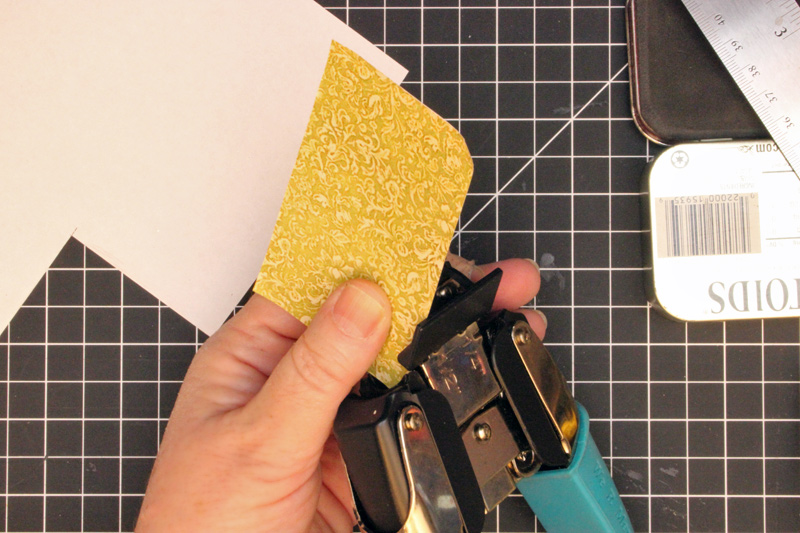
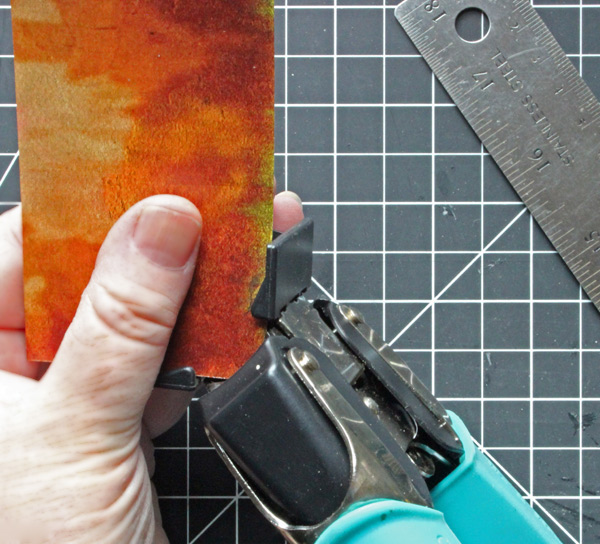
10. The 1/2” setting on a Crop-A-Dile Corner Chomper creates the perfect rounded corners for this project:
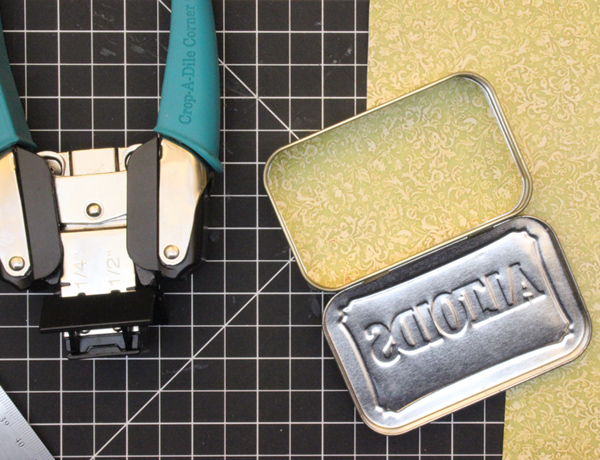
11. Dry-fit your lower lining piece, and make any necessary adjustments:
12. Following the same procedures, create a panel that will cover the inner lid, and the inner sides of the base.
Note: Do not add paper to the inner sides of the lid, as this will make it impossible to close your tin properly.
13. Use alcohol inks and a cotton swab to tint the interior where the sides meet the lid and bottom, to blend any tiny bit of metal that might show through the join between paper strips.
14. Tint the inner sides of the lid and any other areas where you don’t wish to see the bright ‘tin’ showing. Use rubbing alcohol to clean your fingers.
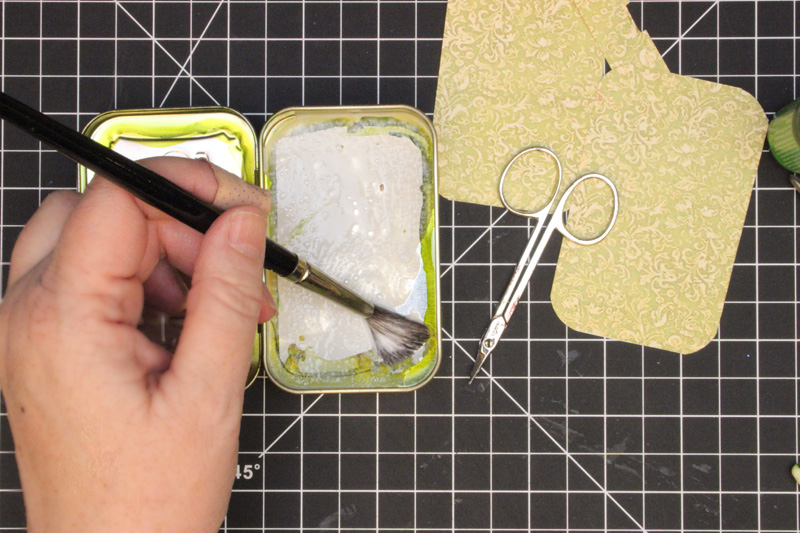
15. Once the alcohol ink has dried (almost instantly), dip your brush in water and then swirl it through a bit of Aleene’s Tacky Glue.
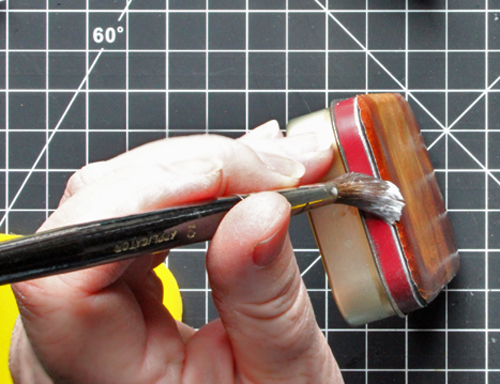
16. ‘Paint’ the glue over the entire surface of the interior bottom:
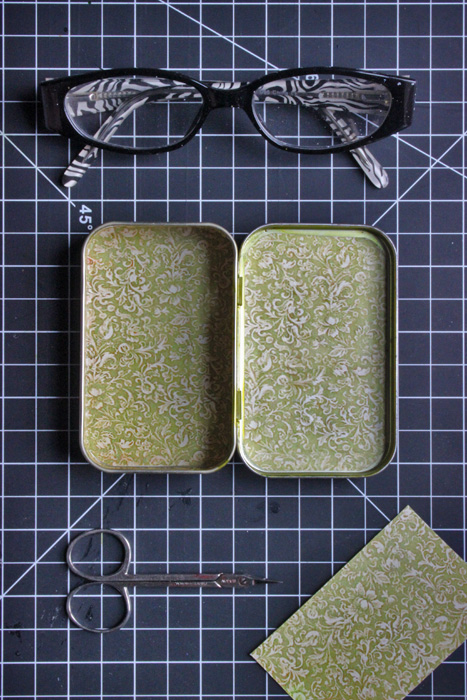
17. Carefully place your background papers onto the glue, and smooth with your fingers or a tool.
18. Repeat the same procedure for the sides of the bottom, and the interior of the lid:
19. Trace the top and bottom onto the ‘Aged Paper’ Print.
20. Cut out and round the corners:
21. Glue down, using the same slightly watery mixture of glue, and smooth into place:
22. Apply extra glue to the edges of the fun foam, and coax the paper to follow the curve by pressing firmly with your fingers.
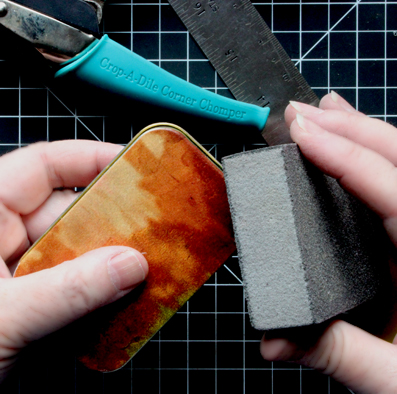
23. Once the glue has dried, gently sand the edges to smooth them:
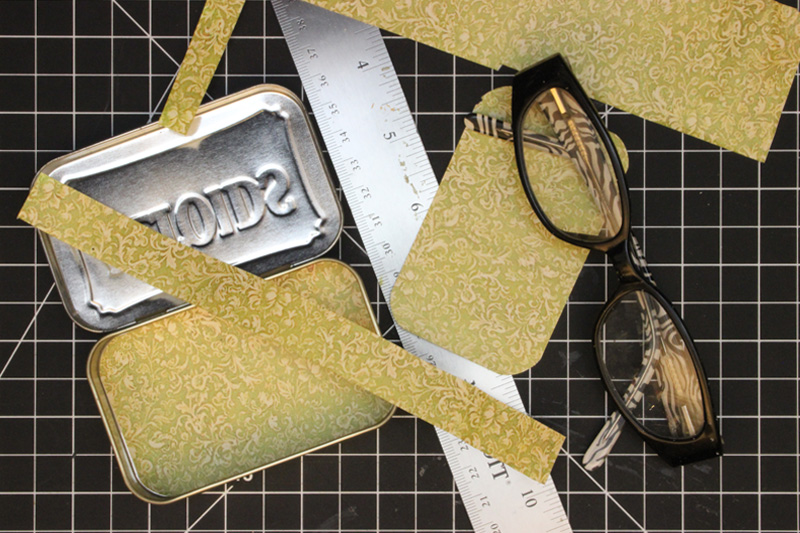
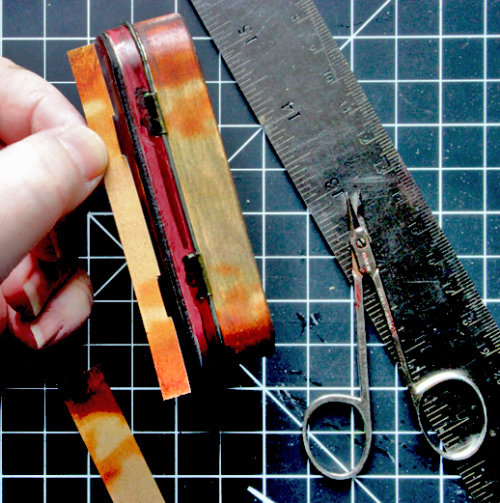
24. Either measure and cut, or use the finger-tip-creasing method to create strips to cover the exterior sides. Glue them in place.
25. Use alcohol inks to blend the ‘joins’ between paper edges together
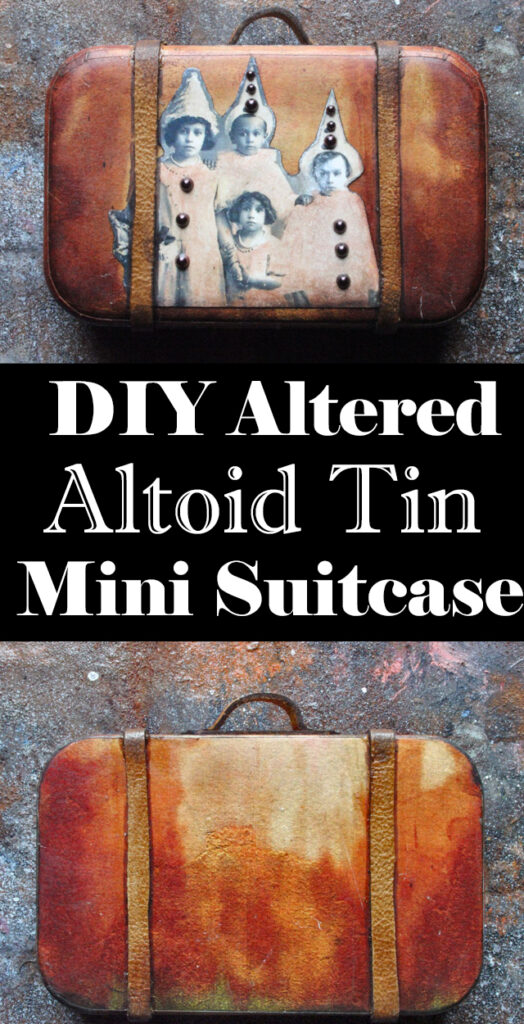
26. Using fine tipped scissors, fussy cut around the edges of the children in this group portrait, printed on white cardstock:
27. Using a permanent ink pen, tint the edges of the cut paper.
28. Glue to the front of the suitcase with Aleene’s Tacky Glue.
29. If you like, add strips of leather or brown card stock to simulate straps and a handle. FabriTac is the perfect adhesive for this application.
30. Use your permanent ink pen to selectively darken areas of the straps, and to create ‘shadow’ lines:
31. Repeat the process on the back:
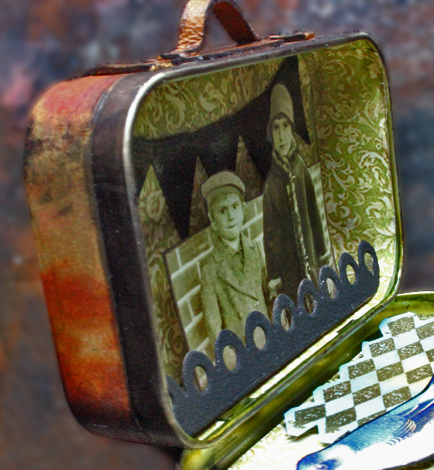
32. Using double sided foam tape, create a mini-diorama within the suitcase.
This vignette tells the story of two little children from the city who secretly want to ‘fly away’ with a glamorous troupe of Pierrot Performers:
Create several layers to give it depth:
Be careful not to place any embellishments where they might interfere with the closing of your tin.
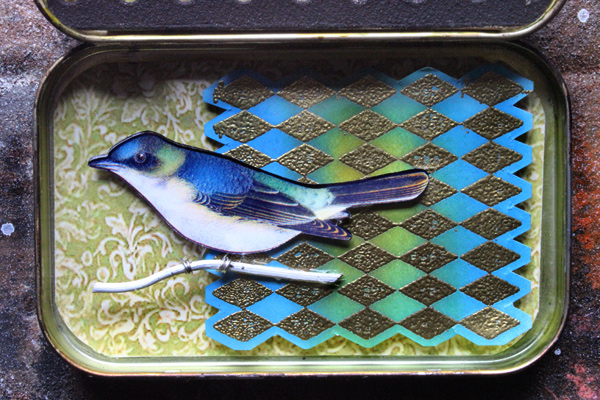
Add some interesting bits to the interior of the lid:
Use your imagination, and tell a little story with your images!
Thank you so much for joining me today for this little Altoids Tin Project …I hope you find this process as enjoyable as I do. My little suitcase has given me so much pleasure in the making!
You may also like Altered Altoid Tin Project HERE.
For more fun and slightly odd projects, visit Thicketworks…the door’s always open!
Take care,
Heather






Rupa says
Once again, your tutorials are THE BEST Heather! You cover every detail, just as I am wondering “what about…?”. And you share all your secrets so generously! I love the trick to cover the embossing with foam. I used embossed metal foil which covered it well, but I love your idea! Steps 24, 25 where you apply alcohol inks to cover the hinges and then cut the paper slots….brilliant. I had to finagle (English?) with it and no more of that after your trick 🙂 You said to not add paper to the inner sides of the lid. How about the sides of the bottom? I covered it once and I couldn’t properly close the lid….do you usually skip the bottom sides as well? I sometimes cover it just with alcohol inks, especially if the color of the paper and the original paint of the tin don’t match…I am asking lots of questions as usual, sorry!
Heather Tracy says
Hi Rupa! Excellent question – looks like I didn’t address that VERY important step in the post. For the lower half of the outer sides, I cut strips that just meet the bottom edge of the lid. Then just alcohol ink the upper strip of exposed metal. This way, there is no paper ANYWHERE that will interfere with the closing of the lid. I would love to see the tin you describe with the embossed metal foil – sounds gorgeous! Thanks for your questions, and for your kindness.
Dora evatt says
What a wonderful way to use the tins. Wonderful colors.
Karen Watson says
We’re glad you enjoyed Heather’s Tutorial Dora!
Virginia says
I love this! Thanks for sharing.
Heather Tracy says
Thanks, Patricia!
Gayle Alvarado says
Thank you for this great tutorial. Love it! Gayle
Karen Watson says
We’re so glad you enjoyed it Gayle!
Annie says
Love love love this Heather! You are so talented my dear!!! Would love to try making one of these!
Heather Tracy says
Hi Annie – Awww…thanks for your encouragement! I hope you do try, it’s so fun to play with creating a tiny world!
tracey says
well isn’t this just precious! i think i might have to introduce this altered altoid tin world to Zadie….uh oh!
i am amazed at how legit this little piece of luggage looks!?!? you are truly amazing and just oozing talent!
Heather Tracy says
Zadie would love this! Before you know it, you’ll have altoid tins stuffed with mermaids everywhere you turn…That’s right, it’s legit! Because: awesome graphics = successful fake leather!
Cath says
Charming box. Perfect solution for the embossing. Thanks for the tutorial. I always look forward to opening up your emails. I know they’ll be fun and creative.
Heather Tracy says
Hi Cath! I was so relieved to figure out a solution for that darned embossing…now I don’t have to buy fancy smancy ‘crafting’ tins. Yay! Thanks for your kind words, my friend.
Regina says
What a cute idea, I’ve looked at these tins for awhile but never did anything with them. Thanks for the inspiration.
Heather Tracy says
Hi Regina…I’m so glad that you found a bit of inspiration. If you try playing with one of these, you’ll enjoy it – I promise!
Diana says
This came out so cute. I love making tins. Haven’t done it in a while. Thanks so much for the lid idea. Love the suitcase idea. These would make a fun swap.
Heather Tracy says
Hey Diana – you’re right! This would make a fun swap. I couldn’t resist the suitcase idea: the shape is so perfect! Thanks for stopping by!
Patricia says
Wow, thanks for solving the embossed lid problem so easily!
Beautiful creation! Don’t you just love creating a littlrpe world in a tin?
Heather Tracy says
Hi Patricia! It took me a while to figure out how to deal with the embossing…this was idea number 7! It was huge fun working on this little guy, and I look forward to many more in the future. Thanks for stopping by!
Steph from fangswandsandfairydust.com says
What a fun project – I love the bird on the interior. The alcohol inks are new to me!
Heather Tracy says
Hi Steph! You’ll love alcohol inks once you try them – they are perfect for adding color to slick surfaces like metal, glass and ceramic. Thanks for your sweet comment (I love that bird, too) Have a lovely day.