Hey Graphics Fairy friends, Diana from Dreams Factory here!
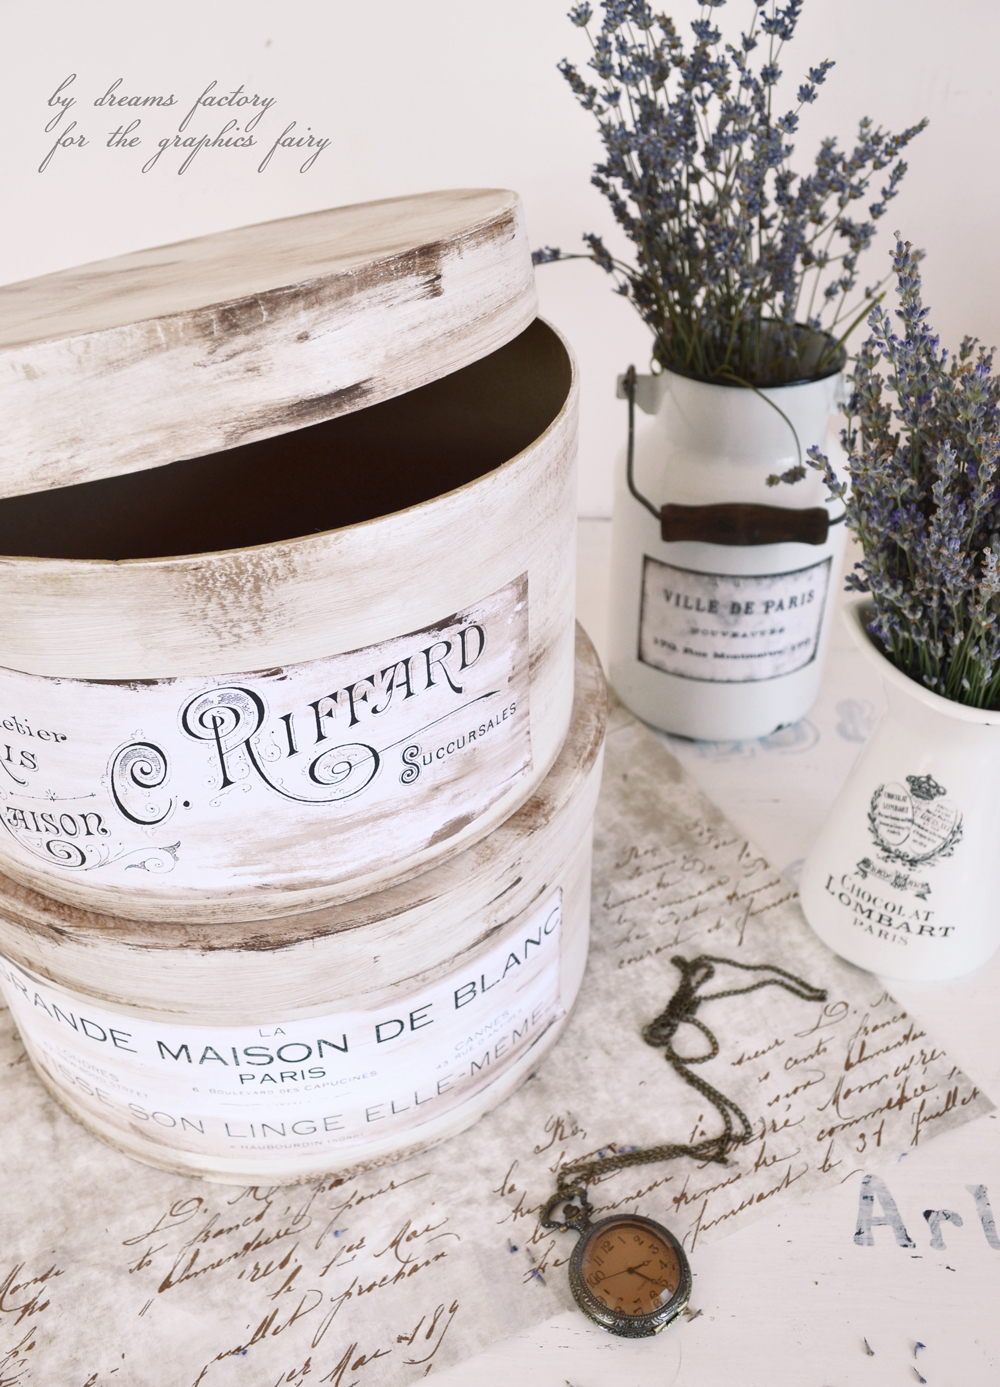
Are you ready for a new Frenchified project? I hope you are, because today I’m showing you how to make some beautiful antique French hat boxes, perfect for decorating any space in your home. And you know how much I love making versatile projects? This project also combines aesthetics with storage solutions, a 2-in-1 favorite project, if you wish!
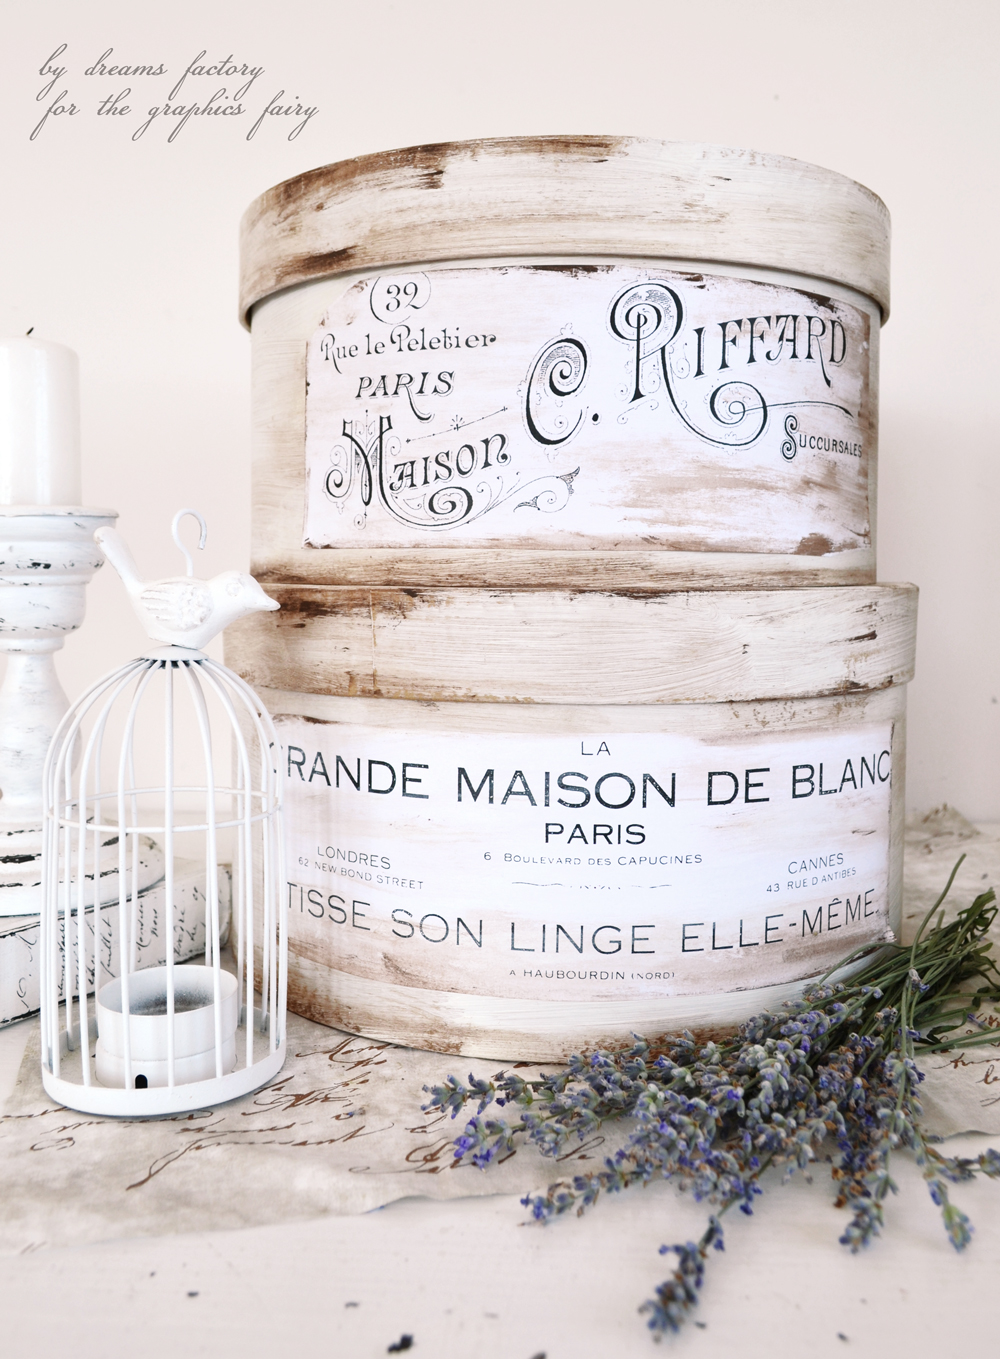
If you’ve been following my blog you might be familiar with my method of distressing an object with acrylic paint using two contrasting colors, candle wax and sandpaper. I used it for my last two projects, here on The Graphics Fairy – the French Farmhouse Tray and the Distressed Clipboard Frame… and on millions of other projects on my blog 🙂 I initially thought about using this method here again, but I was afraid that using so many layers of paint would actually make the lid impossible to open afterwards.
I decided to use a dry brushing technique instead, because I wanted my boxes to be fully functional. Beauty and functionality, remember?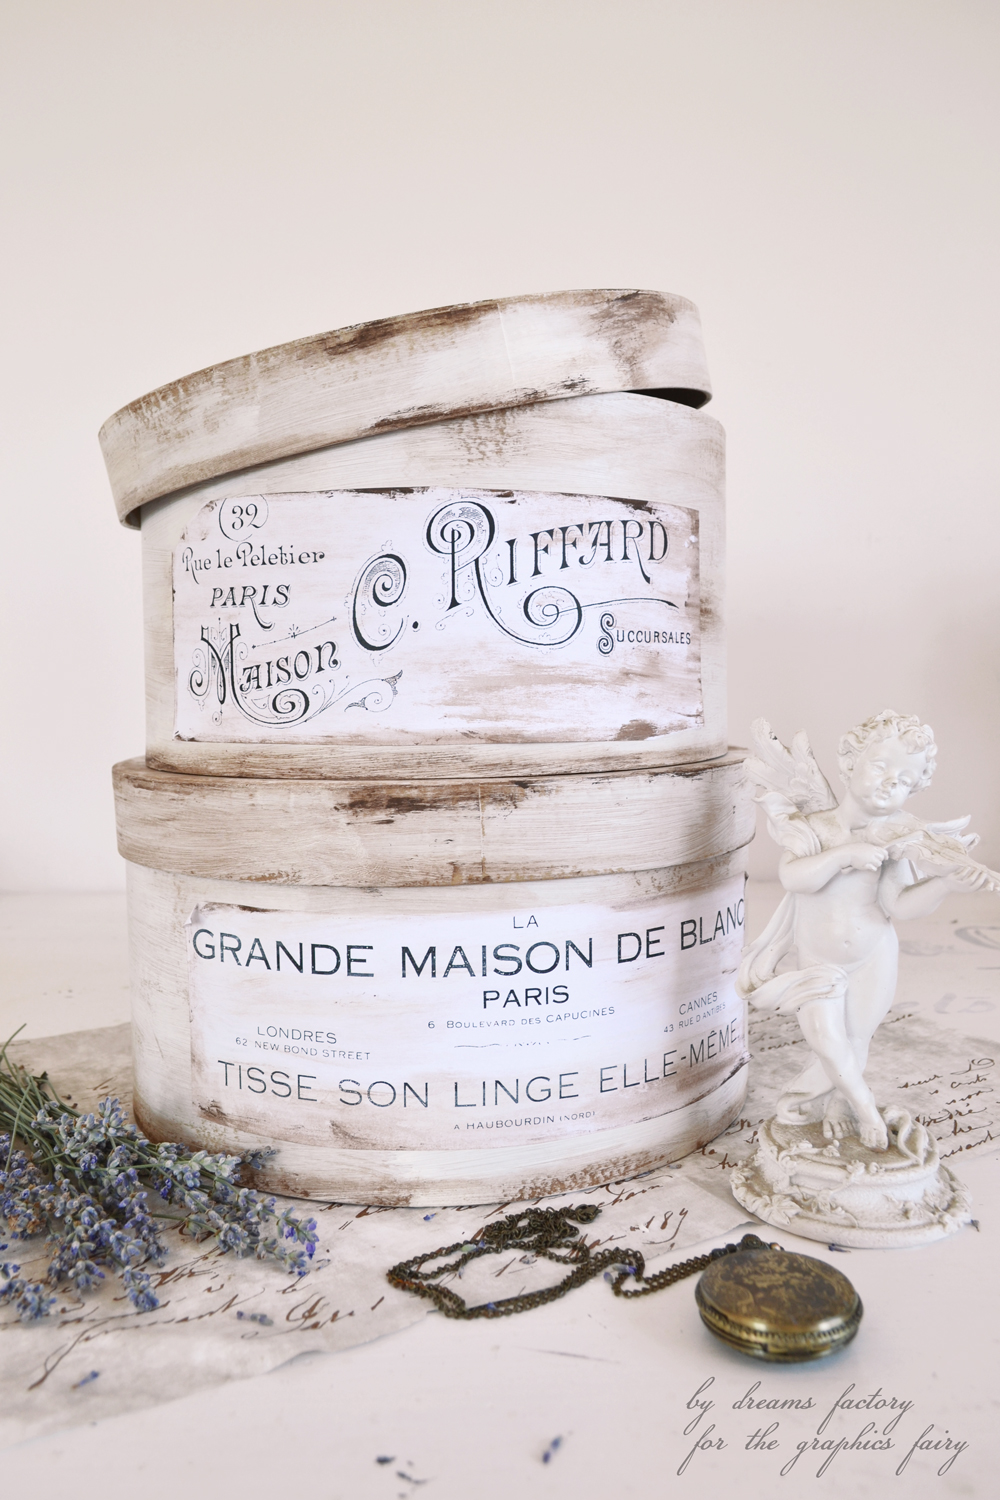
{This post contains affiliate links}
So I used acrylic paint in two contrasting colors again, brushes and … some paper towels! You won’t believe how easy this is, I’m even naming it my new foolproof method of quickly adding a chic antique look to any decorative object!
Antique French Hat Boxes
Supplies:
- paper mache boxes
- brown acrylic paint
- white acrylic paint
- brushes
- Mod Podge
- cardstock paper or regular paper
- paper towel
- kraft brown paper
- printer
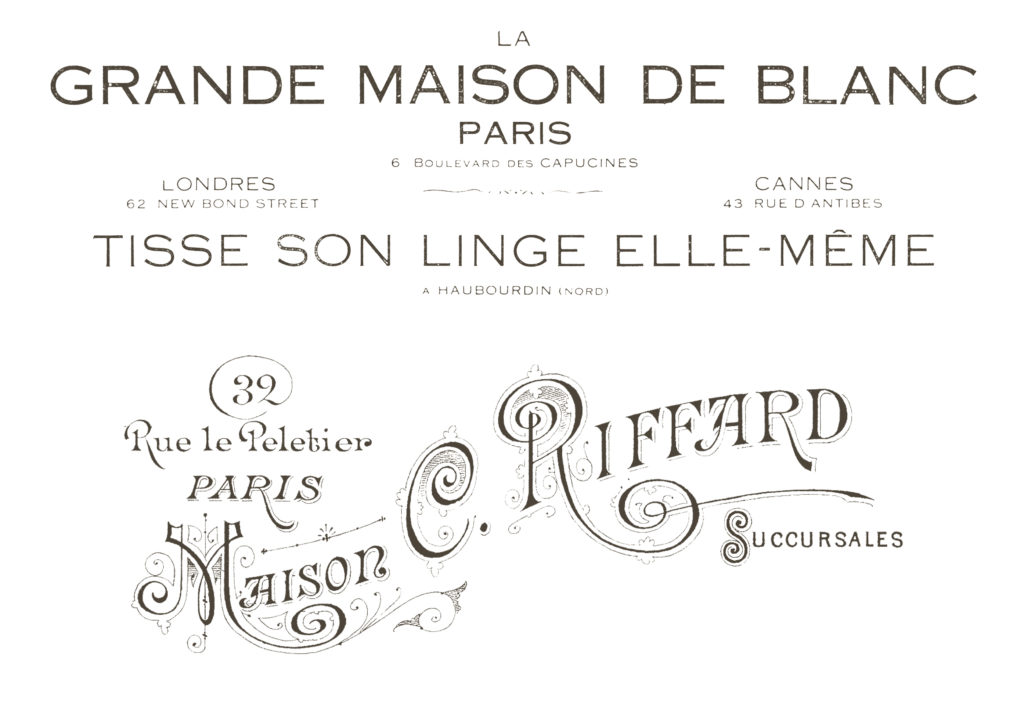
- French graphics (you can use any of your favorite French graphics from The Graphics Fairy, but if you want to use the ones I used, just download the printable below)
—-> Click HERE to Download the Full Size Printable PDF <—-
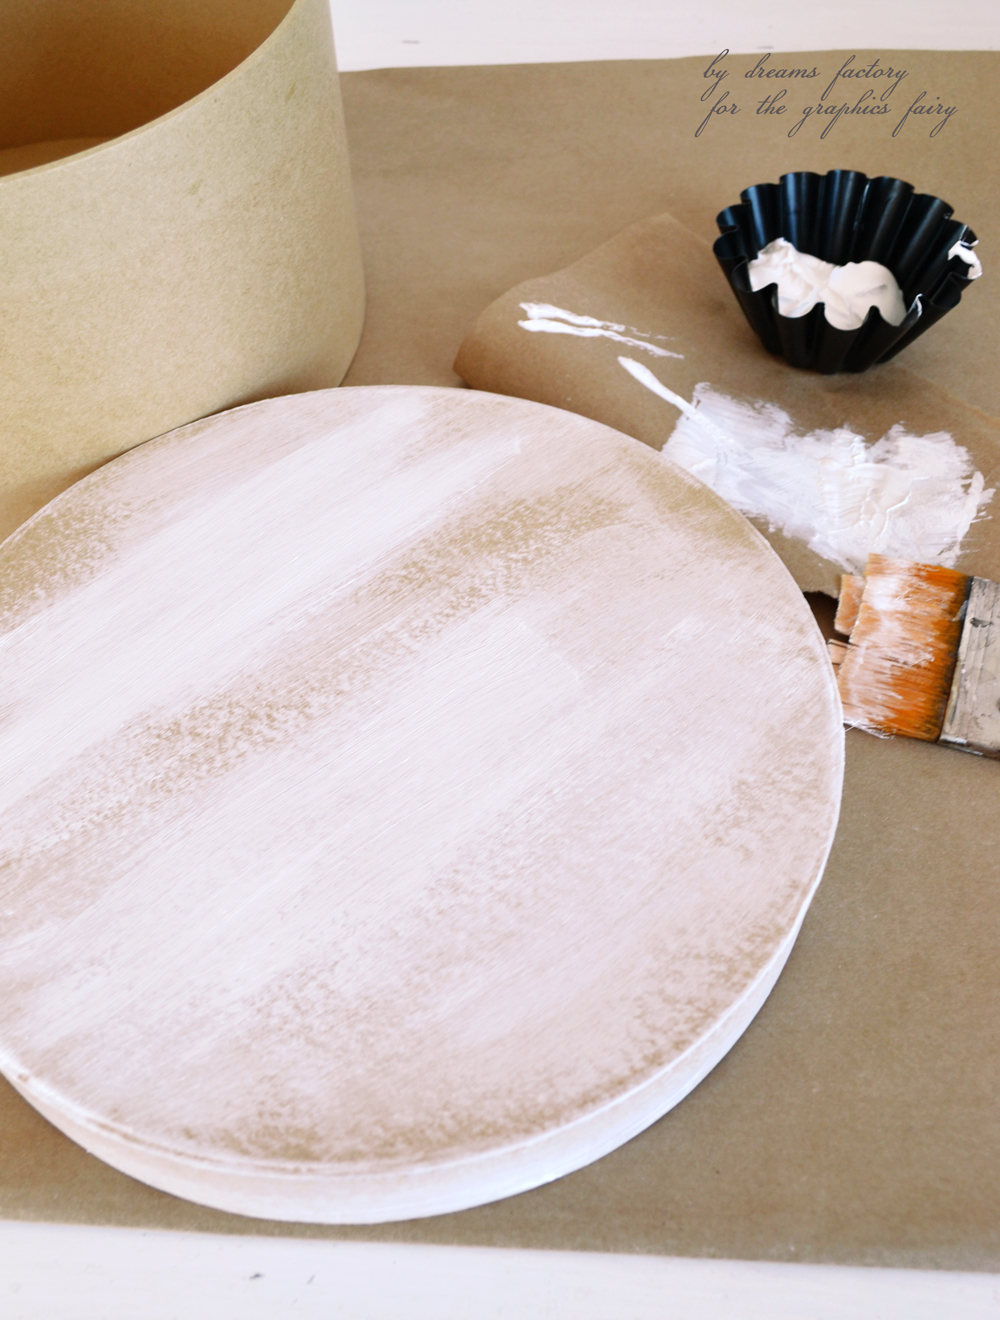
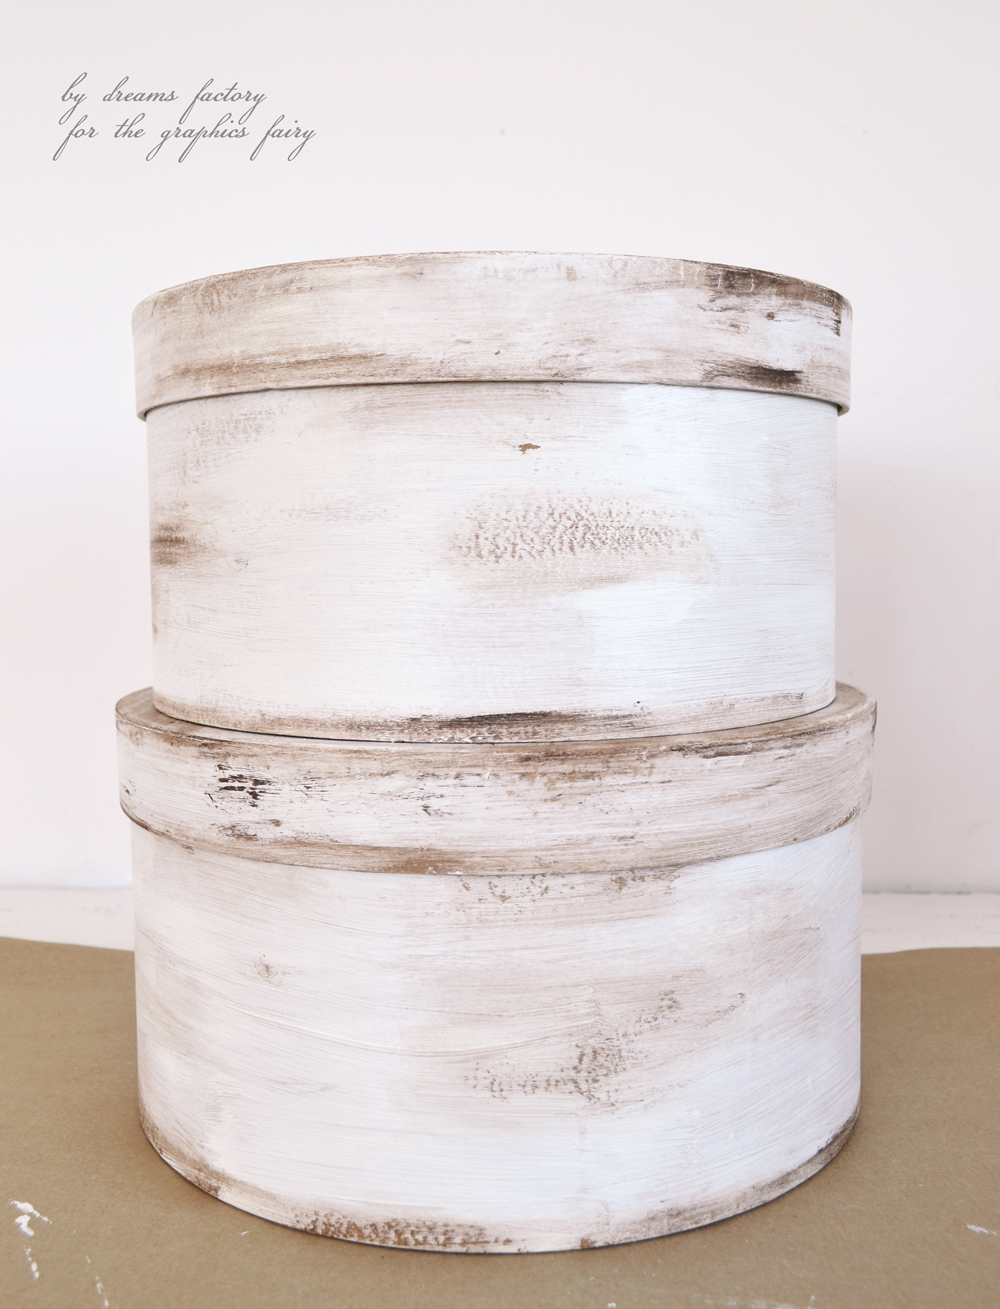
Put white acrylic paint on your large brush and dab the excess paint on some Kraft brown paper (we’ll call it testing paper), before applying it to the box.
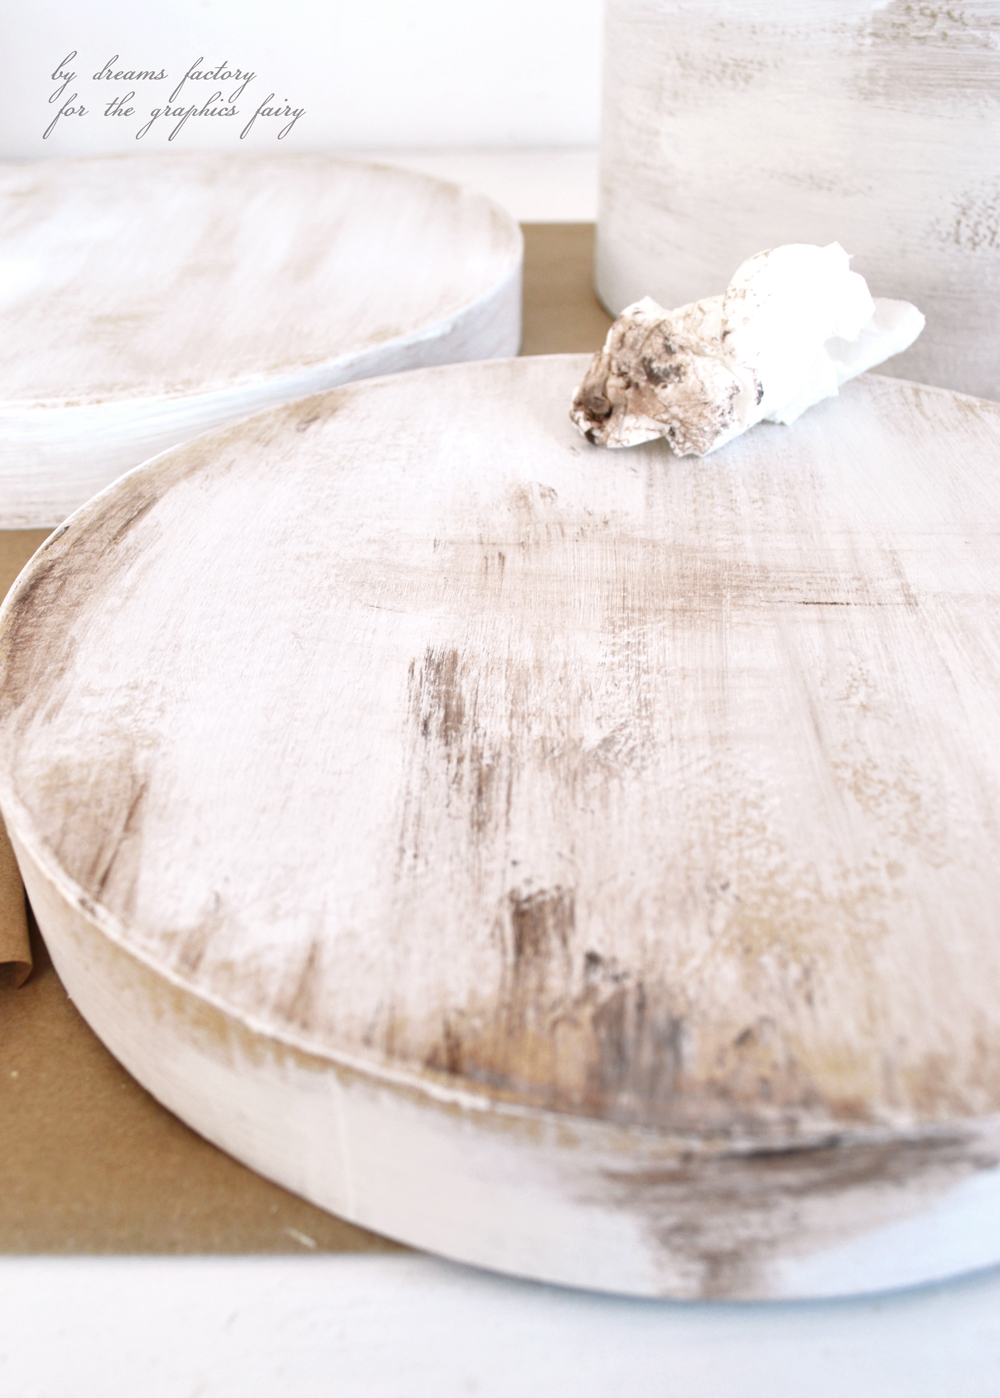
Start brushing the top of the lid with large strokes in one direction – up and down – by applying more or less pressure to the brush. Don’t cover the surface of the box completely, we still want the brown color of the box to show from underneath.
If you haven’t tried the dry brush technique before, I would suggest some trial and error on some brown paper before, just until you get used to how much pressure you should apply.
Don’t insist too much on the edges, that area will get a special treatment in a short while.
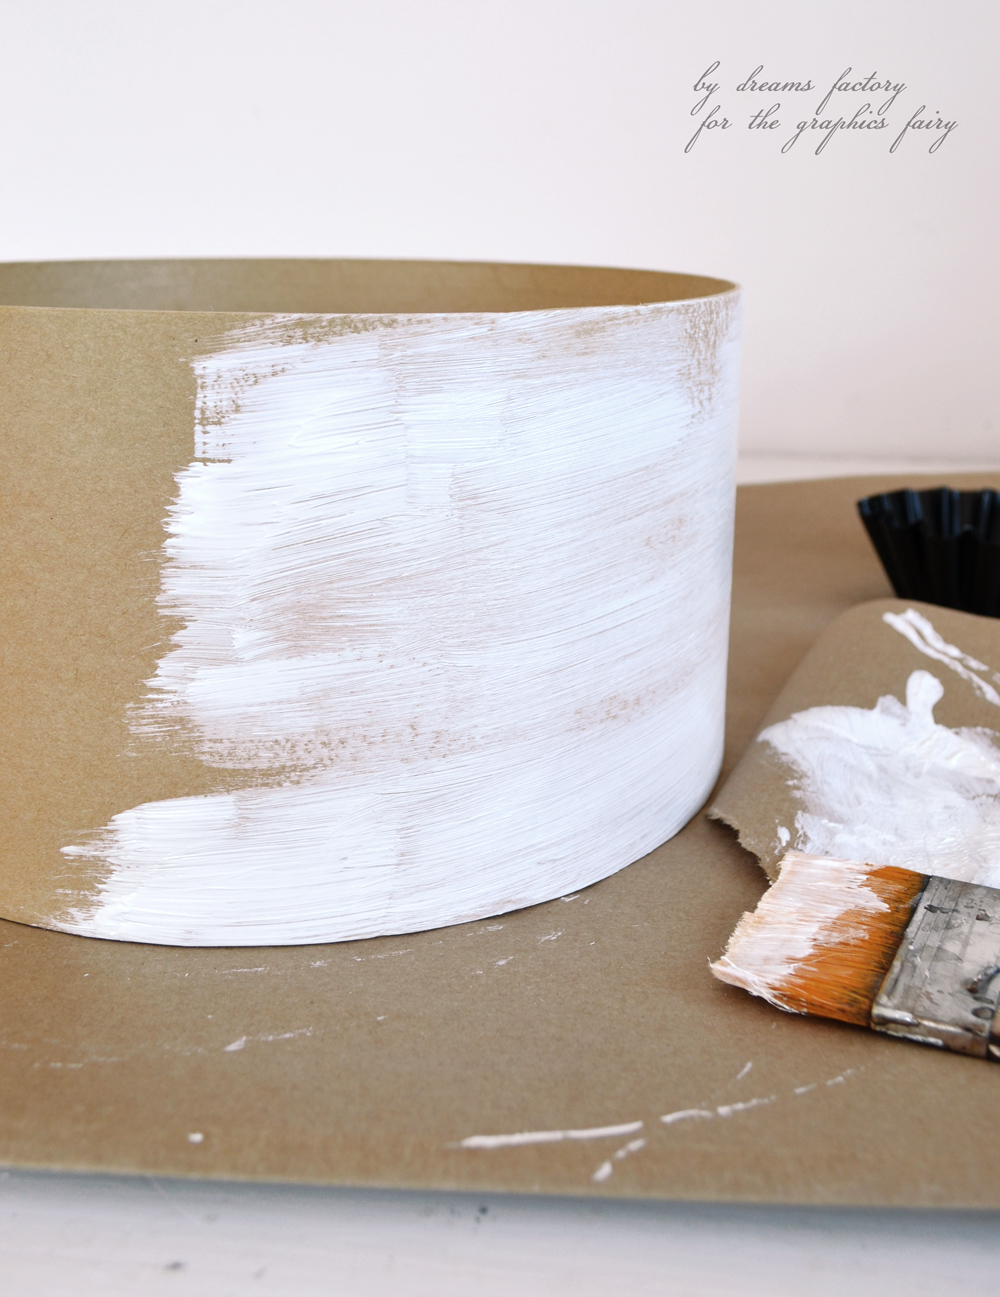
Dry brush the margins of the lid too, this time with left and right large strokes, all around it.
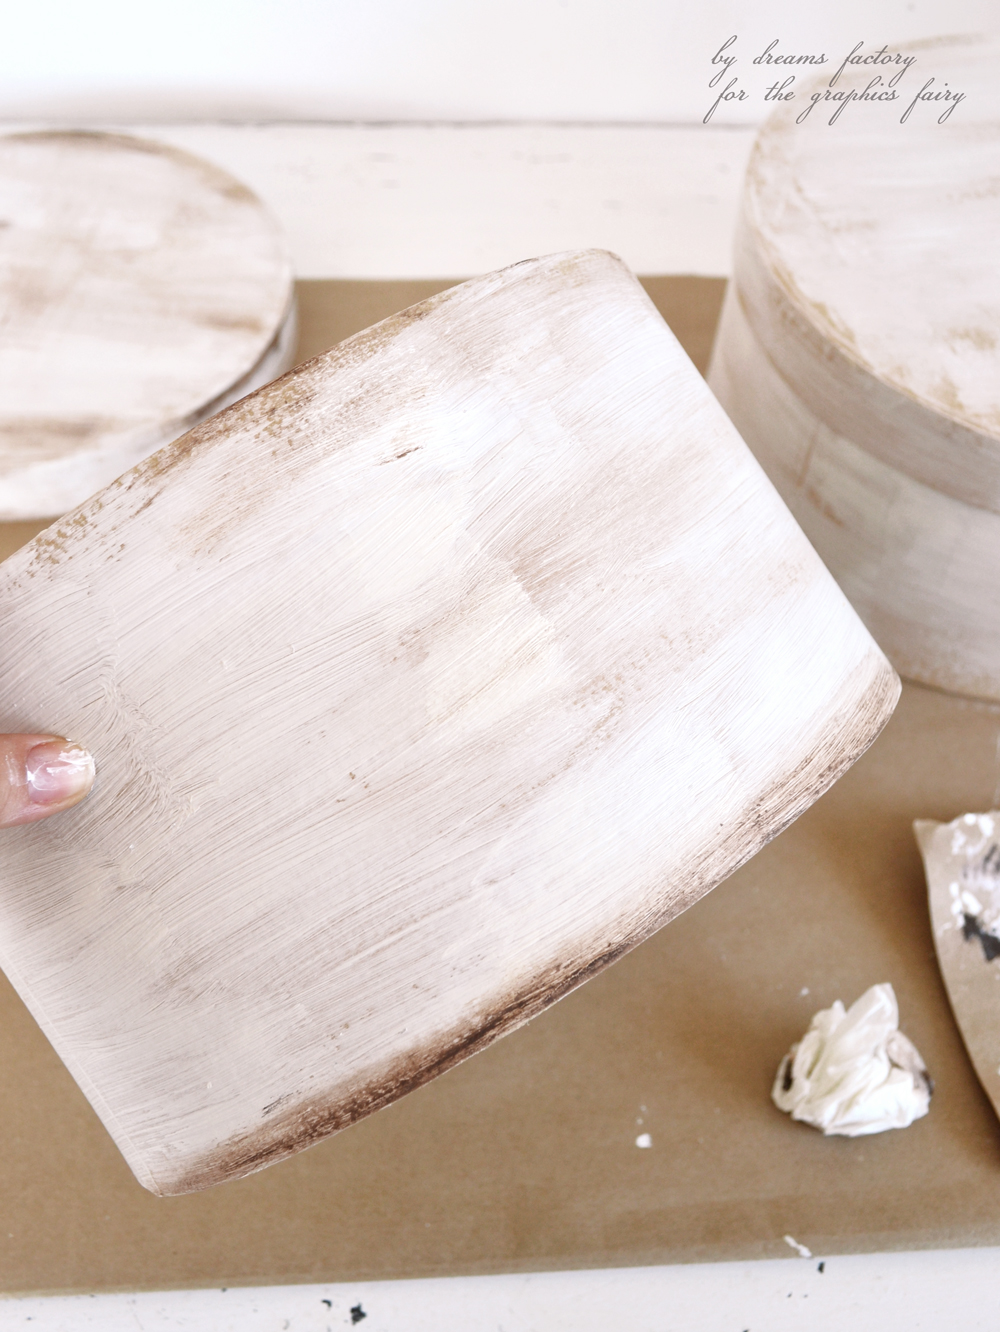
Let the lid dry and follow the same left and right brush strokes on the box itself. Don’t forget to dab the excess paint on some paper first and apply different types of pressure when painting and moving around the box.
Follow the same steps on the other box and let them all dry before moving to the next step.
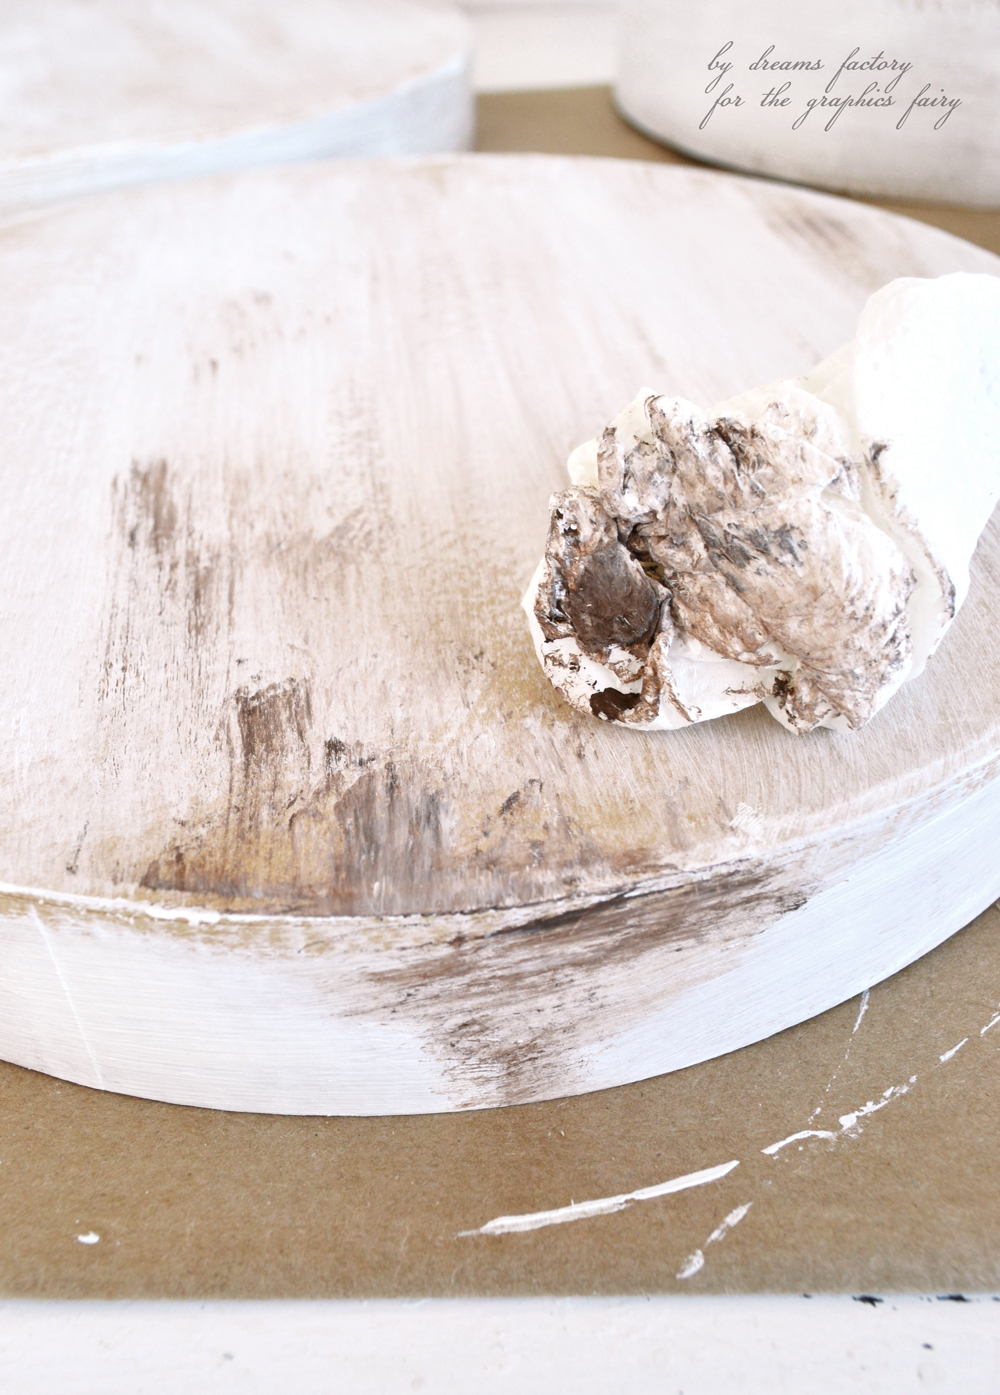
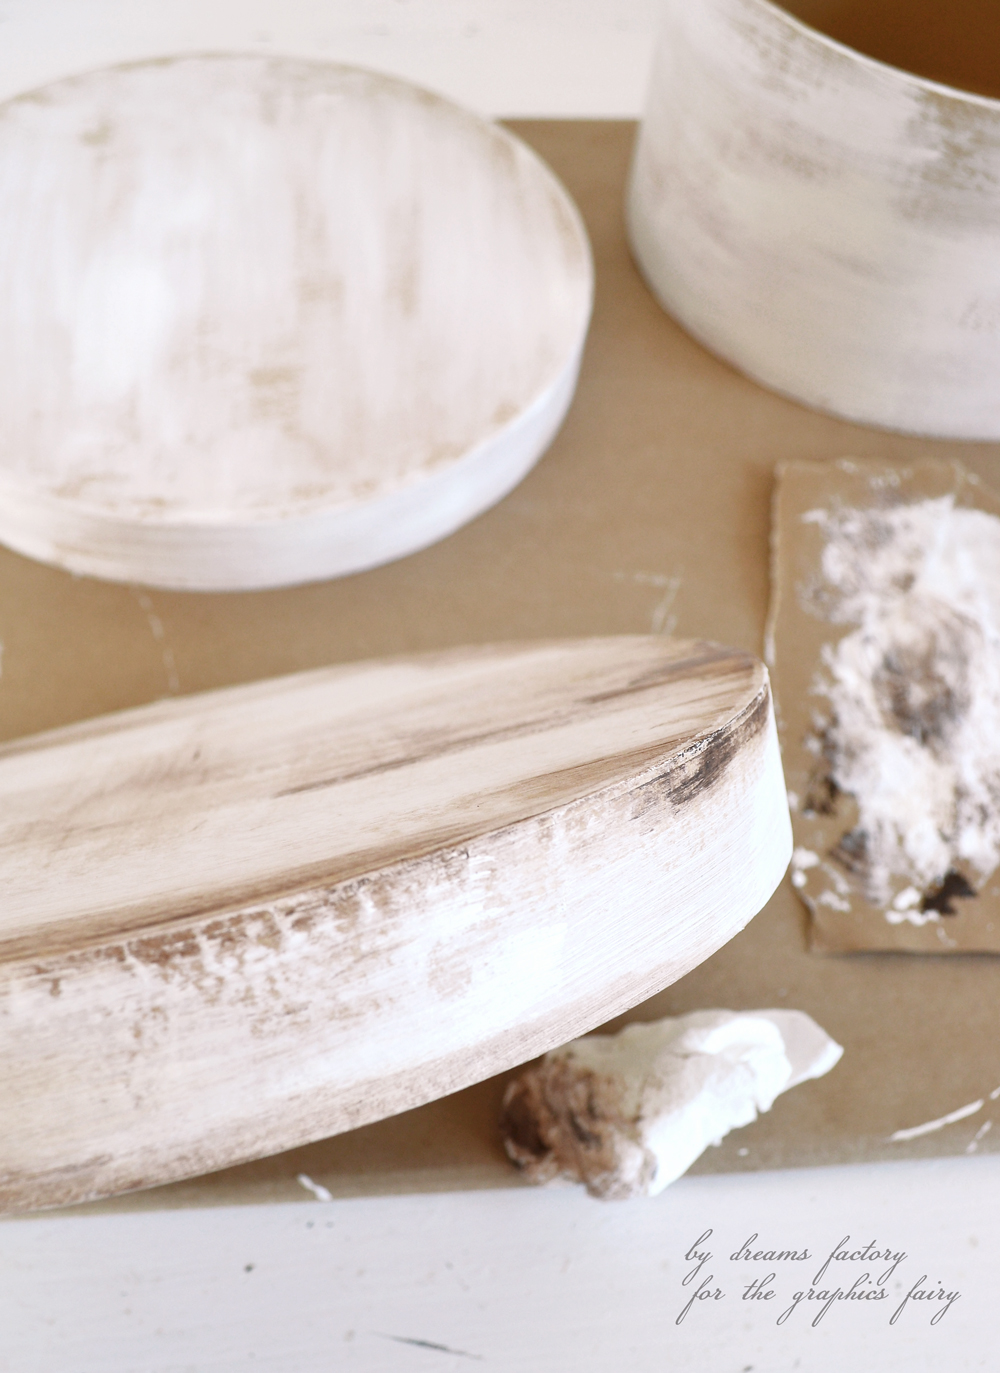
On the testing paper you used to dab the white paint before, add a blob of brown paint and a blob of white paint. Gently touch the two blobs of paint with a crumpled piece of paper towel and dab it on the testing paper before starting to apply it on the boxes.
Use the paper towel as your imaginary brush and apply the paint following the same directions you followed when applying the white paint. This time we will insist on the edges and on all the places that the white paint didn’t cover before and we are making shorter ‘brush’ strokes.
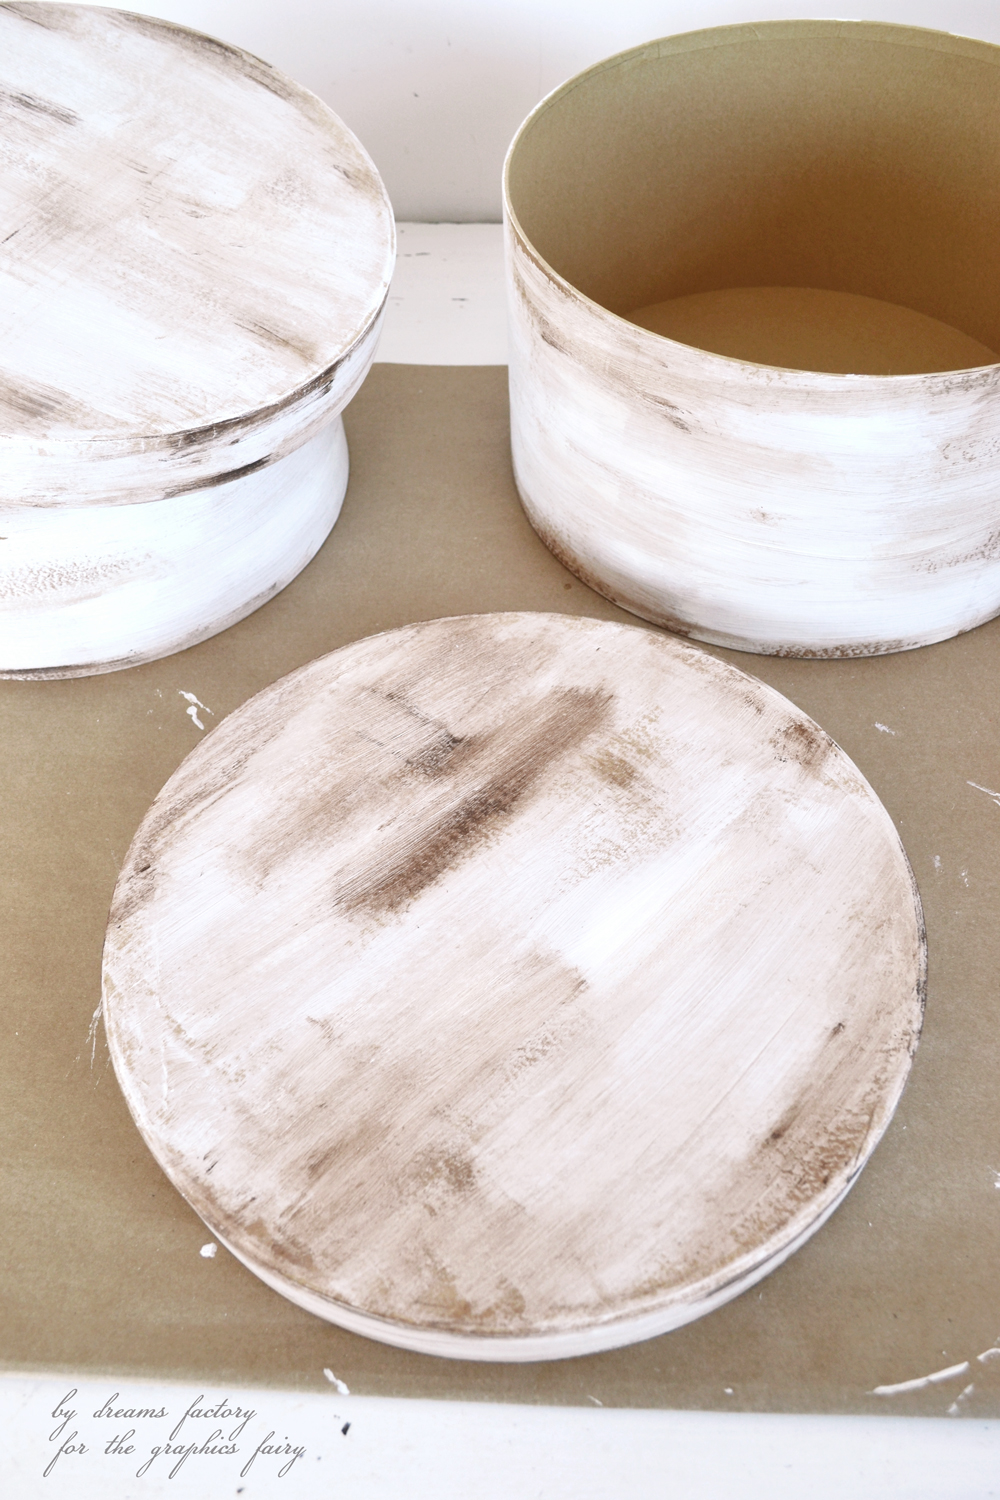
On the top of your lid you can even change the direction of some of your up and down strokes and add left and right strokes to create more texture.
The brown paint will help us get that antique look we love so much, so we are basically faux distressing all the areas that would naturally distress in time.
Add as much paint as needed and even a little bit of water, if you feel like you need to tone down some of shades or even to create some mixed colors.
If you feel like you added too much brown paint in one place, let that place dry and brush some white paint over it afterwards. Then use the paper towel and distress that area again.
Treat your boxes like a blank canvas and express your creativity! That’s the beauty of a handmade item, you will see that even if you make two or more boxes, each box will be truly unique!
I wanted a more antiqued look for my lids so I highlighted some areas with more brown paint. I just loved the unevenly strokes and the texture that I was able to create with a simple piece of paper towel and some acrylic paint!
When I was happy with their overall appearance, I let the boxes dry again before moving to the next step.
Remember to not close the lid until the paint is completely dry!
P.S. Don’t they look amazing already? 🙂
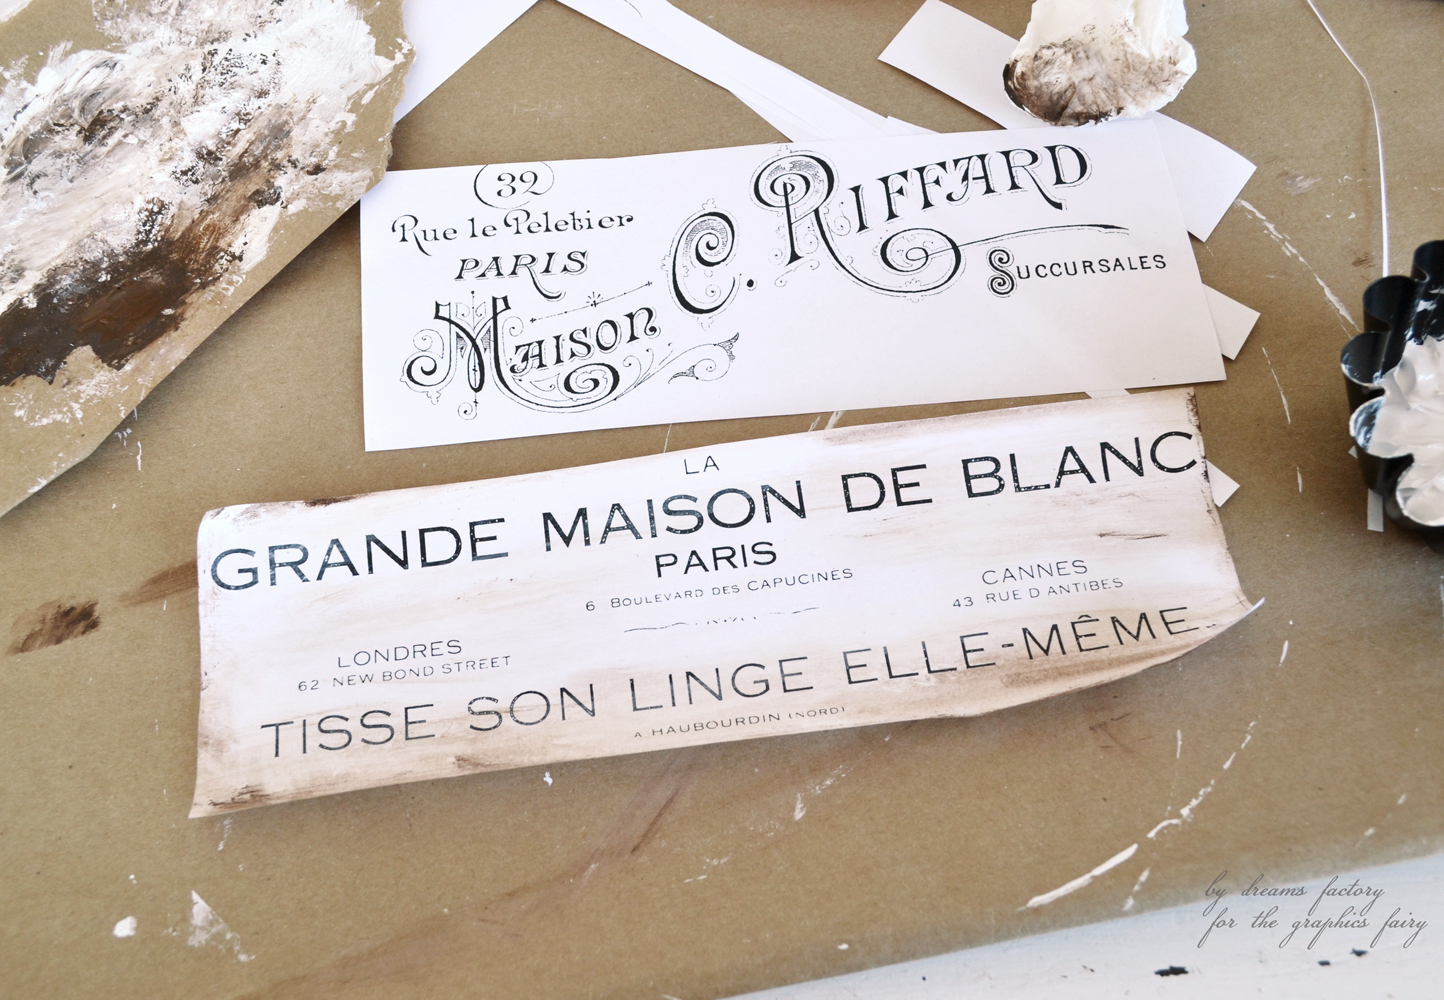
Ready to move to the next step – Frenchifying the boxes? Let’s start by printing the beautiful French graphics and giving them the special paper towel dry brushing treatment too!
I wanted the French labels to look like they’ve been aging along with the boxes so I even tore some small pieces from the edges to give them a more realistic feel.
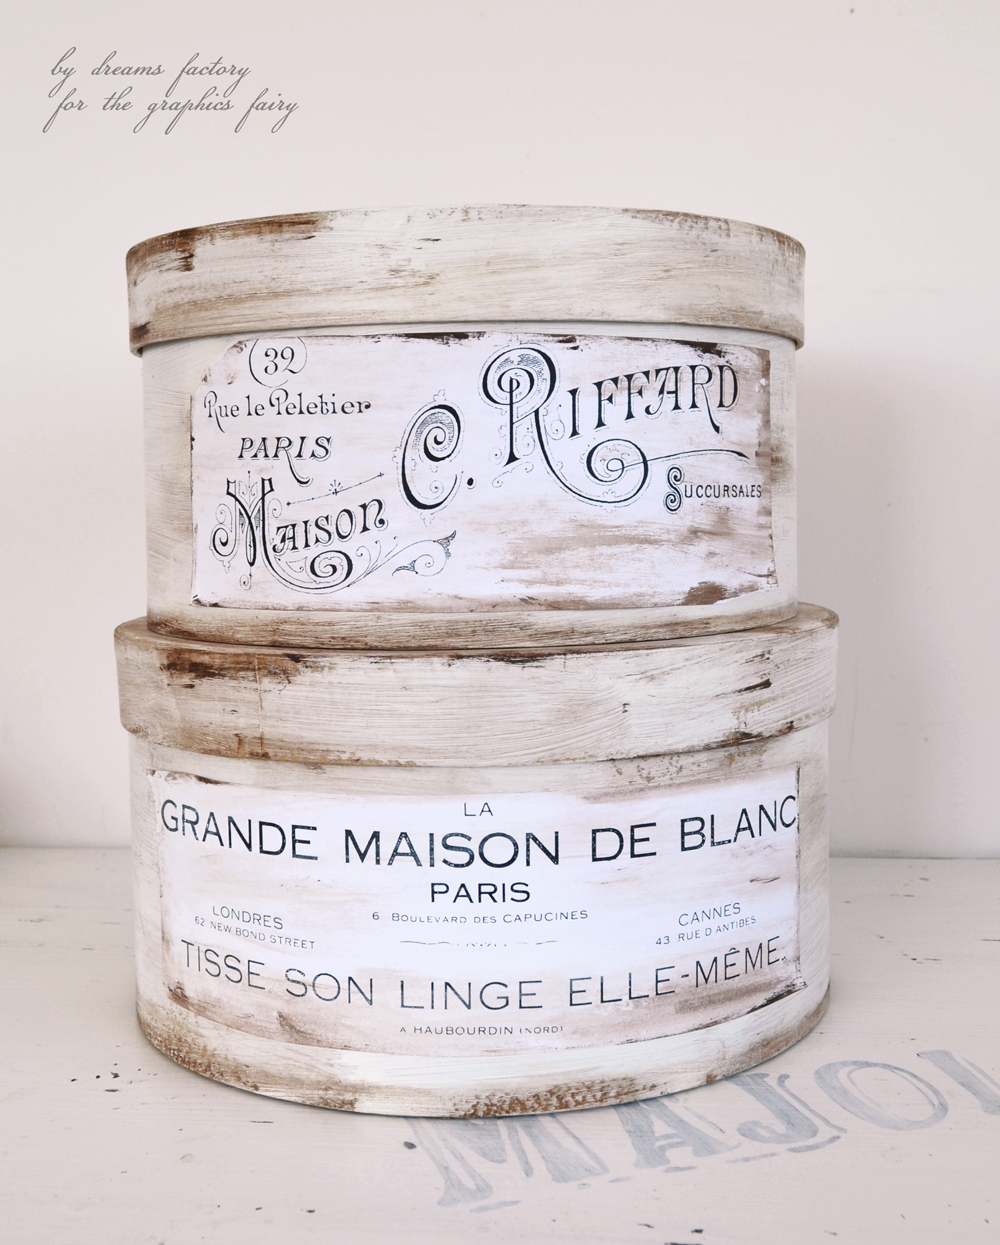
After the labels were completely dry, I applied them on the boxes using a smaller brush and some Mod Podge.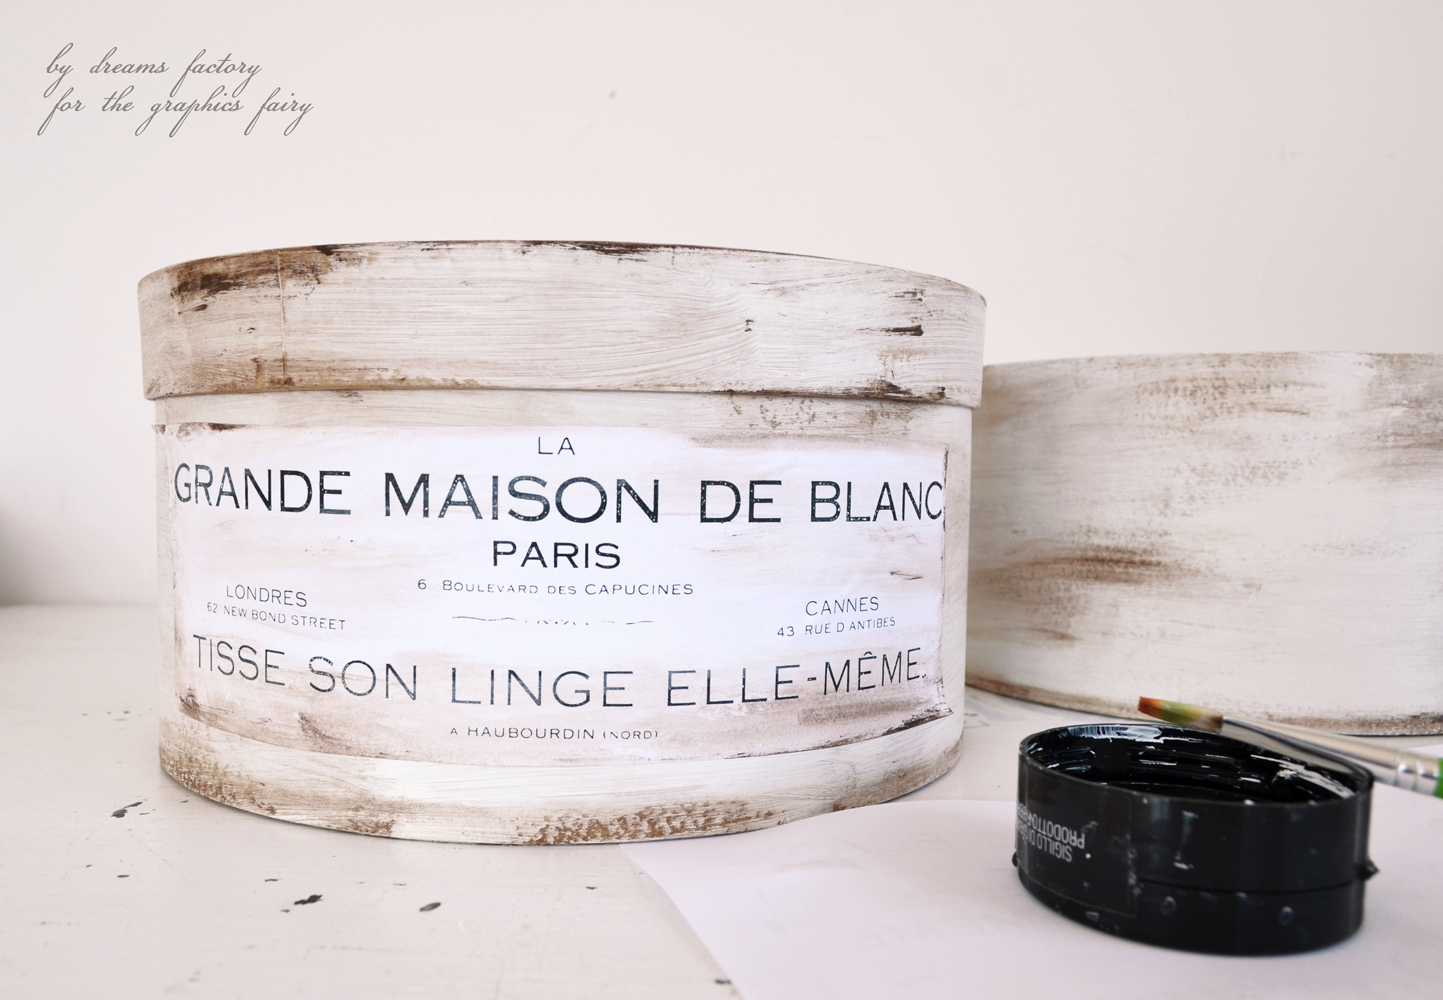
I really loved their final look, my new / old antique French hat boxes were ready to use! 🙂
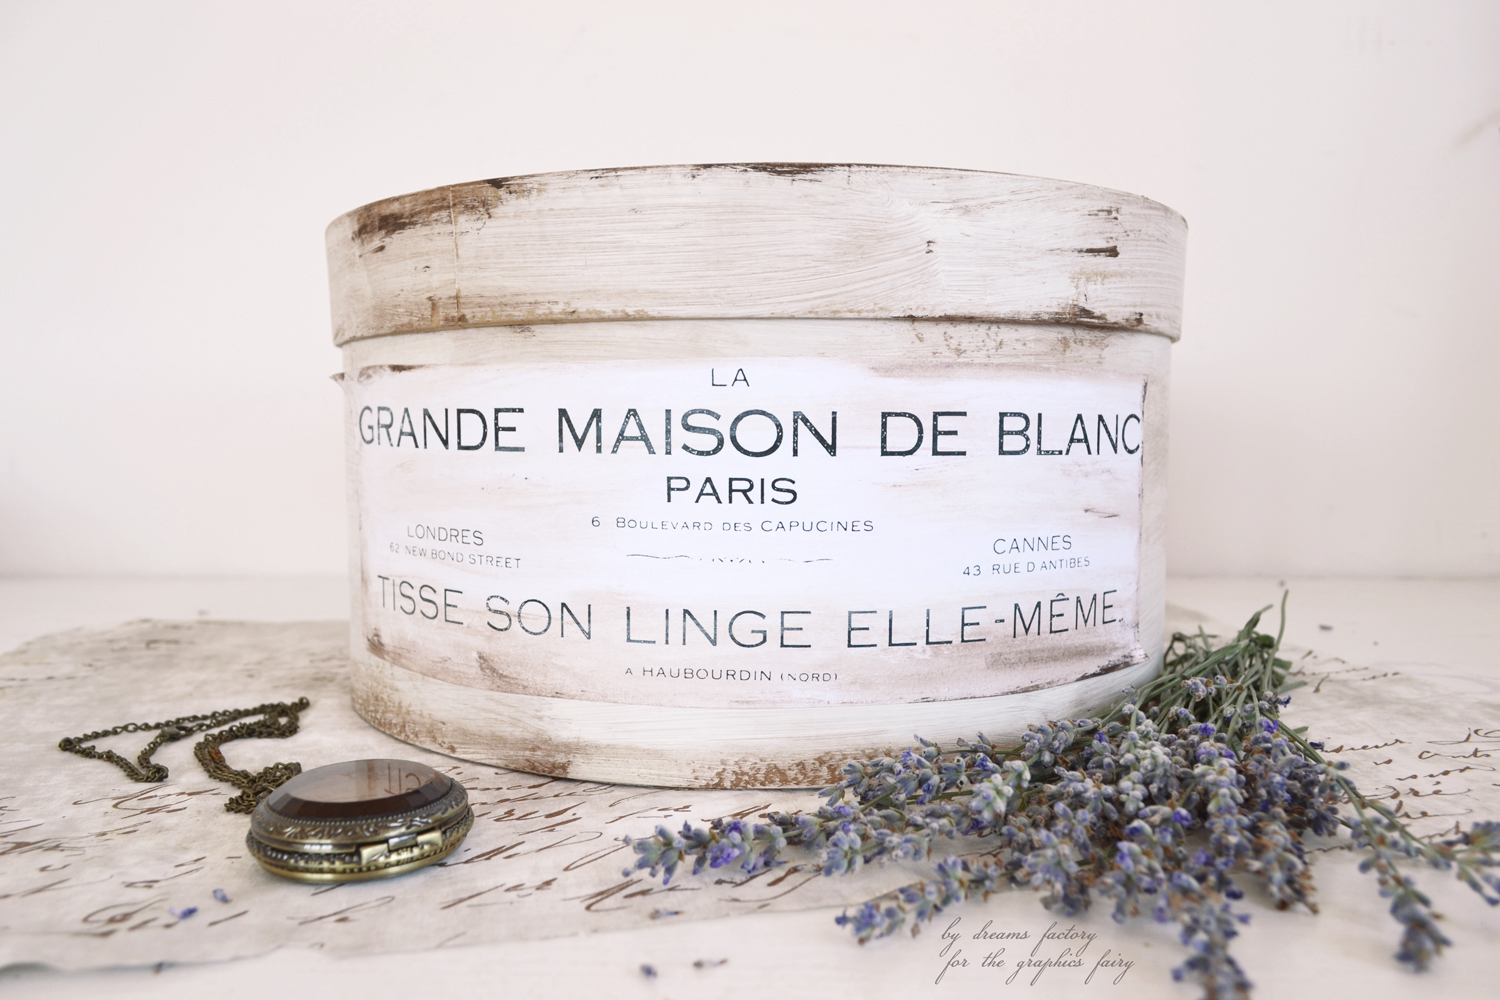
I filled some vases with lavender from our garden and I styled them with other small decorative items.
You can integrate them into beautiful vignettes in your home, I decided to use mine in our living room. But now that I really think about it, I could use a few more of these in other rooms in our home 🙂 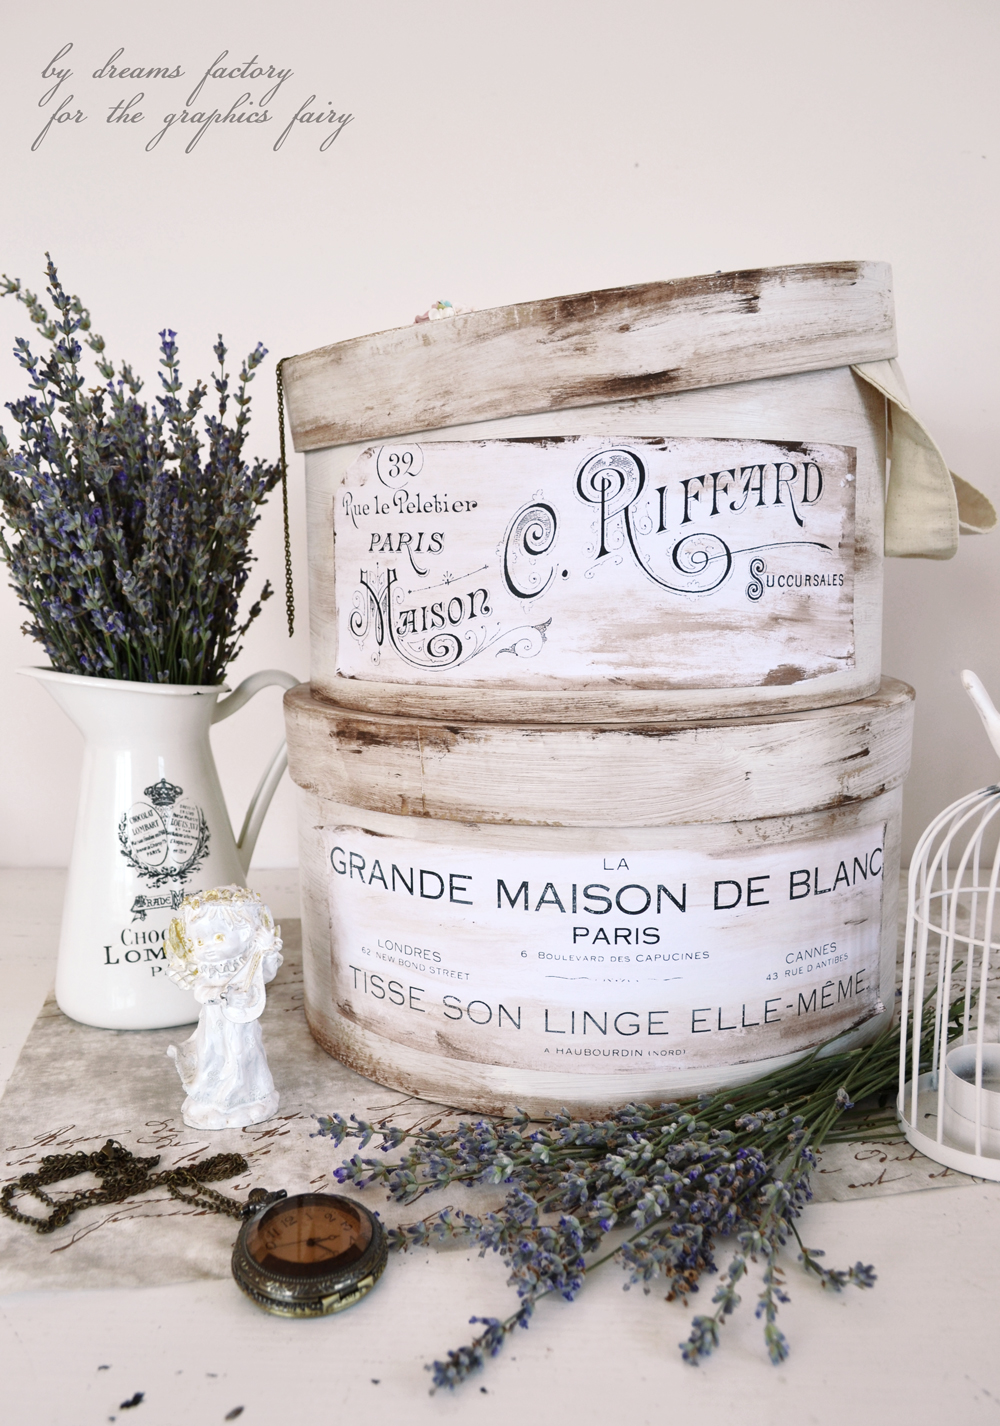
These beauties will be perfect for storing your favorite photos, linen and lace, old letters, jewelry and all the other precious things you need them to. 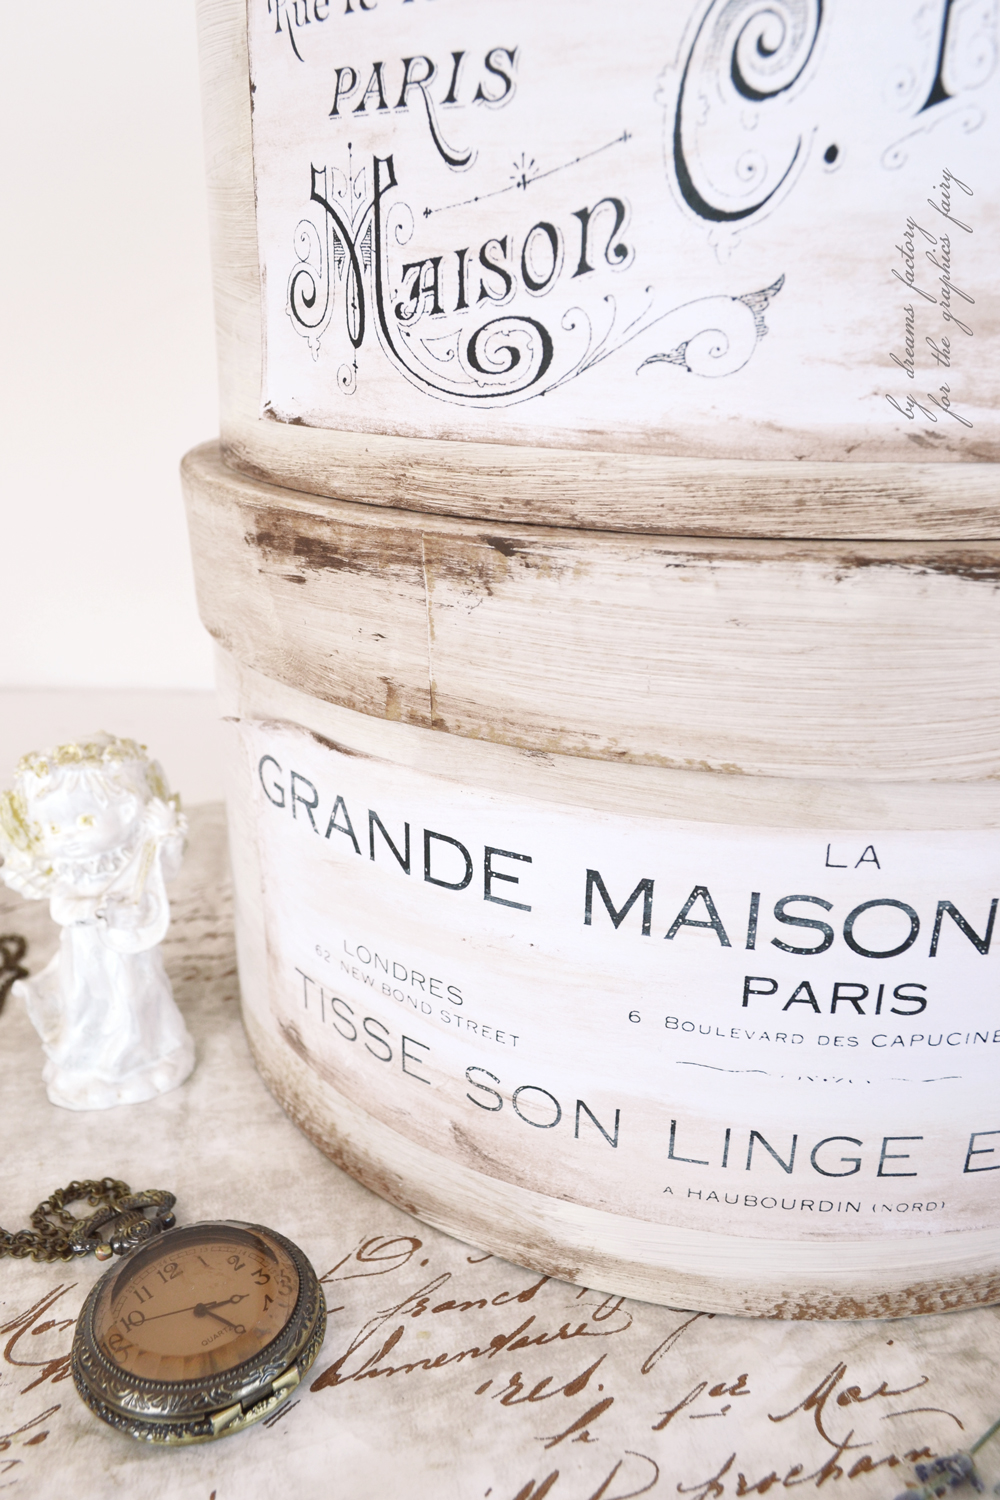
I really love every single brush and paper towel stroke that created the whole look on my antique French hat boxes!
I have a feeling I’ll be using this technique again soon!
The lovely brown paper that you can see under my antique French hat boxes is a special paper for wrapping flowers and is printed with one of my favorite handwritten graphics … from The Graphics Fairy. I spotted it in a small florist shop around the area where I live and I knew right away it was from The Graphics Fairy. I couldn’t believe I found such a treasure, it had to come home with me! 🙂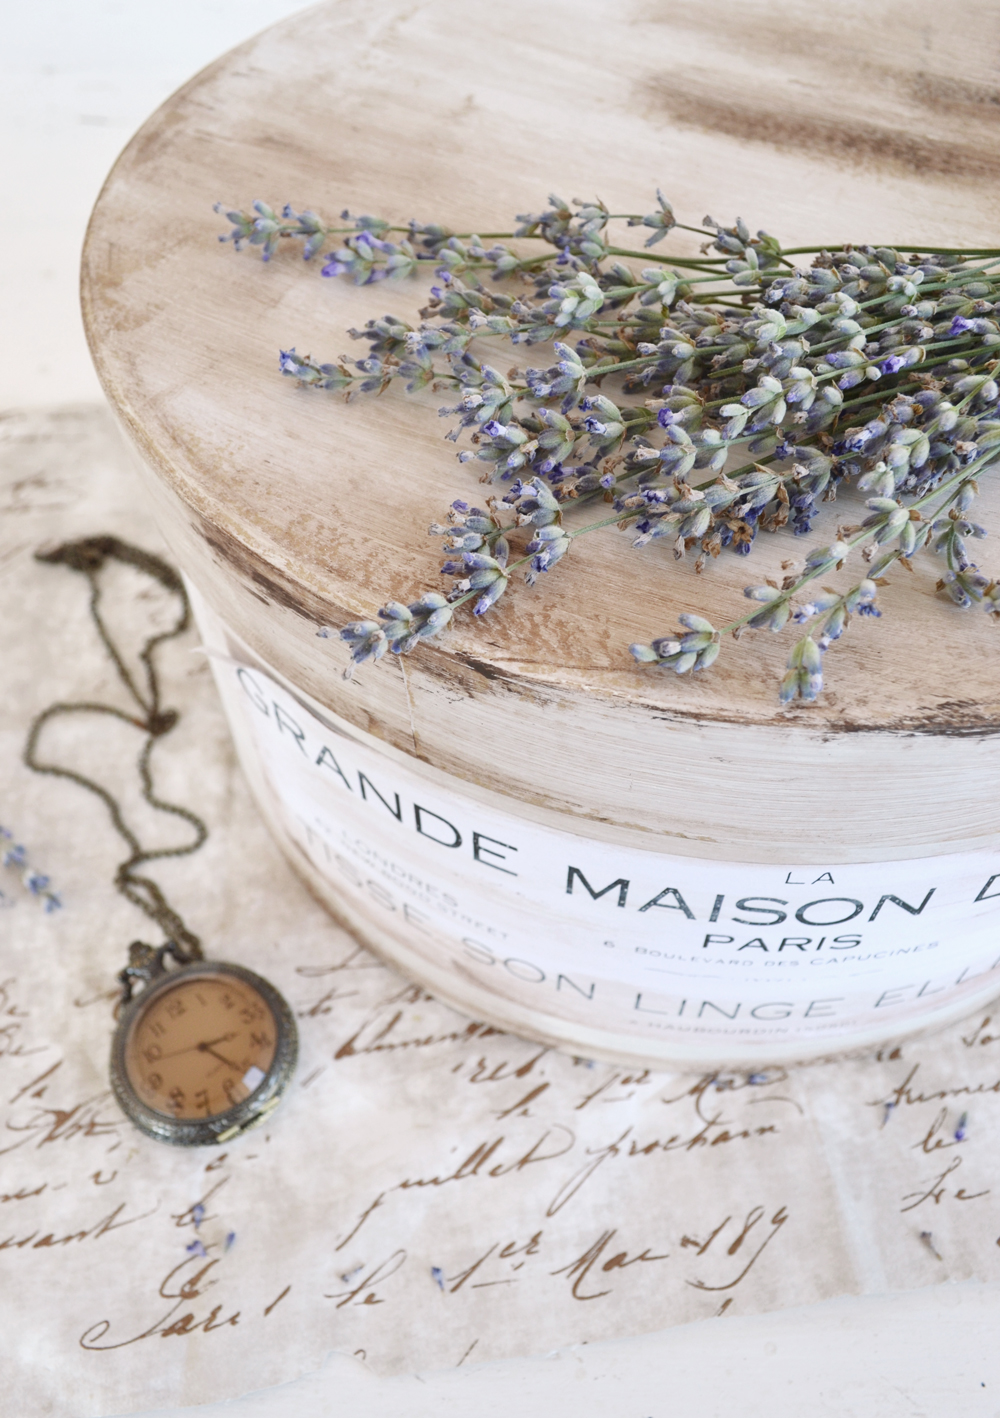
The vintage enamel vase that you see in the picture below is one of my favorite decorative pieces in our home, you can click here to see how I Frenchified it a while ago. 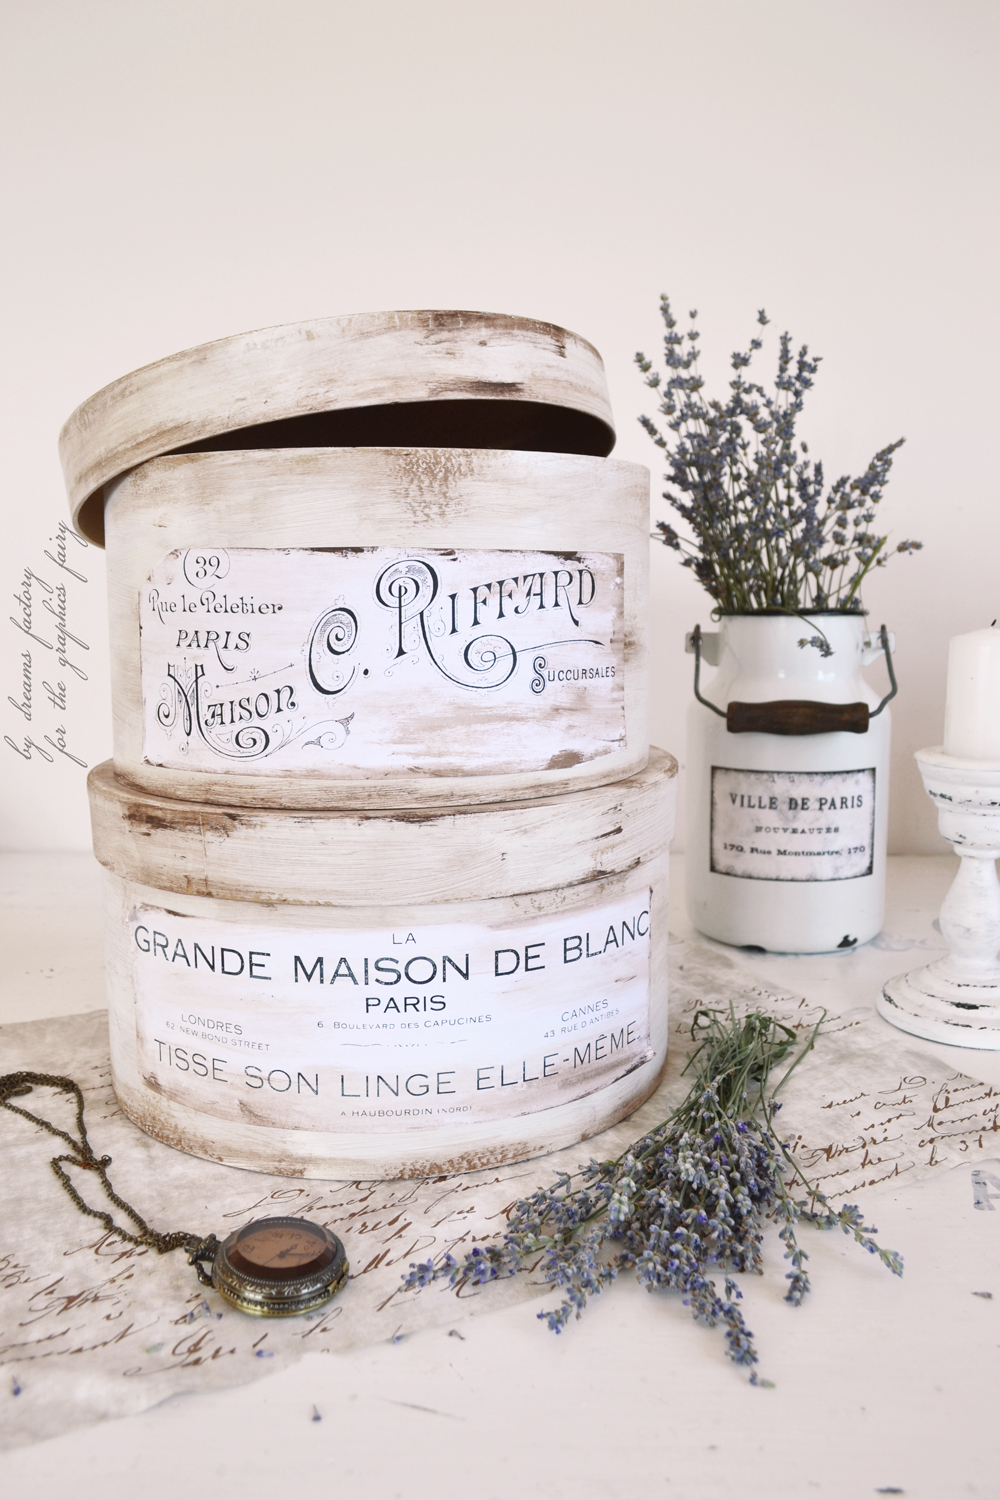
The other vase is from Ikea, you can click here if you want to see how I Frenchified it too 🙂
Creating beautiful things for your home has never been easier, I hope you’ll give this project a try and you’ll love it as much as I do!
For more similar projects, you can visit my blog – Dreams Factory, would love to have you there! 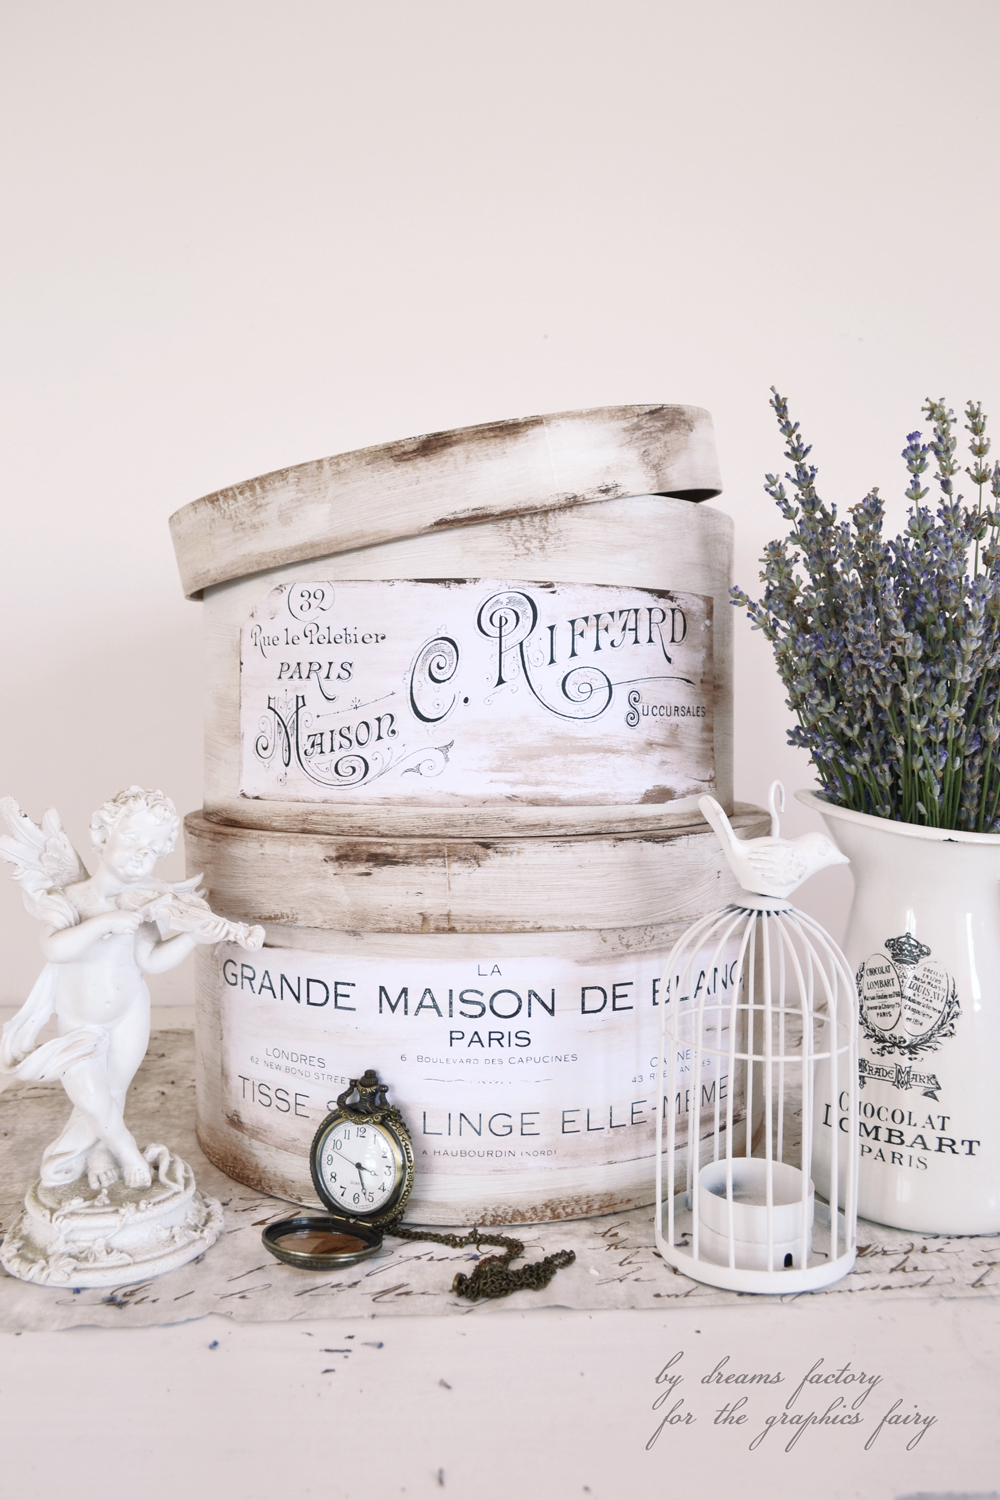
Don’t forget to smile,
Diana



Roxann Roggenbuck says
Diana, I recently sent you a thank you comment, addressed to Karen, oops, She is my sister and the previous comment before mine was from a Karen. You really are special, and I’m pleading Spring, hurry up already.
Roxann in Alaska
graphicsfairy says
Thank you Roxann, I will pass your kind words on to Diana 🙂
Judy Parkey says
Did you use a laser or ink jet printer?
graphicsfairy says
Hi Judy,
An ink jet printer was used 🙂
Rupa says
Beautiful! Your projects are simple and elegant.
graphicsfairy says
Thank you so much Rupa!!
Yvonne walker says
Excellent I love you and all your freebies can’t wait until each Friday thank you
graphicsfairy says
I am so glad Yvonne, enjoy 🙂
sandy says
hey diana;
another great project from you that I have to make. I love all of your work!!! Your work truly inspires me.
graphicsfairy says
Thank you so much Sandy, you are so sweet!! I am so happy that you are inspired 🙂
Mia says
So romantic boxes! I love them!
graphicsfairy says
Thanks so much Mia, glad you like them!