Altered Book Art
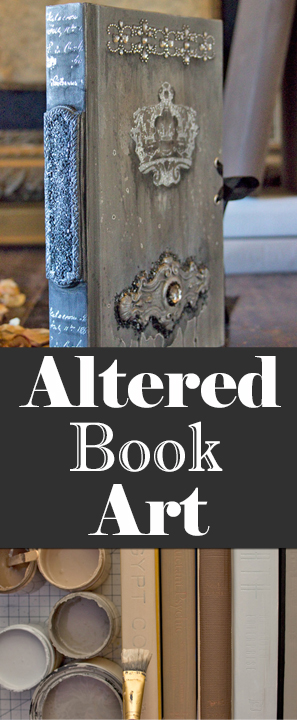
Hello, Graphics Fairy friends! Heather from Thicketworks here, with an exciting new concept that I think you will LOVE – altered book art! A new way to celebrate your creativity!
Josie of IOD had a wonderful idea that inspired me: Artist Trading Books….I immediately thought of a friend with Sterling Qualities that I want to celebrate…and so this Artist Trading Book was born.
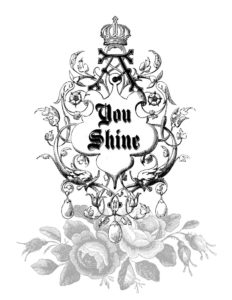
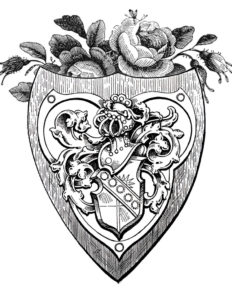
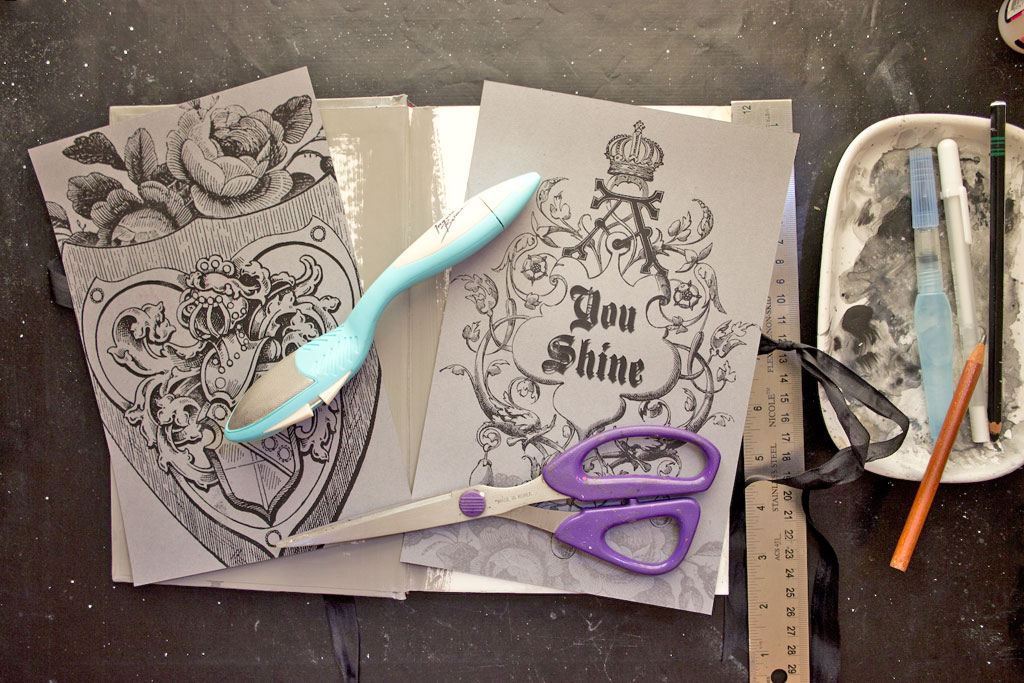
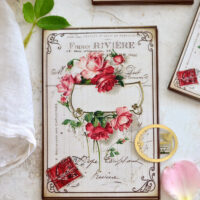
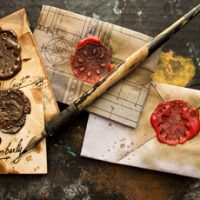
I’ve created two simple collages that are based on Graphics Fairy Images to use in this project if you so desire. They are sized to print on an 8.5 x 11 inch sheet of printer paper or cardstock.
Note: Laser prints were used for this demonstration.
Help yourself to the Free Printables by clicking the images below:
Free Printables Altered Book Art
Source Images:
Altered Book Art Supplies:
- Used Hardcover books (thrift stores and library sales are wonderful places to find these)
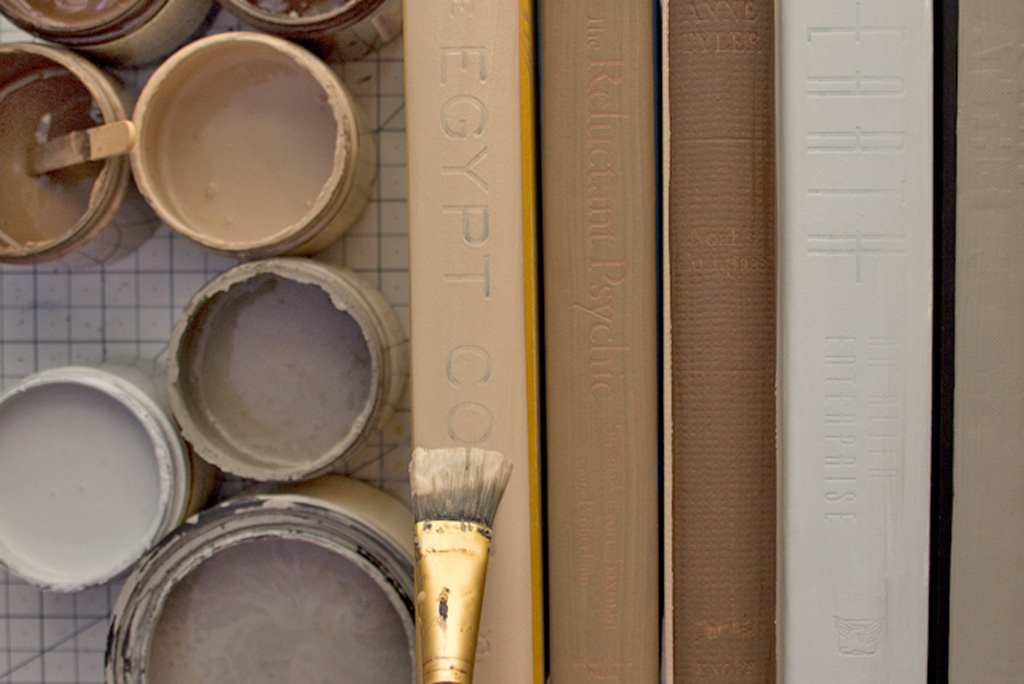
- Your favorite Chalky Finish Paints in neutral tones
- Paint brushes
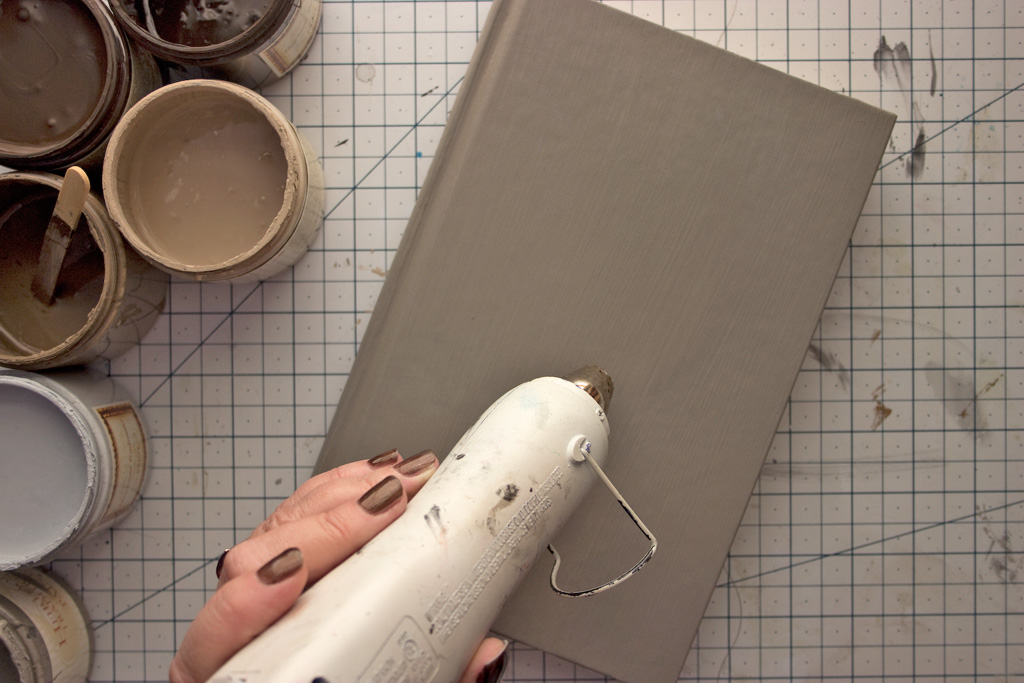
- A Heat Tool comes in handy!
- Iron Orchid Designs Decor Stamps: or Rubber Stamps of your choice
- Iron Orchid Decor Ink: White
- Iron Orchid Designs Stamp Roller
- Iron Orchid Designs / Prima Decor Oversized Stamp Block
- Baby Wipes (for cleaning the Stamps)
- Ranger Tim Holtz Distress Ink Pad, Vintage Photo
- Ranger Inkssentials Ink Blending Tool
- Acrylic Craft Paint in Black and White + water
- Aleene’s Original “Tacky” Glue
- A small container of Cornstarch + a fluffy brush
- IOD Decor Moulds
- Air Dry Paper Clay
- Inka Gold: Old Silver
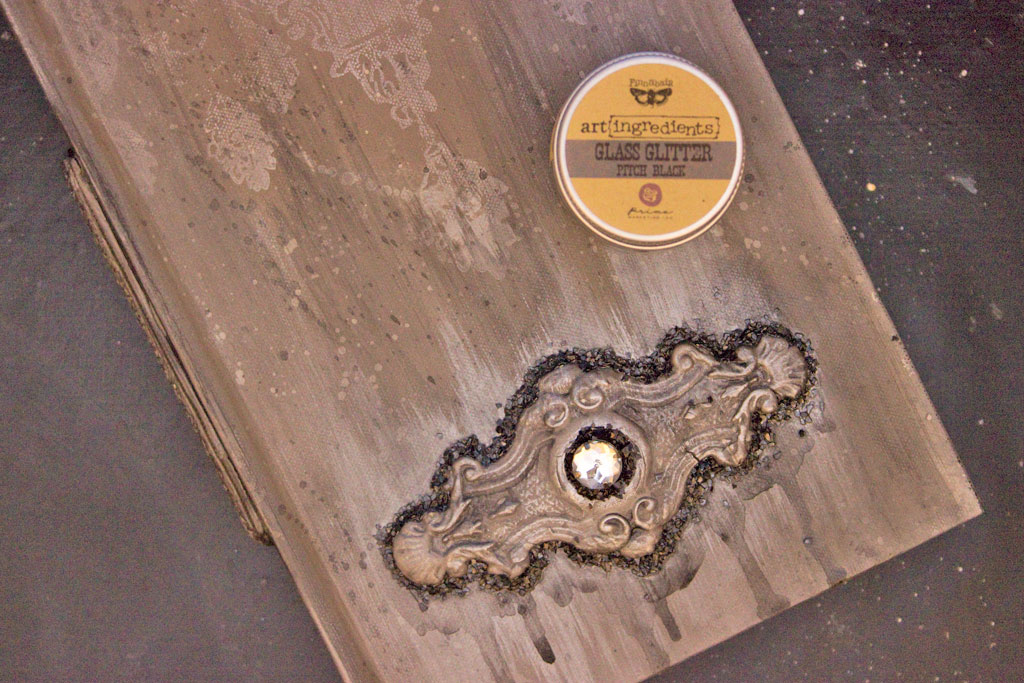
- Glass Glitter: Black
- Your favorite adhesive backed rhinestones: Jolee’s Boutique Bling was used in this project
- Stabilo All Pencil: Black
- Water Brush
- Gelly Roll Gel Ink Pen: White
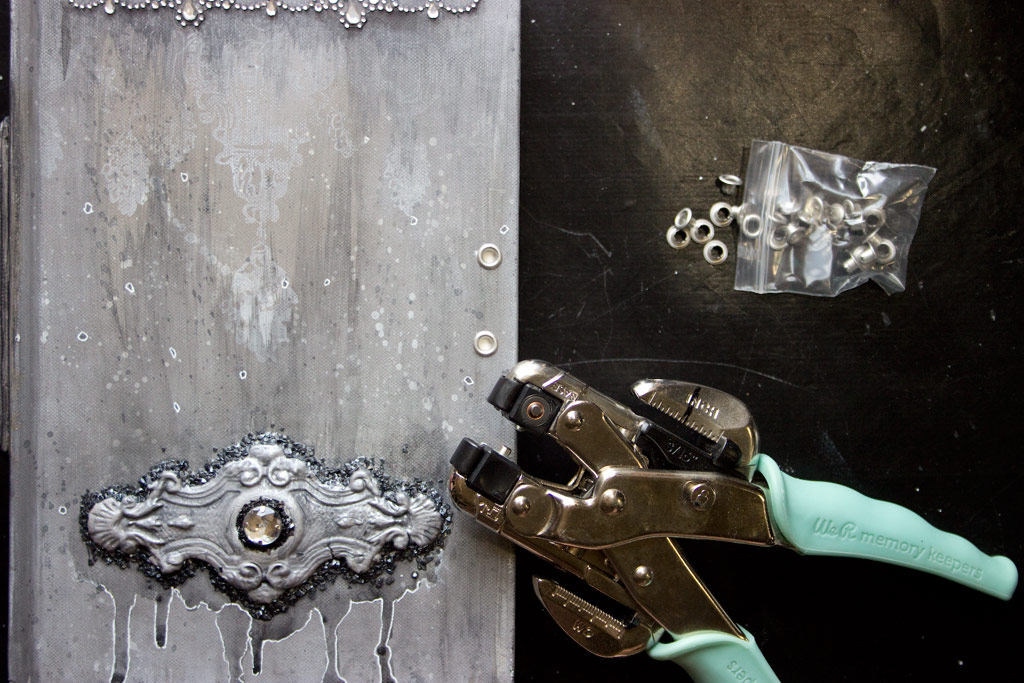
- We R Memory Keepers Crop-A-Dile + Eyelets
- Ribbon
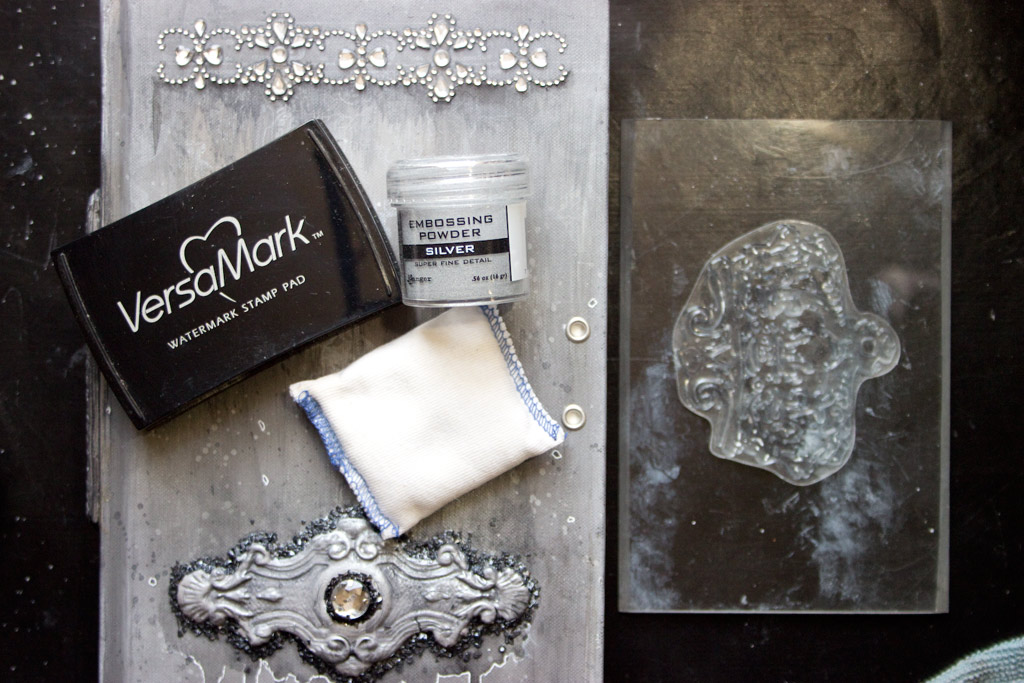
- VersaMark Pigment Inkpad
- Ranger Embossing Powder: Super Fine Silver
- Optional: Anti Static Embossing Pouch
- Paper Craft Distressing Tool
- Spray Sealer
How To Create An Artist Trading Book:
Begin the process by painting the exterior of your chosen volume with a good quality Chalky Paint:
Allow to dry naturally, or speed the drying time with a heat tool:
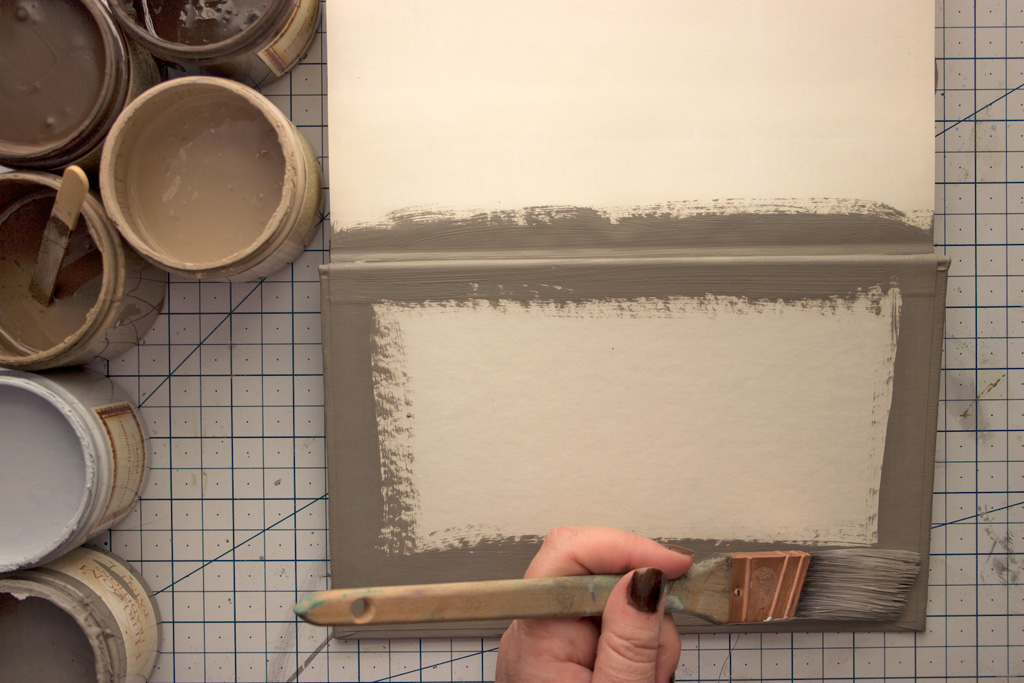
Paint the margins of the interior of the cover, also:
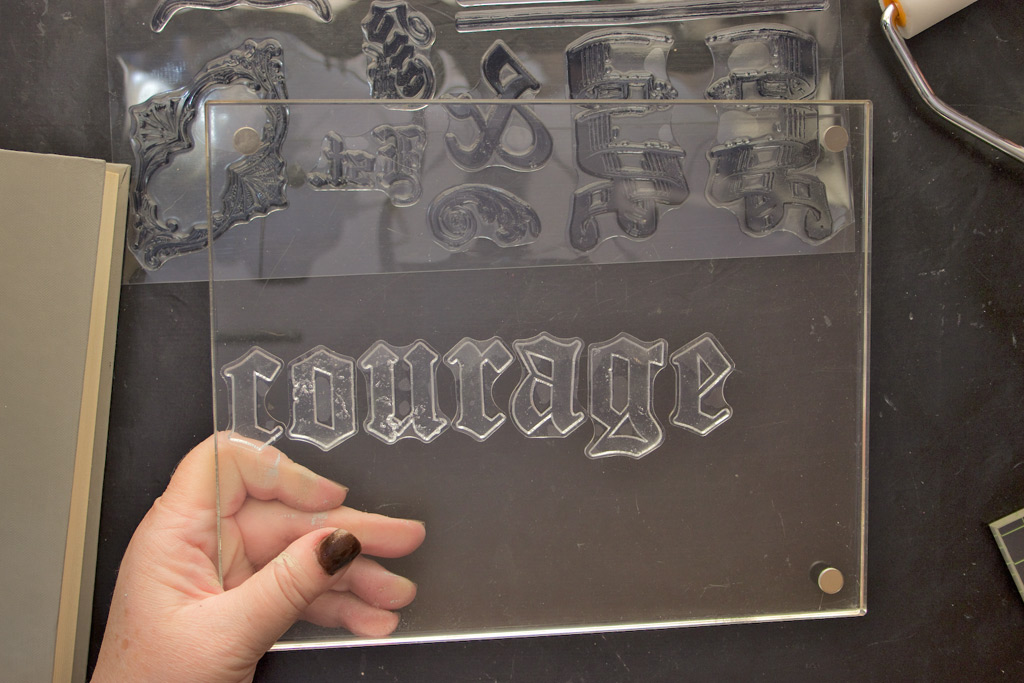
Select letters from the IOD Alpha II Decor Stamp Set, and arrange your chosen word or phrase on an oversized acrylic mount:
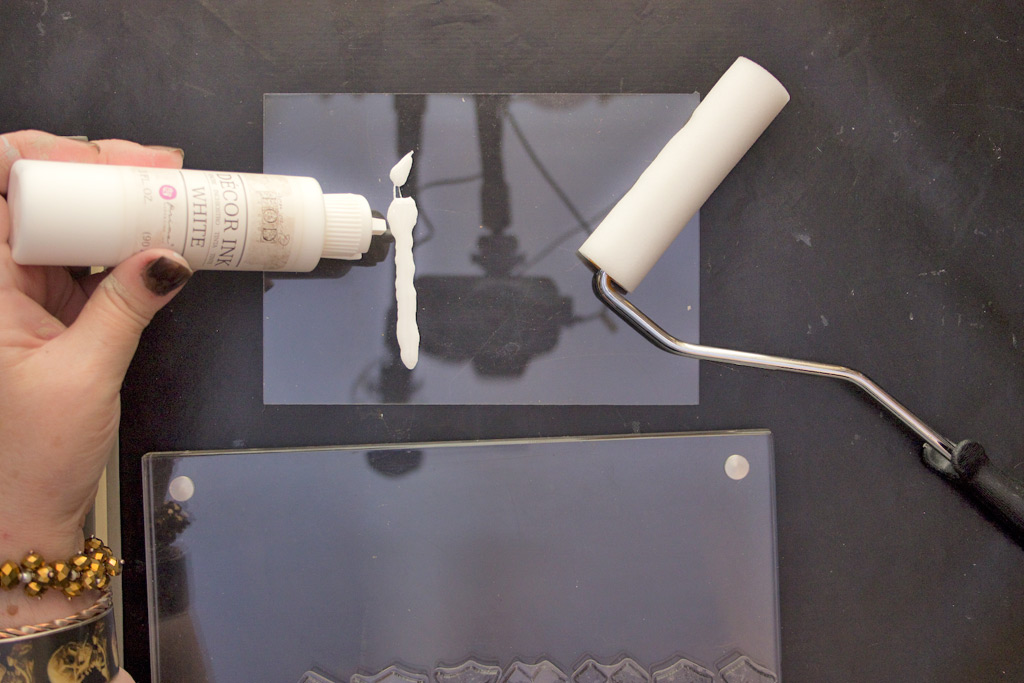
Dispense IOD Decor Ink: White onto a palette:
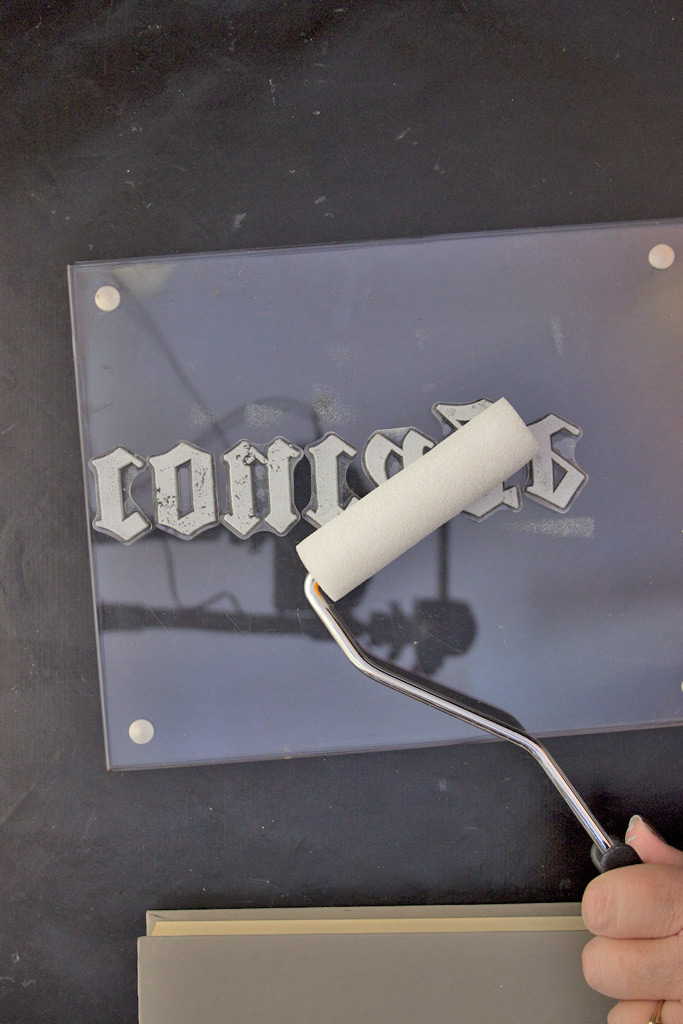
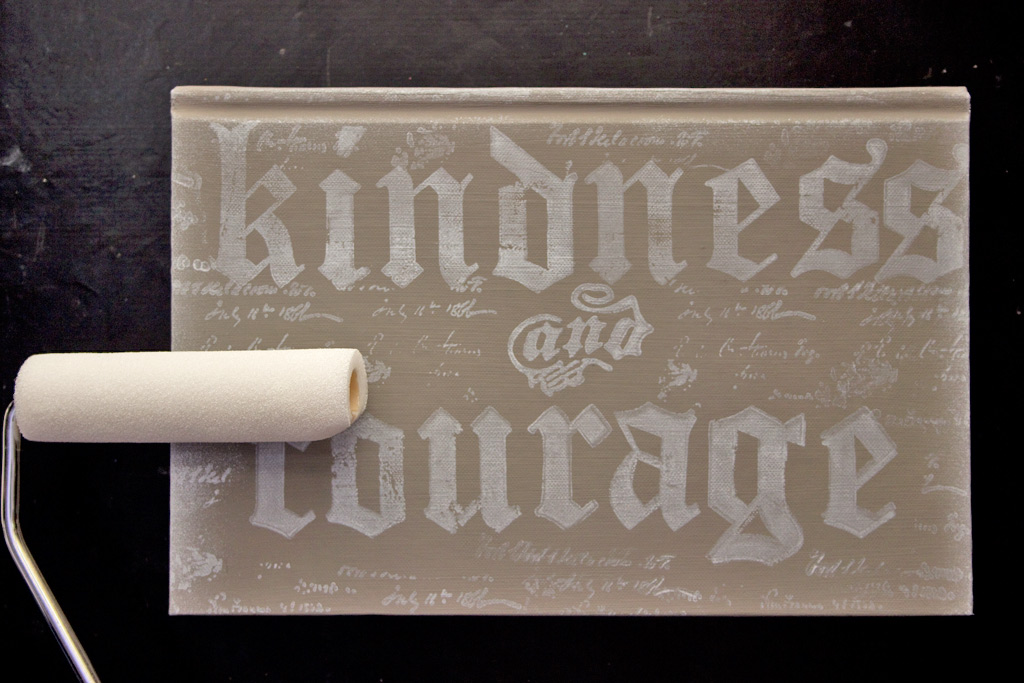
Smooth out the ink with the roller, then apply it carefully to the surface of the Alpha Stamps:
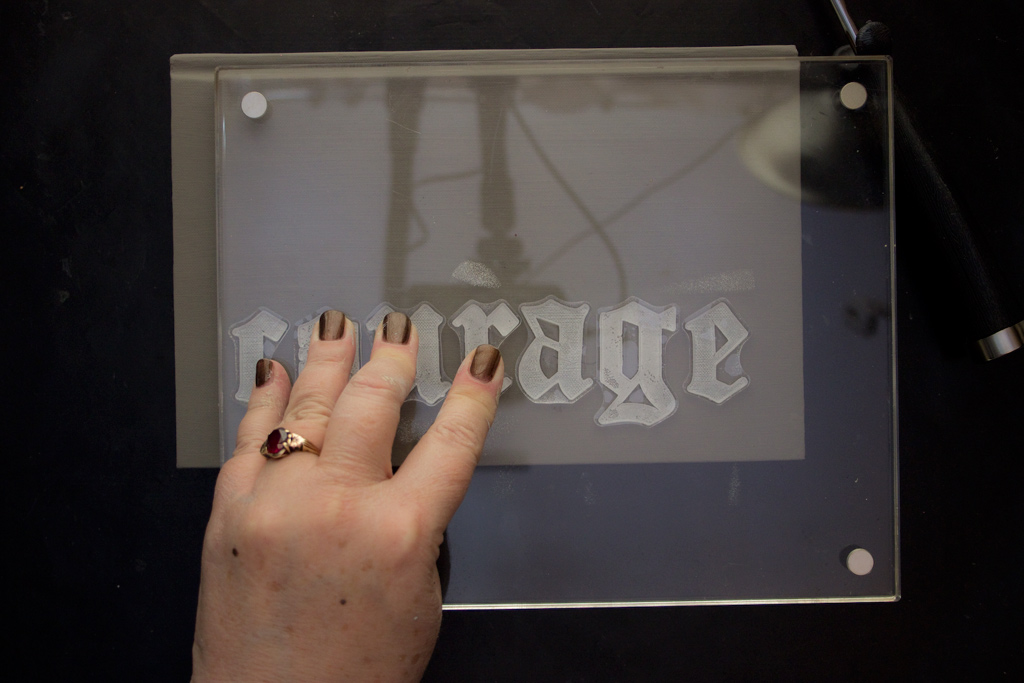
Press the Alpha Stamps firmly onto the Back Cover of your book:
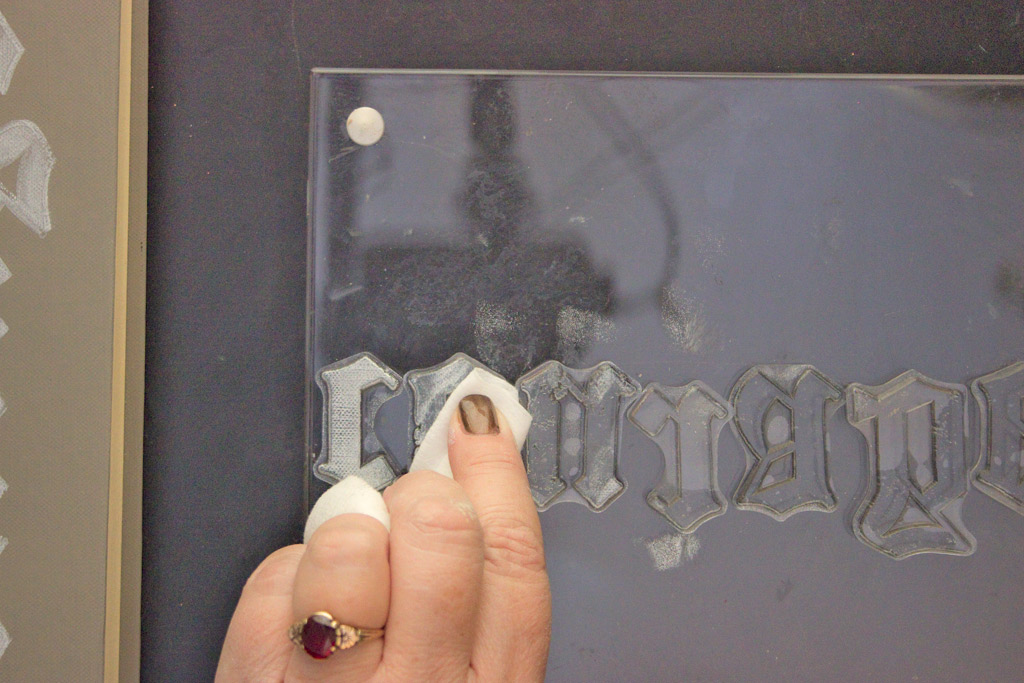
Clean the Decor Ink off of the stamps with a baby wipe.
Note: Running water, soap and a soft brush will also clean the Ink.
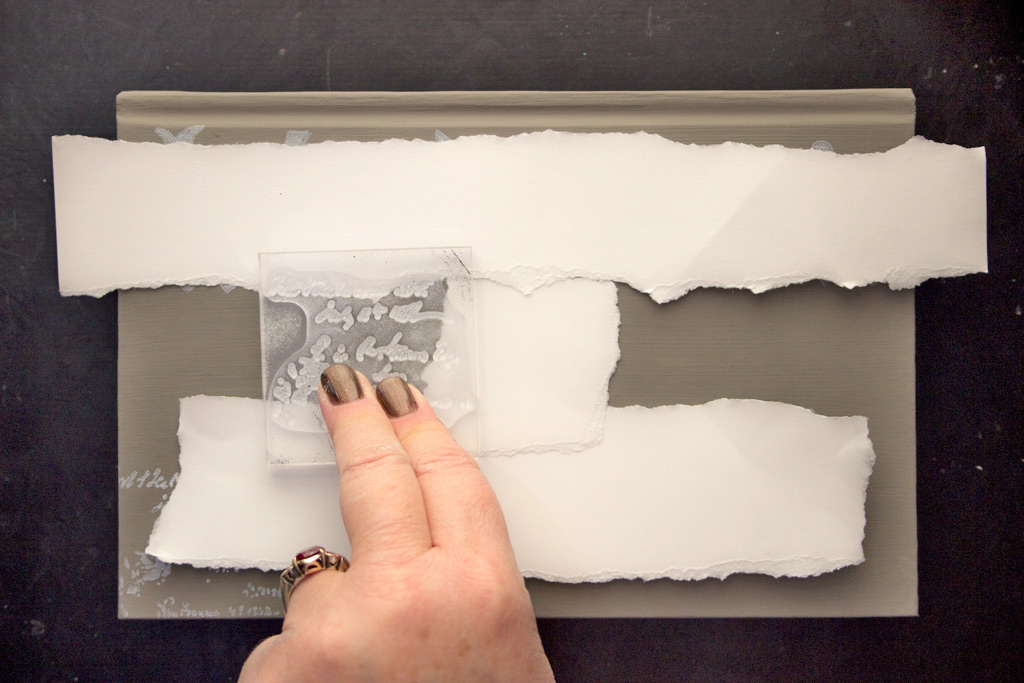
Once you’ve created your phrase, use a simple mask made of torn paper to protect it.
Then add smaller scale script stamping to the exposed areas:
Use the IOD Roller to add subtle touches of White Decor Ink along the margins of the book…this results in a dreamy, romantic feel:
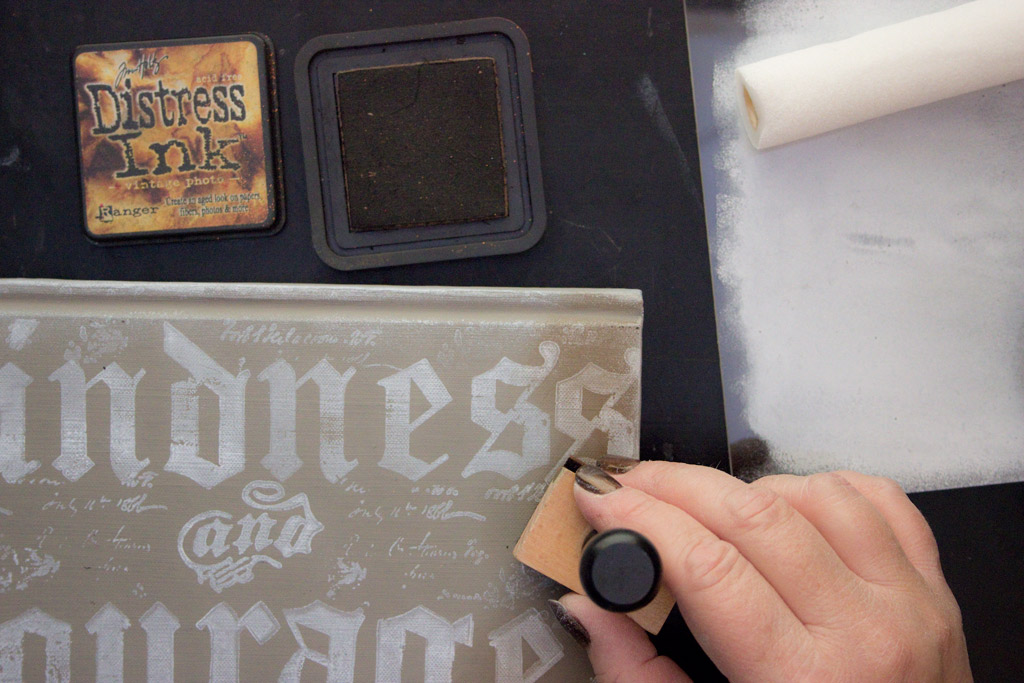
Add Distress Ink in Vintage Photo to create soft aging…
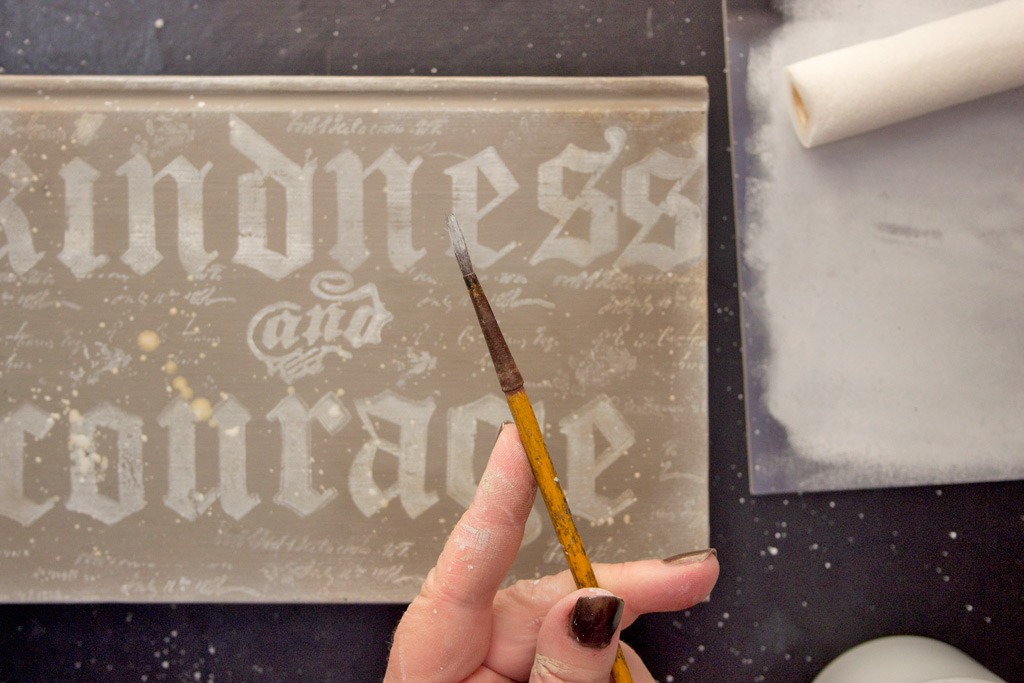
Splatter and Flick a watery mix of white craft paint over the entire surface.
Do the same with black craft paint, but with a much lighter touch.
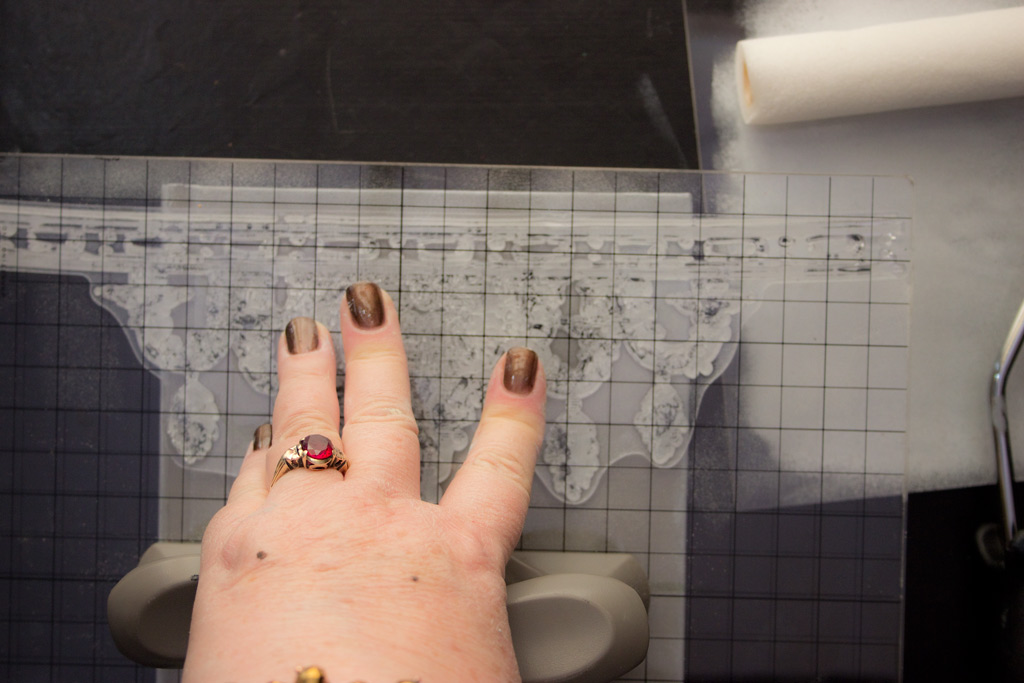
Apply one of the gorgeous motifs from Iron Orchid Designs Decor Stamps: Friffery to the Front Cover of the book:
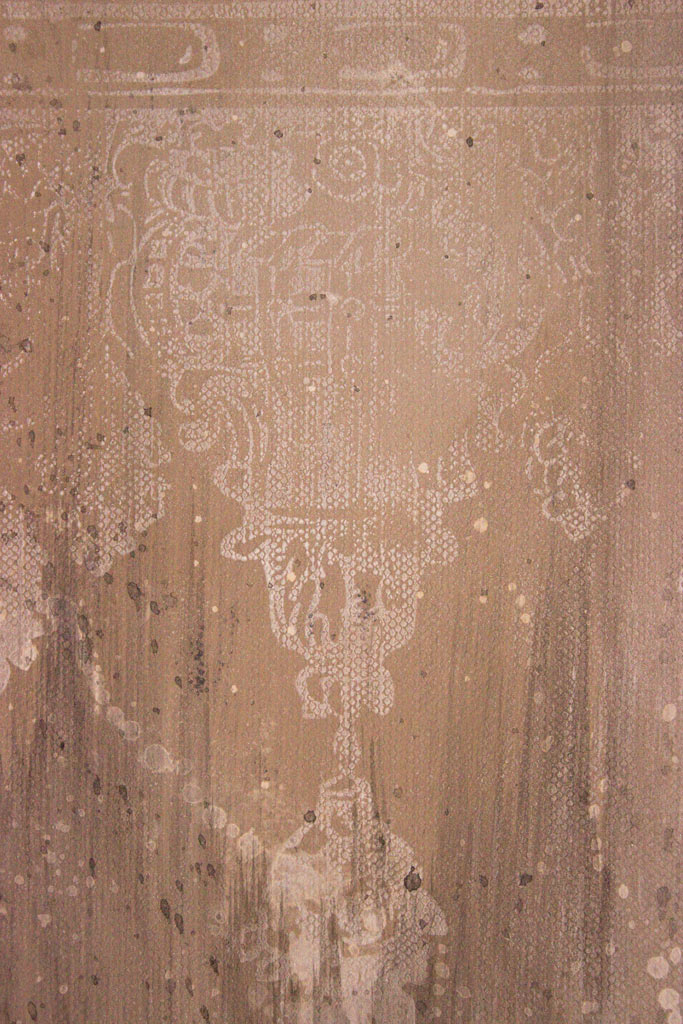
Splatter and Flick once again!
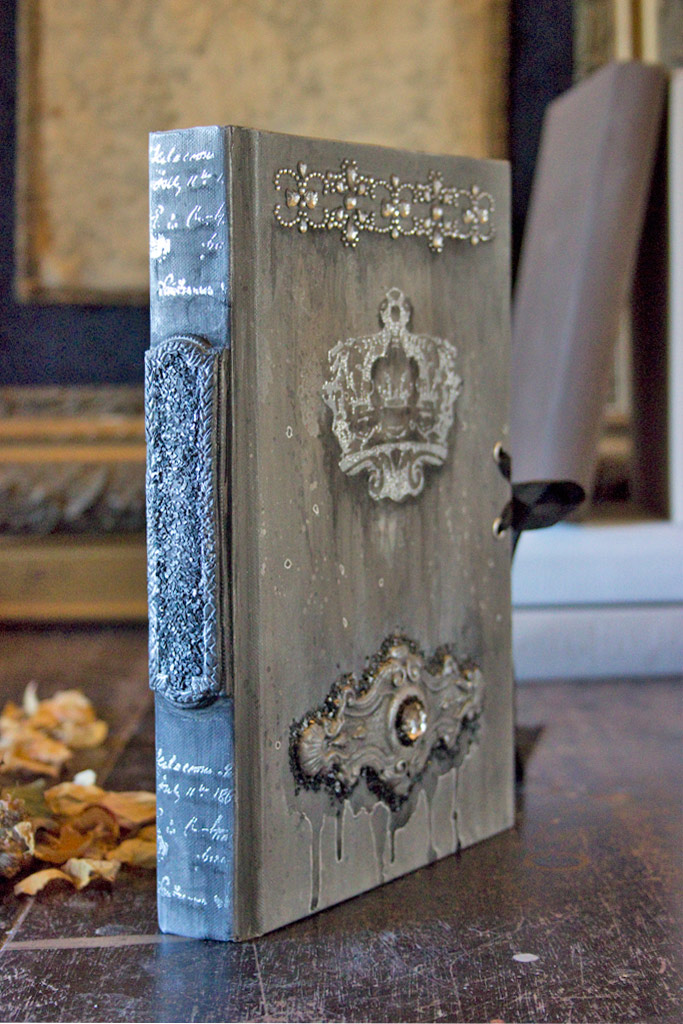
This will result in a softly distressed pattern that conveys an antique feminine aura:
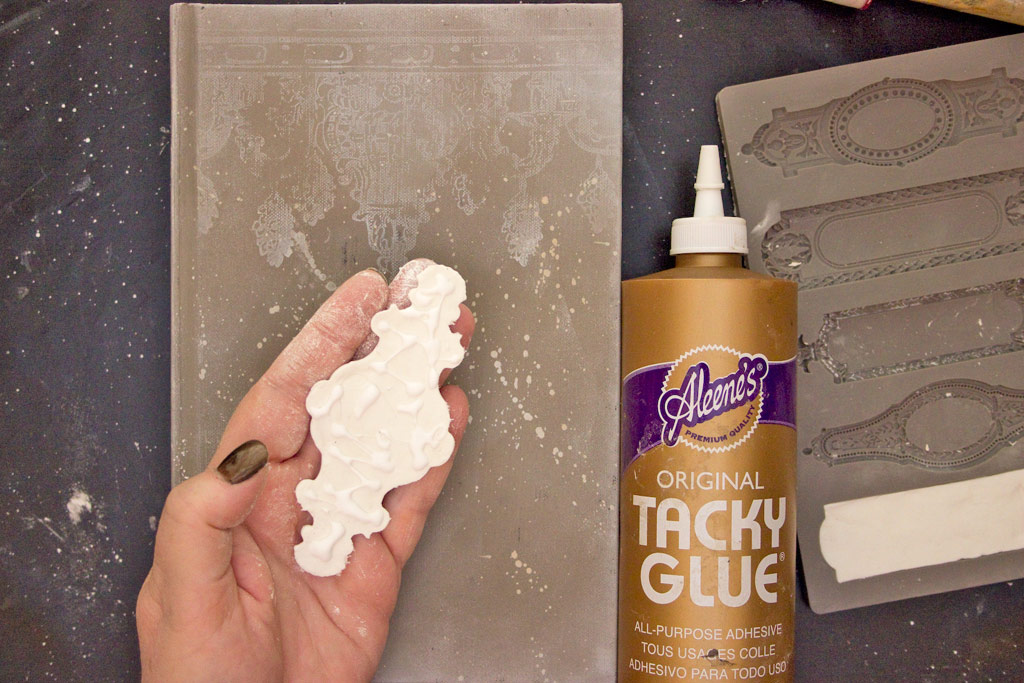
Apply Cornstarch to the Decor Moulds…
Fill the mould with paper clay, smooth the surface, then de-mold:
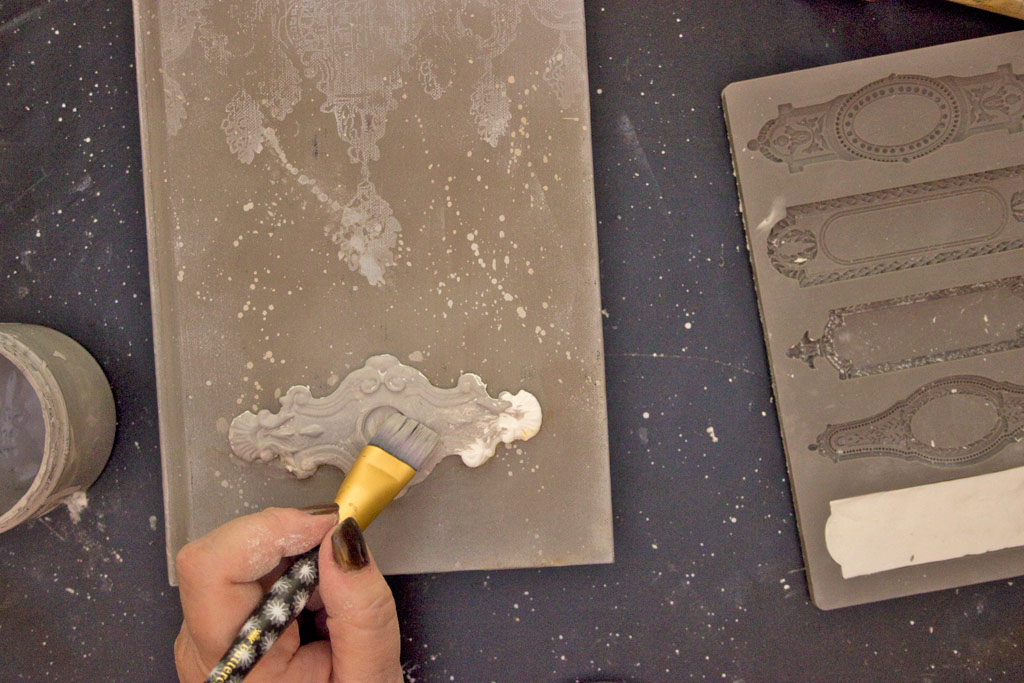
Apply adhesive to the back of the fresh casting:
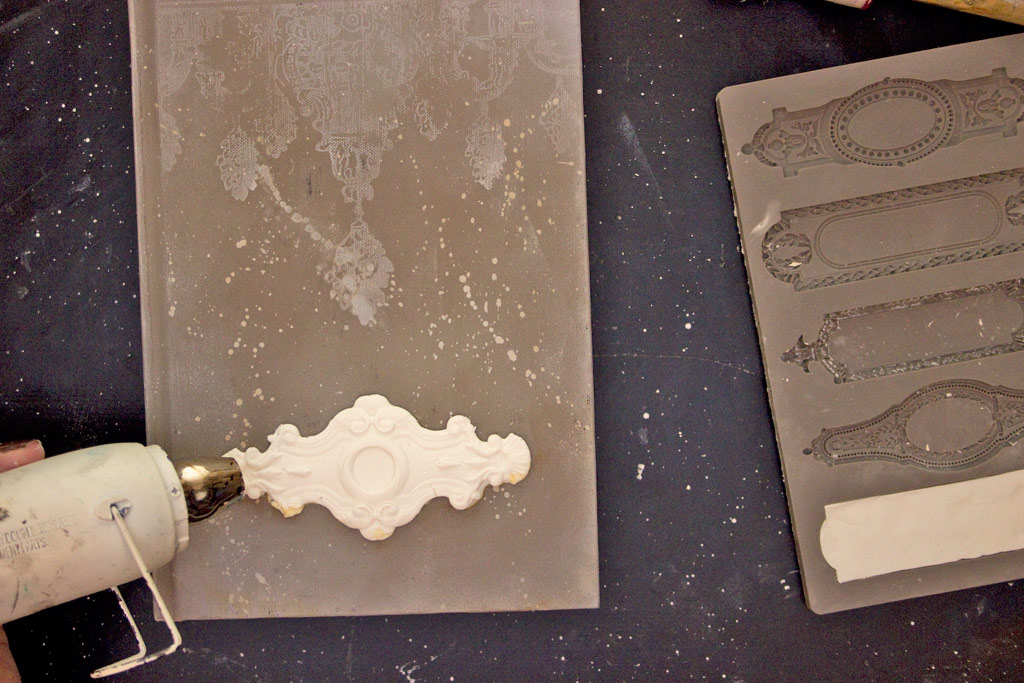
Adhere to the front of the Artist Trading Book.
Create a dry crust on the casting with your heat tool:
Paint the casting:
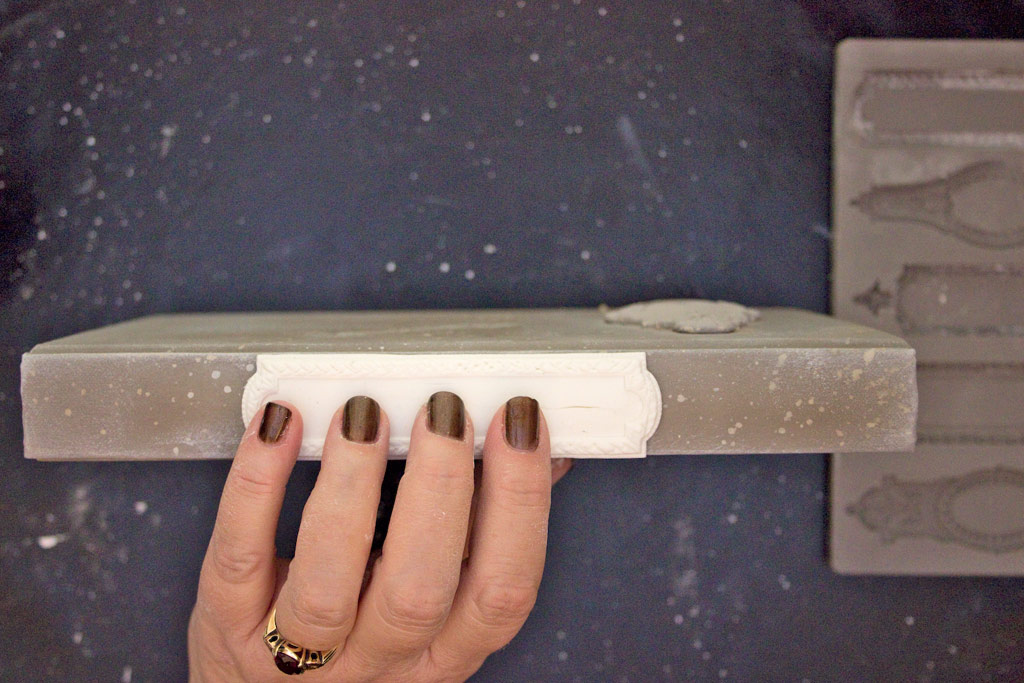
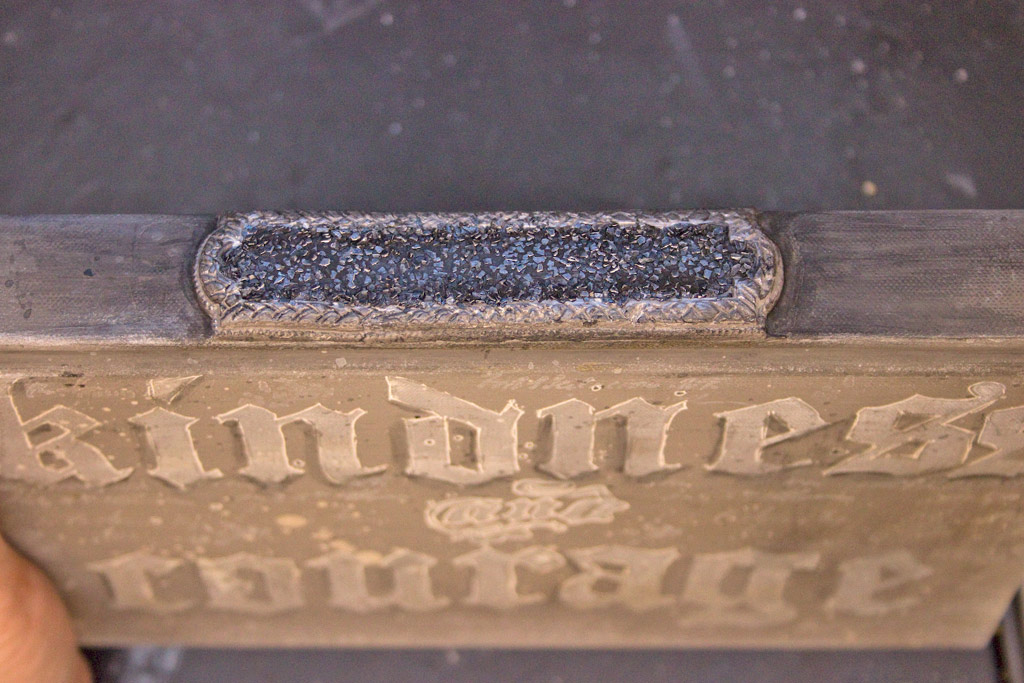
Repeat this process for the spine of the Artist Trading Book:
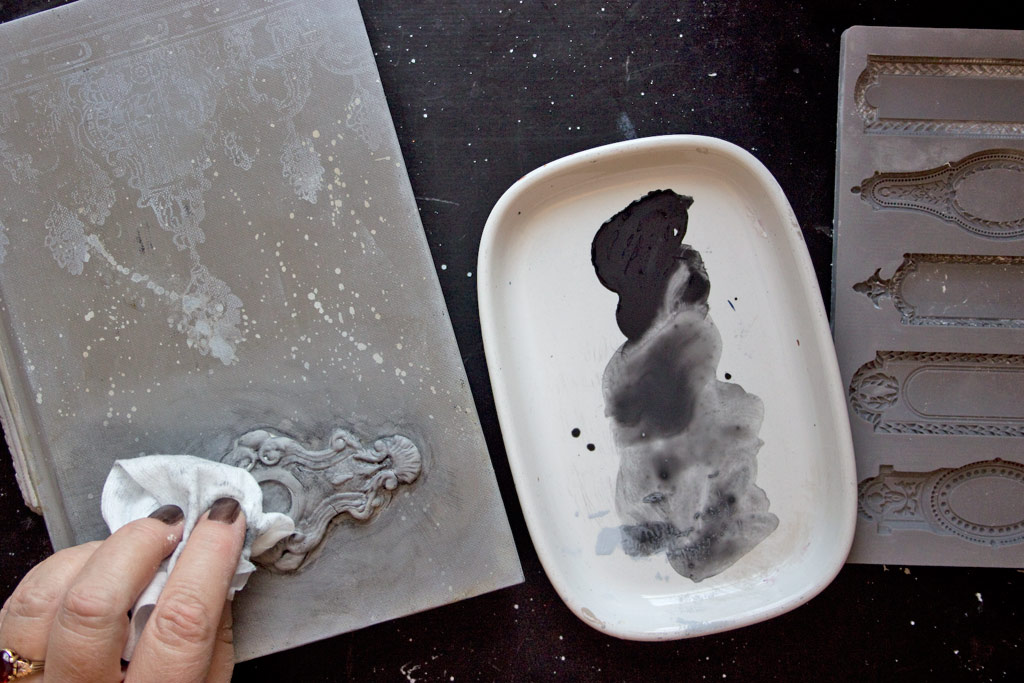
Apply a watery wash of black craft paint to the castings, then wipe back with a baby wipe:
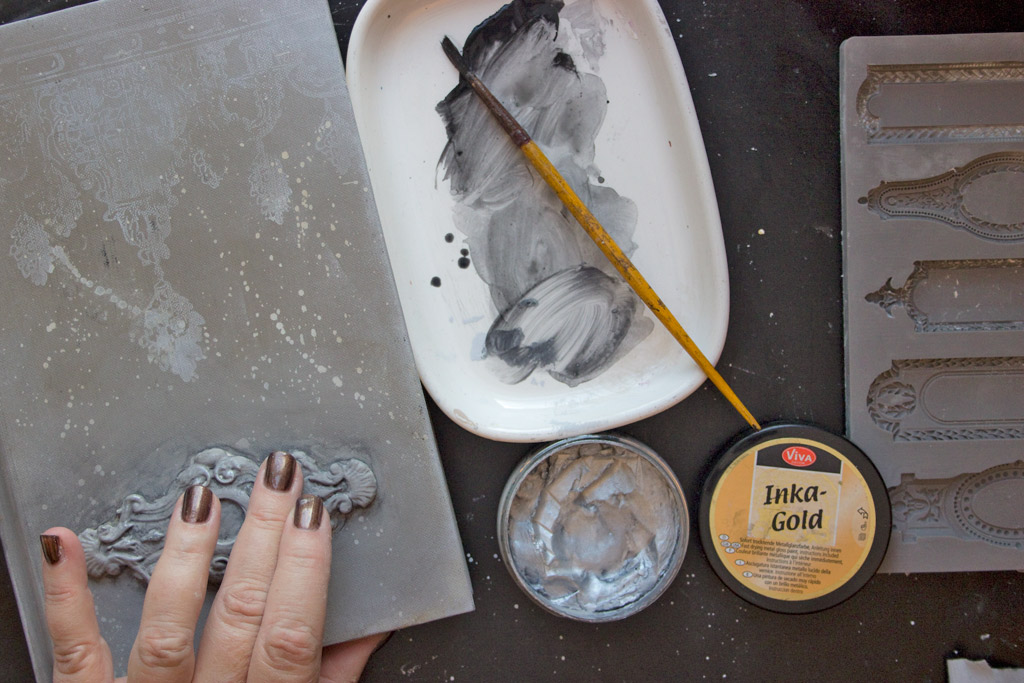
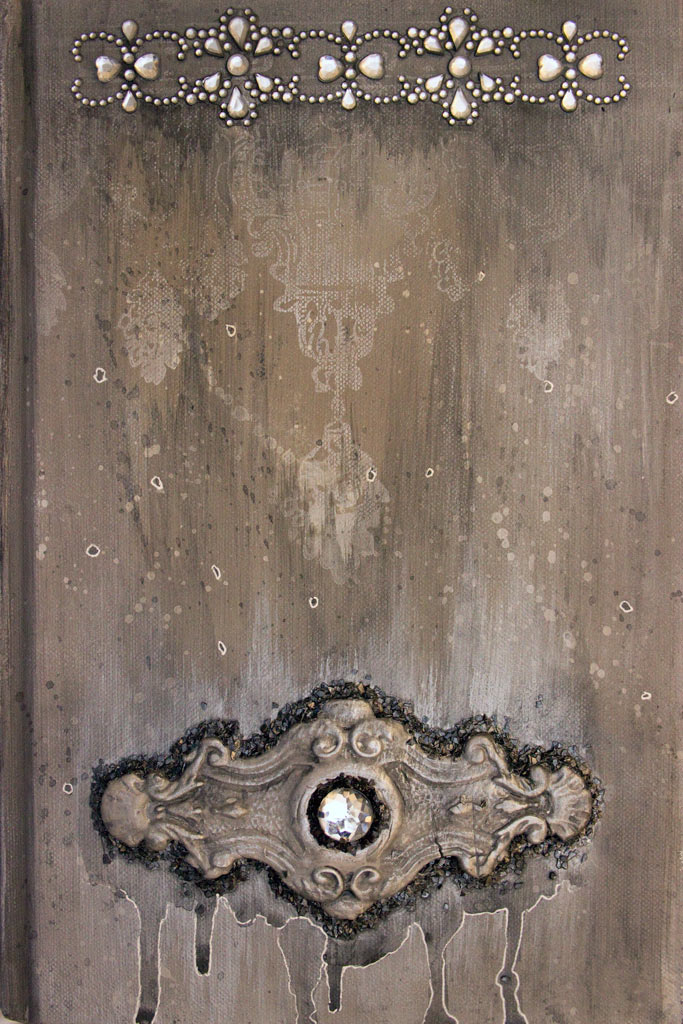
Use your fingertips to apply Inka Gold: Old Silver to the raised surfaces of the castings:
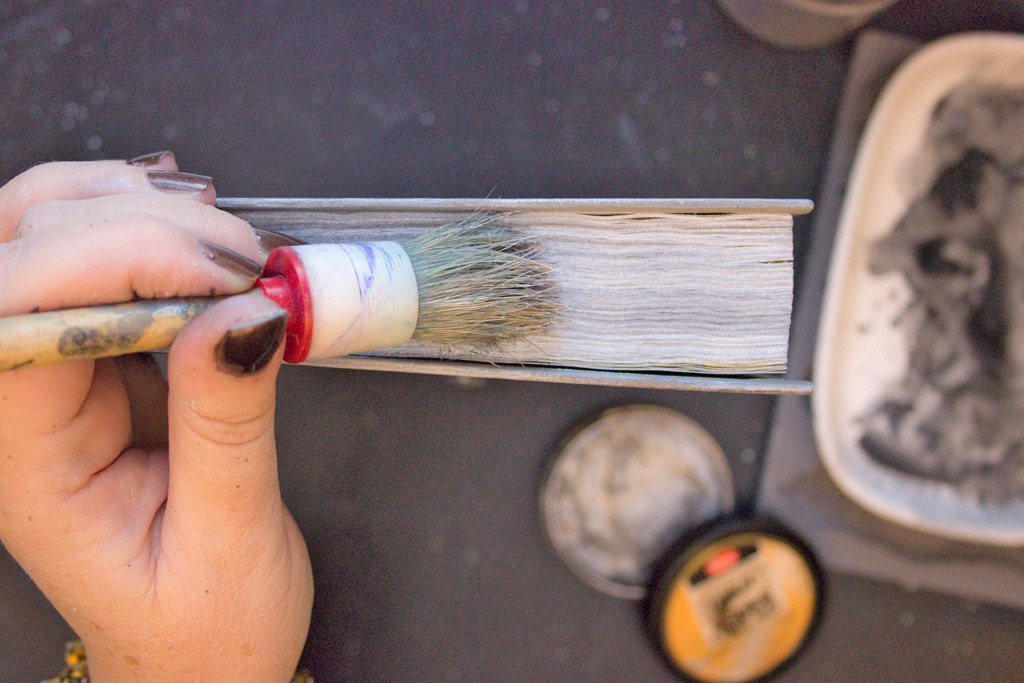
Tint the edges of the pages with Old Silver, if you like.
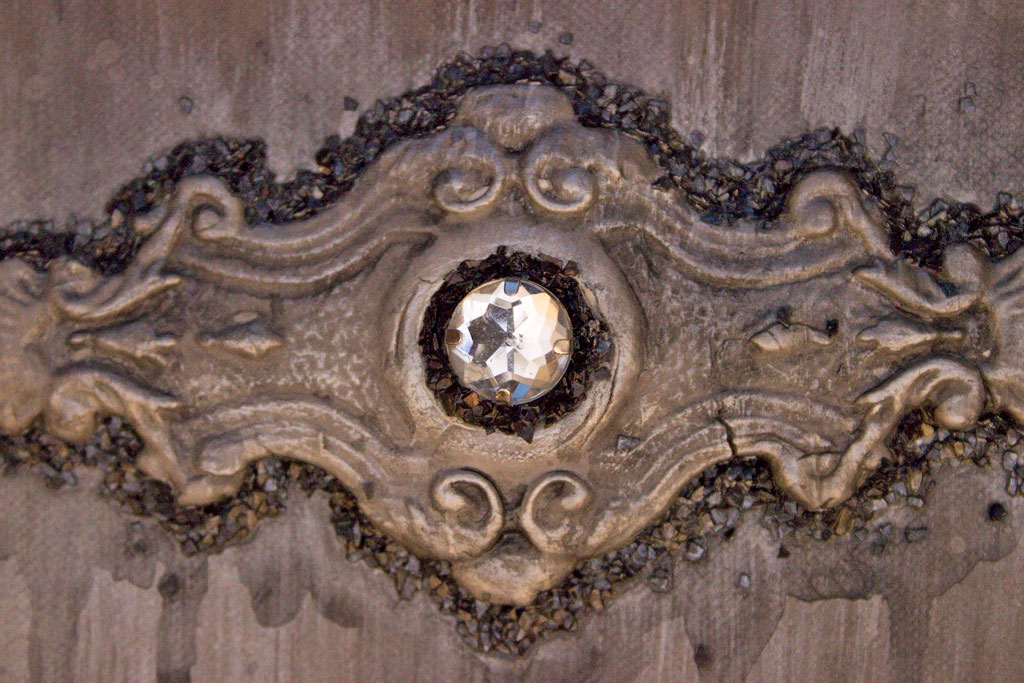
Add a glass gem to the center of the casting on the front cover.
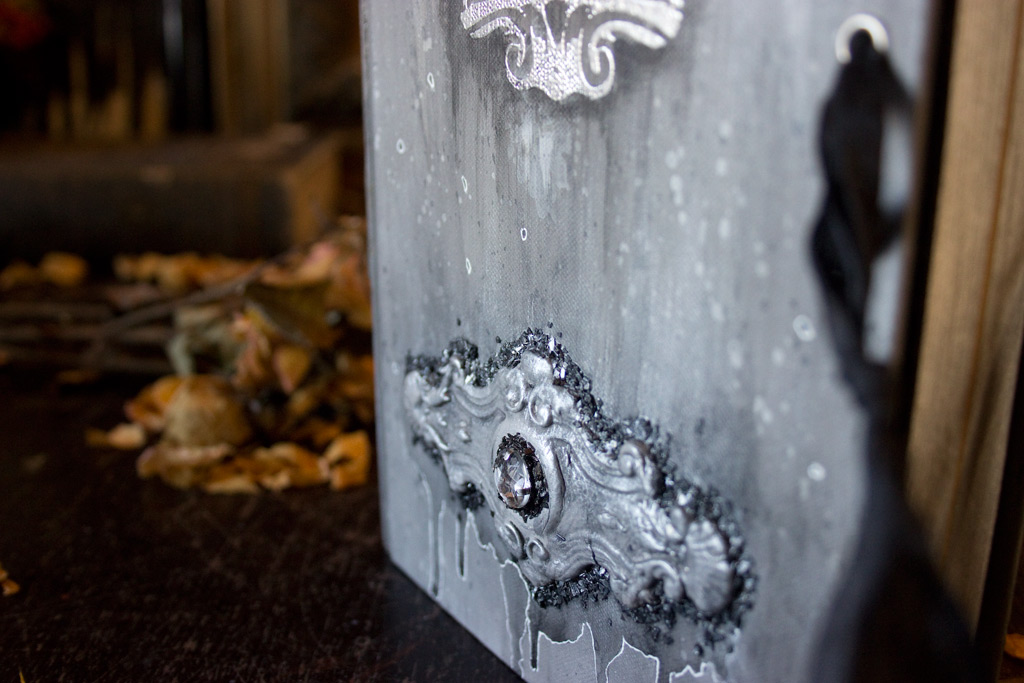
Apply adhesive and Black Glass Glitter around the gem and the silhouette of the casting.
Fill the center of the Object Label II Casting with adhesive and Black Glass Glitter, as well.
Once dry, add a soft layer of Old Silver to tone down the black of the glitter.
Feminine – yet Grungy. Yum.
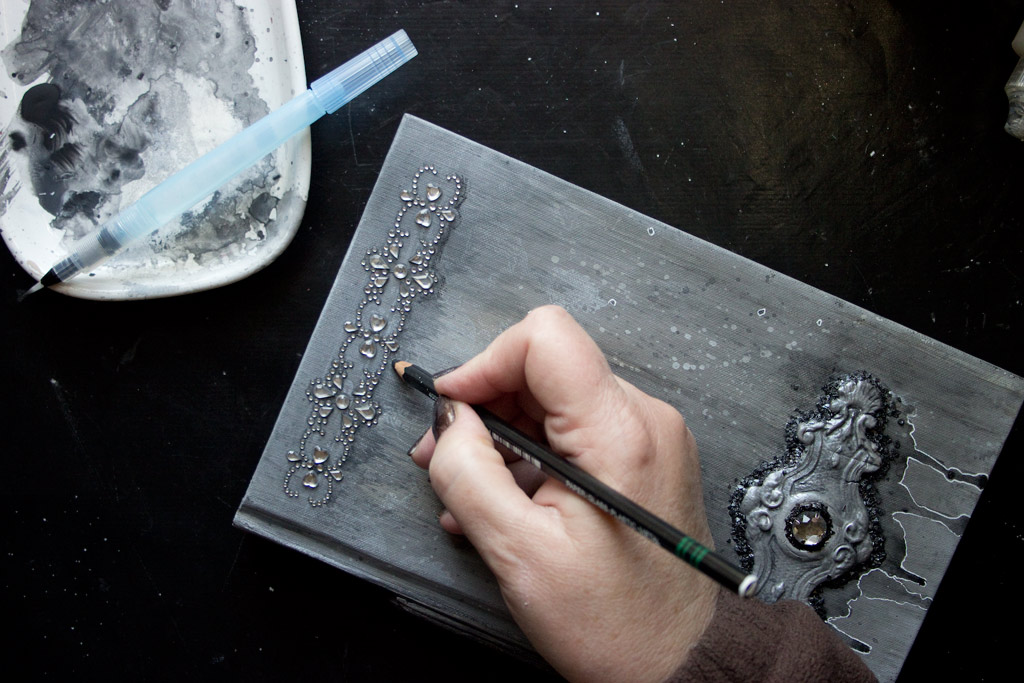
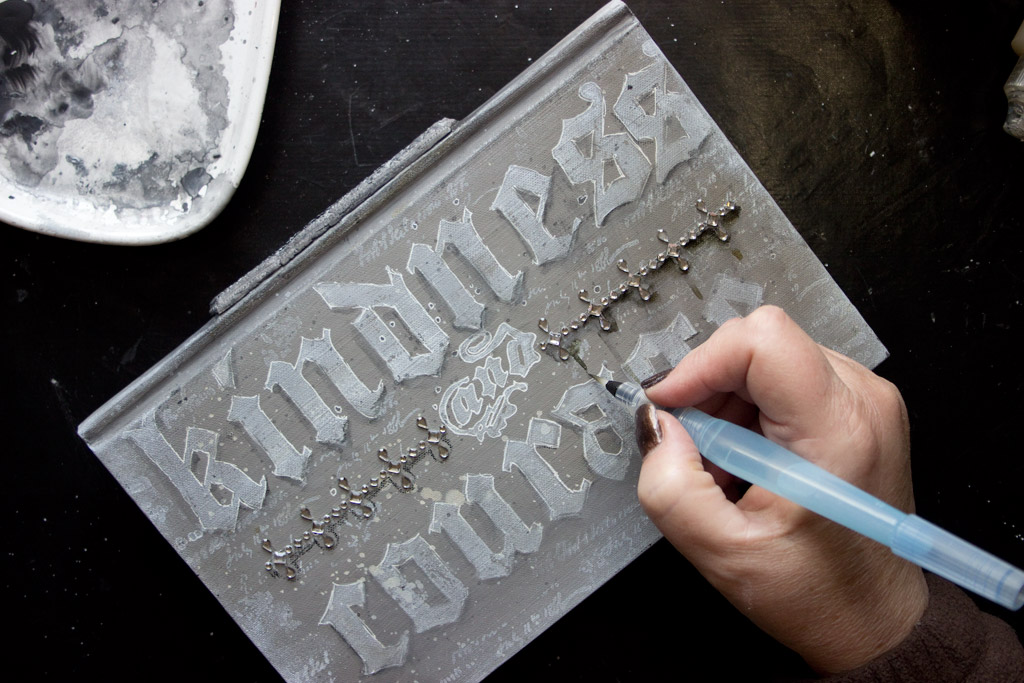
Use a Gelly Roll Gel Ink Pen: White to add delicate details, using the splatters and drips as a guide:
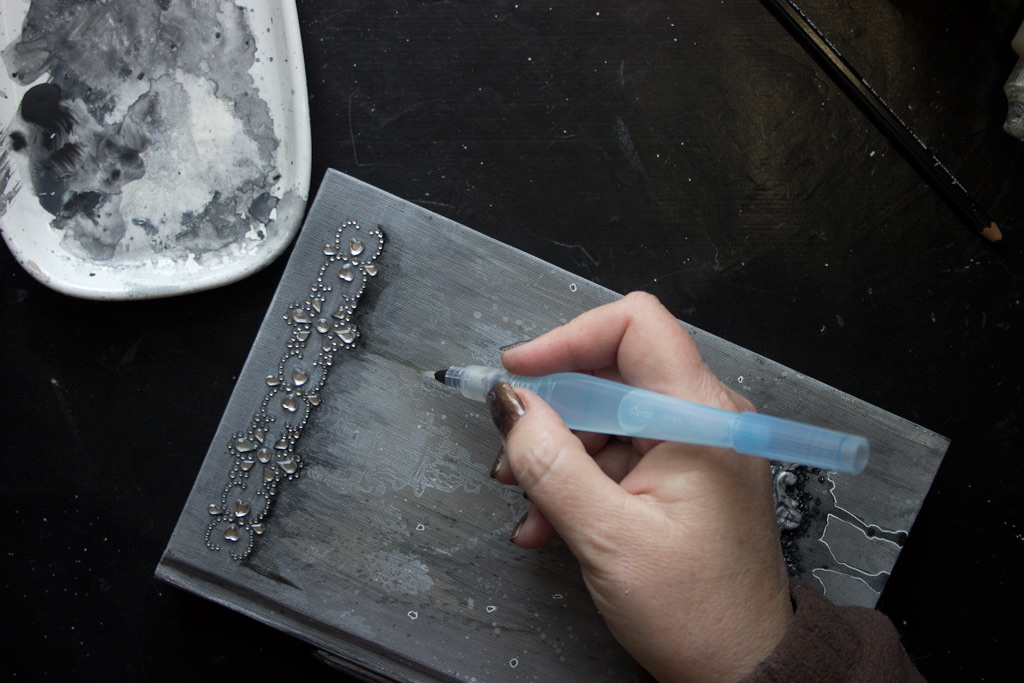
Create soft shadowing and drip effects with a Stabilo All Pencil: Black.
Add a touch of water to activate and direct the pigment.
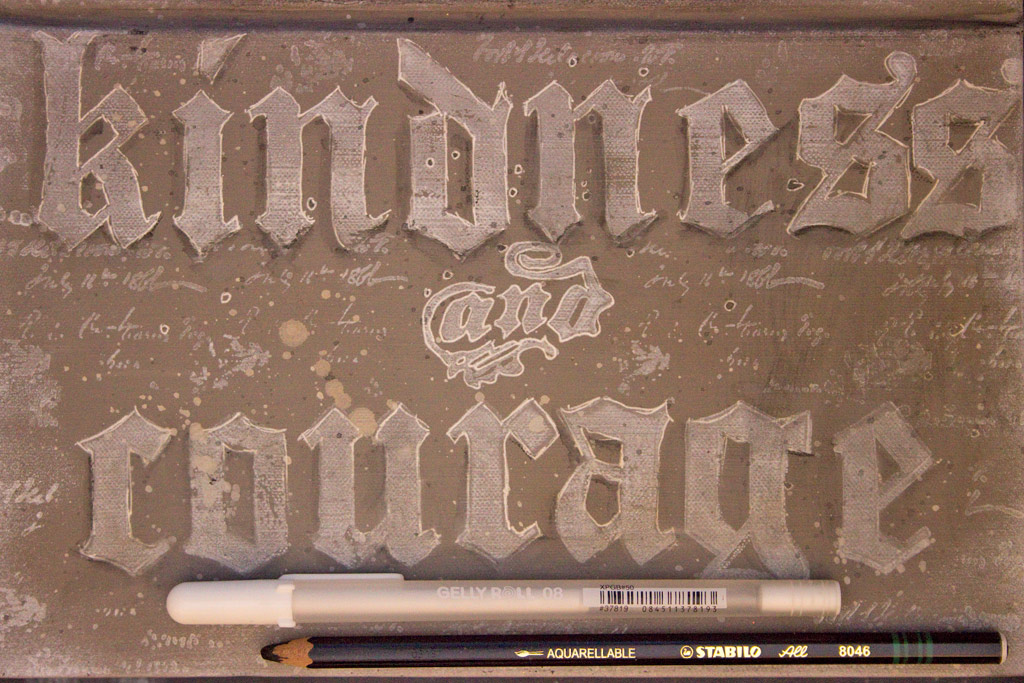
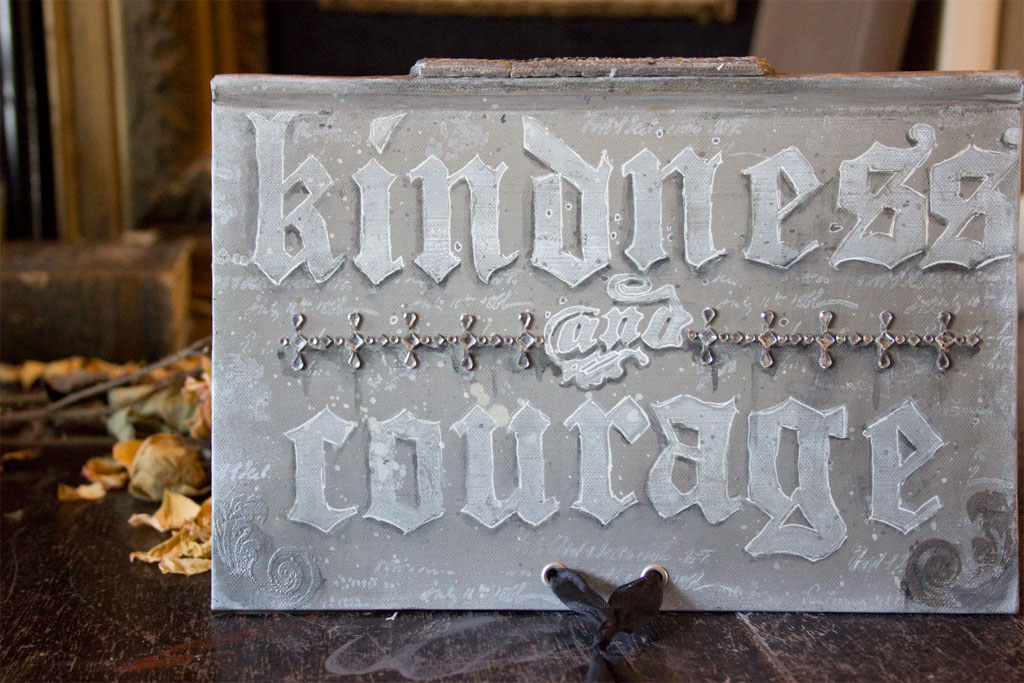
Shadow and Highlight the text, using these tools:
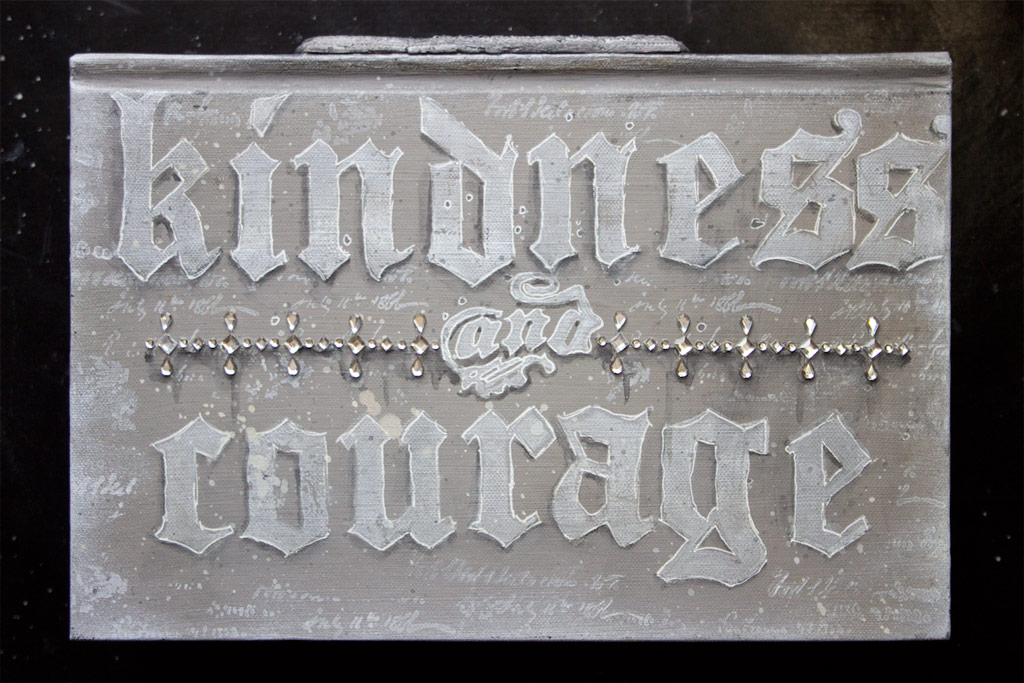
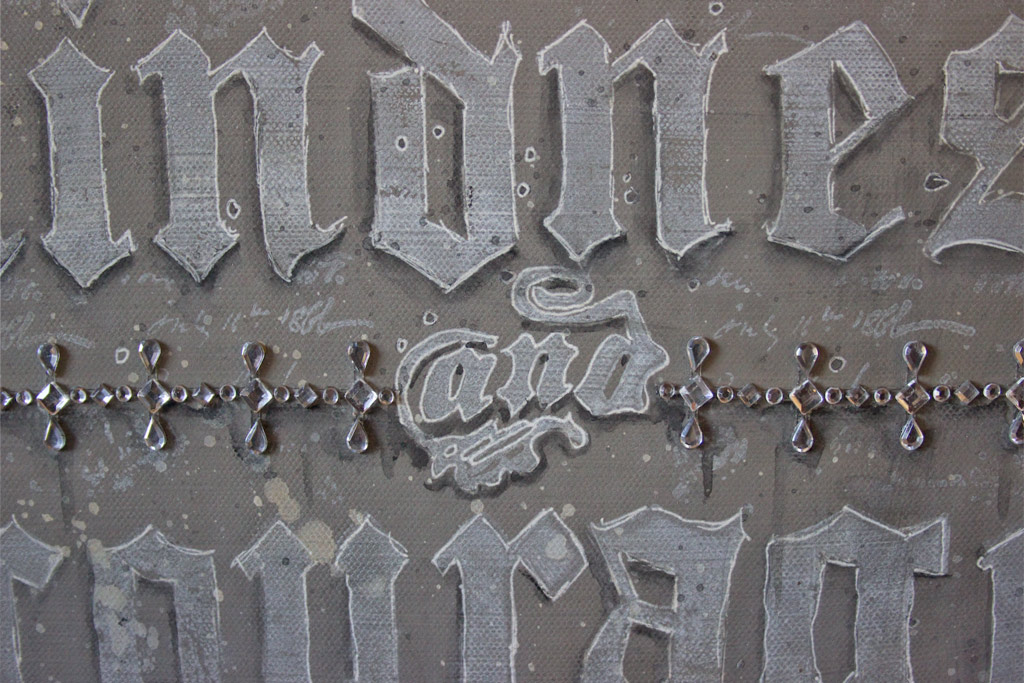
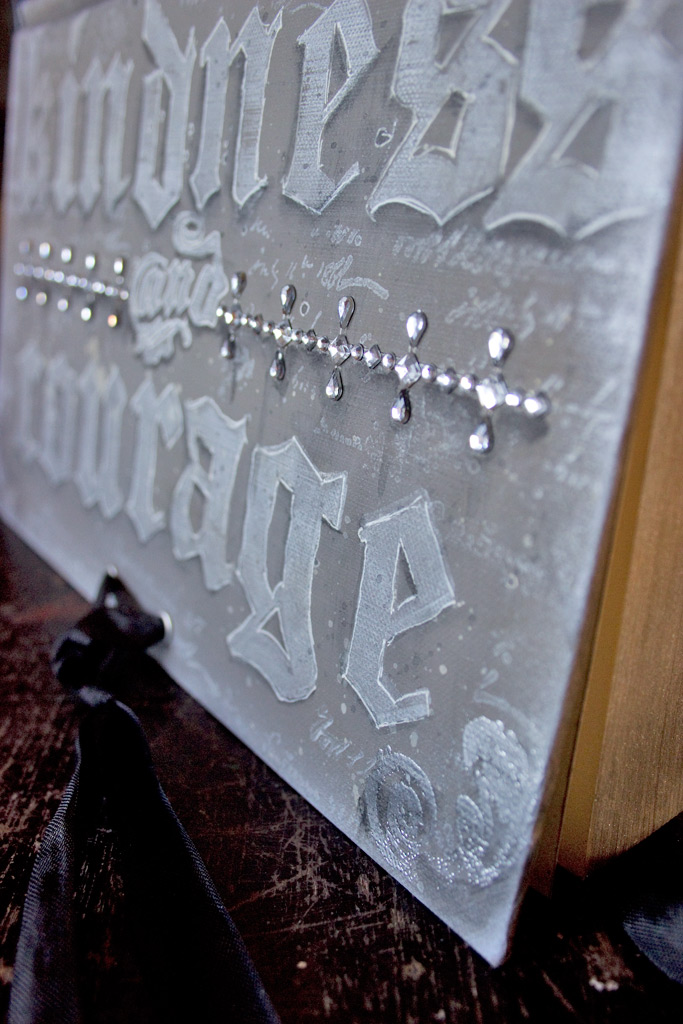
Add Bling, and even more shadows…
I love the Vintage Graffiti vibe this gorgeous font creates…
Once detailed, there’s an aged and romantic, yet rustic air to the whole piece…
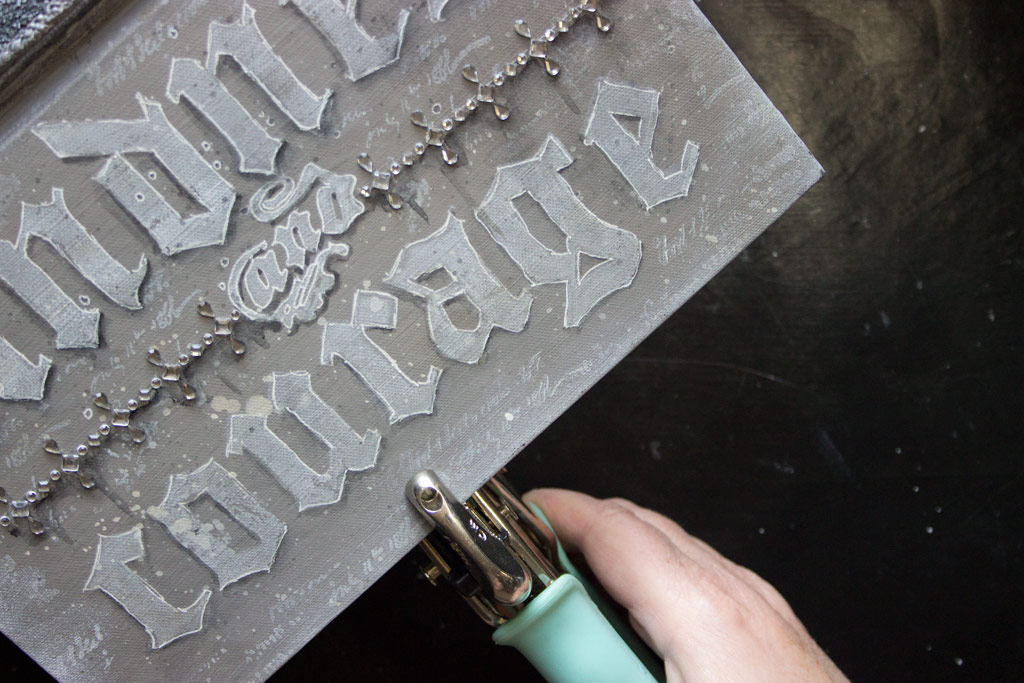
Create a closure with a Crop-A-Dile…two holes spaced about an inch apart on each cover will do it…
Finish the holes with eyelets…
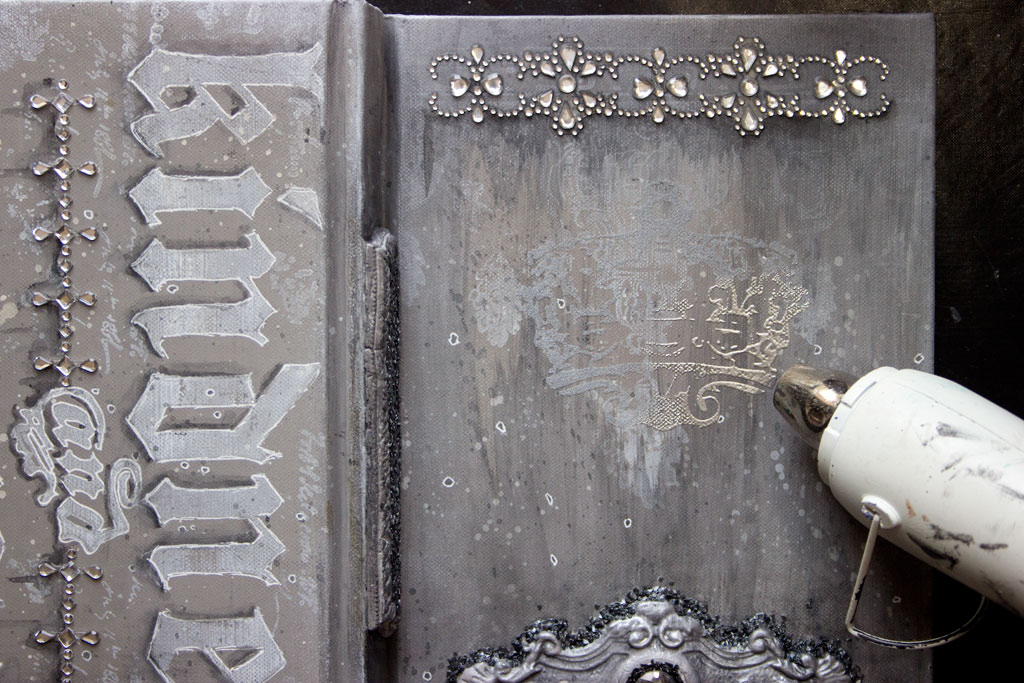
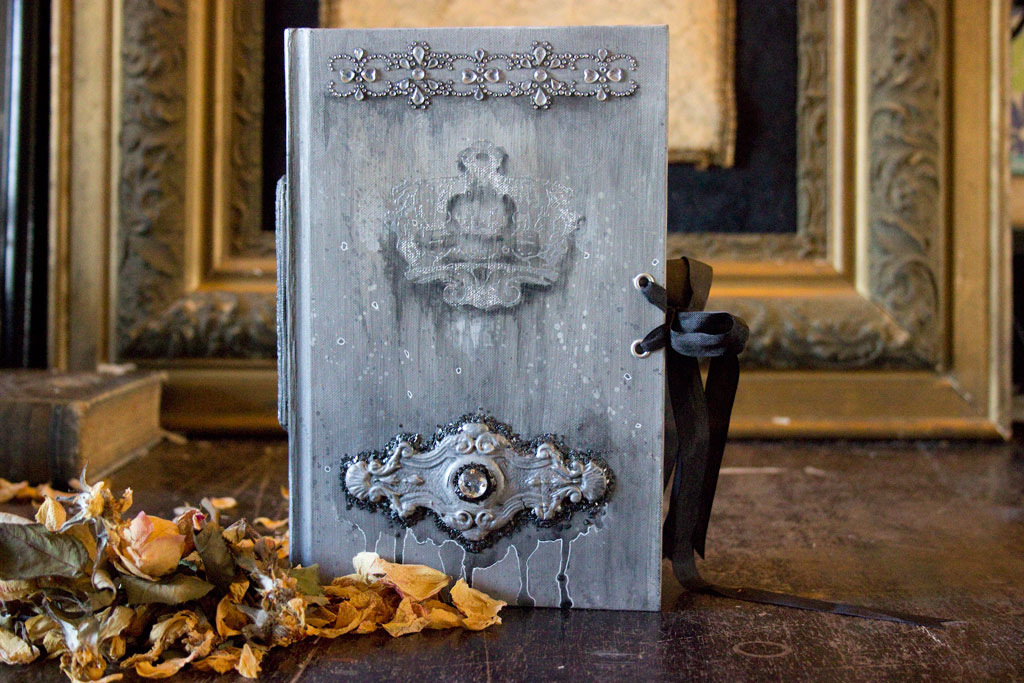
Add the focal point to the front cover by heat embossing a Silver Crown!
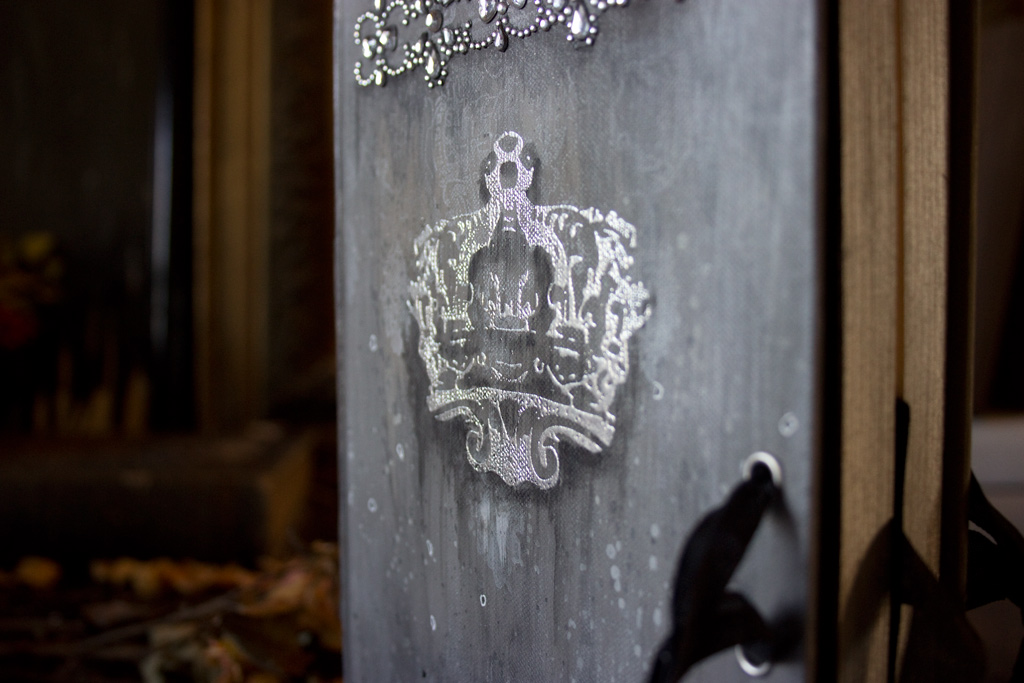
This glorious crown is from the Iron Orchid Designs Decor Stamps: Louis.
The magic moment…I love watching the embossing powder take on the look of “molten metal”…
Add subtle shading, and the crown becomes almost 3 dimensional!
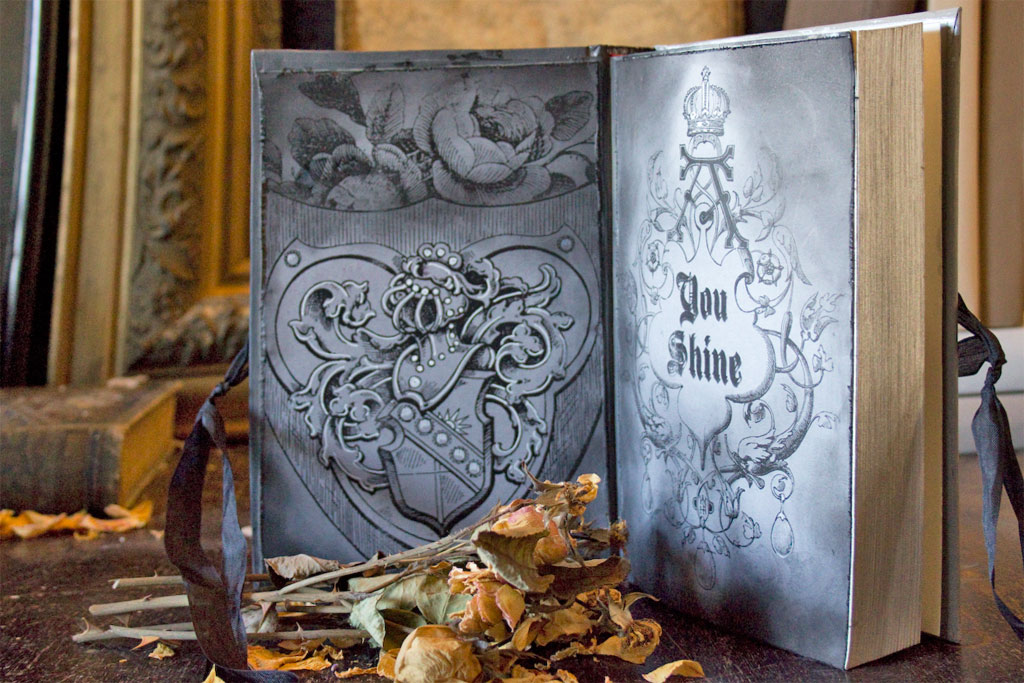
Now, to embellish the interior cover, and the fly leaf of the book.
Trim your prints to size, and distress the edges of the paper:
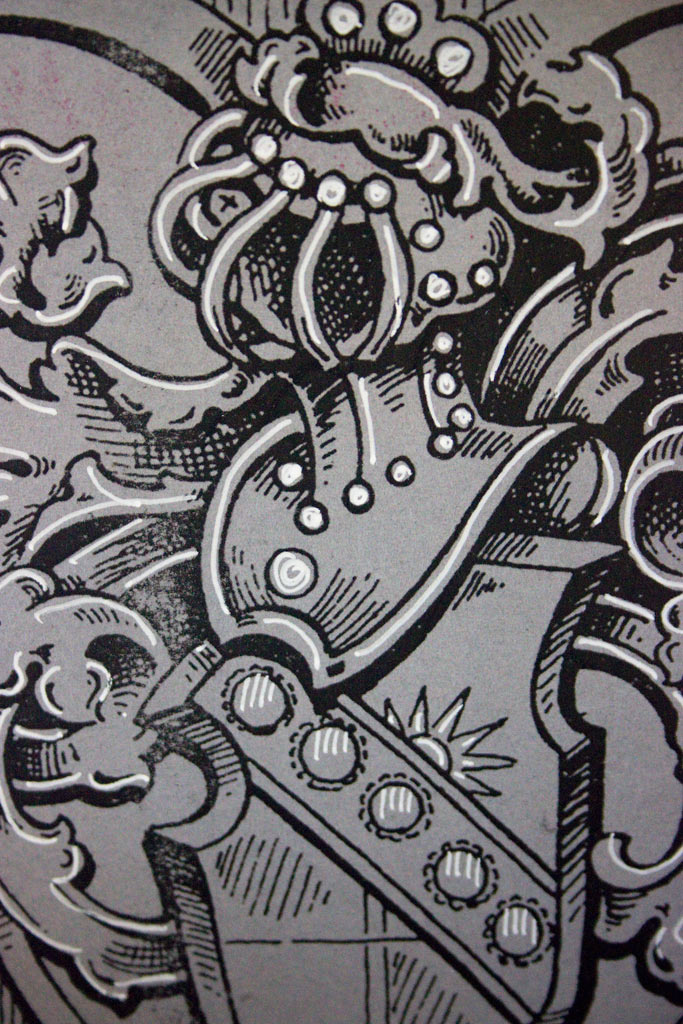
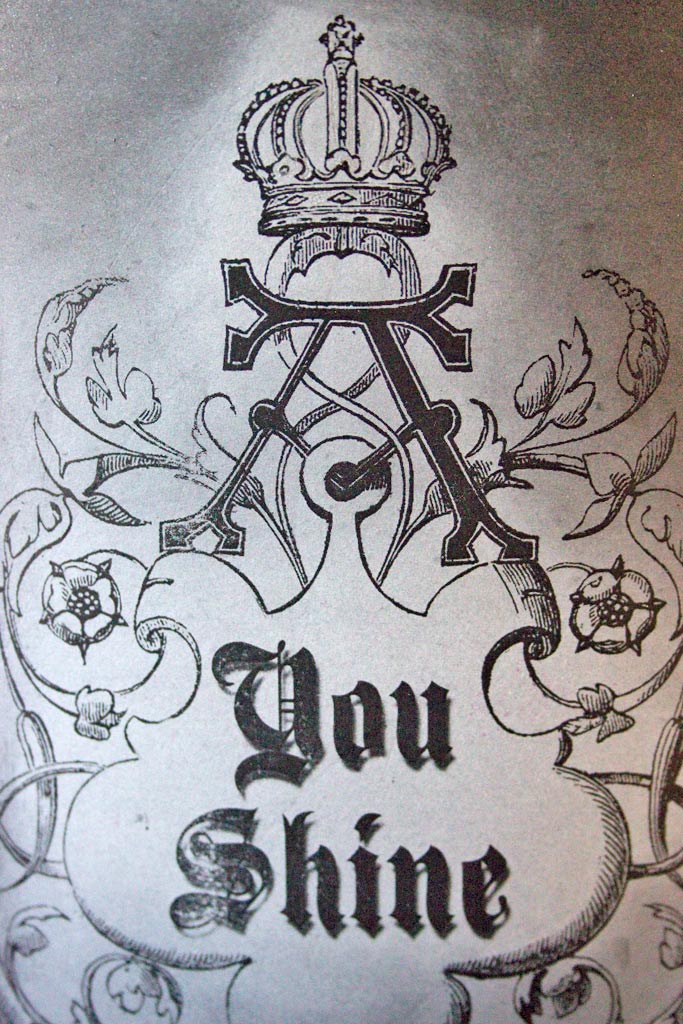
Add touches of highlighting to the designs if you wish:
Adhere the papers in place, and add touches of Distress Ink to blend the edges…
Once complete, make sure to protect your work with a good quality Spray Sealer!
Imagine how your friend will feel when receiving this tribute to her strength and beauty!
I love the whole concept of the Altered Book Art.
It’s the perfect marriage of indulging in altered art fun + the special thrill of exchanging your work with those you love and admire.
I can’t wait to send this to my friend, once I’ve tucked all kinds of special goodies inside.
Simple ribbon, pulled through the eyelets creates a secure and elegant closure.
The details:
I’m looking forward to creating many, many of these Altered Book Art, and I hope you’ll consider creating one for someone special, too!
Who wouldn’t treasure personalized artwork made with love {and bling never hurts, either!}
Thank you for visiting The Graphics Fairy today, and joining me for this journey into the fascinating world of Altered Book Art! I look forward to seeing the special creations that you’ll make…
You may also like Altered Book Ideas HERE.
Come see me at Thicketworks! The door is always open…
Until next time,
Heather






Harjith D Bubber says
YOur detailing and explanation is fantastic. Thank you
graphicsfairy says
Thanks so much 🙂
Birget says
How do you prevent the mould from cracking as it dries?. Thank you Bee
graphicsfairy says
Bee, Heather applies cornstarch to the mould before filling it with paper clay which dries quickly and she doesn’t seem to have any issues with cracking or she would have mentioned it and given advice. I hope you give it a try:)
Pamela says
What an awesome project, it turned out great!!! I so Love the this book!!
Heather Tracy says
So pleased that you like it, Pamela! Such a fun process! xox
Linda K says
Boy oh boy is the Facebook group going to get bigger after this project. I love, love, love, love….did I say L O V E it? Yes, I did. Can’t wait to get back to WI to dig into this project and my ecourses from Graphics Fairy. Soooo many creative things on my list. To heck with sleep! Thanks so much, Heather, for keeping all of us inspired and creative. Big Hug
graphicsfairy says
Wow, Linda!! So happy you feel inspired, create away!! 🙂
Dolores says
I love this–so inspiring!!
graphicsfairy says
Thanks Delores!
Rupa says
This is a classic Heather project, brimming with gorgeous vintage shades, textures and so much more. Very medieval indeed…once again, this would be such an awesome piece in a set design for a play or in creating a vignette I think. So many gorgeous details and techniques in one project. Love this one Heather!
Heather Tracy says
Hi Rupa! Oh, I’m so pleased that you like it. I’m having a wonderful time continuing the process on the interior of the Artist Trading Book, as well. So fun! Thank you for this encouraging message, my friend. 🙂
Rupa says
Hope you share those inside pics too….
Heather Tracy says
Hi Rupa! I will be sharing the entire process, a bit at a time, on Thicketworks. Stay tuned! xox
Heather Thompson says
Love these, they are awesome!
graphicsfairy says
Thanks Heather!
josie-iod says
Heather! this came out so lovely, and you know Im a sucker for just a touch of medieval flava! What’s awesome about this, to me, is that even though your sweet friend was the inspiration for this ATB, your own heatherness shines through every touch.LOVE.
Heather Tracy says
Hi Josie! This concept has so inspired me…I keep being inundated with ideas that would help me to express the qualities I cherish in my nearest and dearest. Thank you for igniting yet another creative fire – and for your kindness.
josie-iod says
It makes me happy to see you so inspired girl! mwah!
Heather Tracy says
Yay! xox