Avocado Dye
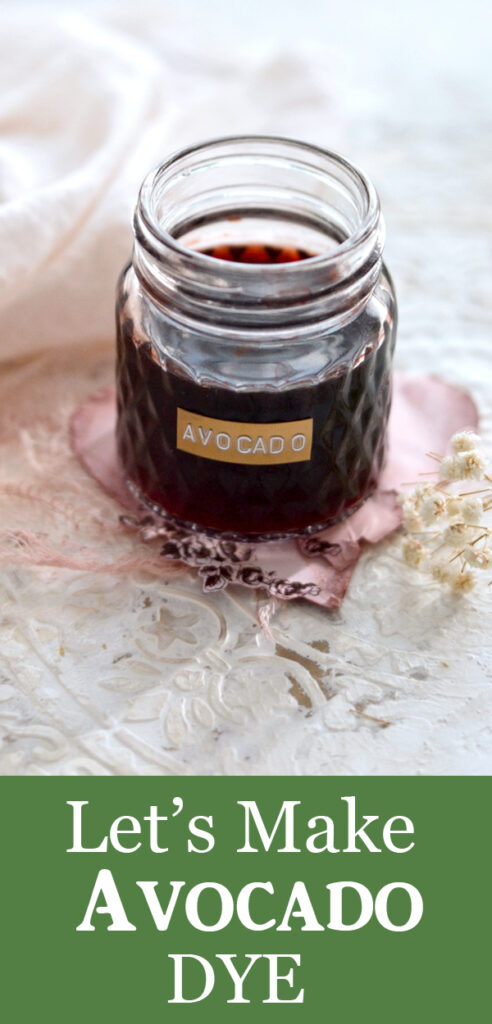
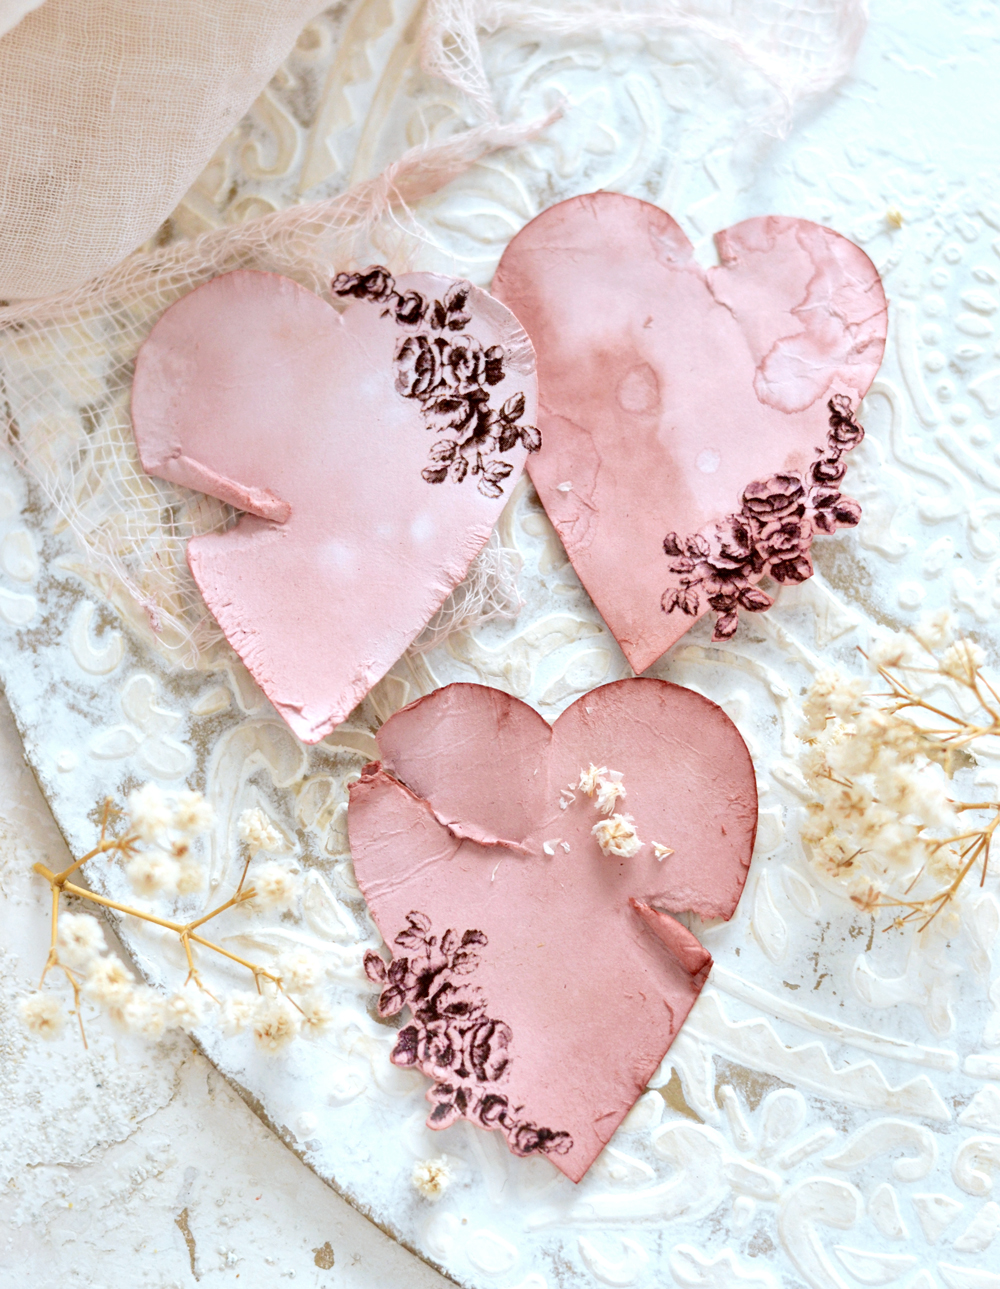
Hello, Graphics Fairy friends! I’m Diana from Dreams Factory and I’m really happy to share another DIY project with you, we will make Avocado Dye! Today is all about playing, having fun and experimenting, I will be showing you how to make these beautiful and delicate Avocado Dyed Paper Hearts. You will be amazed to see how easy this project is and how gorgeous the final results are.
Your creativity will be given the chance to shine and you will be able to have fun while conducting your own experiments! You feel simply fall in love with this heartful project!
This project is perfect for Valentine’s day or Anniversaries, but I’m pretty sure you will adore this easy but amazing dyeing heart technique so much, you will be using it on other projects too. And let’s be honest, you can never have too many gorgeous hearts around, no matter the time of year!
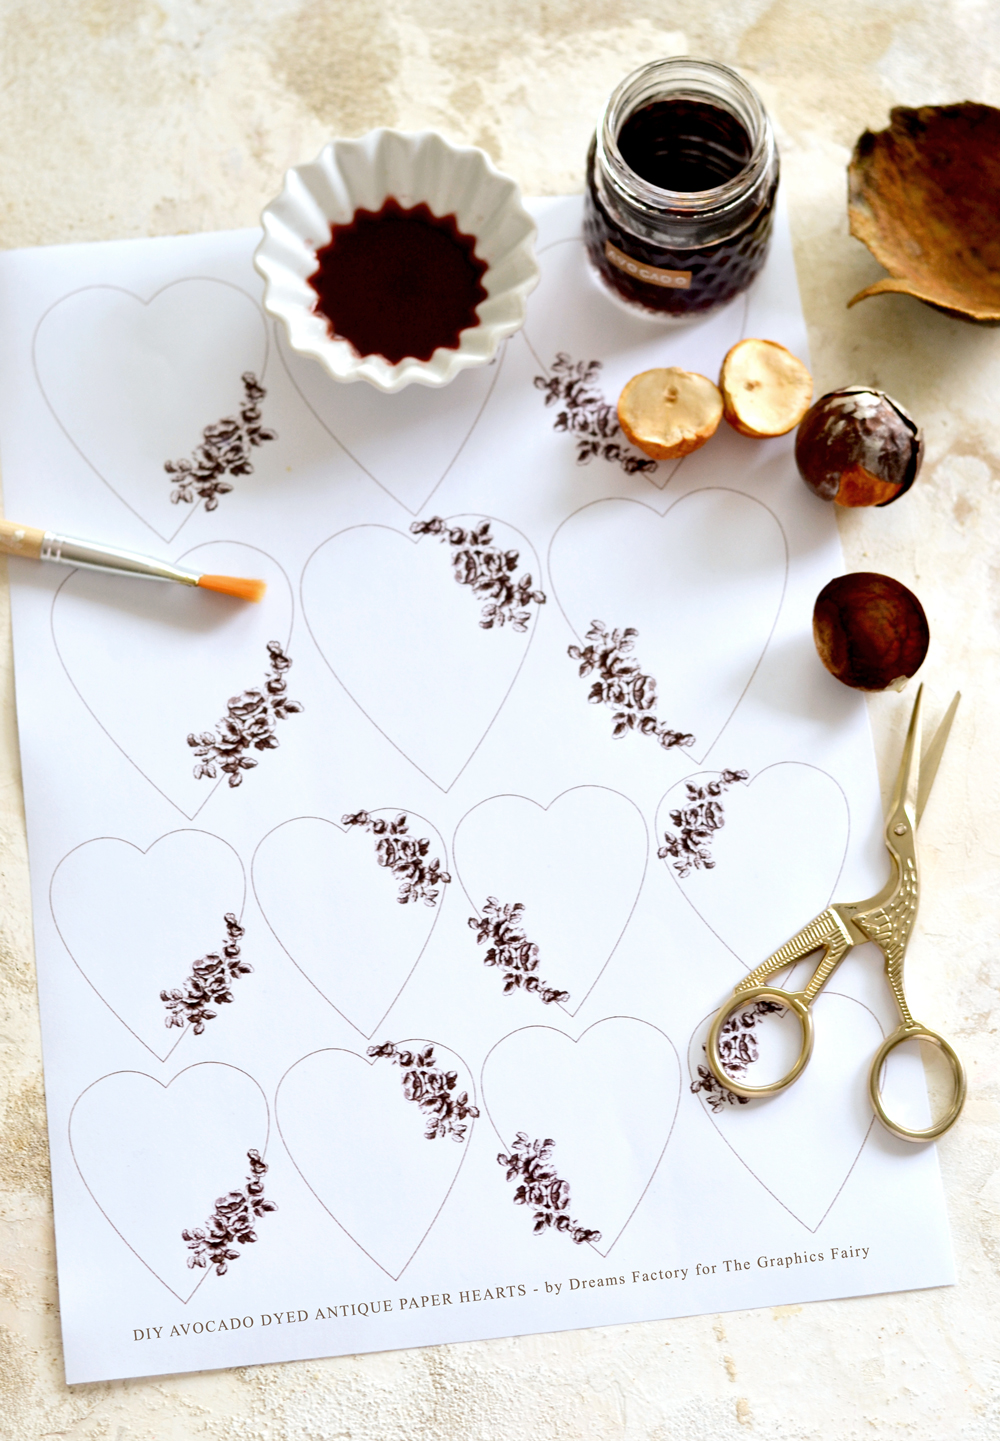
The printable that I created for you has just the right amount of chicness and elegance, but without being overpowering. It might even seem quite simple at first, but I really wanted to give you the chance to experiment with this stunning avocado dye! To create something beautiful that could be easily used on its own, but also integrated into other projects, when in need! I decided to go with dark brown while designing the hearts and the ornamental flowers, but if you want a black and white version of this printable, it’s a really simple setting that you can make on your printer, right before printing.
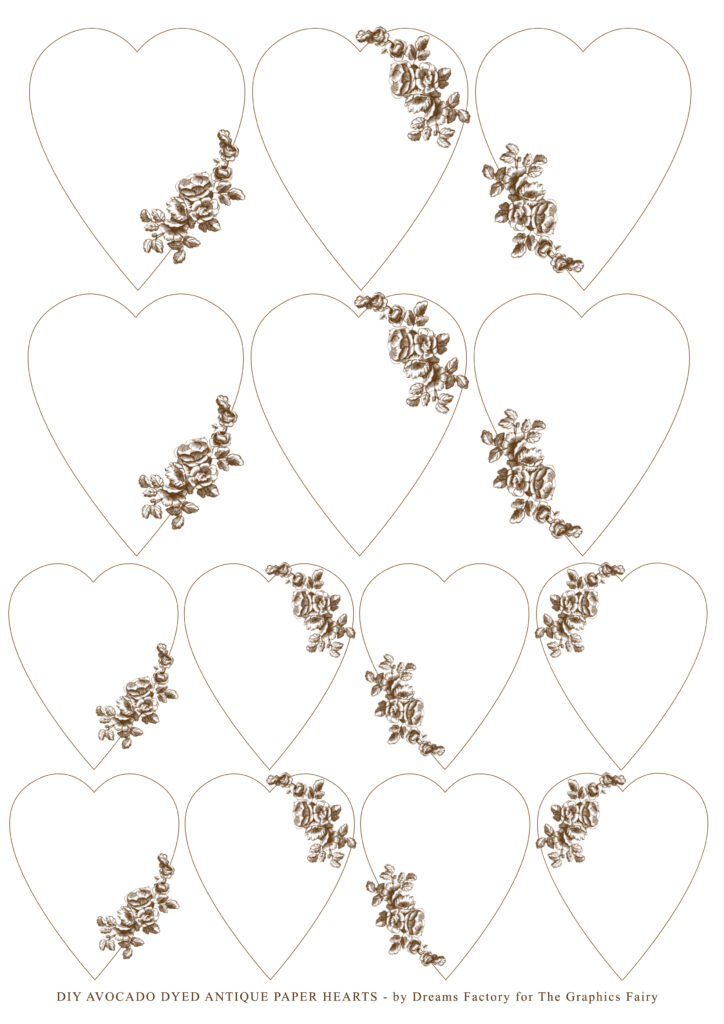 —-> CLICK HERE TO DOWNLOAD THE FULL SIZE PRINTABLE PDF <—-
Avocado Dye Supplies:
- regular paper or cardstock paper ( I used both)
- laserjet printer
- manicure scissors or other small detail scissors
- avocado dye (see recipe below)
- brushes
- small bowls or jars
- water
- pocket binders (or a silicon mat, a plastic sheets or a non absorbent material) to protect your working surface
- paper towels
Avocado Dyed Antique Paper Hearts – How to Cut the Floral Hearts
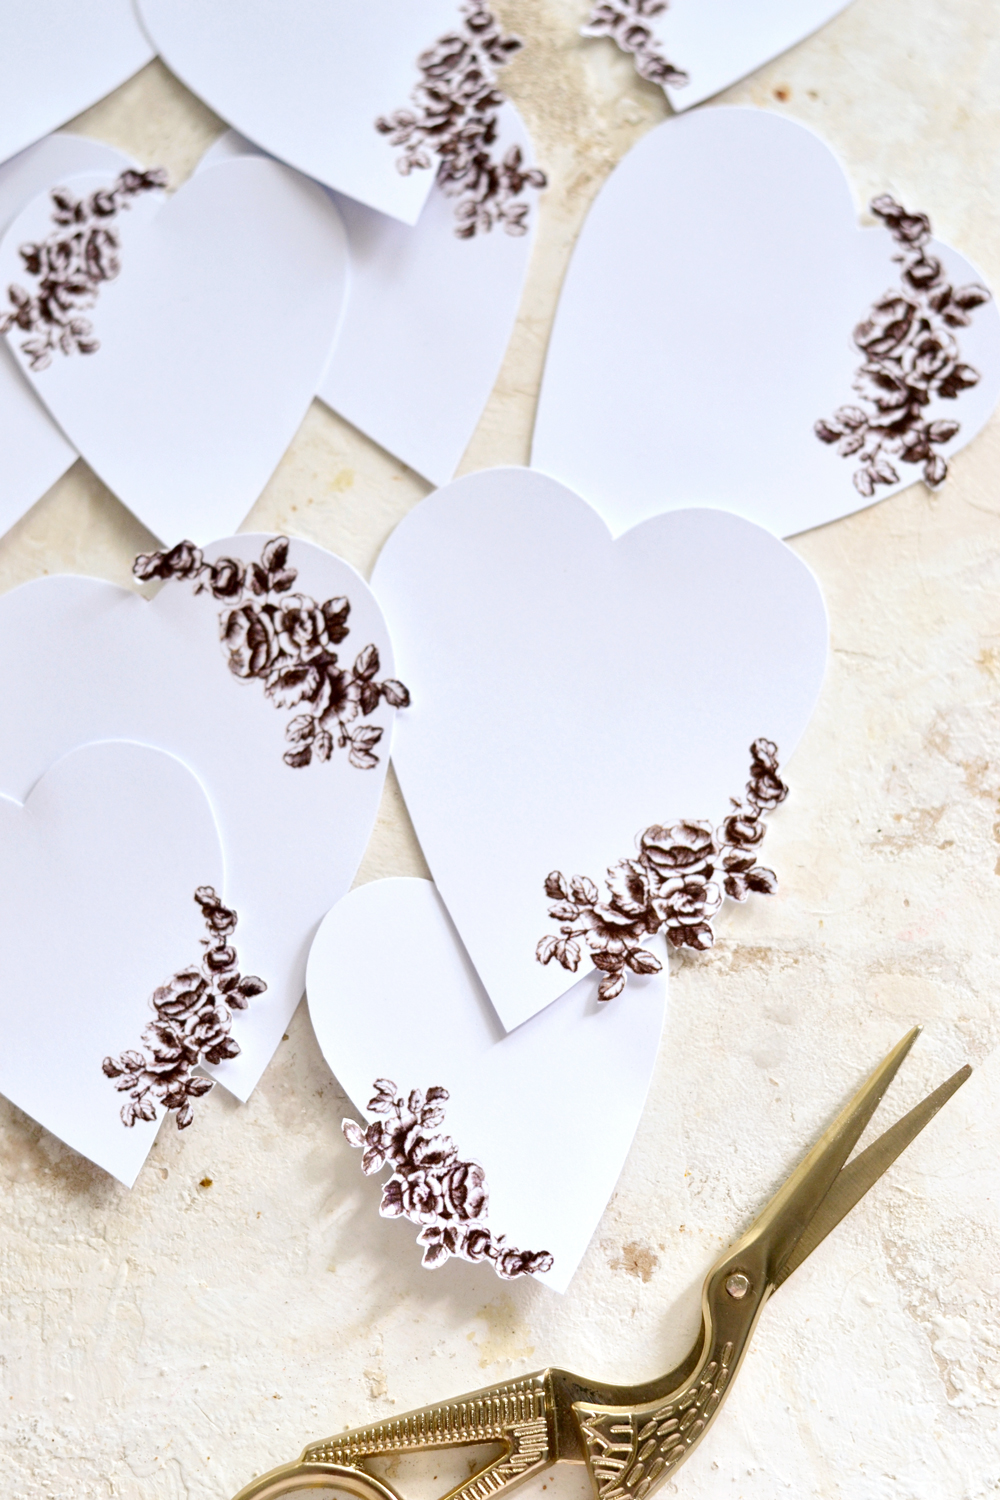
This step is really easy, but you’ll need to handle it quite gentle. Use small scissors to completely remove the brown border outside of the hearts, then carefully follow the outside shape of the flowers. You will see that the intricate details of the flowers will need extra care while removing all the outside excess paper, but the final results are quite lovely, so I would say it was all worth it in the end.
Avocado Dyed Antique Paper Hearts – How to Make the Avocado Dye
Let’s talk about this gorgeous, all natural avocado dye for a second, shall we?
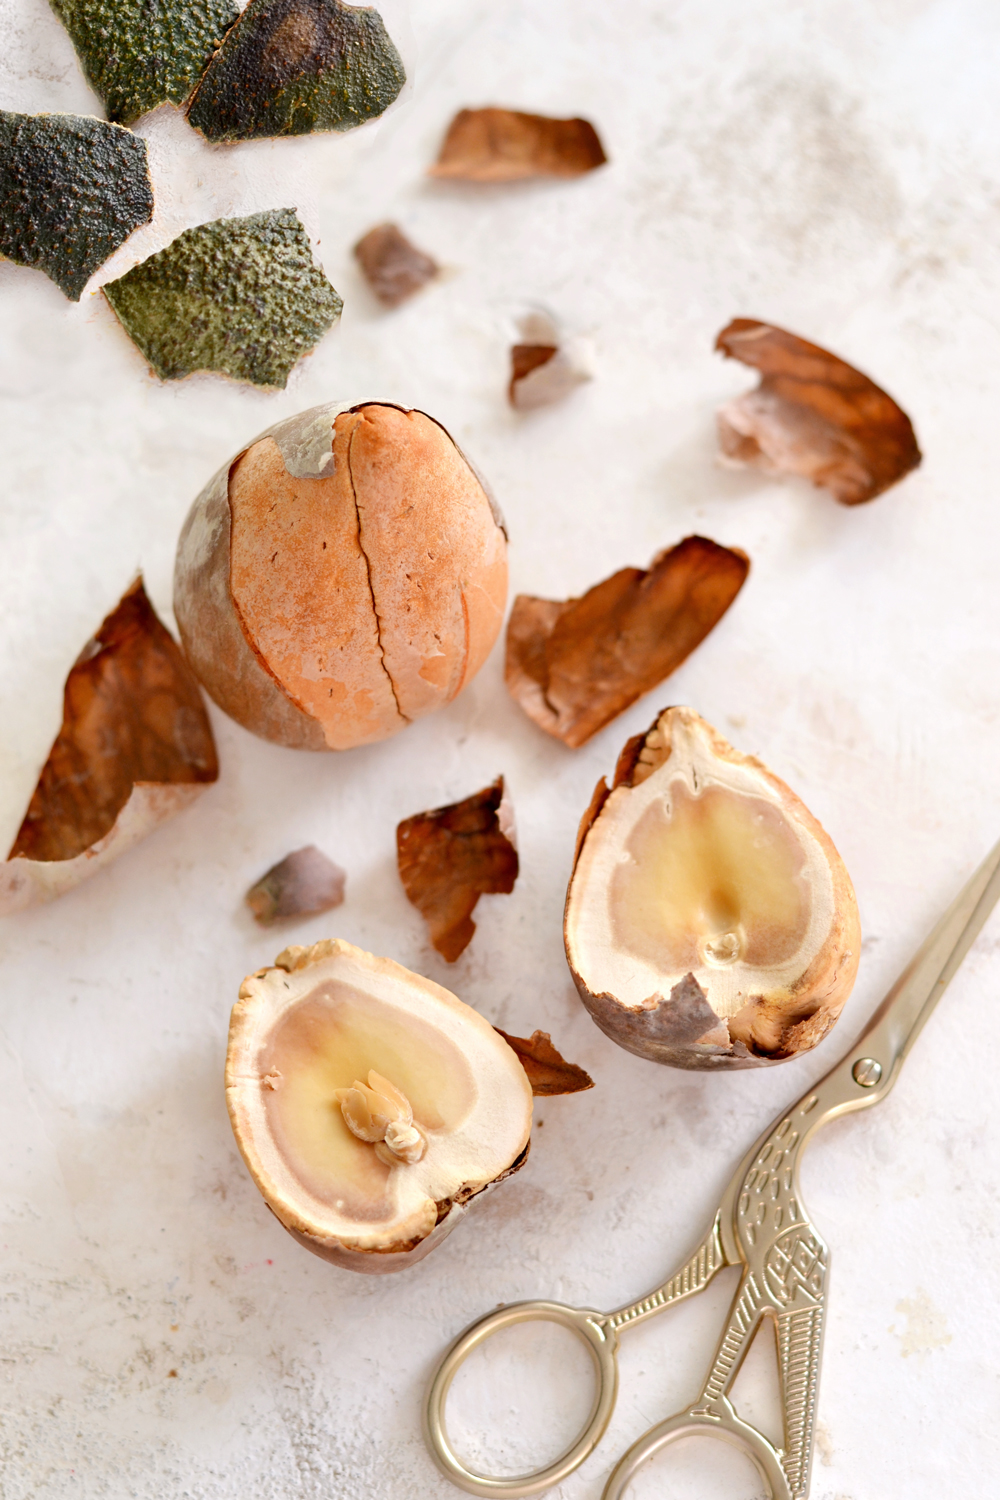
Well, the truth is – it’s really easy to make the dye, you simply simmer avocado skins and pits in some water, on your stove! That’s pretty much it!
To be more specific, I used: 2 Avocado pits + 1 avocado skin + 2 cups of tap water and let everything slowly simmer for about half an hour (to an hour).
The water will reduce quite a lot, depending on your stove settings (make sure you keep an eye on it) and will turn into this truly amazing blush pink color! The more you simmer the liquid in the dye pot, the more reduced and more intense the color will be! Its like MAGIC! You can prepare some test paper to dip into the avocado dye bath while it is simmering. I did that after about half an hour, then decided to let it simmer for a longer amount of time, I let it cook for another 15-30 minutes. Test things as you go and when you reach the color you want, you can take the avocado dye from the stove, let it cool, strain it and then use it. You could also leave the avocado scraps into the pot overnight, to get a more intense dye, then strain it and use it.
Just keep in mind that it’s best to have a darker blush pink color so you can easily dilute it when in need!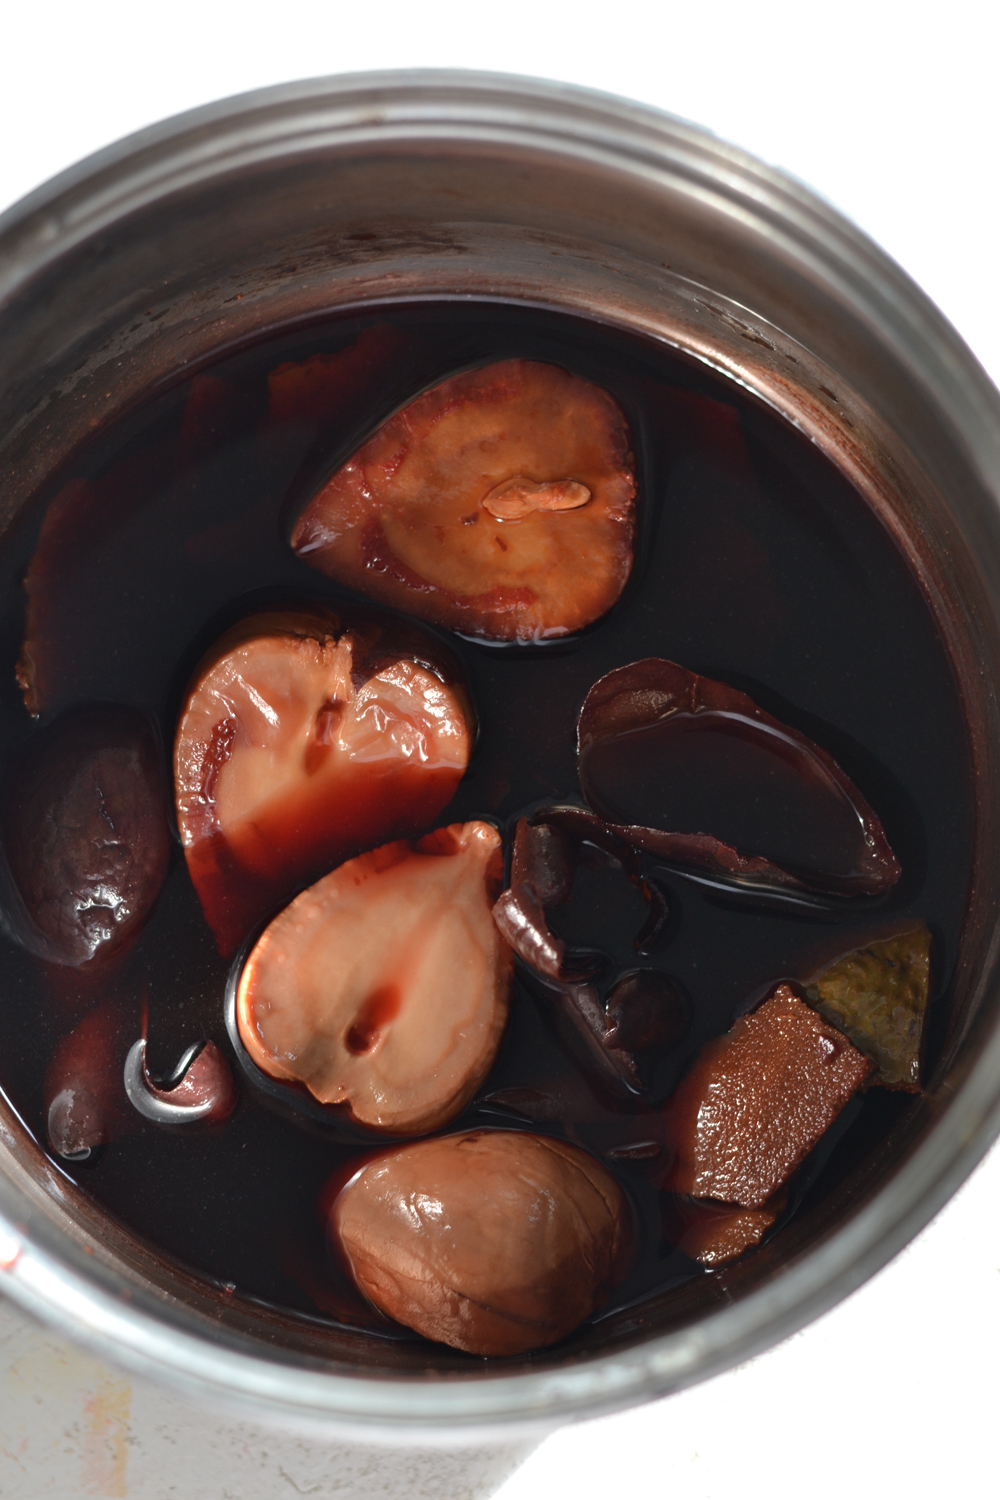
TIPS & TRICKS:
- Wash well, then throw avocado skins and pits into the freezer after eating the flesh, this way you’ll always have them on hand when you need to prepare a batch of this magical concoction.
- When ready to use, cut the avocado skin into smaller pieces using some scissors and (carefully) use a knife to cut open the pit, to expose more surface (this works better when the pit is frozen or dried, but not so well when is fresh, because it’s quite slippery, so be careful)
- After getting crazy and experimenting with this avocado dye, store your leftovers in a well sealed jar in your fridge, you might be able to use it for weeks, even months.
This was not my first try using an avocado dye, but I always find quite a pleasure in experimenting with it! ALWAYS! I initially tried it on fabric, along with other natural ingredients and it was definitely my favorite! You can try it on different types of natural fibers, experiment on scraps of cotton, linen, silk and wool to see what you get. You can check my article here -> How to make natural dyes for fabric.
One thing I noticed is that even though I followed the same steps as with my previous experiments, the blush pink color I got was slightly different now. It had more of a pink undertone than my previous attempts that had more of a brown undertone. So I guess the color is something to be excited about whenever you begin a new experiment like this and it really depends on so many different factors – the avocado type, the water you are using (and the chemicals in it), the simmering time, the paper, etc. You can even experiment with these variables if you want, for example you could try two smaller batches from the same avocado scraps using tap water for one and bottled water for the other, I bet you will get different results!
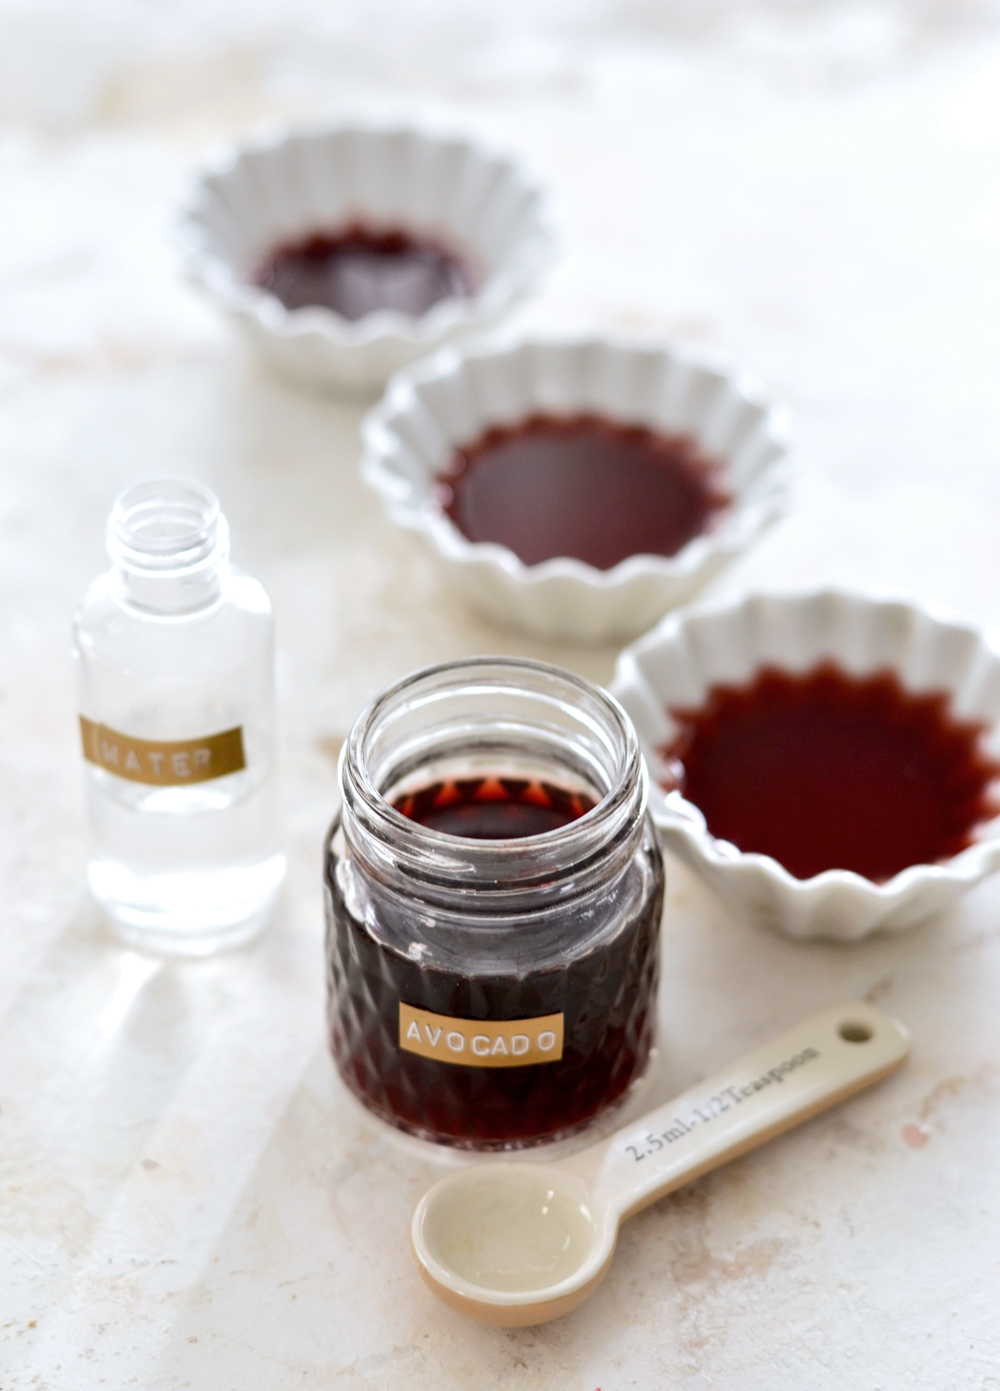
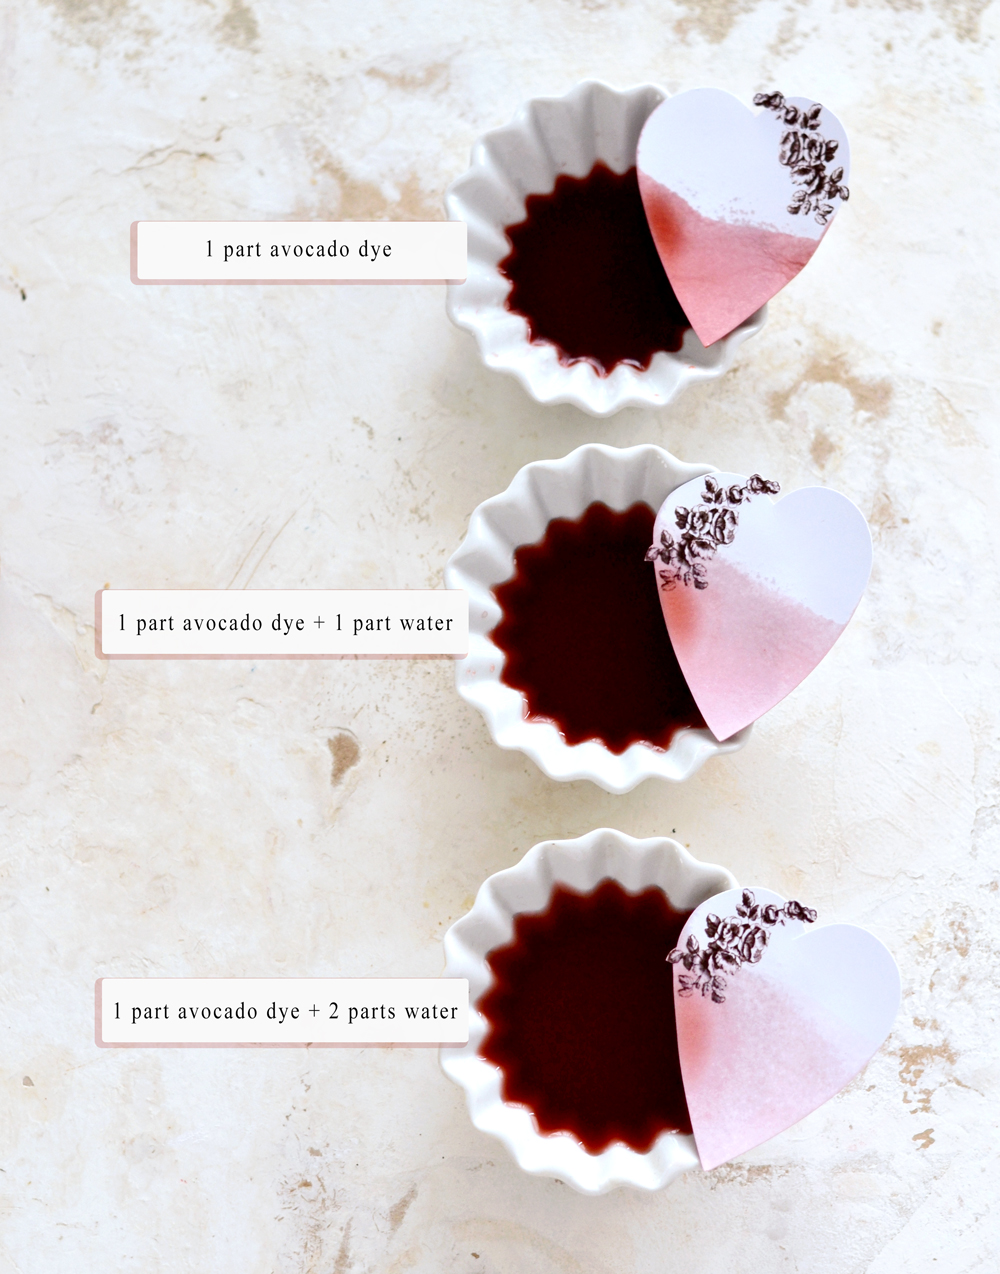
OK, back to our chic little hearts! Now that you have your concentrated avocado dye, you can use small bowls or jars to further dilute it as you wish. I usually put the concentrated liquid in a jar, then use small bowls and dilute smaller amounts, until happy with the results.
You can see my preferred dilutions below, just experiment until you get the dilution you want.
Avocado Dye Antique Paper Hearts – How to Use the Avocado Dye & Make Antique Paper
Make sure you protect your surface first, then go as crazy and wild as you want with your experiments! It’s sooooo much fun!
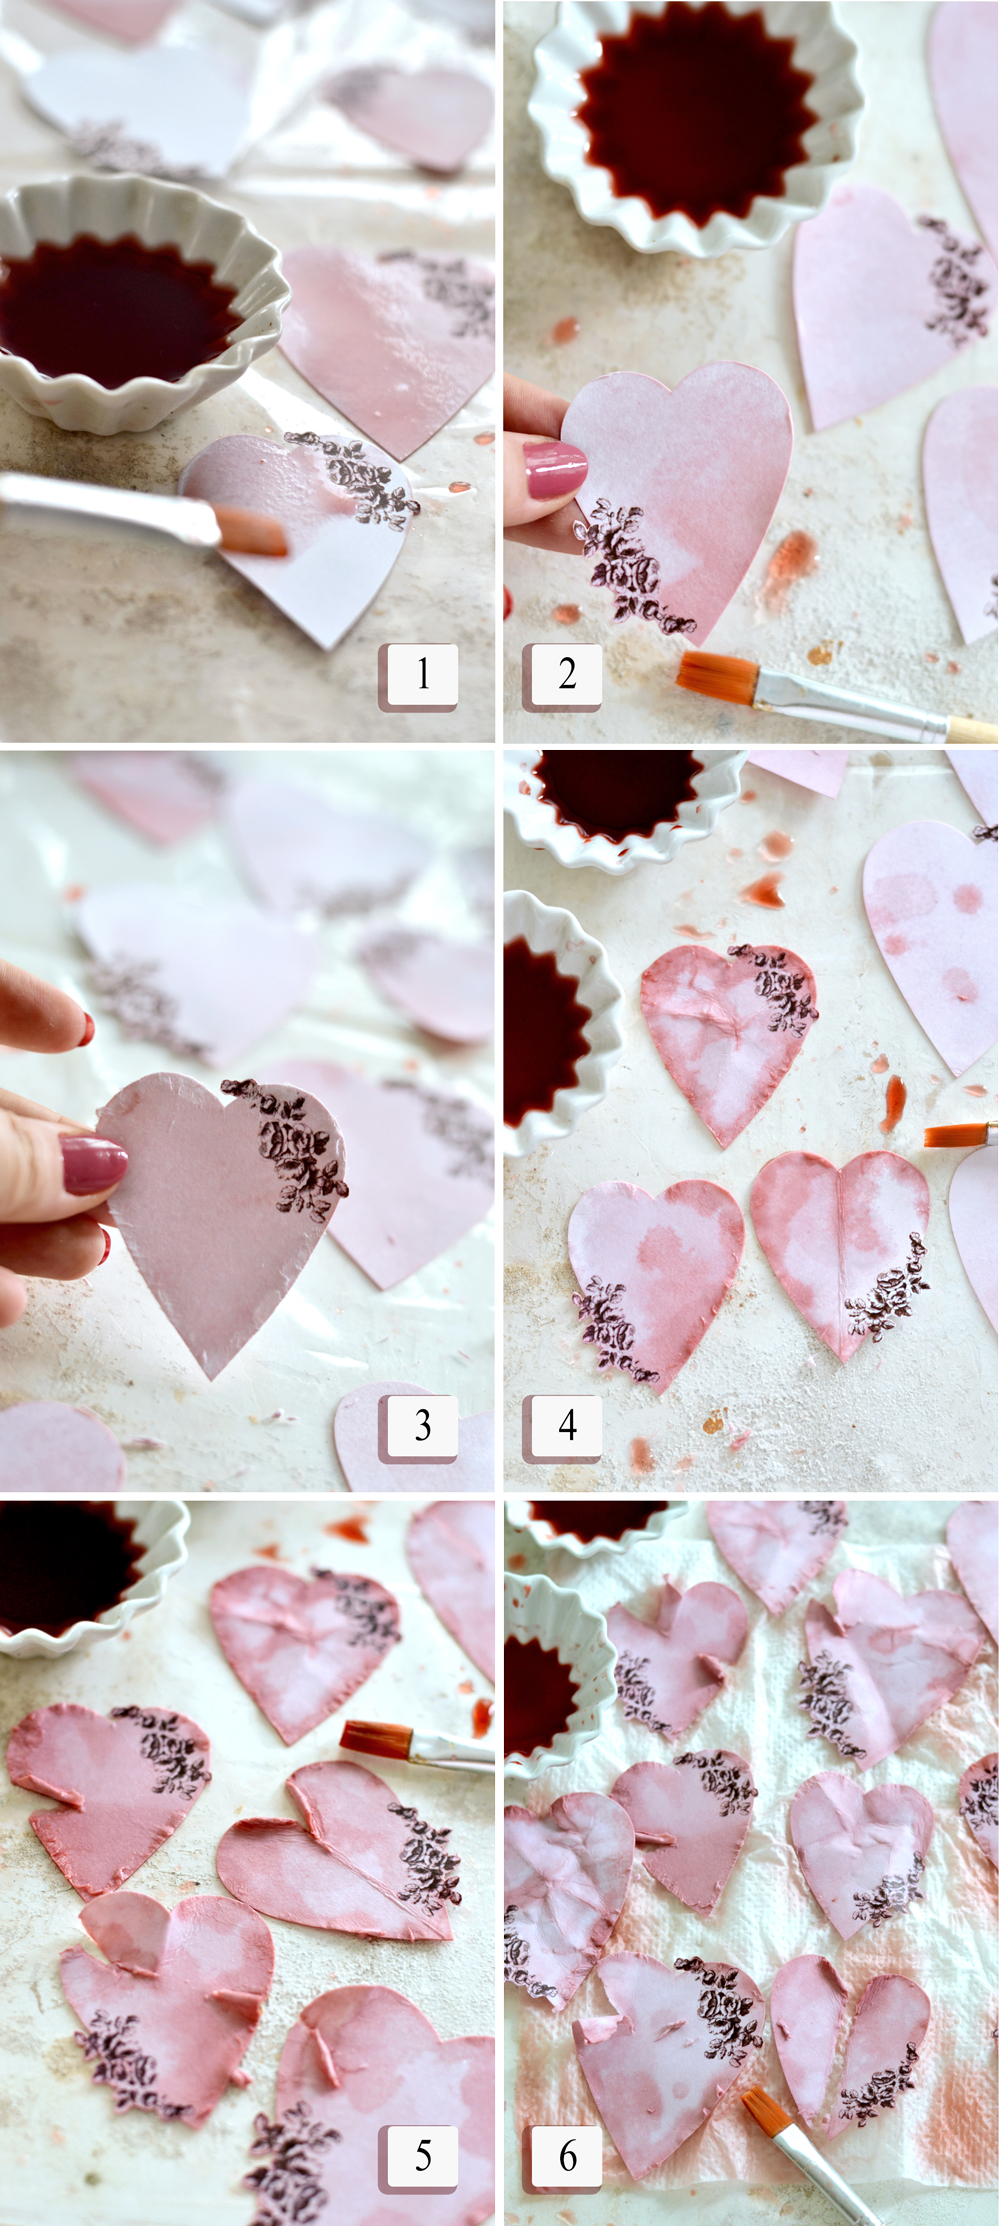
- Just like when I’m using watercolors, I usually love to completely cover the surface of the paper with water or a highly dilution first. This will help to soften and break the fiber in the paper (this also depends on what type of paper you are using) and will create more interest when adding the darker colors/dilutions afterwards.
- Use your brush to add a darker shade on the edges, then lift and tilt your paper to create a watercolor dripping effect toward the center.
- Scratch the edges of the paper with your nails (while holding it between your fingers) to loosen the edges and create an antique effect.
- Crumple some of the paper between your fingers, fold some in half, then add more of the darker dyes. This will create beautiful vintage-y effect.
- Tear, then roll some of the paper to create more interest, just like I said before, have fun and go as crazy as you want!
- Lay your experimental Avocado Dyed Antique Paper Hearts on paper towels and don’t be shy to add more color using your brush, if you feel like it. Then add splashes of different shades here and there, even splashes of plain water … just follow your heart!
P.S. As you can see, I’m pretty much following some of the ageing steps as with one of my older tutorials … Antique Wax Paper. You can check that project here -> How to make Antique Wax Paper French Labels, if you haven’t already. You could even go that extra mile and even add the wax, I bet these antique hearts would look amazing all waxified!
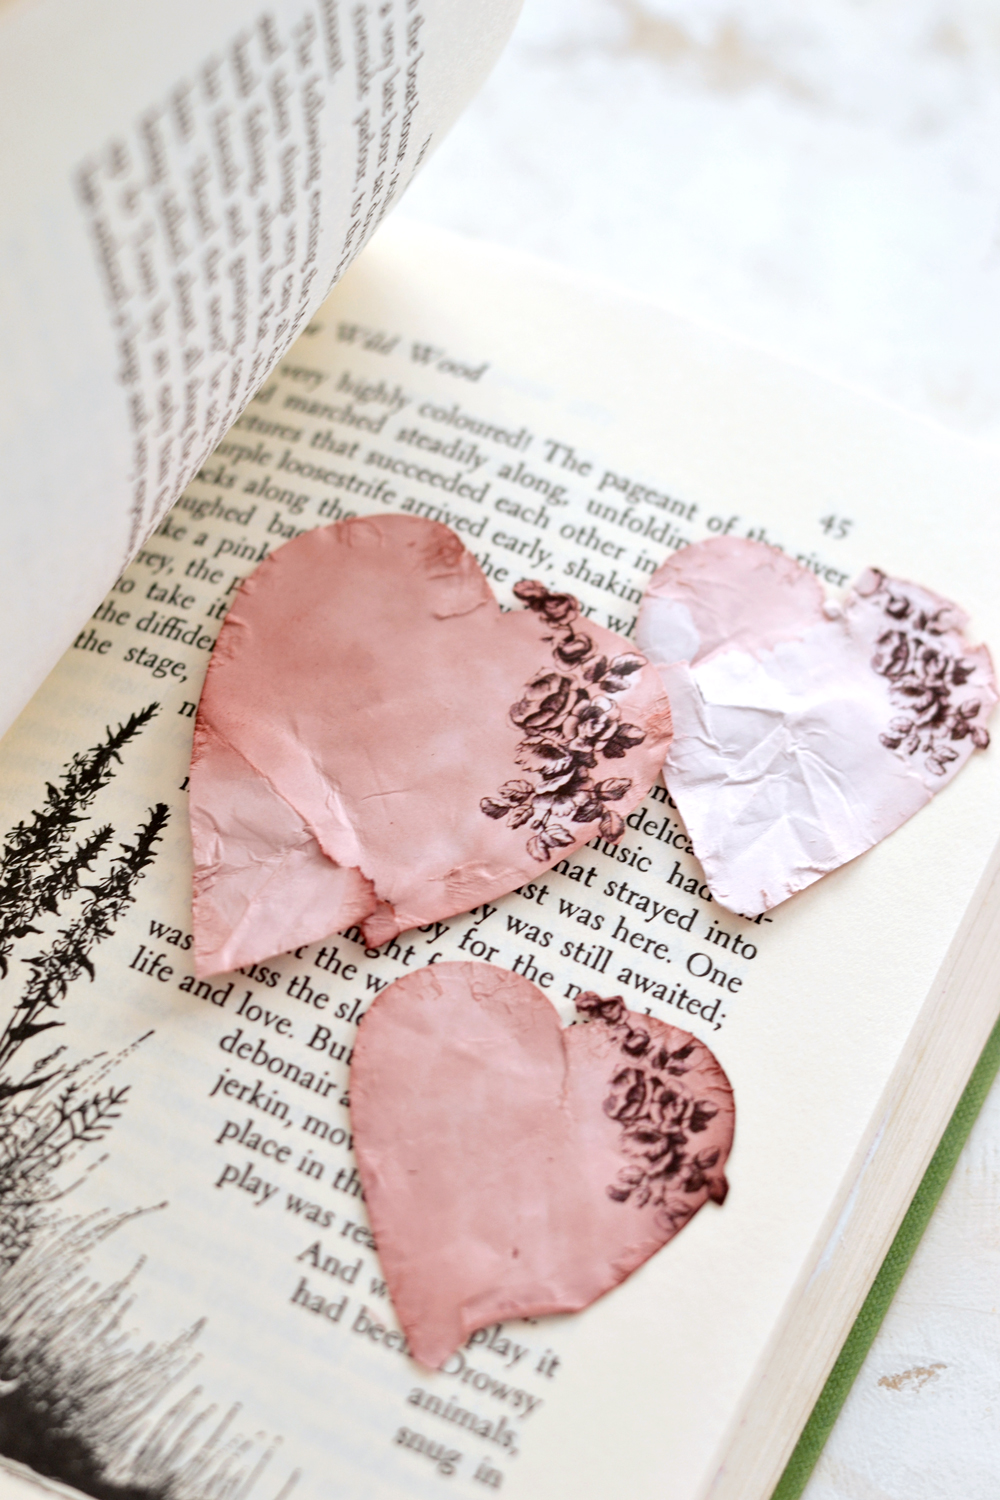
Let the paper craft hearts air dry (or use a hairdryer or your heat gun to speed things up), then place them between the pages of a book if you want to flatten them a little bit. If not, just skip this step!
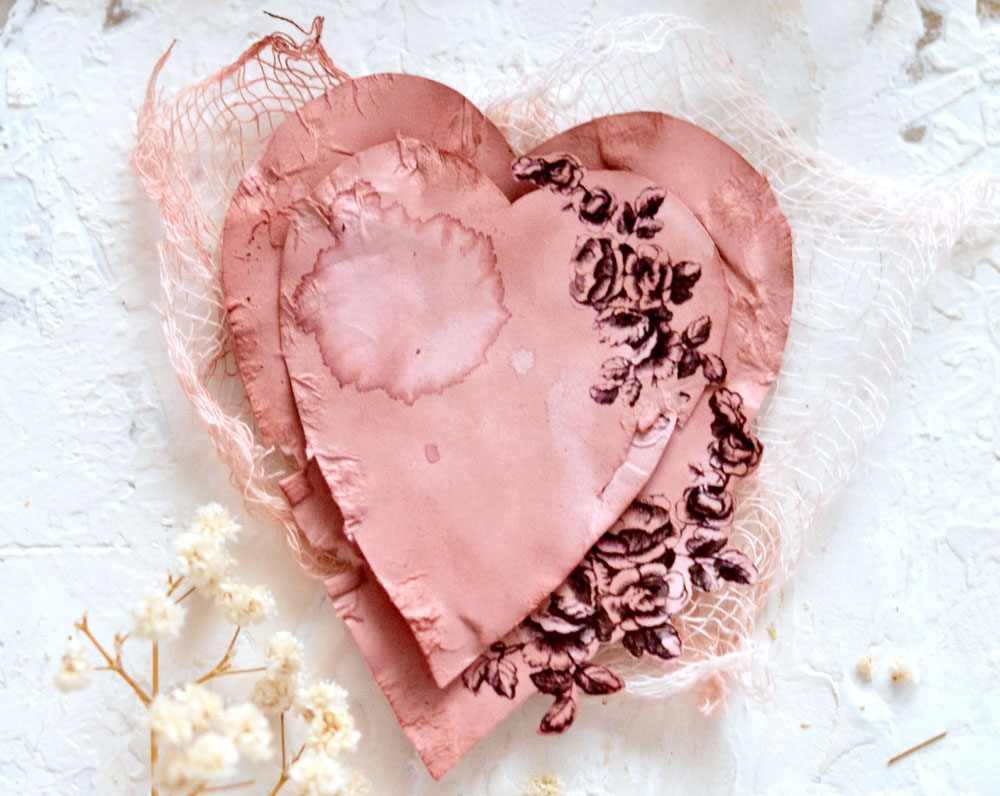
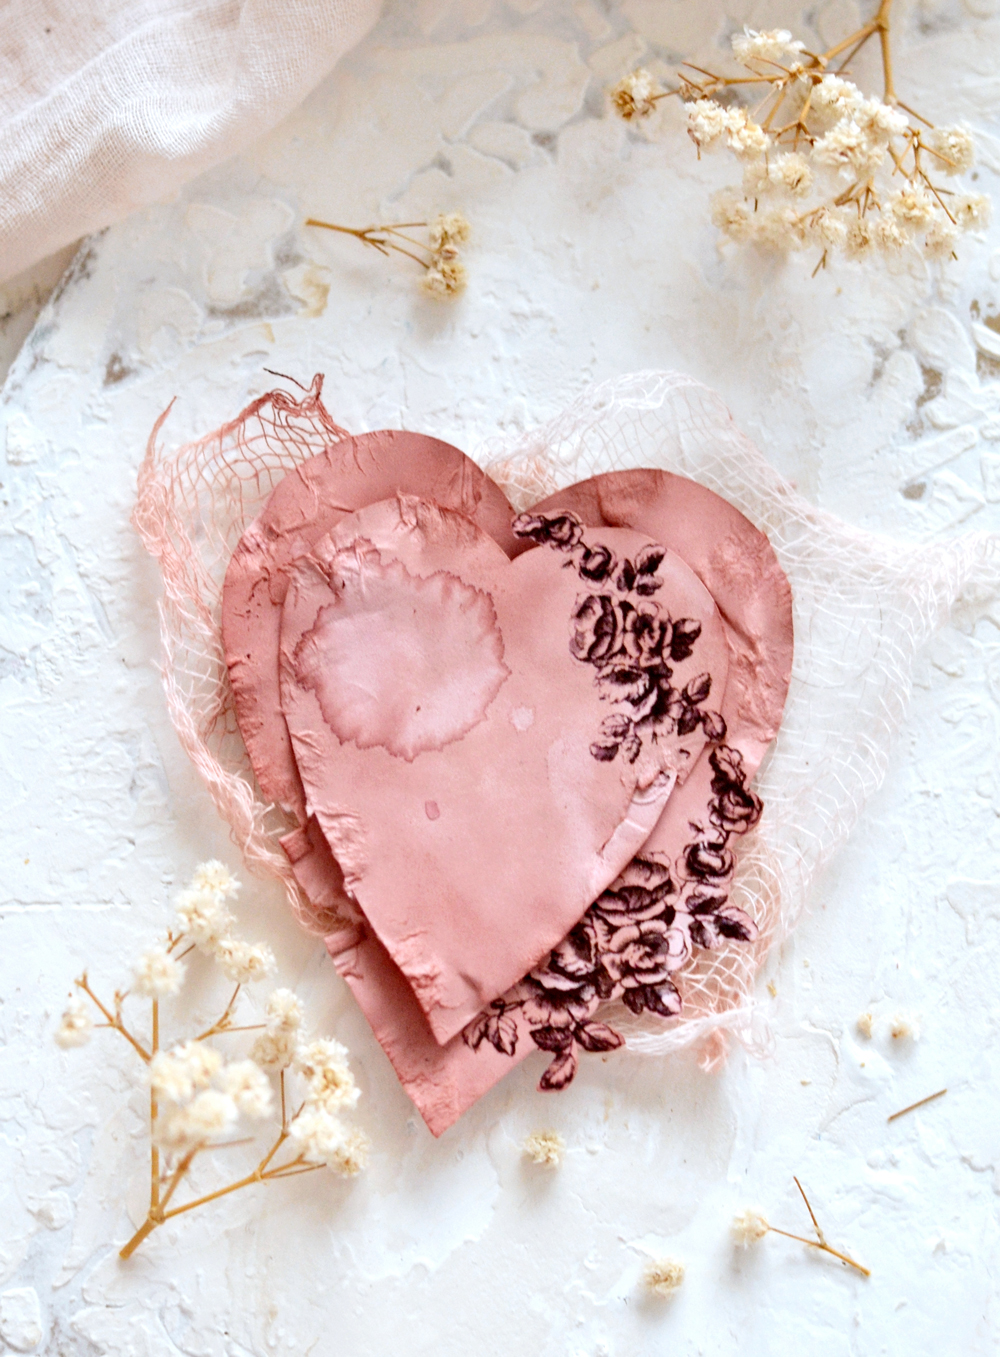
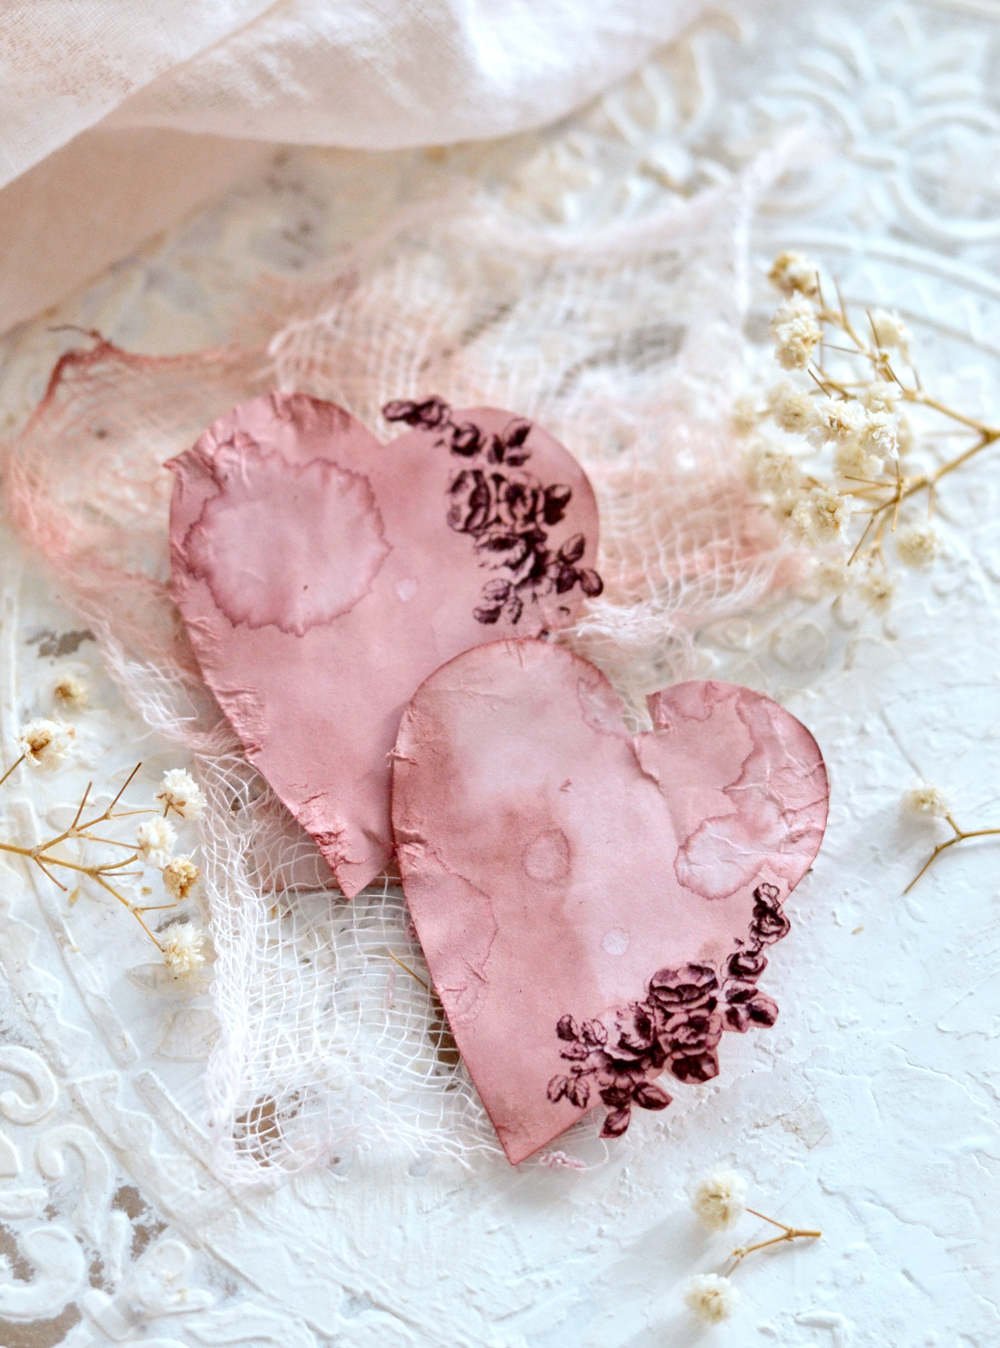
That’s it! Your new gorgeous and extra chic Avocado Dyed Antique Paper Hearts are now ready! Each truly unique and beautiful, with a character of their own, just like our own hearts! I’m really over the moon IN LOVE with these chic floral hearts, can you believe we used a green colored fruit like an avocado to get this absolutely stunning pink blush color dye? How amazing is that?!
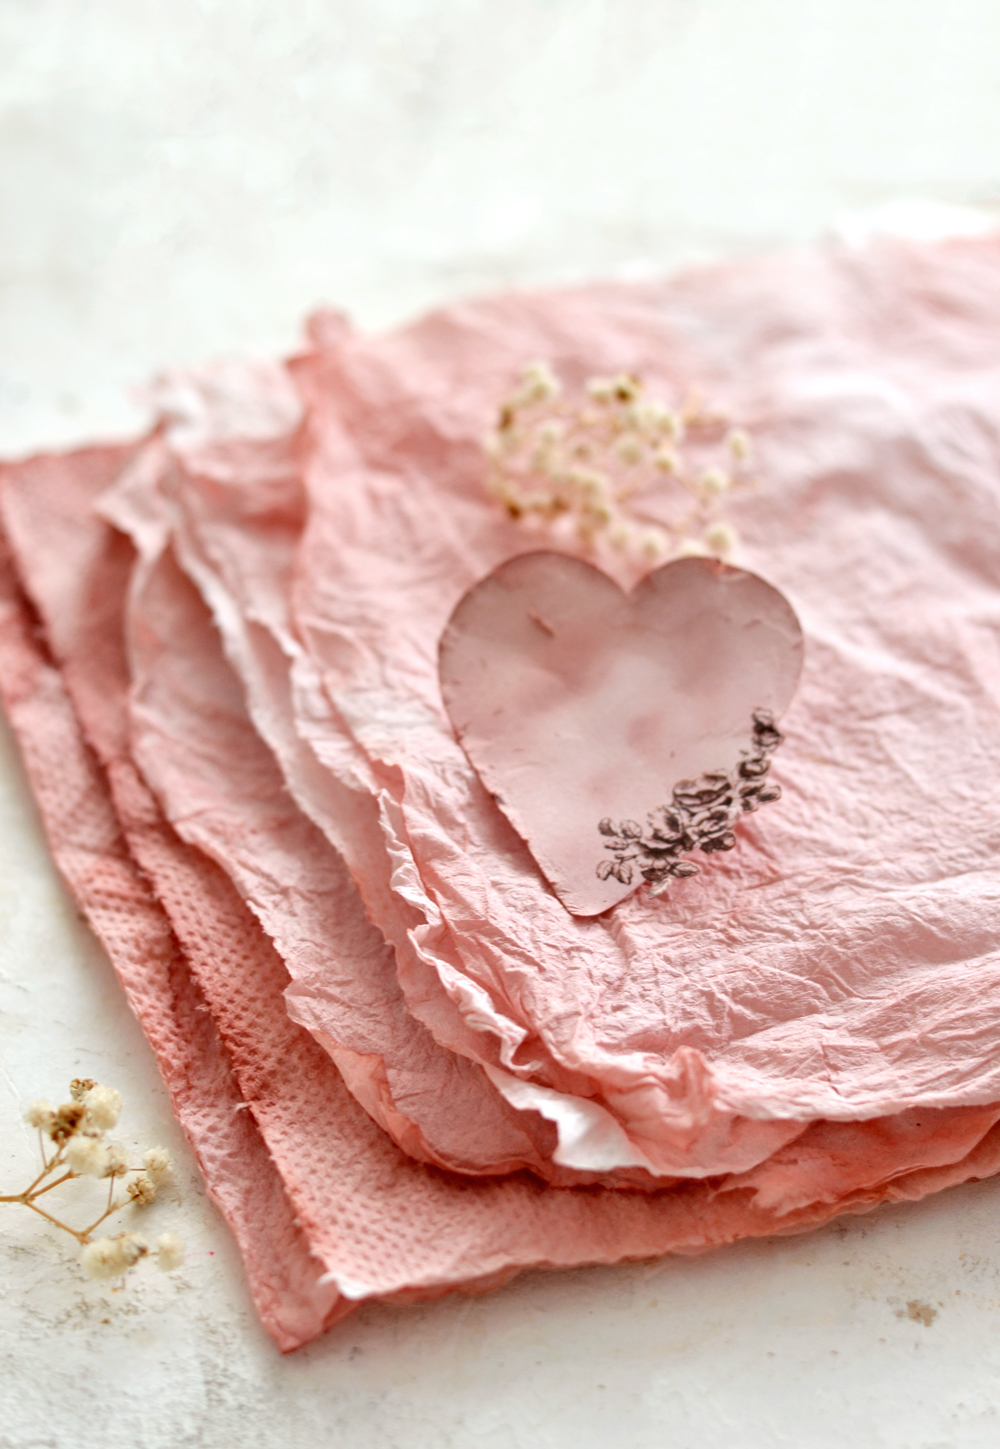
Regarding the paper that you can use for this experiment, I want to encourage you to try both cardstock and regular paper (I used them both), just to see how different they react to the same dye and to the same ageing process. I noticed that the cardstock would get somehow crispier after drying, while the regular paper would be softer and more pliable. Using different types of paper is not only fun, but it will also give you the possibility of specifically targeting a project and using these beauties afterwards. And while we are still talking about paper, why stop at these Avocado Dye Antique Paper Hearts when you can use any scrap paper that you can find, in just a heartbeat?! Try this with scrapbook paper, tissue paper, paper doilies, the sky is the limit. For example, this is how my dried paper towels looked after placing the hearts (at step 6) on them. Really amazing, right?
These chic and elegant antique hearts can be used on their own in so many of your creative adventures (think junk journals, art journals, planners, bullet journals, scrapbooking), can be turned into amazing tags with stamps or heartful messages, can be used to embellish presents or stylish flower bouquets for someone you love, there are so many possibilities here! Maybe even turn the highly concentrated avocado dye into an ink and use it with a calligraphy pen? I’ve got to try that! Have fun with this beautiful project, and just … keep it close to your heart! Would love to know how your experiments turn out!
Happy crafting,
Diana / Dreams Factory


Patricia Mayne-Schlachtun says
Loved this idea of using the avocado pit and skin to make dye. Can’t wait to try this technique. I just need the avocado! Thanks for sharing this!
Karen Watson says
I’m glad you enjoyed it Patricia. It’s such a surprising color too!
Jayawardena Sharmini says
Hi Karen,
Just as I started on Journaling, I was experimenting on numerous techniques and found avocado dying to be very fruitful with its beautiful pink hue! After about six to eight months of having dyed some used bulletin paper from a Reminders binder, I checked on it to find it had turned in to a dark brown shade from the beautiful pink!!!
Now I’m wondering if I should add this paper to the Art/Writing Journal that I’m creating for a loved one!!! How much more brown would it get as time goes by?! Will the journal entries be visible through the years?! Should I also include a white ink pen so she can use it to make her journal entries visible for all time?! Hope you can advice me on this.
Should I discard this paper altogether?! Though I’m reluctant to do so, since it was a pet project.
Karen Watson says
Hi Jayawardena, Oh wow! I have not heard about it turning brown. I’ve sent a message to Diana to see if she can advise, I will let you know what she has to say.
Karen Watson says
Hi Jaywardena, I heard back from Diana this is what she had to say about the dye “Not sure why that happened, I have some avocado dyed paper from the beginning of last year, when I first experimented with several dyes and it’s the same, even after a year! The only thing that comes in my mind is that maybe she lives somewhere where the environment somehow reacted with the dye, in time? Like maybe near the sea/ocean where there is salt in the air or in a humid environment somewhere? Or maybe the paper was kept somewhere in a really sunny room? I’m thinking these could have somehow affected the dye’s color or oxidized the paper. Or maybe it was something in the paper? So many variables…
That’s the thing with handmade dyes, you don’t always get consistent results. But I believe this is also what makes them so special.” Perhaps if you are making it for a gift, you will want to leave the Avocado pages out, until you’ve had time to experiment and see if you can find a long lasting combination of dye and paper that works for you.
Linda Dow says
Thank you so much for sharing this. I’ve seen other’s finished work with avocado dye, and always wondered how to do it. Can’t wait to give it a try. Thank you..x
Karen Watson says
Have fun trying out this dye Linda!
Ethel Gullicksen says
I am thinking that I will try to make the dye and then place small amounts in an ice cube tray and freeze for future use.
graphicsfairy says
Great idea Ethel, have fun!
Lark Robart says
Great tutorial! I’ve been wanting to try avocado dye but thought it was difficult. Can’t wait to try this!
Karen Watson says
We’re so glad you liked Diana’s tutorial Lark! Have fun playing with this technique.
Linda says
This is such a pretty project…thank you! Do you know if or how long the leftover dye will keep?
Karen Watson says
Linda, since this is made of food, I don’t think it will last very long. You could perhaps keep it in your fridge to get a couple of extra days out of it. But for the most part I would try to batch projects and use it up pretty quickly after making it.