DIY Butterfly Box
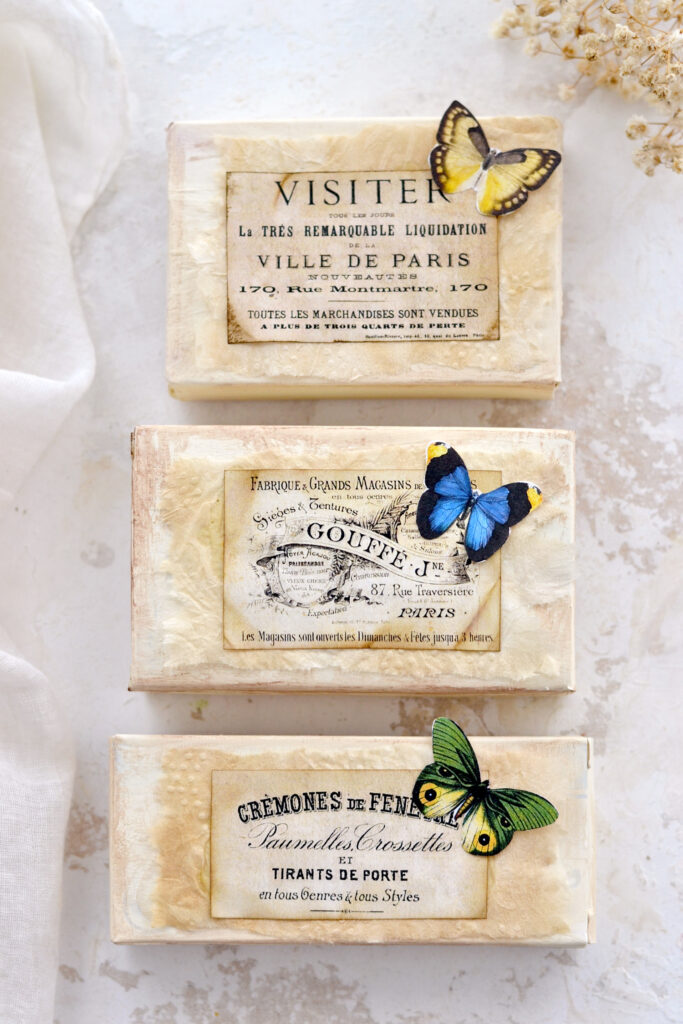
Hello Graphics Fairy friends! I’m Diana from Dreams Factory and I’m happy to be here again to share another DIY project with you! Today I will show you how to make a gorgeous DIY Butterfly Box, or 2 or 3, that have a lovely vintage vibe! We will be using pill boxes in different sizes for this project, so if you have any lying around, now would be the perfect time to put them to good use and give them a new life. You will love how easy it is to make these charming little upcycled boxes and how gorgeous the final results will be!
These lovely recycled boxes can then be used to hold all sorts of small embellishments for your craft or DIY projects or why not, even other small bits and pieces from your home, the sky is the limit!
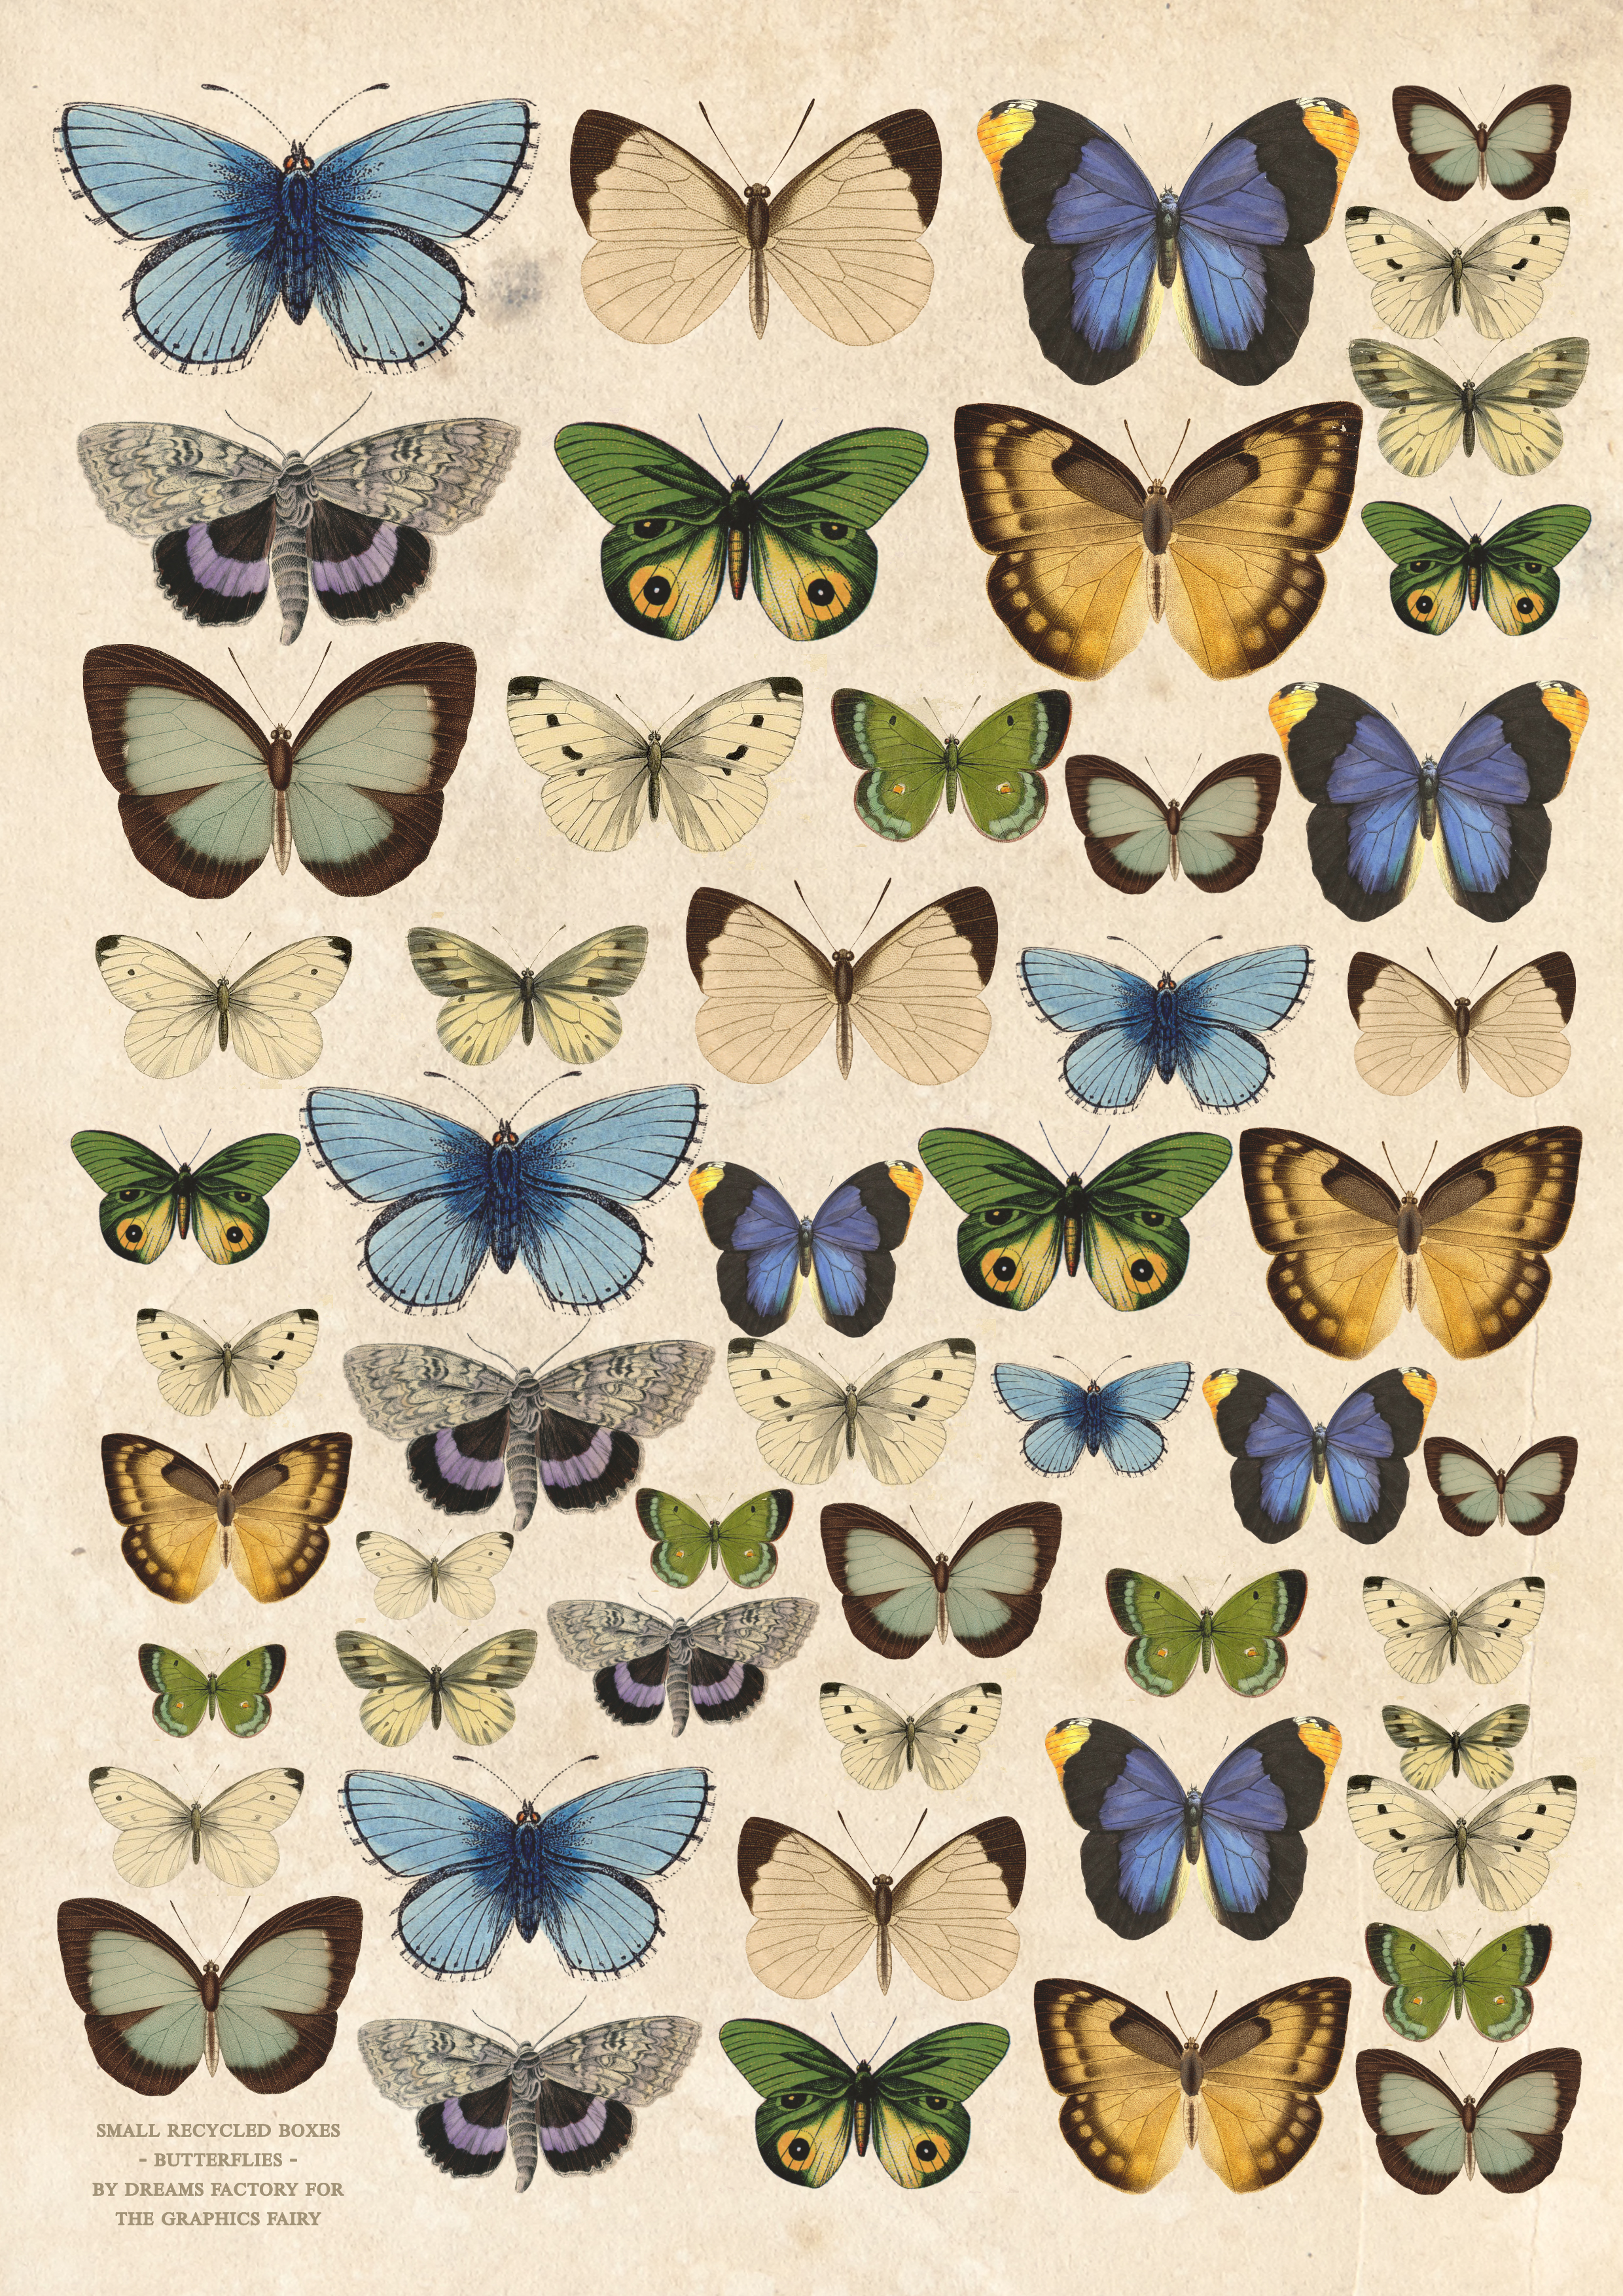
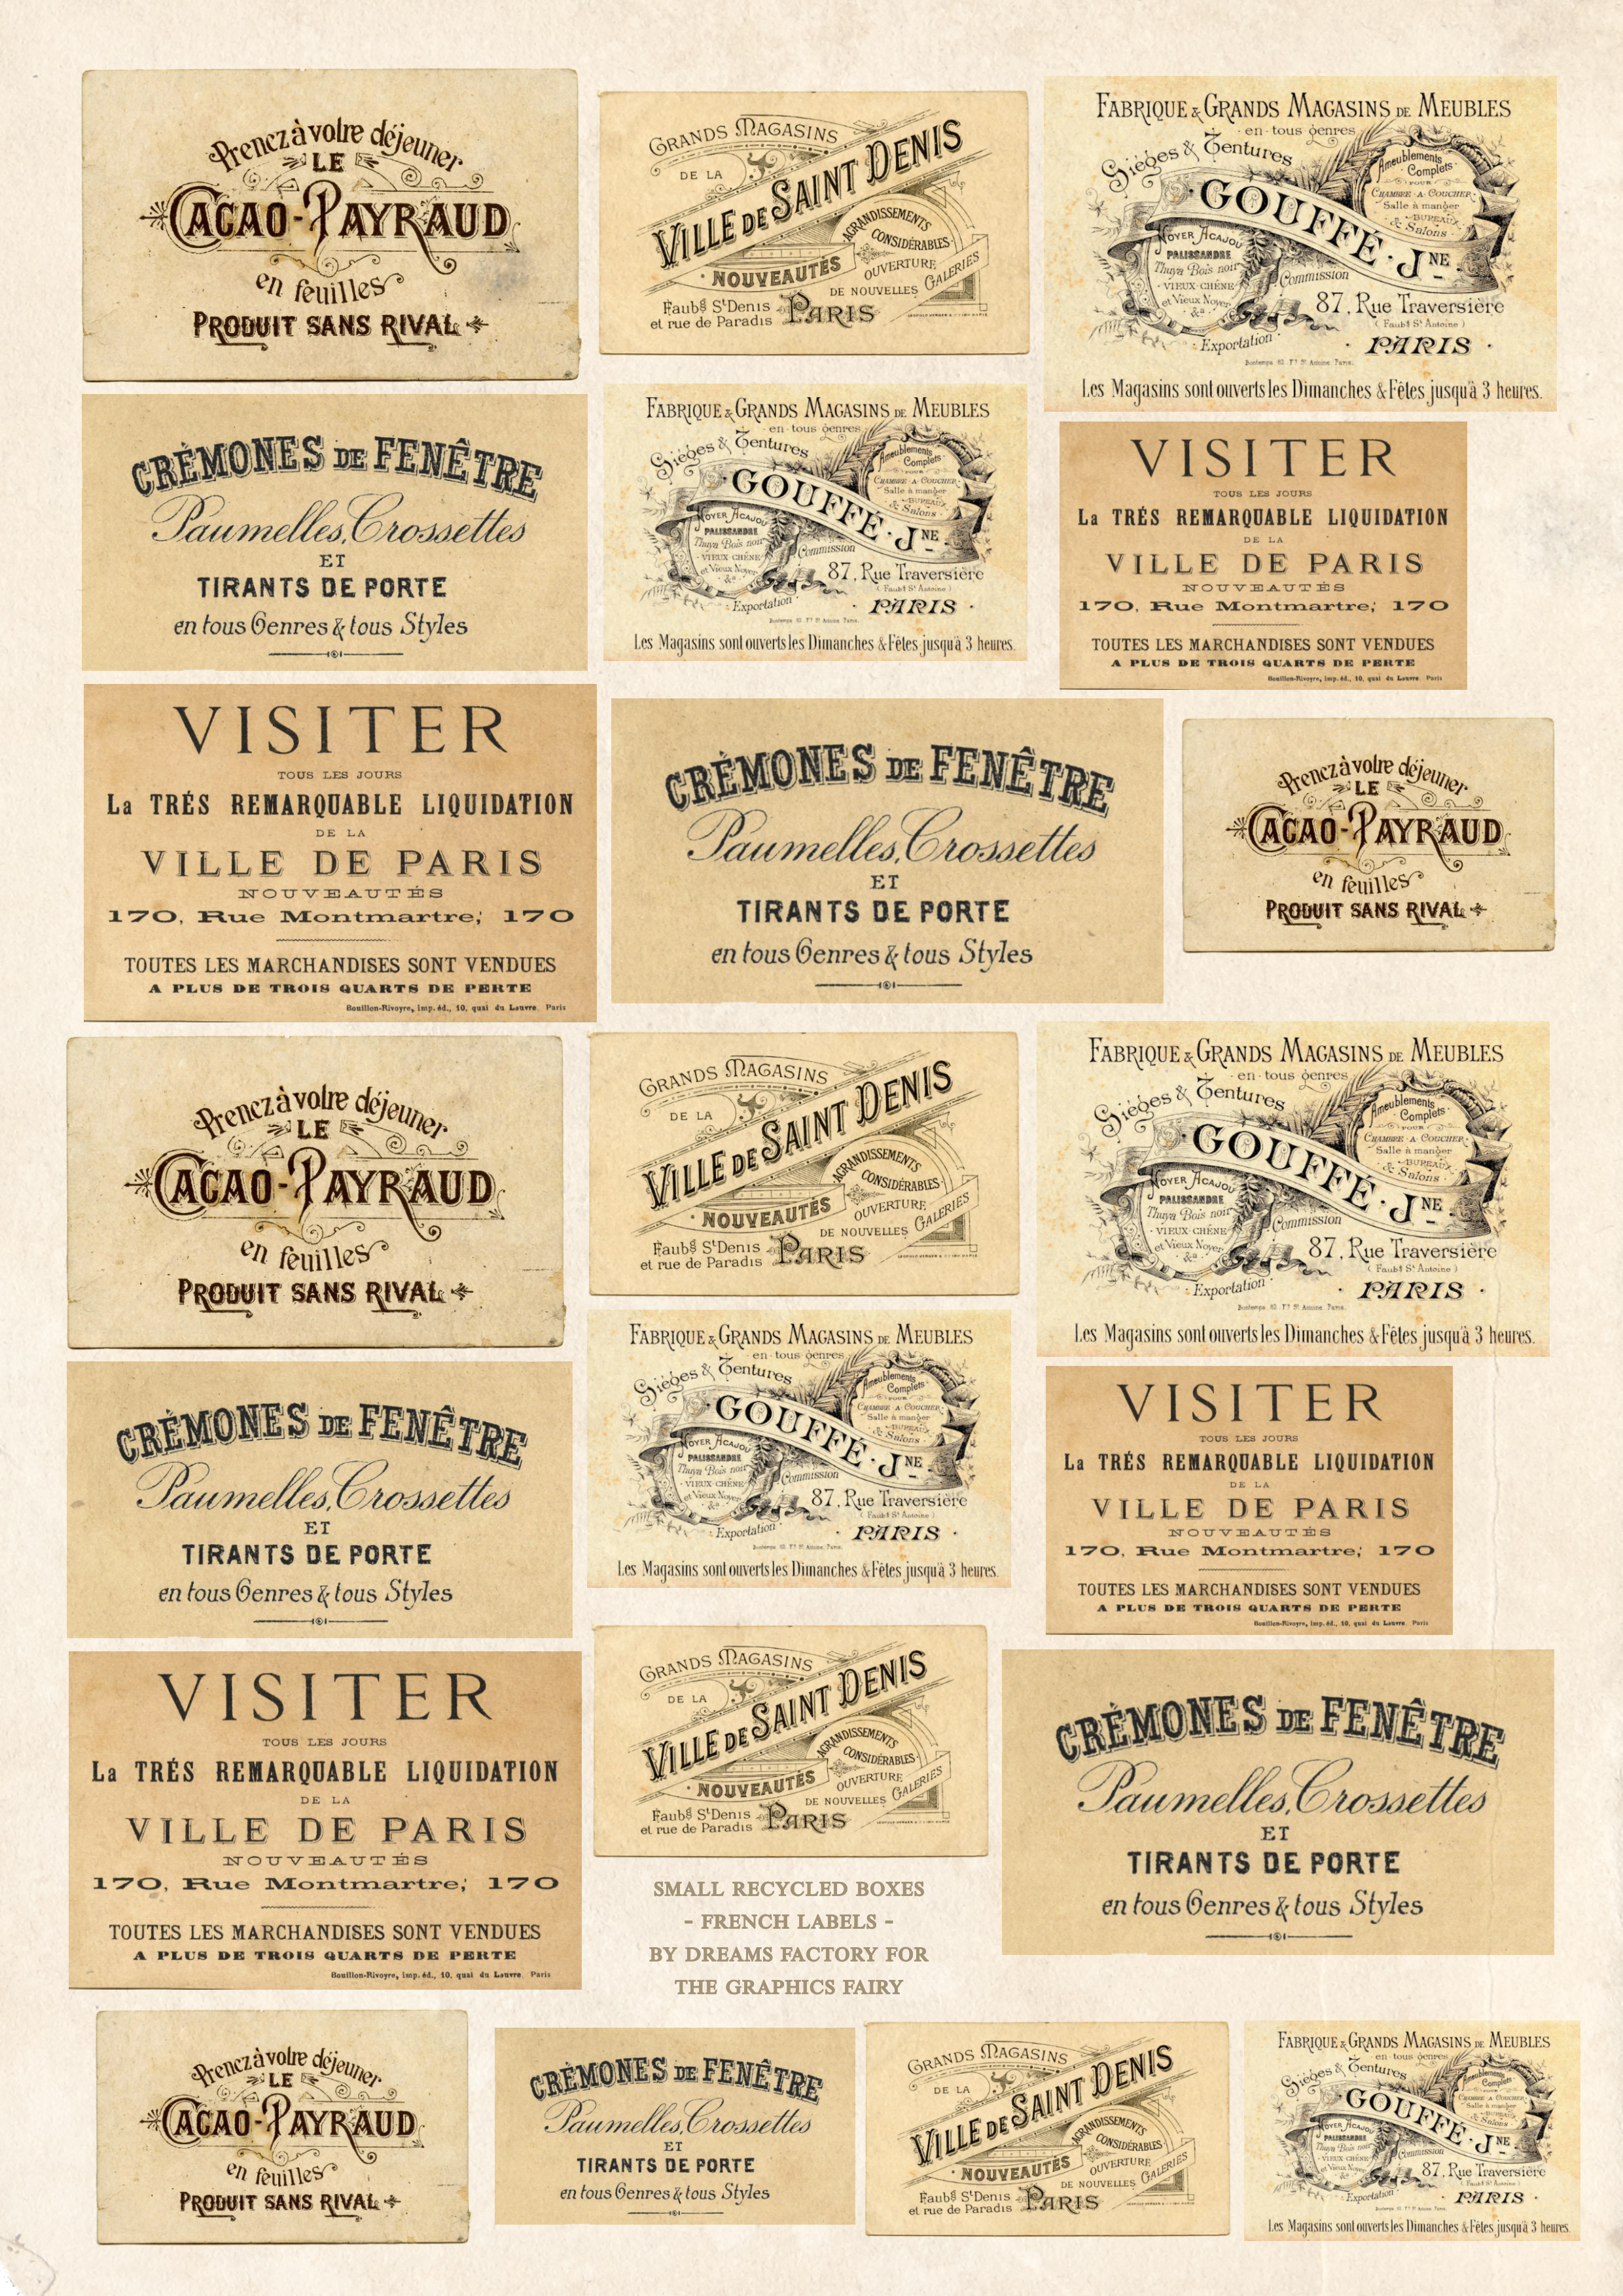
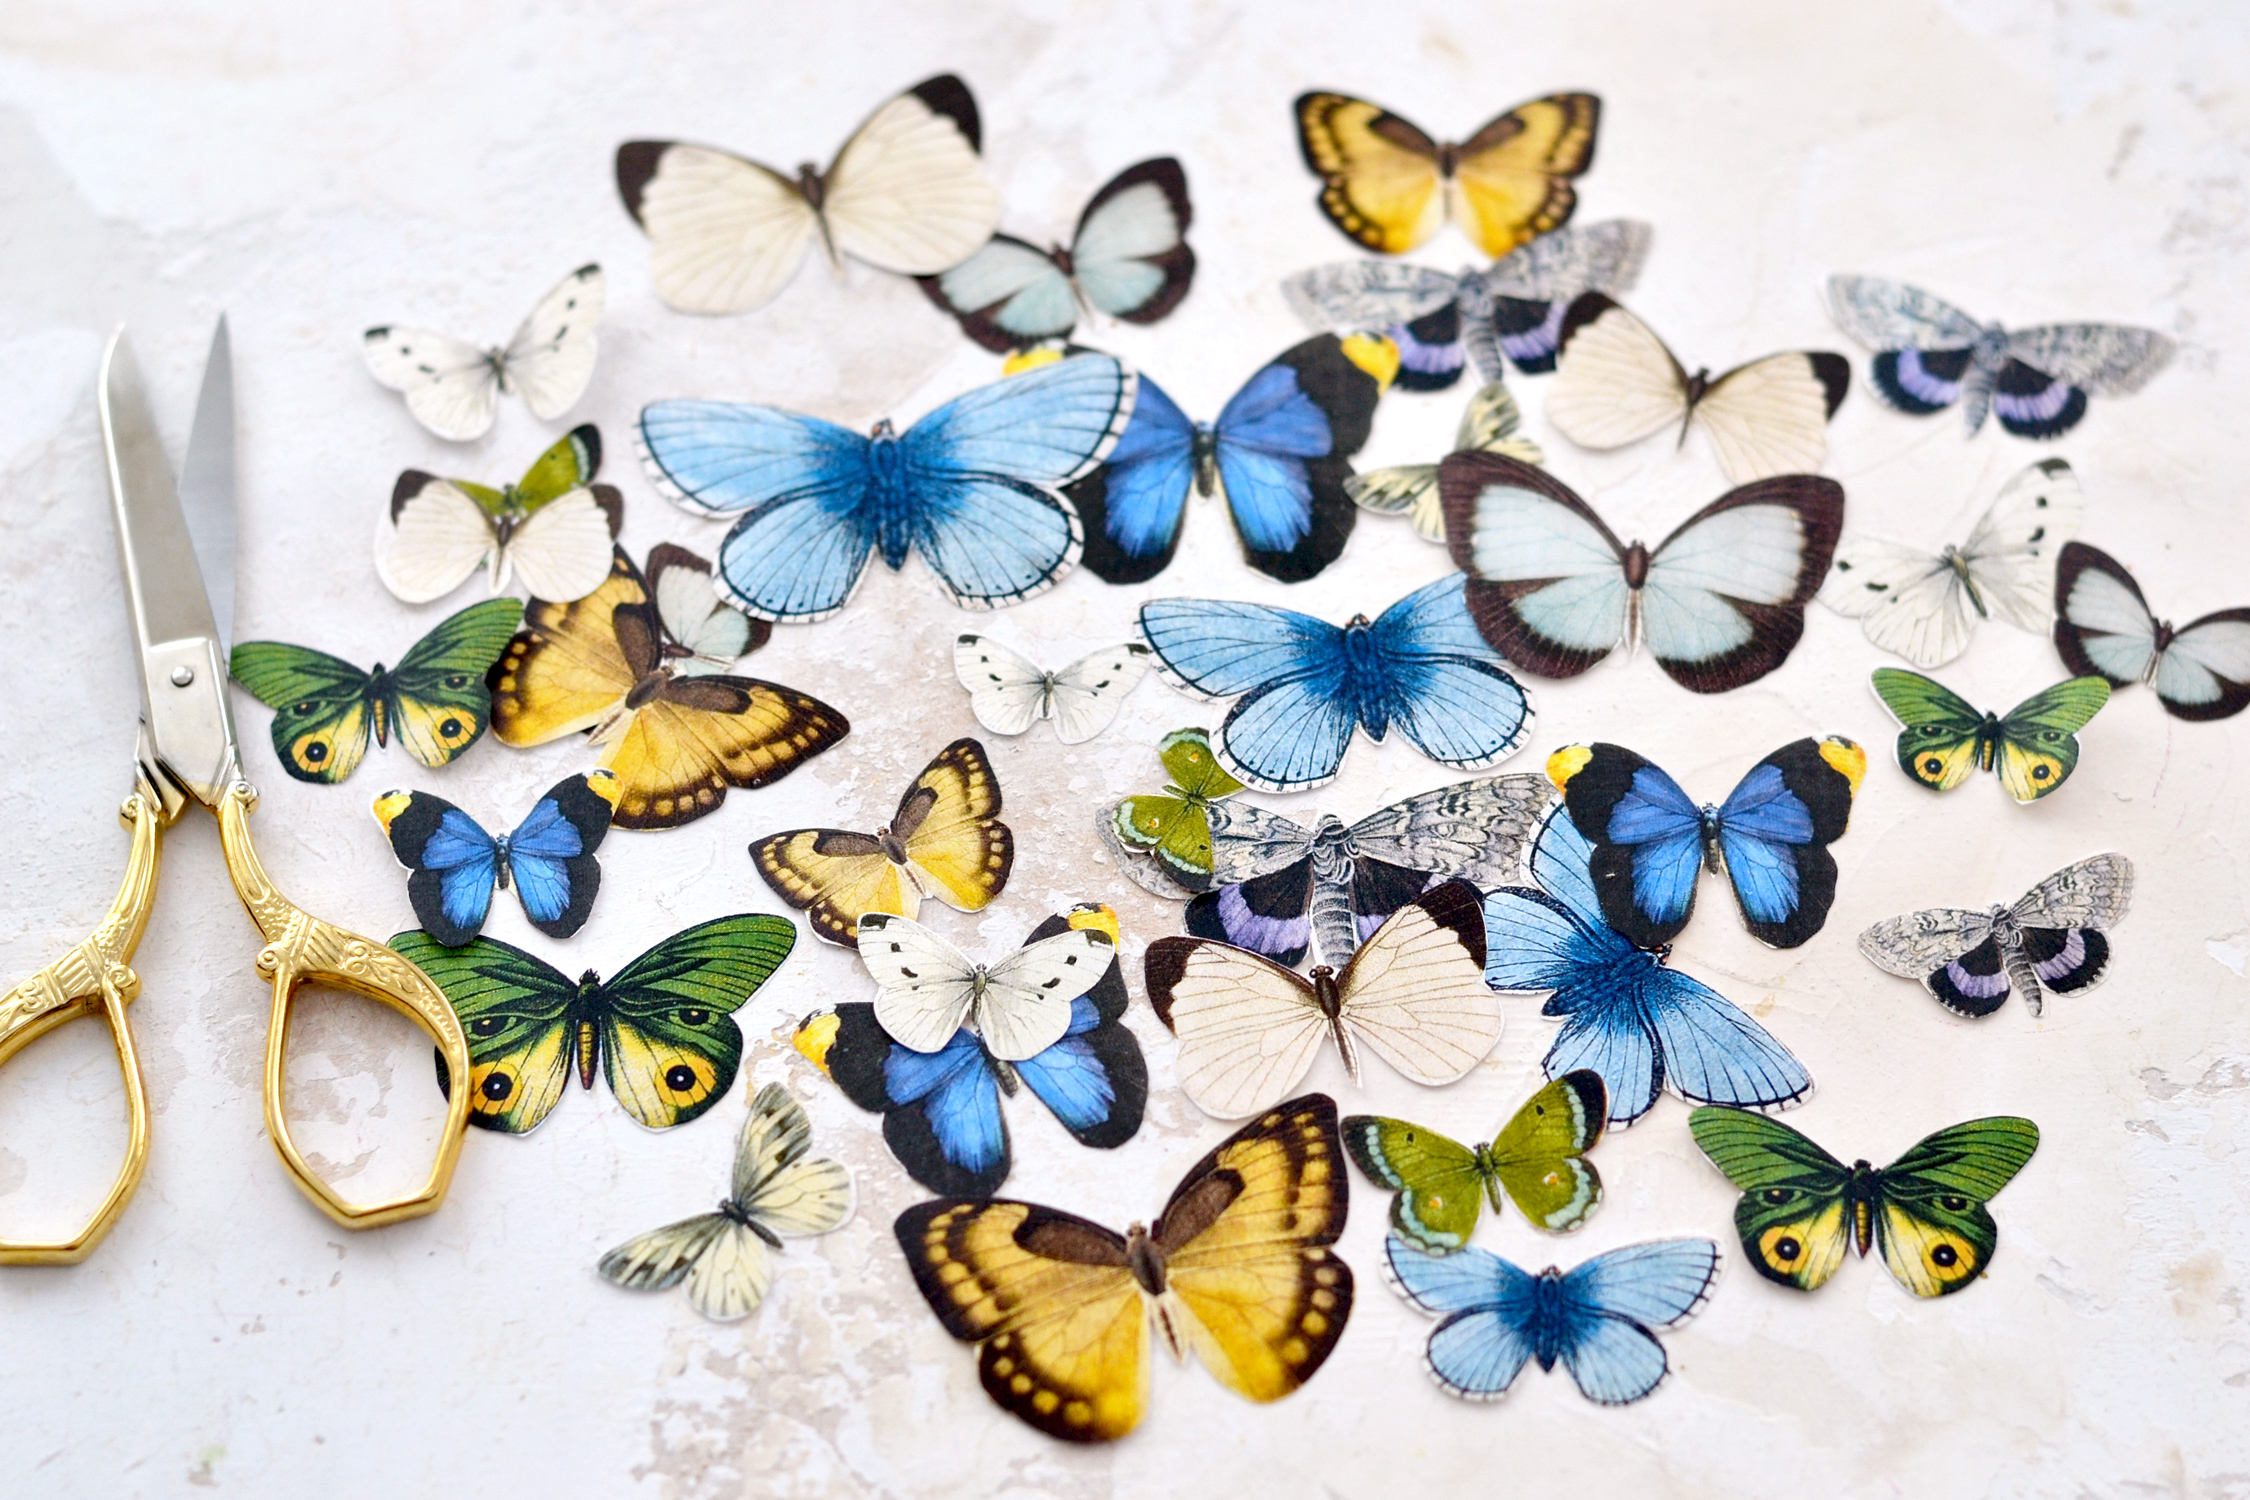
I created 2 printables for this project with adorable different-sized butterflies and gorgeous French ephemera labels. This way you’ll have plenty of options to choose from, no matter the size or the shape of the boxes you are using.
P.S. I added a vintage background to the printables so you don’t have any white space around the images after cutting them.
Free Printables:
—-> Click HERE to Download the Full Size Printable PDF <—-
—-> Click HERE to Download the Full Size Printable PDF <—-
DIY Butterfly Box Supplies:
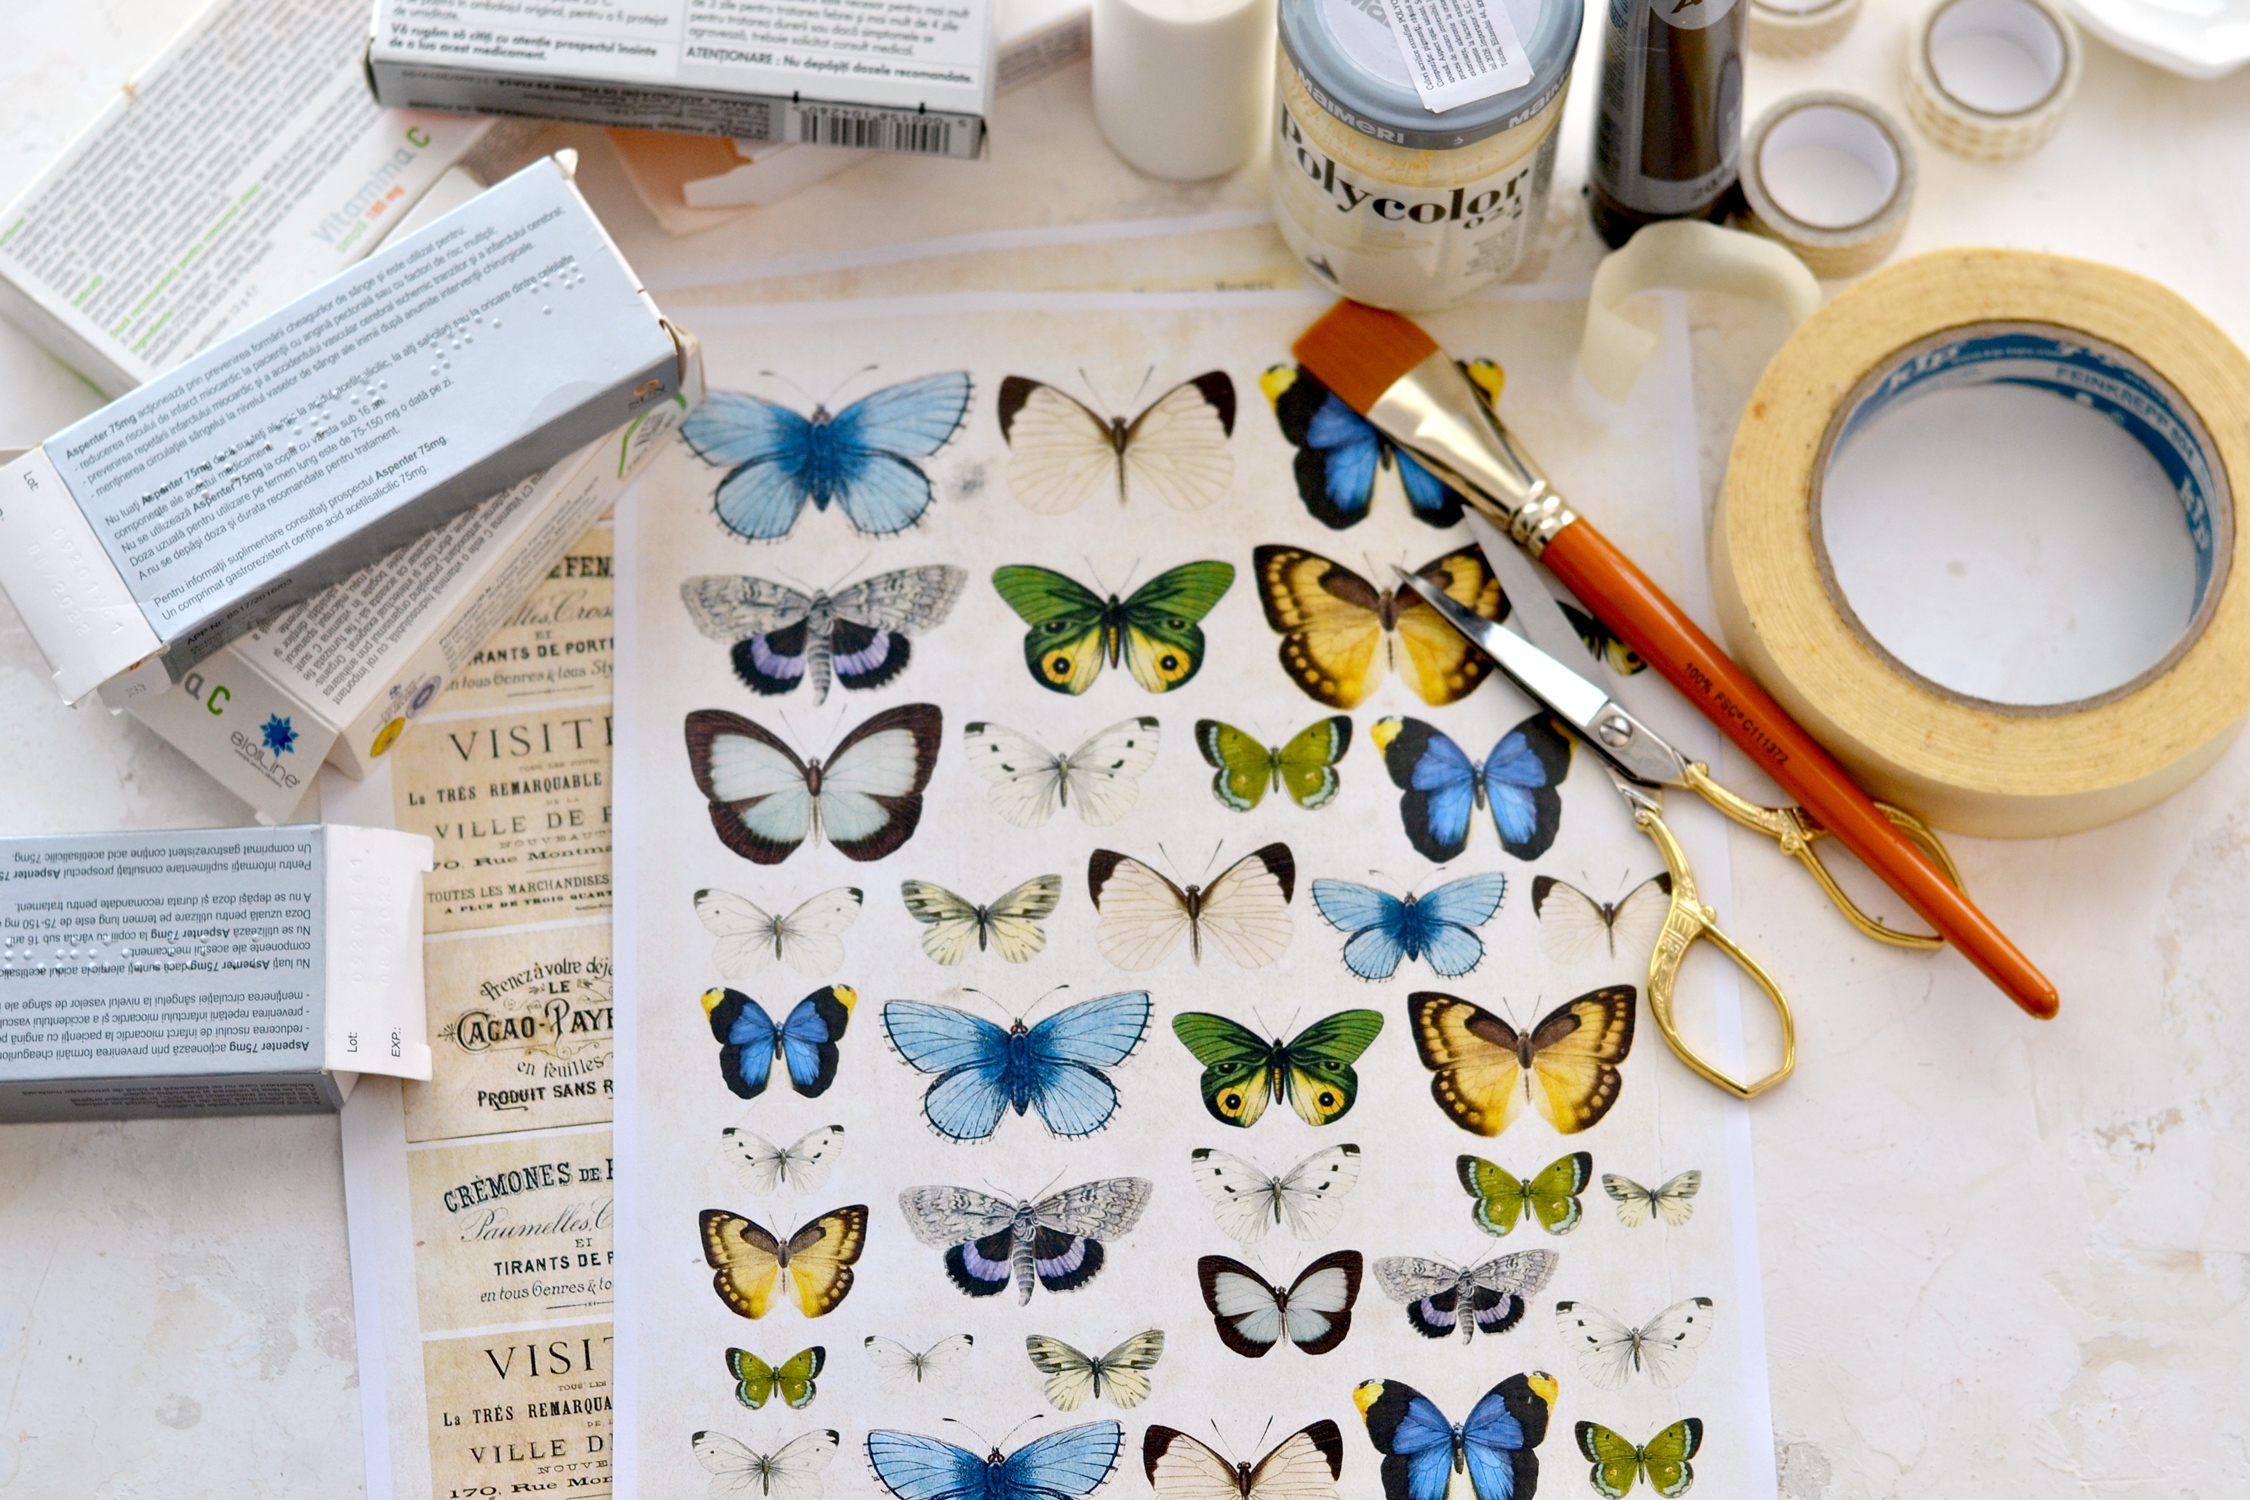
- recycled pill boxes or other small boxes that you have around
- white cardstock paper or regular printing paper (I used regular)
- home printer
- scissors
- mini distress inks
- blending tool
- brush
- craft glue
- coffee dyed paper towels, lace or ribbon
- acrylic paint (I used ivory white as my main color and brown for distressing)
- a small spray bottle filled with water
- small mixing palettes (I used a small plate)
- paper towels
I used mostly pill boxes for this sweet recycling project. but you can keep an eye out for other small boxes like soap bars or even makeup boxes that can be recycled and given a new life.
Full Step by Step Tutorial:
Place a protective sheet on your table – I like to use parchment paper or wax paper because you can easily peel it off afterward, even if it accidentally sticks to your paint in some areas.
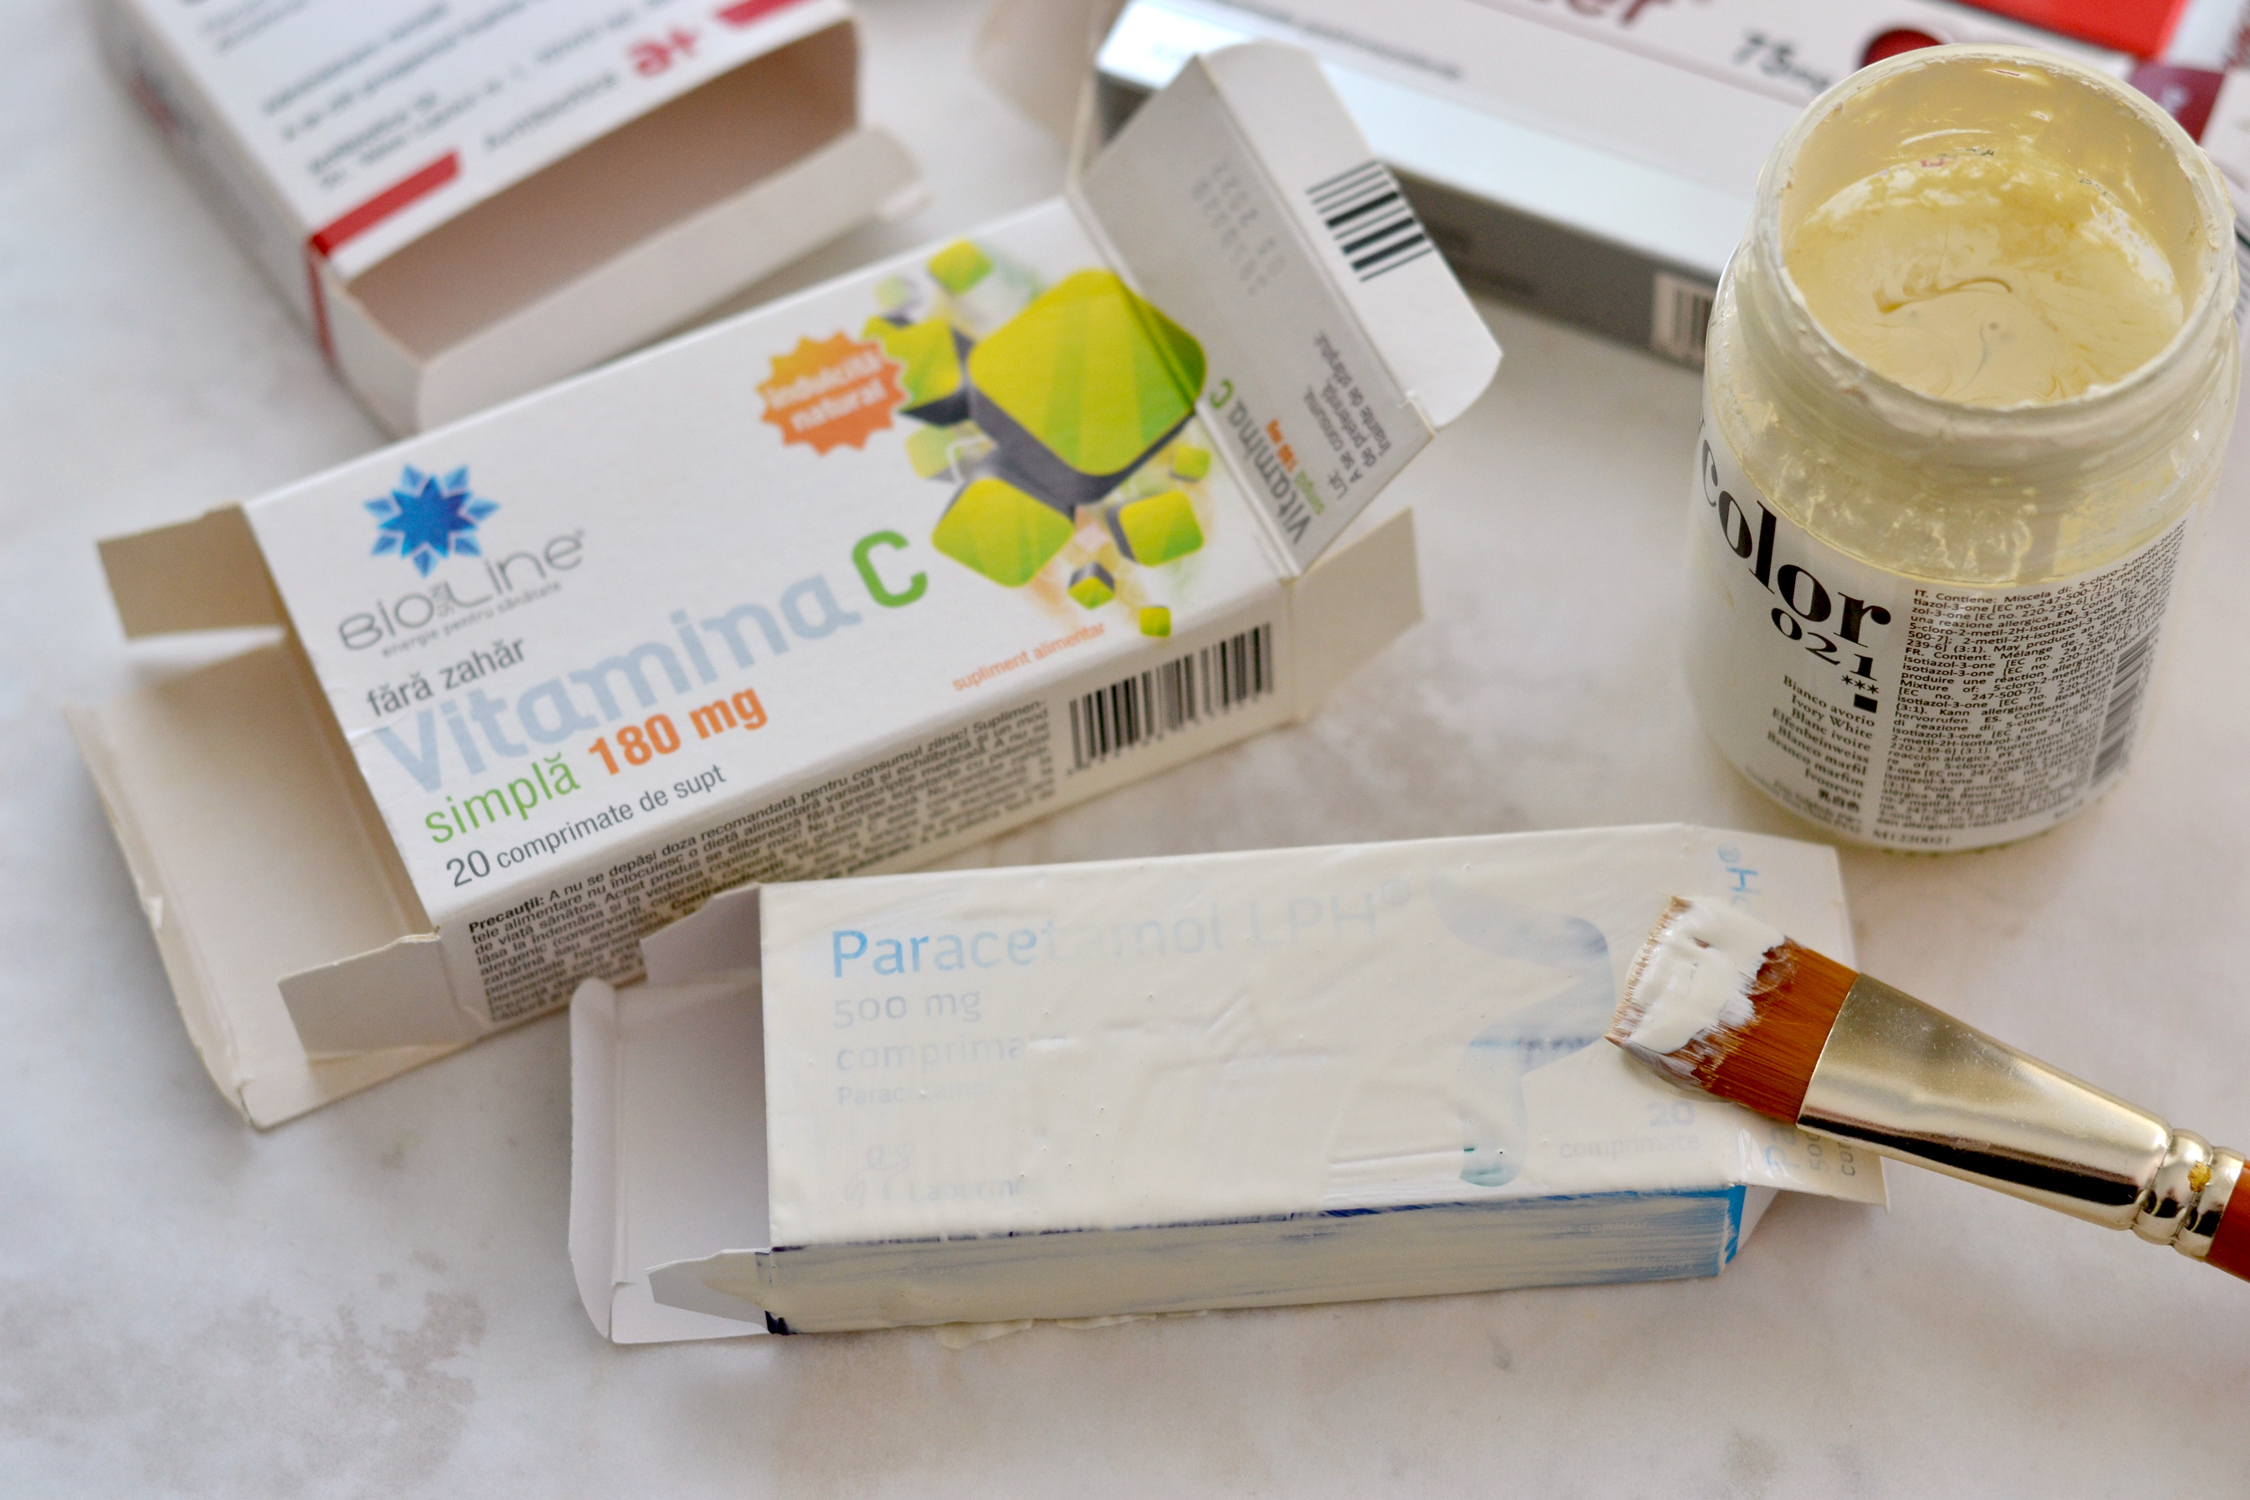
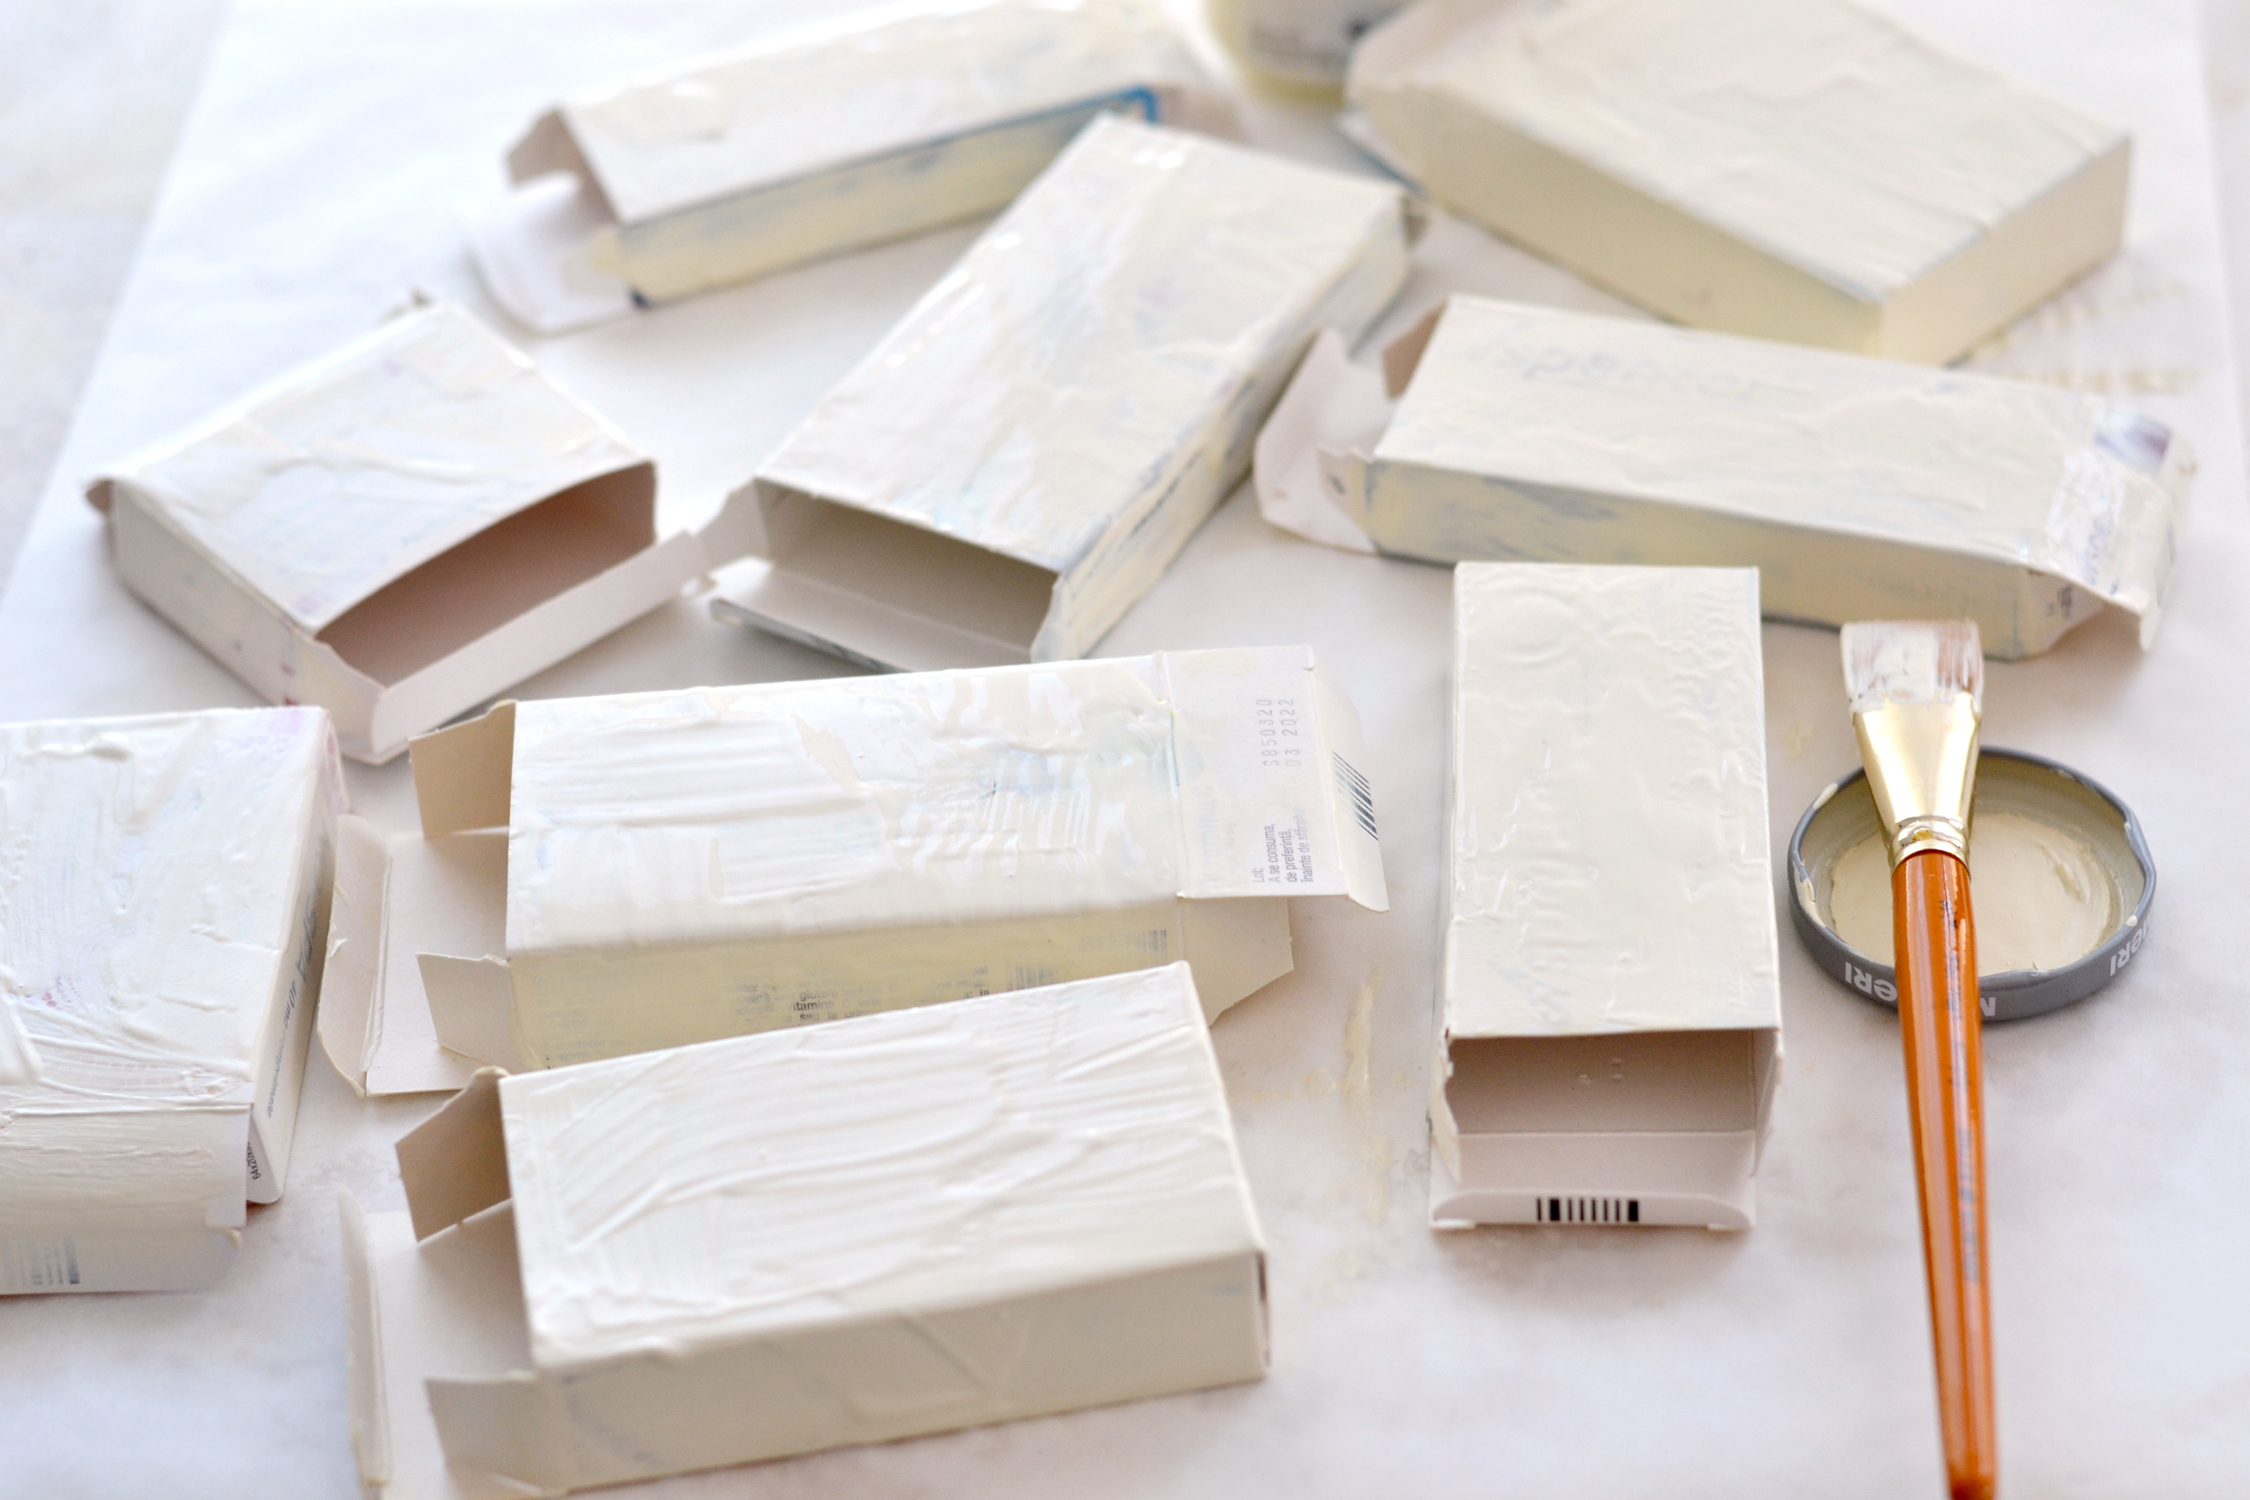
Start by painting your boxes with a neutral color like white or cream. I prefer cream because I’m more into warm colors these days, but if you want, you can choose a cold color like gray too. If you have time you could try to apply a thin layer of Mod Podge or gel medium first to create a protective film on your boxes. This will ensure that the colors used to print the words on the boxes won’t seep through the paint after drying. You could also use a thin layer of gesso, but the printed colors can seep through it sometimes, so glue or gesso might be a better choice. I actually skipped this step because I don’t mind small accidental seep-throughs here and there.
Apply a generous amount of paint to your boxes making intentional irregular brush strokes if you want to achieve interesting effects after drying. This will create texture and add dimension to your boxes, which will give them a lovely handmade appearance.
I only painted the top of the boxes and the sides at this point and kept the back unpainted, so I could place them on the table. You can add washi tape rolls on your table to elevate the boxes if you want to prevent them from accidentally sticking to your surface. 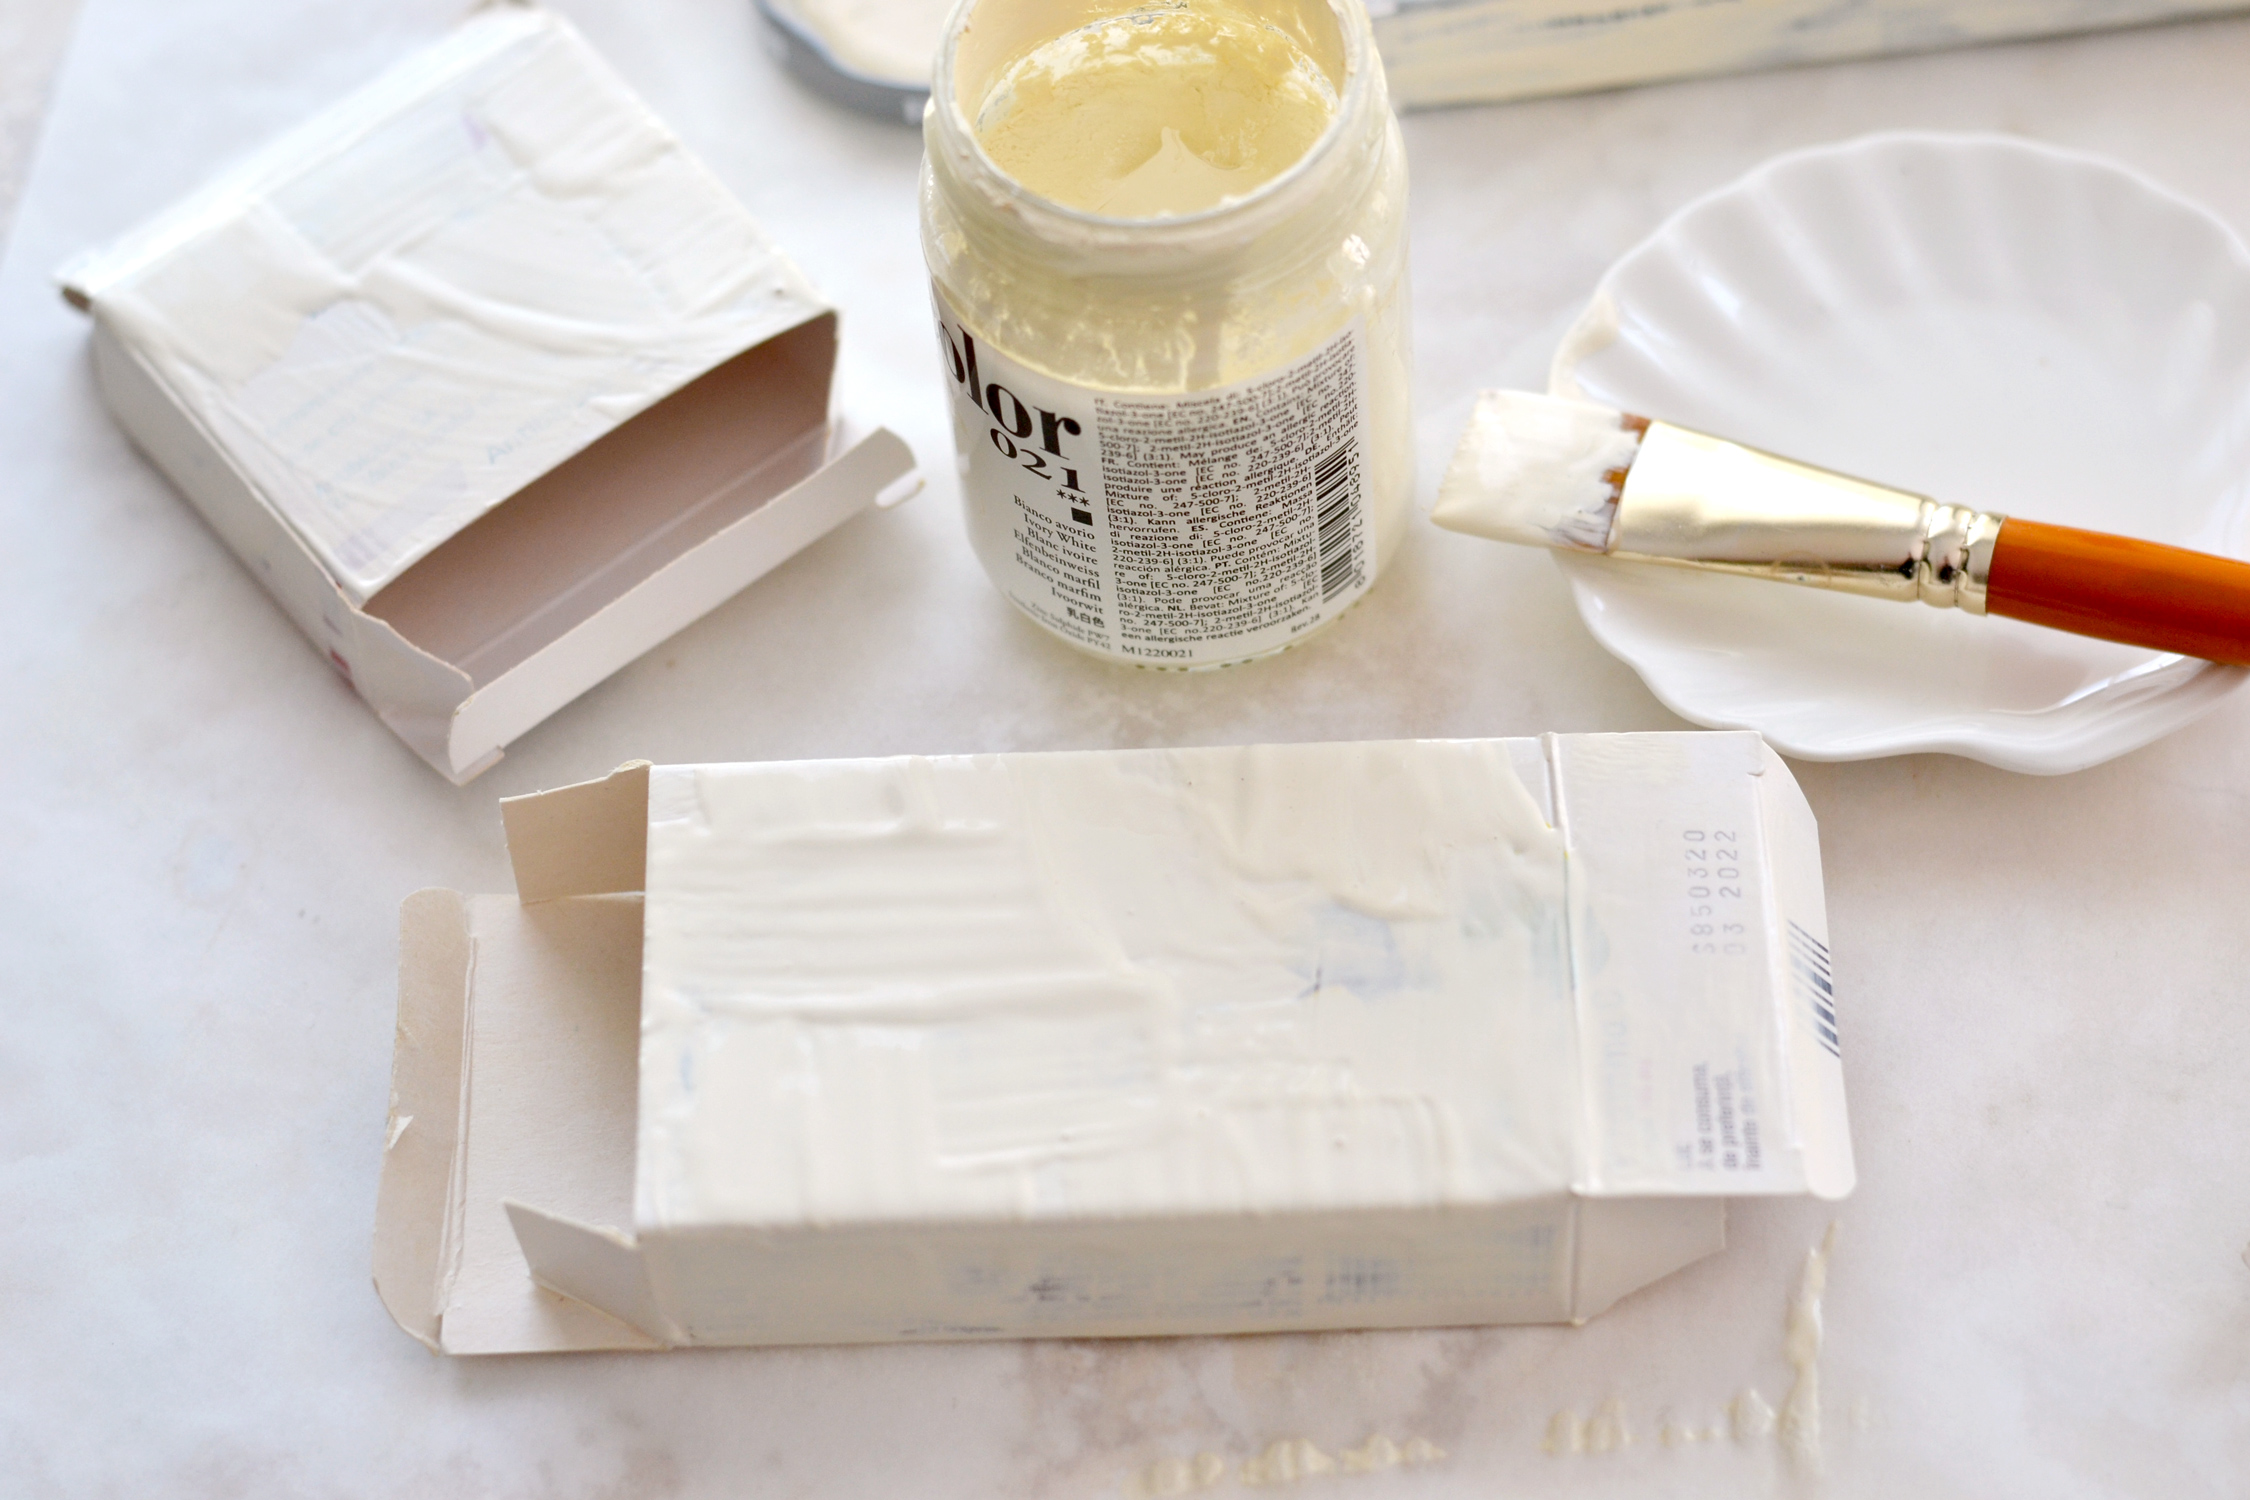
I initially opened the boxes on both ends while painting them, but then I only left one of the flaps open (which will be the opening flap) and closed the other. Depending on the paint you are using you might need to apply another layer after drying to get a better coverage.
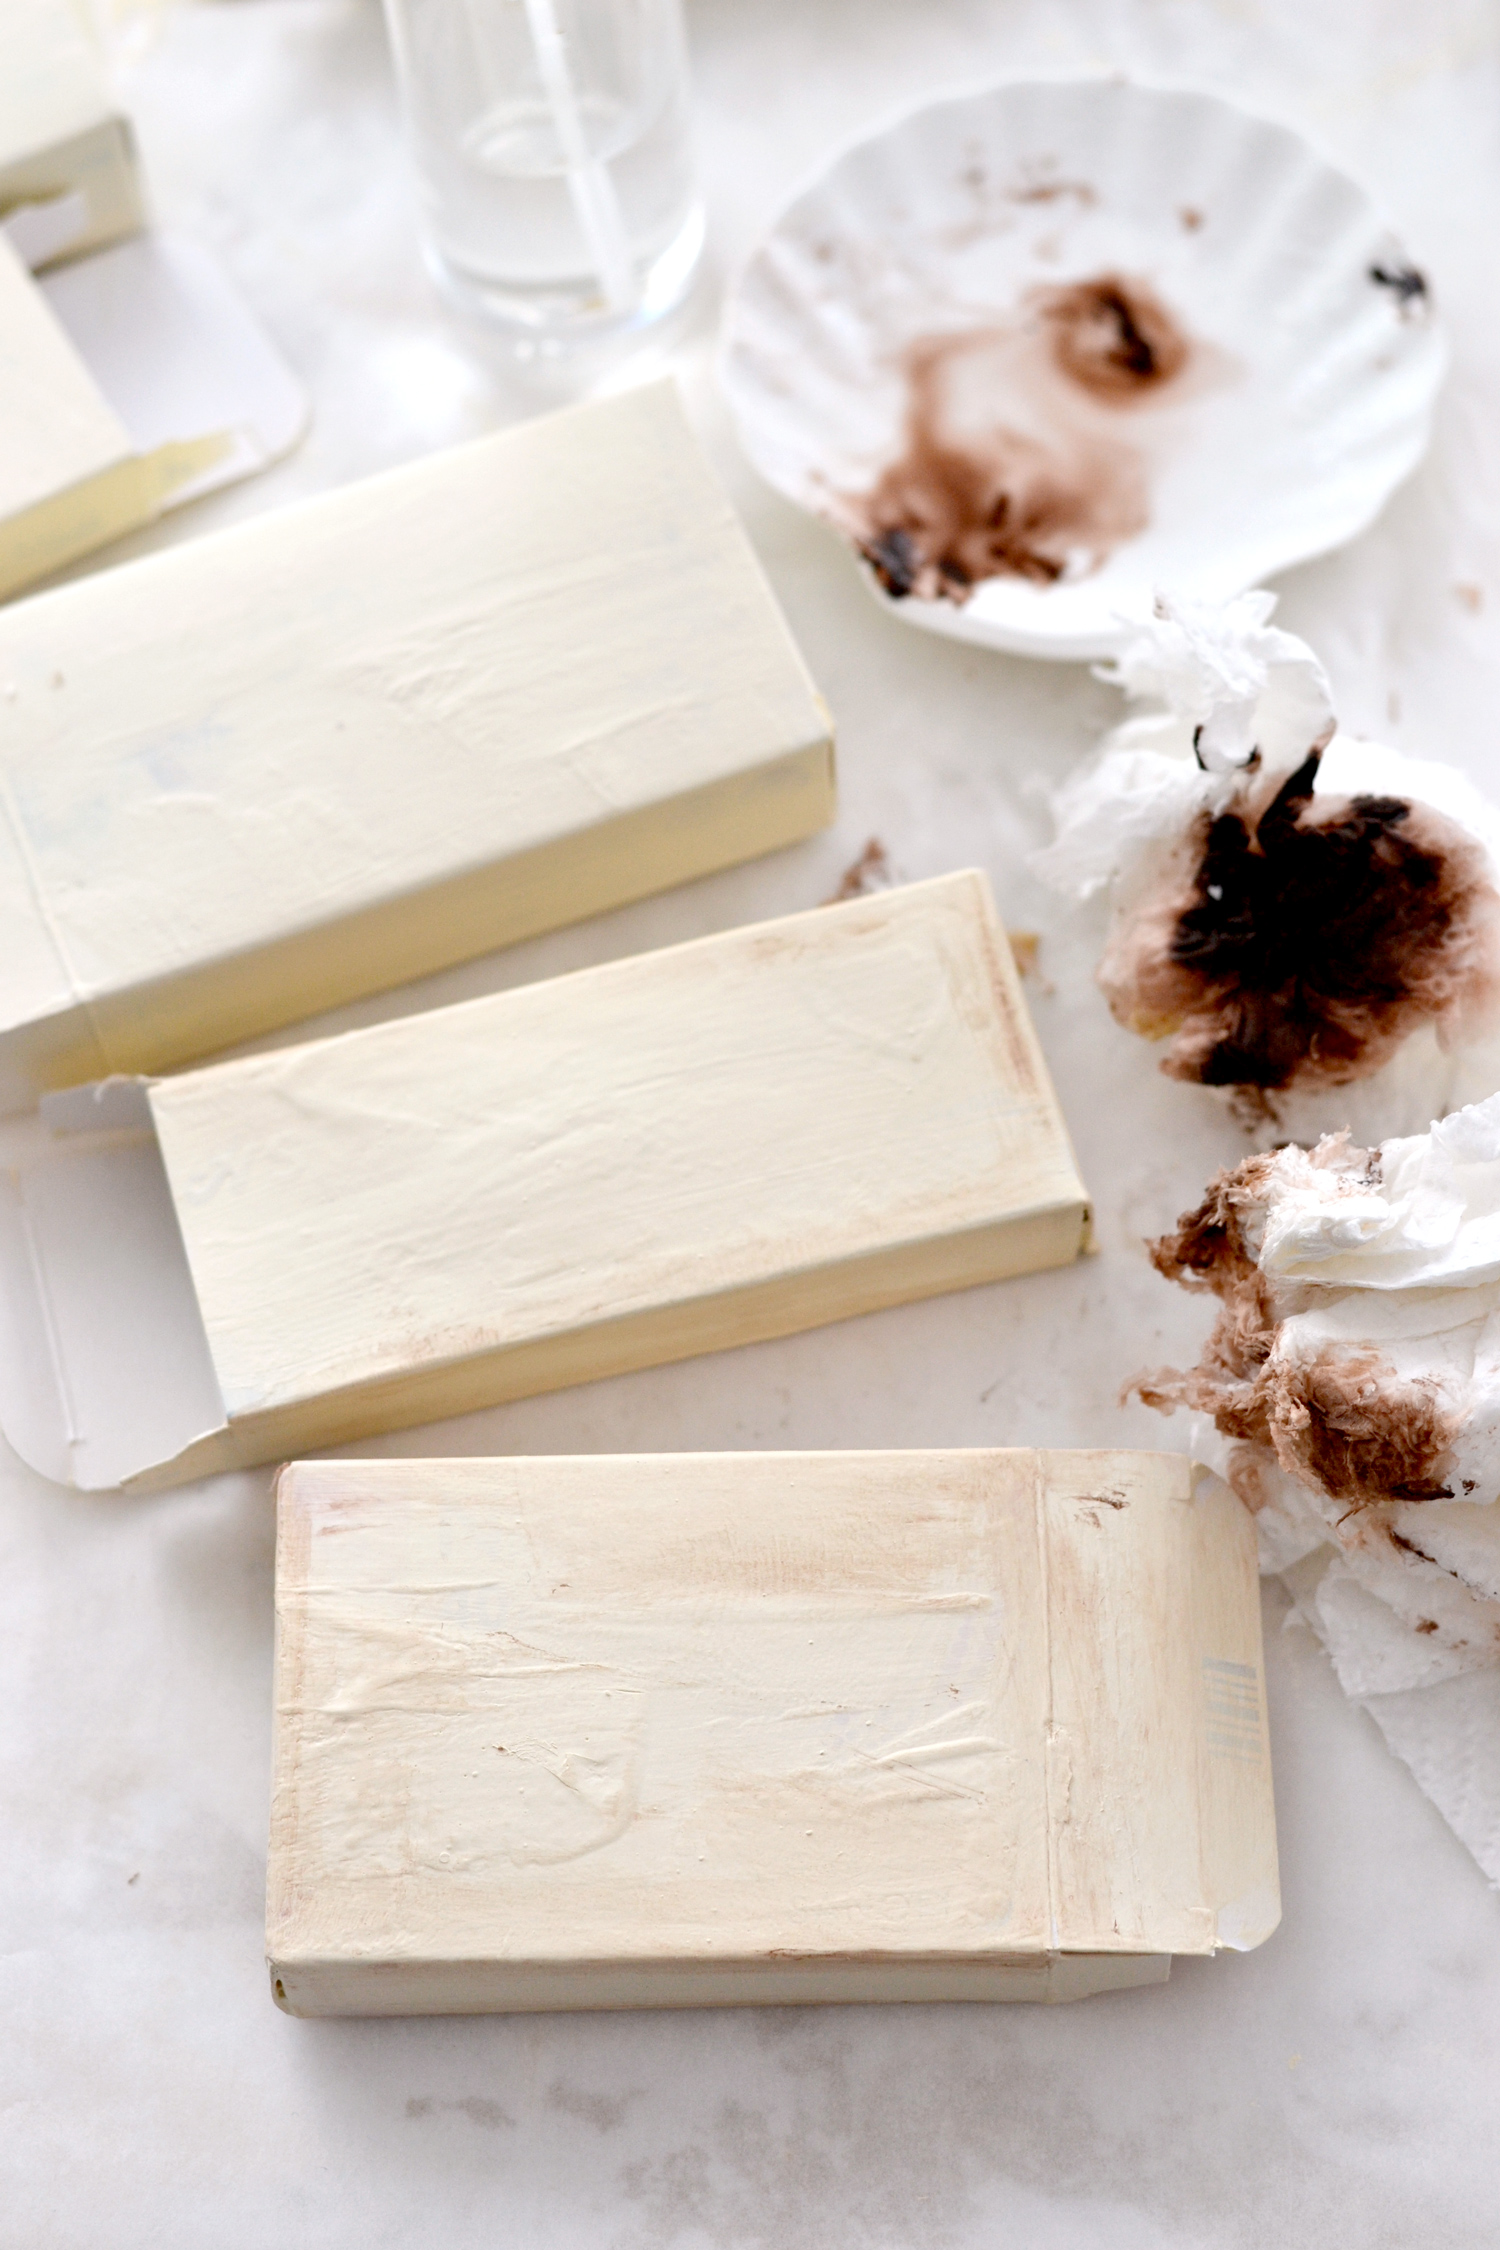
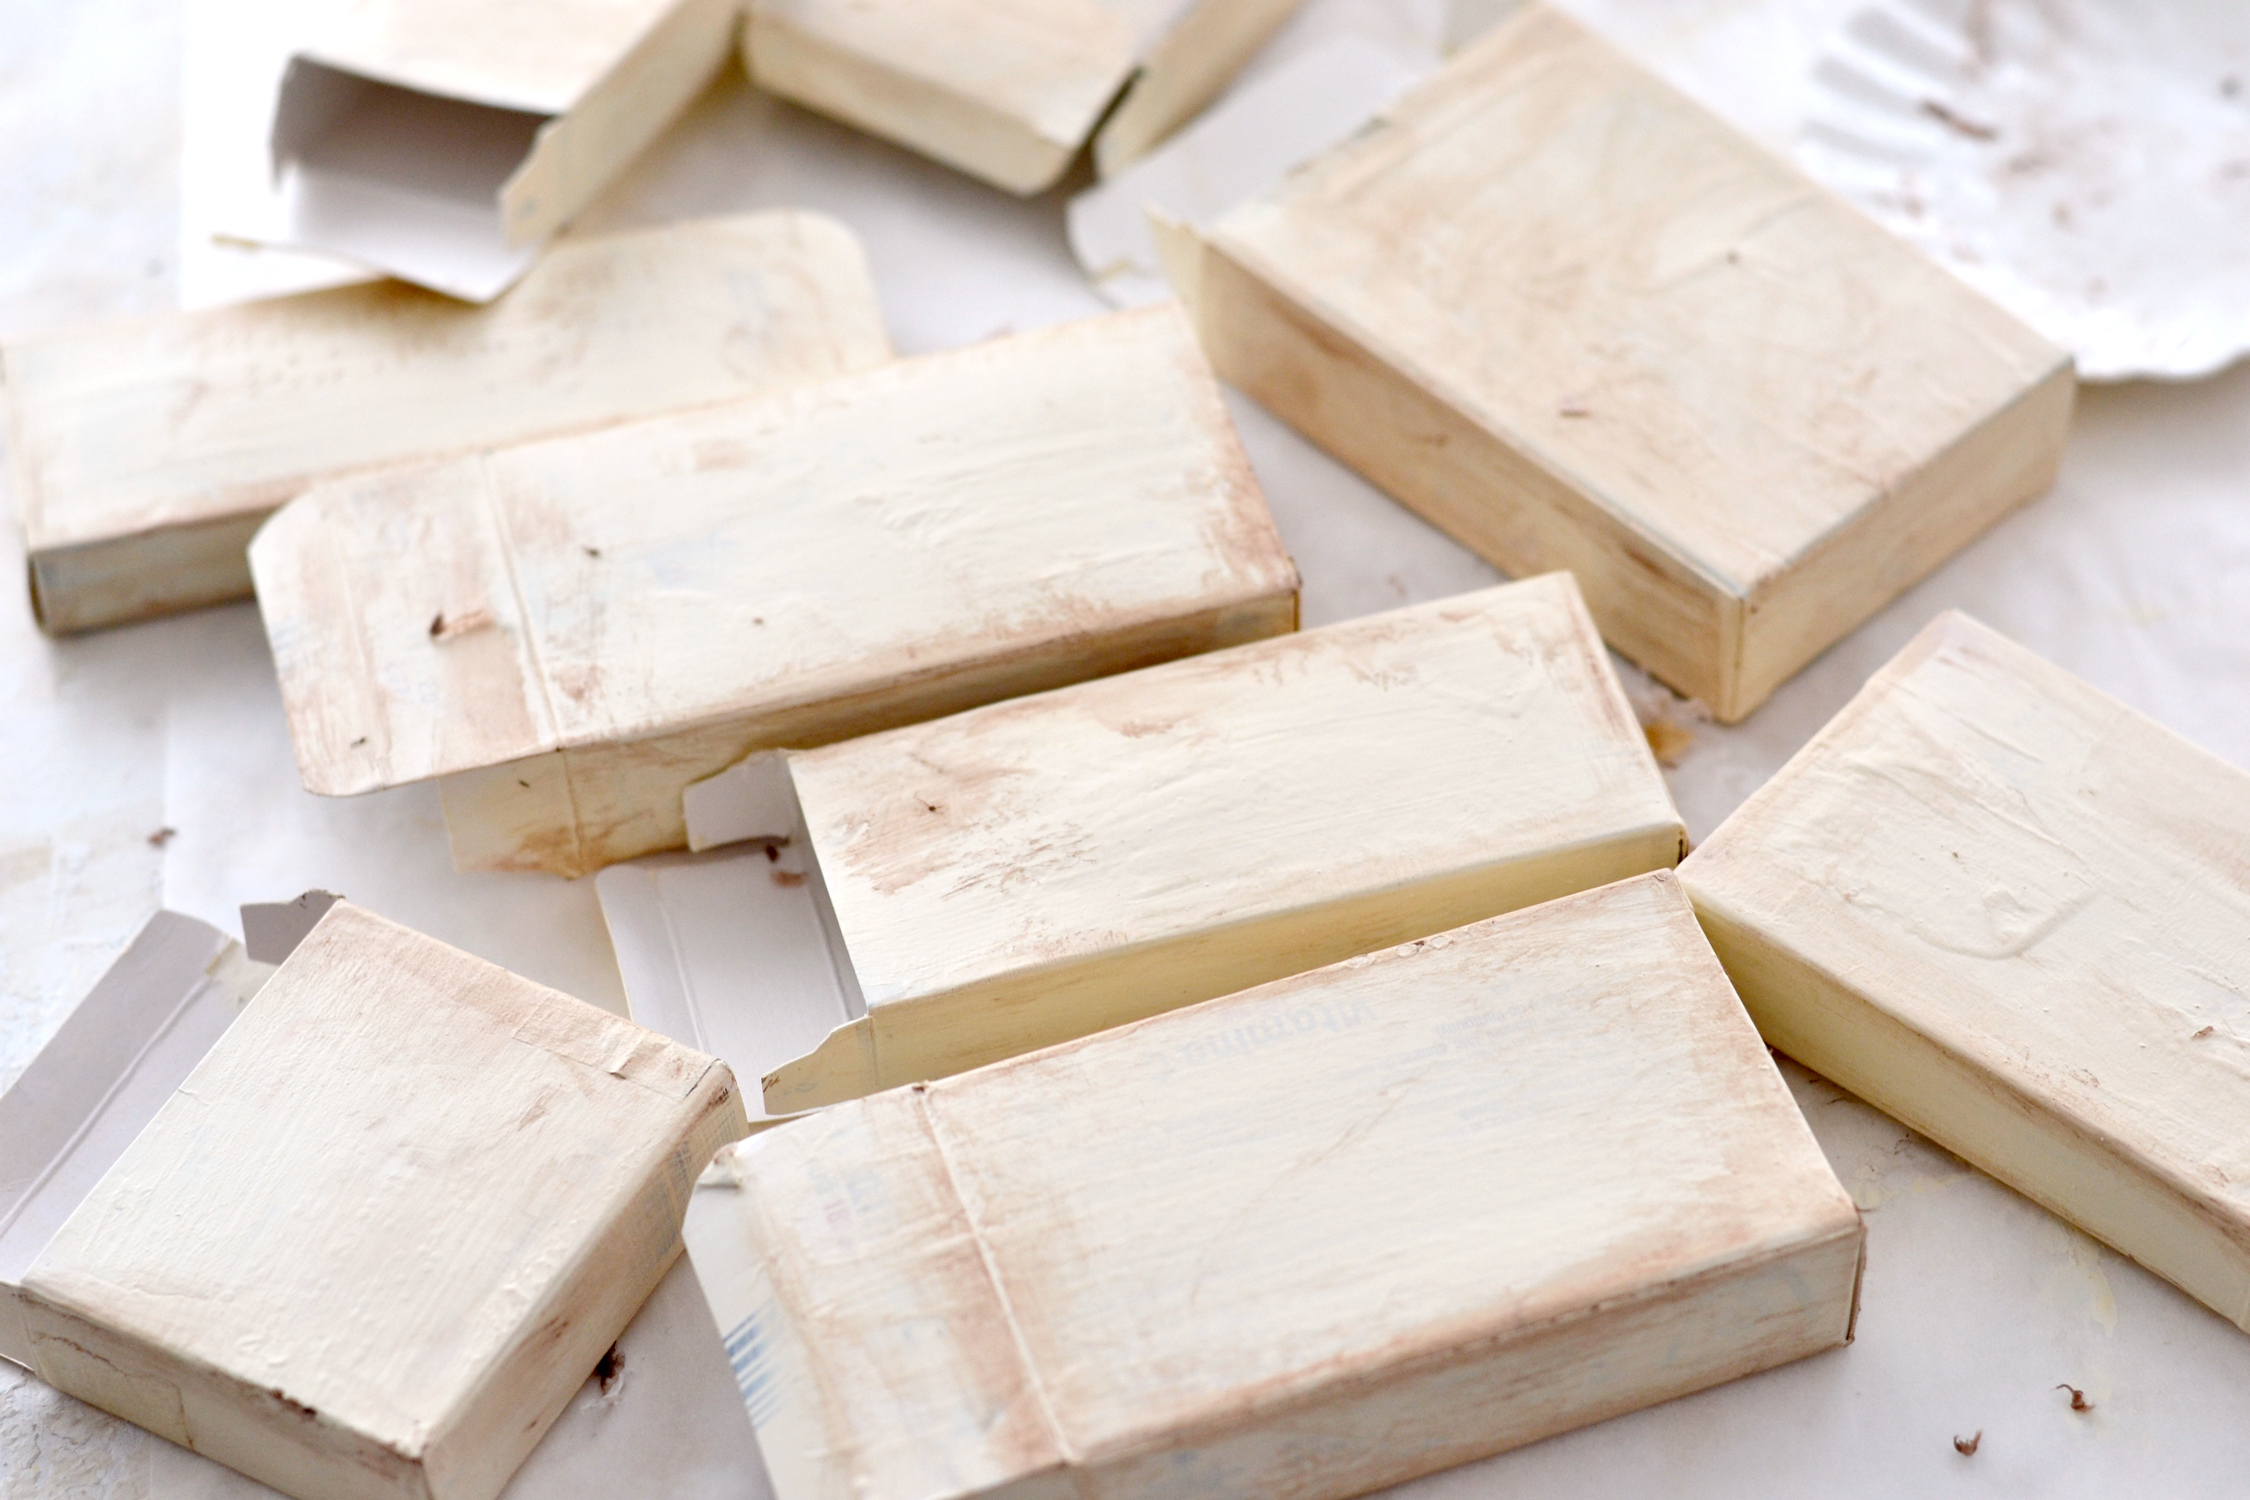
Give the paint the chance to dry completely before moving on to distressing. I like to use brown acrylic paint and paper towels (instead of a brush) to distress the surface. I place a tiny amount of paint and some water onto a small improvised palette (a plate) and I dab the crinkled paper towels into the paint and then ‘brush’ it on the boxes. Have a paper towel soak in water close by, just in case you add too much brown paint, it’s easy to wipe it off while it is still wet so you can try again. Start from the edges and smudge the paper toward the center creating irregular ‘brush’ (I mean paper towel) strokes. You will see that the brown paint will also emphasize all those thick, irregular brush strokes of cream paint that we added earlier on, creating interesting old-world looking effects.
You can distress them as much as you want, depending on your preferences, this part is actually quite fun and rewarding because you get to create truly unique effects and highlights on your boxes. You could also add a touch of gold acrylic paint following the same method or even mix some with the brown paint to add a touch of gold.
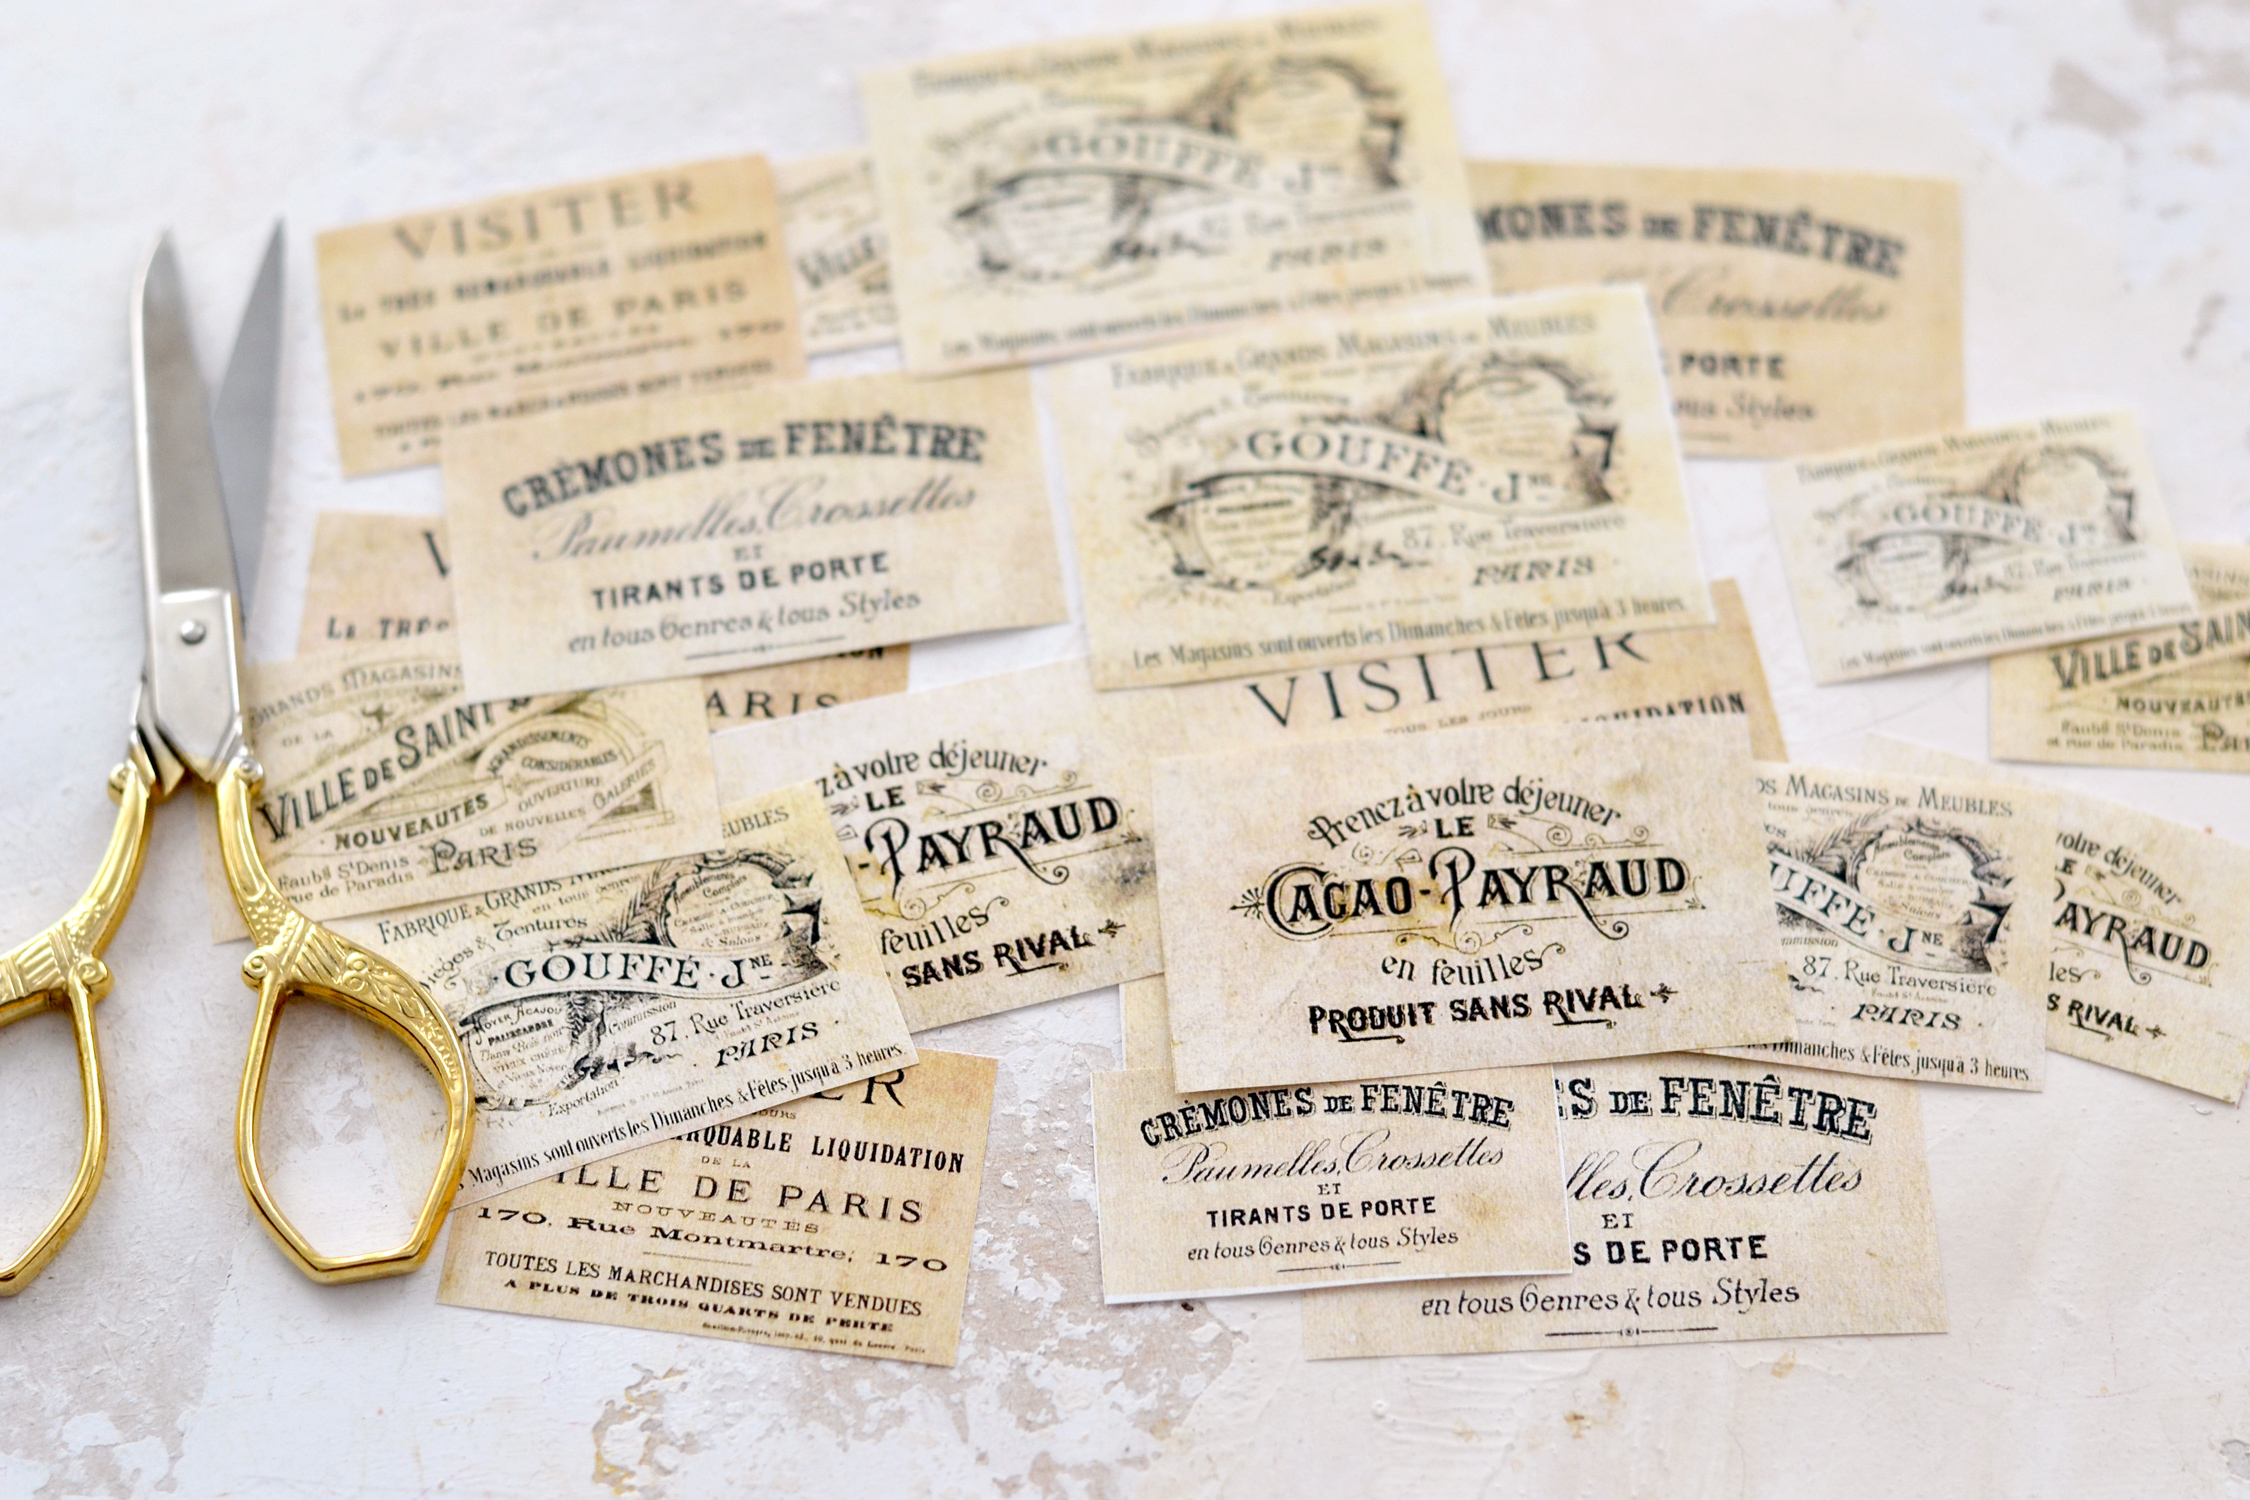
In the meantime, you can use your scissors to cut your beautiful French ephemera labels.
And your simply adorable butterflies!
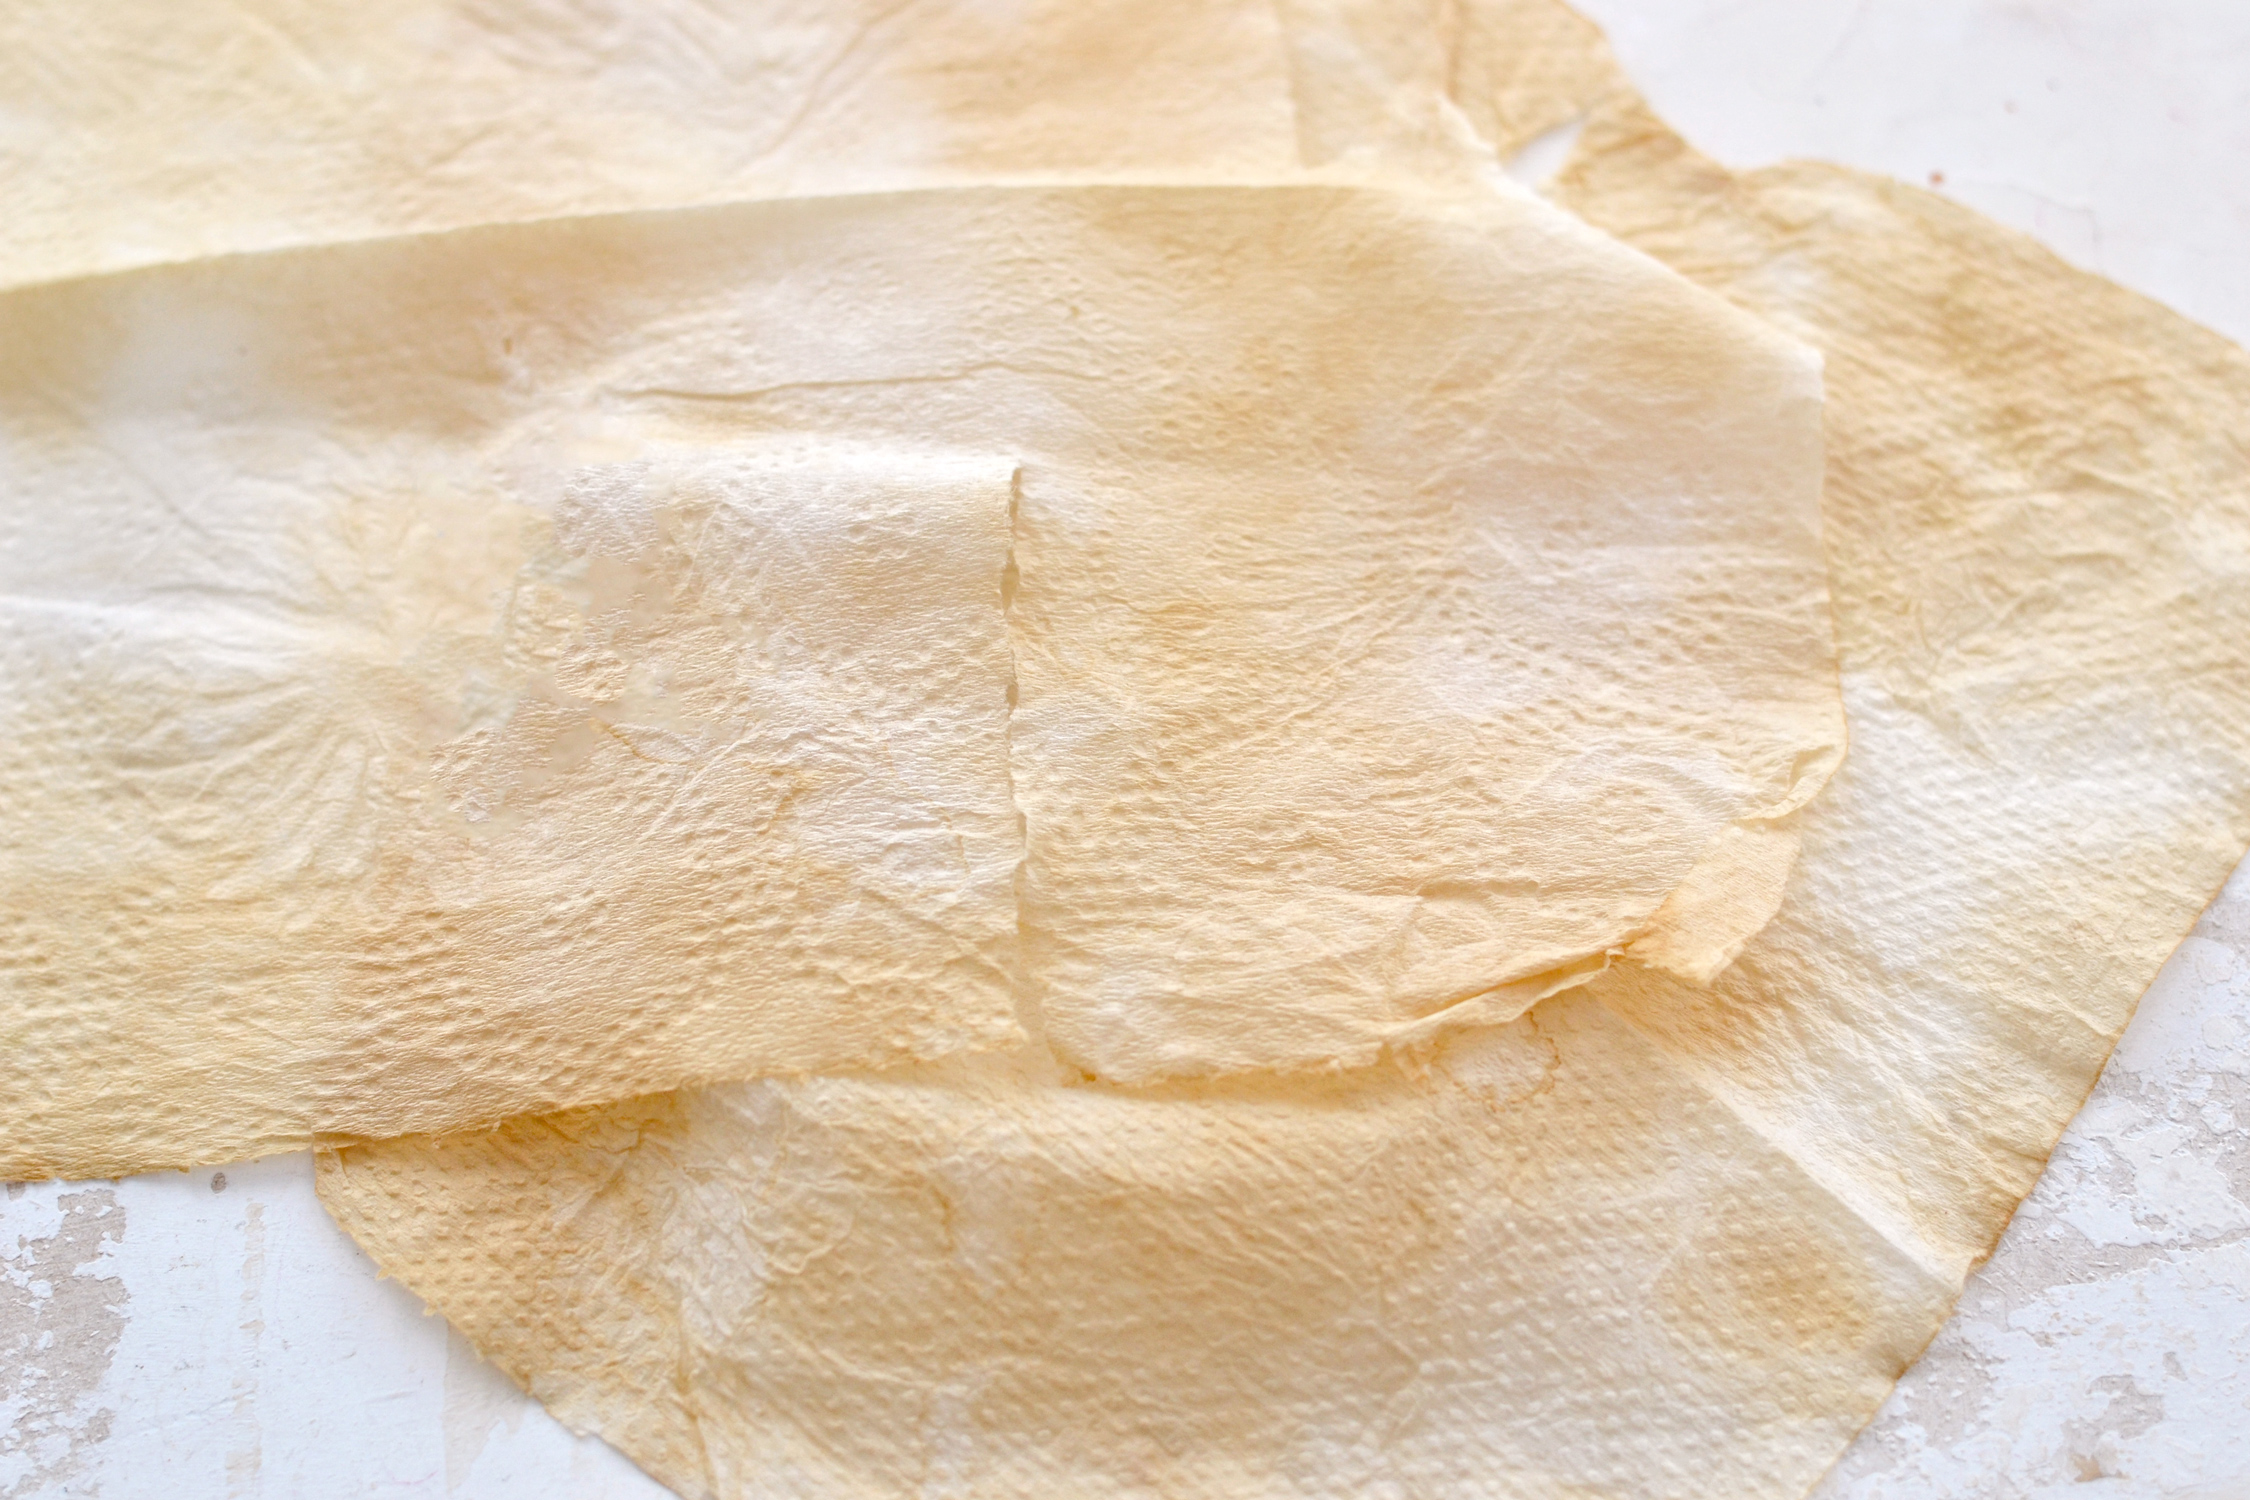
When it comes to decorating the boxes, you can take any direction that you want! The boxes themselves are quite neutral at this point, so you can choose to further embellish them as you please! I remembered I had some coffee-dyed paper towels from one of my How to make ephemera sessions so I’ve decided to use some here for our lovely recycled boxes. You can also use other scrap pieces of fabric or lace instead of paper towels if you prefer.
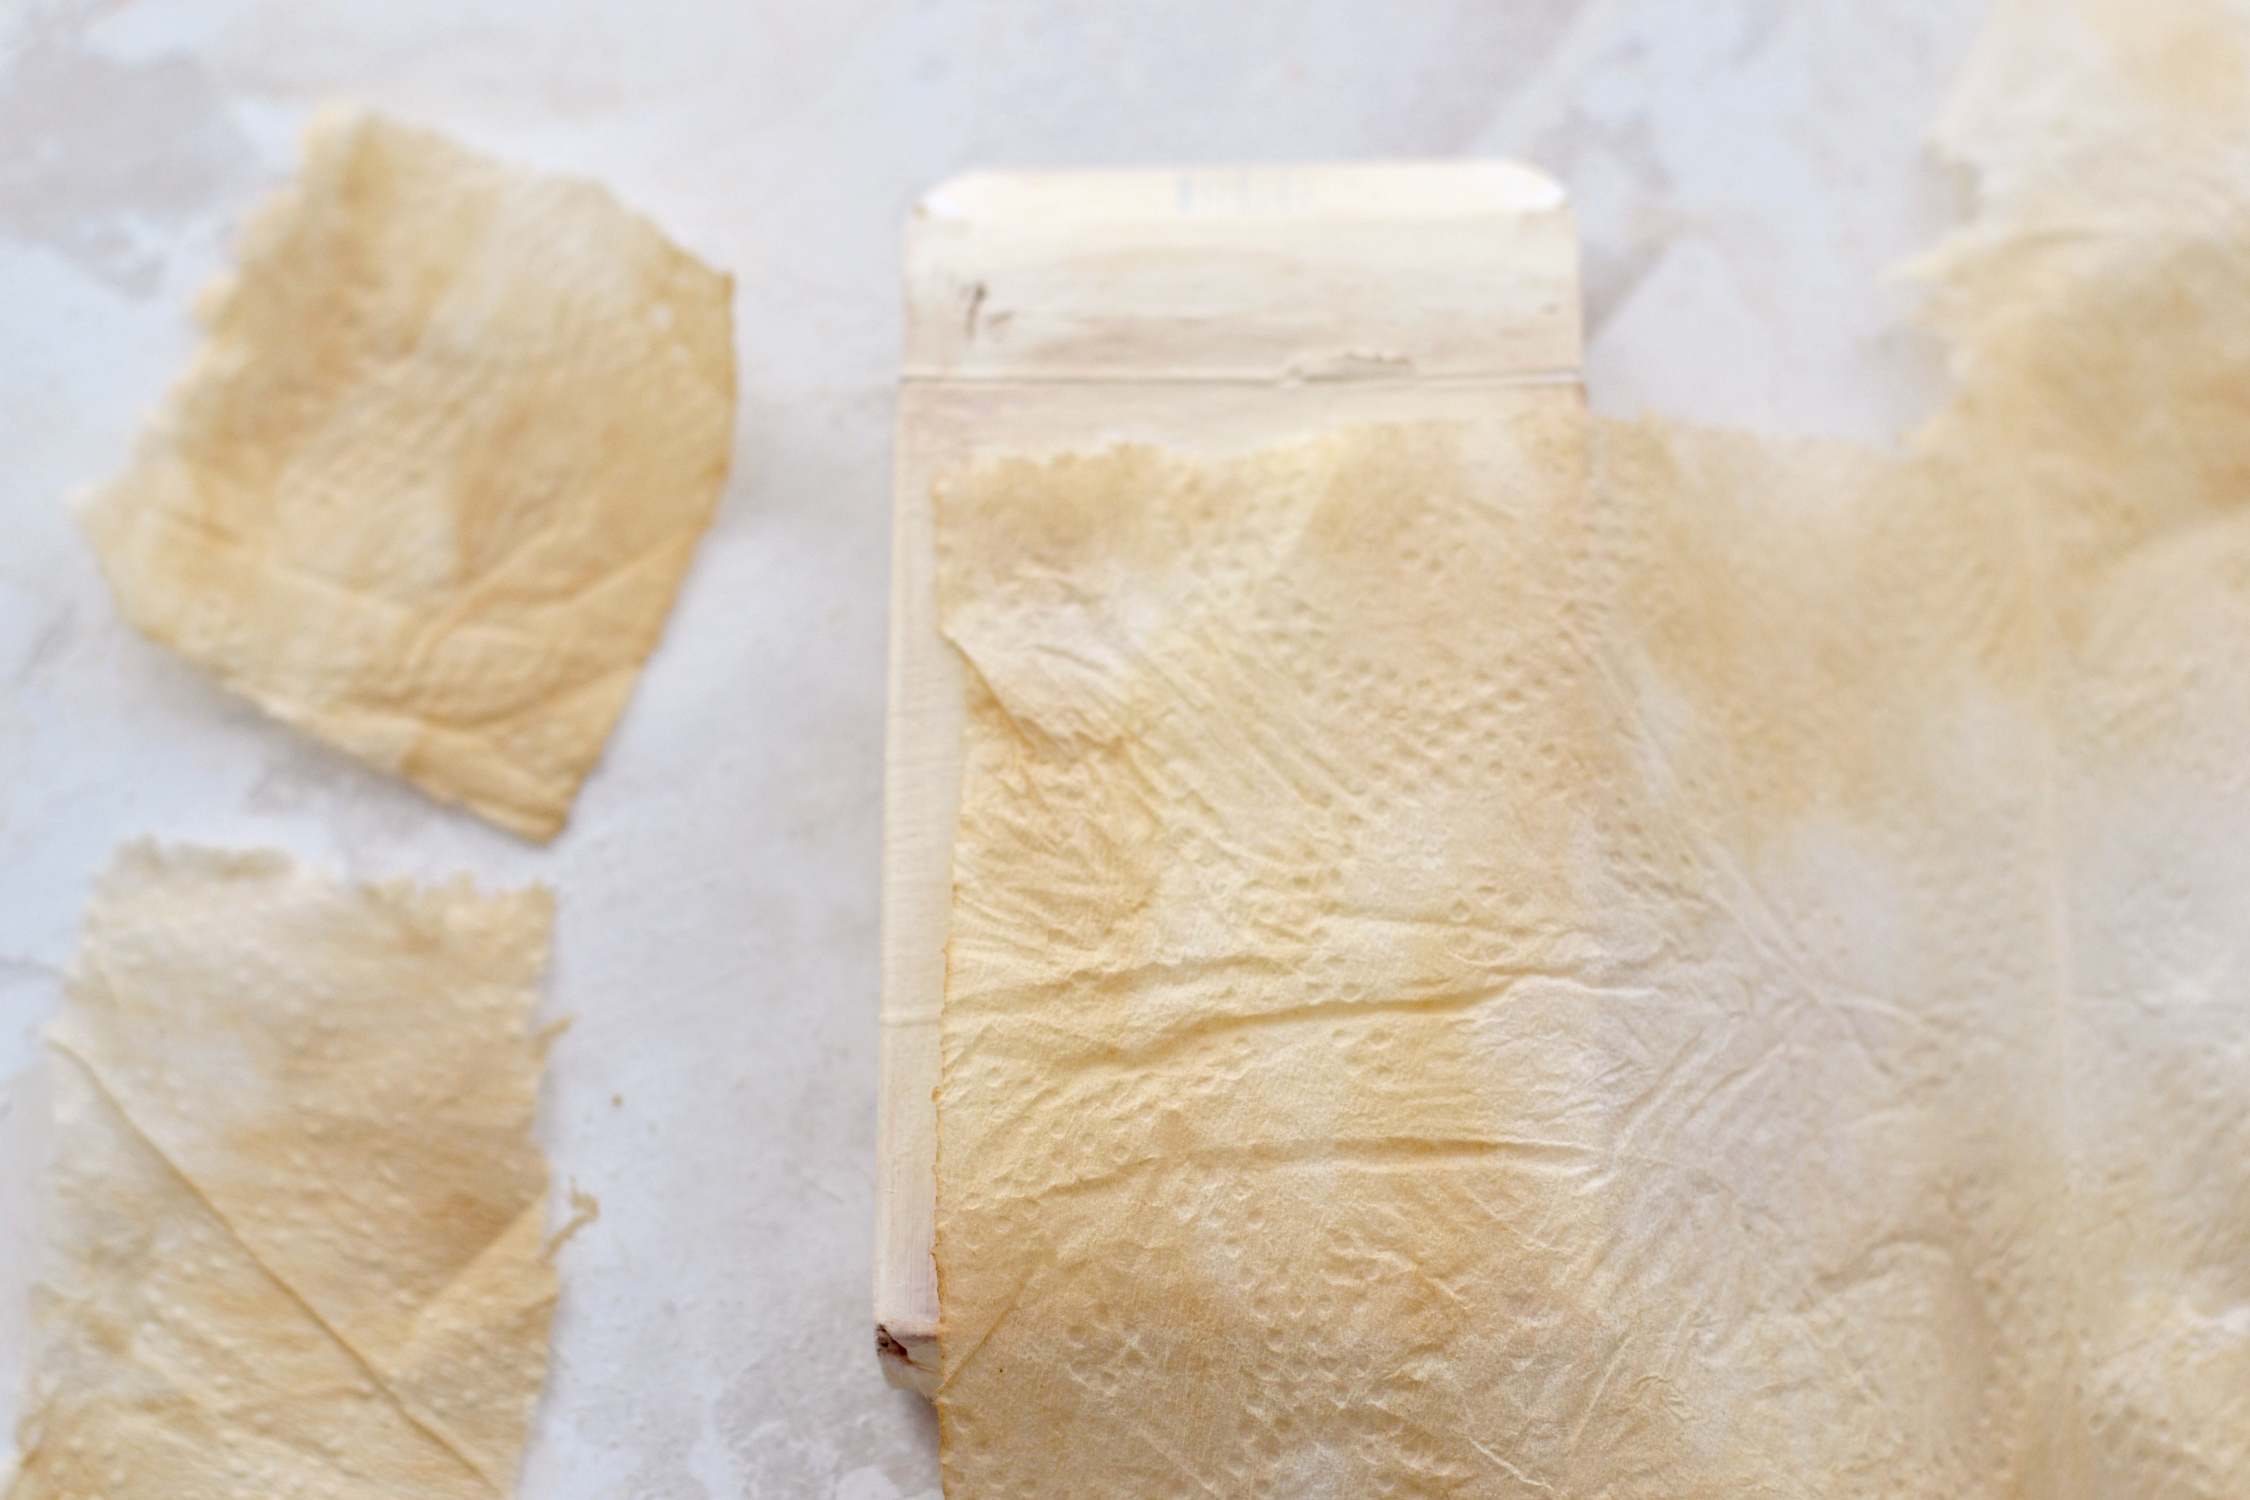
I placed a paper towel on the box to eye-measure it, then I just tore it to size.
These don’t have to be perfect, just tear and place them on the boxes so you’ll know which corresponds where.
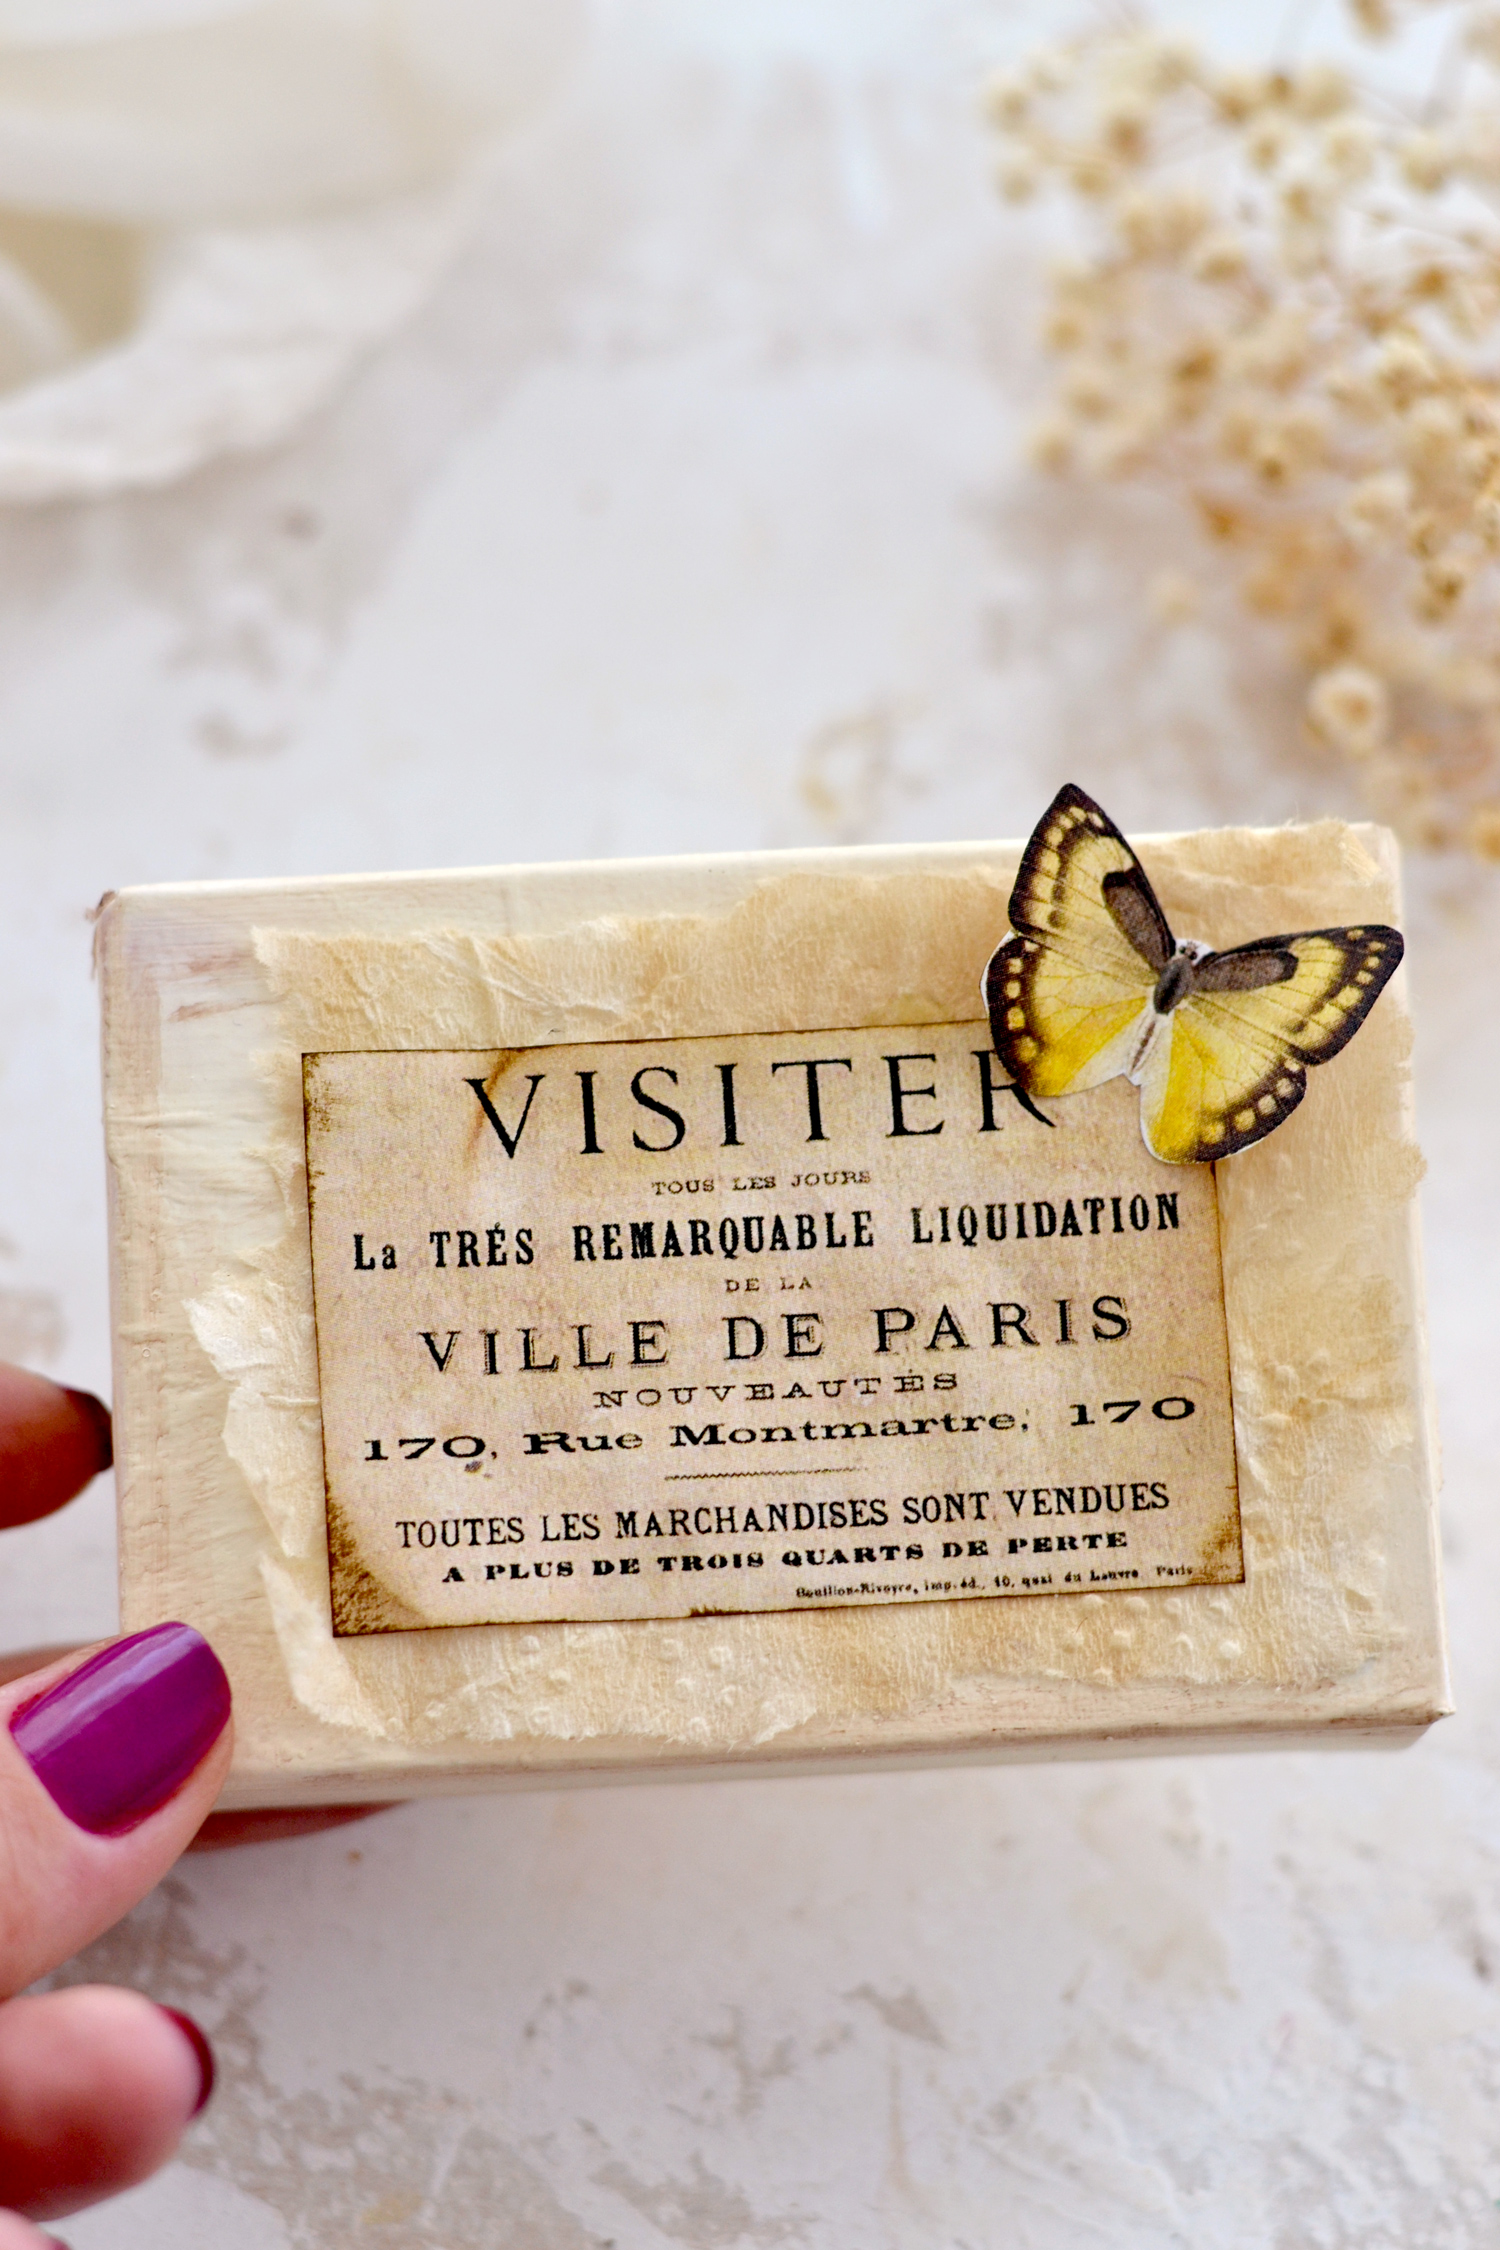
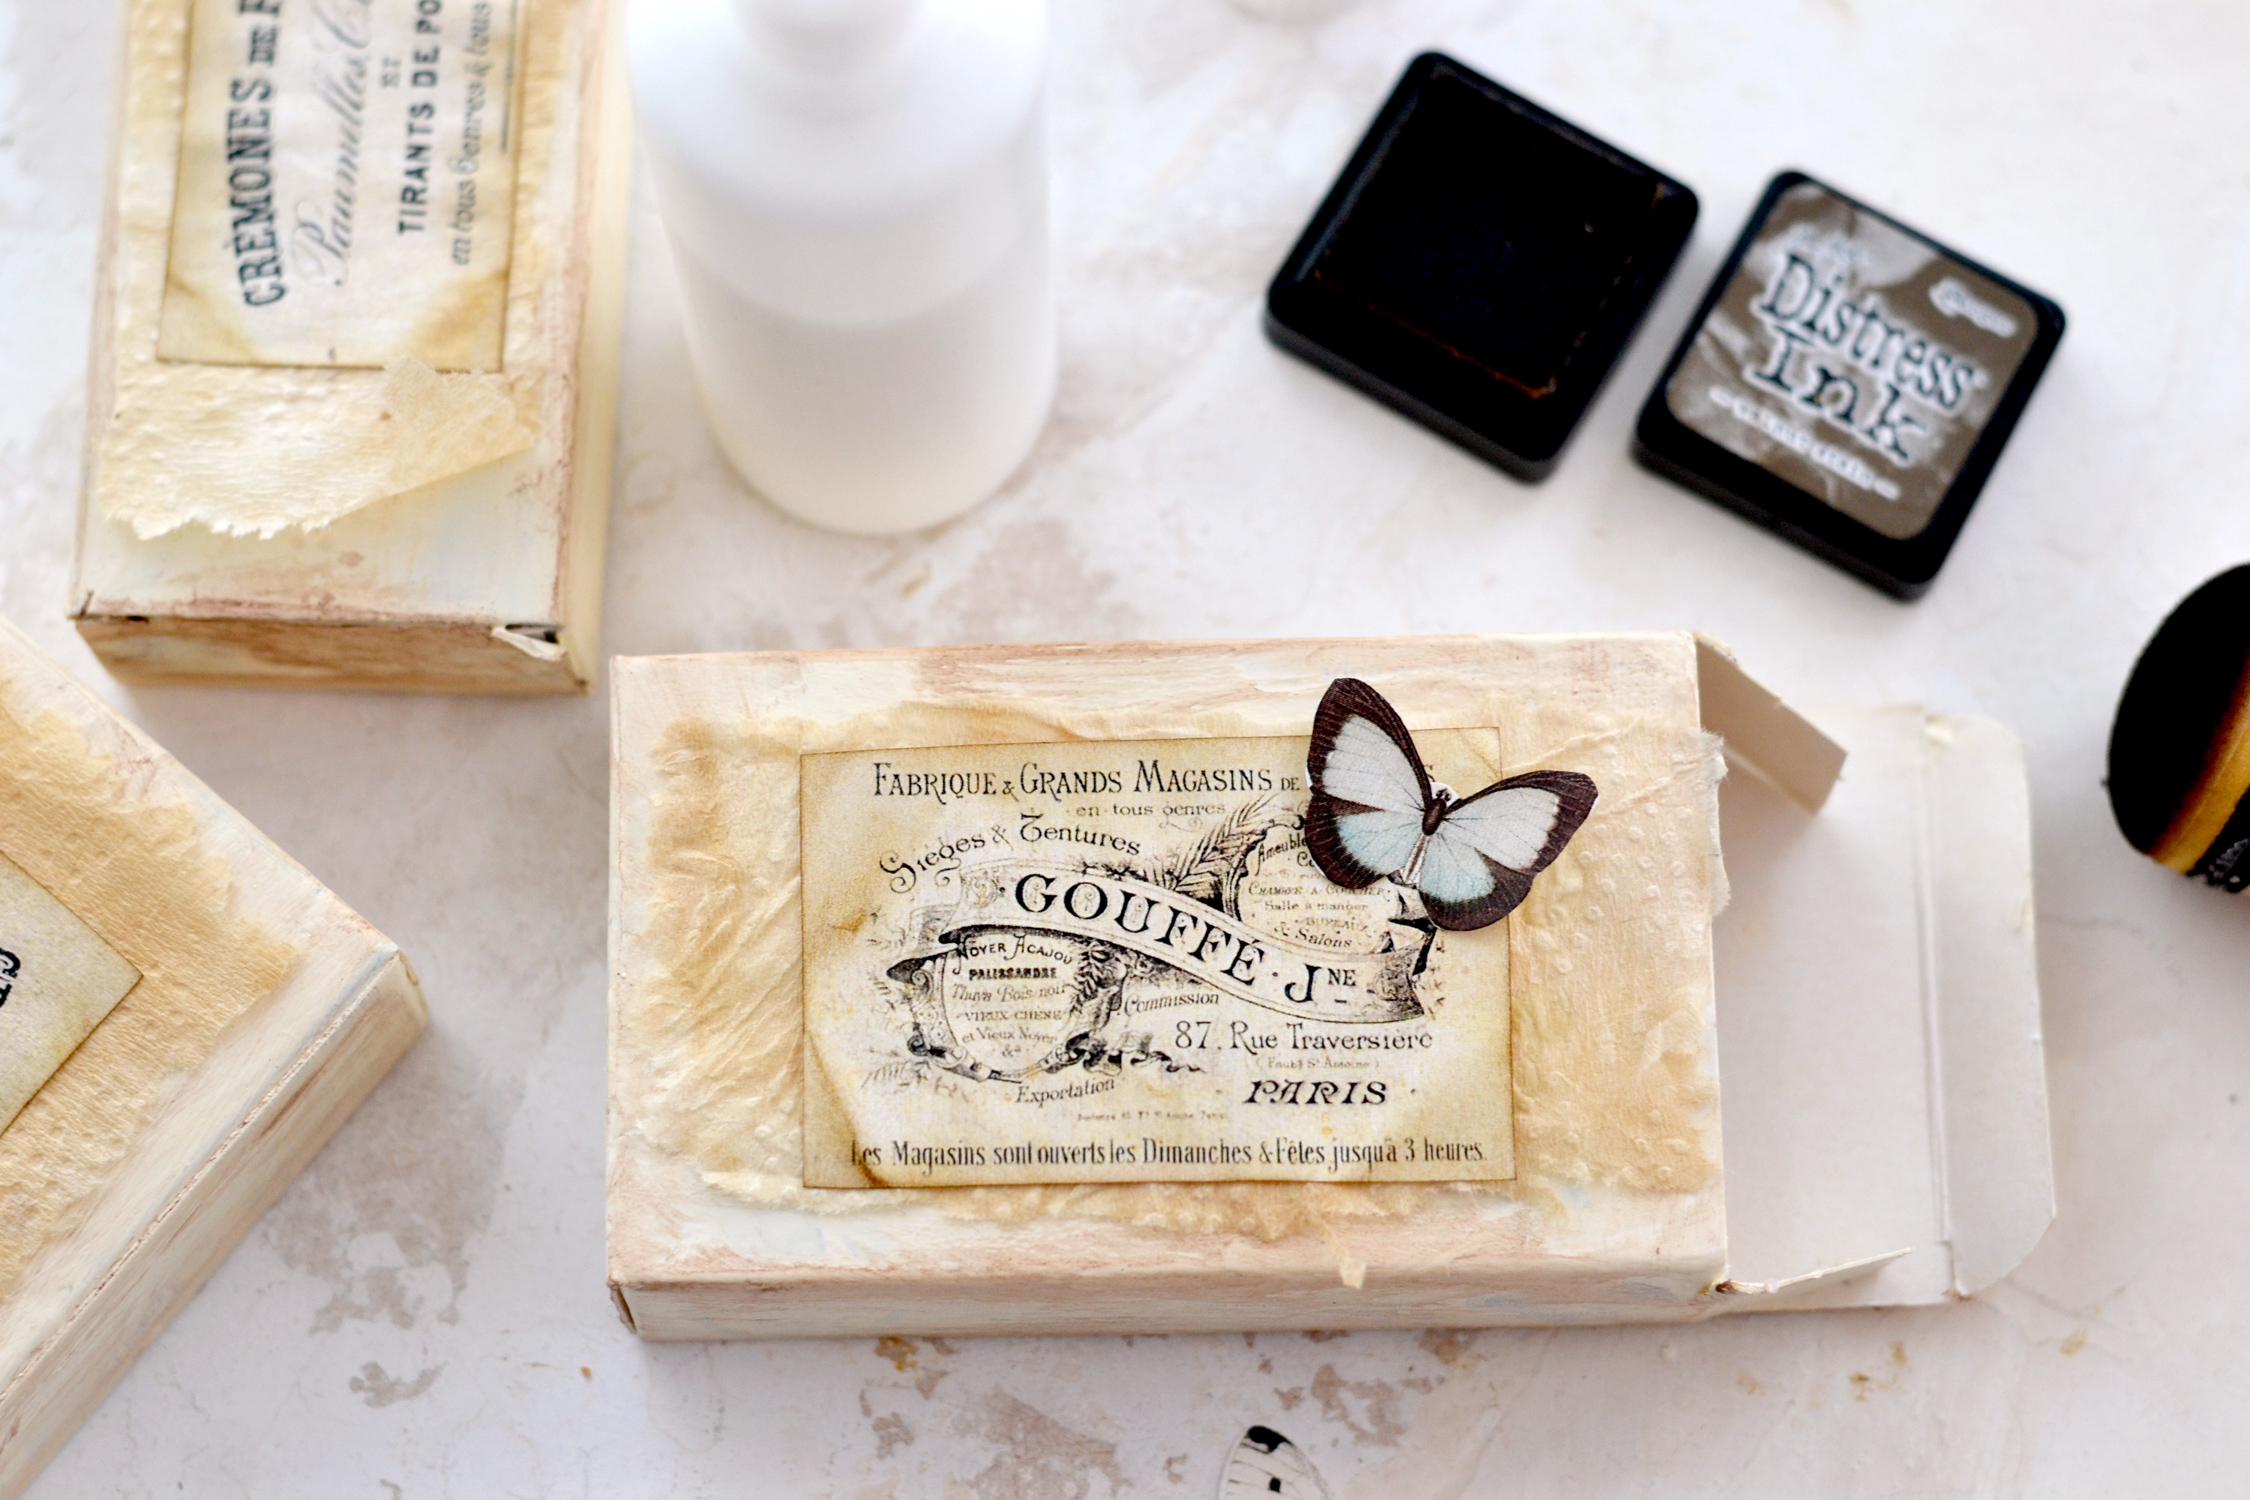
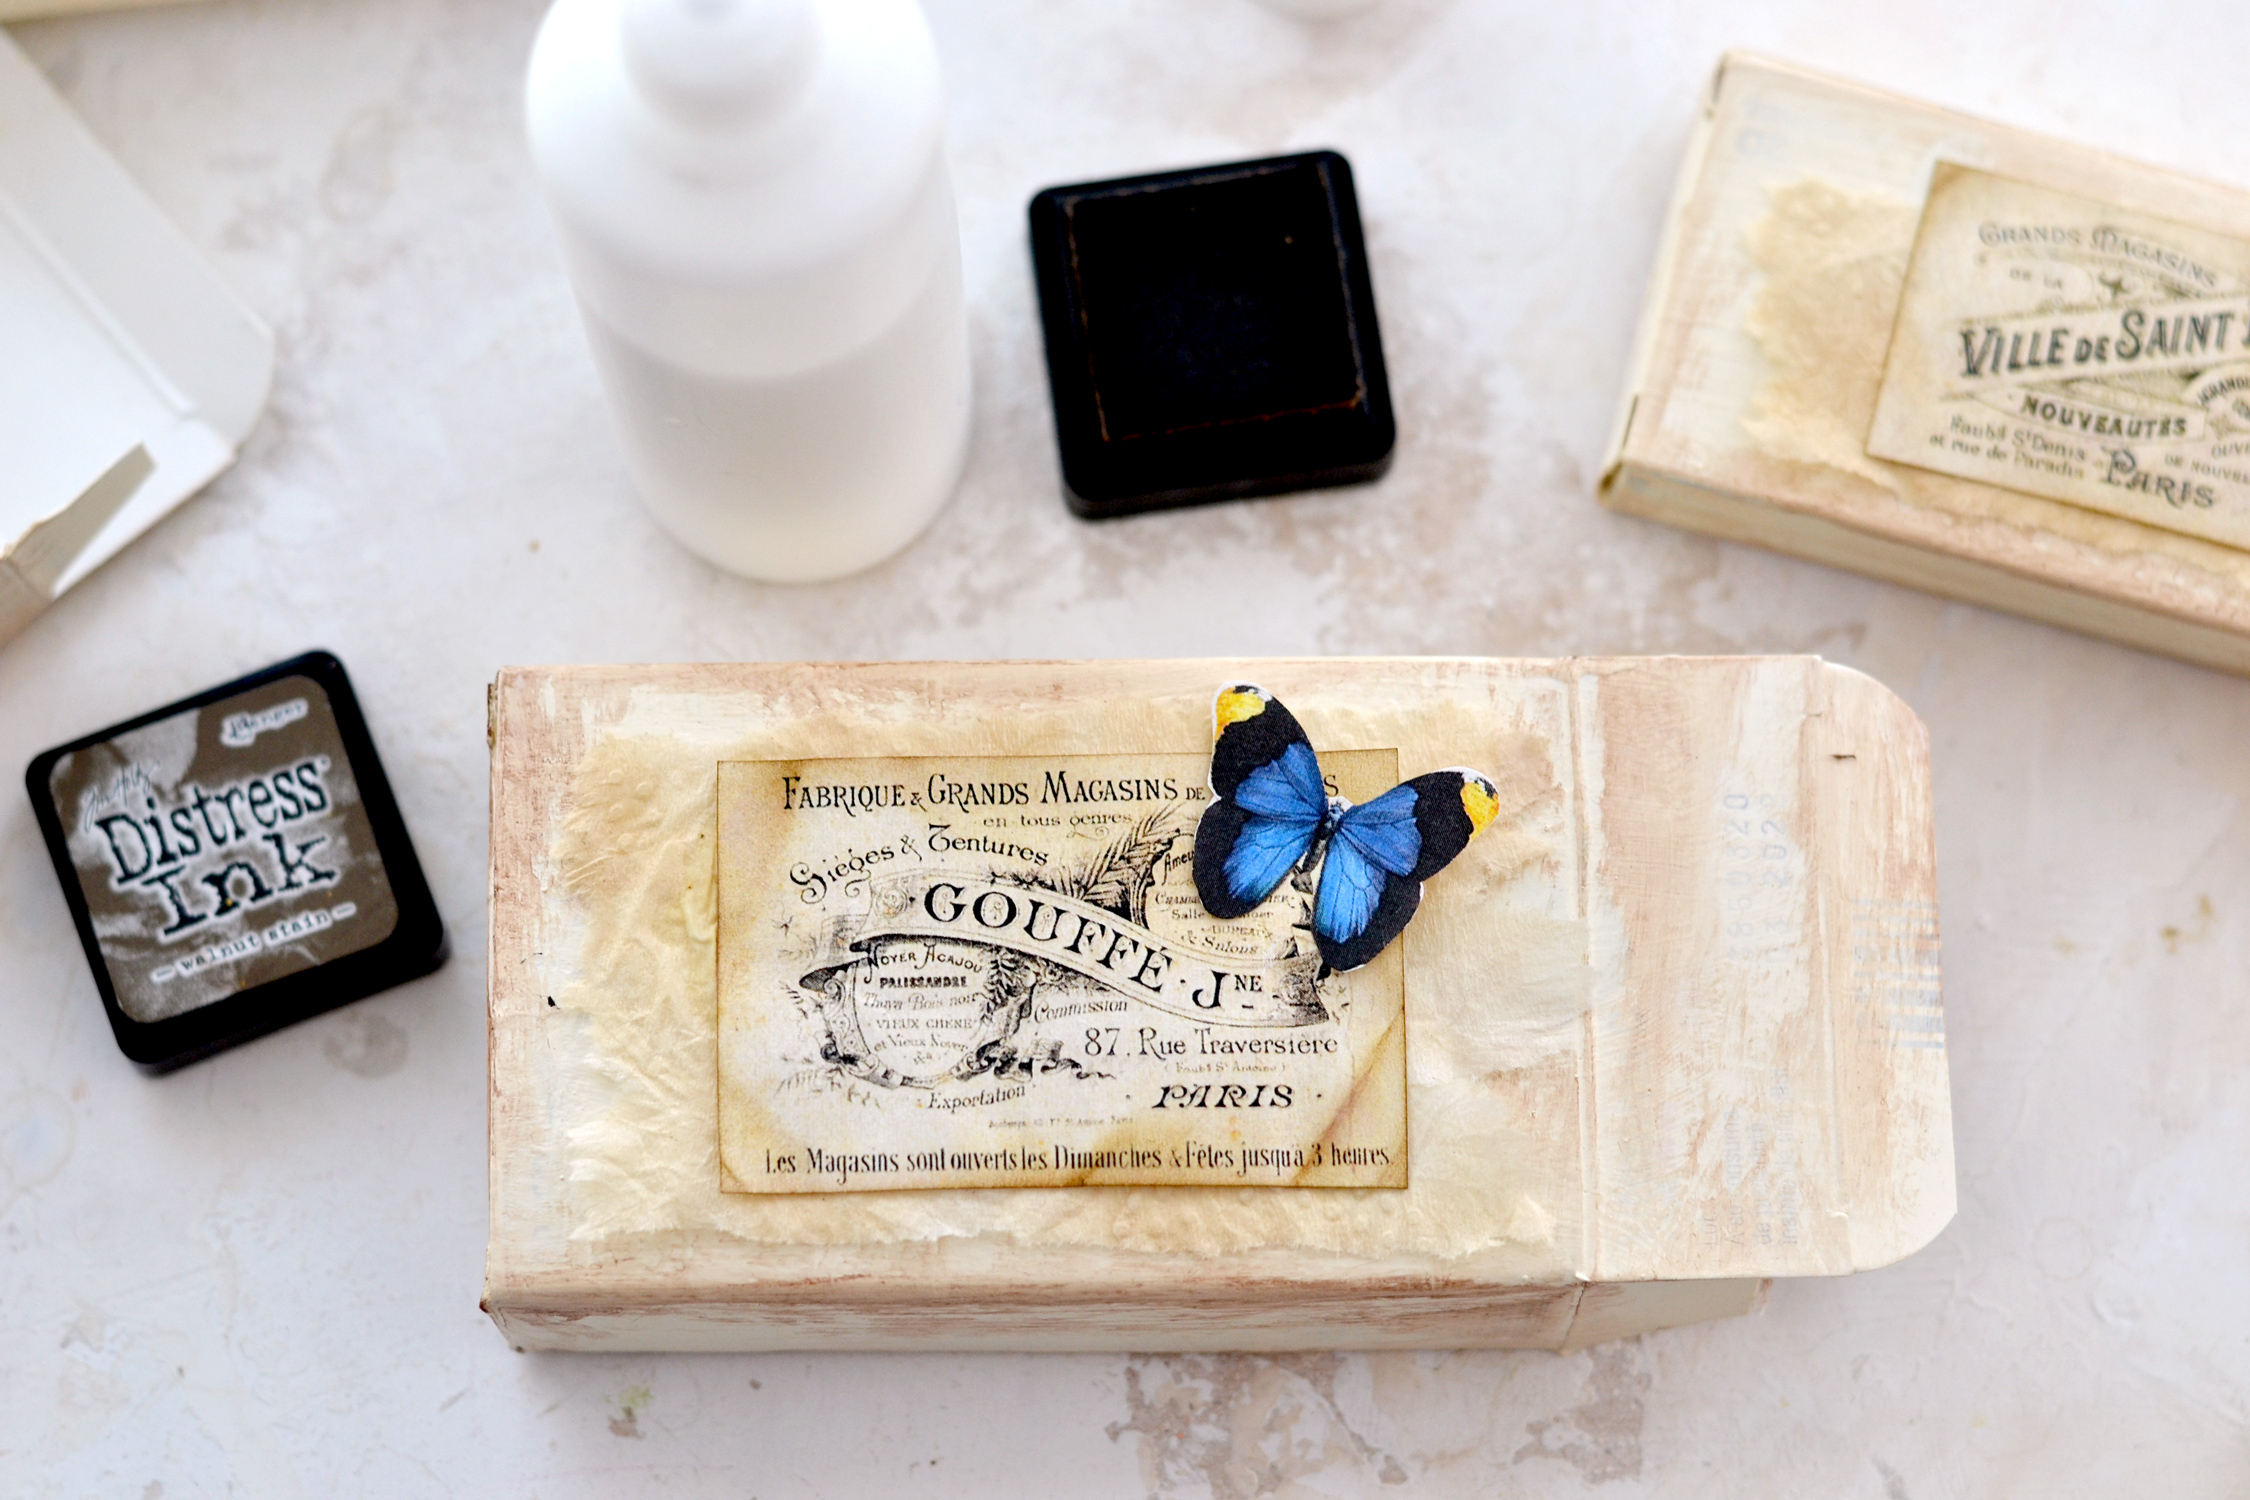
Use distress ink if you want to distress the French labels and the butterflies (be careful with them, they are quite fragile), then use some craft glue to adhere them all to your boxes. You can choose to decorate the back or the front of the box.
Or why not, decorate them both – the choice is all yours!
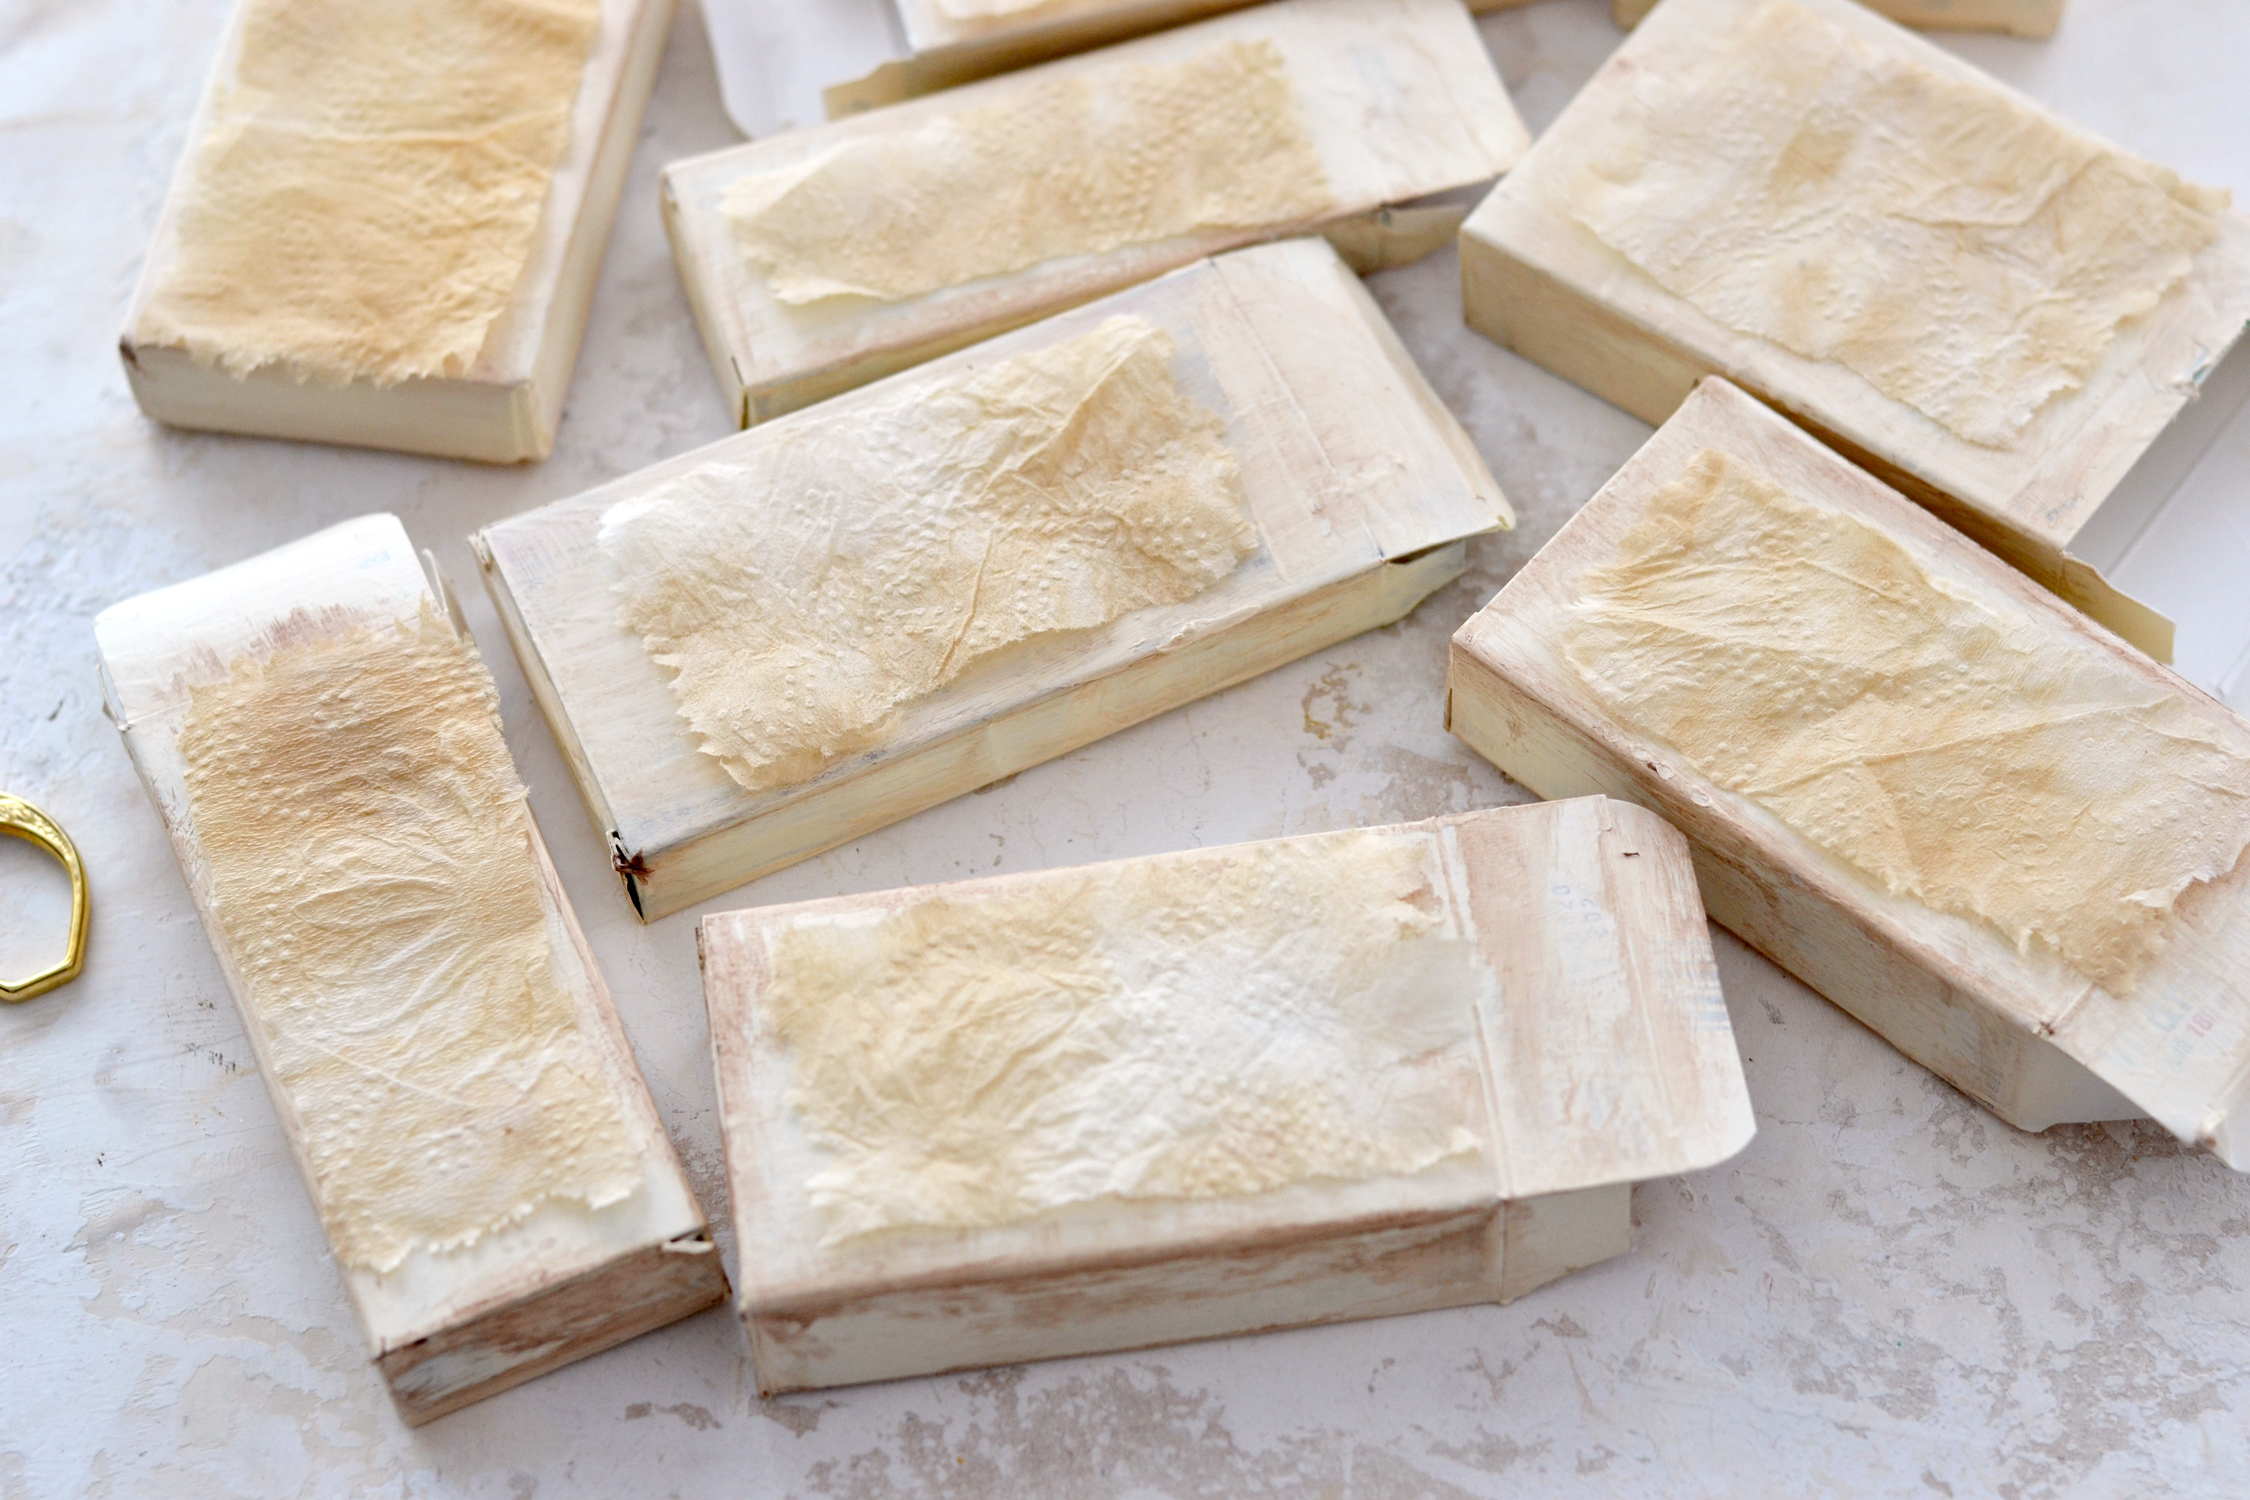
I kept the opening flap on my right while decorating the boxes, I thought they would look better this way even if I would rotate them from this initial horizontal position.
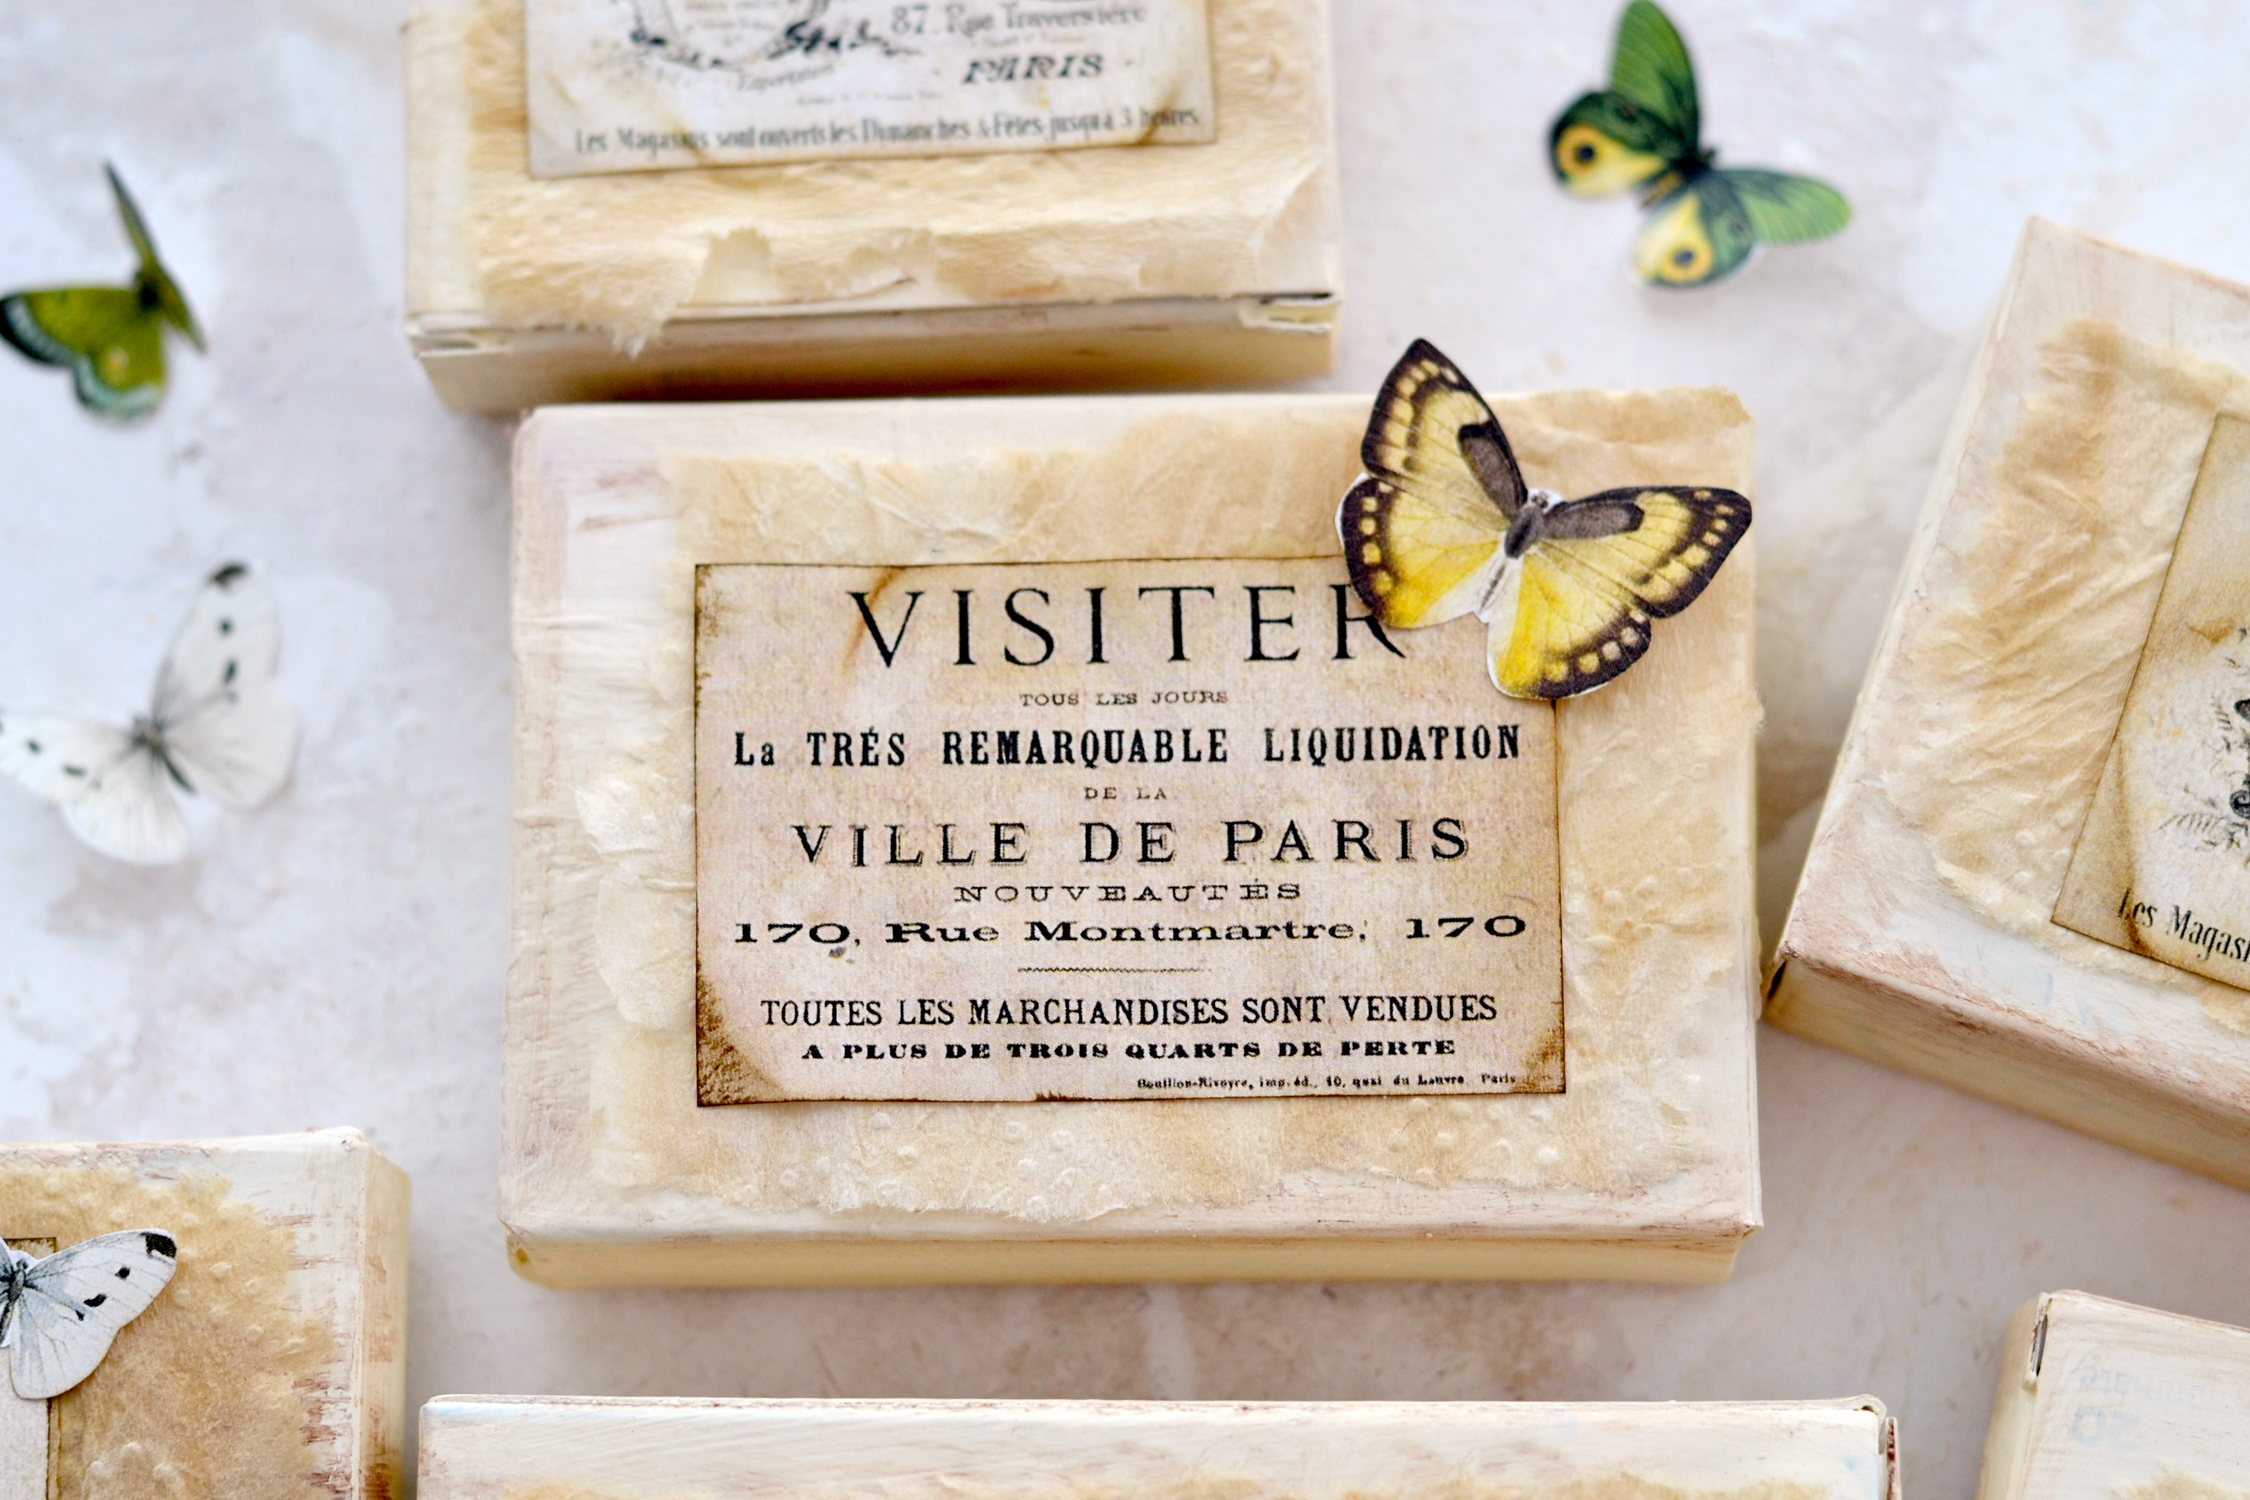
I feel like the paper towels were such a nice touch that added a little bit of whimsy to our boxes! Mine already had a small abstract design but if you want, you can take things further and use an embossing folder to create a custom design on yours.
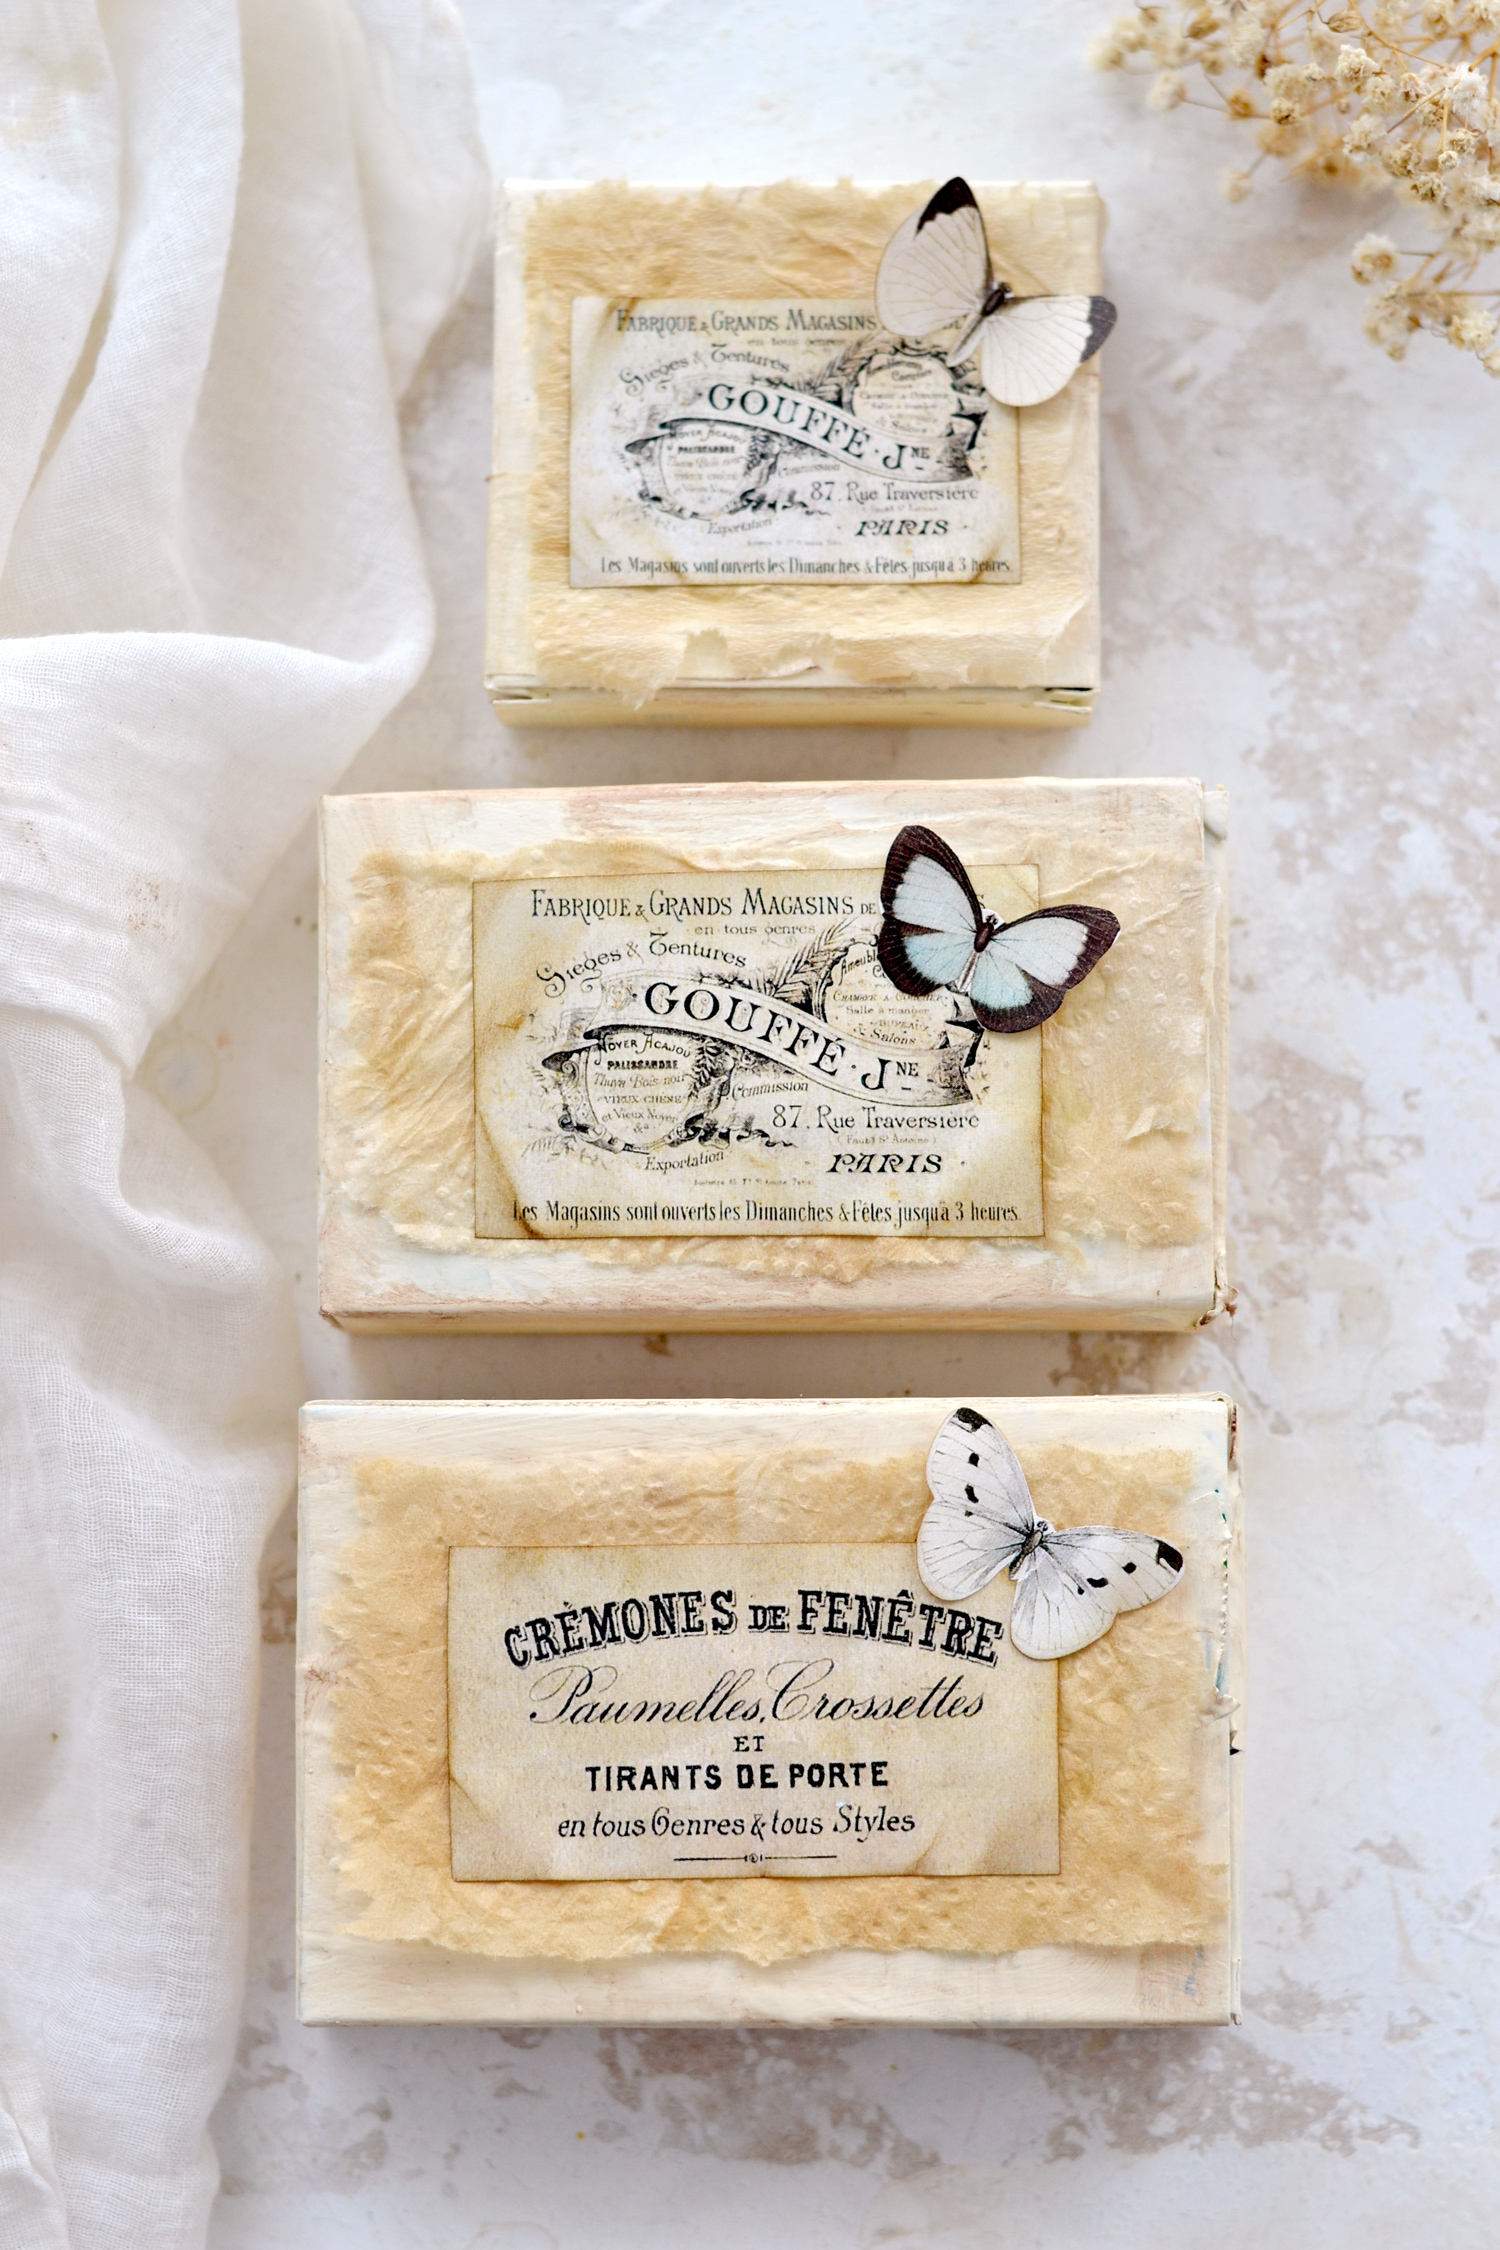
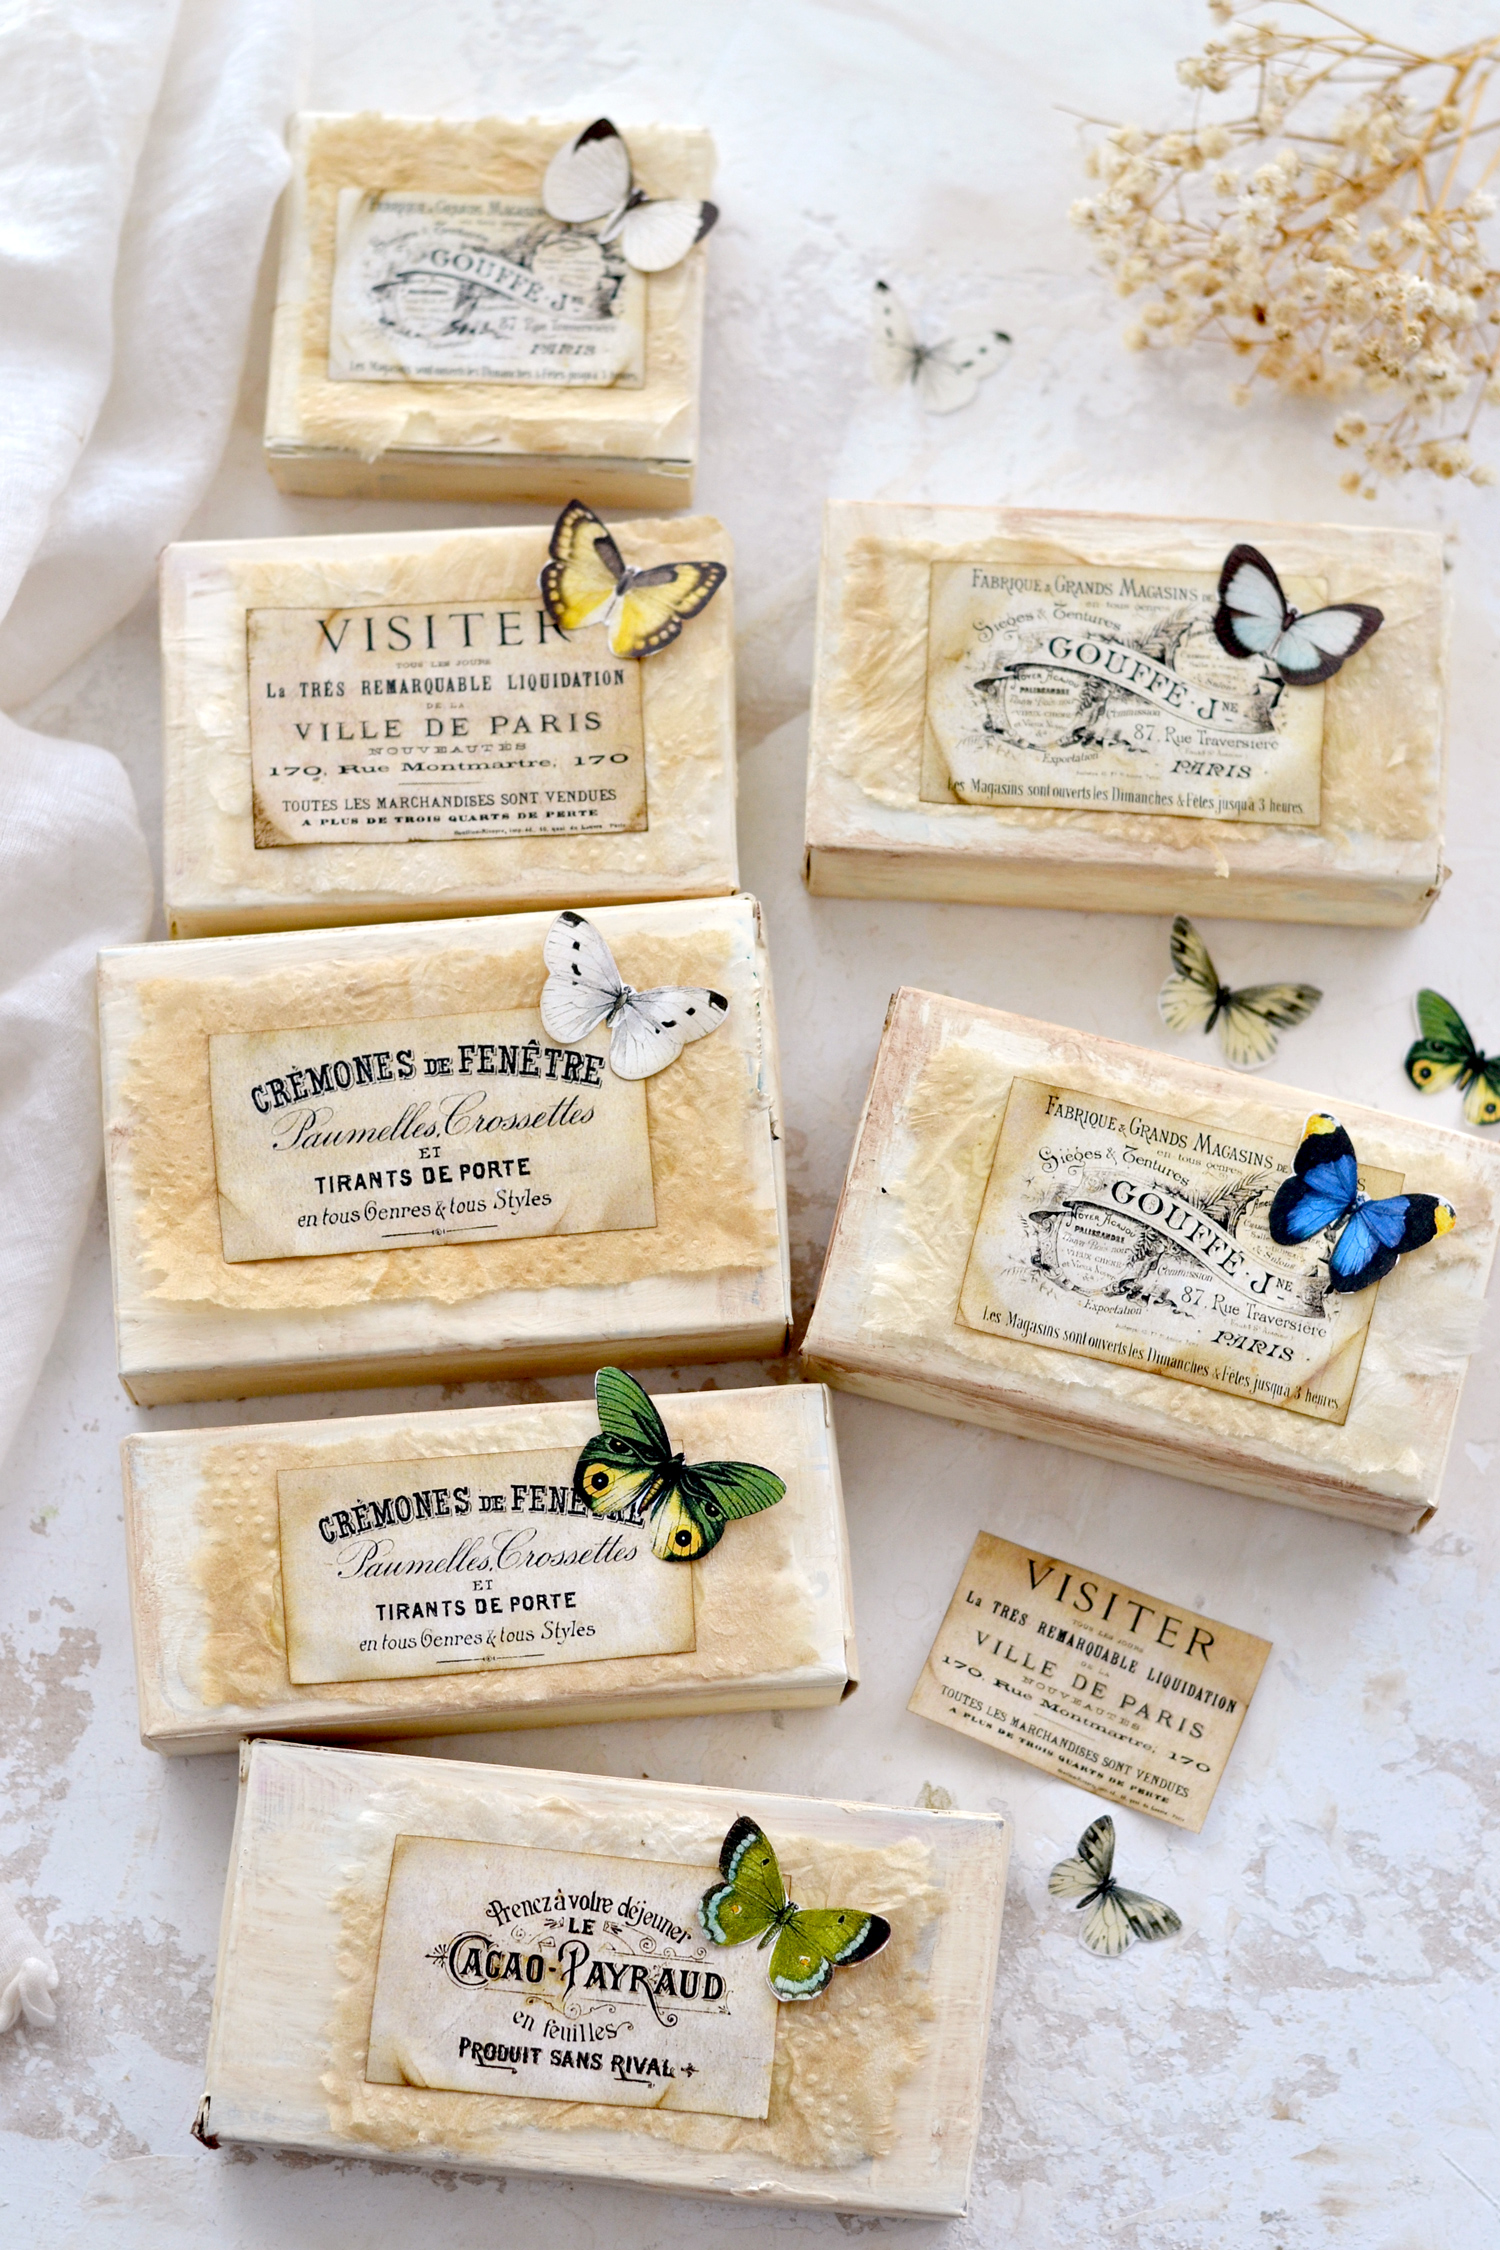
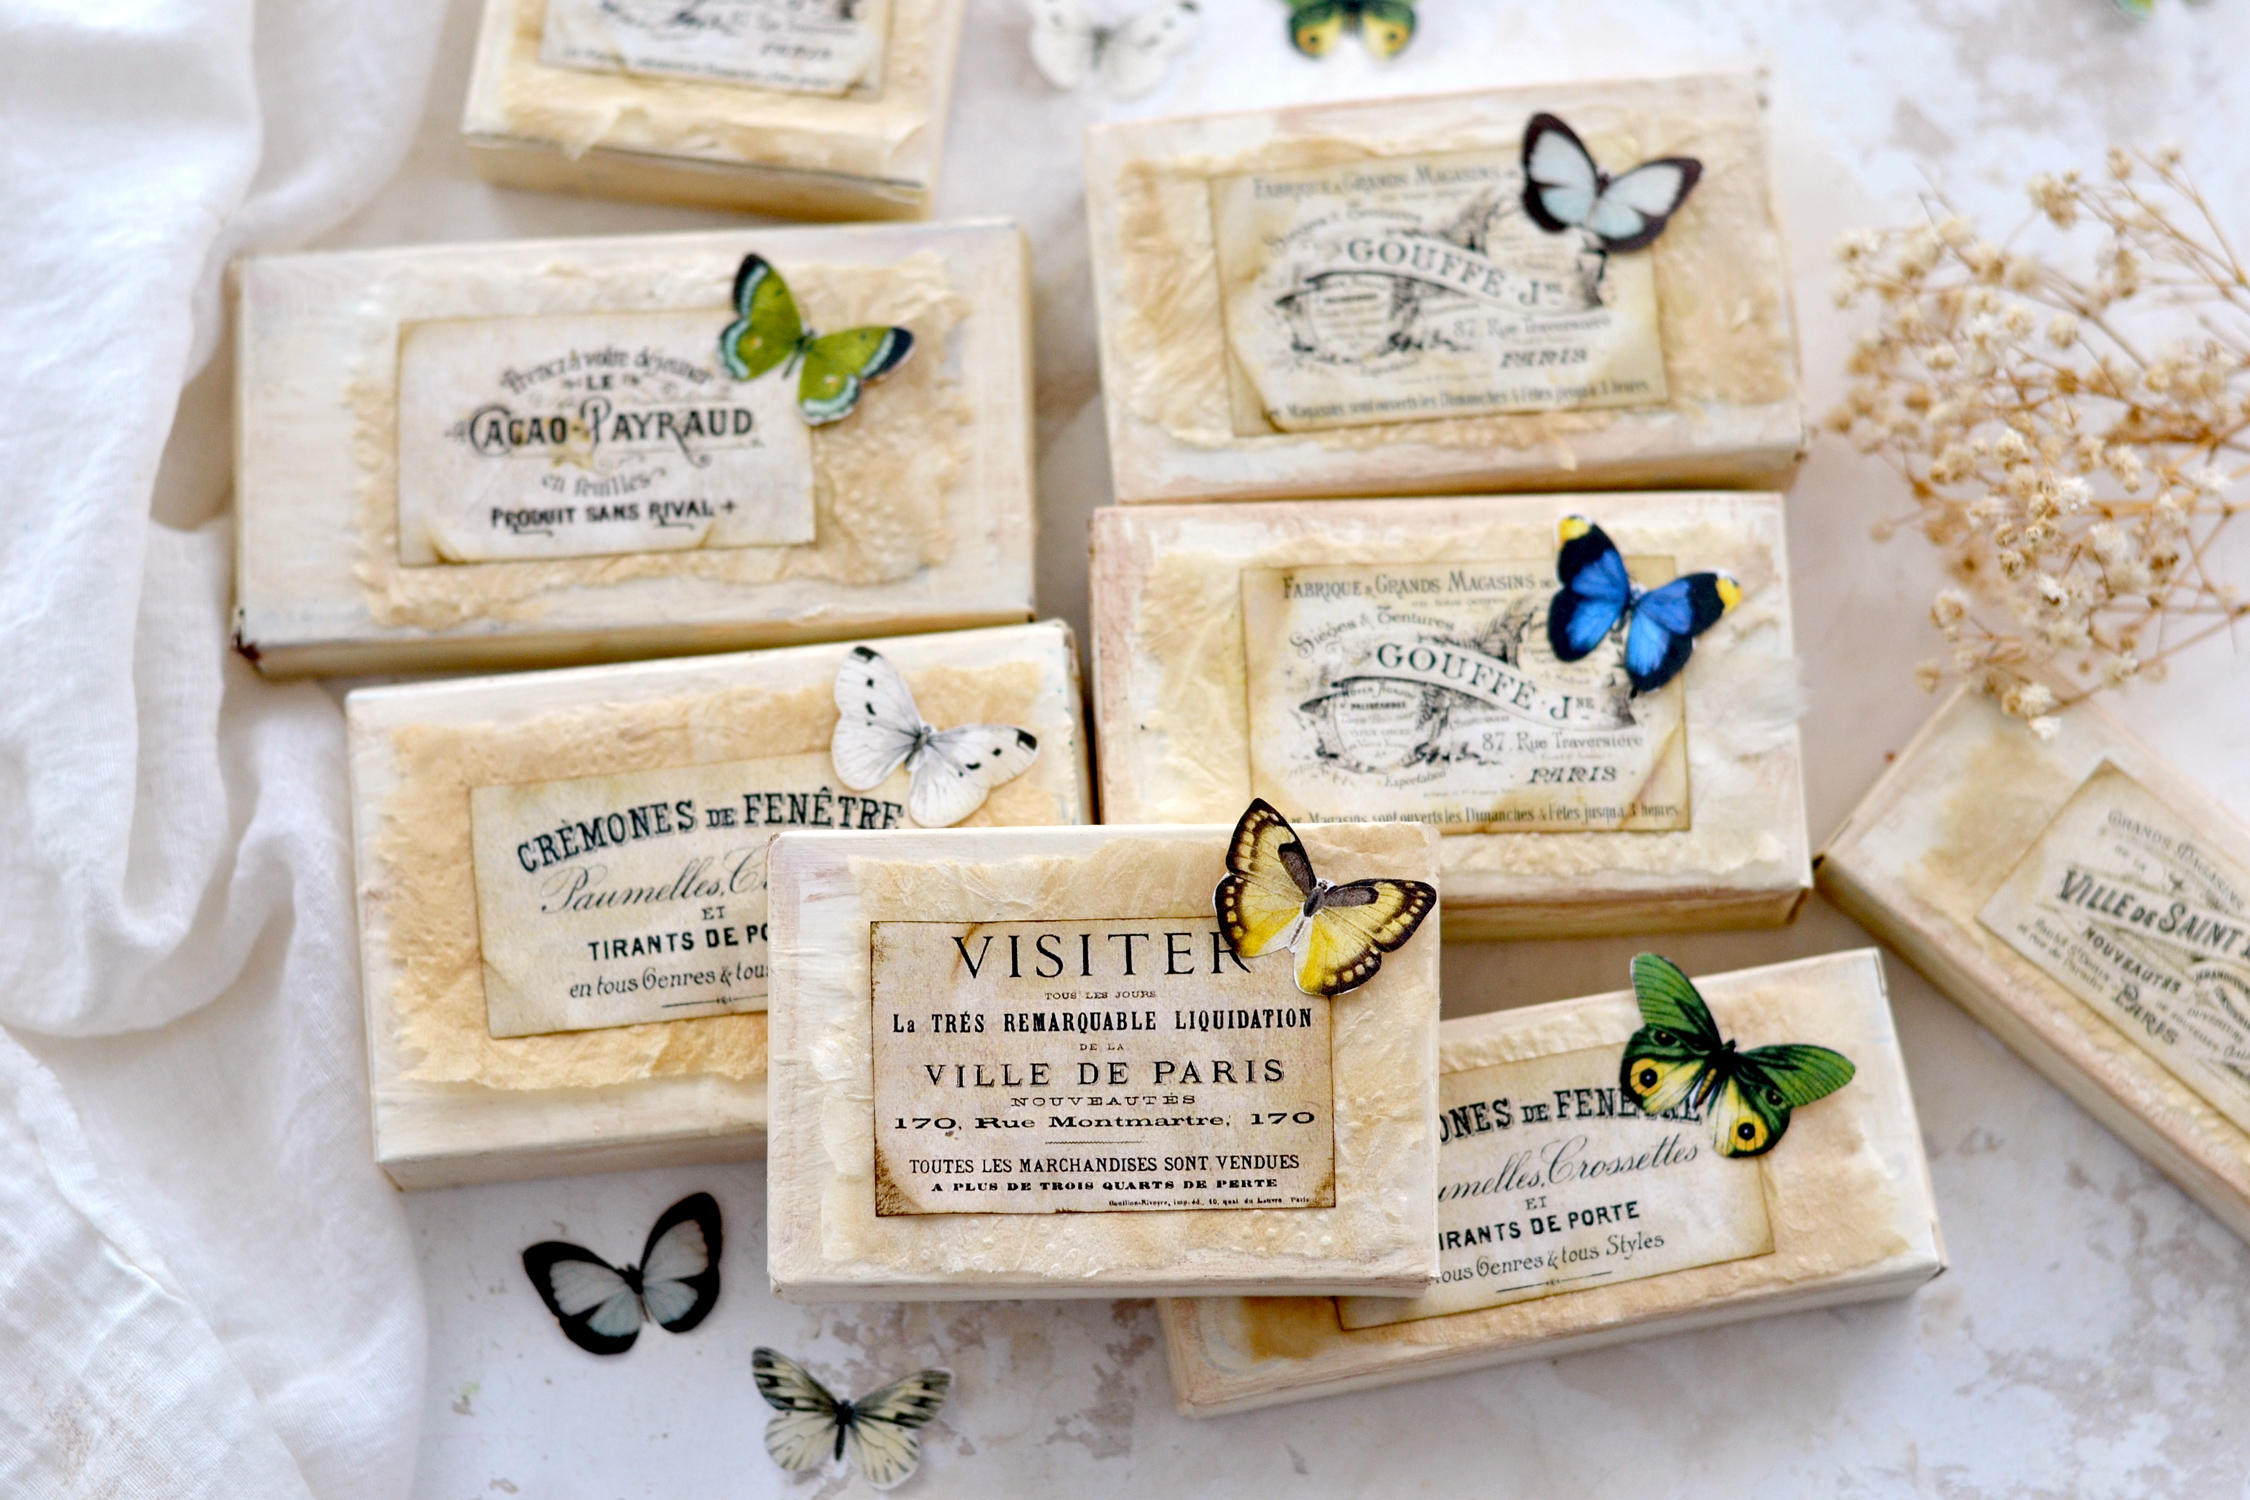
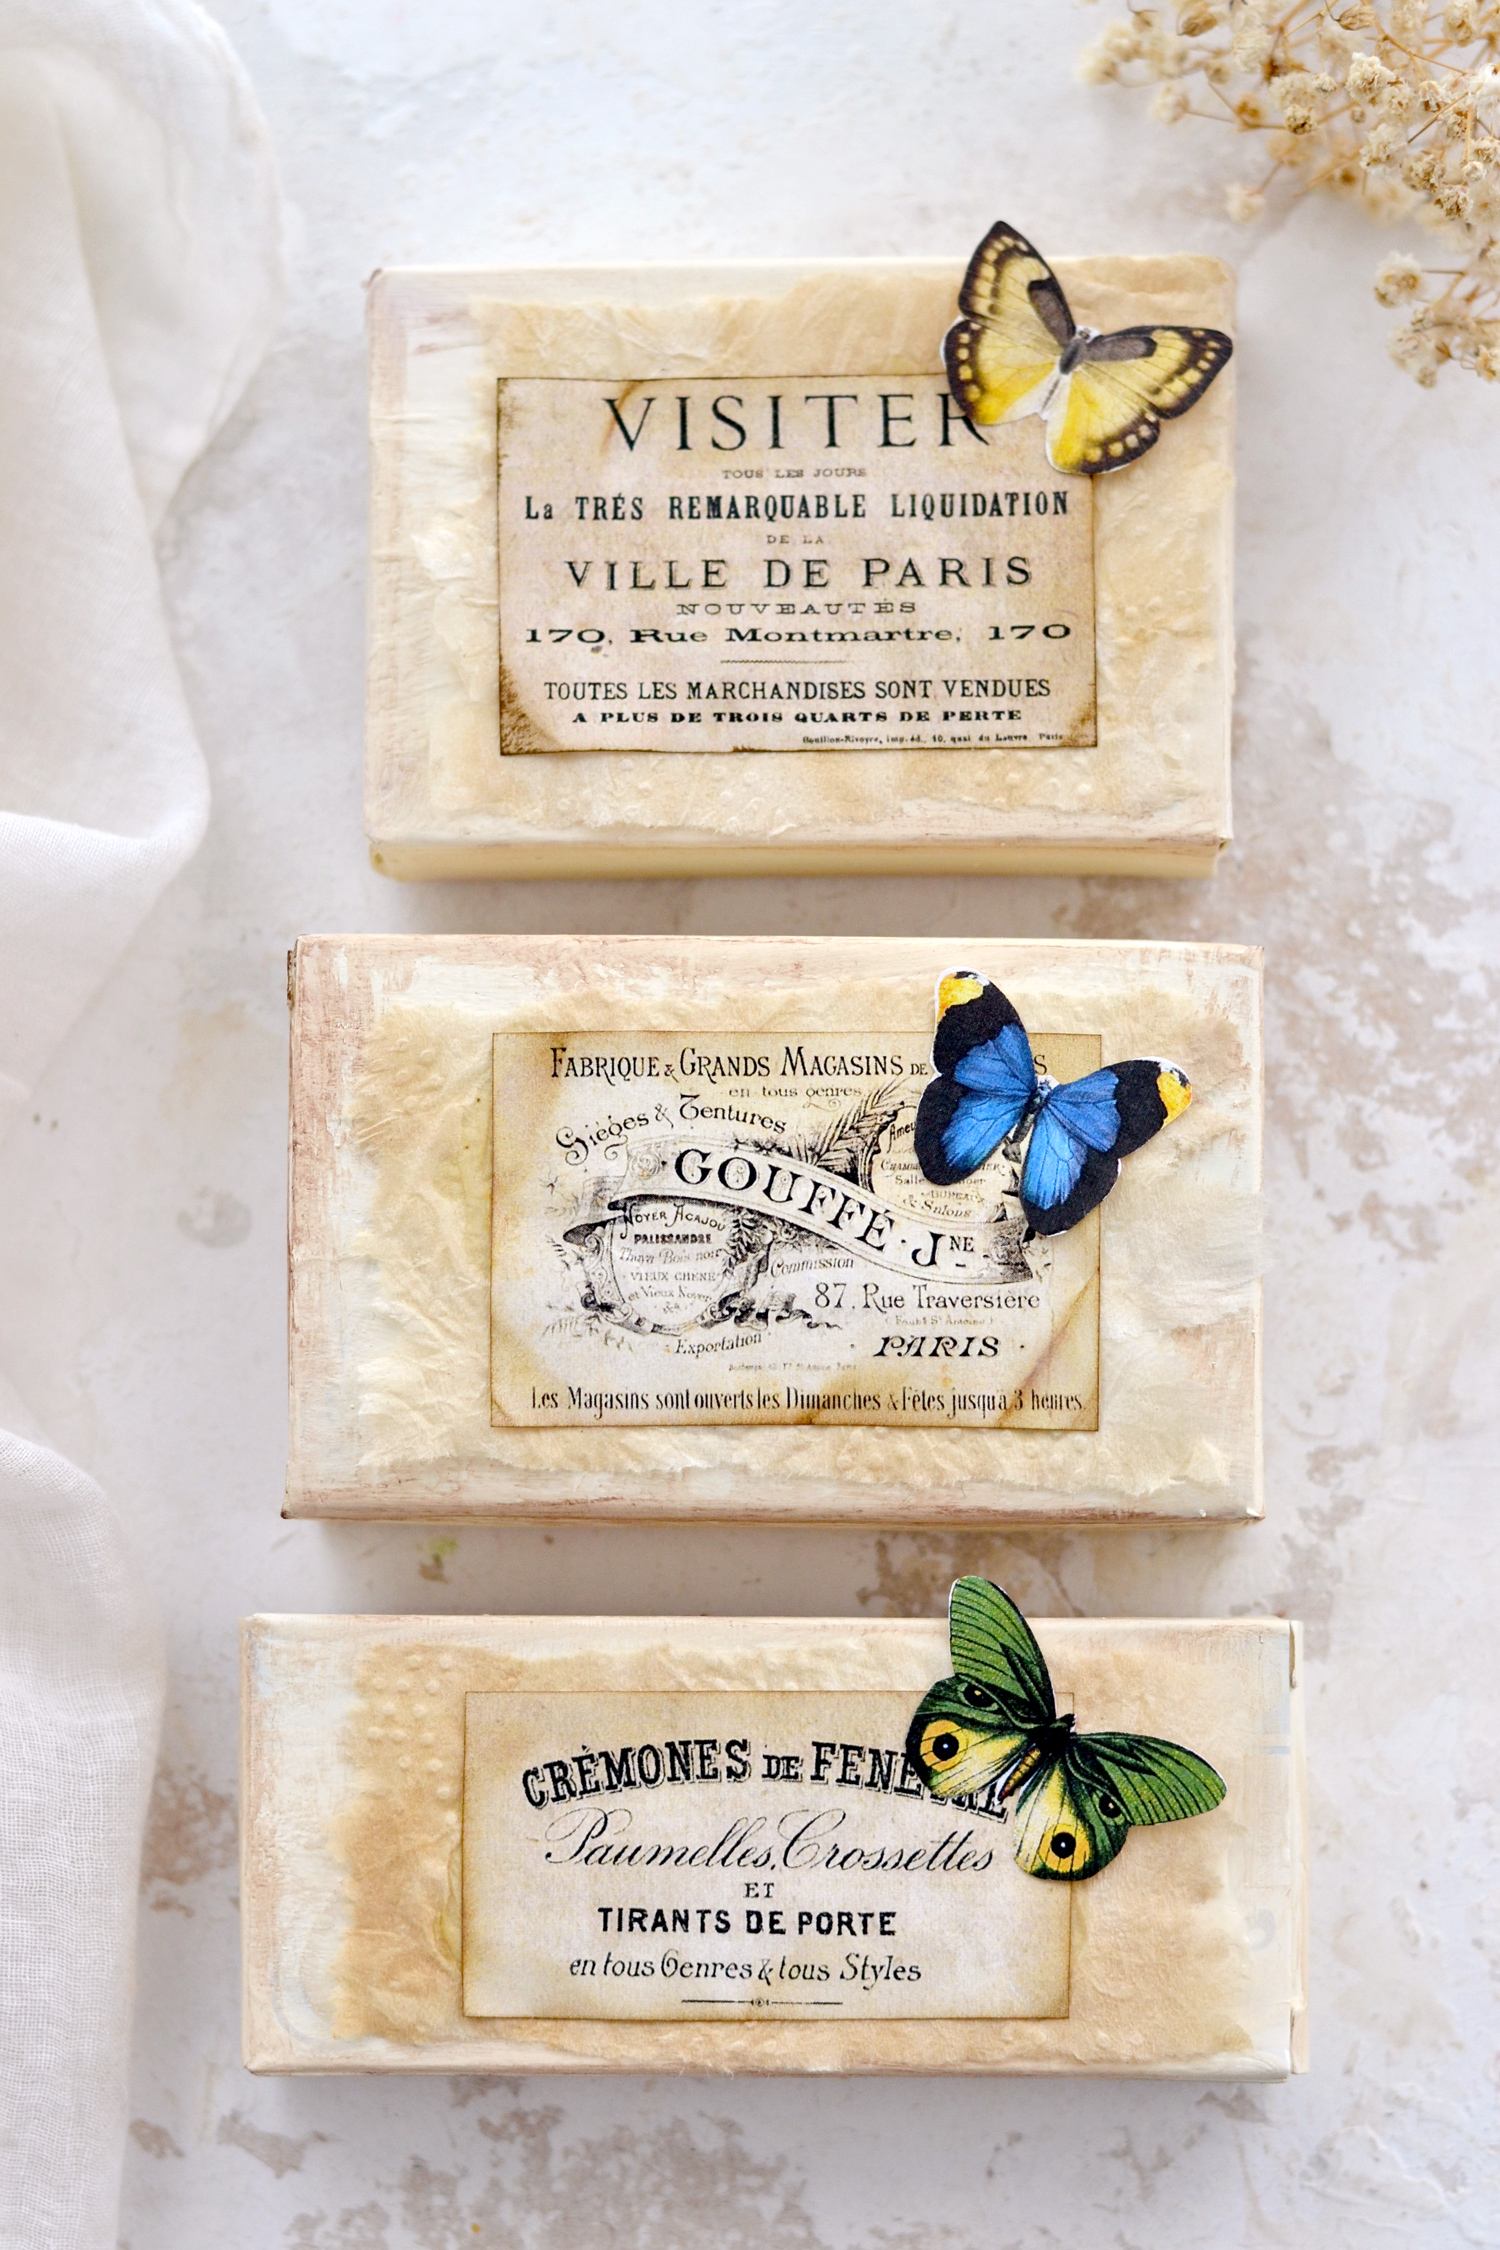
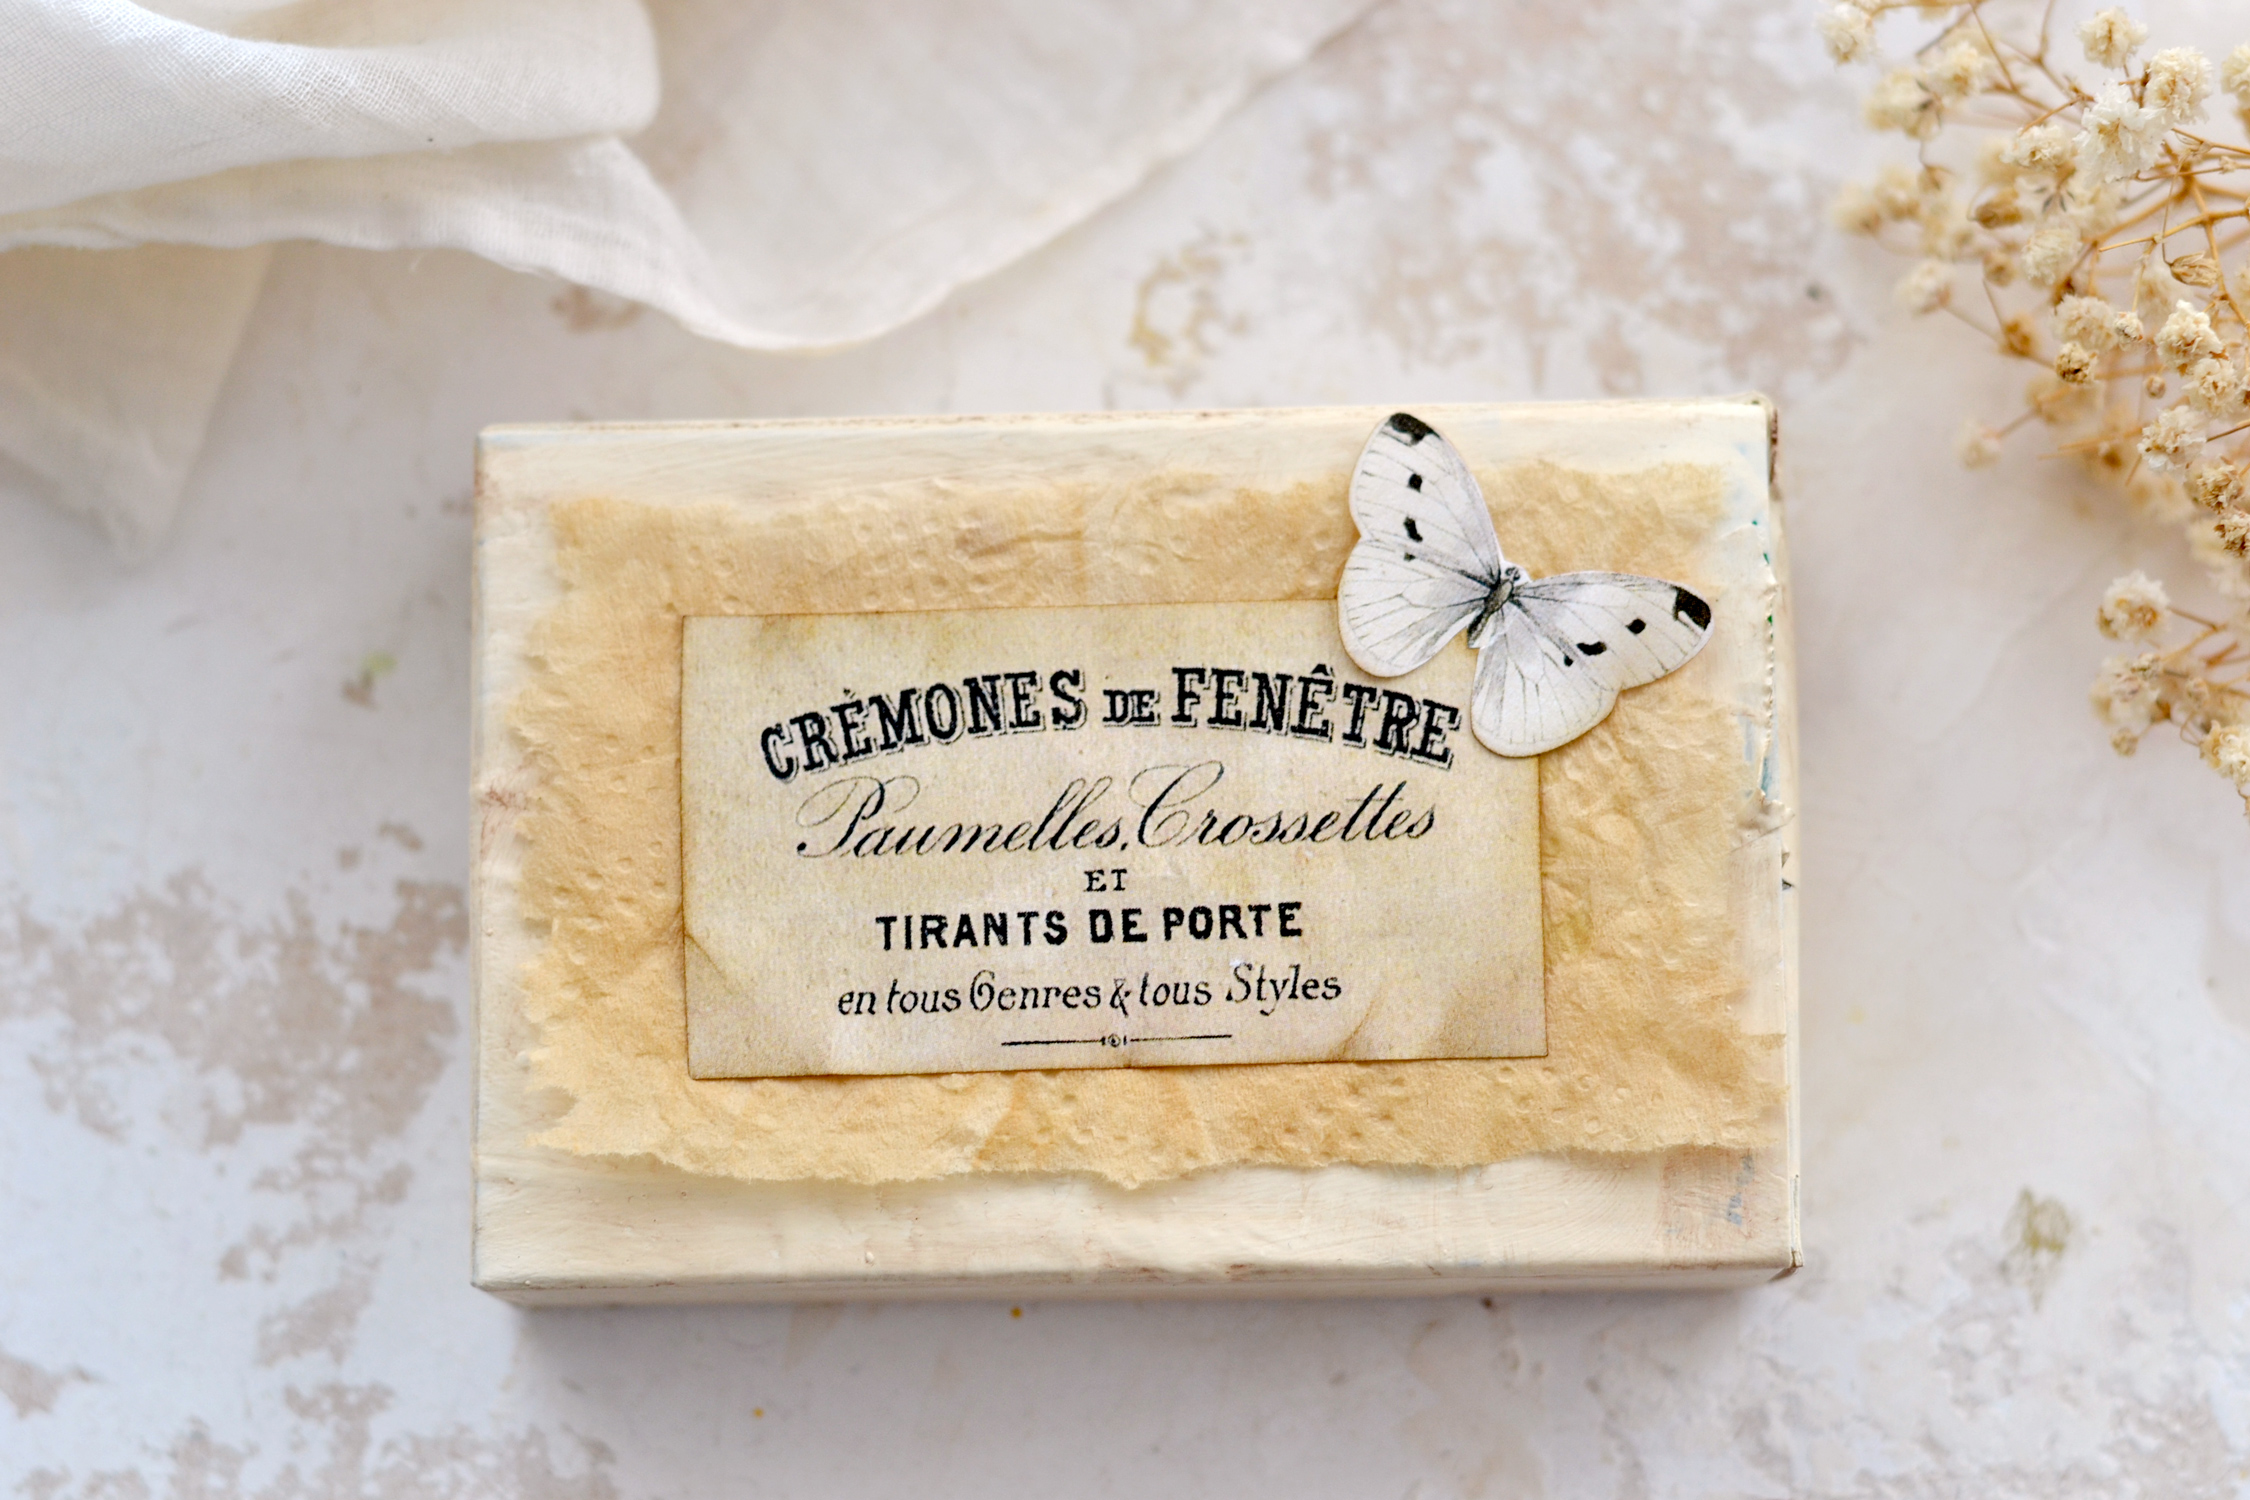
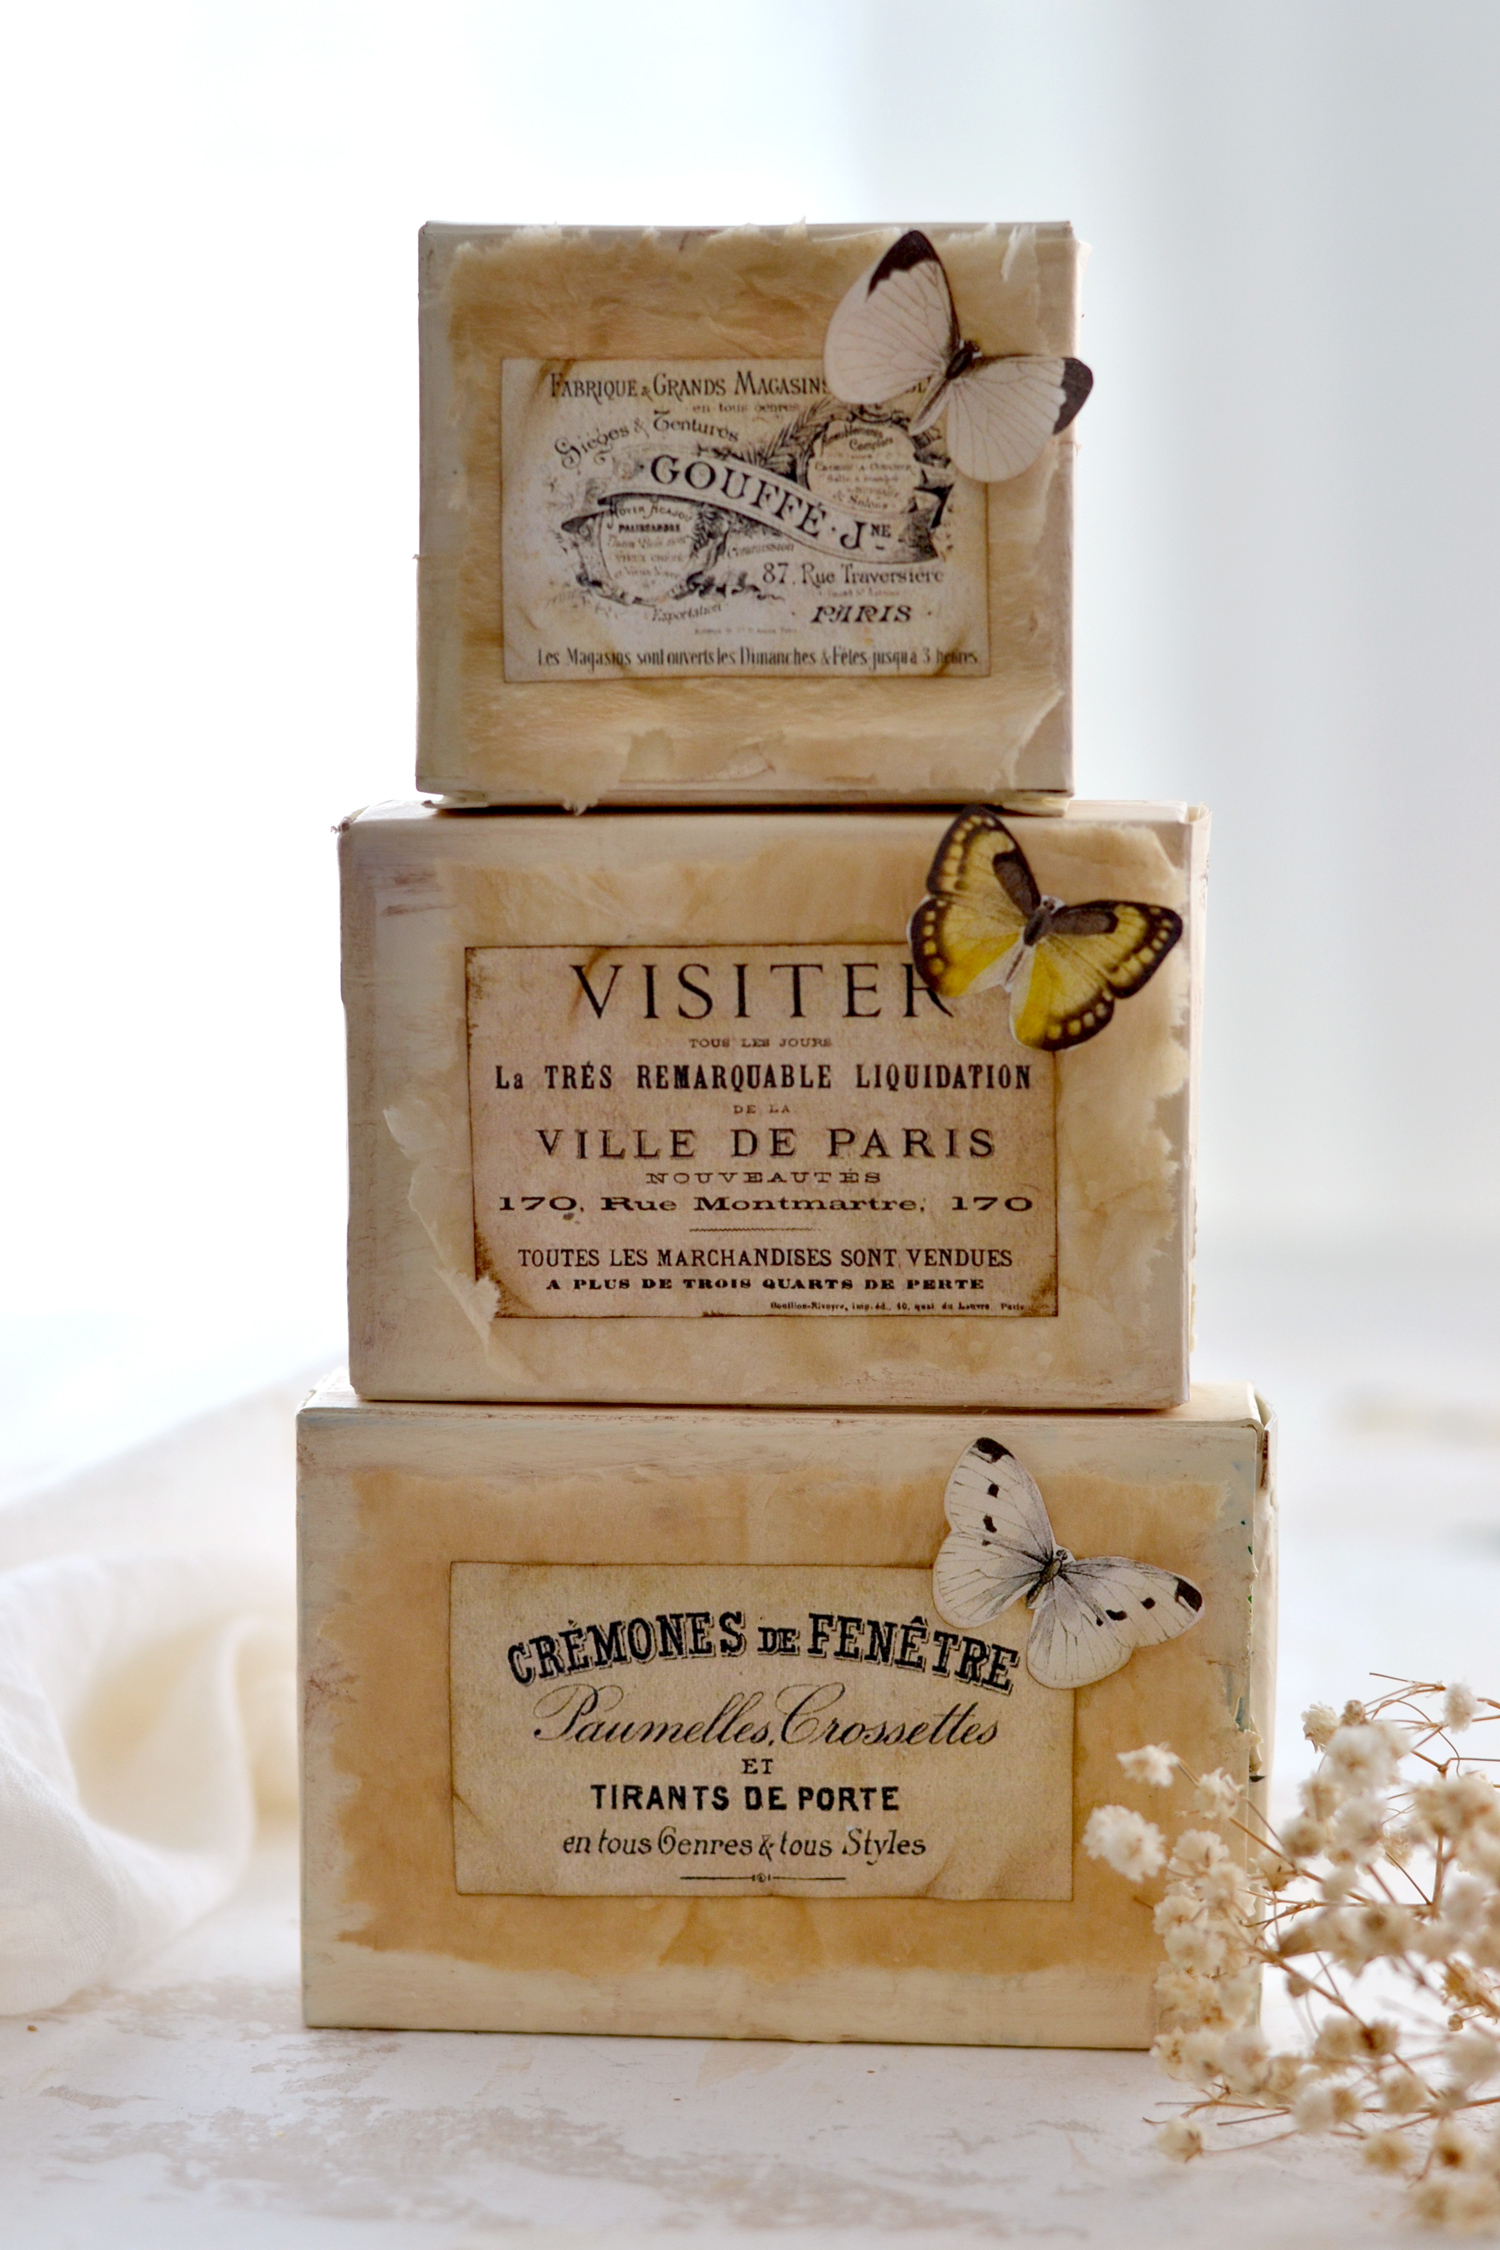
I’m really happy with how my gorgeous recycled French boxes turned out!
I feel like we managed to create the perfect combo between something elegant but also playful!
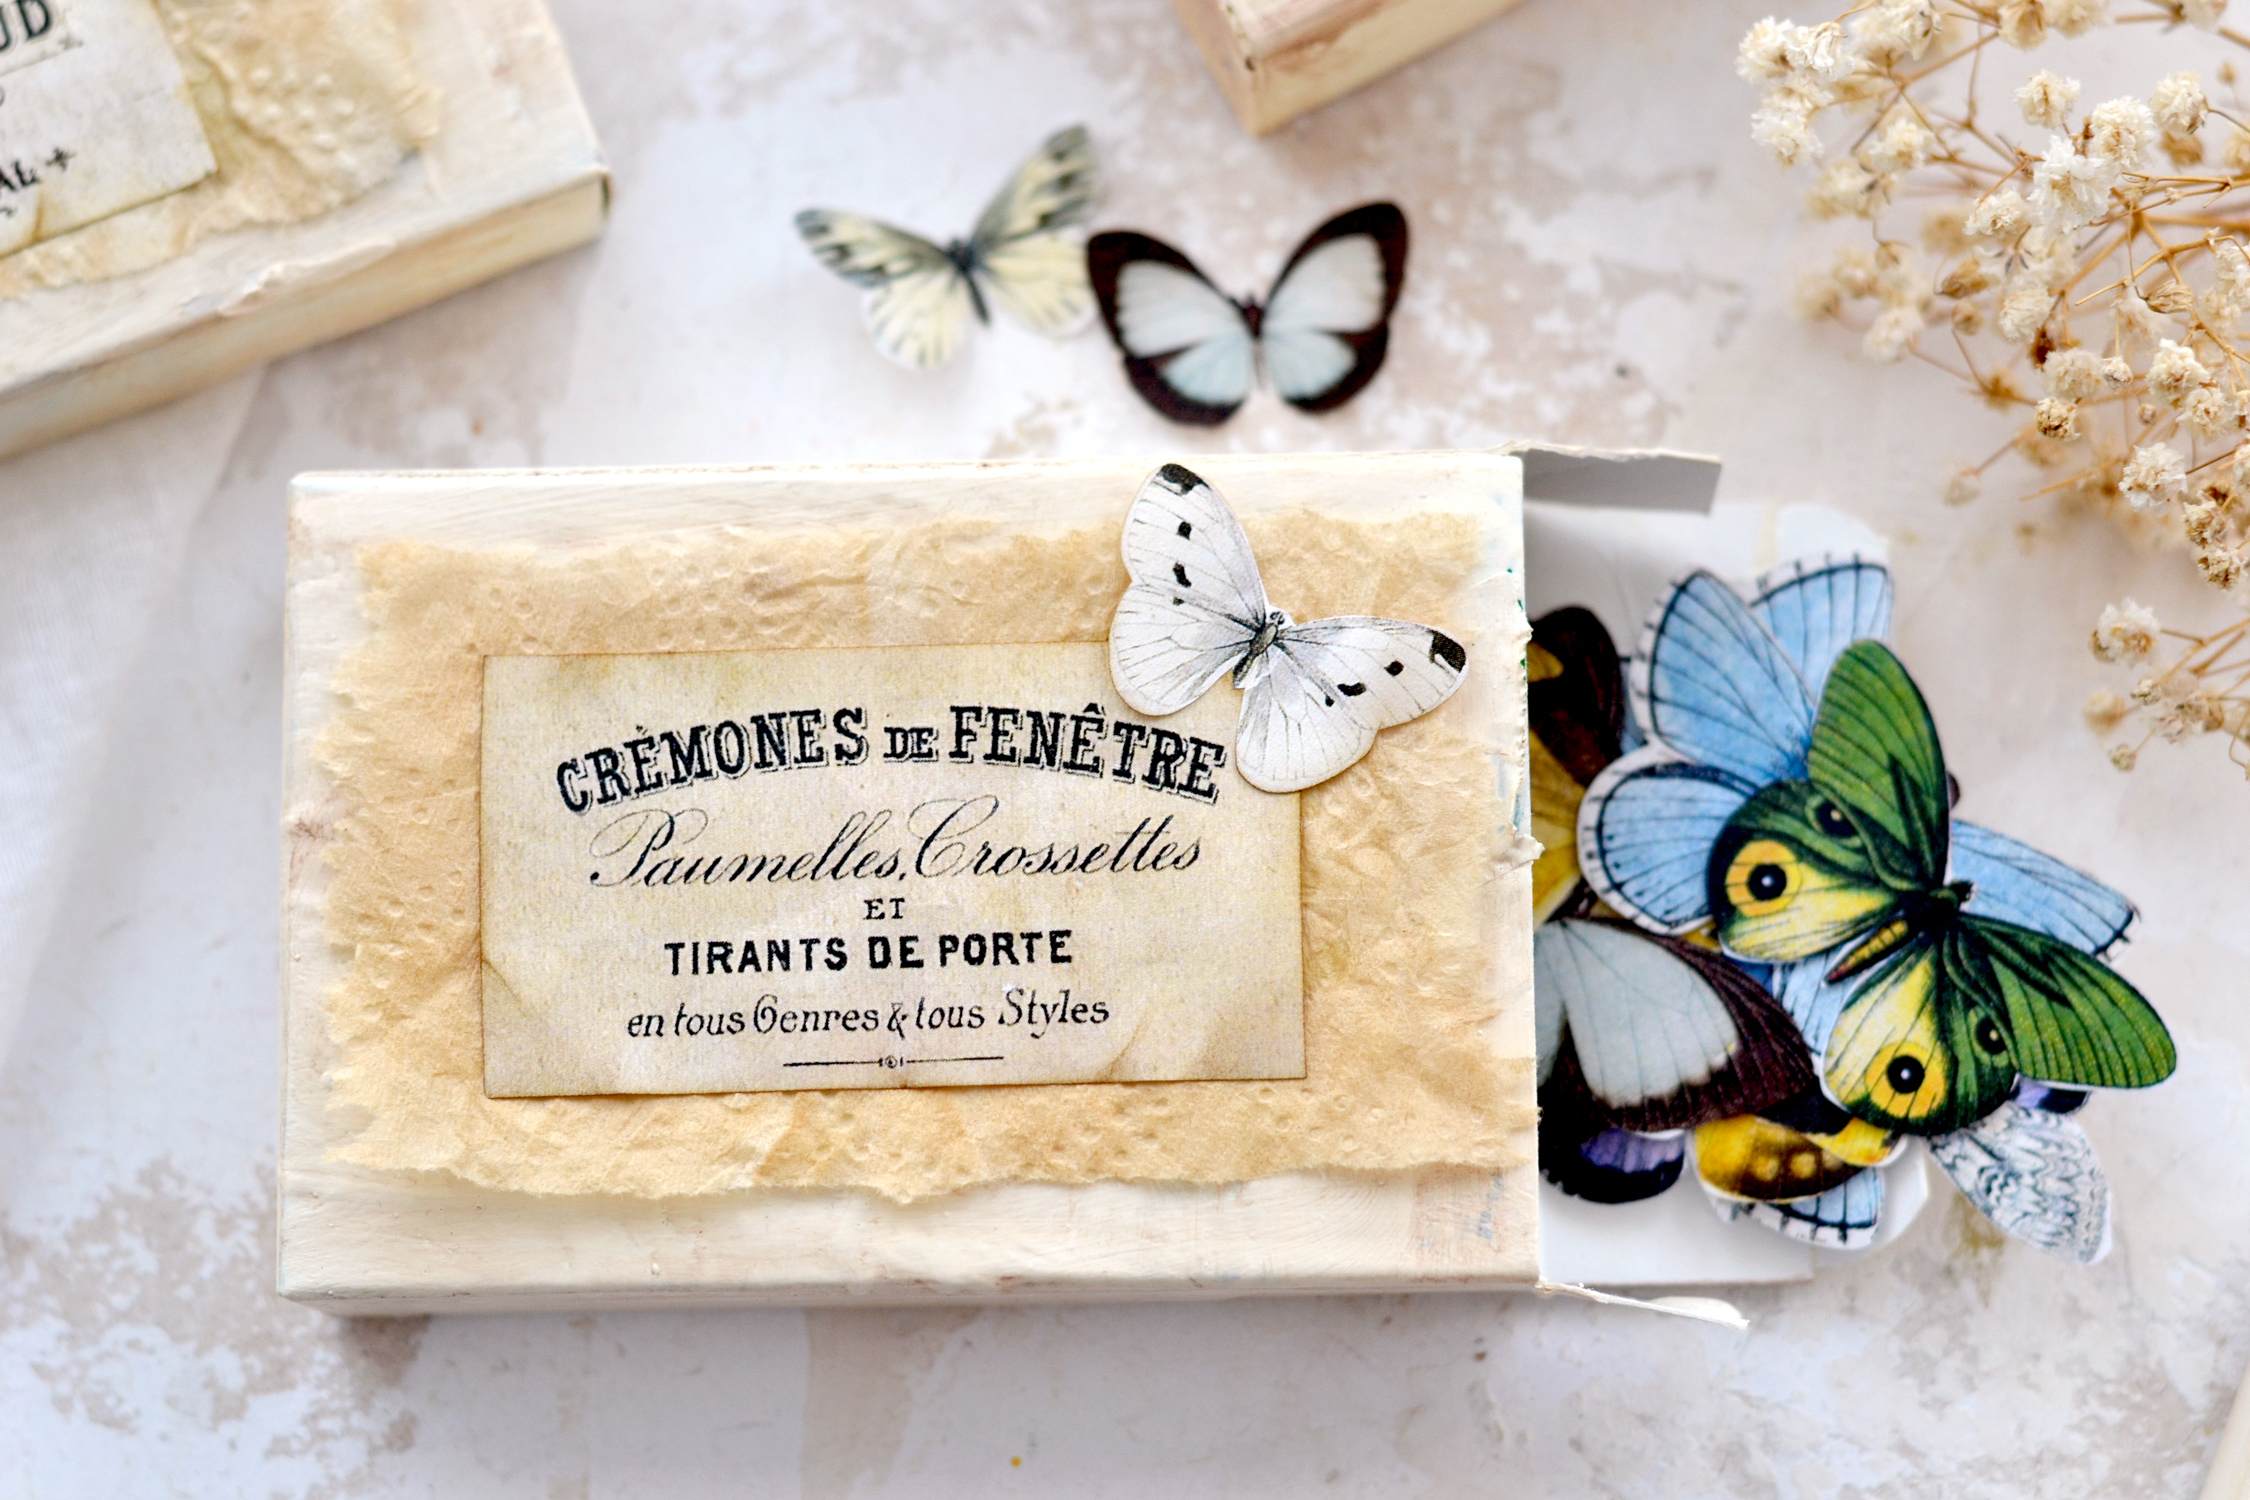
And the first thing that you can store in one of these beauties? The leftover butterflies!
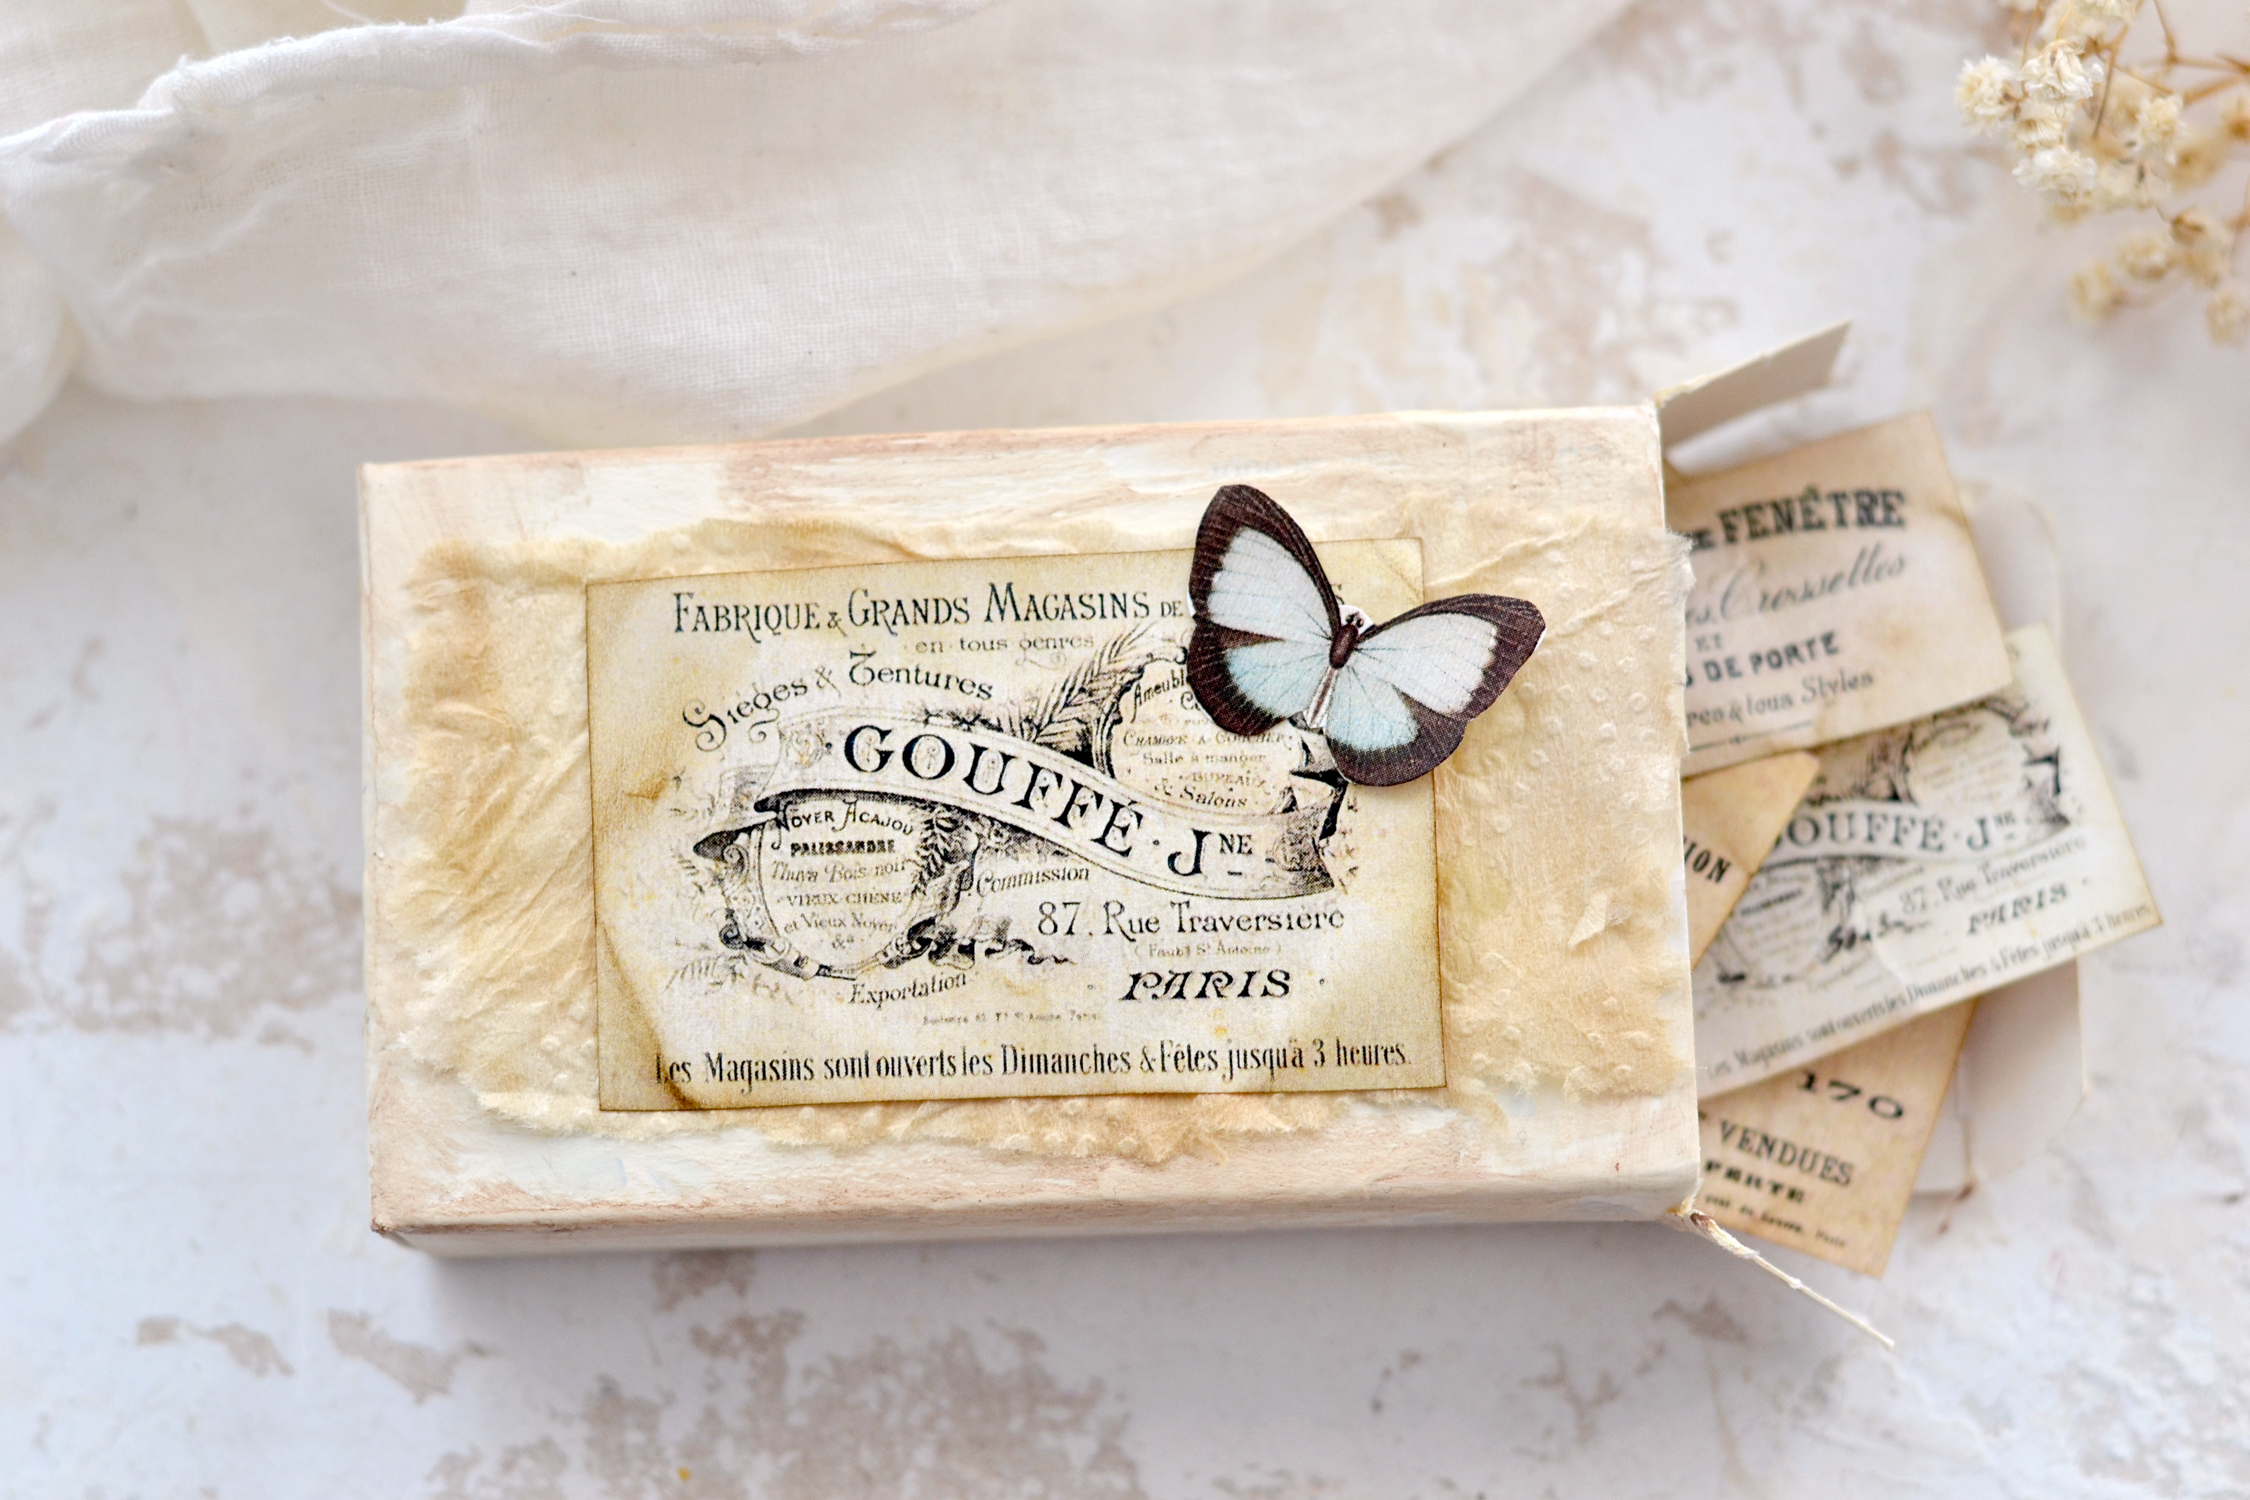
And the French ephemera labels!
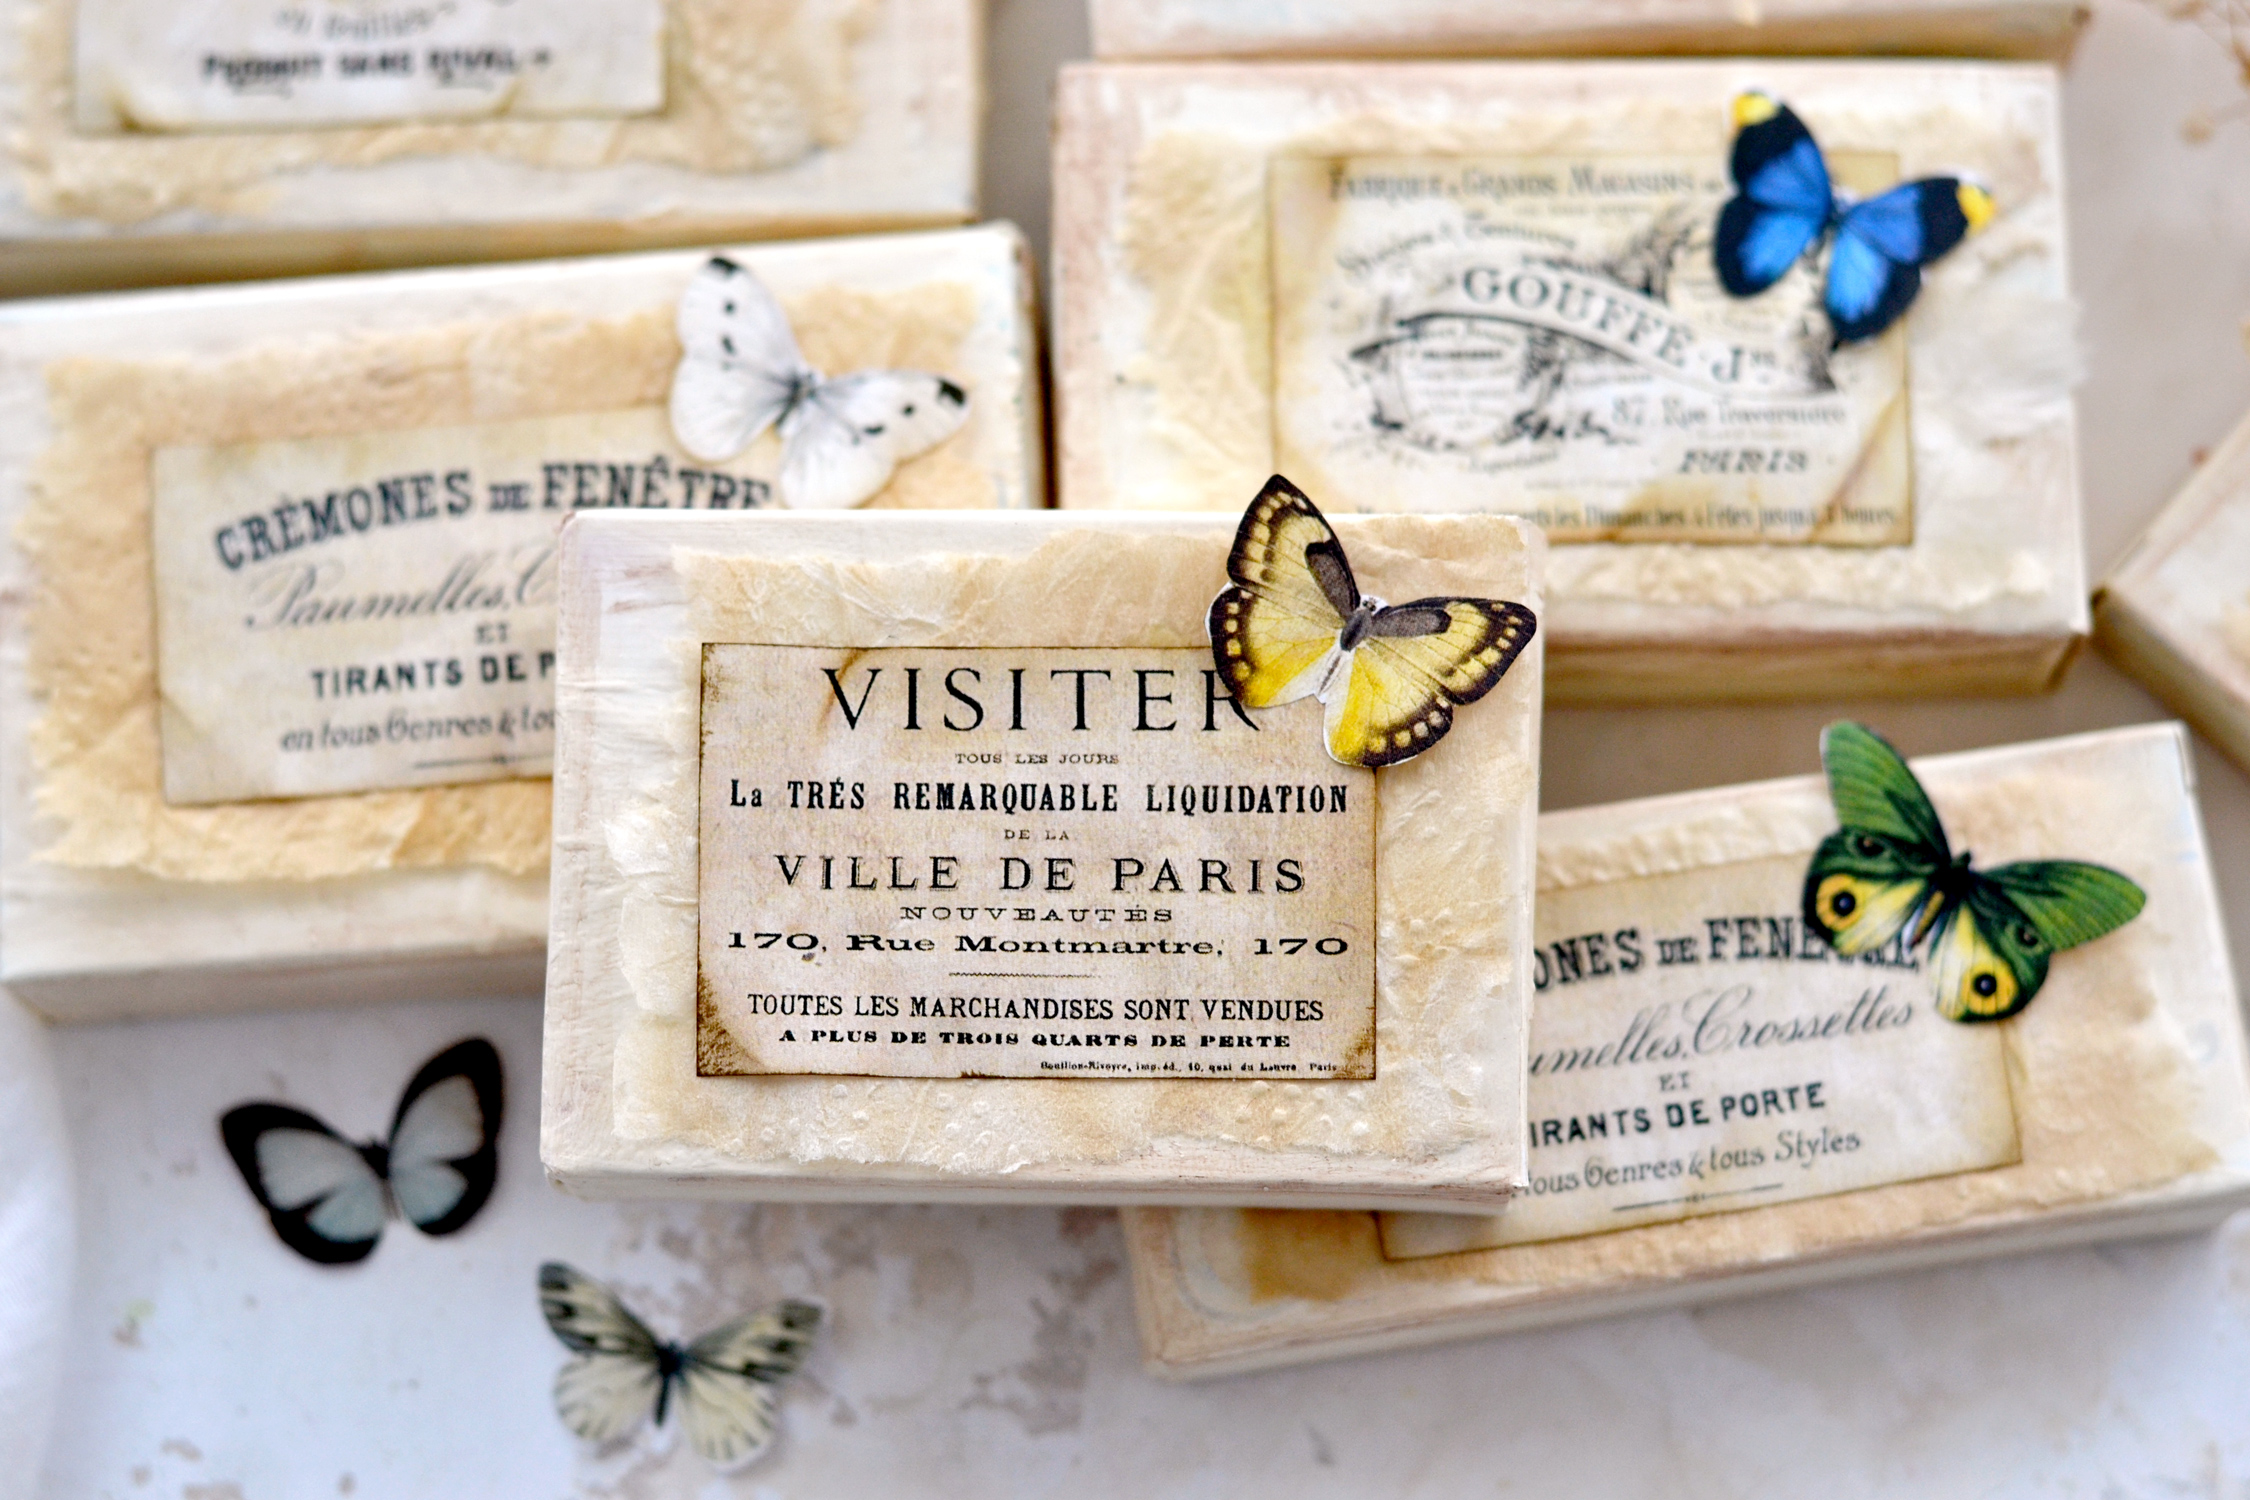
Each recycled box turned out to be truly unique, it would be really hard to choose a favorite, don’t you think? Maybe you’ll love the more colorful boxes.
Or the ones with the more light-colored or white butterflies, that have more of a neutral overall vibe.
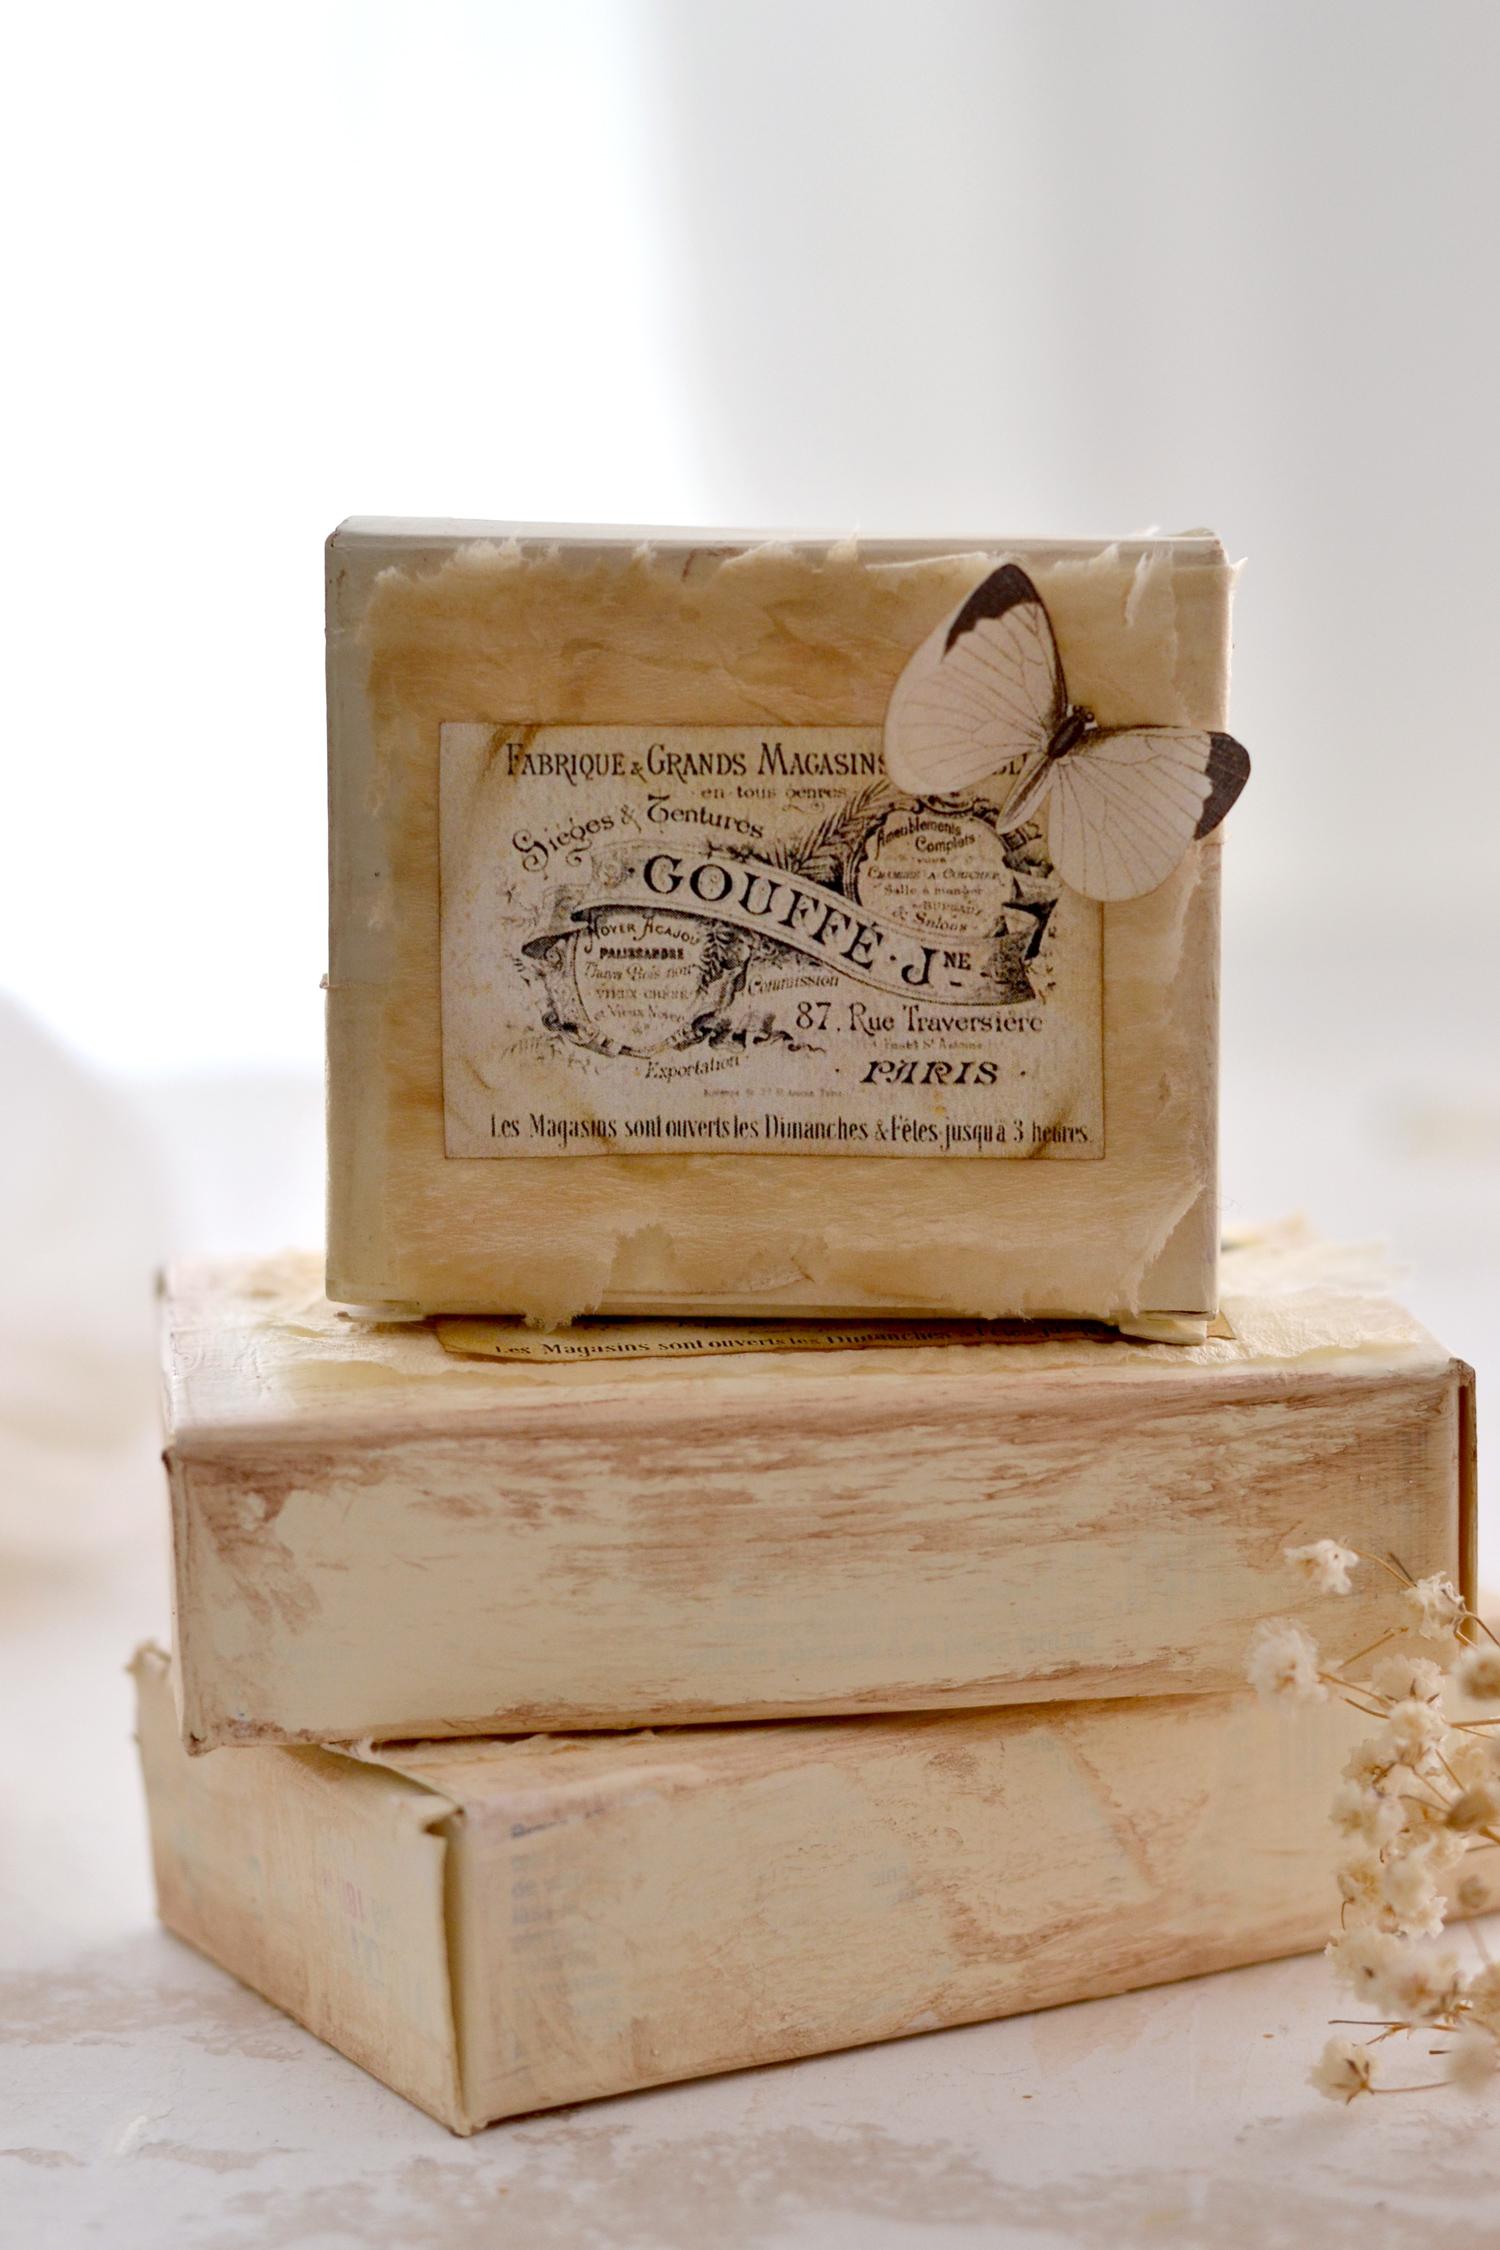
I realize now that these look like fancy French soap bar boxes! Maybe these were handcrafted somewhere in Provence by a talented soap maker who inherited her business from her grandmother. These two had a great connection and Grandma not only taught her how to perfectly pour her soaps into a wooden mold but also to pour a little bit of love, that special ingredient that would make the finished pieces truly magical and unique.
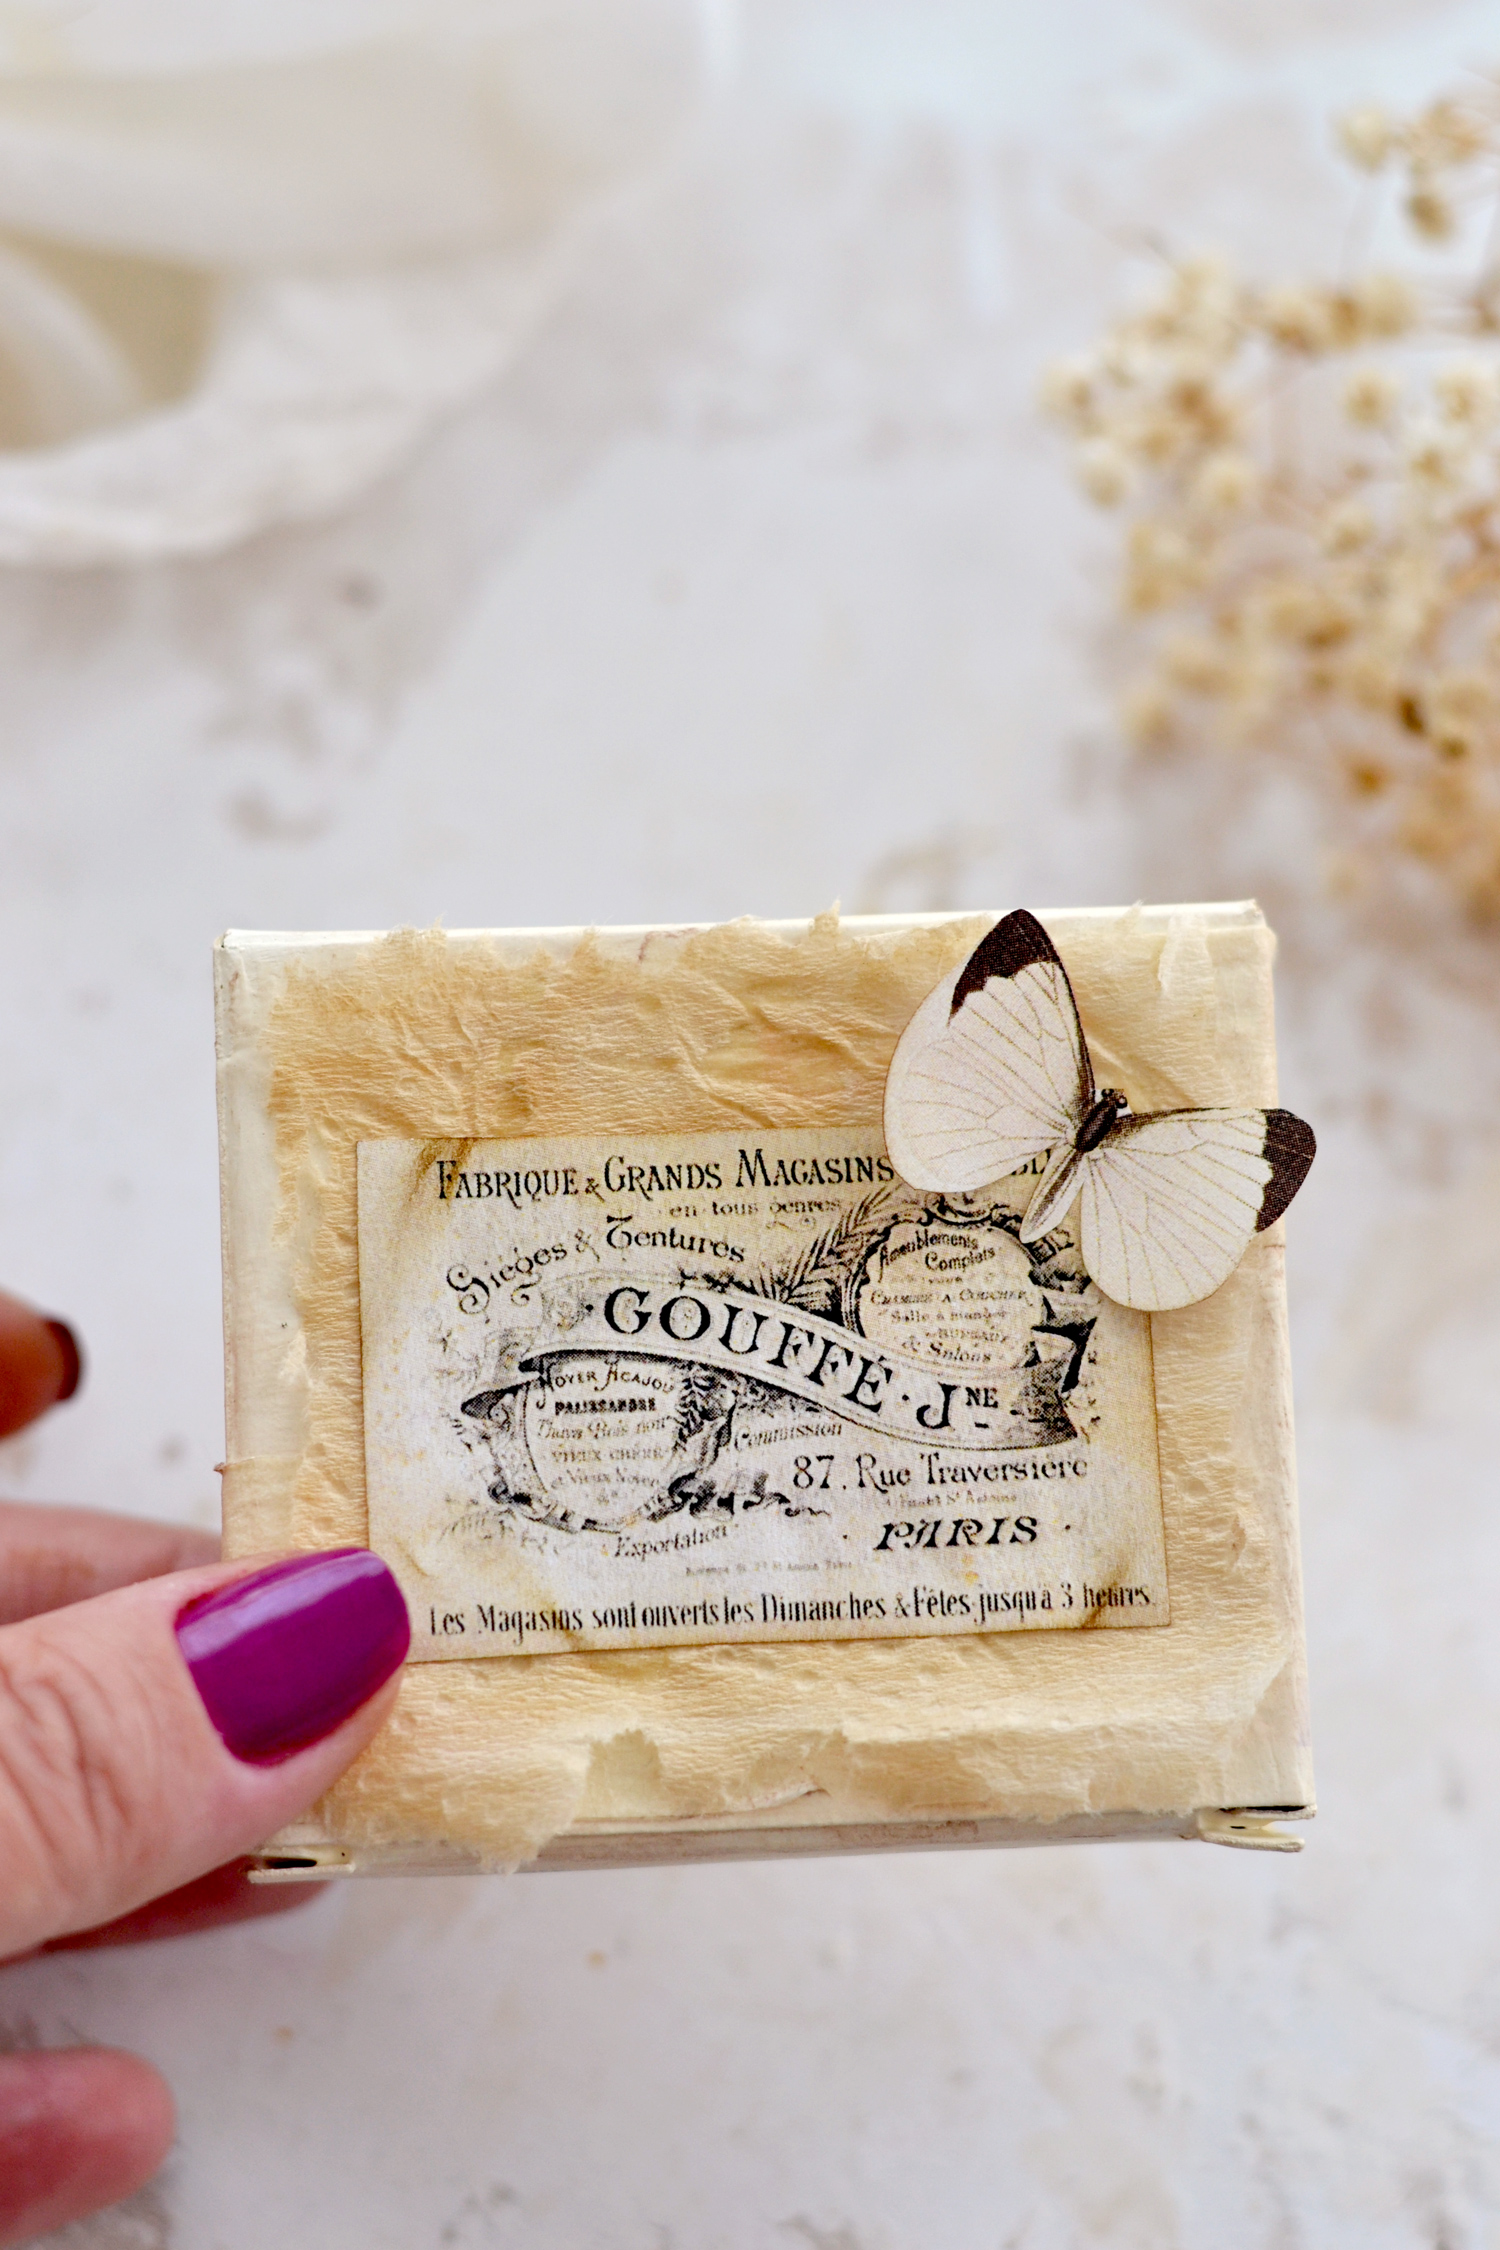
I’m over the moon with how all these boxes turned out, but this box which had more of a square shape than a rectangular one, actually turned out to be my favorite! I’m not sure if it’s the shape of the box or the fact that the white butterfly had an irregularly cut wing, but this one quickly moved on top of my preferences.
The boxes can be used to hold all sorts of small items from your craft room, your sewing kit or other small bits and pieces that need a little bit of organizing…. all in a stylish way! They can also be used as small gift boxes or why not, even as small display boxes that you can place in your house to add a little bit of chicness to your home decor.
So I hope you will love this project and decide to give it a try, who would have thought pill boxes could be turned into something so beautiful and unique?
 You might also like these Paper Butterflies Crafts HERE.
Happy crafting,
Diana | Dreams Factory




Retta says
Great tutorial. Giving it a go in the morning. Thanks for the digitals, as well.
Karen Watson says
Have fun making Diana’s pretty boxes Retta!
Bev Wilson says
Hi Diana,
I love this idea – thanks for your – as always – great instructions.
These boxes would be perfect for a gift box – with some jewellery inside.
So perfect for many uses.
😀
Karen Watson says
So glad you enjoyed this one Bev. That is a lovely idea!