Hello, my Graphics Fairy friends! Heather from Thicketworks with more Casting DIY Appliques fun!
Last time, we explored how to cast our own DIY Appliques, and use them to create a beautiful Crackle Finish Frame:
{this post contains affiliate links}
Thank you, Iron Orchid Designs, for supplying the Decor Moulds used in this post!
Today, we’ll explore how to use the same casting methods to create two very different styles of finishes.
SUPPLIES:
- IOD Decor Moulds
- Air Dry Paper Clay
- Cornstarch
- A Fluffy Brush
- Assorted Items to Transform! (think books, furniture, kitchen cabinets, clay pots…the sky’s the limit!)
- Aleene’s Original “Tacky” Glue
- A tool for smoothing the clay: I use an old sturdy cookie flipper
- An artist’s paint brush for mending breaks
- Water
- A Zip Lock Bag to store the Paper Clay
- Assorted Paints and finishing products
IMPORTANT DISCLAIMER:
I’ll be showing you how I cast Paper Clay appliques. I work with them while they are wet, and I don’t bother to allow them to cure in the Moulds. I even PAINT them while wet, making the process much faster than traditional methods. The results can be less-than-perfect, and that suits my aesthetic to a tee!
You decide whether or not you want to follow this Outlaw Casting Process, or be more Traditional in your approach! Neither is right or wrong…
Here’s a very cool fact: these Moulds are suitable for just about any casting medium you can name: Polymer Clay, Resin, Porcelain and other ‘Firing’ Clays, even Chocolate! (be sure to keep one set just for food, if you are so inclined)
HOW TO CAST DIY APPLIQUES:
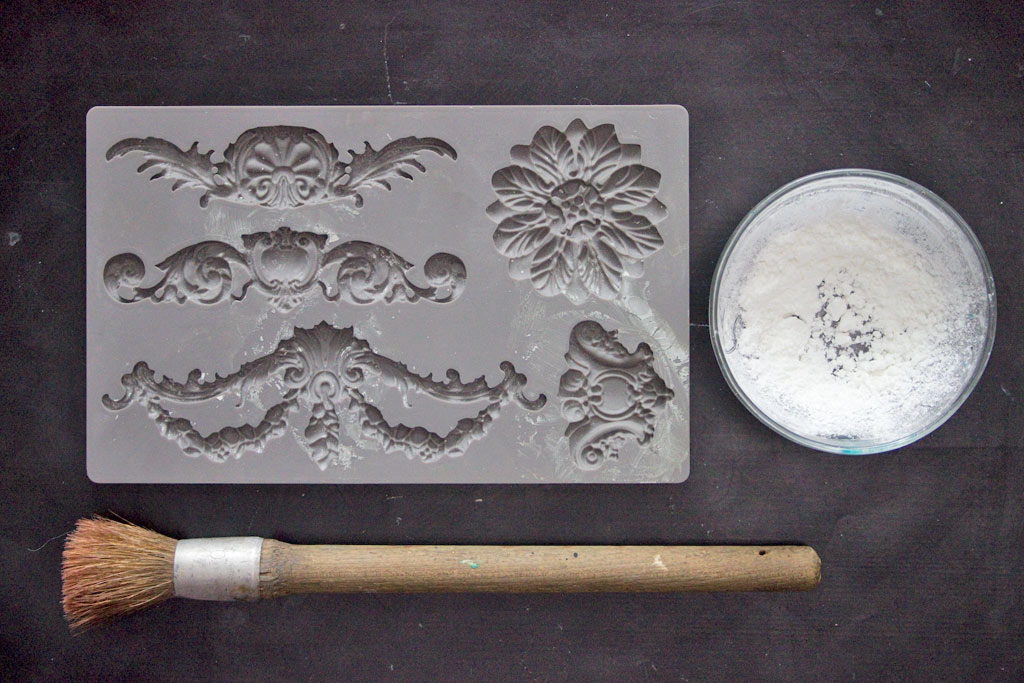
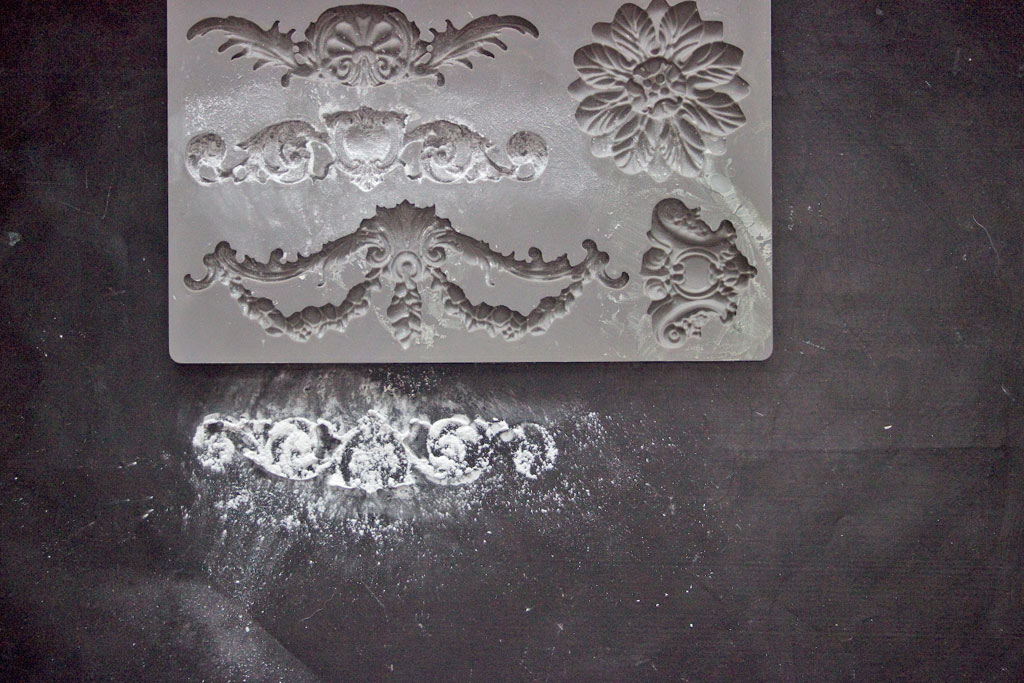
Begin by gathering your Mould, a bit of Cornstarch in a small container, and a fluffy brush onto your work surface.
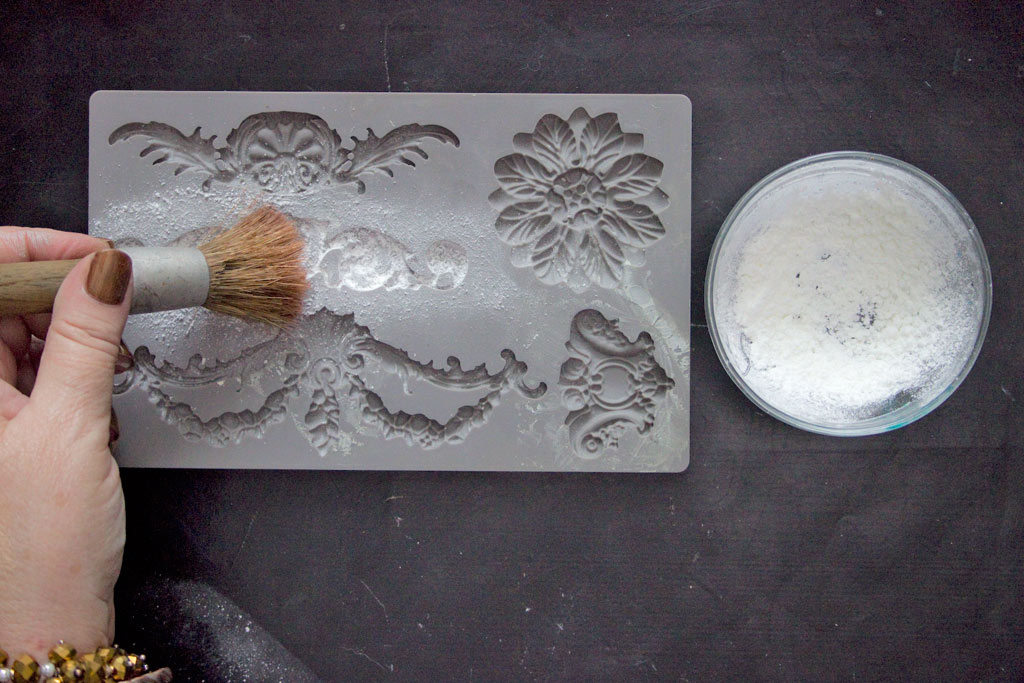
Using a fluffy brush, apply a generous amount of Cornstarch to the Mould.
This design is the lovely Iron Orchid Designs Baroque No.3 Vintage Art Decor Mold
Tap the Mould upside down to remove the excess:
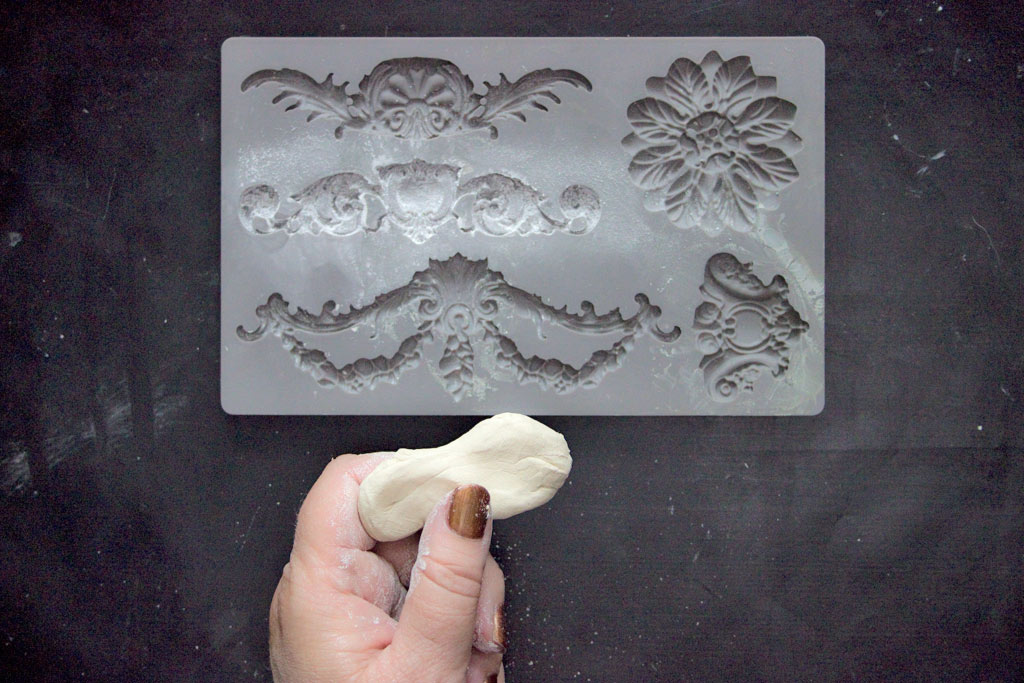
Condition the Paper Clay…knead it in your fingers until it becomes supple and easy to work with.
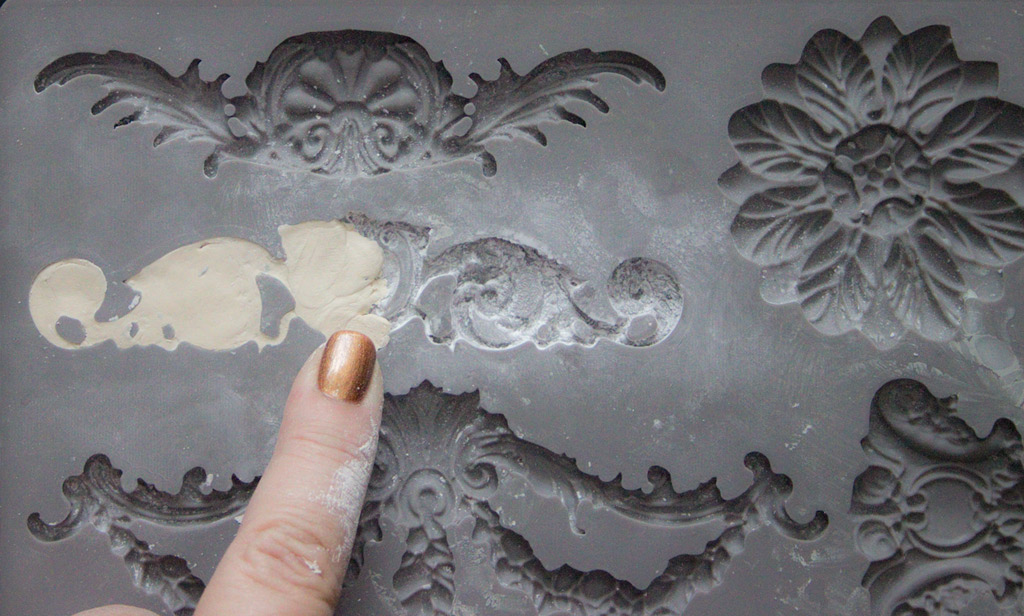
Carefully pack the Mould with the clay, using tiny bits at a time for the intricate details.
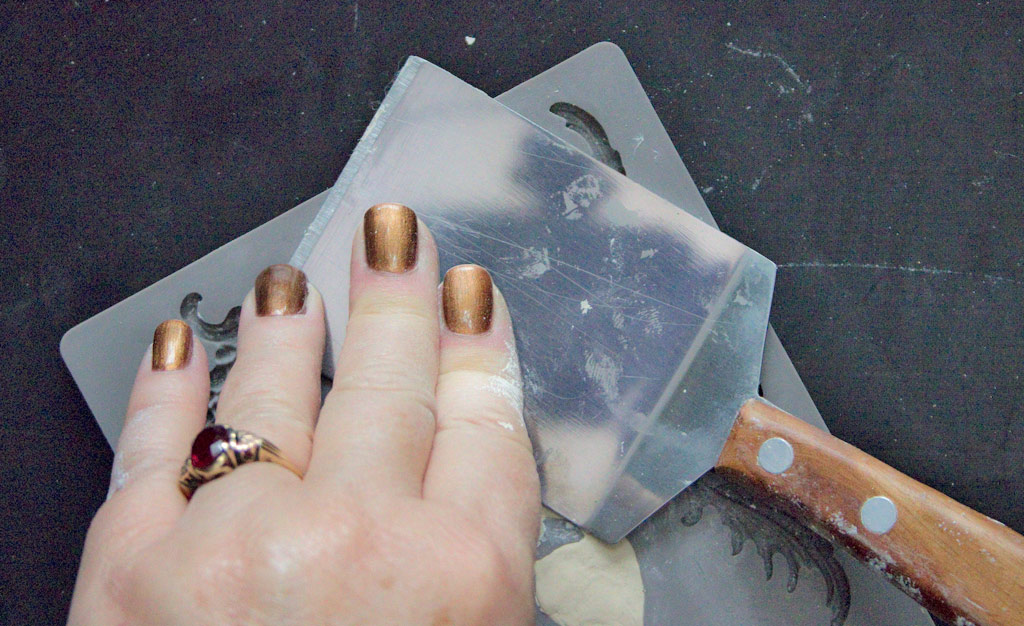
Flatten the back of the casting with a smooth tool:
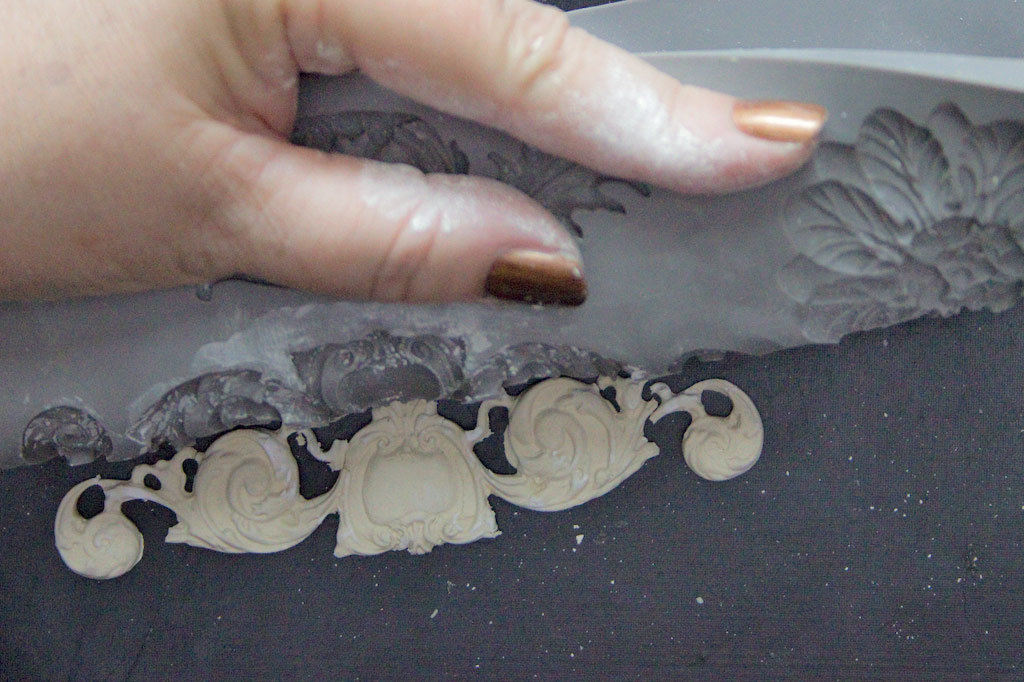
Gently turn the Mould over, and roll it away, depositing the casting onto the work surface:
If you encounter tiny ‘breaks’, don’t despair! A dampened brush will allow the clay to bind back together easily…
How to Create a Classical Book Cover:
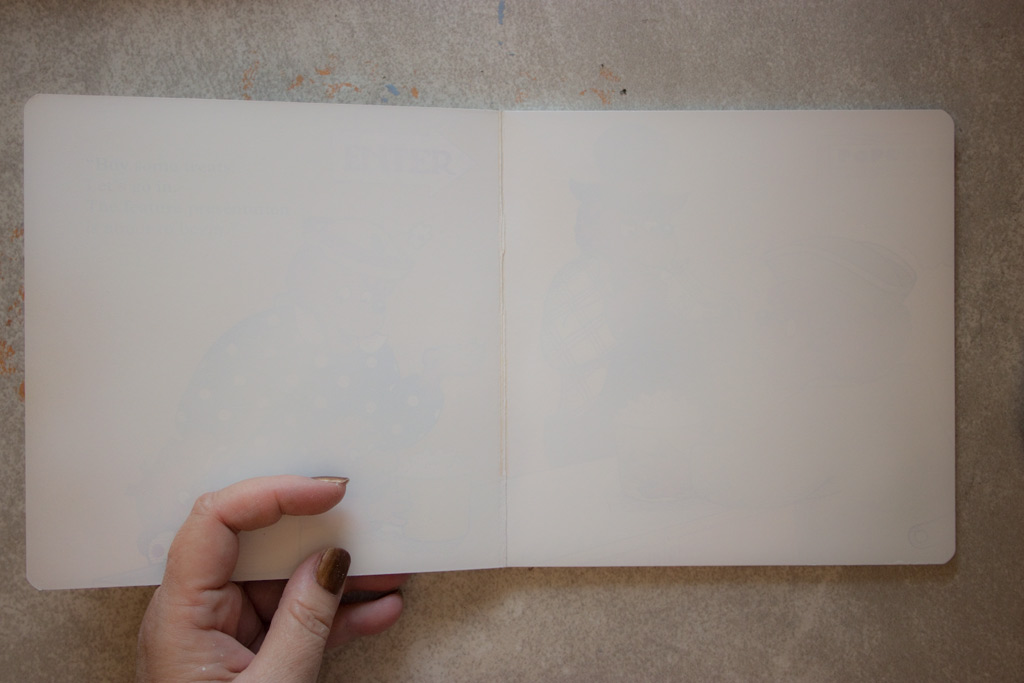
This is one of those Children’s Board Books, found at the Dollar Store.
A coat of primer, and we are ready to Embellish the cover!
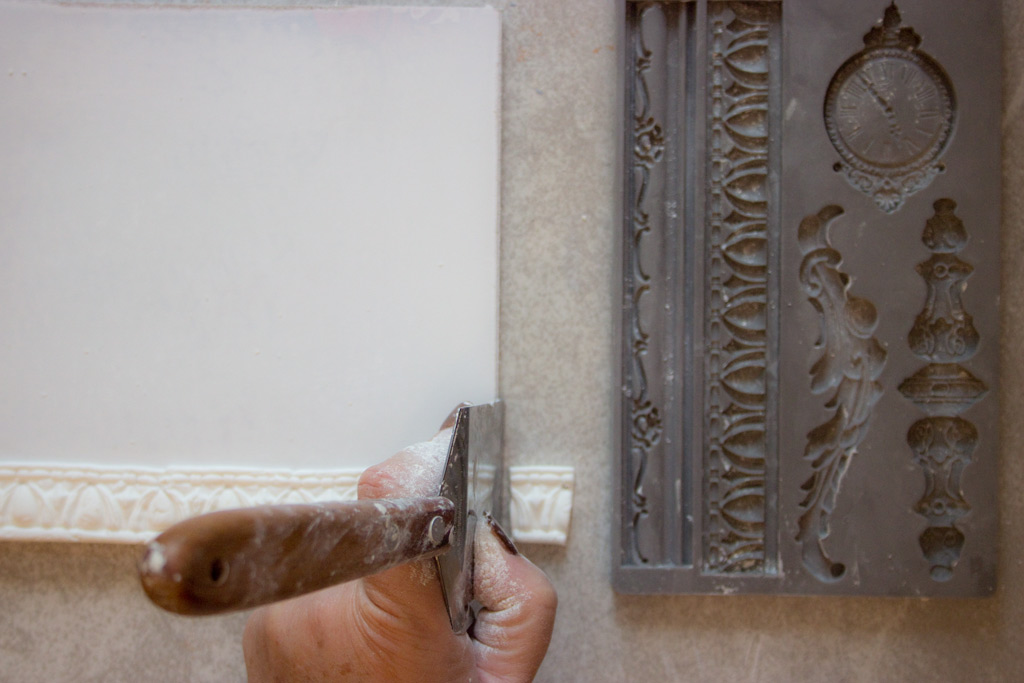
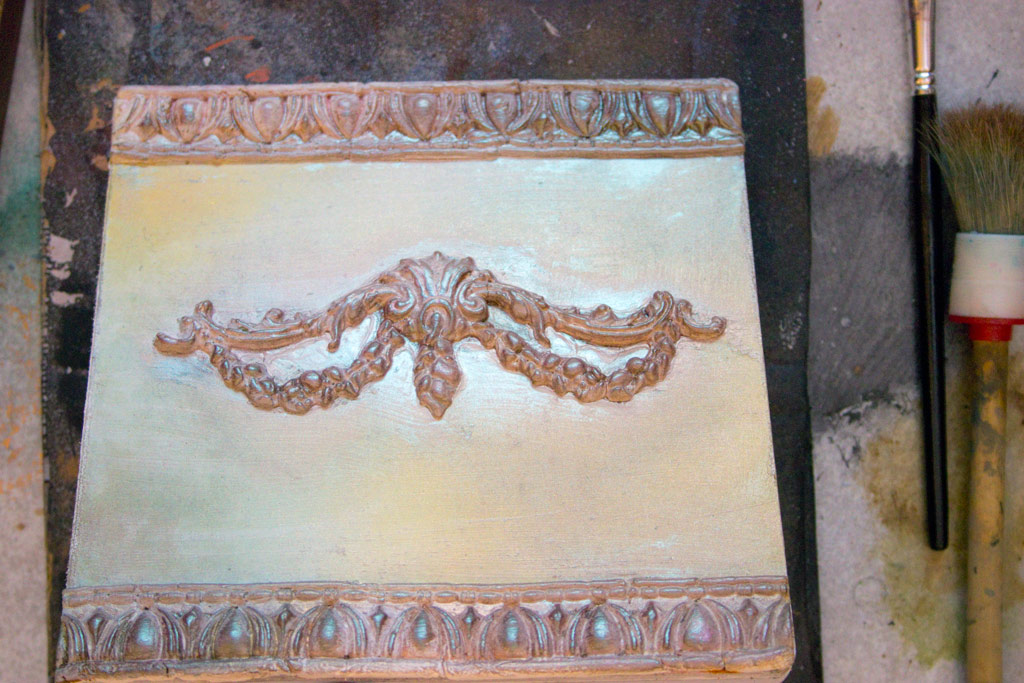
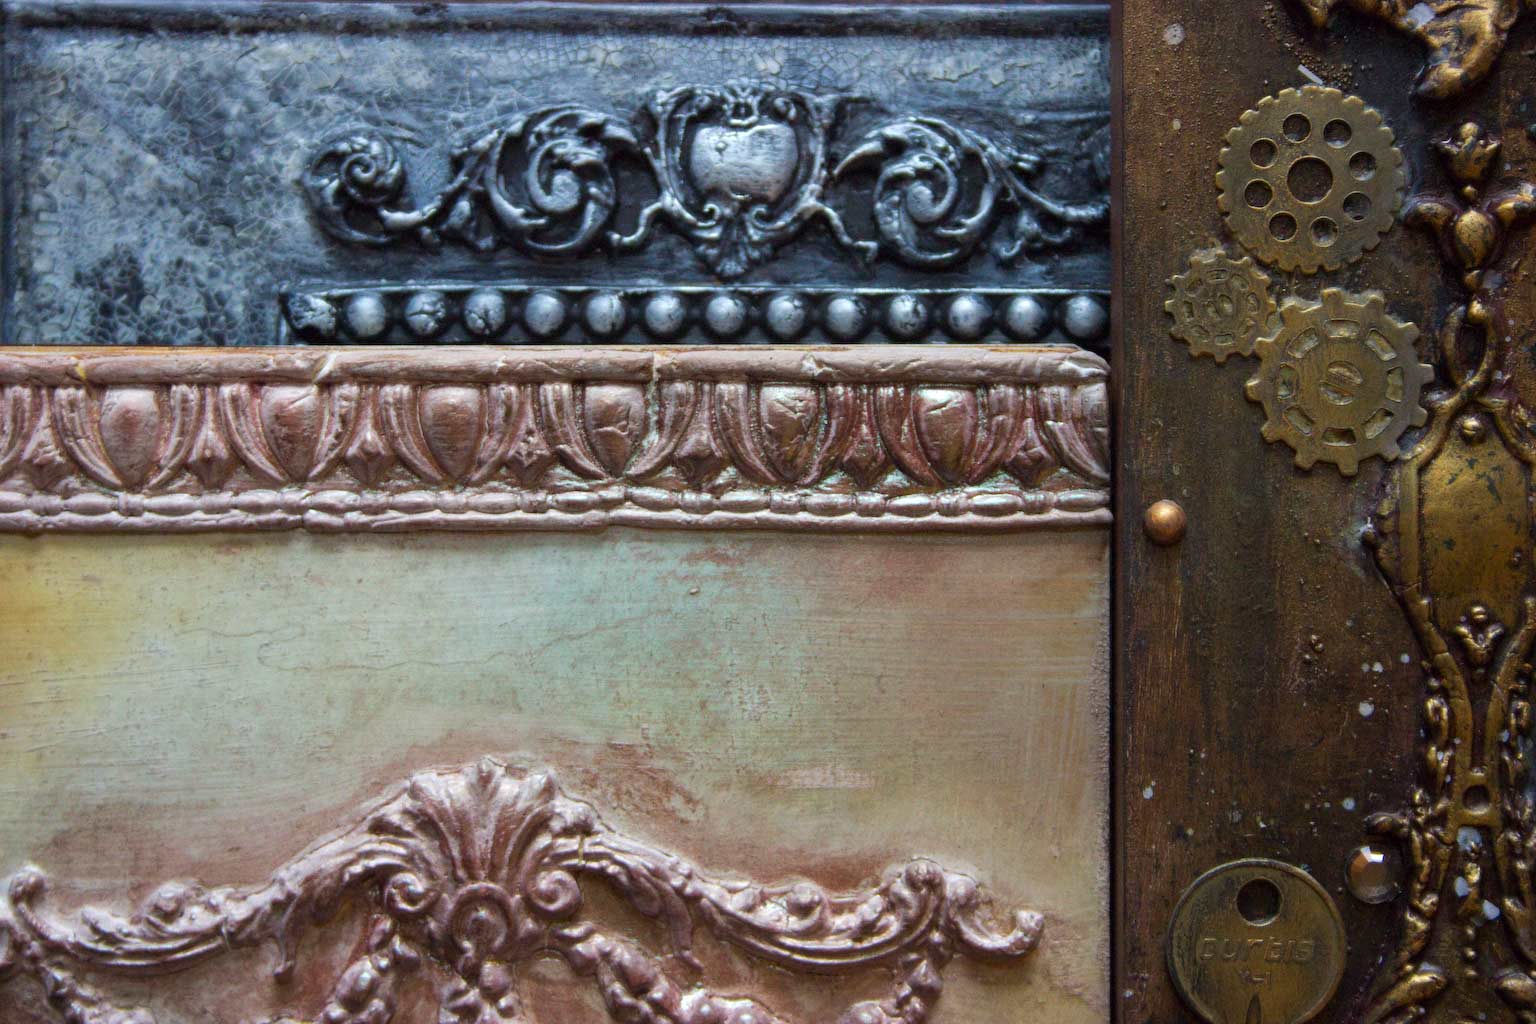
The Egg and Dart Border Mould is one of my all time favorites…it’s just one part of the Iron Orchid Designs Baroque No.6 Vintage Decor Mould.
This is perfect for creating a lovely edging effect.
Just glue in place, and slice off the excess.
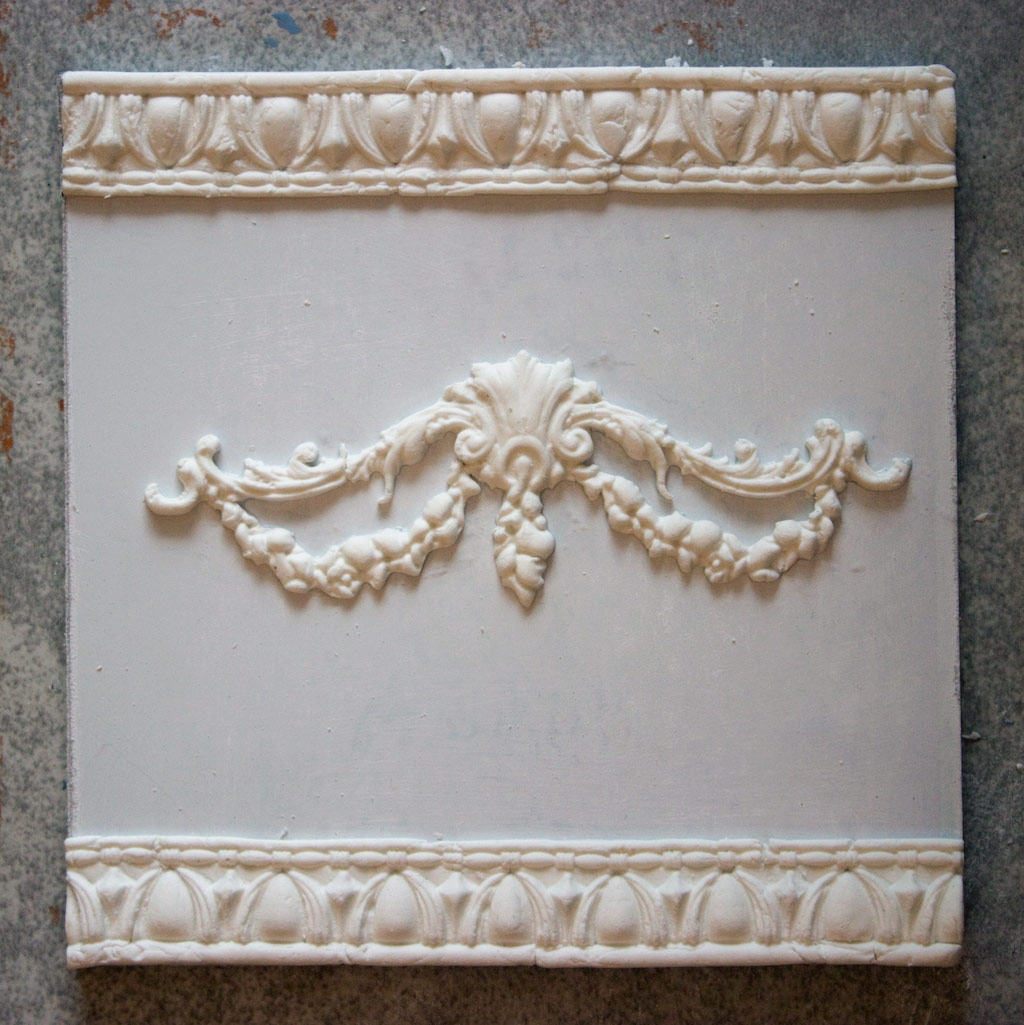
Add this Regal Swag from the Iron Orchid Designs Baroque No.3 Vintage Art Decor Mold for a gloriously classic result:
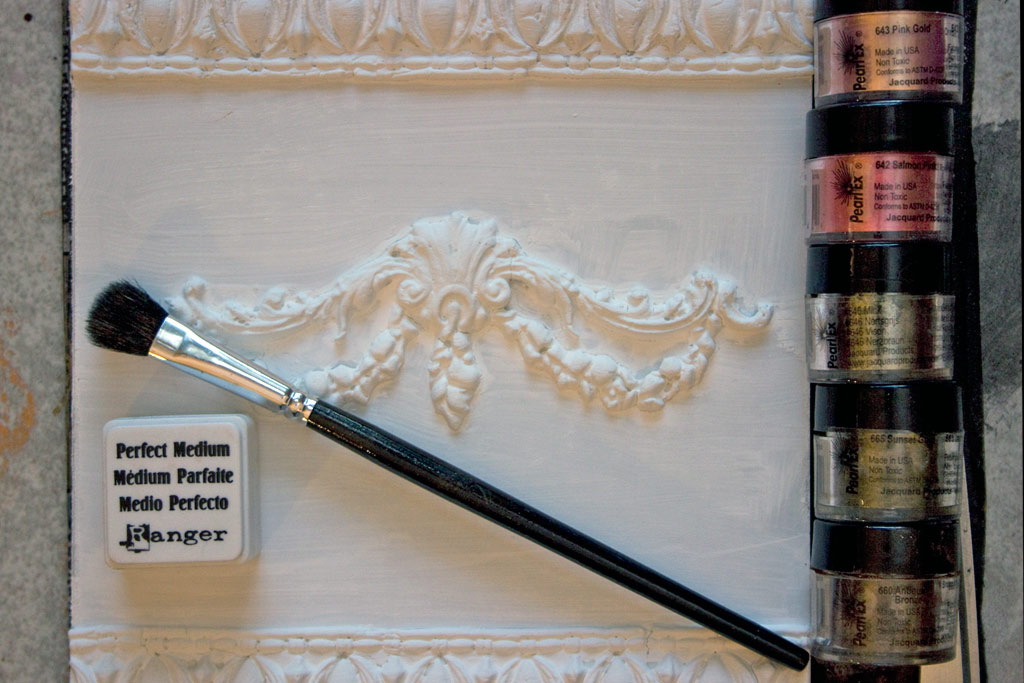
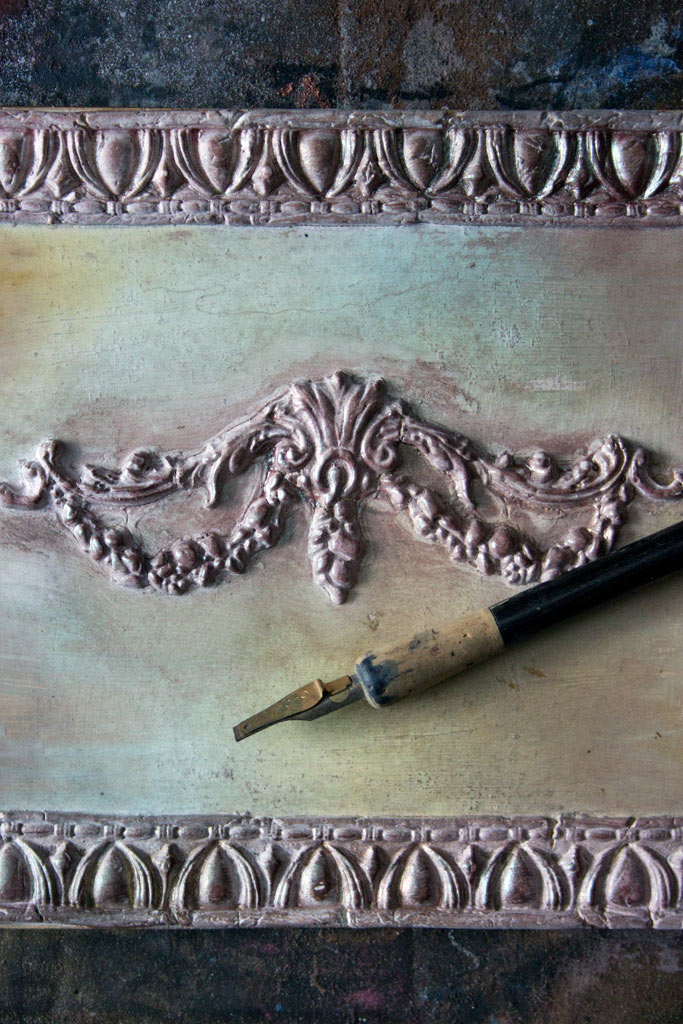
Pull out any mica powders you may have…here, I’m using a variety of Jacquard Pearl Ex Powders over a layer of Ranger Perfect Medium.
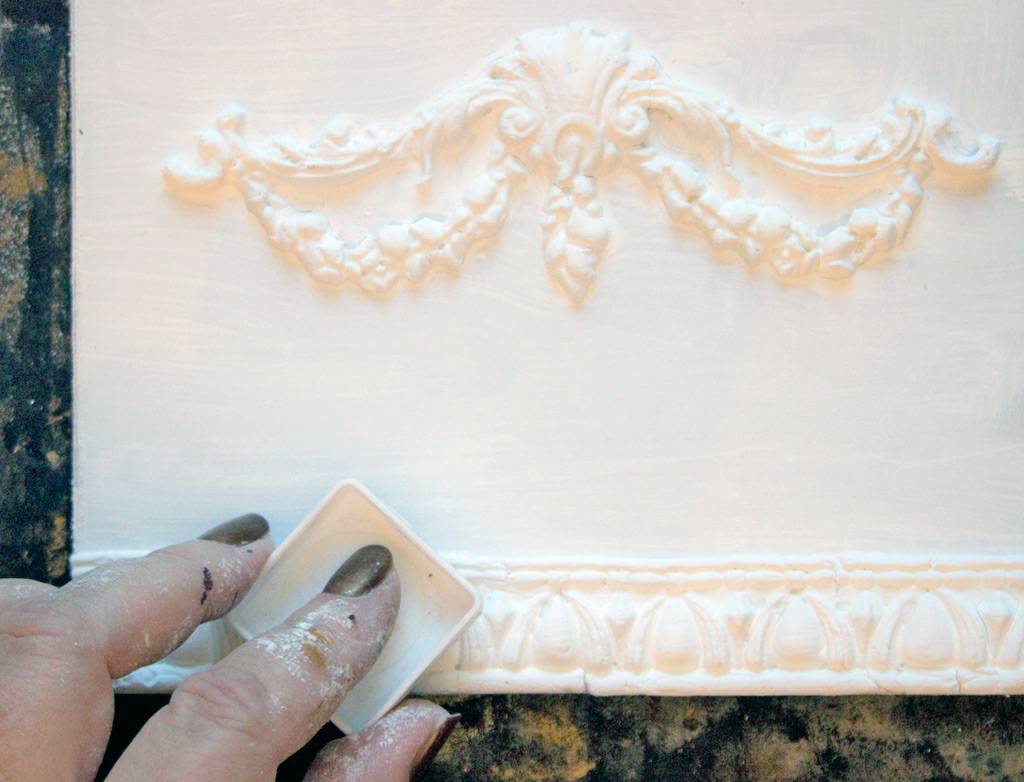
Apply the Perfect Medium to the surfaces that you want to spice up!
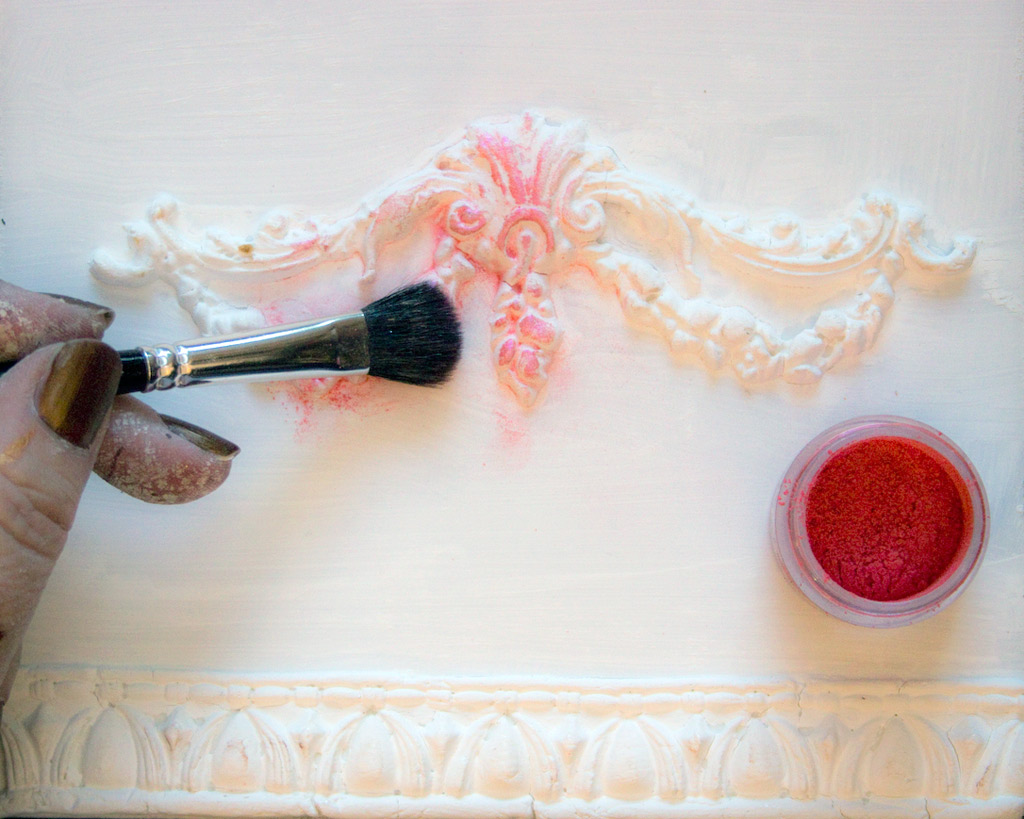
Swirl the Mica Powder over the Perfect Medium…brush away the excess.
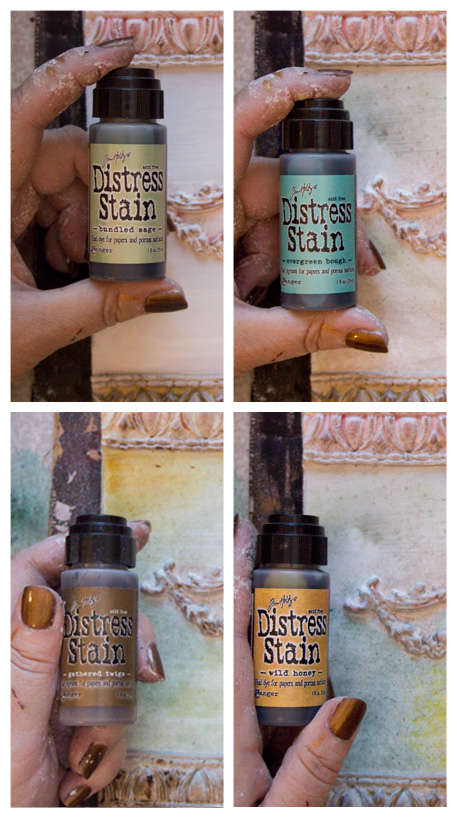
Add Distress Stains to create a softly aged Fresco effect. The following colors were used here:
Distress Stain: Bundled Sage
Distress Stain: Evergreen Bough
Distress Stain: Gathered Twigs
Distress Stain: Wild Honey
The result is softly pearlescent and subtly tinted.
So pretty! Now you can fill the pages of this lovely book with memories, journal entries, family photos, or your favorite Graphics Fairy Images!
A Dollar Store Board Book…transformed into a classical treasure…
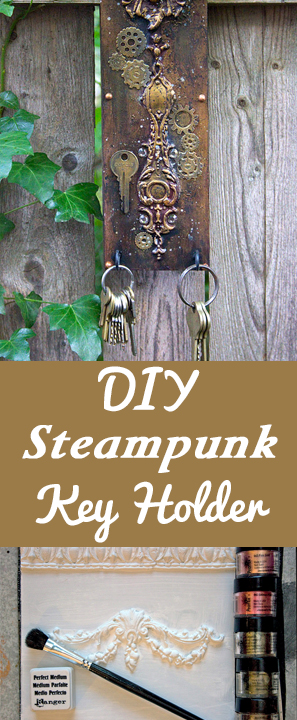
How to Create a Steampunk Key Holder:
Finally, what fun this be without a Steampunk element or two?
(you already know MY answer to that question… )
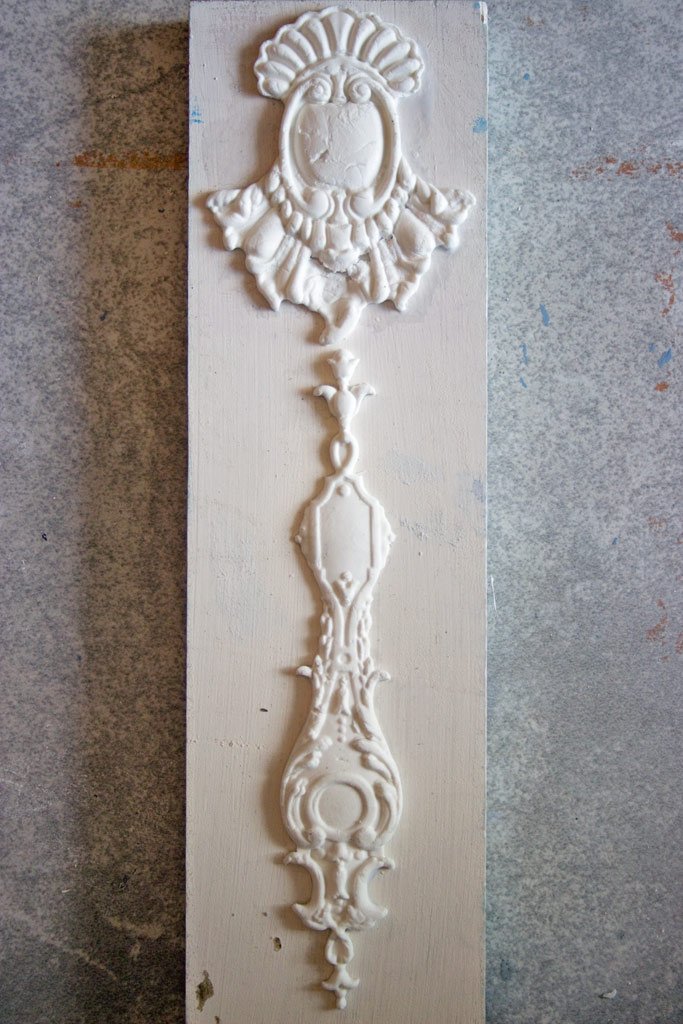
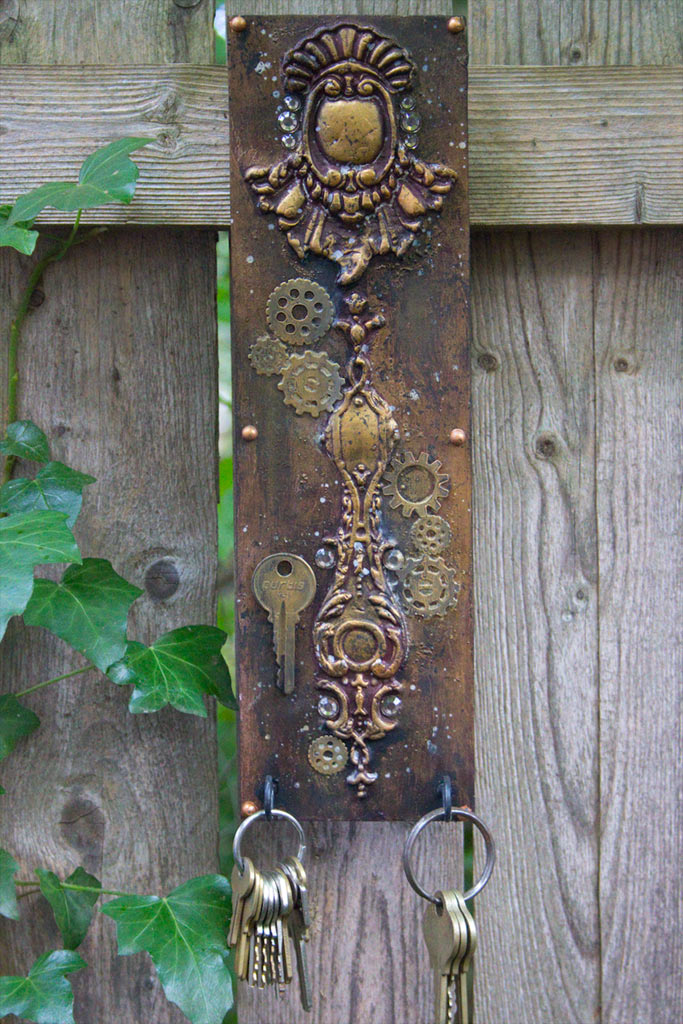
Using a Shell Medallion from Iron Orchid Designs Baroque No.2 Vintage Decor Mould and a fantastic escutcheon from the Fall 2016 Release, this plain board begins to transform into a cool Key Holder!
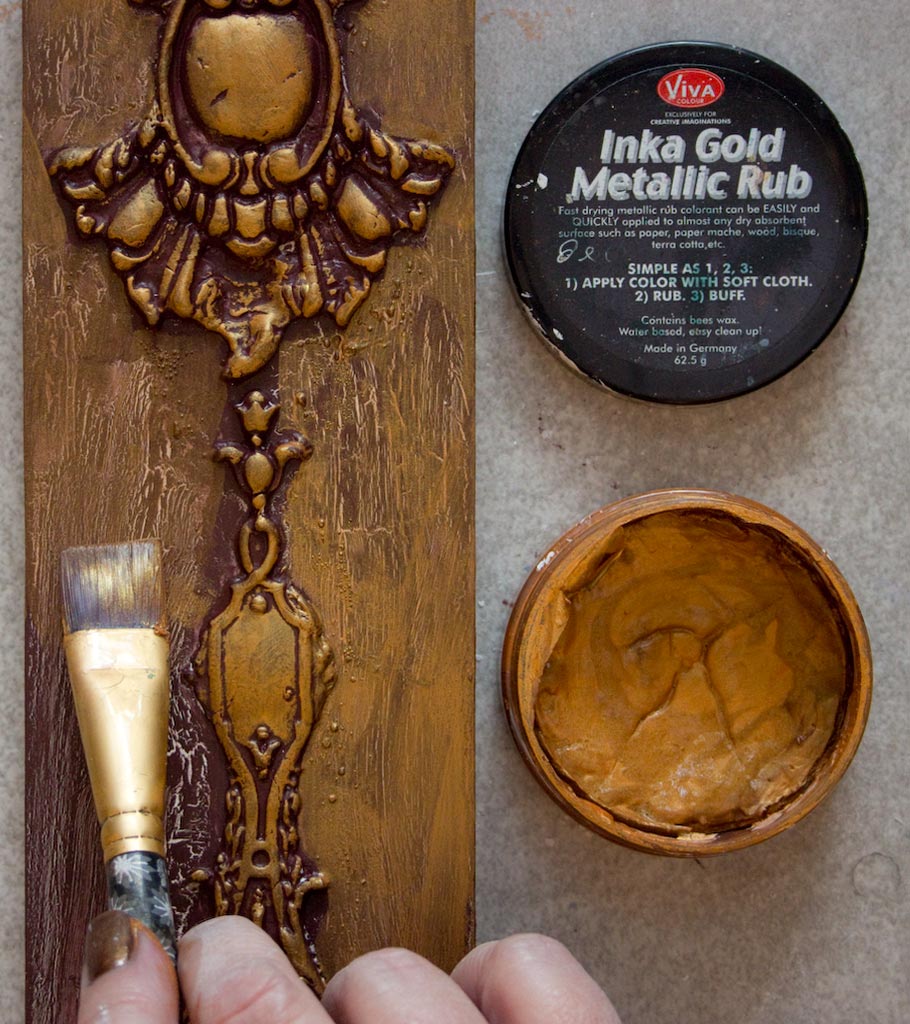
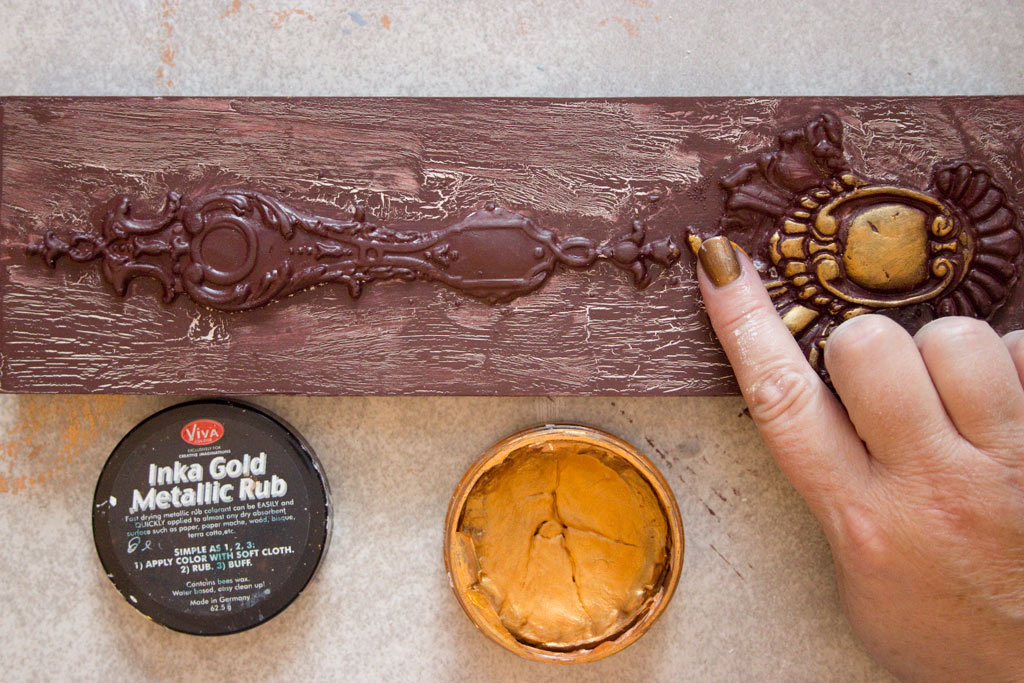
With the addition of a burgundy craft paint base layer, some white school glue (used as a crackle medium), and most importantly Inka Gold: Old Gold as a Metallic Highlight, we start to glimpse the yummy possibilities:
Highlight the castings with Old Gold, applied with a fingertip:
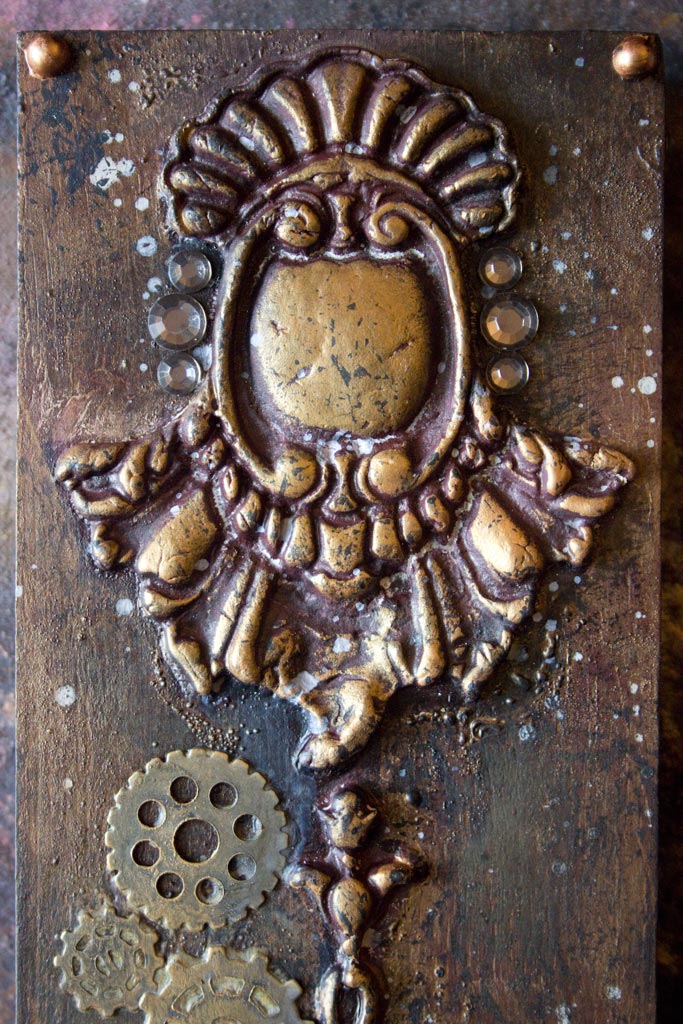
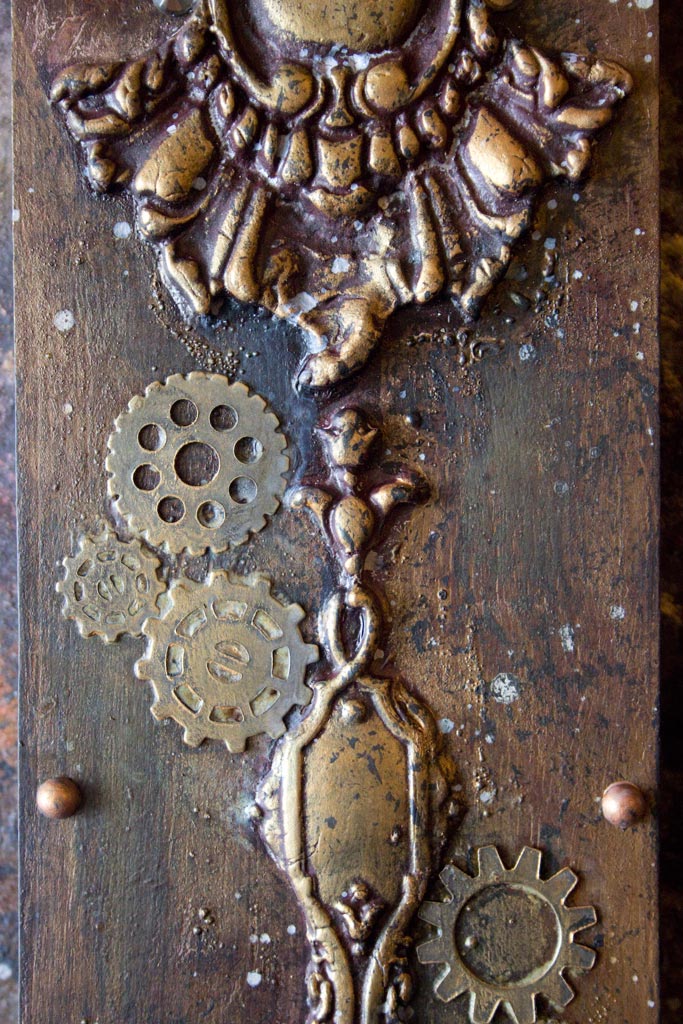
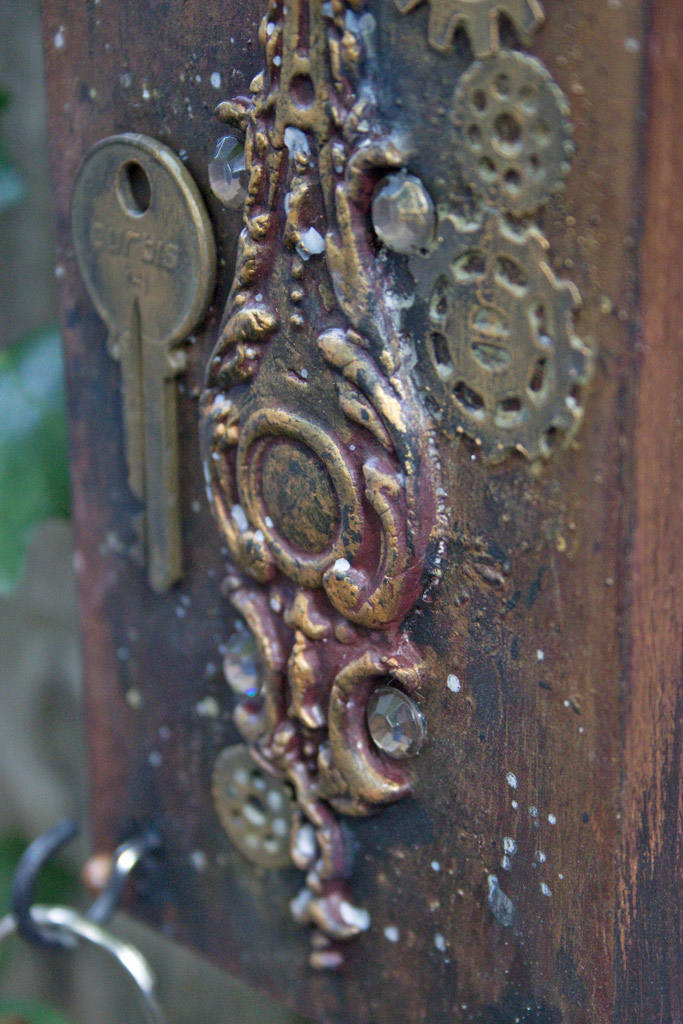
By adhering a few metal cogs and gears, a crystal or two, and grungifying with black and white touches of craft paint, we achieve such a richly layered feel…
Just look at all this delicious texture!
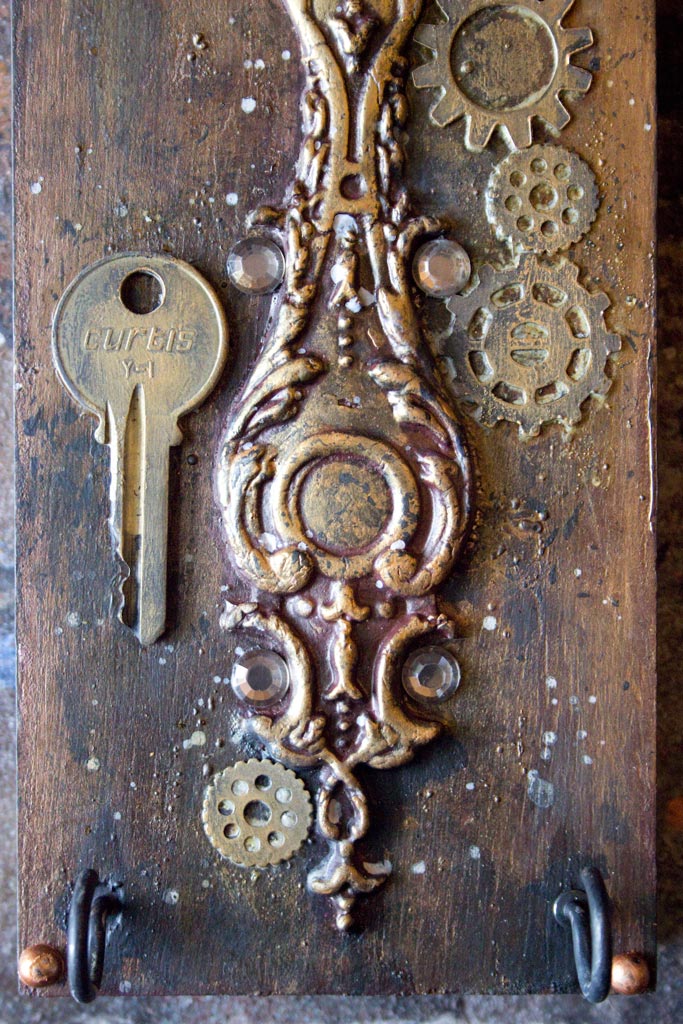
Two little cup hooks make it useful, as well as gorgeous:
I love this thing, and it was put to work the day it was made…
And it’s just a scrap of lumber with a couple of appliques, doo dads and some paint!
What could be easier?
By gluing on an old key, the function speaks for itself…
These are just a taste of the kinds of effects you can create with these amazing Decor Moulds + Imagination…
What will you create?
Thank you for visiting The Graphics Fairy today!
It’s been a pleasure to share these techniques with you, and I look forward to seeing your transformations!
Come visit me at Thicketworks, and take a walk on the Weird Side of Crafting!
Until next time,
Heather ♥
When you visit, you just might learn how to create This DIY Sugar Skull!:




shawna says
I hope this finds you. Where did you find those small hooks as I have looked everywhere with no luck?
graphicsfairy says
Hi Shawna,
Heather over at Thicketworks created this beauty. She refers to them as cup hooks and I imagine they can be found at any hardware store. You can find Heather on her blog, here is a link, https://thicketworks.com/thicketworks-blog/ 🙂
Rupa says
Heather, I was checking both blogs for a while and getting antsy that there were no posts from you 🙂 Then I finally saw this, picked up my jaw off the floor but couldn’t comment because someone always walked in on me when I was gawking at your art! Long story short, yes, this is yet another phenomenal technique! The finish has a real old world charm (we call that distress now don’t we? lol). If I didn’t see the steps and just saw the final product, I would just be dumb founded trying to figure out how you achieved that! But you have as always demystified it all for us. Thank you from the bottom of my heart for your generosity and inspiration! We all feel like we can do this too, thanks to you!!
Heather Tracy says
Hi Rupa! Oh, I’m so sorry that you’ve been getting antsy! It makes me very happy that you enjoyed this set of techniques…they were a joy to document for you. If I’ve helped to demystify anything about the process, then I am super pleased! Your kindness and support are such a great boost! And don’t worry – we’ll be back on schedule ASAP! xox
Rupa says
Frankly, you owe us nothing? We know you have been super busy with the class videos etc. Just so grateful for all you have already done for us.
graphicsfairy says
Thanks so much Rupa 🙂
josie, IOD says
Heather, you are a master of patina’s (and Moulds!!) Bravo, yet again!!!!
Heather Tracy says
Hi Josie! Oh, my goodness…{blushing} – Thank you SO much. With your incredible Decor Moulds, I want to create every (faux) patina in the Universe!
Diana | by Dreams Factory says
Heather, you’ve done it again! ♥
The final details are simply STUNNING!
Now I really wished I lived in the US so I can get my hands on these beautiful appliques to decorate all my frames and even make some Trumeau looking mirrors! 🙂
Do you use a sealer after painting and distressing these beauties?
Heather Tracy says
Diana, my friend! Thank you for your kindness – It’s always a treat to hear from you. Trumeau mirrors are a PERFECT way to use these amazing Decor Moulds. There are retailers in the UK, but I don’t know if that helps, or not. If you know anyone in Romania that would like to become a Retailer, I can hook them up! (hint hint)
Sealing: Depending on the products used to create the finish, it is not always necessary. It sure doesn’t hurt! I love a good quality Spray Sealer with a Matte Finish, and use that on almost everything I make. xox!
Bonnie J McDiarmid says
I love all of these techniques, and just don’t know which to try first, Thank You!!!! <3
Heather Tracy says
I hope you try ALL of them, Bonnie! They are so much fun!
Bonnie J McDiarmid says
OMG, I am so glad I found this site, I love all of this! Thank you for showing your techniques!!!!! I am going to have to try different things, oh, oh, oh, where to start!!! <3
Heather Tracy says
Hey Bonnie! Oh, I know that feeling, my friend…so much to do, so little time! Have fun!