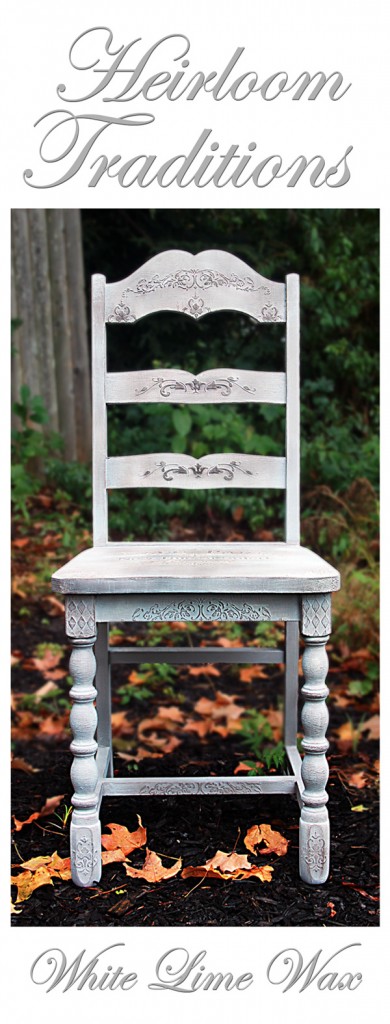
Hello, fellow furniture rehabilitators…It’s Heather from Thicketworks! I’m excited to share this simple but charming chair transformation with you. Results like this are made possible with Heirloom Traditions White Lime Wax, Ancient Aging Powder and Chalk Type Paints.
Heirloom Traditions Paint has provided the products for this project, and has sponsored this post.
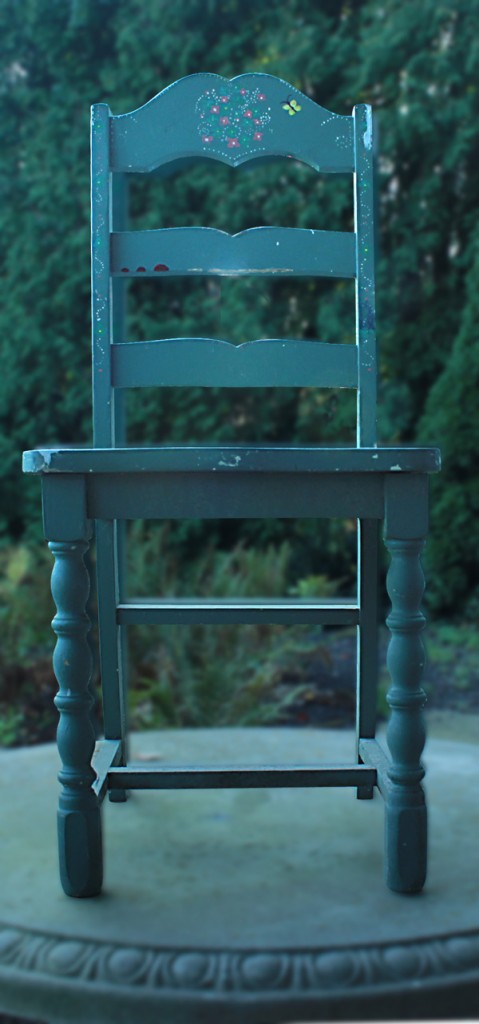
A glimpse of our subject, before:
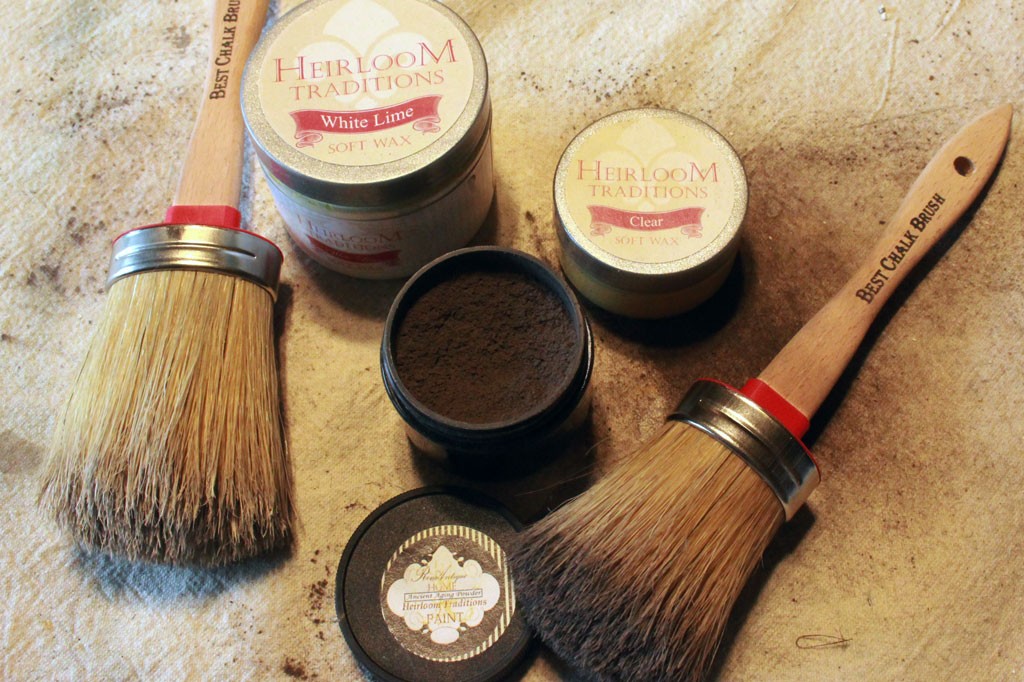
Here’s a list of the products and tools used to complete this makeover:
- One adorable little chair
- Heirloom Traditions Ultra Guard Primer & Sealer
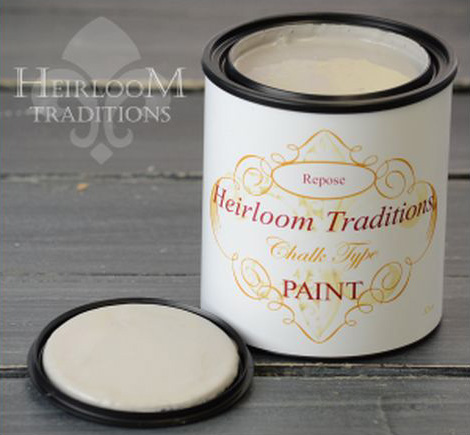
- Heirloom Traditions Chalk Type Paint “Repose”
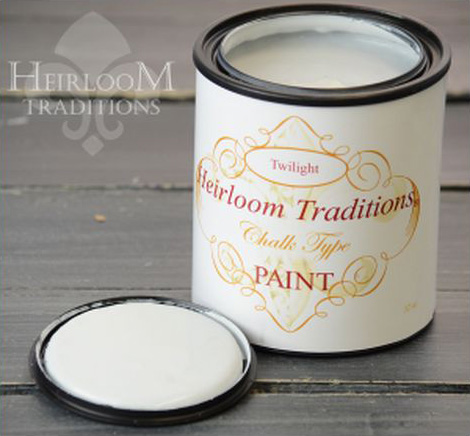
- Heirloom Traditions Chalk Type Paint “Twilight”
- Heirloom Traditions White Lime Wax
- Heirloom Traditions Ancient Aging Powder
- Heirloom Traditions Clear Wax
- Medium Oval Paint & Wax Brush
- Heirloom Traditions 1Gel Transfer Medium & Decoupage
- Ratty old chip brush (for dry-brush technique)
- Soft paint brush (for 1Gel application)
- Joint Compound, from the hardware store
- Stencils, assorted
- Palette Knife
- Sanding block & 220 grit sandpaper
- Micro-fiber rag for dust removal
- Old white T-shirts for buffing the wax
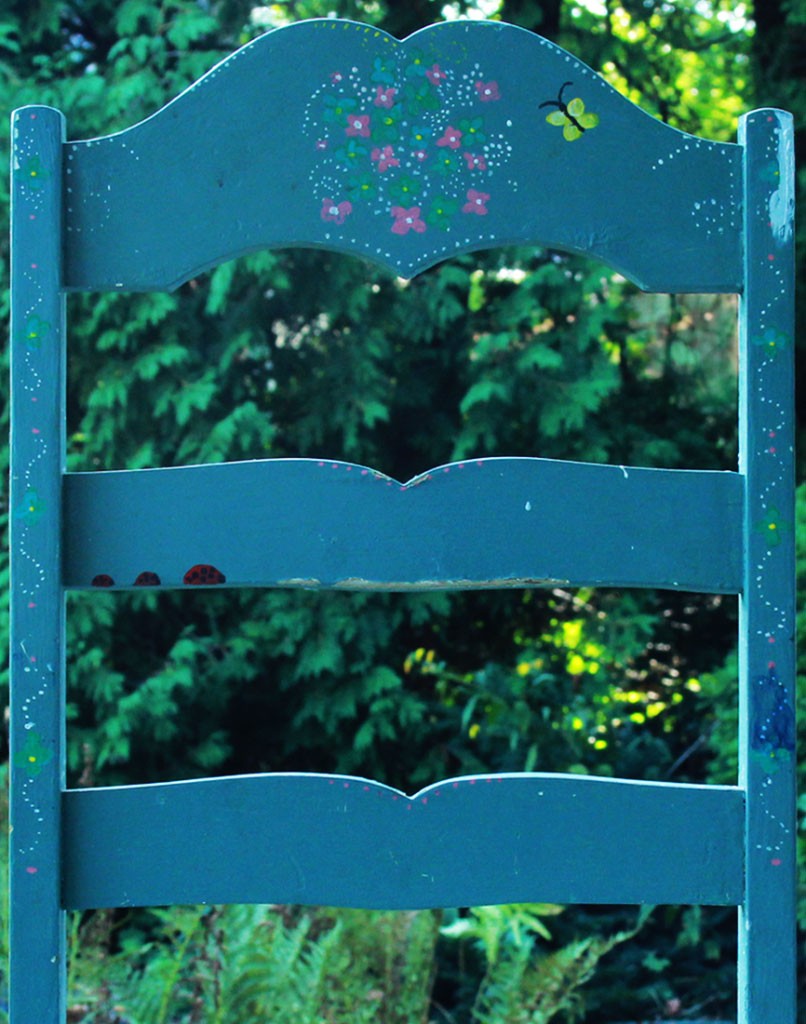
The charm of this child-sized chair was irresistible when it was found languishing in the local thrift store. However, it did have some issues. Multiple re-paint jobs had left it chipped and worn, and the seat was covered with stickers and layers of newspaper embedded in puddles of paint!
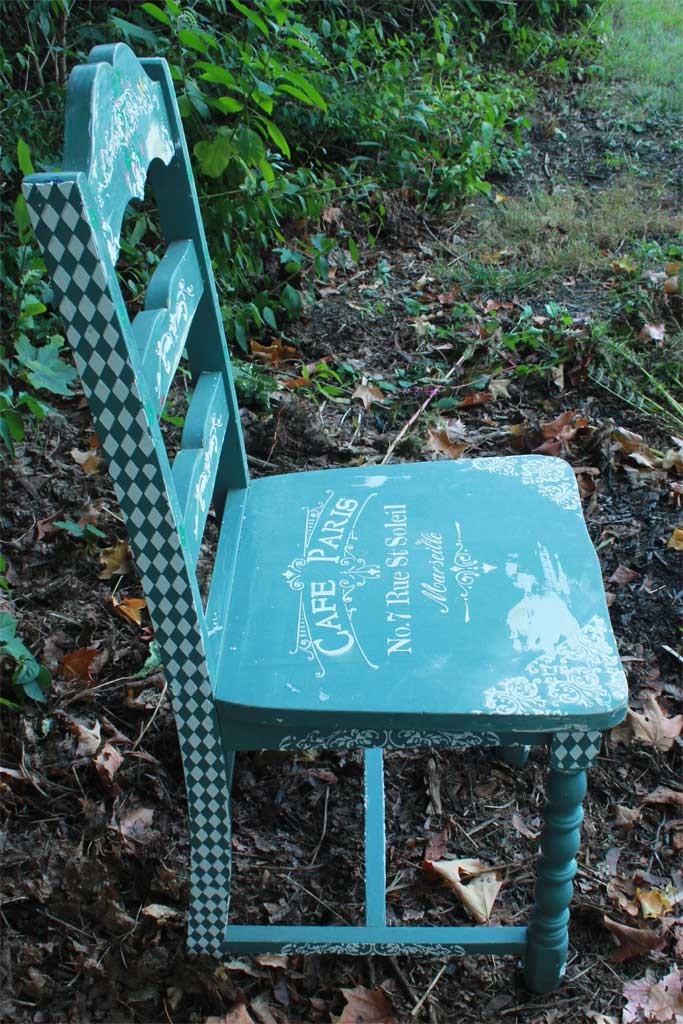
The flat slats of the ladder back made it a great candidate for one of my favorite furniture finishing techniques: texture stenciling. In this project, a combination of stencils was used – commercially available stencils and those I designed and created using my eClips electronic cutter by Sizzix.
- Usually, it’s not necessary to sand furniture prior to applying Heirloom Traditions Chalk Type Paint. In this case, to give the stenciled designs a surface to bind to, give the whole thing a light hand sanding with 220 grit paper clamped in a sanding block. (I also scraped off the stickers and feathered the chipping paint prior to beginning this transformation)
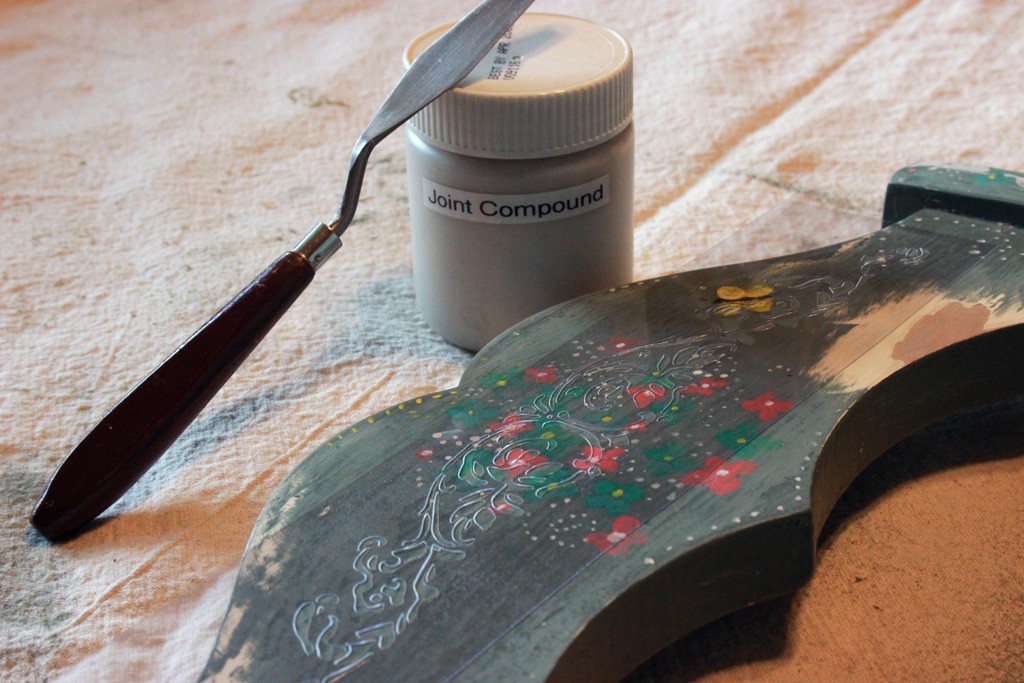
- Before priming with Heirloom Traditions Ultra Guard Primer and Sealer, we’ll work a little simple magic. Spreading a coat of ordinary Joint Compound through a stencil couldn’t be easier. This is one of my very favorite things to do to add value to a recycled piece. It creates visual interest on otherwise lack-luster surfaces, and creates a wonderful ‘ground’ for the use of aging techniques.
(The following pictures were all taken within a five minute period). Super quick, super easy, super effective!
3) The stencil is placed where the motif is desired:
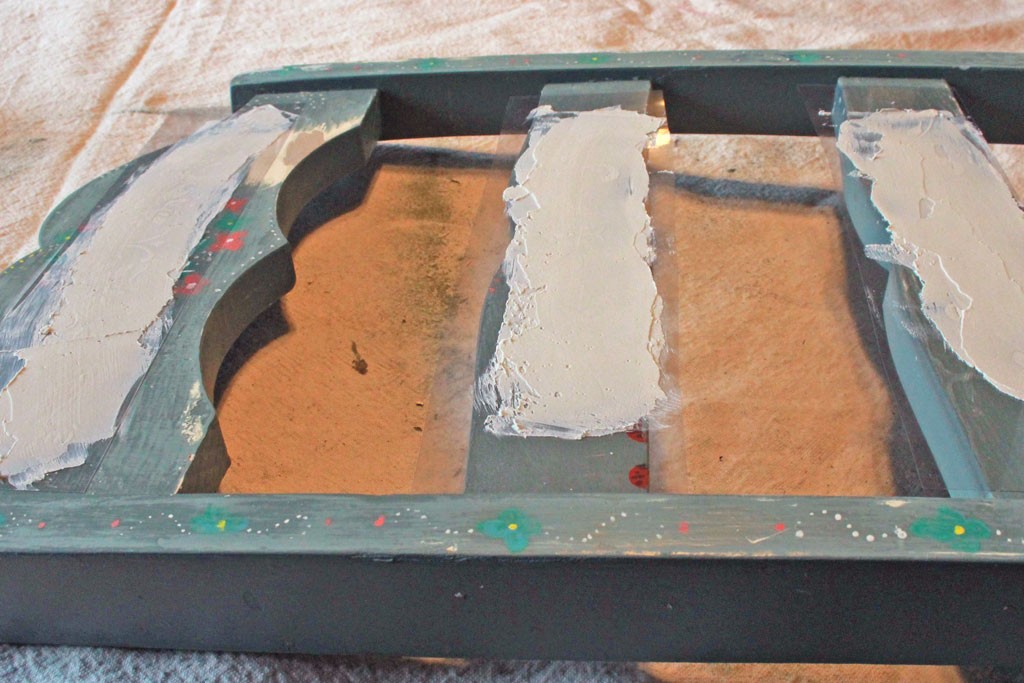
4) It’s as simple as centering the stencil, holding it in place with one hand, scooping up a glob of joint compound with a palette knife and spreading it over the surface, just like peanut butter!
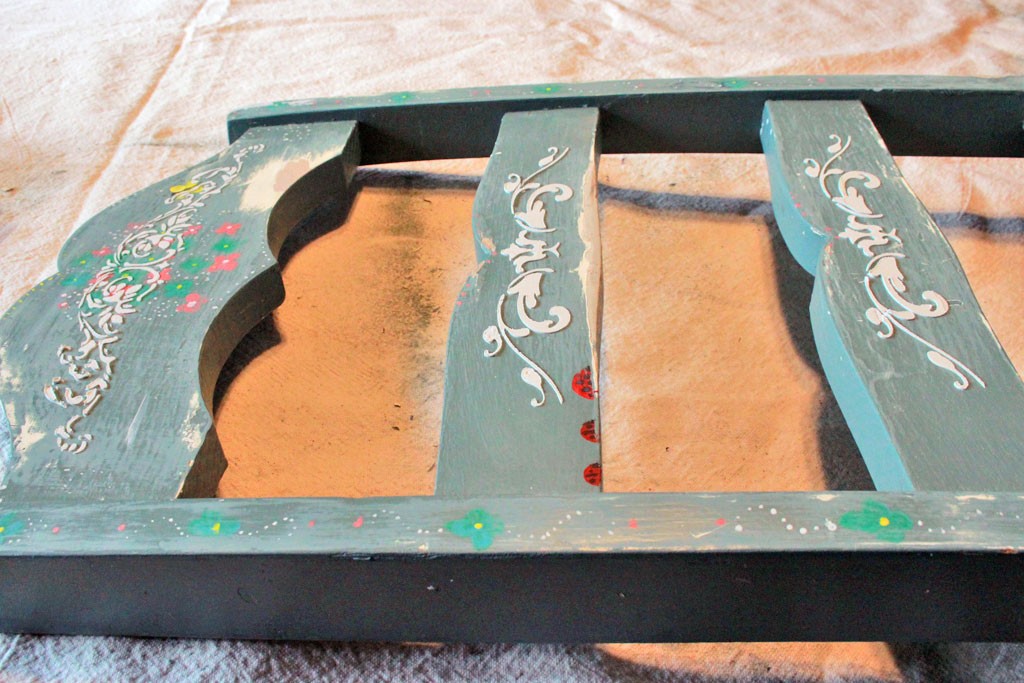
5) Once a layer of joint compound has been laid down, carefully lift the stencil away to reveal the raised pattern. No waiting required!
Note: Wash the surface of the stencil before the joint compound has a chance to set, so you won’t have to explain why it is unusable when your friend wants to borrow it…
I admit it, I went a wee-bit overboard with the stenciling…I was having so much fun I couldn’t stop!
It’s just too entertaining! And this little chair has a sense of humor that just needed a dab of encouragement…
6) It doesn’t take long for the joint compound to cure…a couple of hours is usually all you need, depending on weather conditions.
7) Once it feels brittle and bone dry, it’s time to smooth out the surface of the stenciled patterns. This is easily done with a scrap of sandpaper or a cushioned emery block. It took longer to wipe the dust off than to actually sand it…
Note: If stenciling the surface of a seat, take extra care to leave a smooth surface that won’t cause discomfort to anyone who actually sits there!
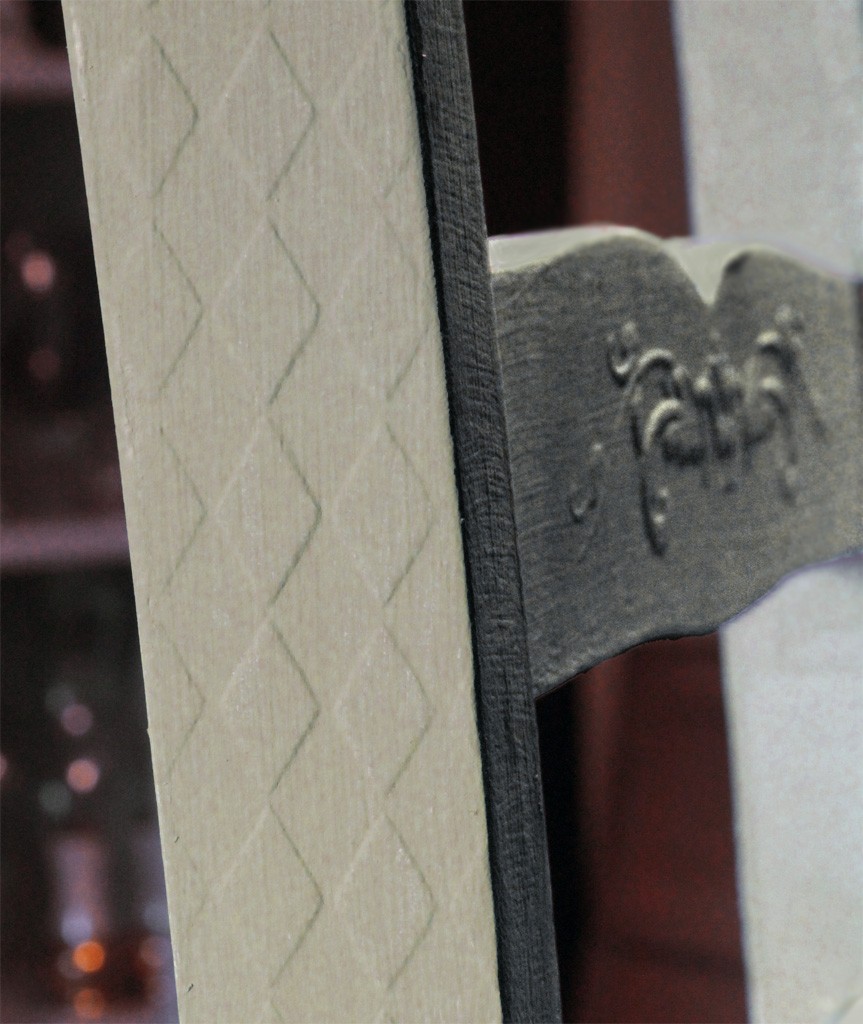
8) Feathering the edges of the raised designs so that they ‘fade’ is a very nice effect, which was used here on the damask corner elements. Elsewhere, the goal is to leave a smooth raised surface about a 1/16th of an inch thick.
Right now, the stenciled designs are very fragile and you might be thinking this is impractical, but don’t jump to conclusions! This is actually very tough, once it’s sealed with paint and wax. I have several pieces finished this way that get daily use and all have proven to be extremely durable. Don’t bang it with a hammer, but normal use is fine.
9) It’s at this stage that the Heirloom Traditions Ultra Guard Primer & Sealer comes into its’ own. Two coats, brushed in opposite directions can create an almost linen-like texture, while sealing away the previous paint color, and protecting our raised motifs. Allow each coat of Ultra Guard to dry between coats: about an hour is usually all that’s needed.
10) Once the second coat of Ultra Guard has cured, it’s time to give this little guy his first coat of Heirloom Traditions Chalk Type Paint in “Repose”. In my opinion, one of the most elegant gray tones out there.
One coat of “Repose” was all that was needed for this project – you may choose to add another coat.
11) Next, a very light dry brush technique was added over the entire surface with Heirloom Traditions Chalk Type Paint in “Twilight” a gentle blue, with gray undertones. A simple chip brush works well for this.
12) Once the dry-brushed layer has dried, (and it doesn’t take long), it’s time to play with the luscious Heirloom Traditions White Lime Wax. I love this stuff! It opens up so many possibilities…using the Heirloom Traditions Best Chalk Brush, stroke & swirl the wax over the surface of the piece, pouncing if need be to ‘force’ the wax into the crevices.
13) While the wax is still moist, wipe away as much or as little as you want, depending on the look you desire. Old white T-shirts are a good choice for this step.
I love that the wax gathers in all of the nooks & crannies, leaving a subtle but definite aura of antiquity.
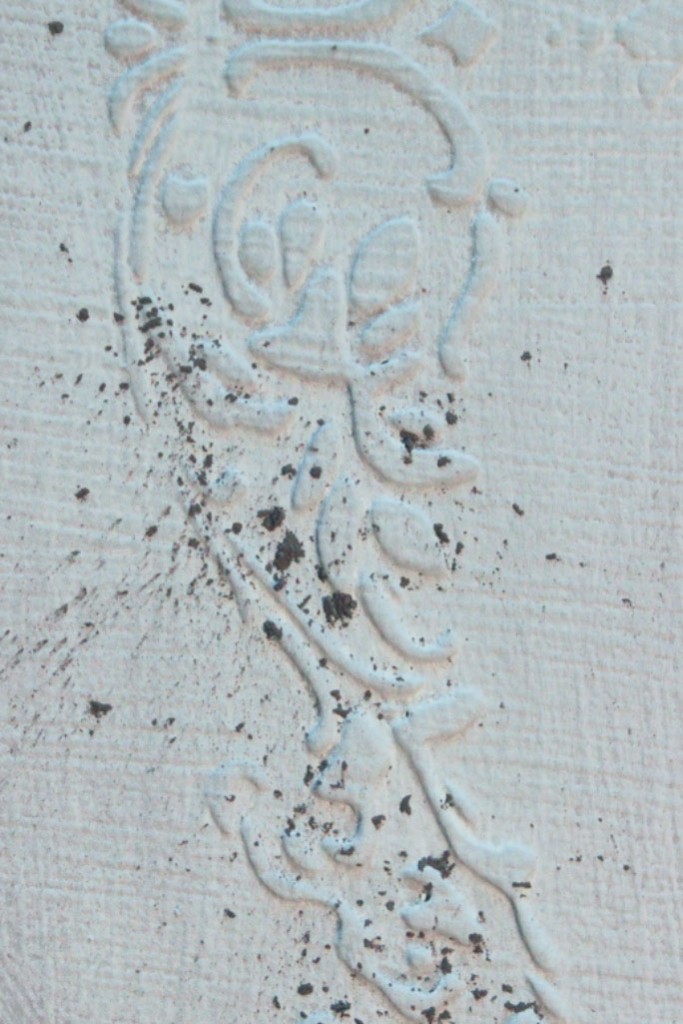
14) While the White Lime Wax is still moist, sprinkle on Heirloom Traditions Ancient Aging Powder – it’s like adding decades of charm.
After sprinkling the dust, use the Heirloom Traditions Best Chalk Brush to lightly swipe the dust across the raised surface of the stenciled patterns.
Note: If you’re unhappy with the result, load a brush with Heirloom Traditions Clear wax and stroke the surface, and wipe back. This makes it easy to lessen the intensity of the color.
I had so much fun playing with Ancient Aging Powder…this stuff is going into my permanent arsenal from now on…
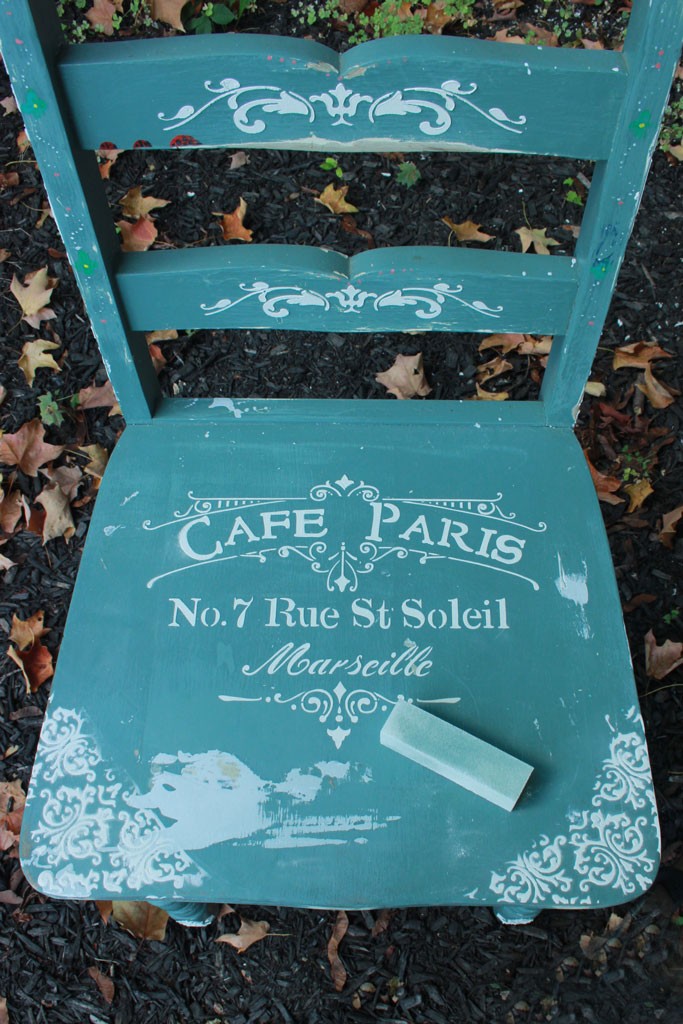
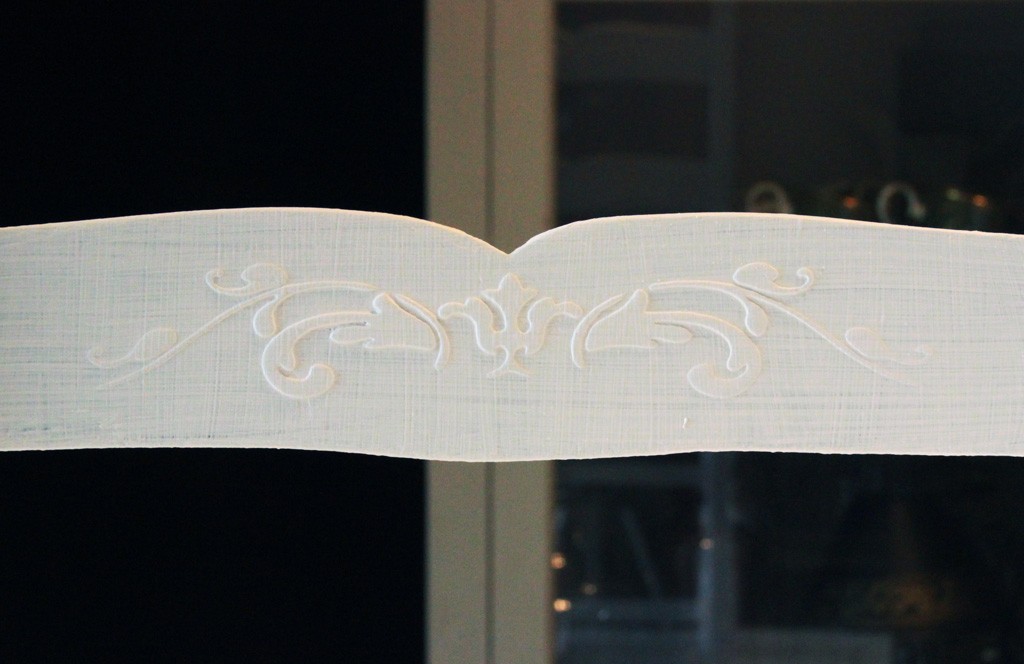
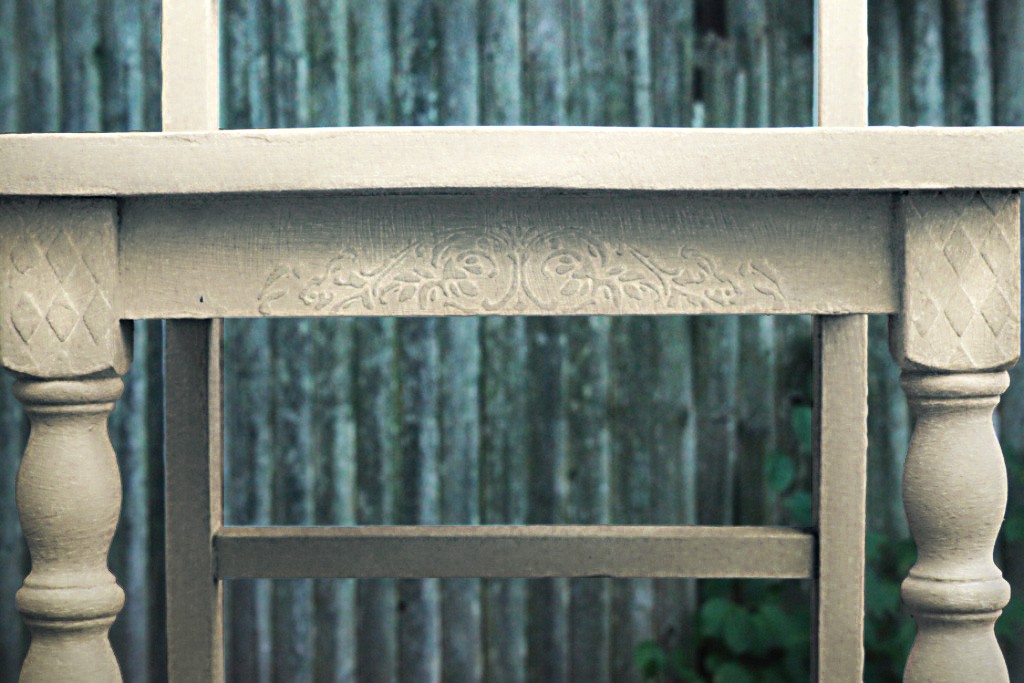
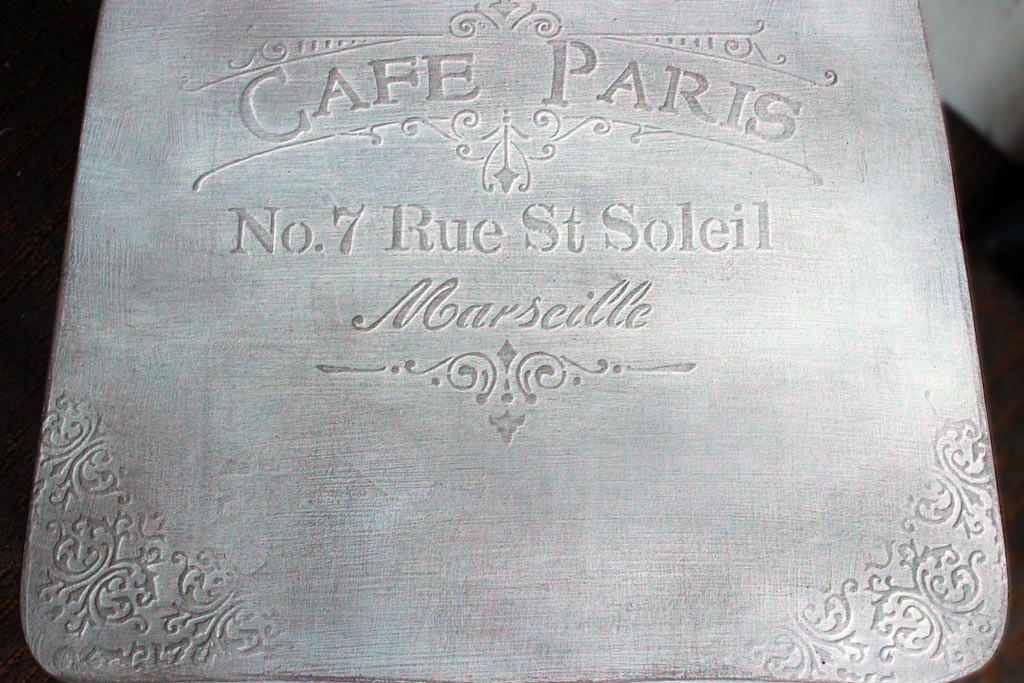
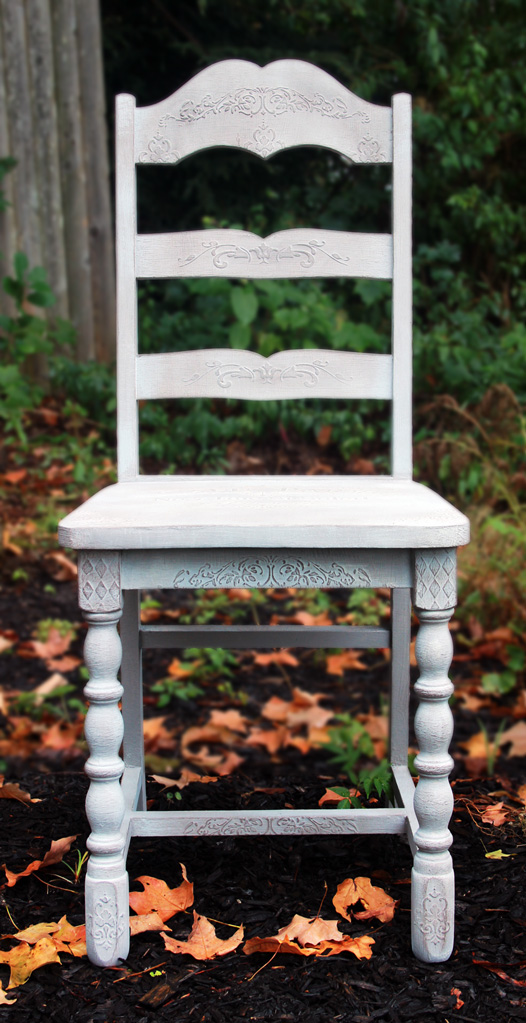
The resulting surface is nuanced and intriguing – combining the stenciled patterns, the White Lime Wax & the Ancient Aging Powder creates a true depth of finish – every tiny alteration in the texture is accentuated.
I love how the usual ‘antique’ finish is reversed here, with the crevices glowing with white, and the surface darkened just a tad:
15) Once the application of White Lime Wax and Ancient Aging Powder has cured, a final top coat of Heirloom Traditions 1Gel Instant Transfer Medium & Decoupage ensures that the pigments are protected (and won’t transfer to the seat of your pants!). Just apply one or two coats with a soft brush.
This has been a wonderful project; easy, fun & satisfying. I’m so enjoying experimenting with how these products can help us turn our junky finds into treasures!
For more information on Heirloom Traditions Products, please visit www.heirloomtraditionspaint.com
*Full Disclosure: Heirloom Traditions supplied their products to be used in this project, and they sponsored this post – however, I supplied the elbow grease, rescued furniture, design concept, and opinions! All of which reflect my own point of view, regardless of affiliation…
Thanks for taking the time to join me for this makeover!
If you enjoy the process of transforming ordinary materials into extraordinary treasures, stop by Thicketworks to say hello – you’re always welcome there…
Take Care,
Heather


Ivone Alexandrino says
HI,
There are approximately three years I have been following your posts and every day I’m more delighted. Already two mobile reformed in my house, and I made a box of documents was a sweet! In the coming days I will do it again. And so I came inspiration here … And of course, I found beautiful things. Thank you for sharing