Chick Drawing
Today, let’s make a cute Chick Drawing! In this post you will find step by step instructions for creating a simple Chick drawing in just 5 easy steps. This fun lesson was scanned from an early 1920’s drawing book in my collection. At the bottom of the post you will find a printable practice worksheet that you can print out, with some blank space included, so that you can practice right on the page. Practice them and then create a whole flock of cute Chicks if you like. You can print out as many as you want to share with your Family, Sunday School Class, Classroom, Creative friends meet up and more. Now let’s get drawing! For Non Commercial Use.
How to Draw a Cute Baby Chick Step by Step
Kids or grown ups alike can follow these simple steps with this cute Chick Drawing guide! I would recommend creating this with a pencil, as you can erase if you have any mistakes. But you can always draw over him with an ink Pen or marker when you are done, to define him some more. Have fun creating some Baby Chicks!
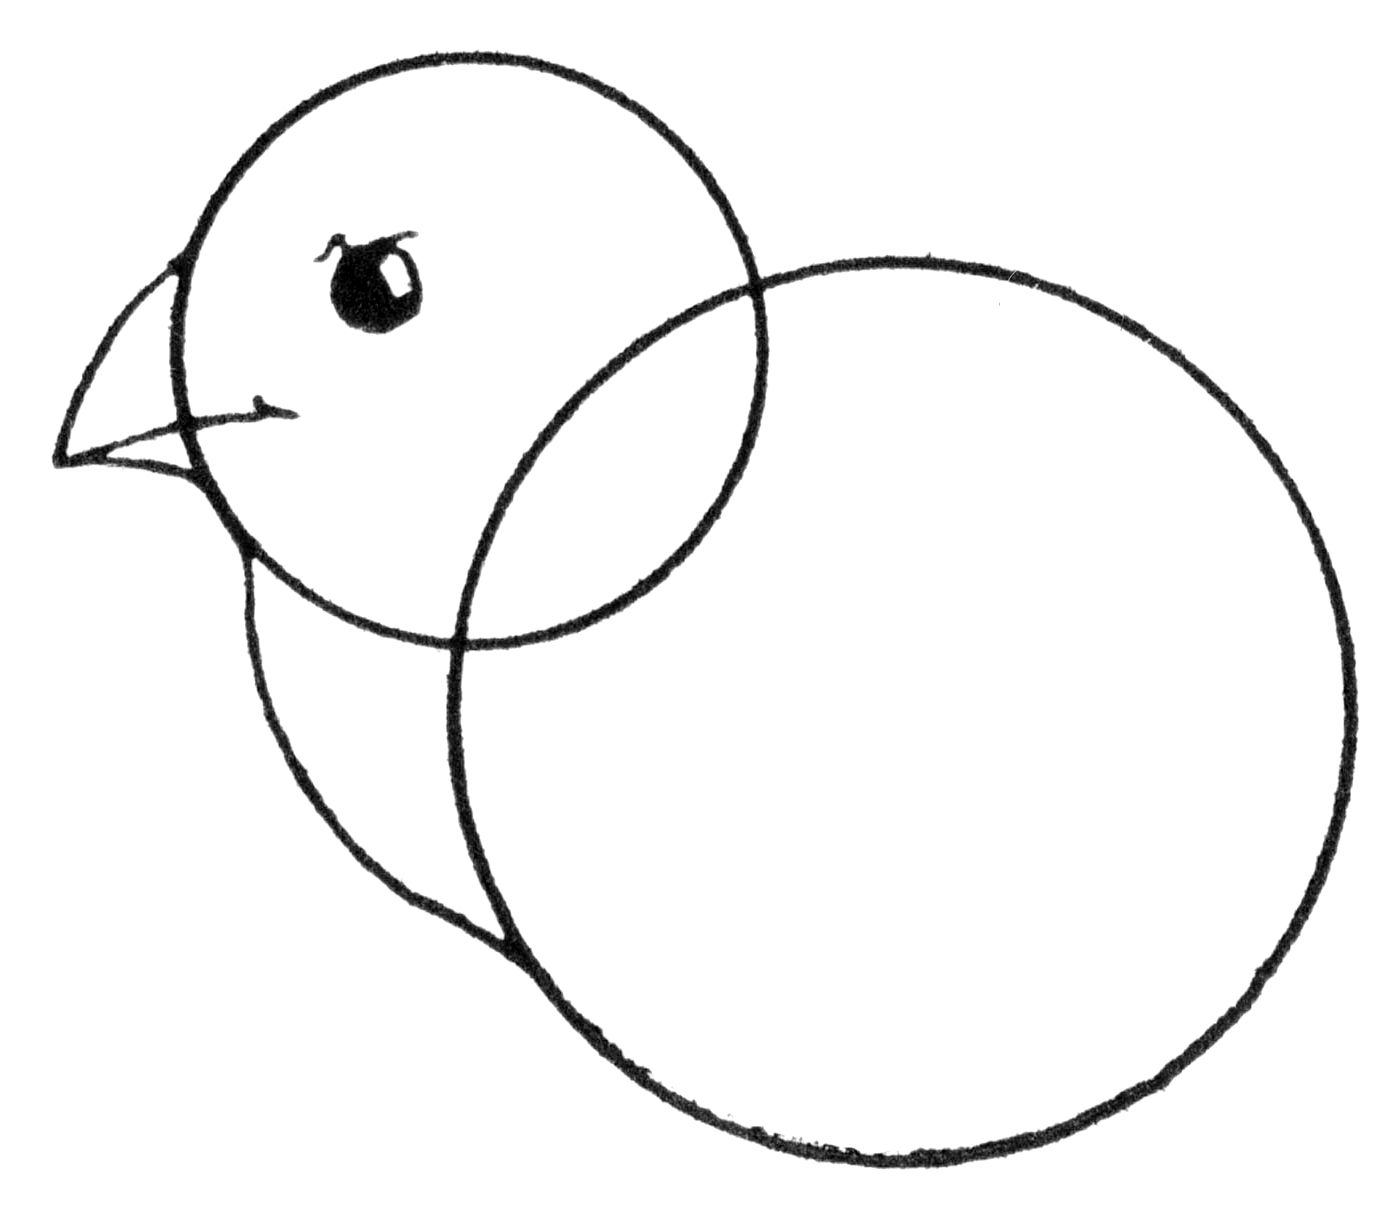
Chick Drawing Step 1
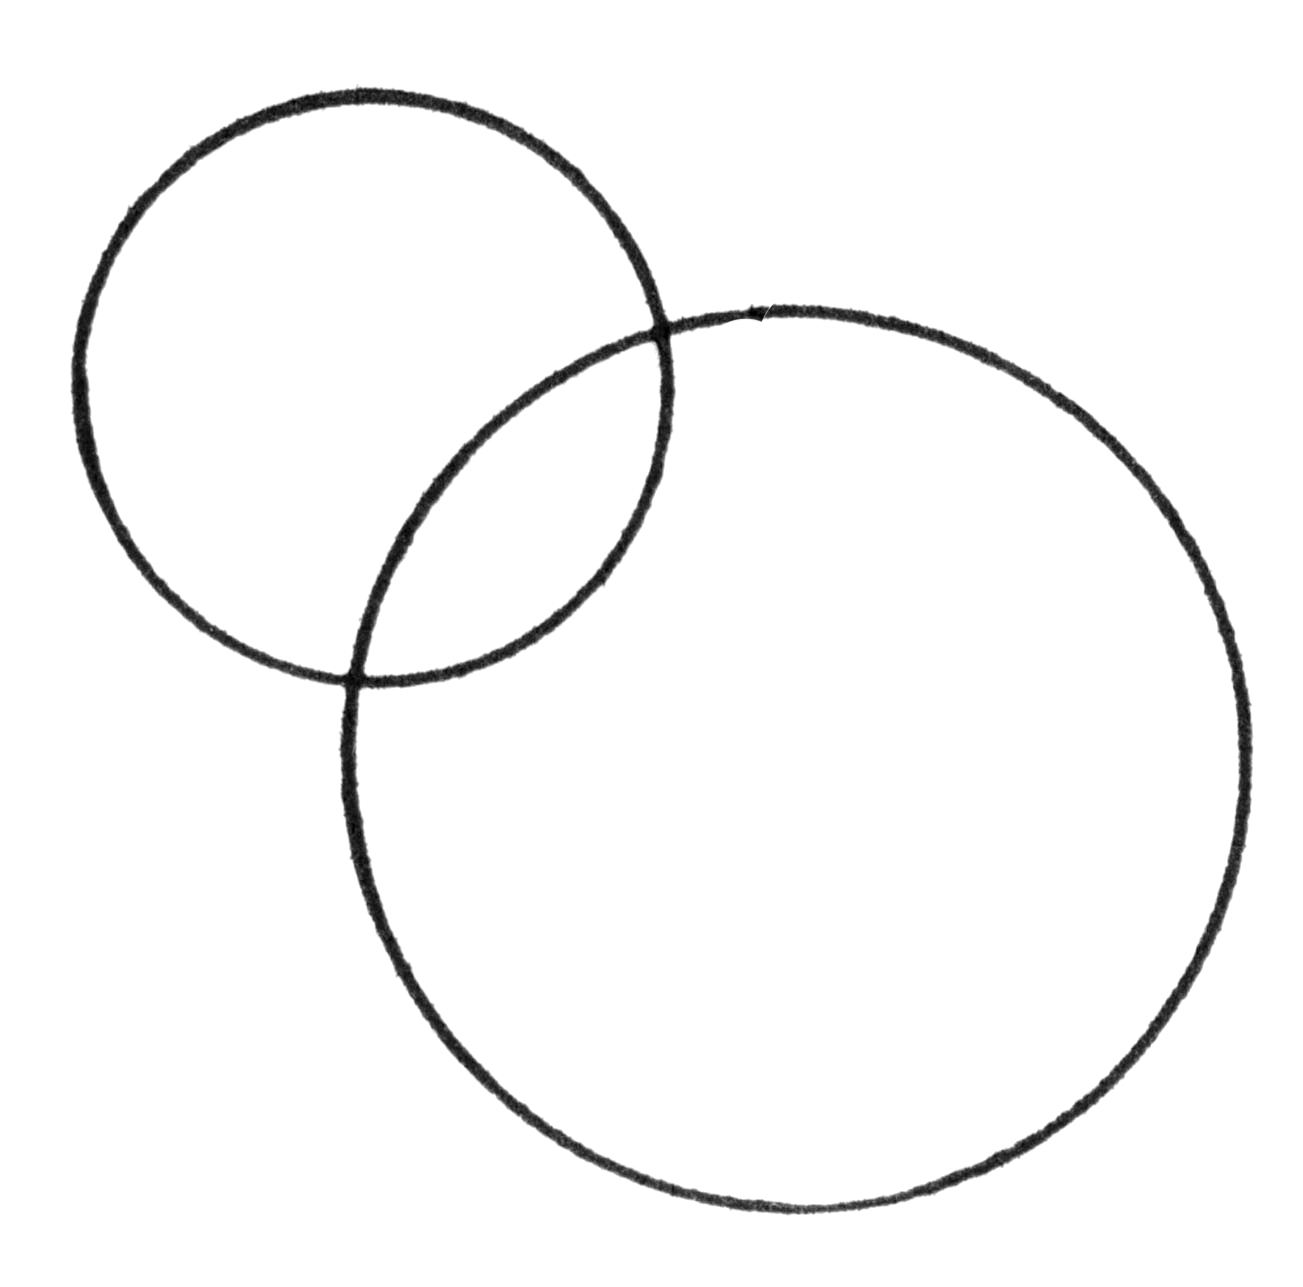
Step 1: Let’s draw the Baby Chick’s body. Start by drawing 2 overlapping circles. A smaller one for the Head and a larger one for the body. You can trace around some round objects in your home if you like, in order to get perfectly round circles. Easy!
Step 2
Step 2: Next let’s add some details for the Chick’s face. Draw a beak on the head with a line through it, where the beak would open and close. Draw a round circle for the eye and fill it in, leaving a white spot for a reflection. He has a sort of funny-ish quirky eye brow just above his eye, that makes him look a bit like an angry Chick! You can decide if you want to shape it differently for a different expression. Add a curved line from the bottom of his face over to about the midway point on his body, for his chest area.
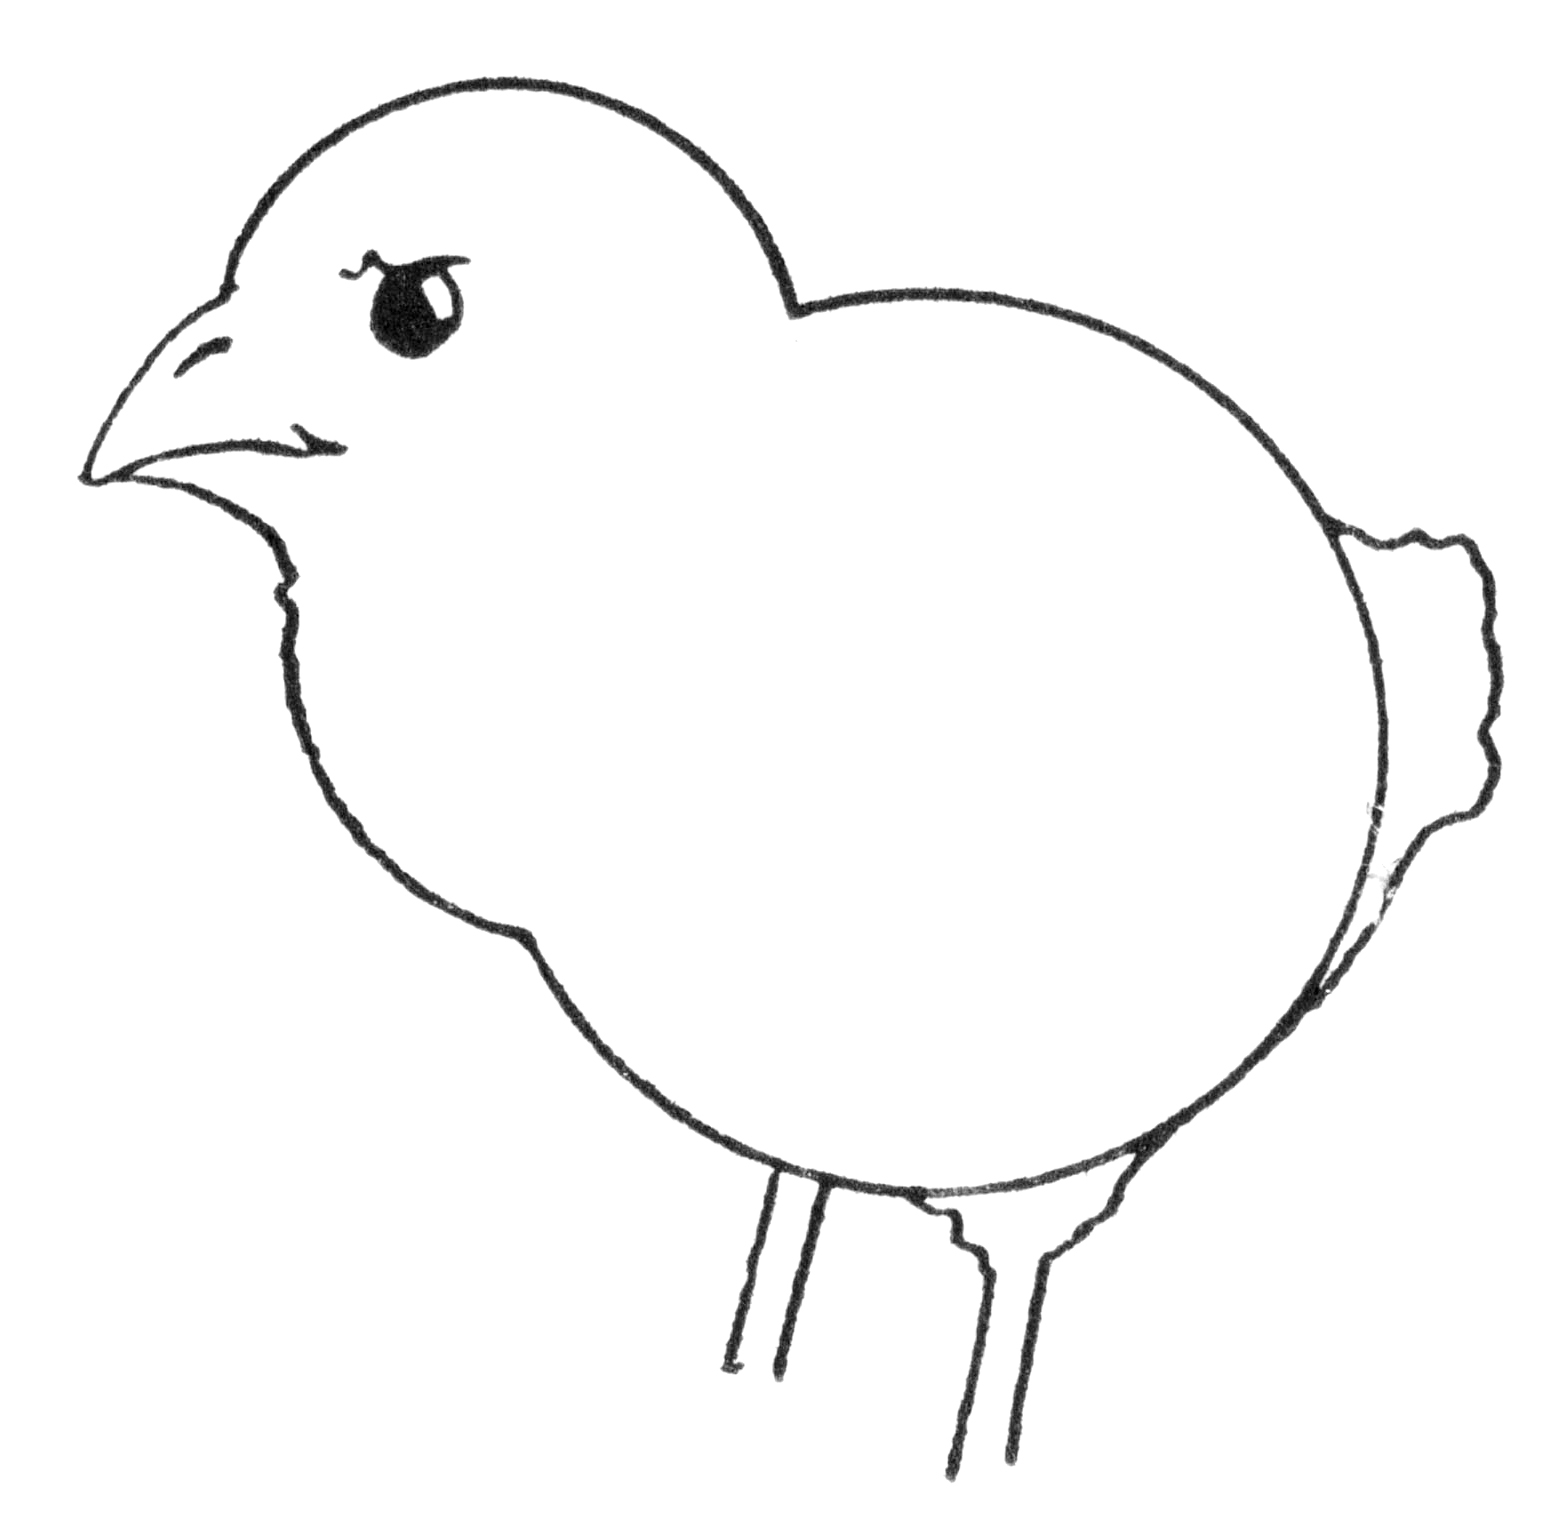
Step 3
Step 3: Now you’ll need to do a bit of erasing, to remove the intersecting lines. Add a little line on his beak as a highlight. Create a fluffy tail area and sketch in the tops of his legs.
Step 4
Step 4: A little more erasing is needed here as well in his tail area, and where his leg connects to his body. Draw 2 feet as shown above. At this point you have a simple and cute Cartoon Chick Drawing, you could stop here if you like or continue on below to add more detail.
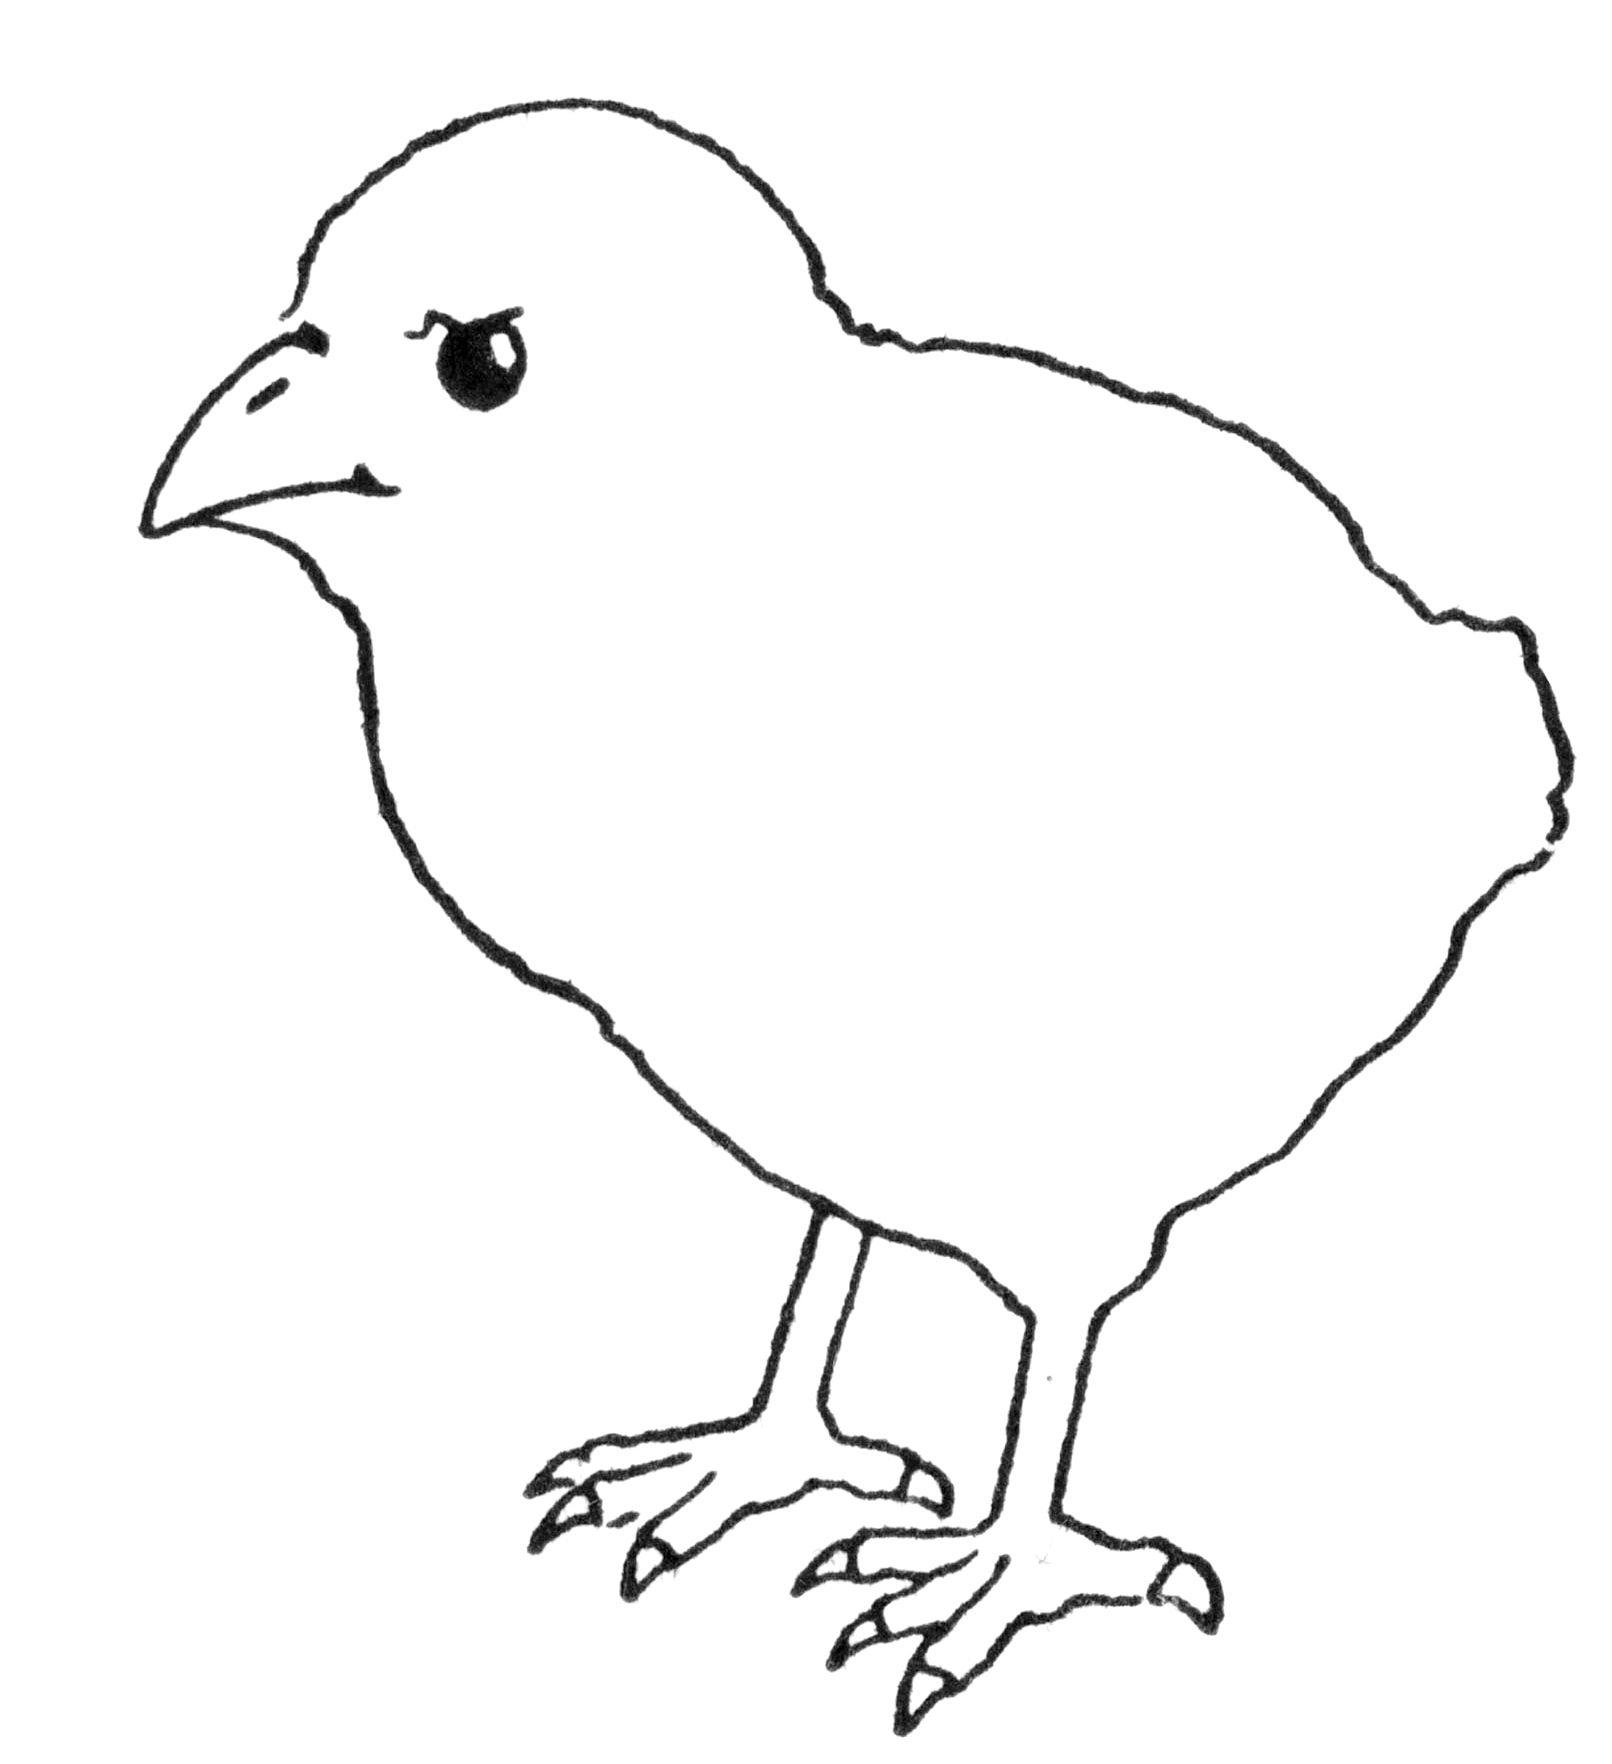
Step 5
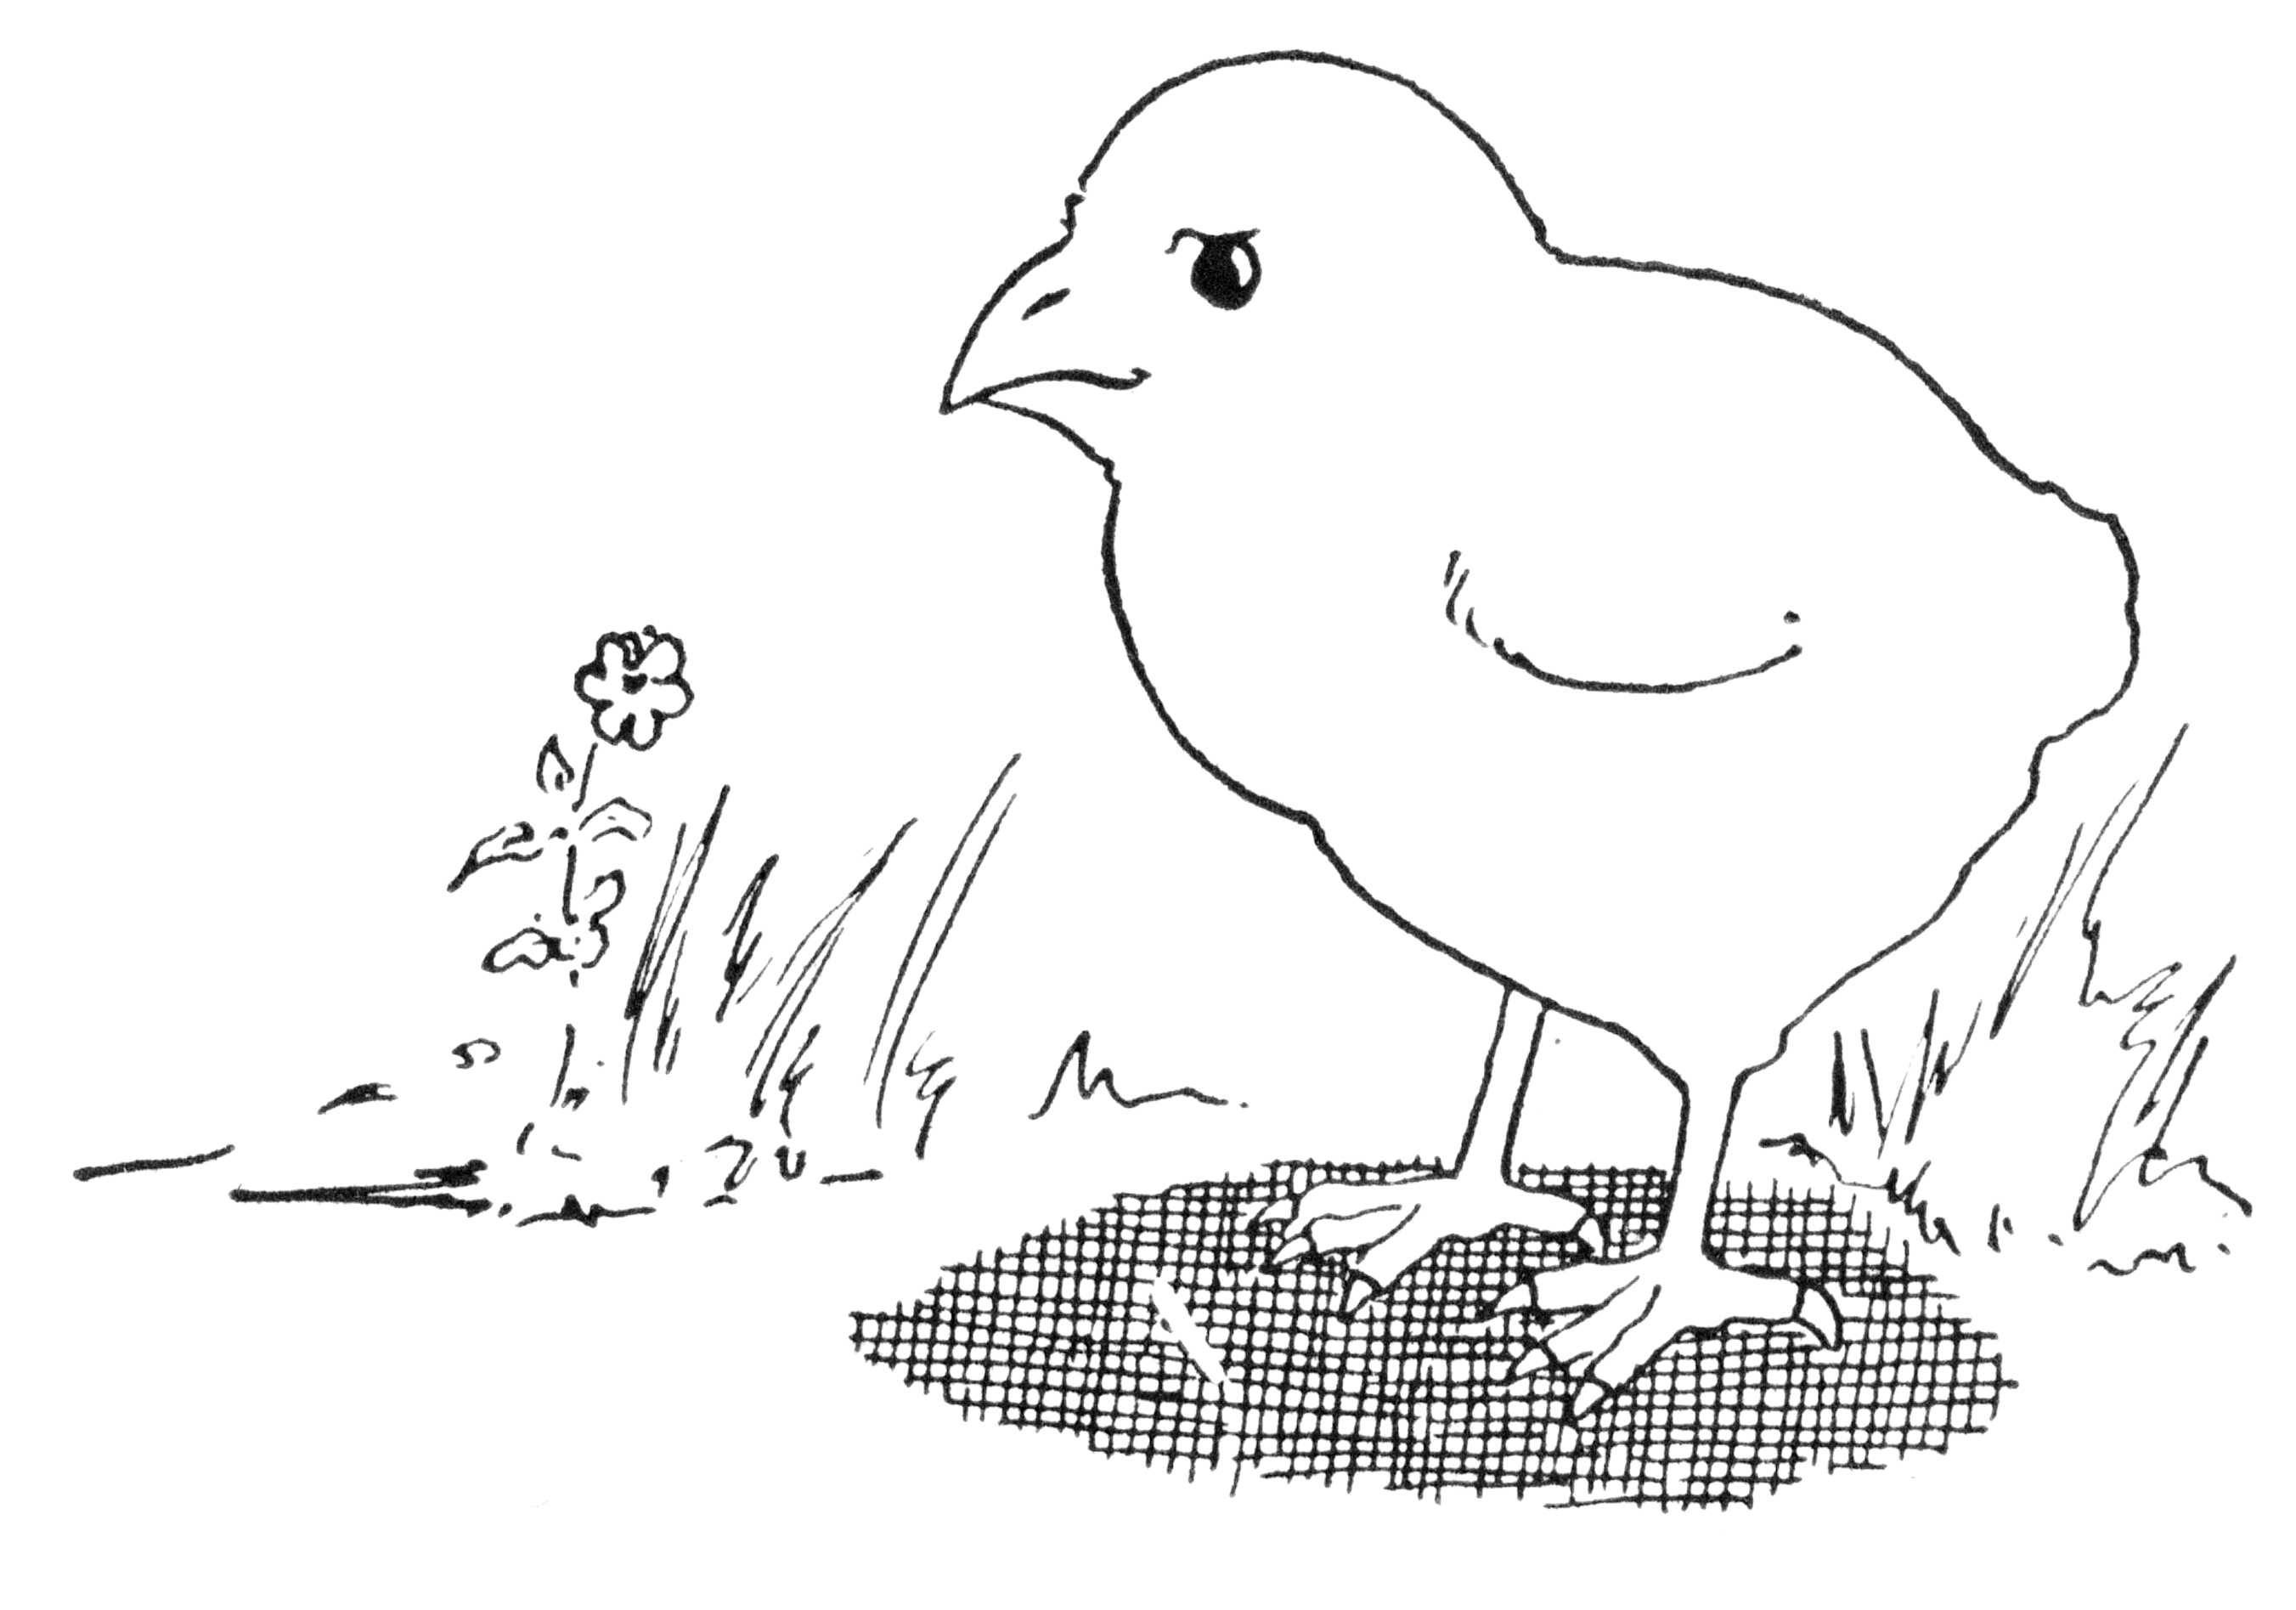 Step 5: We just need to draw in his tiny wing as seen above. As an optional step you can sketch in some grass, a flower and a little cross hatch area under his feet. So cute!
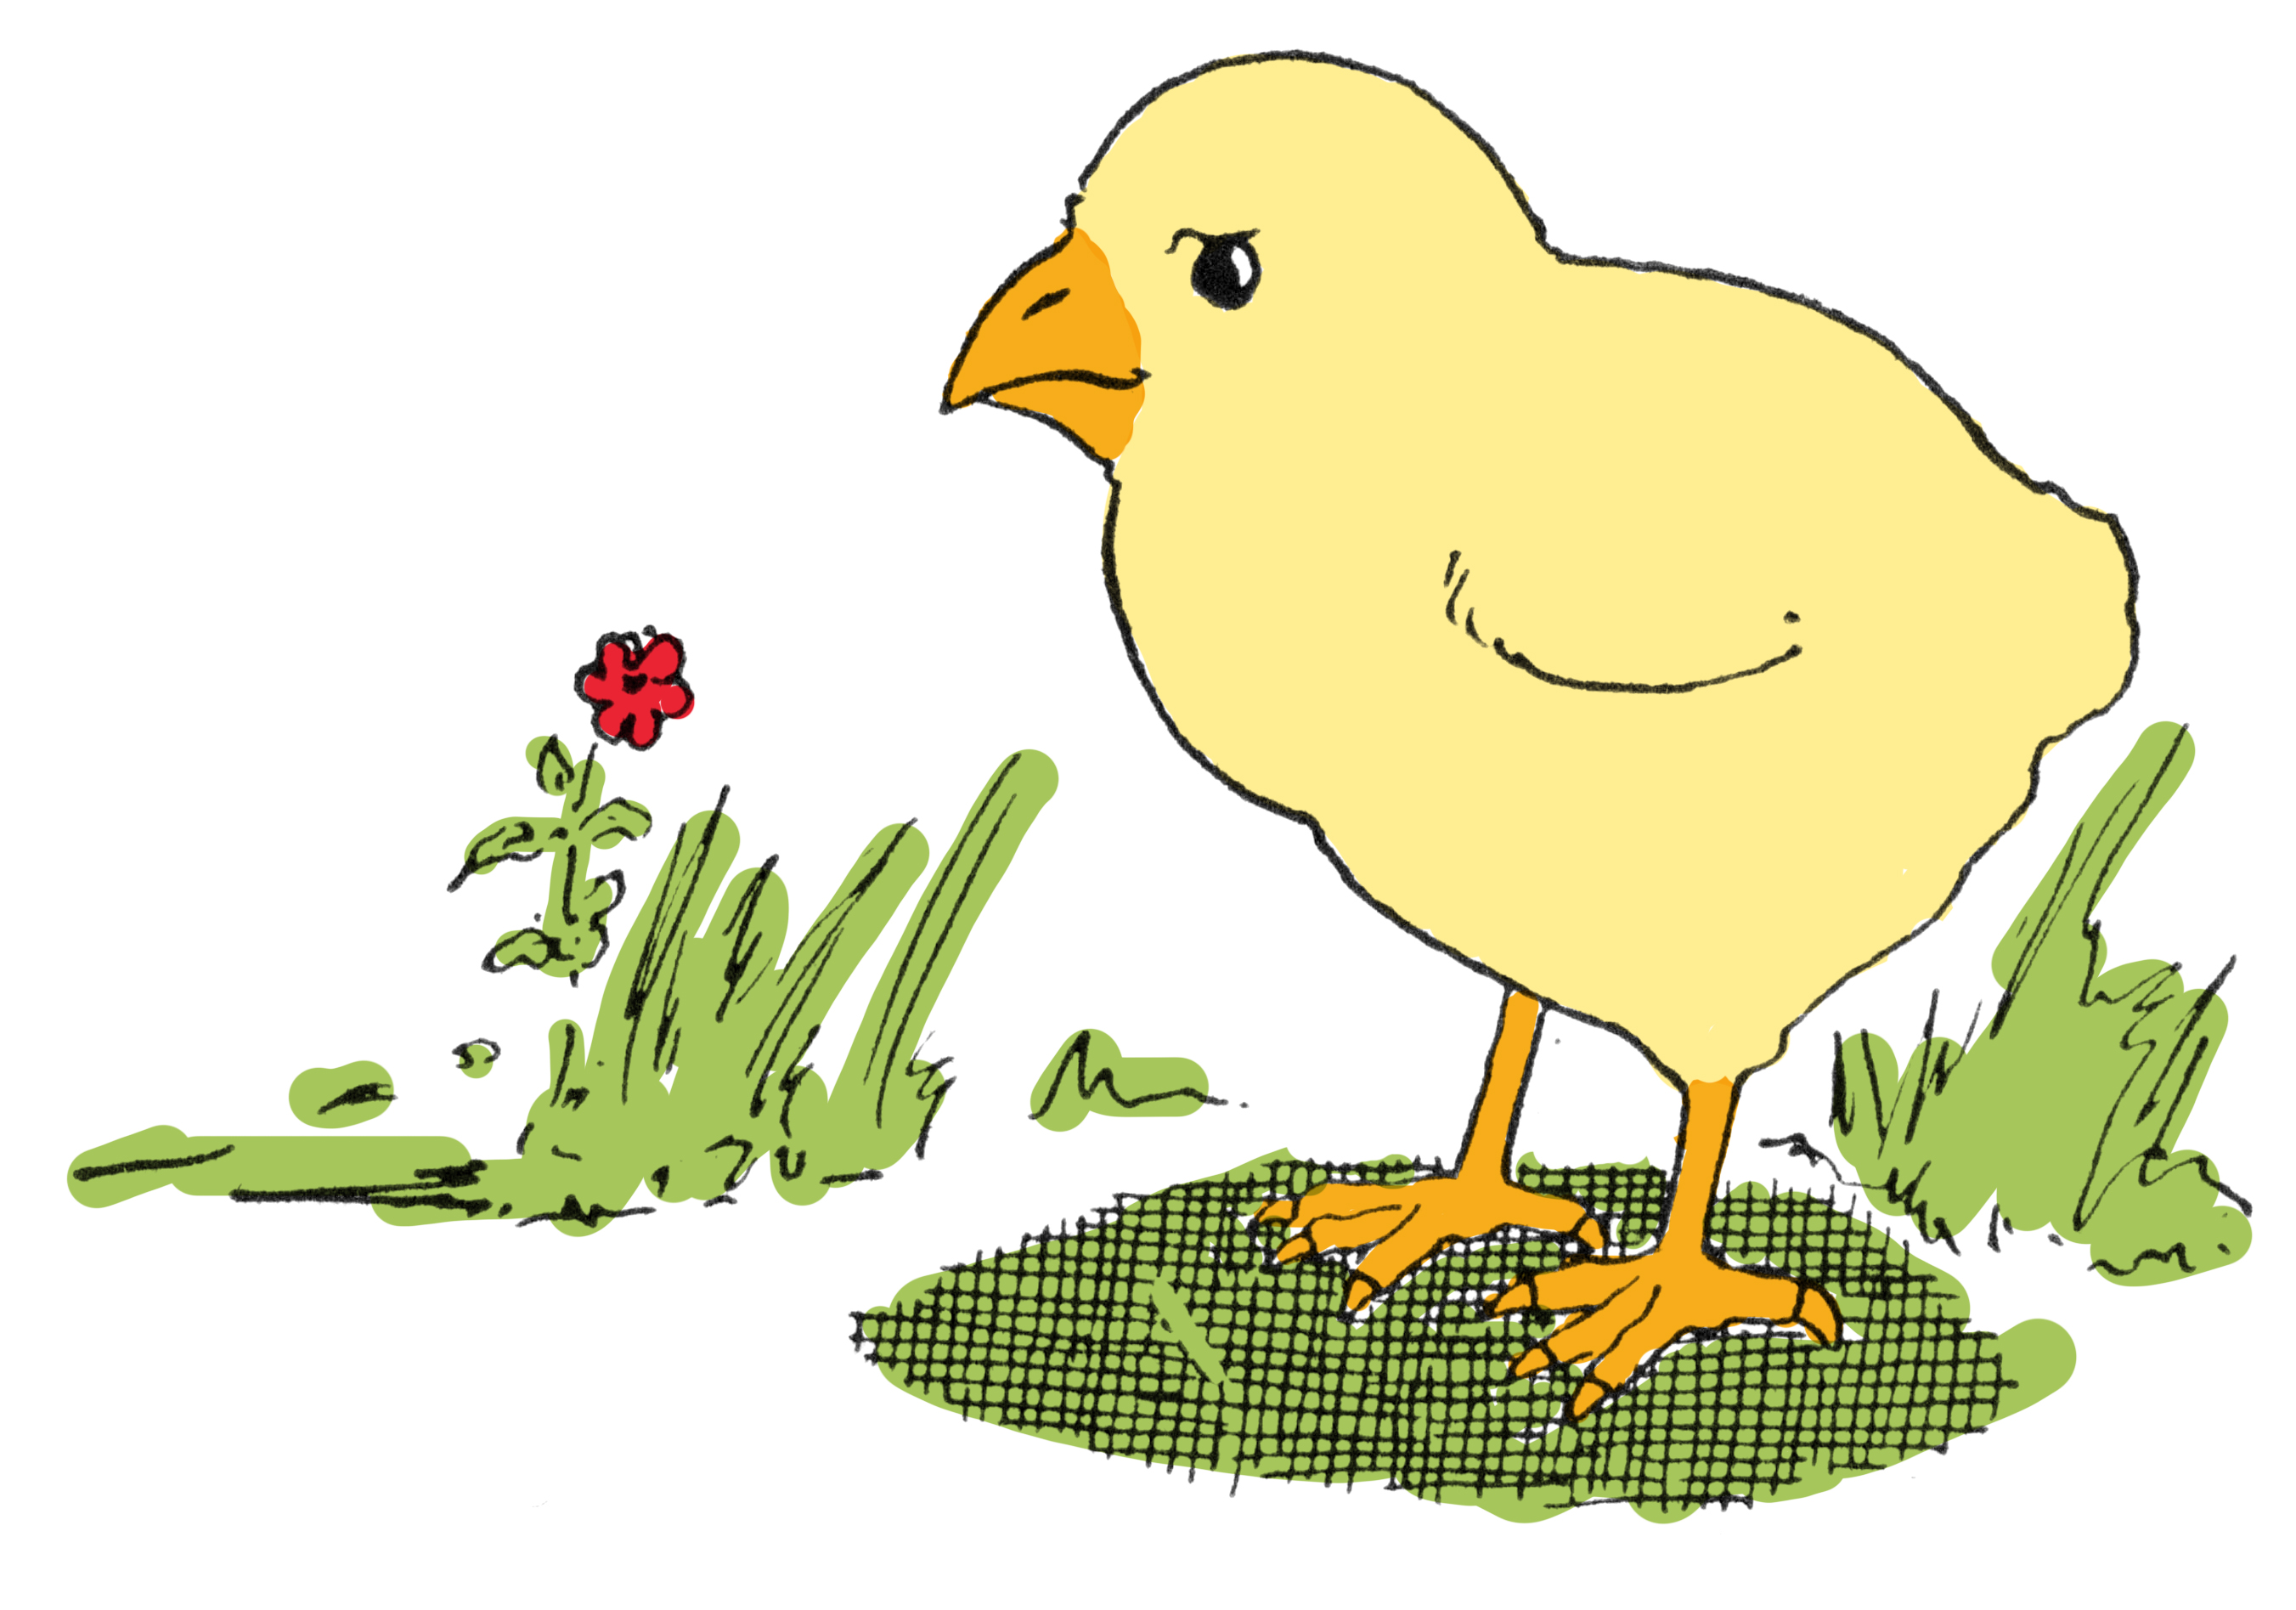
The only thing left to do now is to color in your adorable Baby Chick! Go grab your markers, Crayola crayons, oil pastels or color pencils, or whatever you have on hand, and finish your artwork masterpiece! I colored this guy in with a soft yellow shade, but you can let your creativity go wild and use whatever colors you like! You get to decide!
How to Draw a Simple Chick Worksheet
Click HERE to Download the Free Printable PDF of the Chick Drawing Worksheet
Don’t forget to download the free practice sheet above so that you can print it out and hone your skills! There is plenty of space at the bottom of the sheet so that you can practice right on it. Great for Kids or Adults. I hope you enjoyed these easy steps and that you had fun with this Chick Drawing tutorial.
Here are a few other easy Drawing Tutorials that you might like as well (great for Animal Lovers!):
How to Draw Manatee
How to Draw Pigs and Goats
How to Draw Birds
How to Draw Owls
How to Draw Dogs
How to Draw Frogs
How to Draw Fish
How to Draw a Red Rose
All of the lessons above also include the free Printable Practice sheets that were included with this one.
 You might also like our post all about coloring with Colored Pencils HERE.






Dhammika says
Dear Karen, I am from Sri Lanka, I am happy to see your drawings!they are really look very nice.happy to meet you in web,good luck!
Karen Watson says
Thank you so much Dhammika!