Christmas Coasters DIY
Hello Graphics Fairy friends! I’m Diana from Dreams Factory and I’m happy to be here again to share another DIY project with you! Today I will show you how to make this beautiful Vintage Christmas Coasters DIY project, which can be kept for yourself or turned into a lovely gift for family members or friends. We’ll cut, paint and distress the coasters and then we’ll use a quirky image transfer technique to place the Christmas images on top.
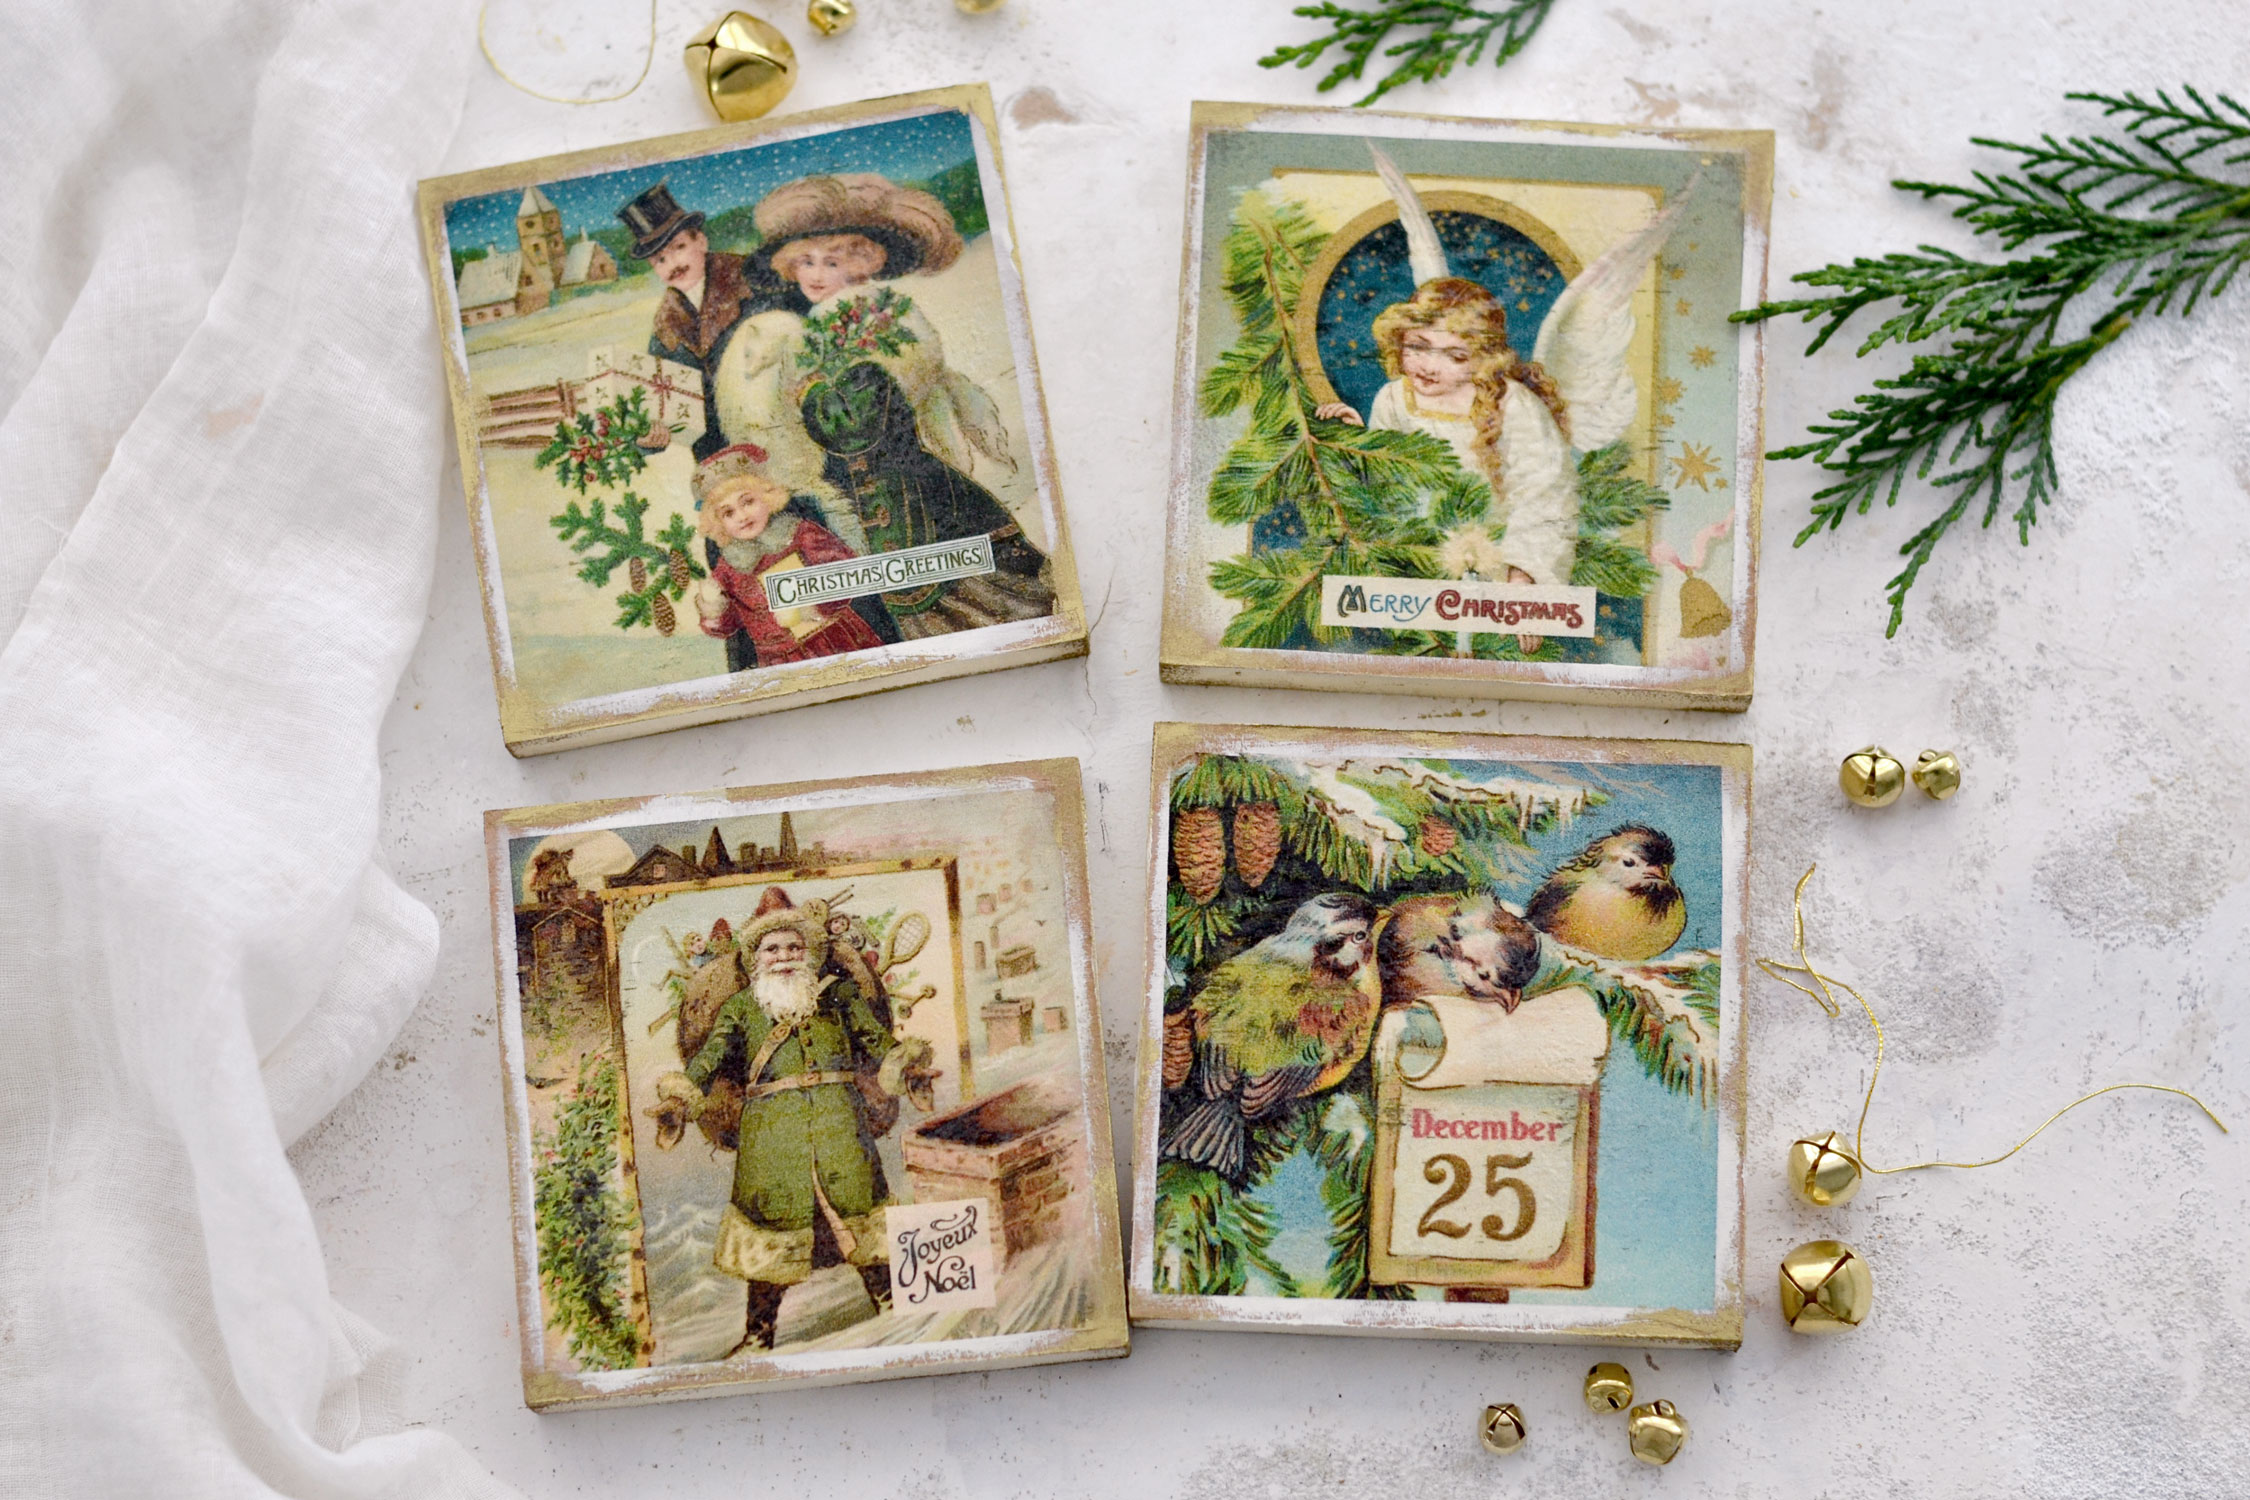
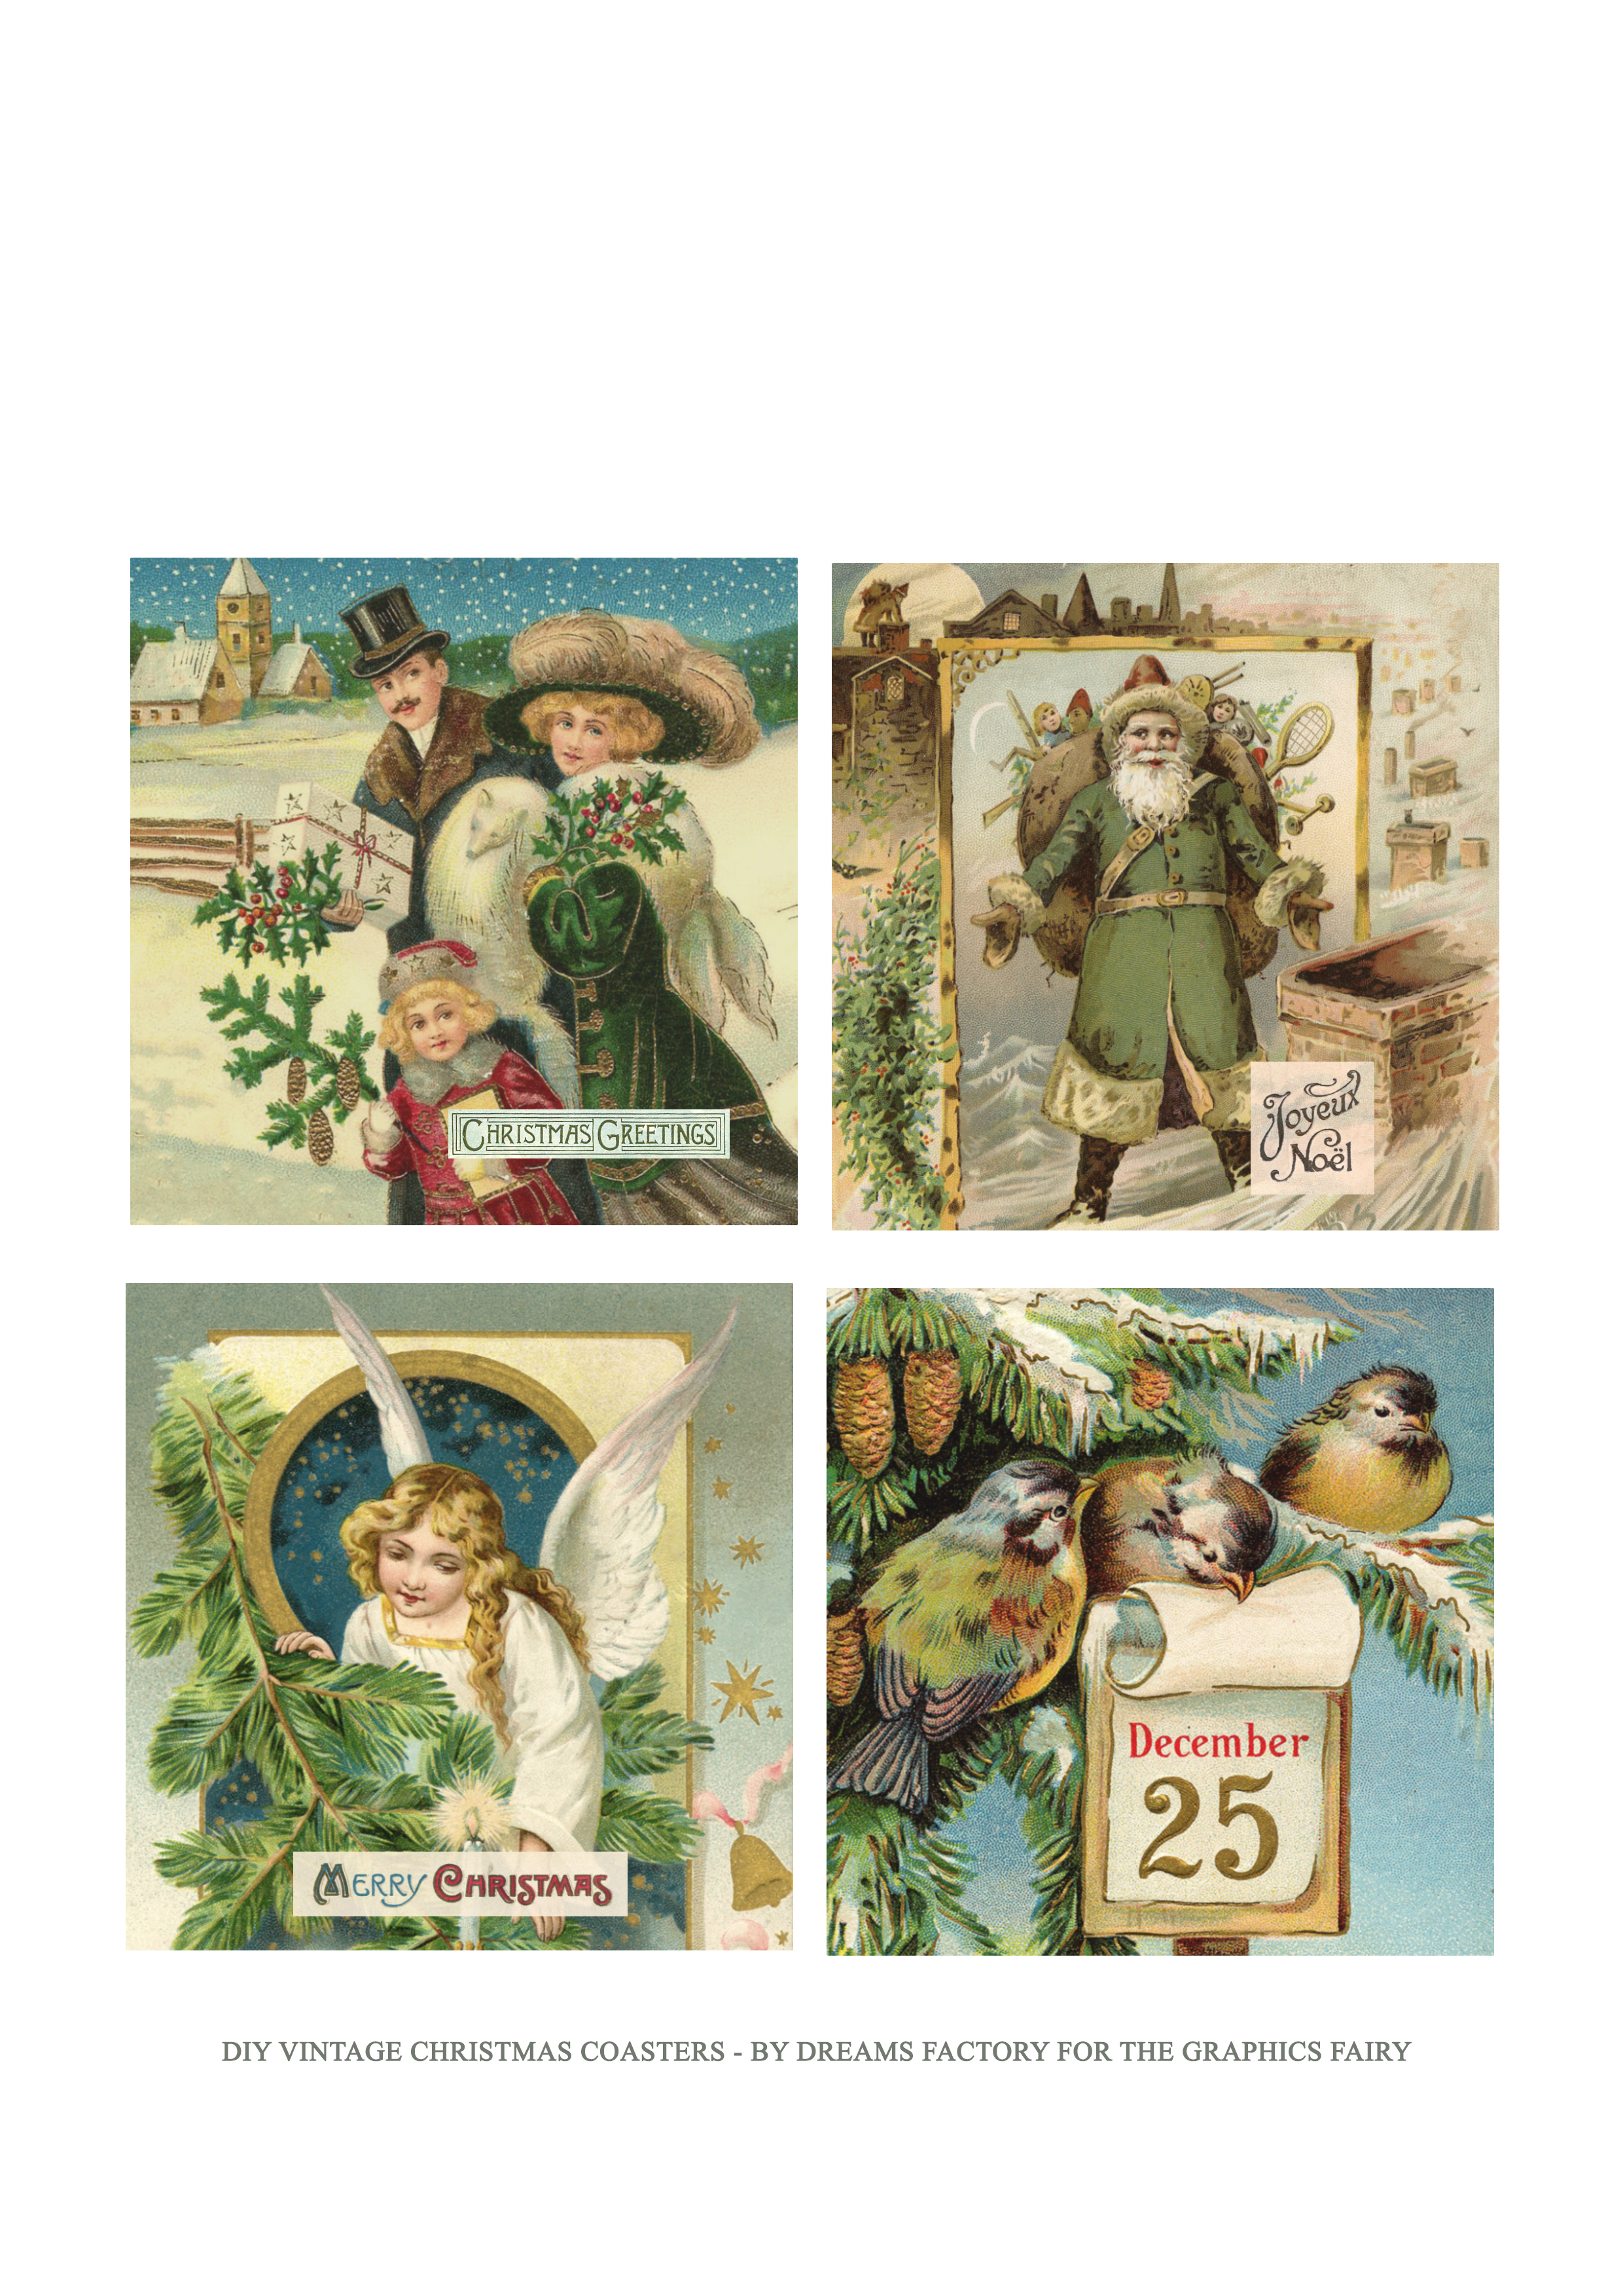
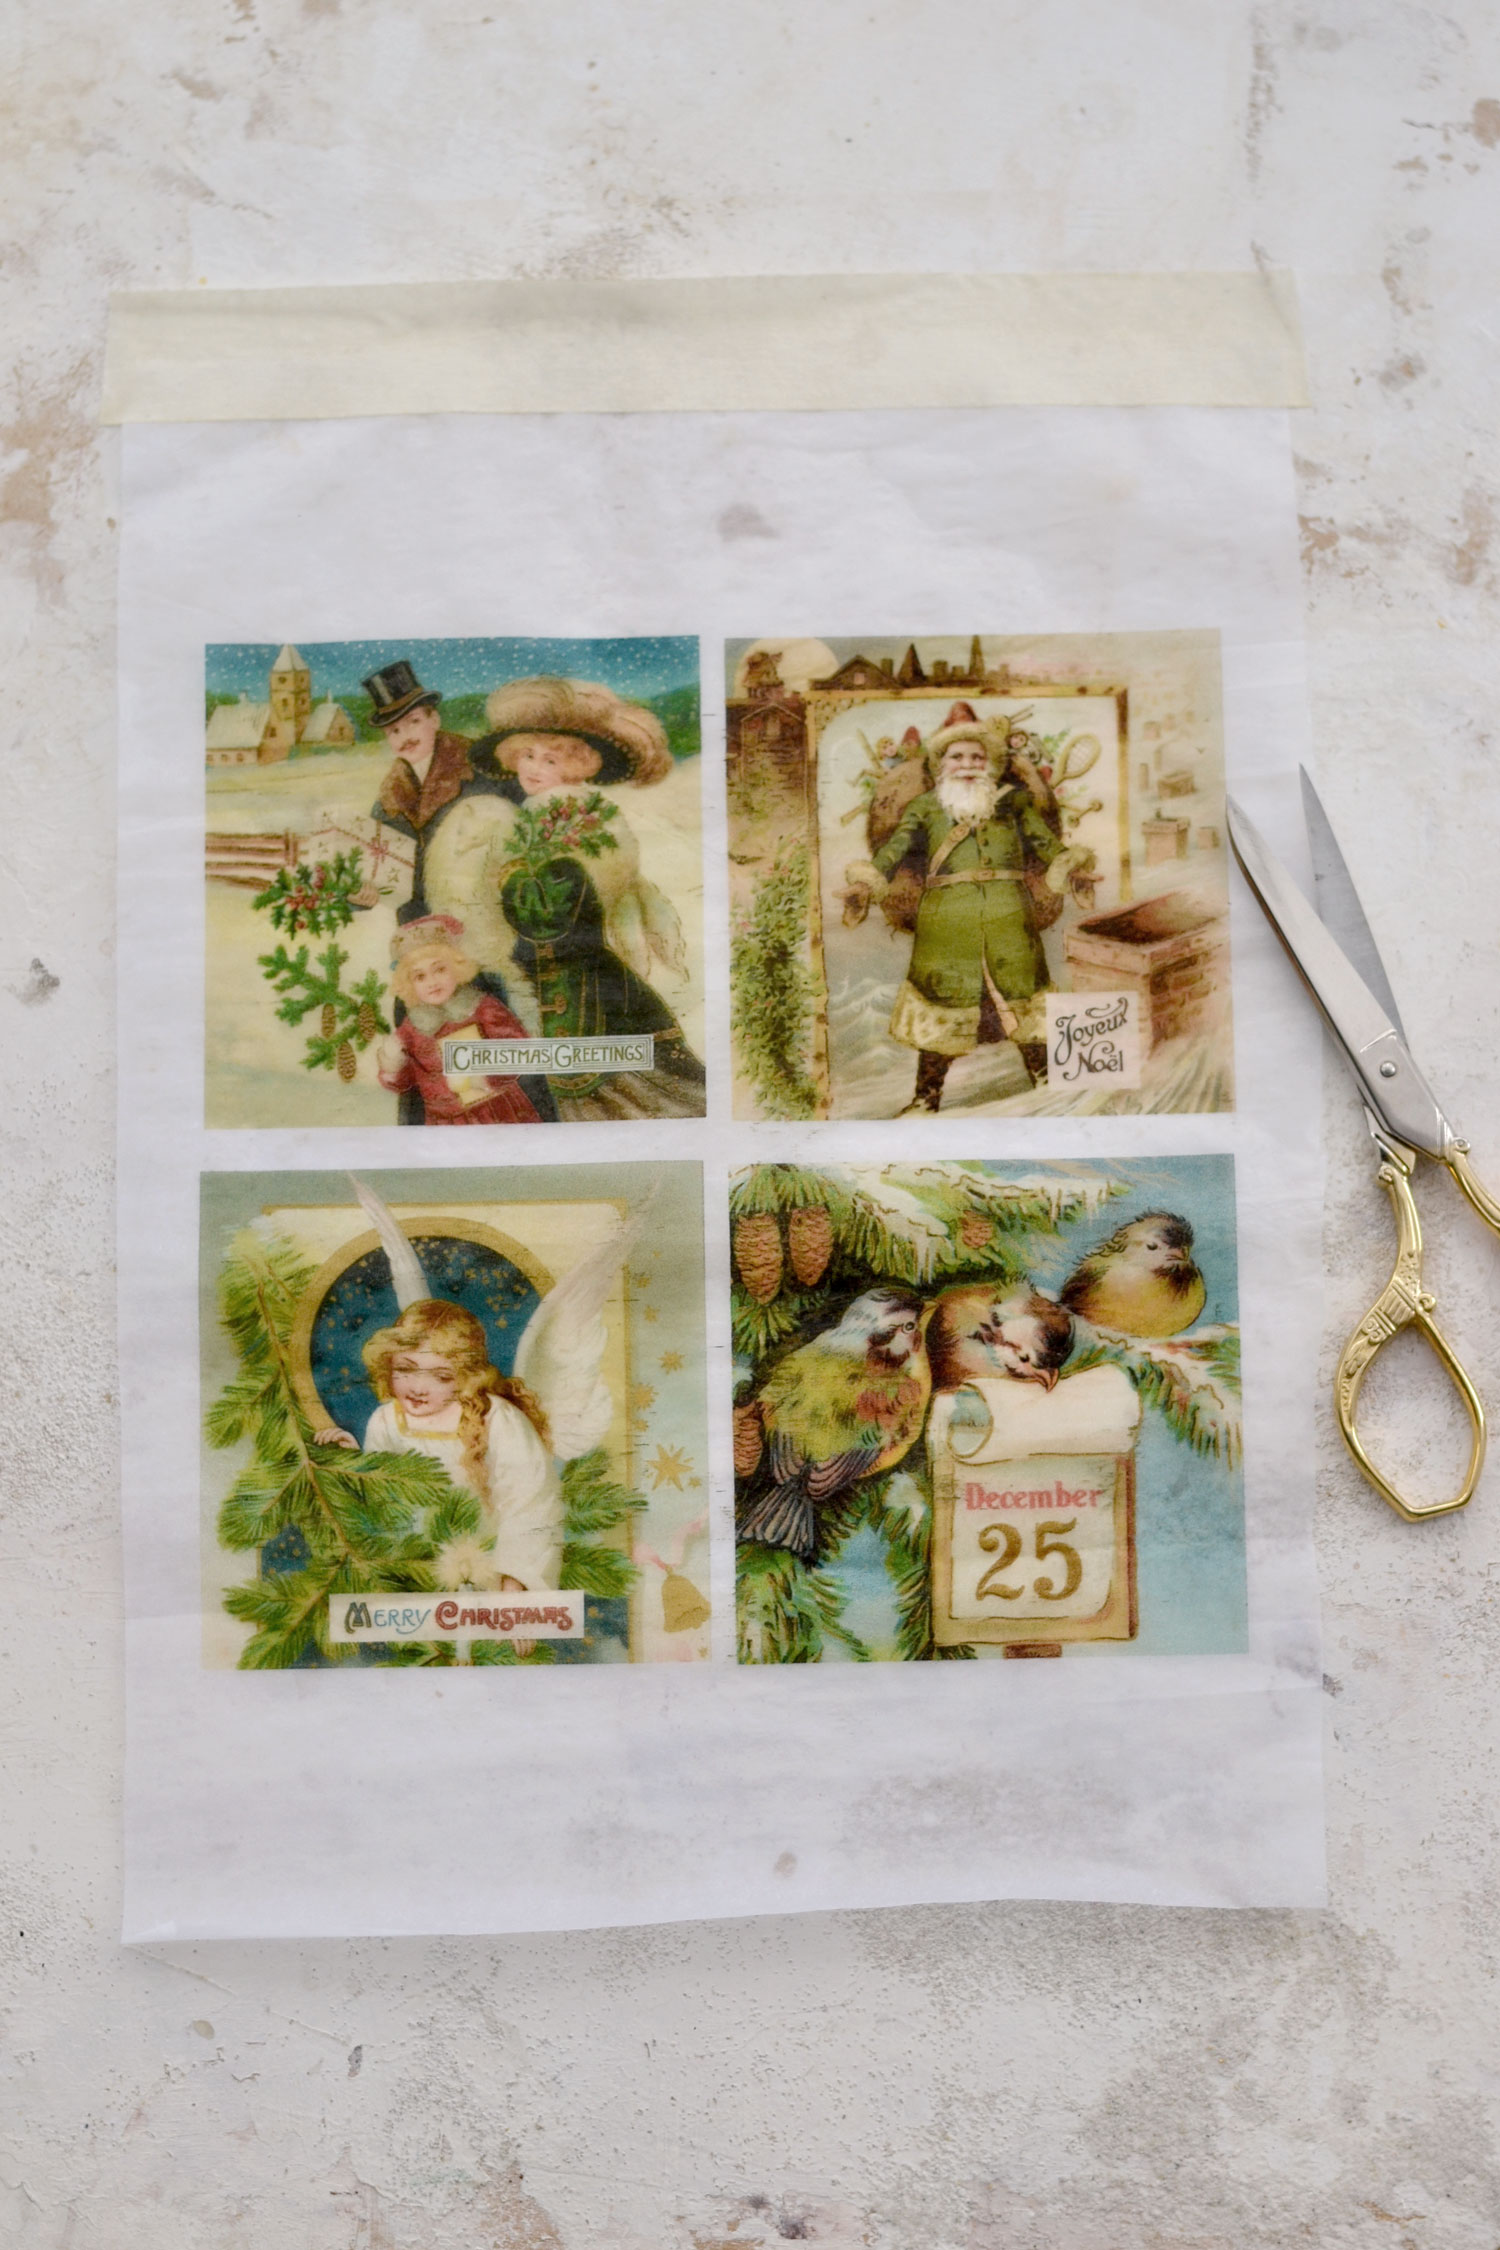
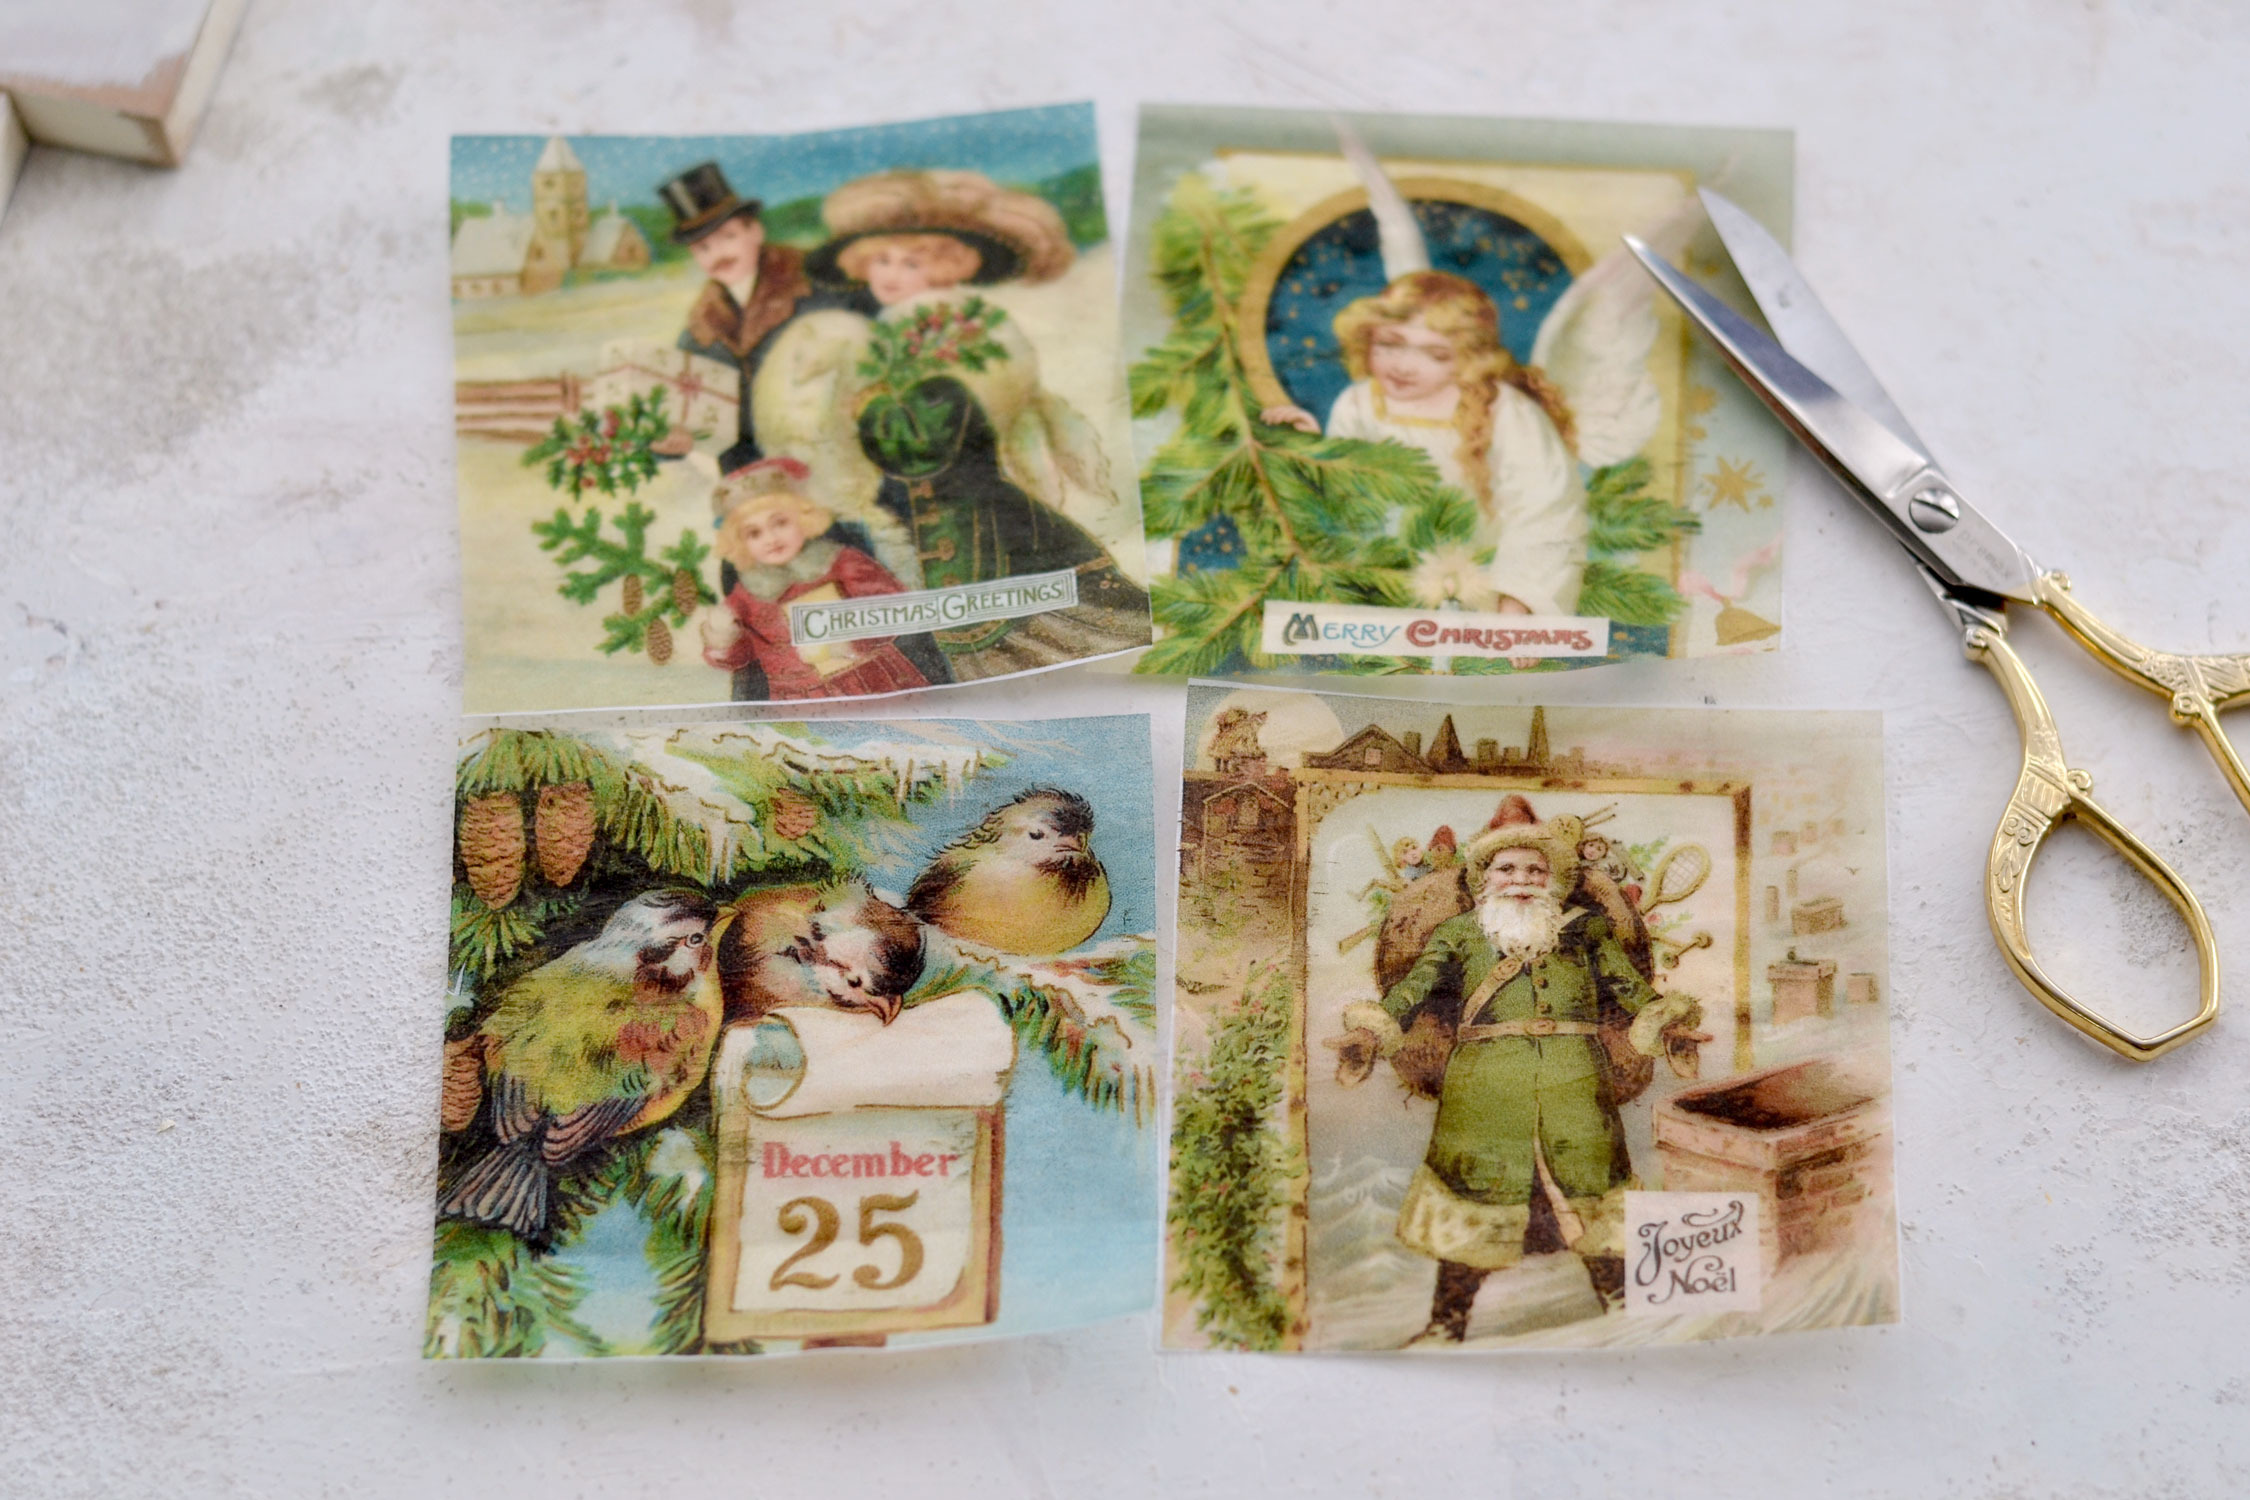
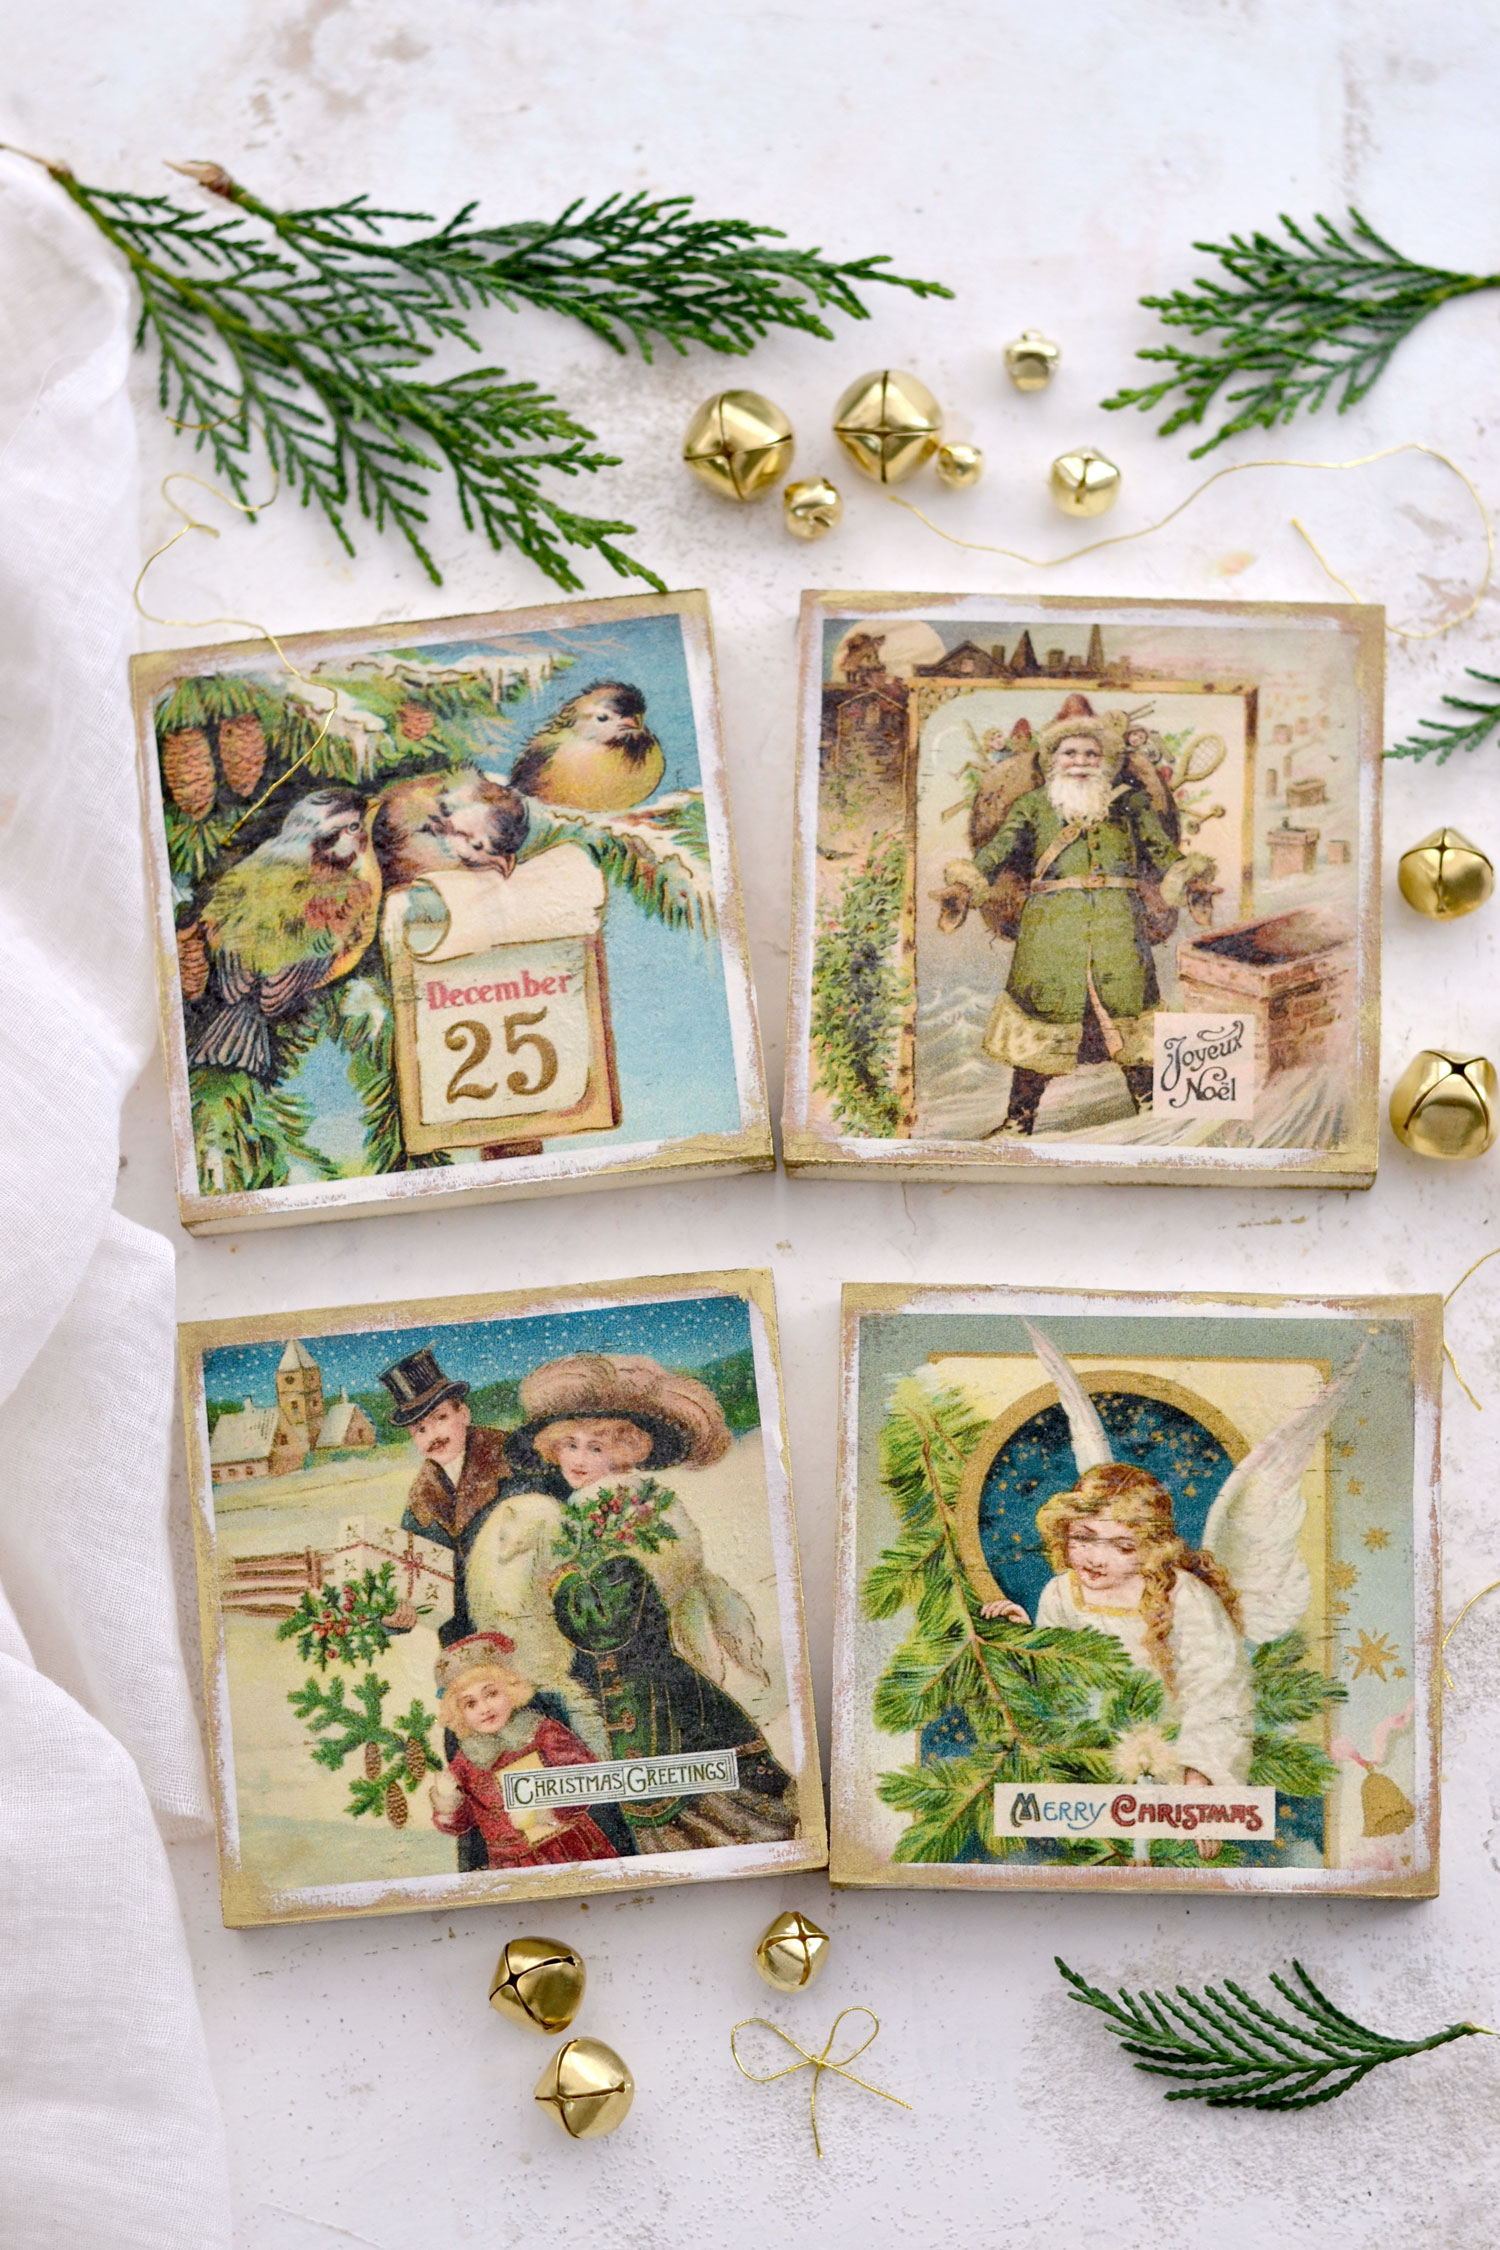
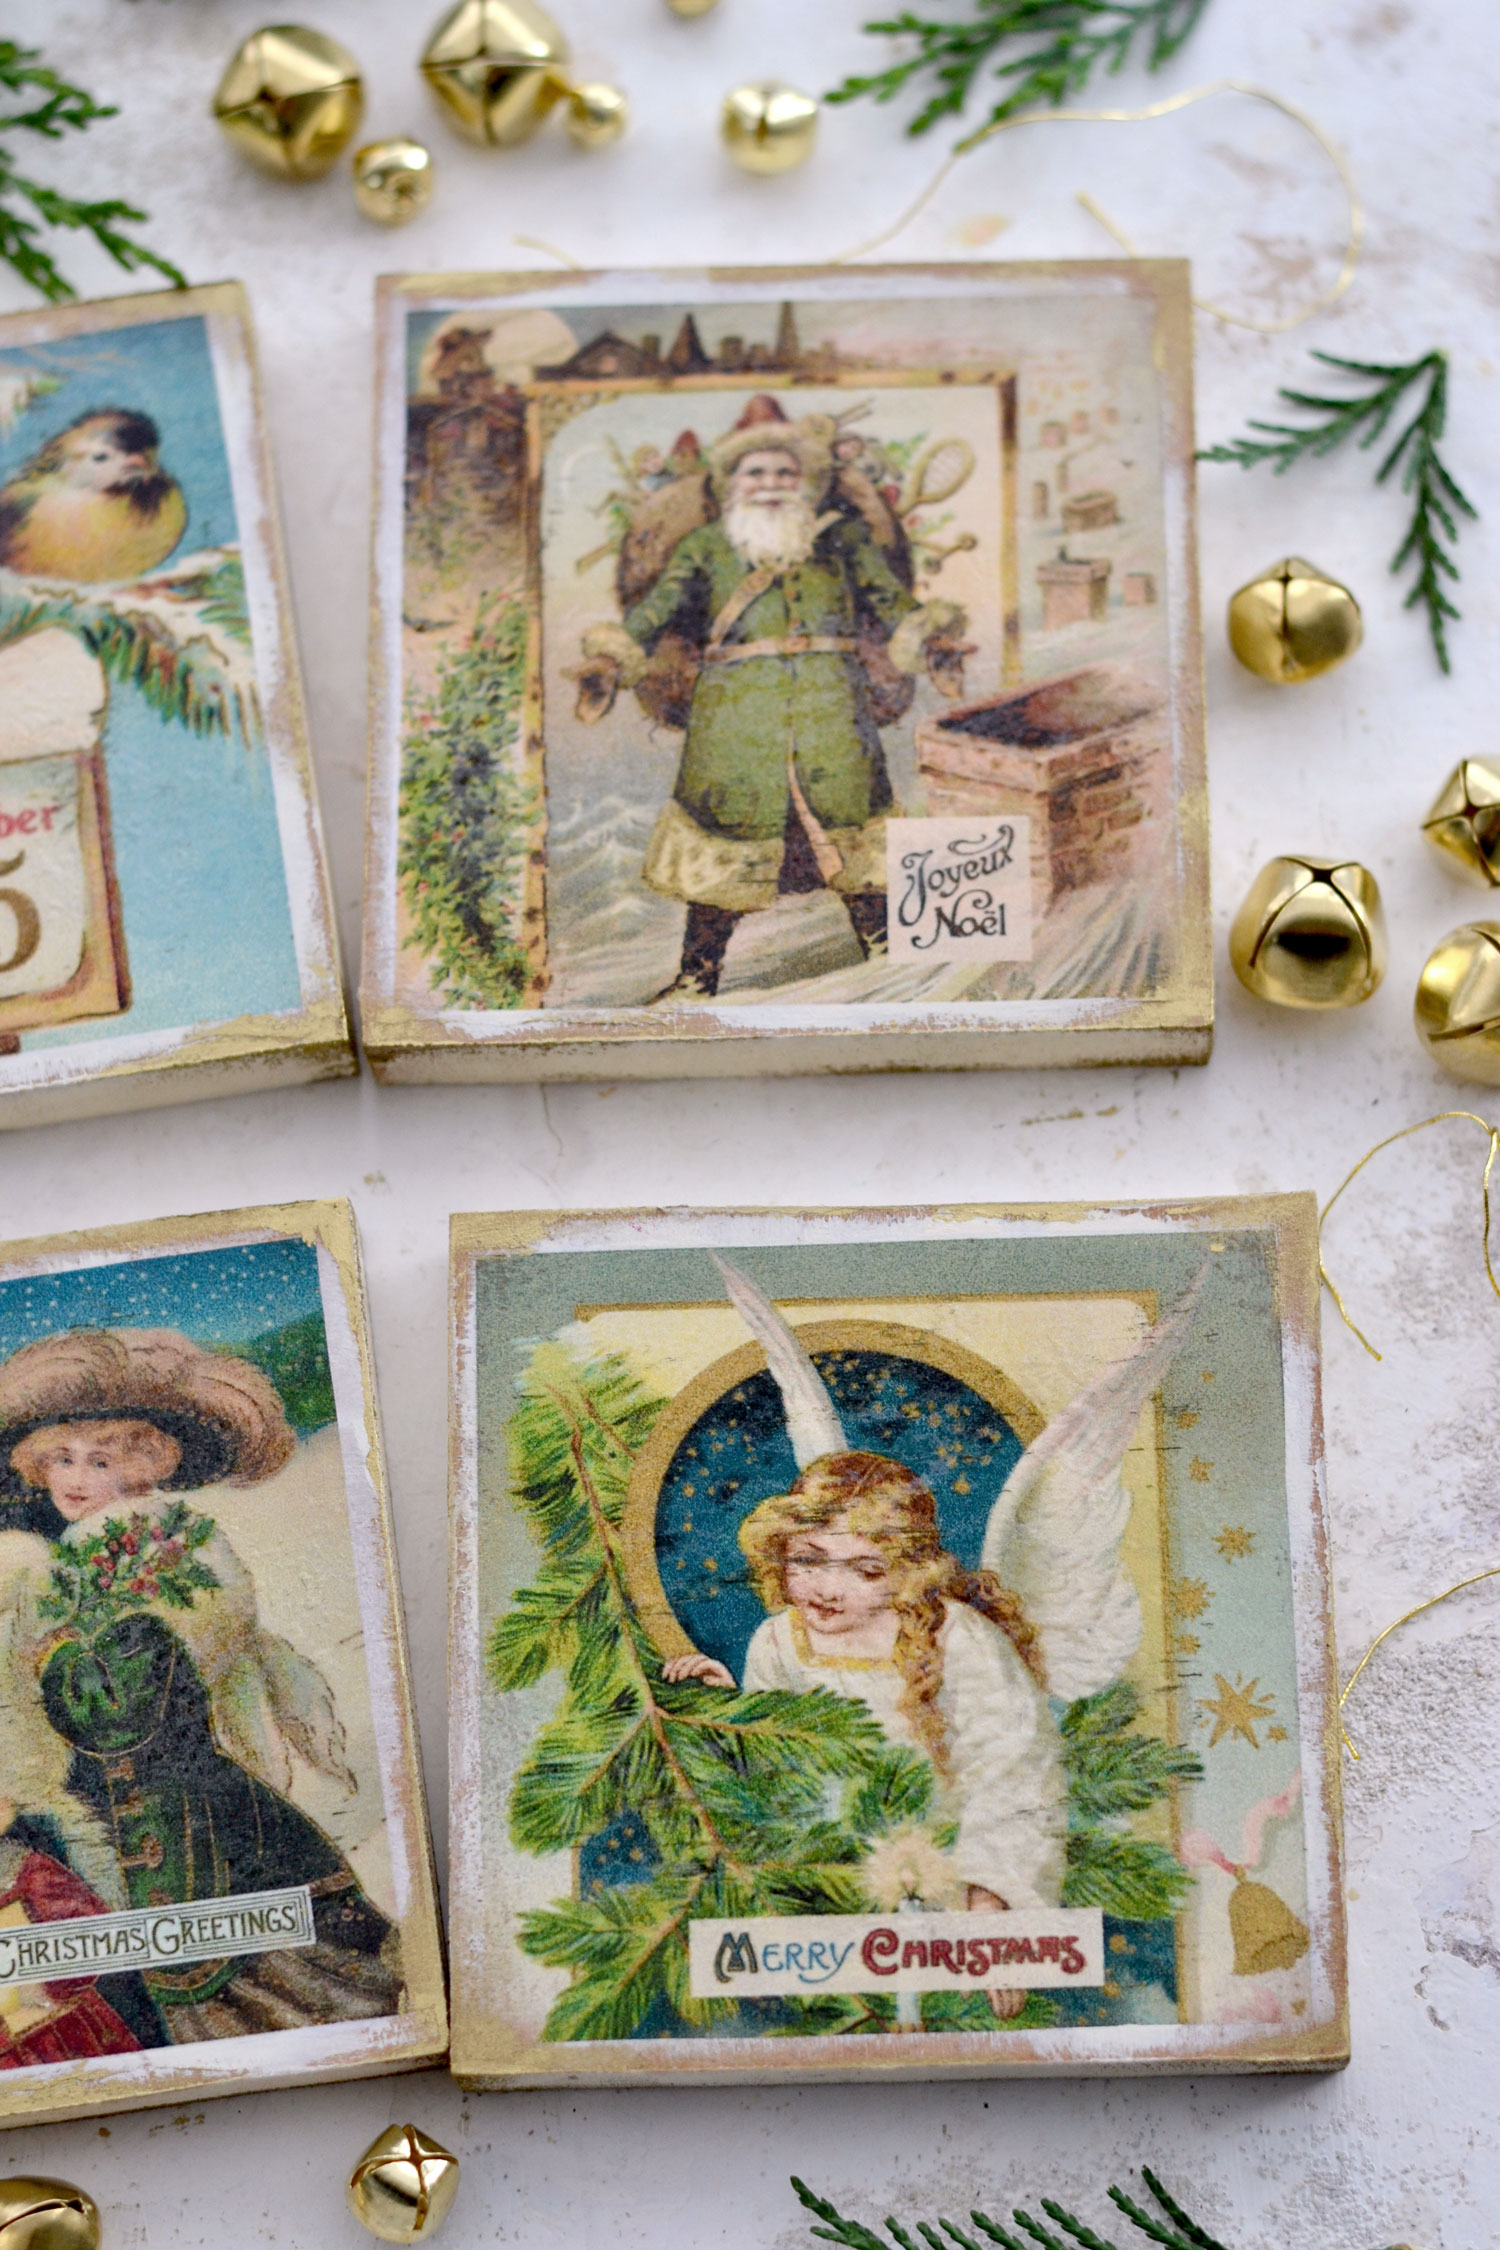
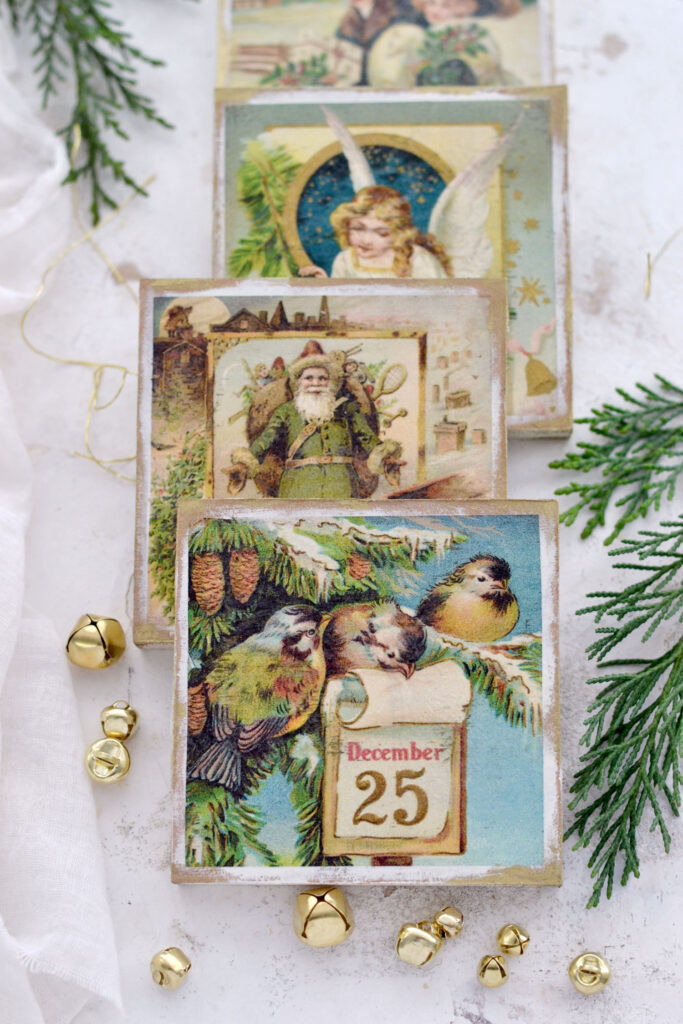
I used a few absolutely gorgeous Christmas images to design the printable for the coasters, I handpicked each of these beauties from my Christmas favorites. We have some birds waiting impatiently for Christmas, a Santa with toys that prepares to go down the chimney, a beautiful angel and a happy family holding gifts, placed in the most perfect countryside scenery, with lots of snow. They all have a neutral vibe, I thought it would be easier to adapt them to your needs this way, but also everyone else’s if deciding to gift them afterward. You can never go wrong with neutral if you ask me!
Free Printables:
I designed the printable with the images specifically for tissue paper printing, that’s why there is that extra white space on top. If you prefer to try any other image transfer technique, you can, just use your favorite and use it on your coasters.
—-> Click HERE to Download the Full Size Printable PDF <—-
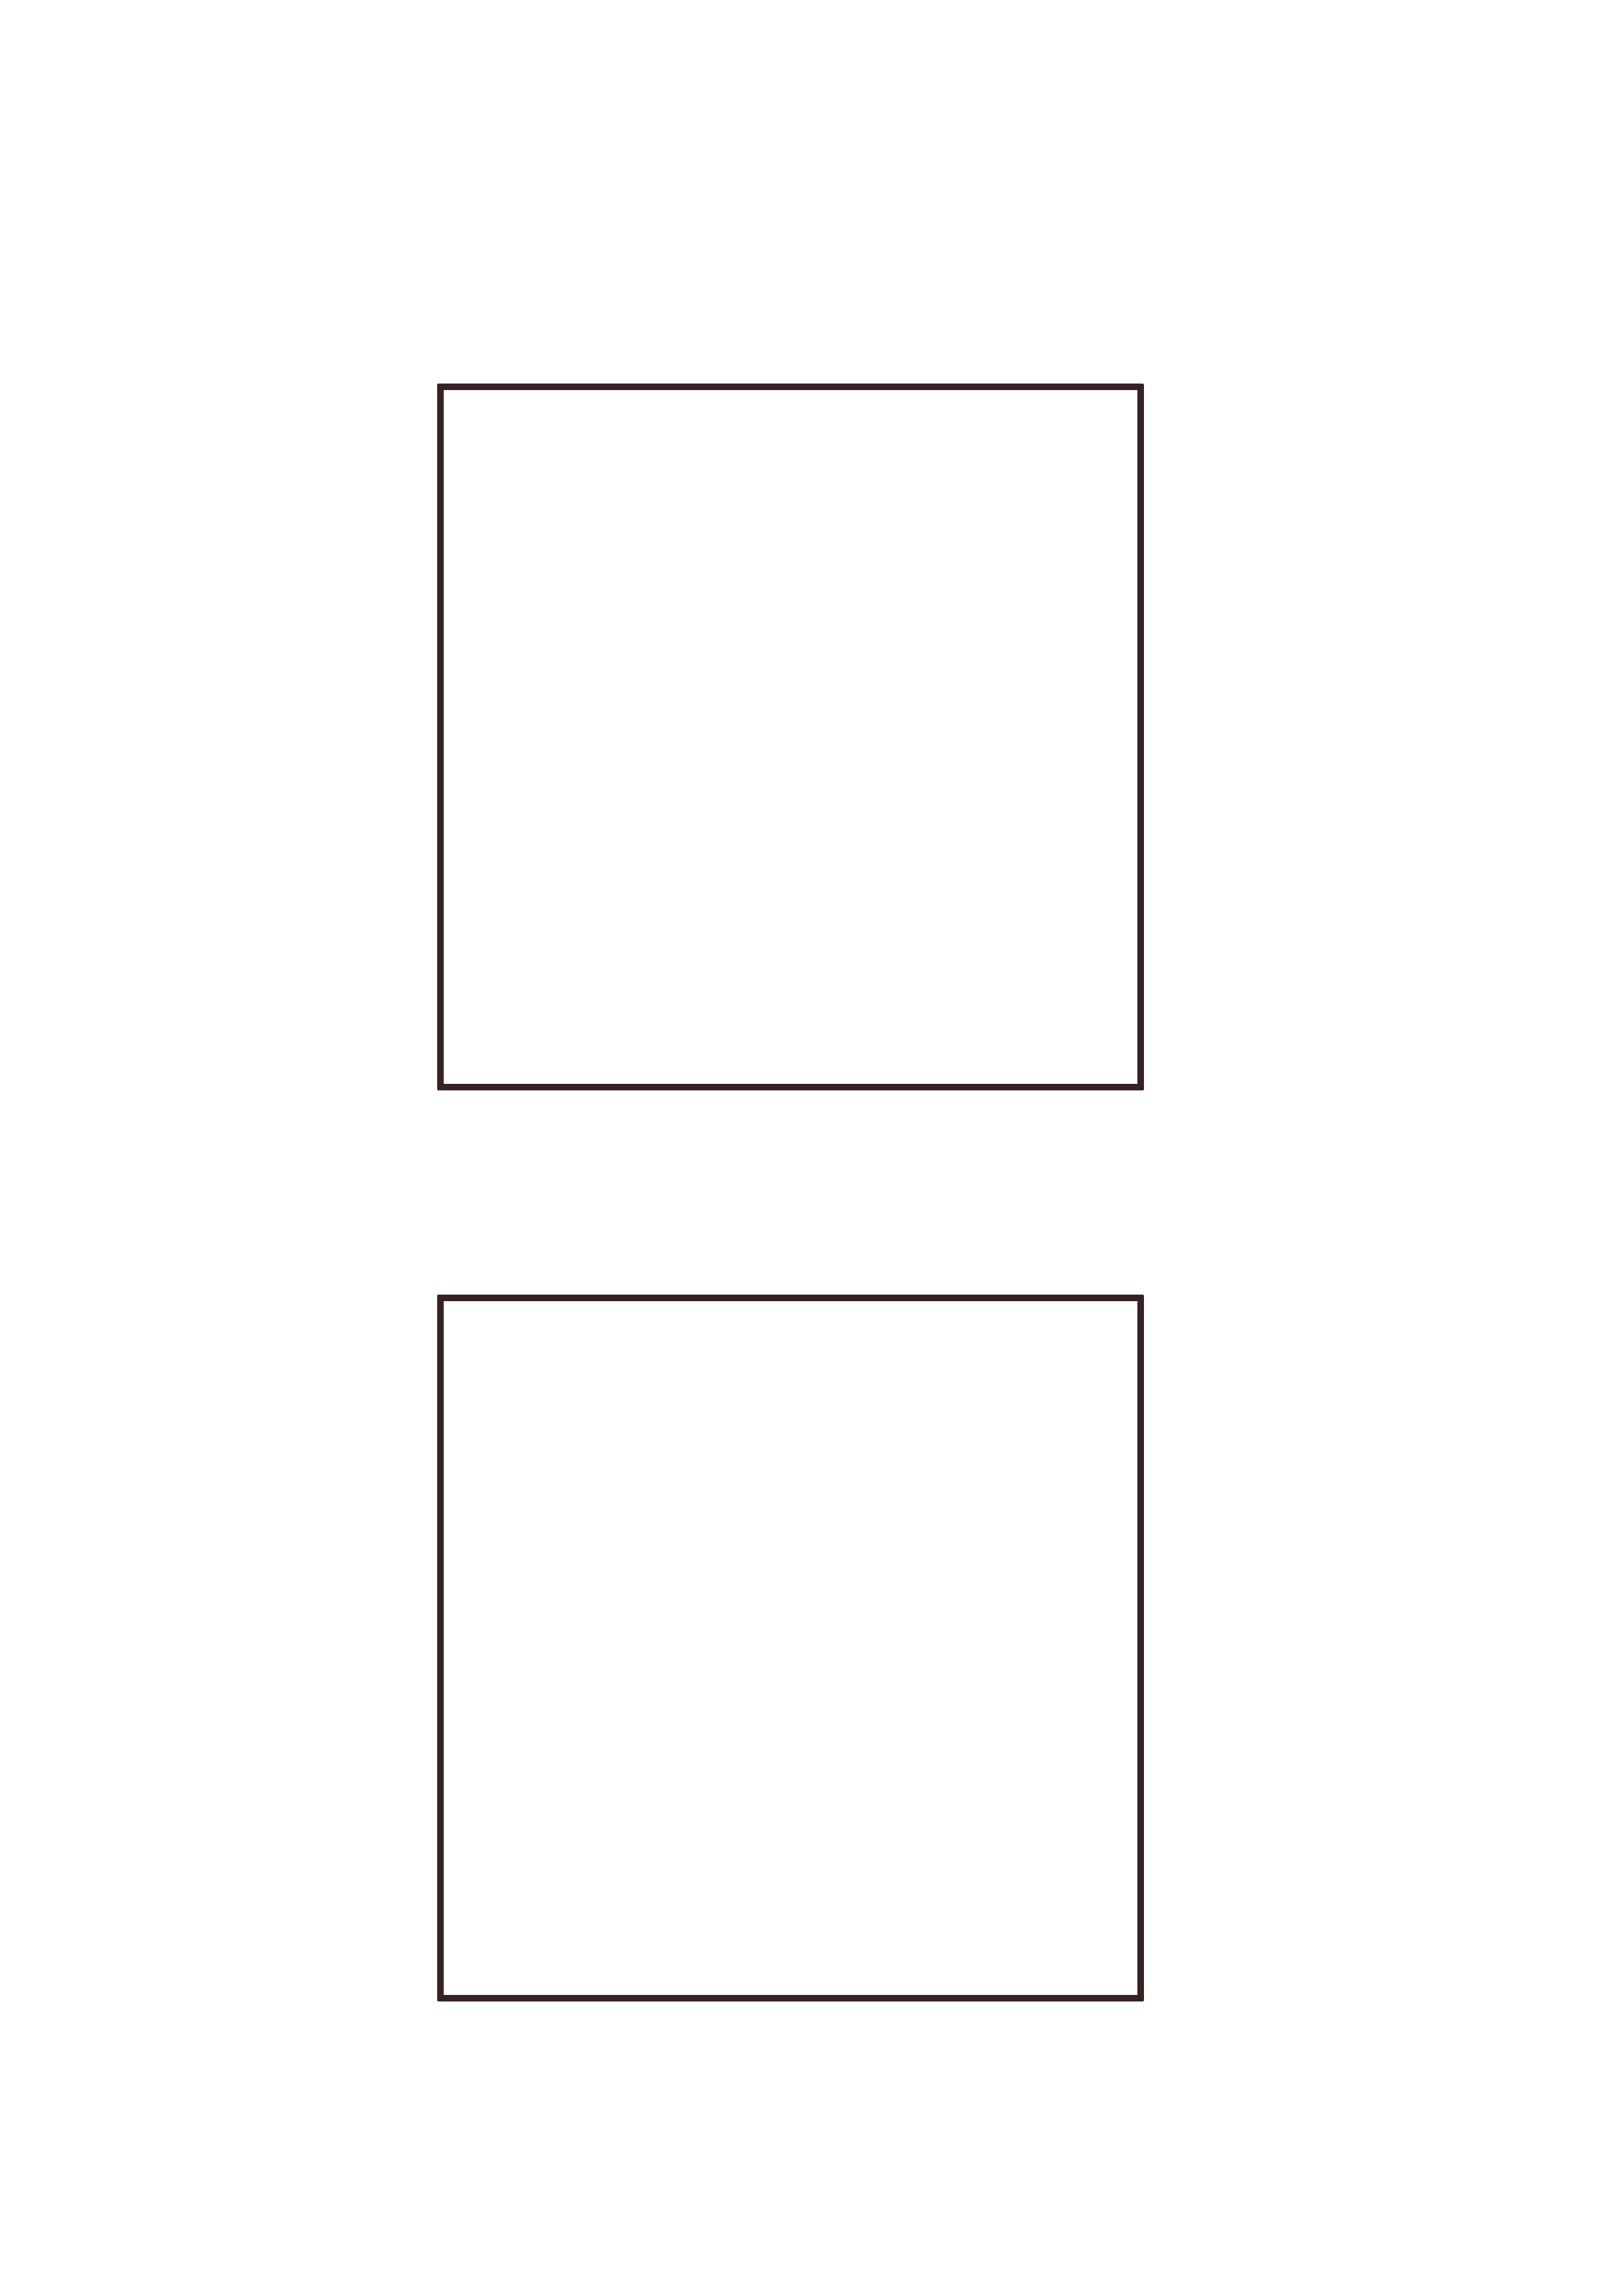
You can print the template on cardstock paper and then use it to trace and cut your coasters. I included two templates in case you mess up one of them, but you can use either of them for tracing.
—-> Click HERE to Download the Full Size Printable PDF <—-
Christmas Coasters DIY Supplies:
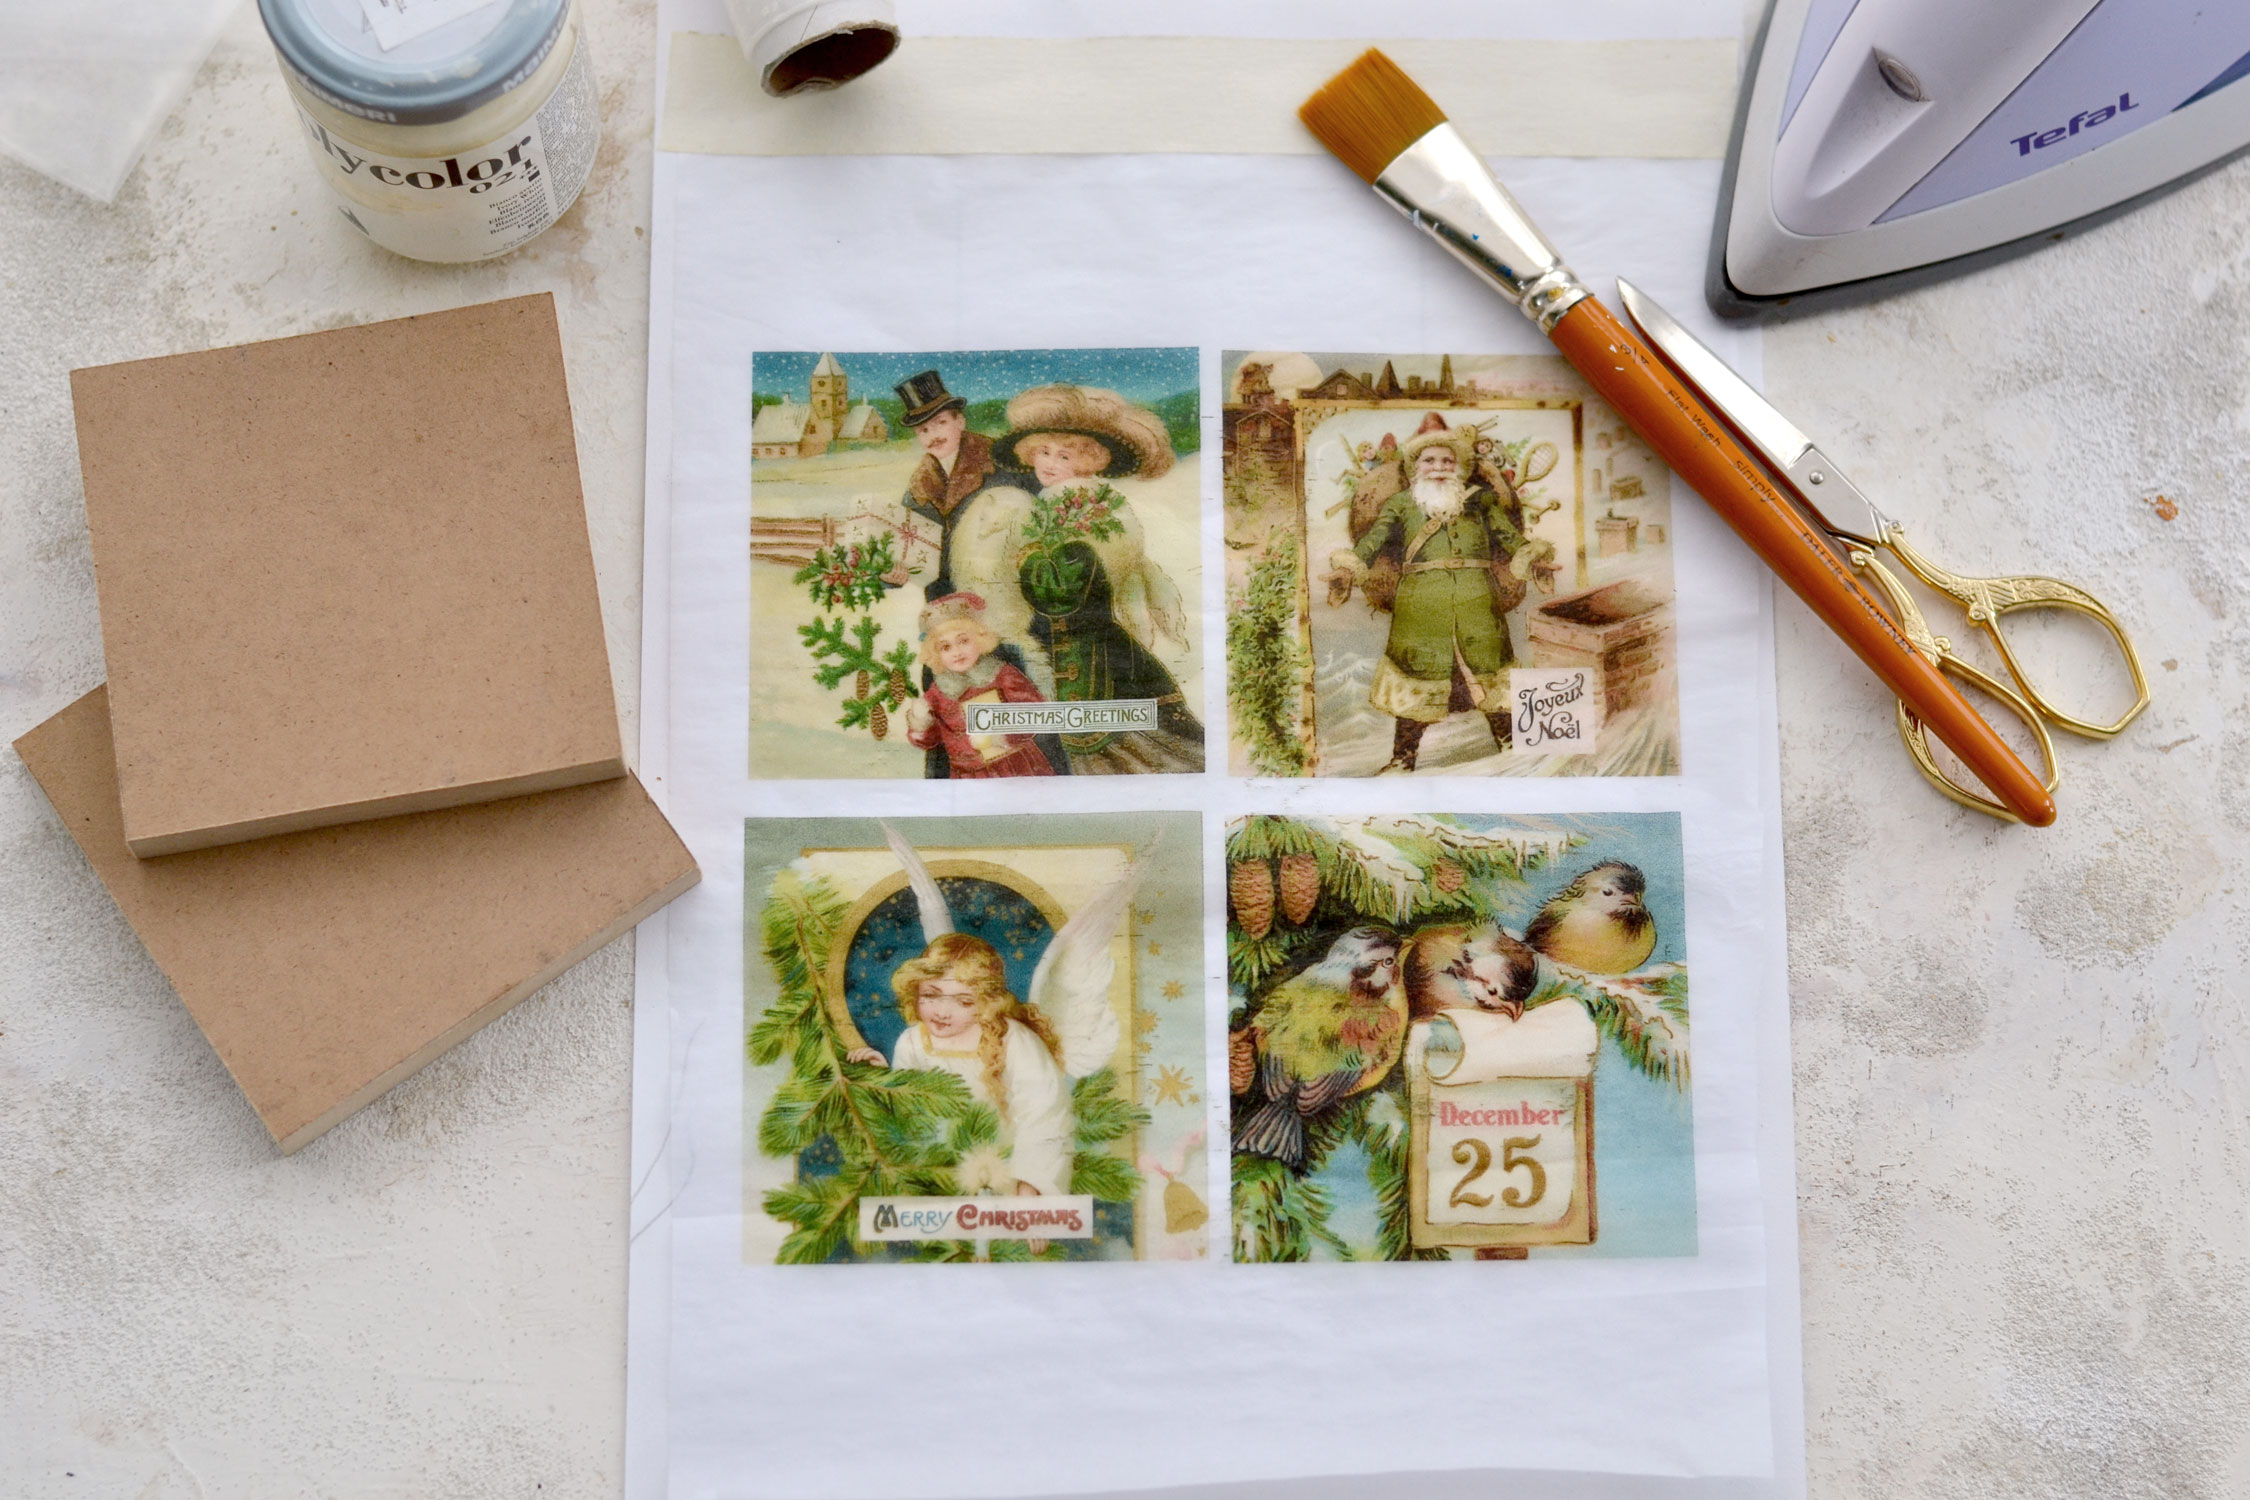
- cardstock paper, white tissue paper and masking tape (to print the Christmas printable)
- cardstock paper (to print the template)
- home printer (laserjet or inkjet)
- scissors
- regular pencil
- MDF (Medium Density Fiberboard) OR any other scrap wood
- top handle jigsaw
- cling wrap (also known as saran wrap or cling film)
- nail file or sandpaper (optional)
- neutral acrylic paint – white, cream, beige, ivory (I used ivory)
- a brush
- clothes iron
- parchment paper (also known as baking paper)
- gold wax
Step by Step Tutorial:
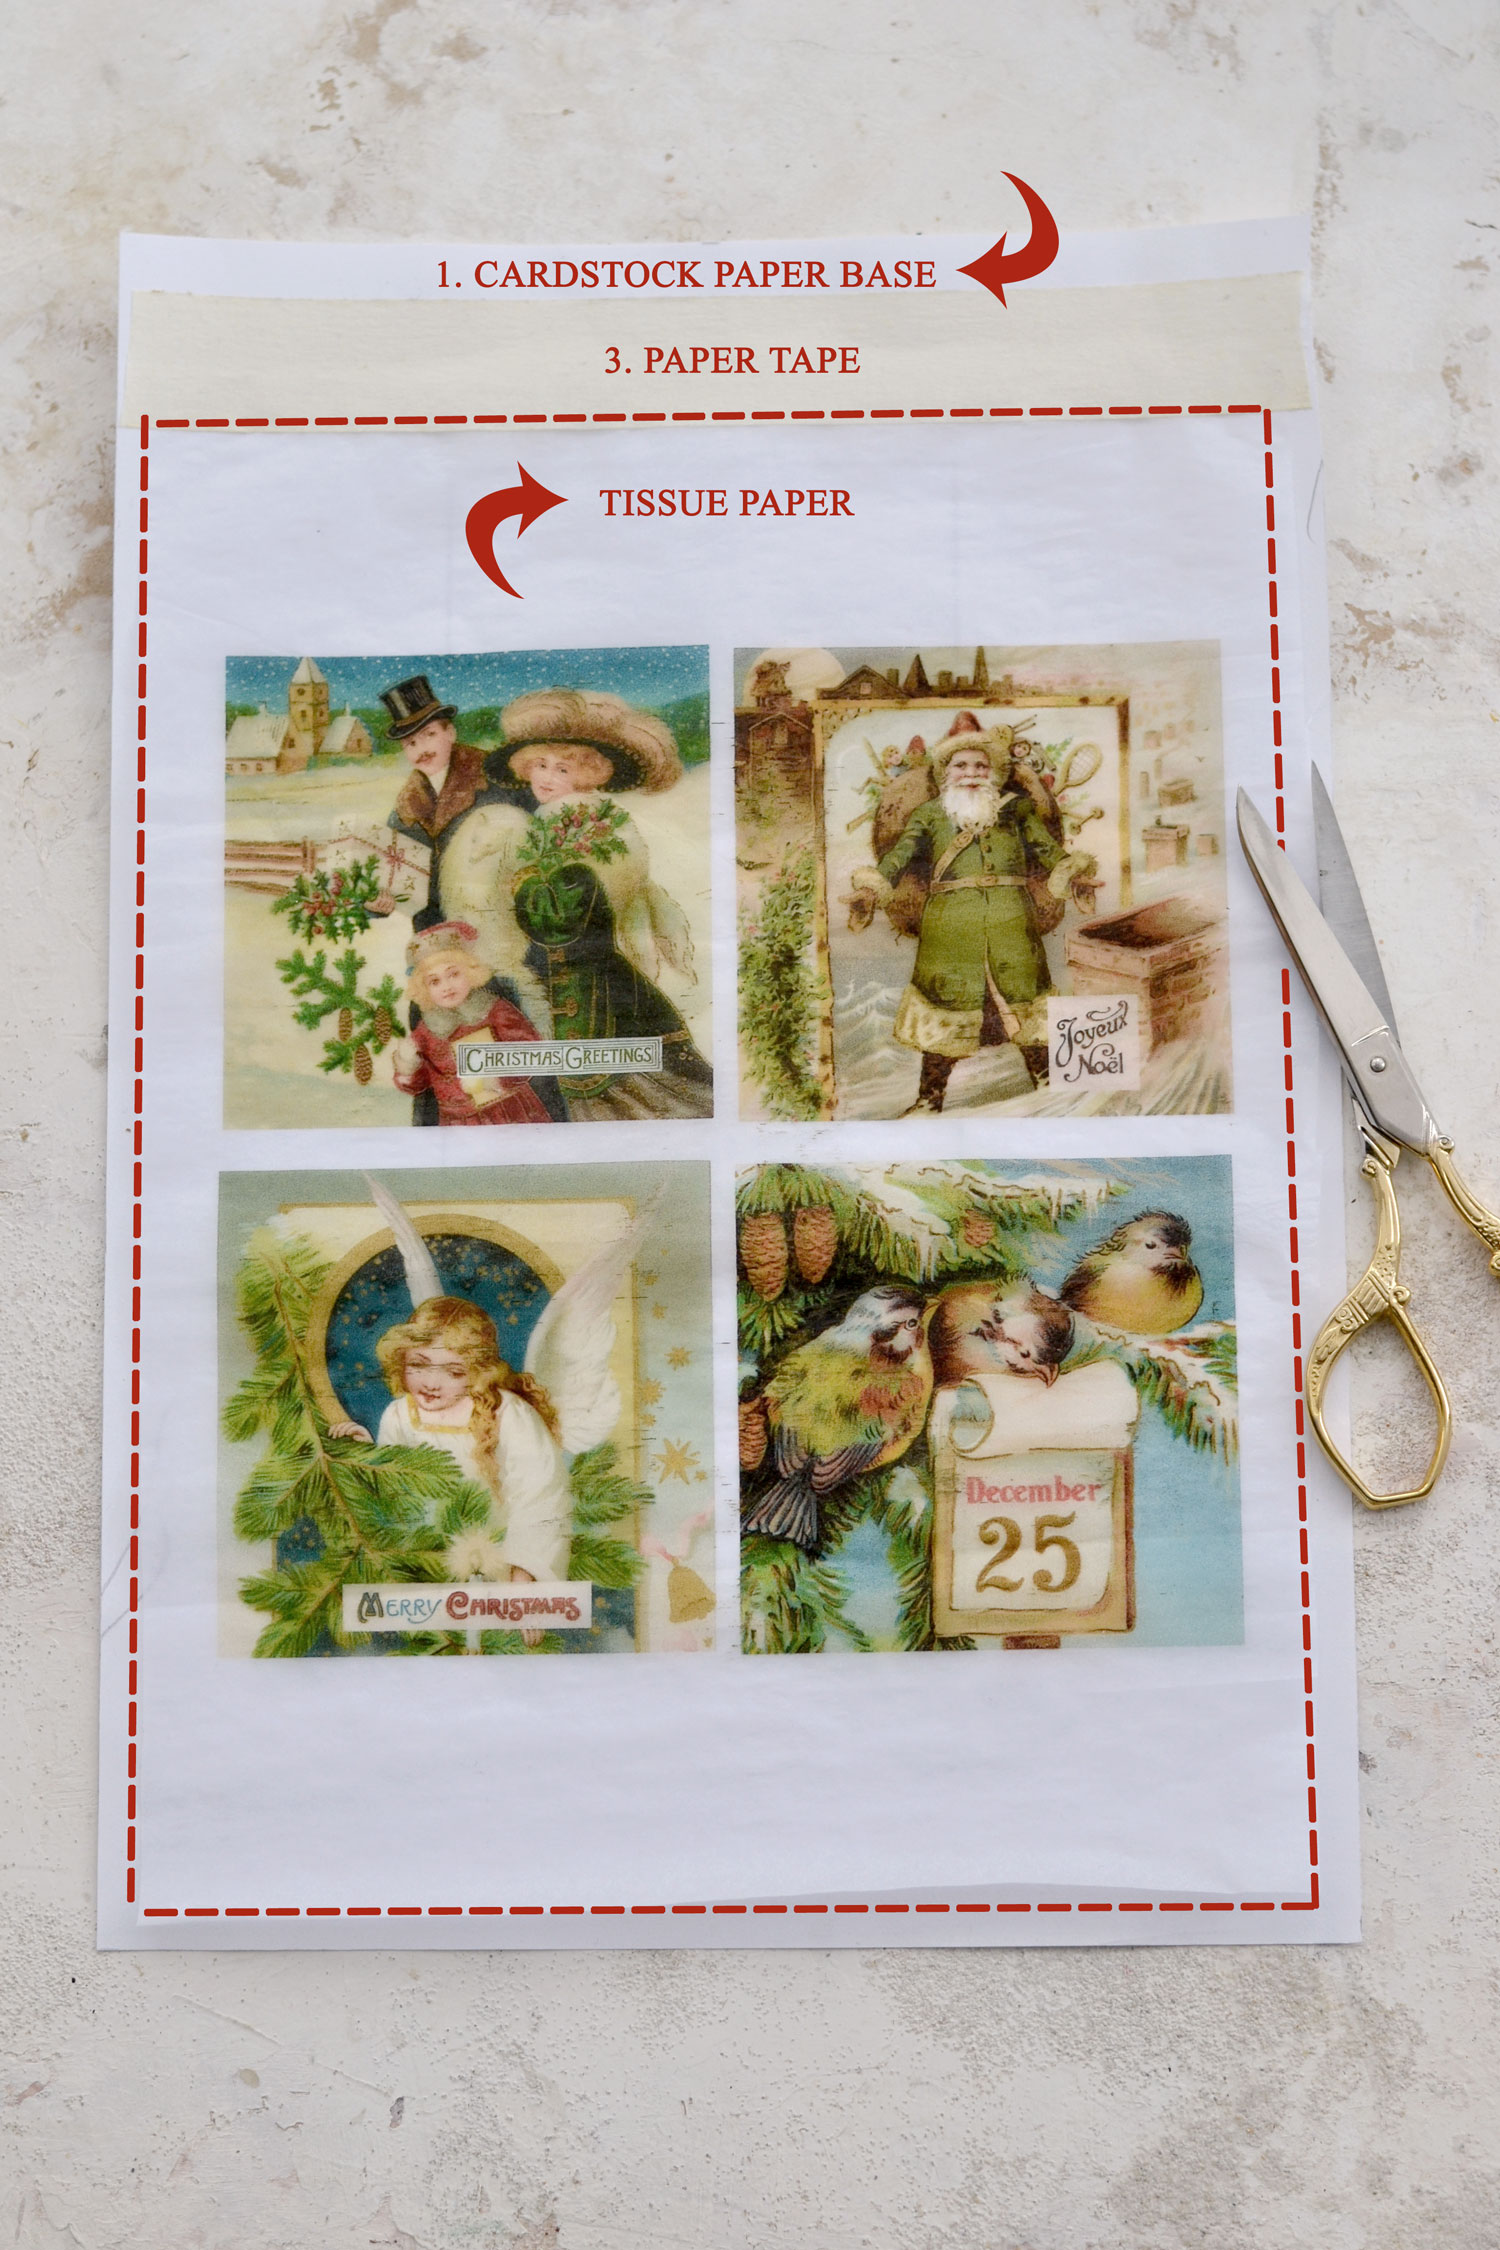
Before we jump right in, let’s talk about the image transfer technique that I chose for today. It’s a cling wrap transfer that can be done in about 30 seconds after printing and preparing everything, without too much effort on your part. I used this transfer technique before using napkin paper, but this time I wanted to try it with tissue paper and I’m happy to report that it works! You need to create a special paper assembly to print the tissue paper, it needs a cardstock paper support underneath so it goes smoothly through your printer. I usually place the cardstock on my table and I use masking tape on top to partially ‘hold the tissue paper in place. I cut the tissue paper smaller than the cardstock underneath so I’ll have plenty of room to add the masking tape, but also leave a small free space on top.
I usually use a laserjet printer for my projects, but ever since my printer decided to quit on me (after almost a decade), I’ve switched to an inkjet printer. The good news is that this image transfer works with a laserjet printer but also with an inkjet printer, so you can use any of these two to create this project. Pretty cool, right?
This is how the tissue paper printed image looks after removing the cardstock backing, the sheerness of this paper makes any printed image look pretty unique!
Cut one of the square templates and use it to trace four squares on MDF or wood. If you want to skip using the template and trace directly on MDF or wood, you can, the coasters should be 3 1/2 by 3 1/2 inches ( which is 9 x 9 cm). Use a top-handle jigsaw or anything else that you have around to cut the coasters. If you delegate and ask someone in your family to do this for you, things will get so much easier and you’ll actually gain some time to gather all the supplies or prepare some of the other steps. 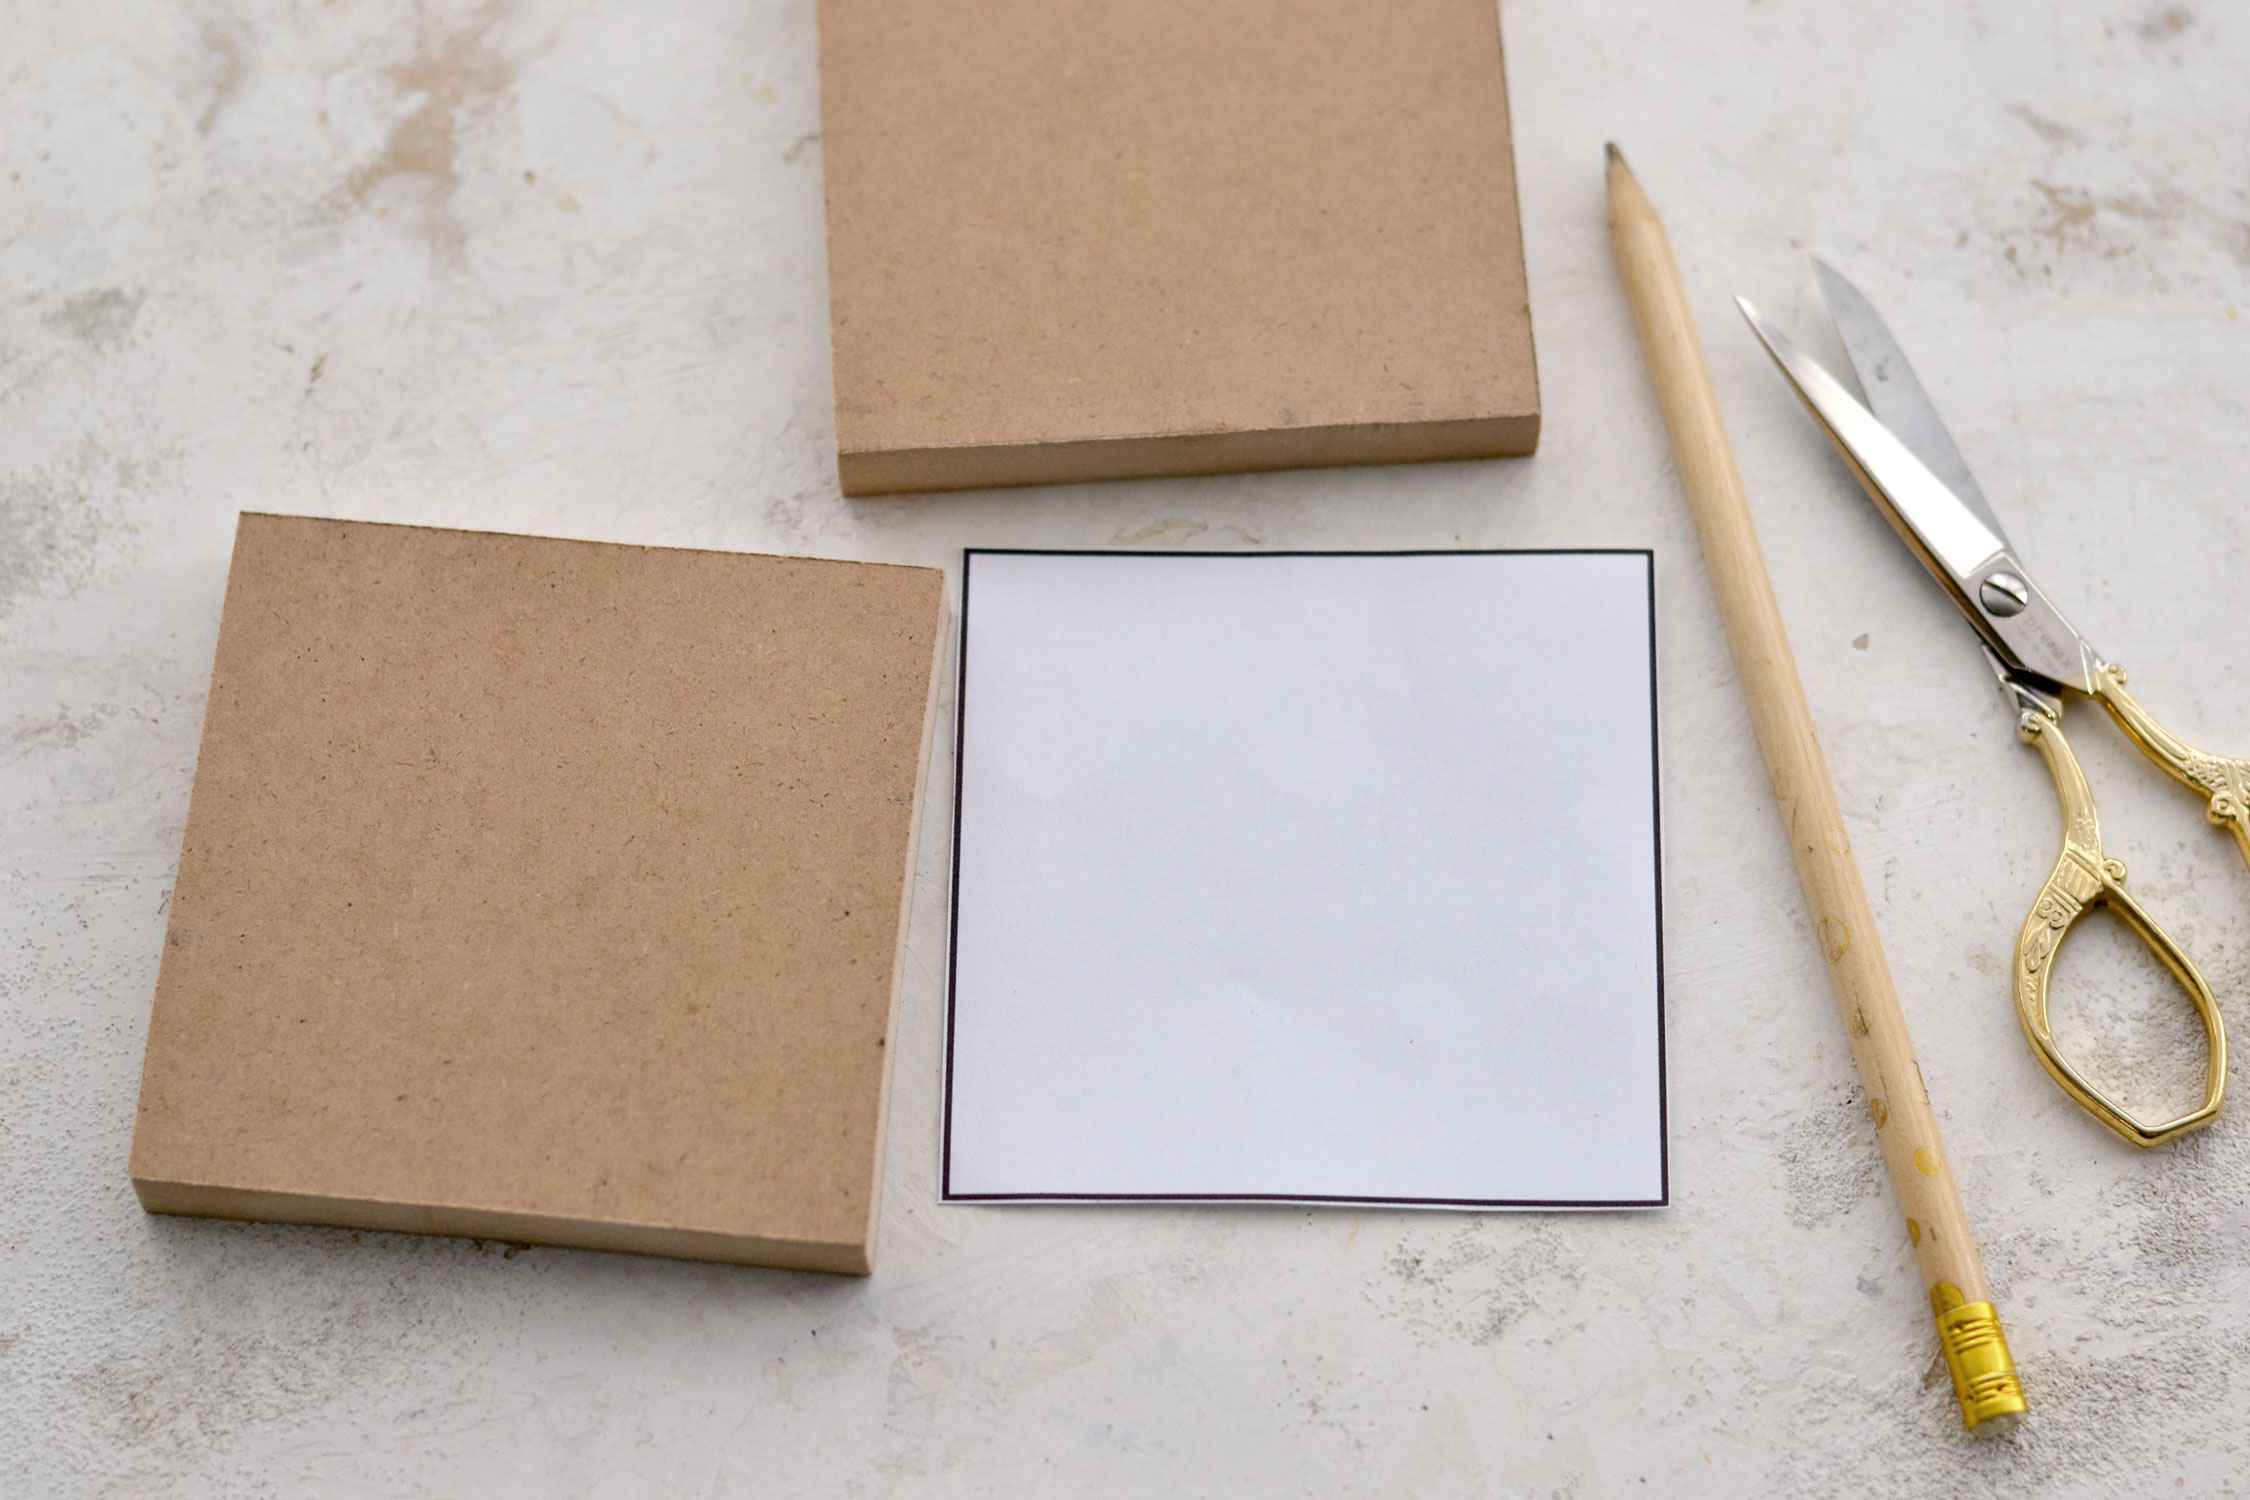
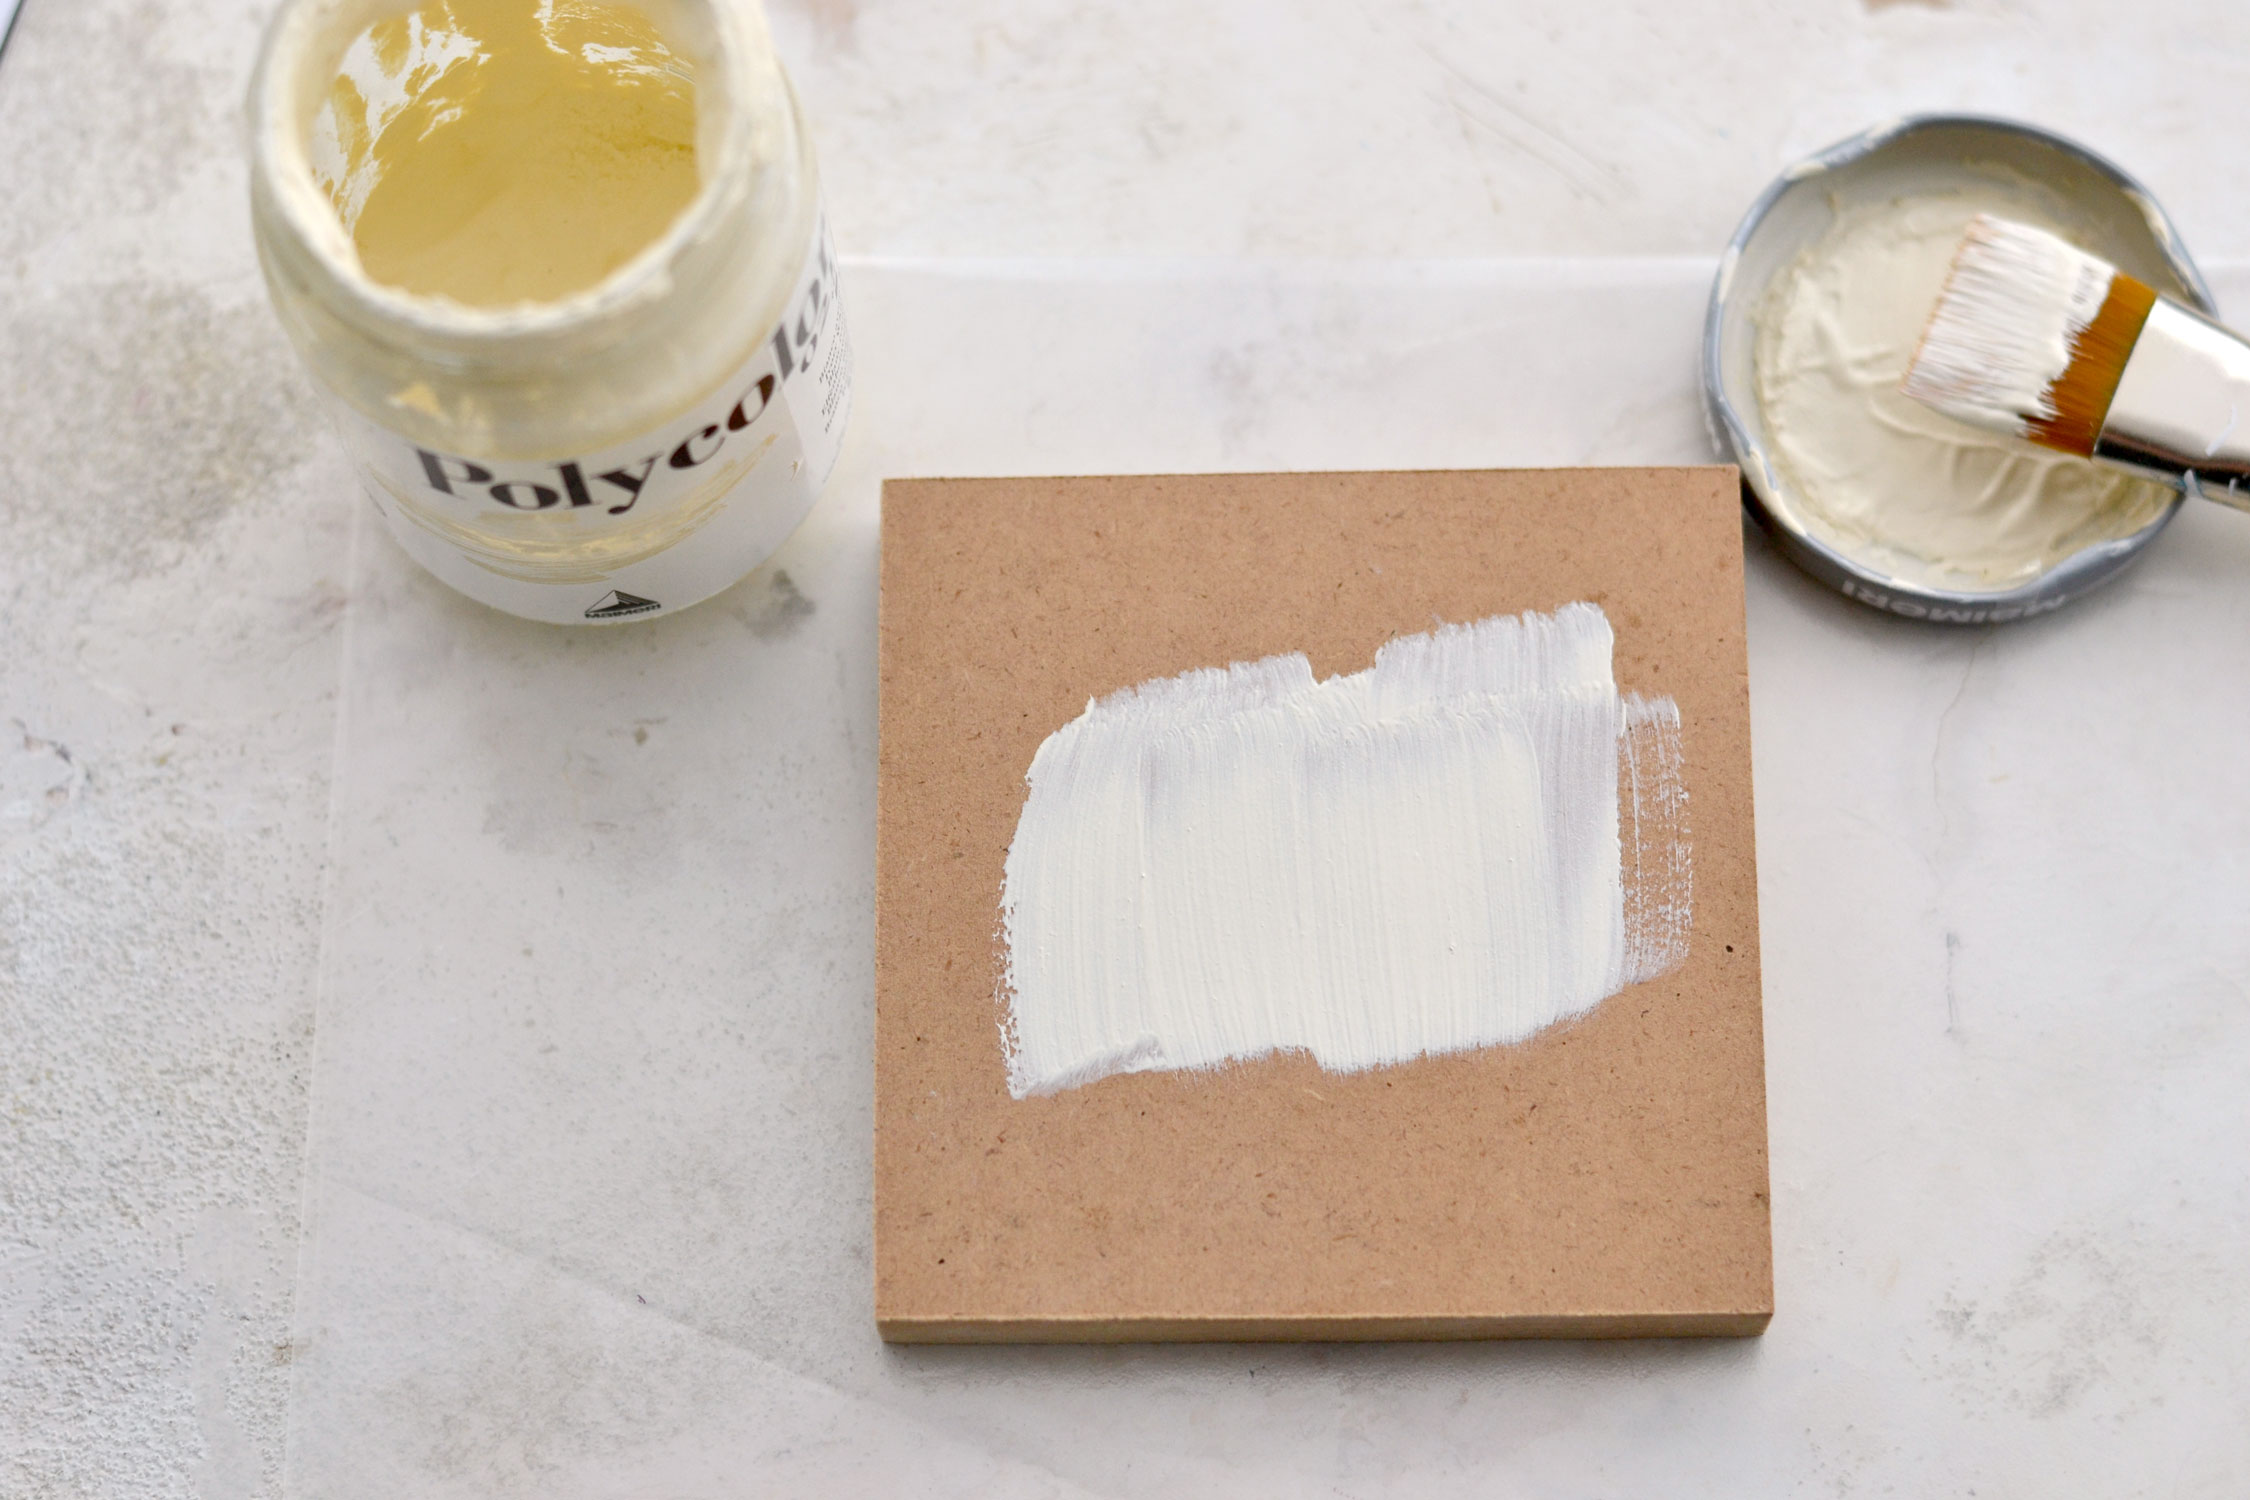
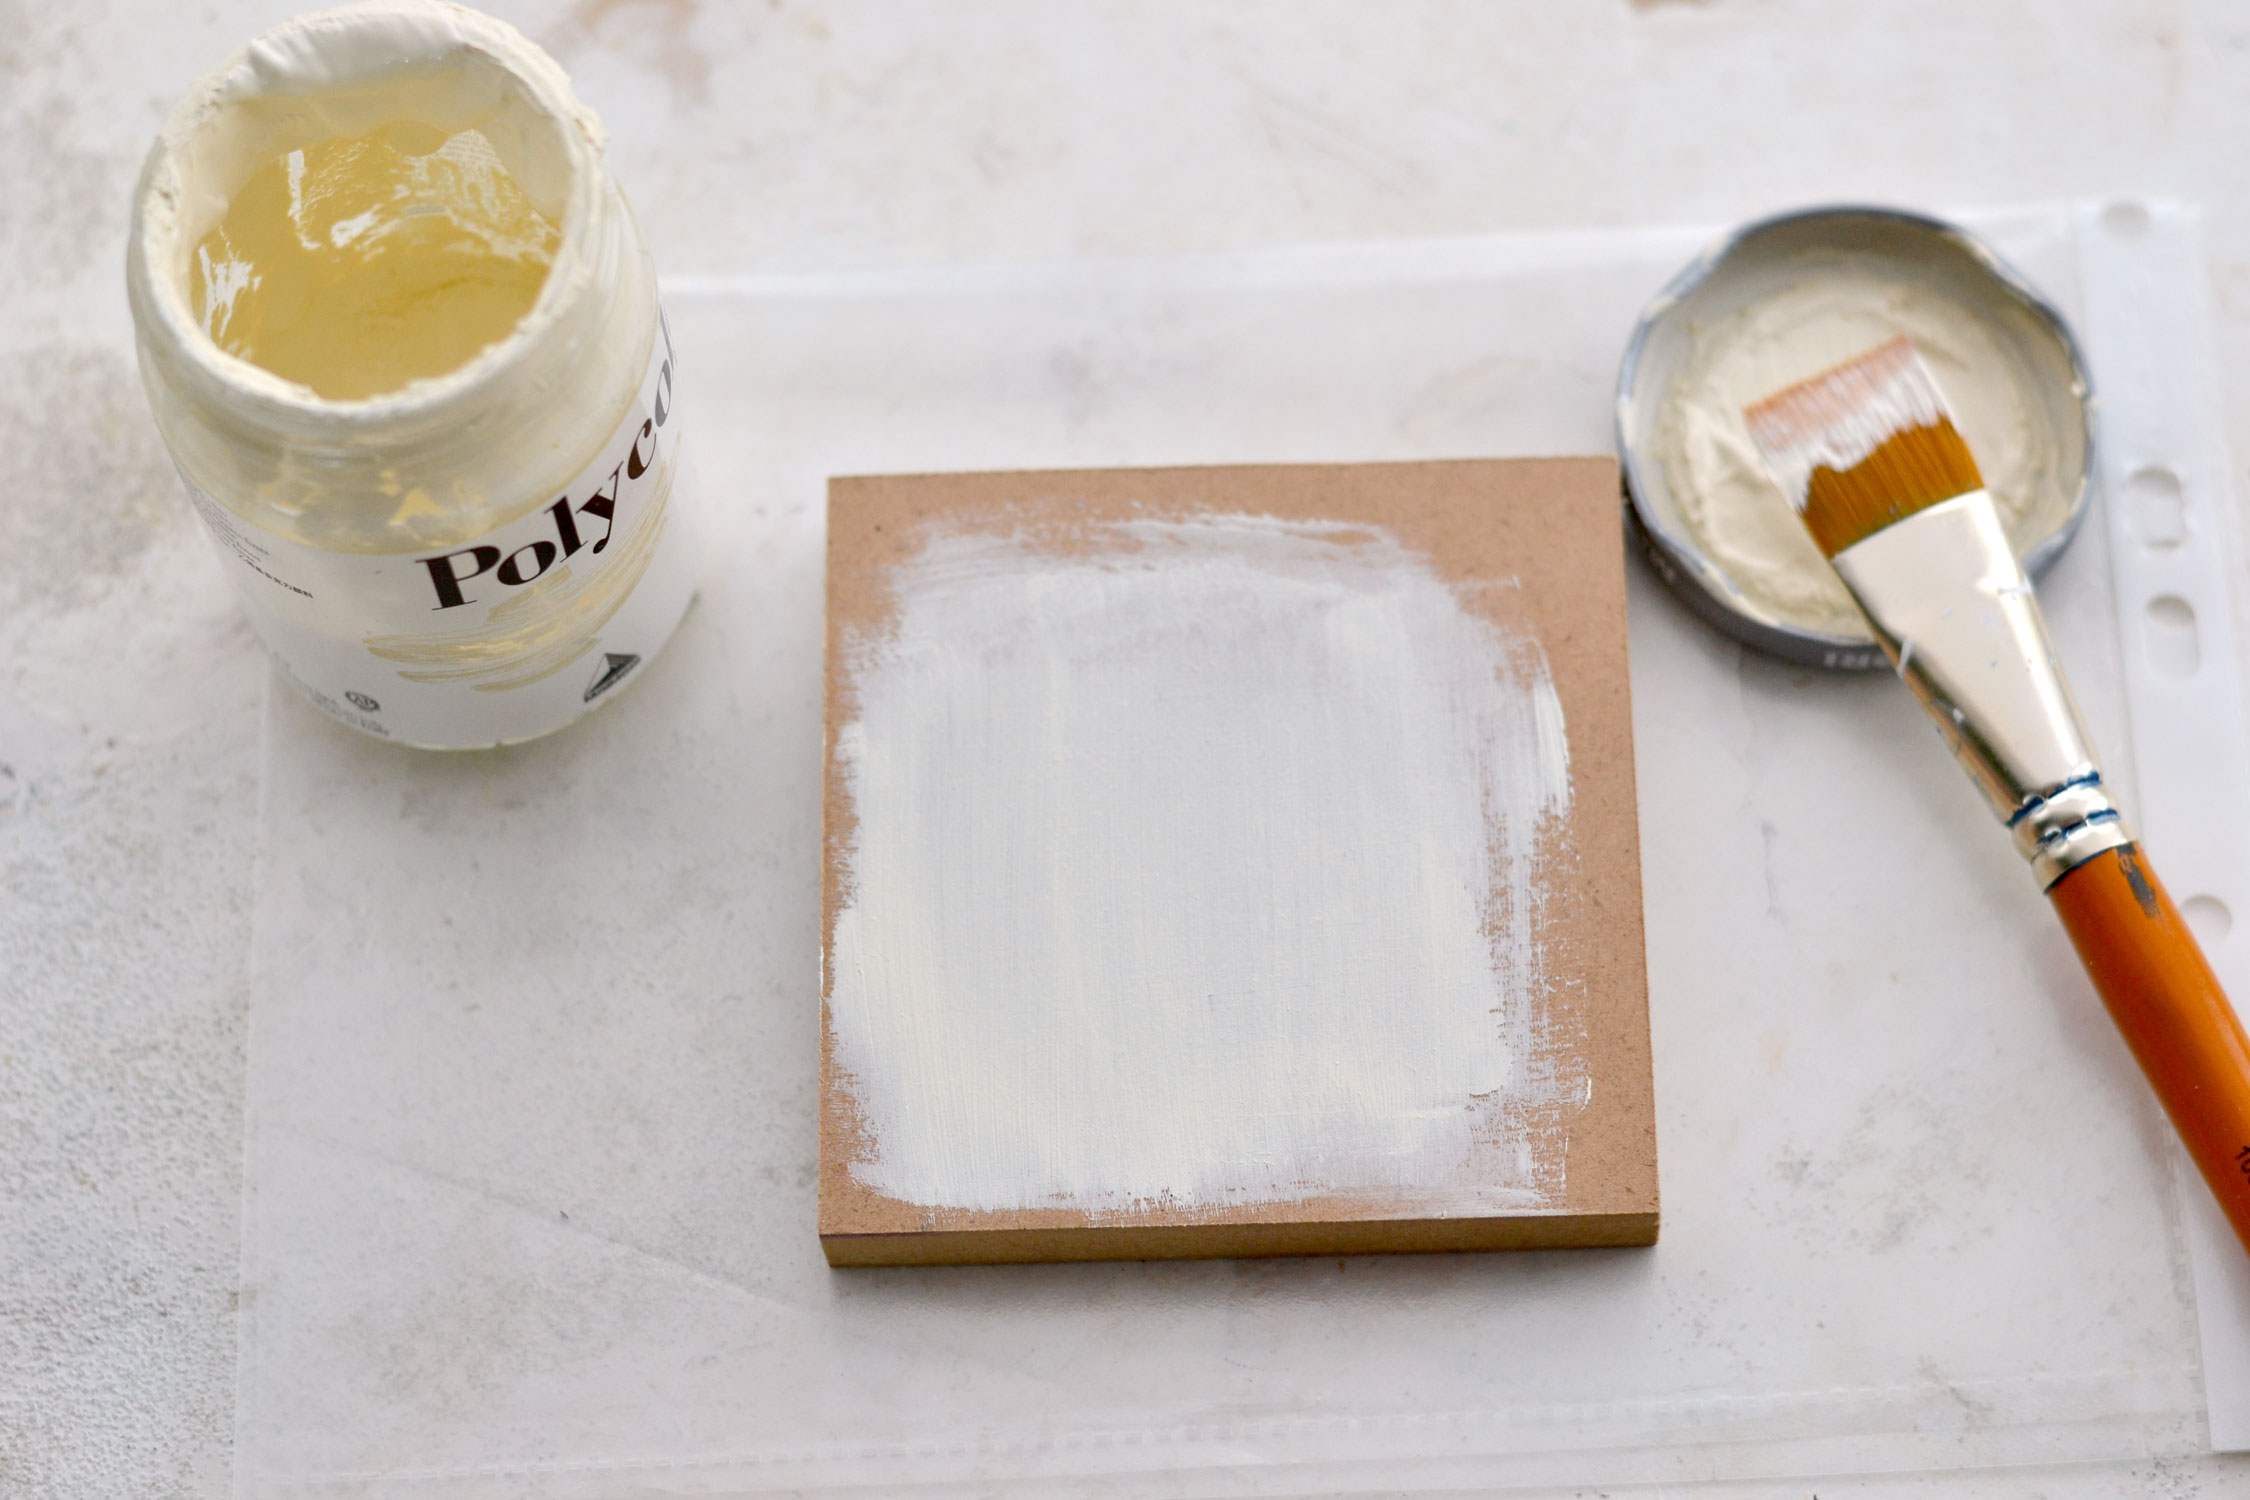
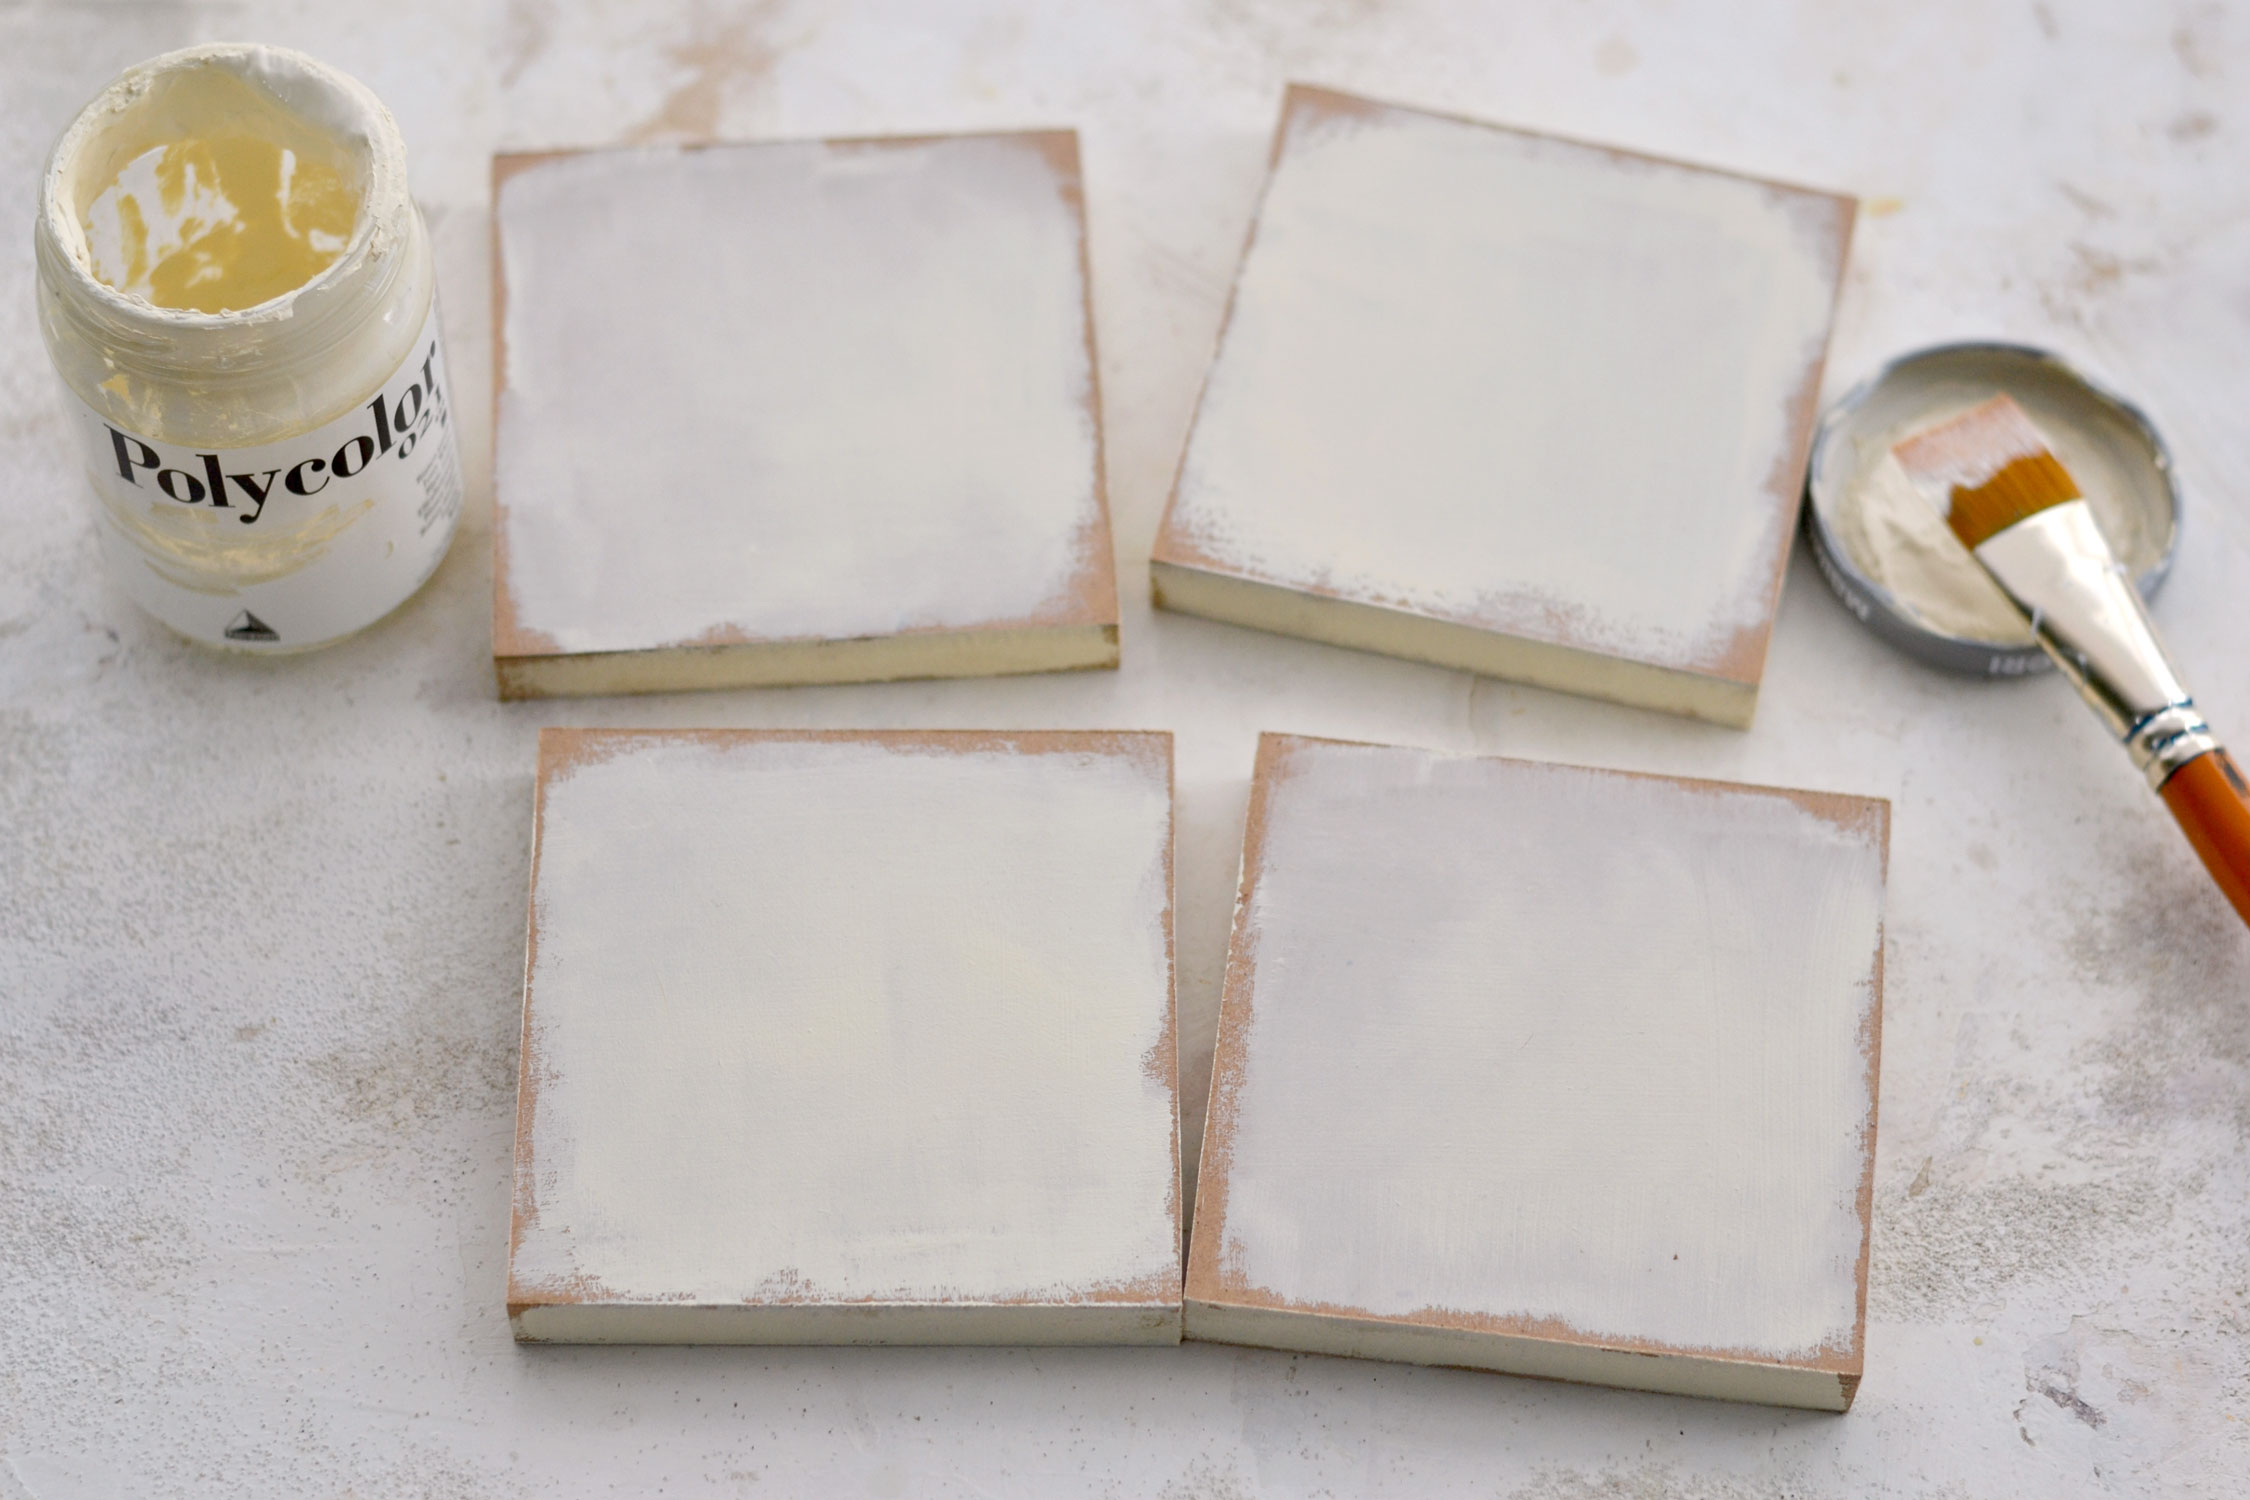
I wanted to give the coasters a dry-brushed final look, so I only used a little bit of paint and I started painting from the middle and going outward toward the edges.
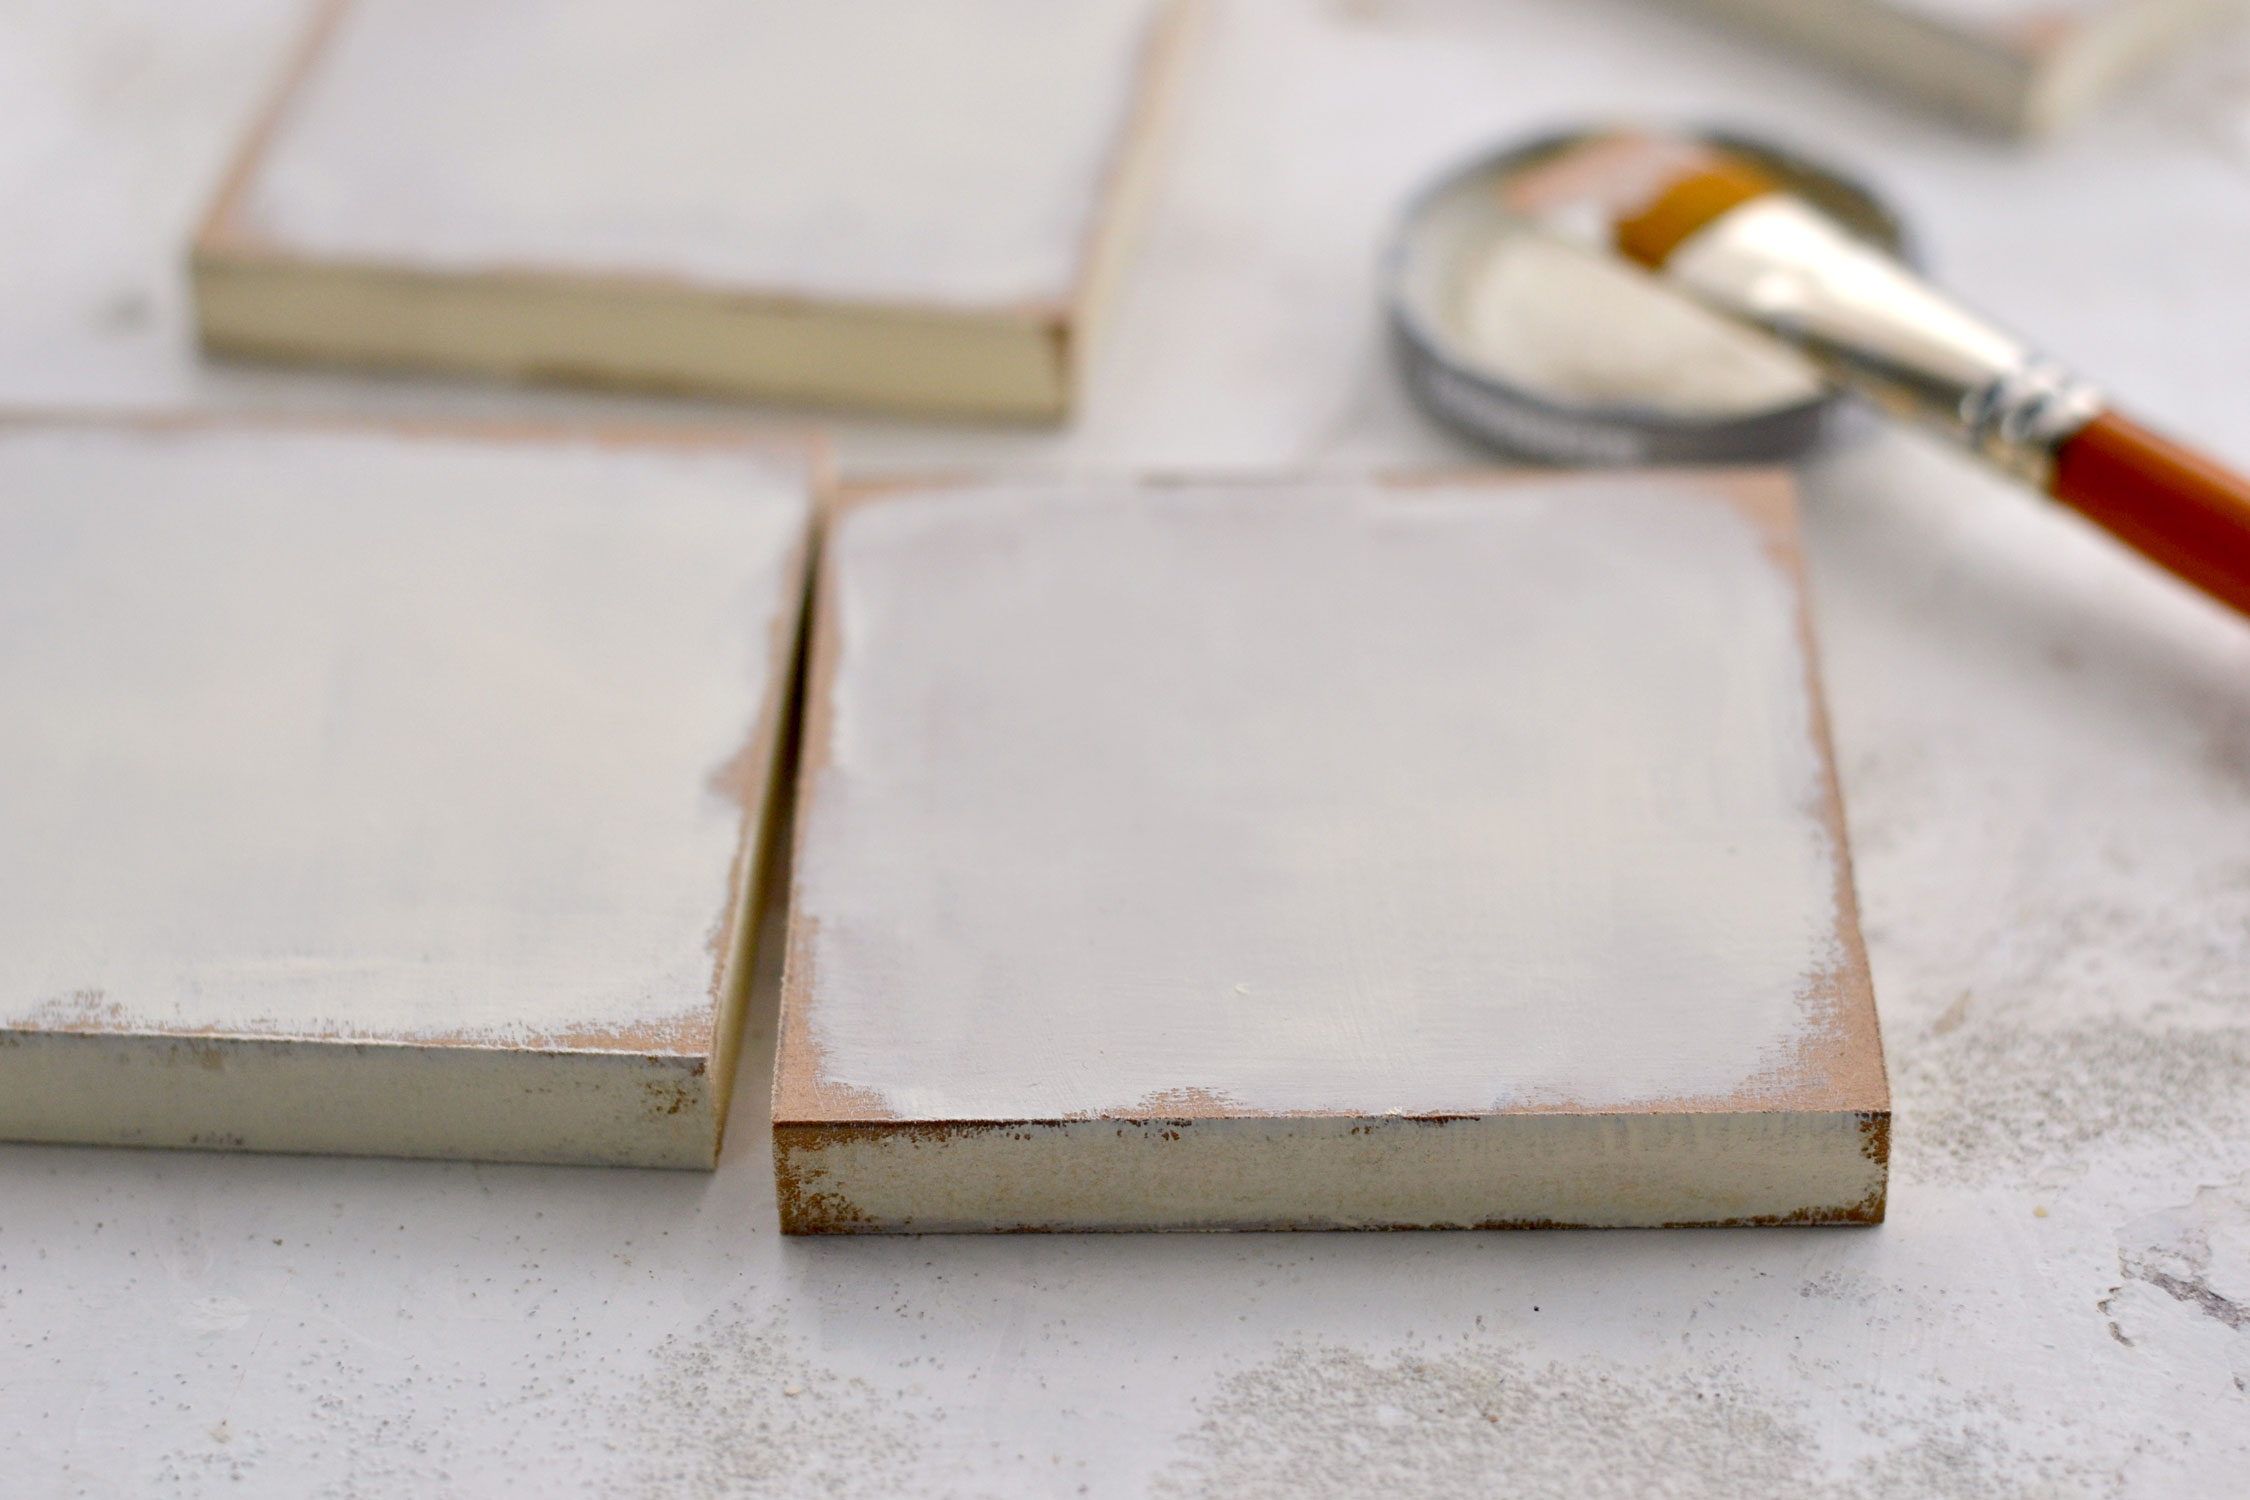
I used no water and when I reached one of the edges I left a small unpainted area. I tried to get an organic effect on the edges and because I only used a small amount of paint, it felt like I ran out of paint in that area. Exactly what I was looking for!
I gradually rotated the coaster in my hand and worked on one margin at a time to dry brush and push the paint toward the edges.
P.S. Make sure you properly sand the edges of your coasters after cutting them, otherwise the paint will bulk up in that area messing with your perfectly imperfect dry-brushed edges.
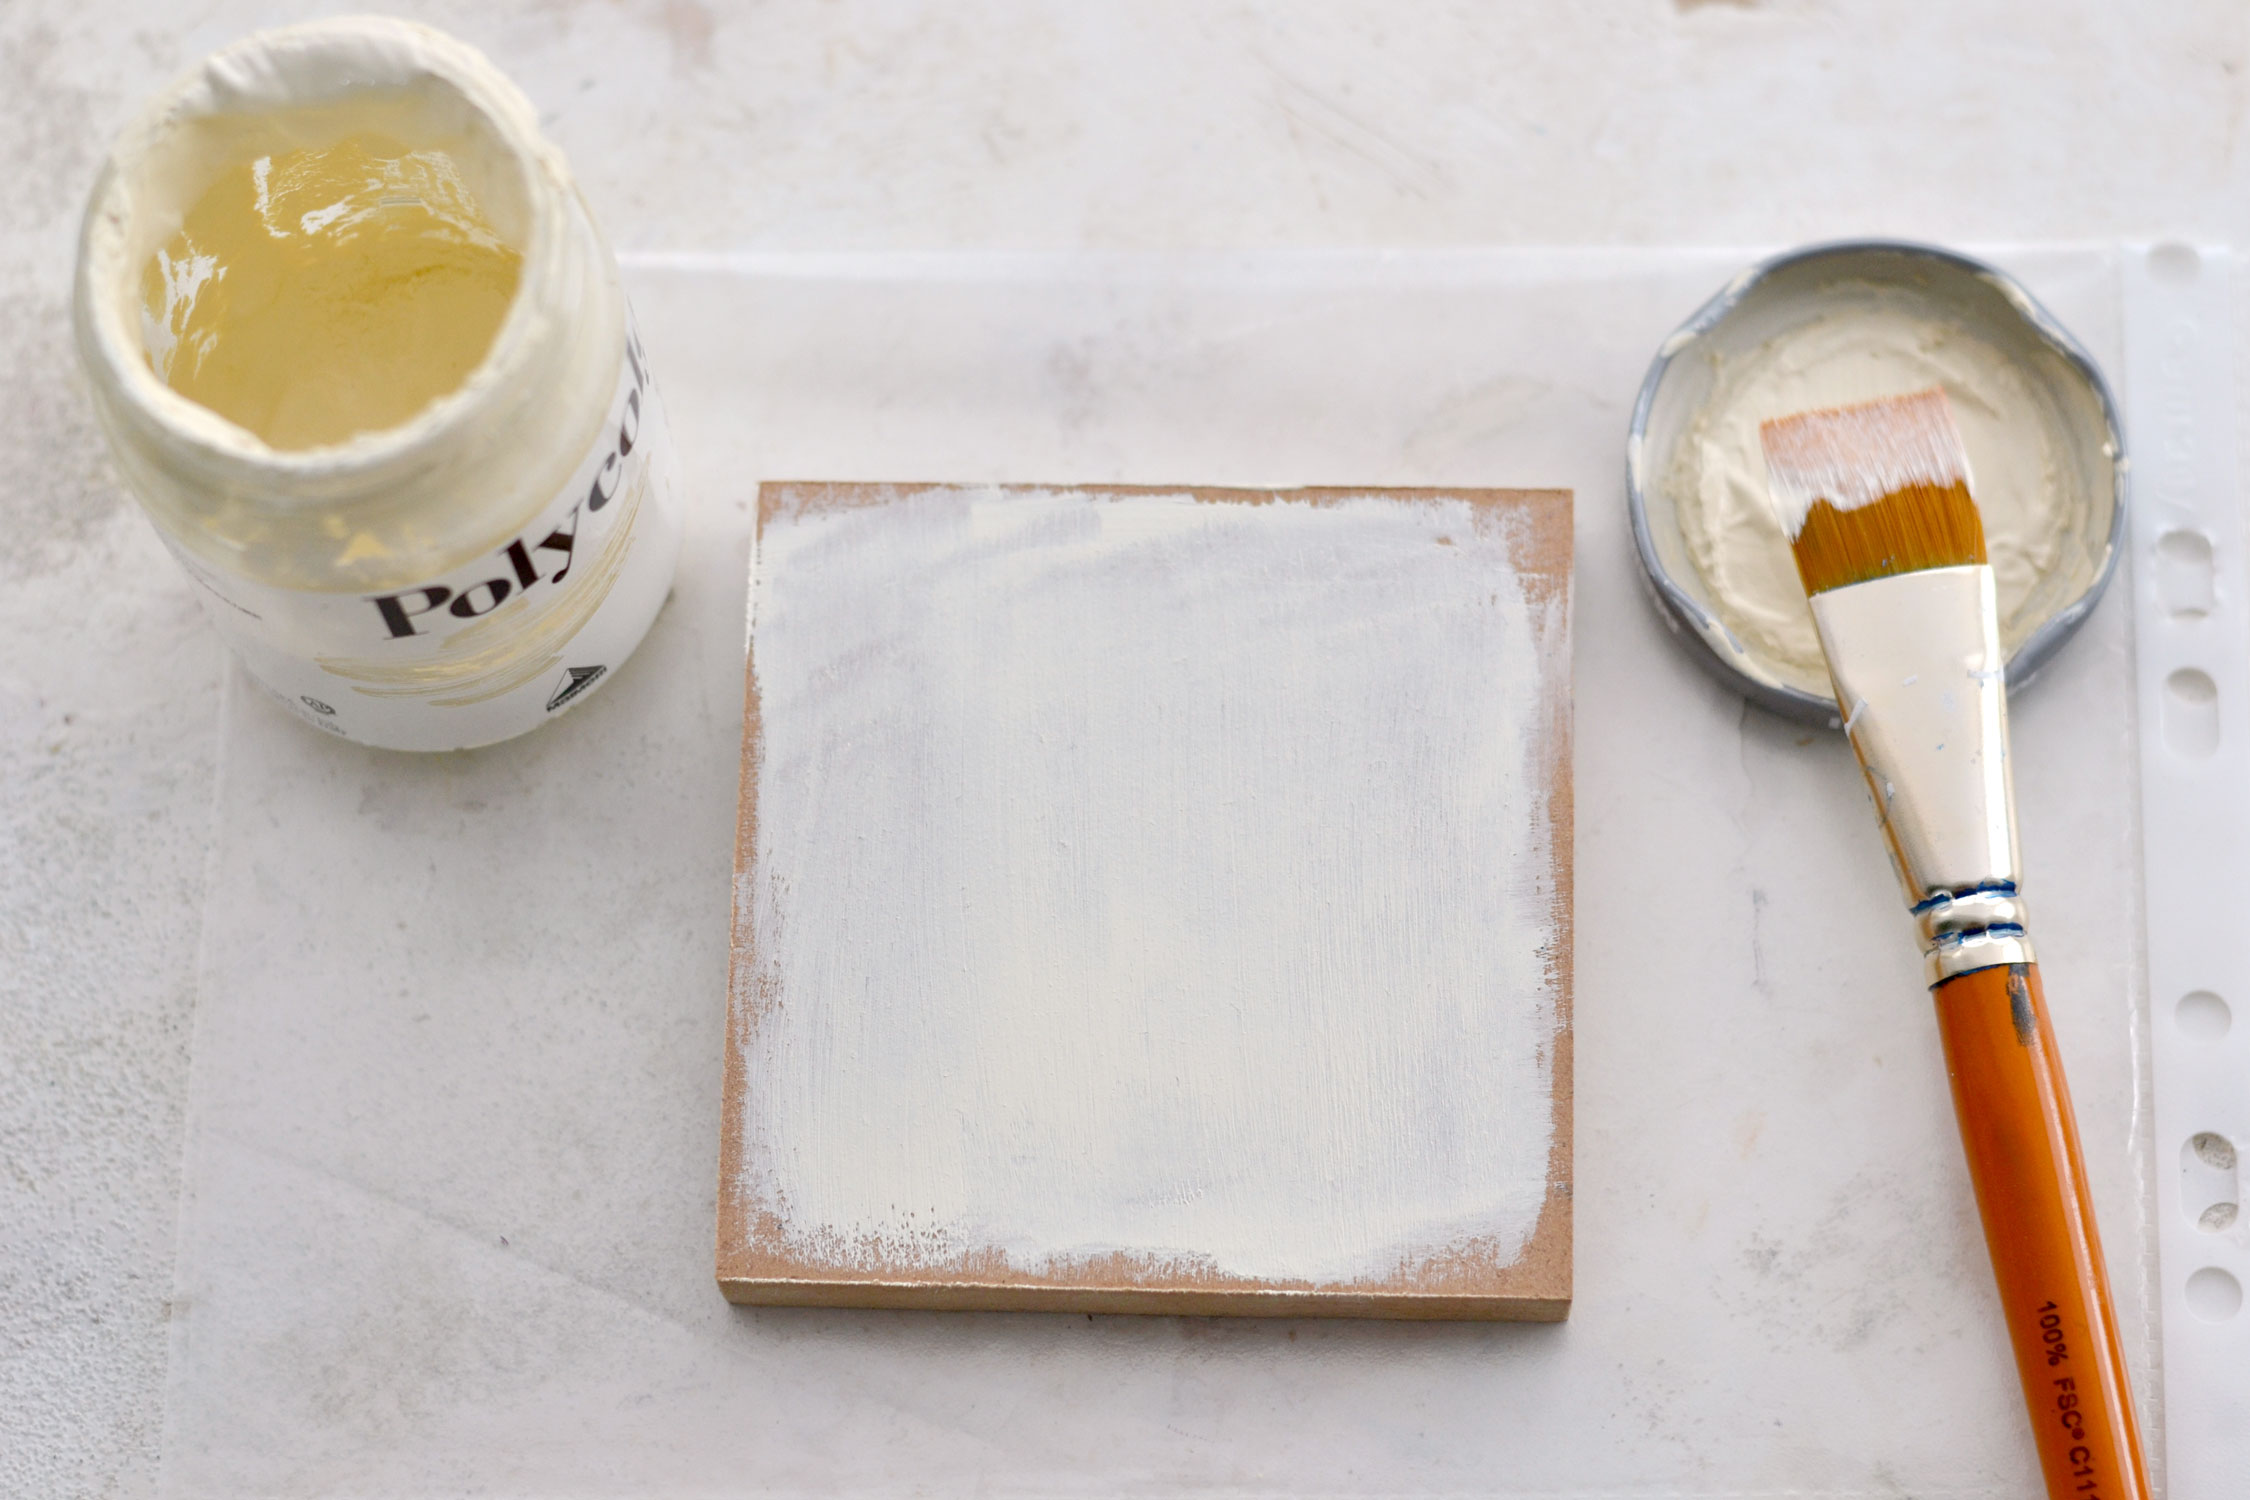
It will be basically impossible to paint the same dry-brushed pattern on all of them, but that’s a great thing, each coaster will be truly unique!
Don’t forget to paint the sides while also leaving a small unpainted area around the corners.
When you are done, let everything dry completely before moving on.
Carefully cut the tissue paper images.
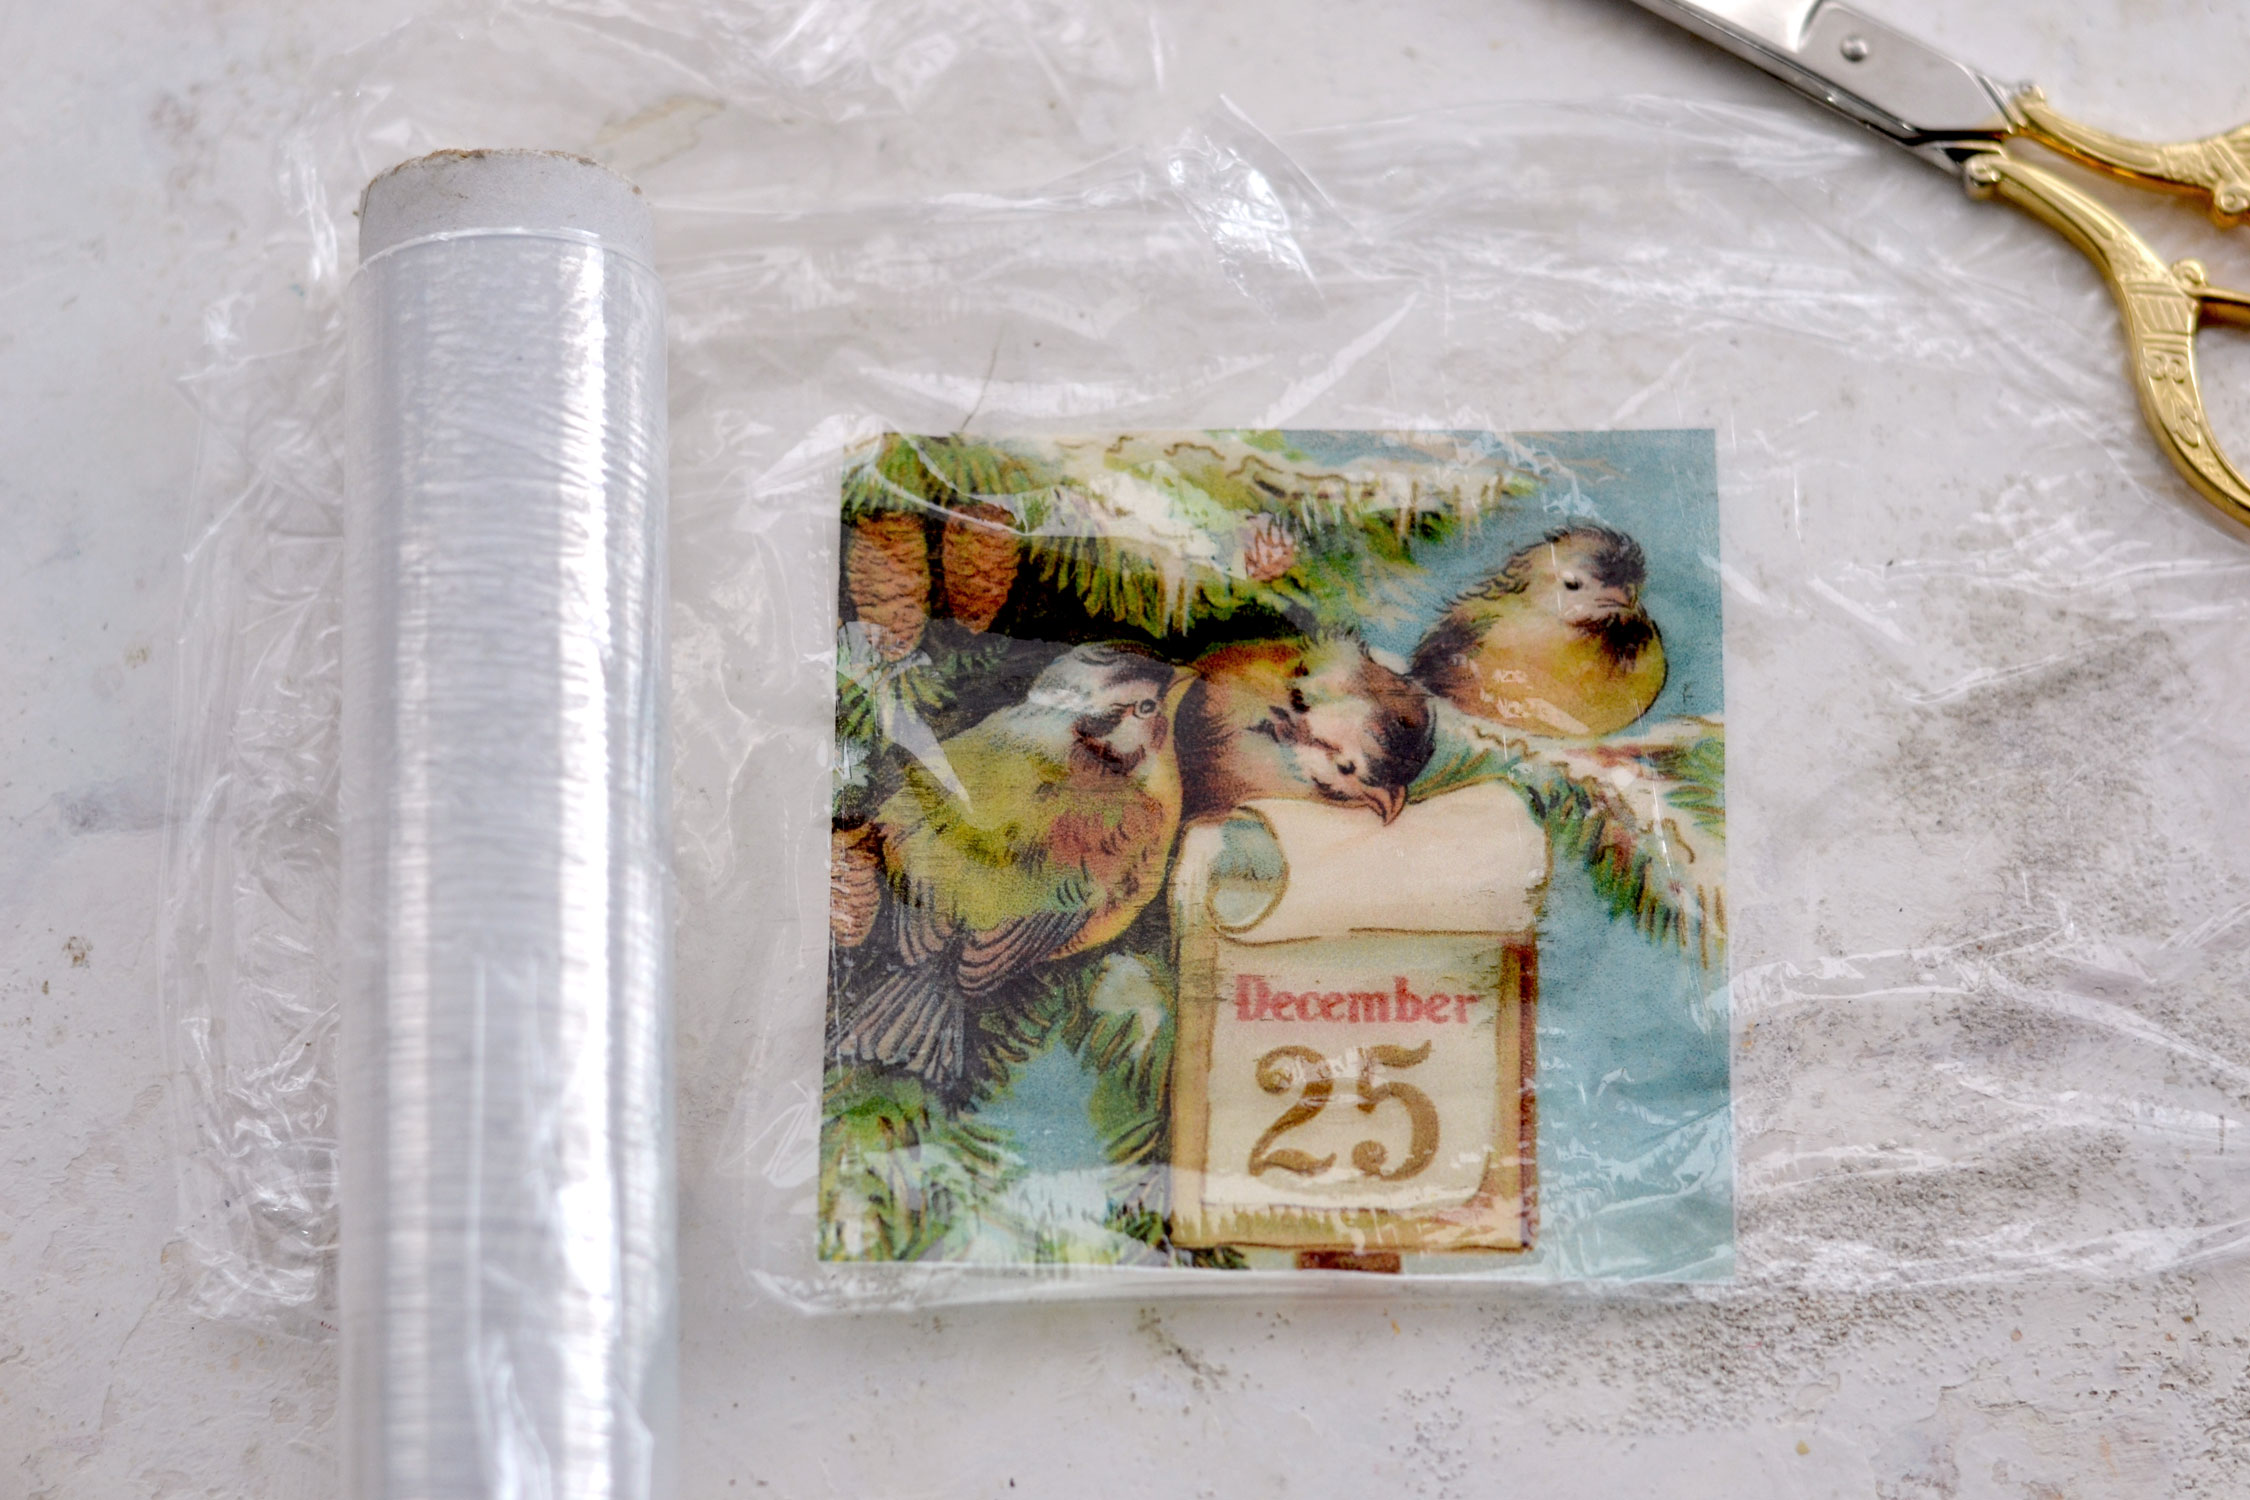
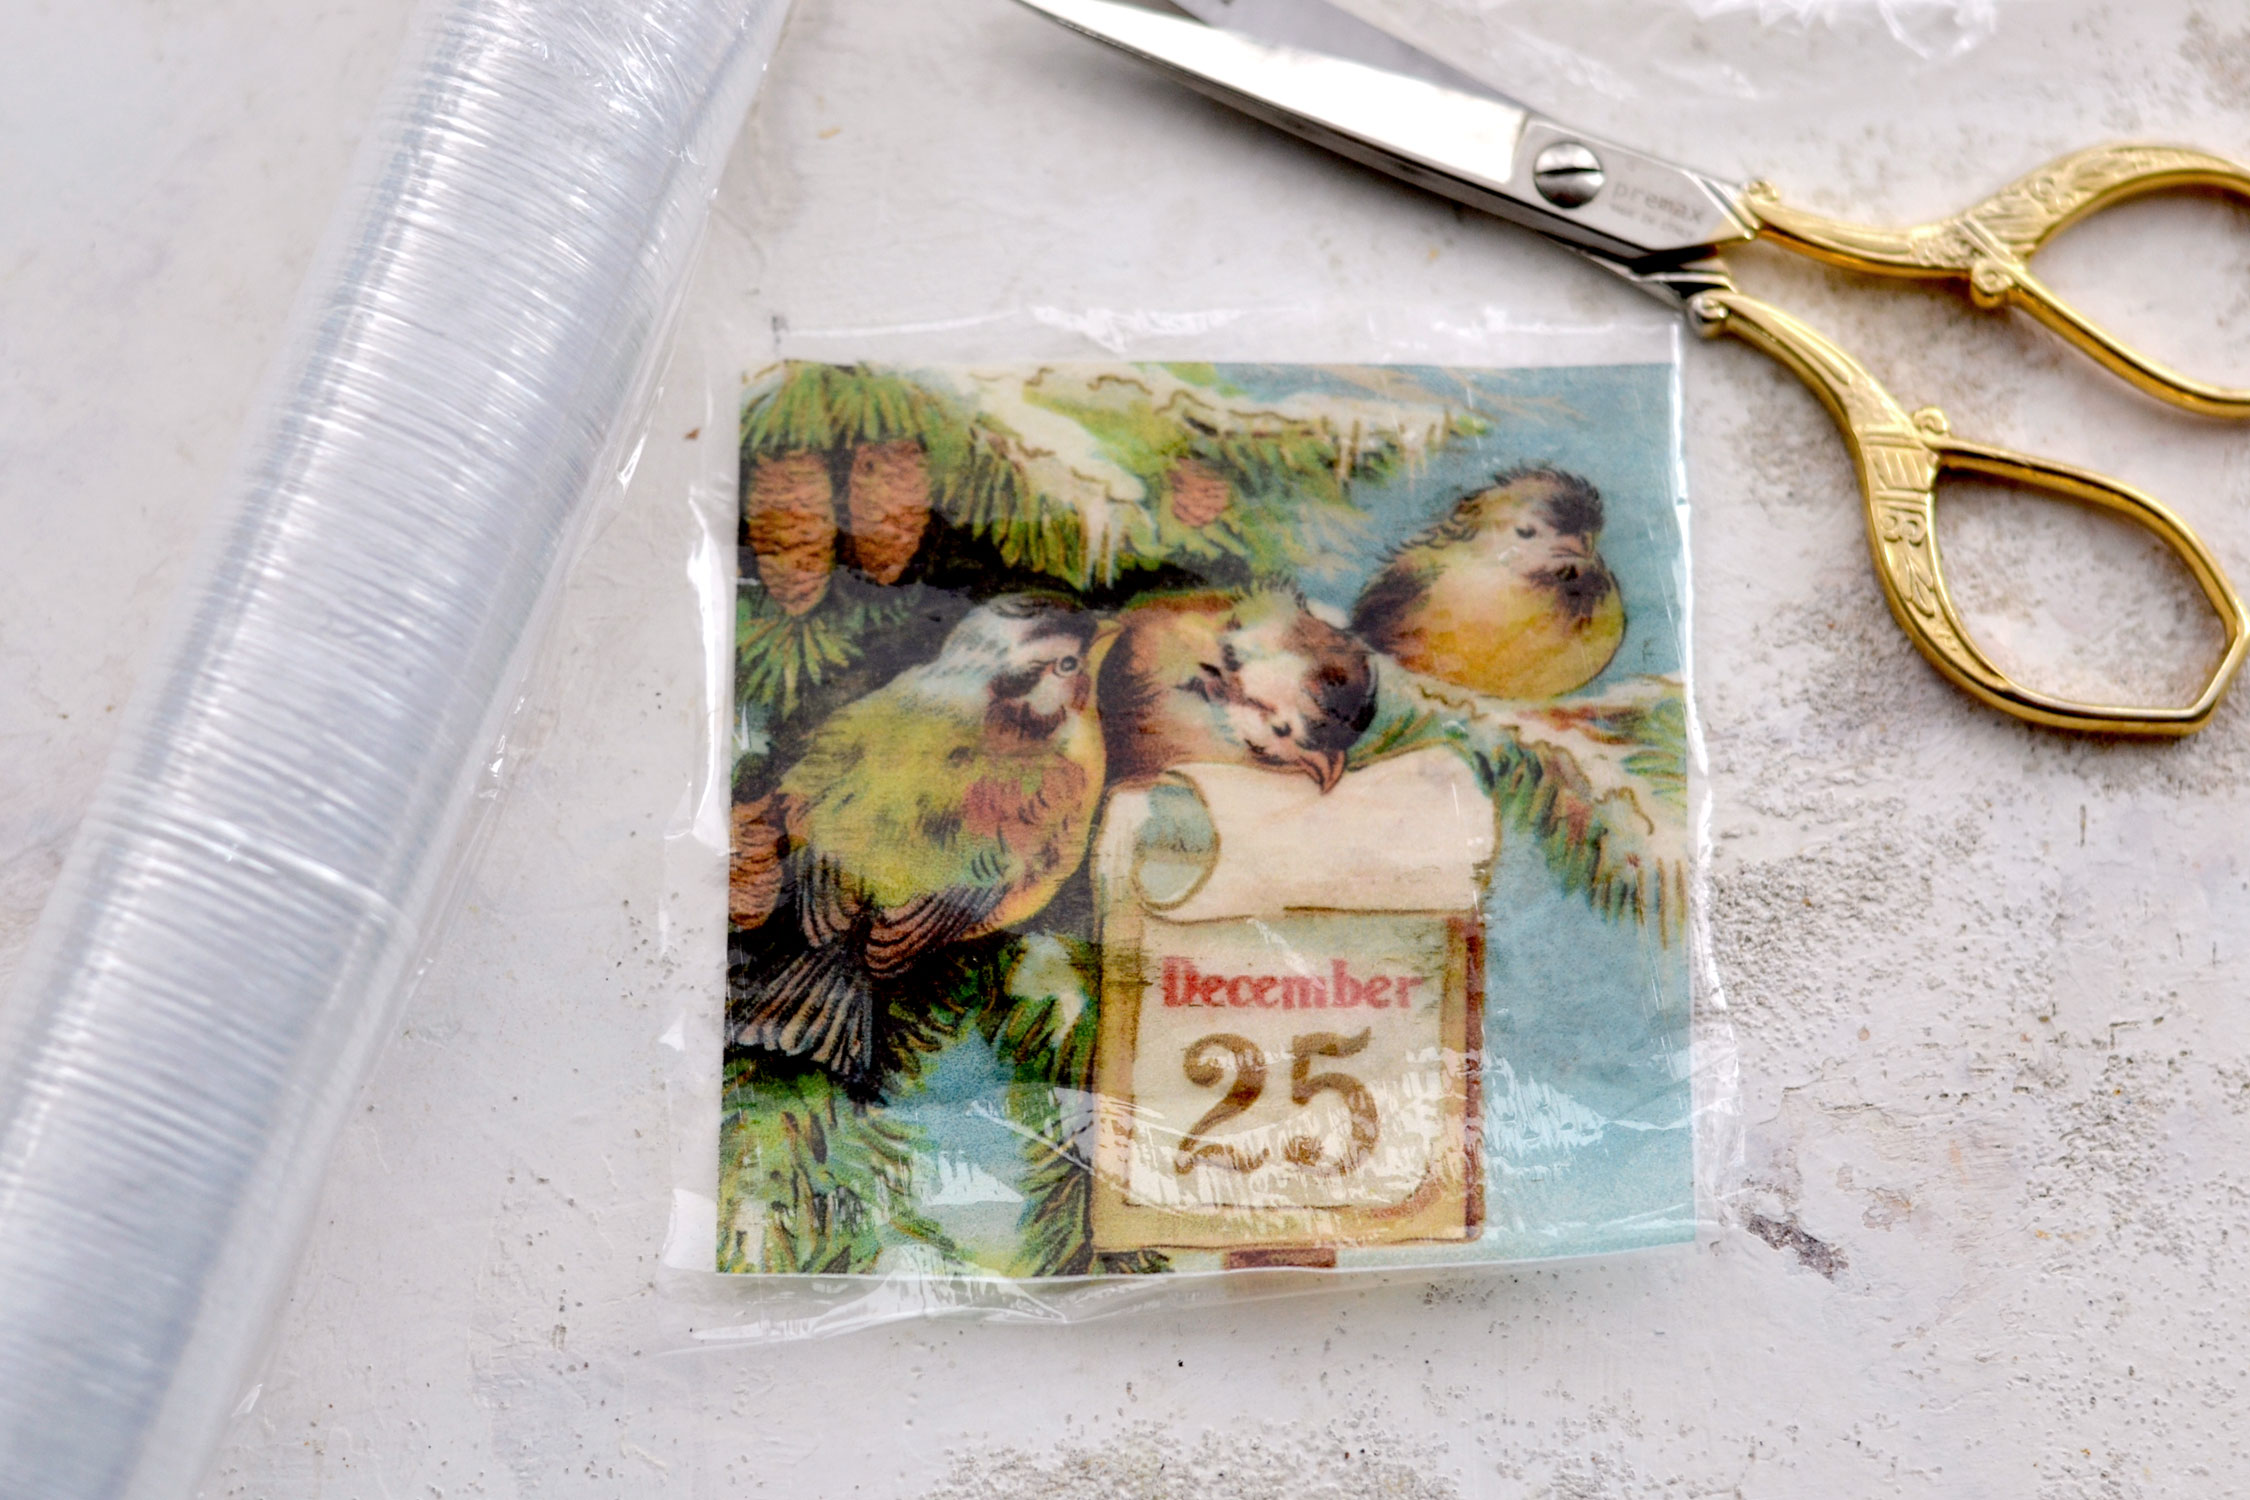
Place a large piece of cling wrap on your table and add the printed tissue paper on top – the cling wrap should be at least double the size of the image. Drag one of the sides of the cling wrap on top of the image to close it in, the images should now be placed between two pieces of cling.
Use your fingers to press all around the edges so that the cling wrap keeps the image in place and creates almost like a seal.
Use your scissors to cut the excess cling wrap, while also keeping a small section all around the edges. Just make sure you don’t cut too much, all the surface of the paper should be covered with cling wrap both on top and underneath.
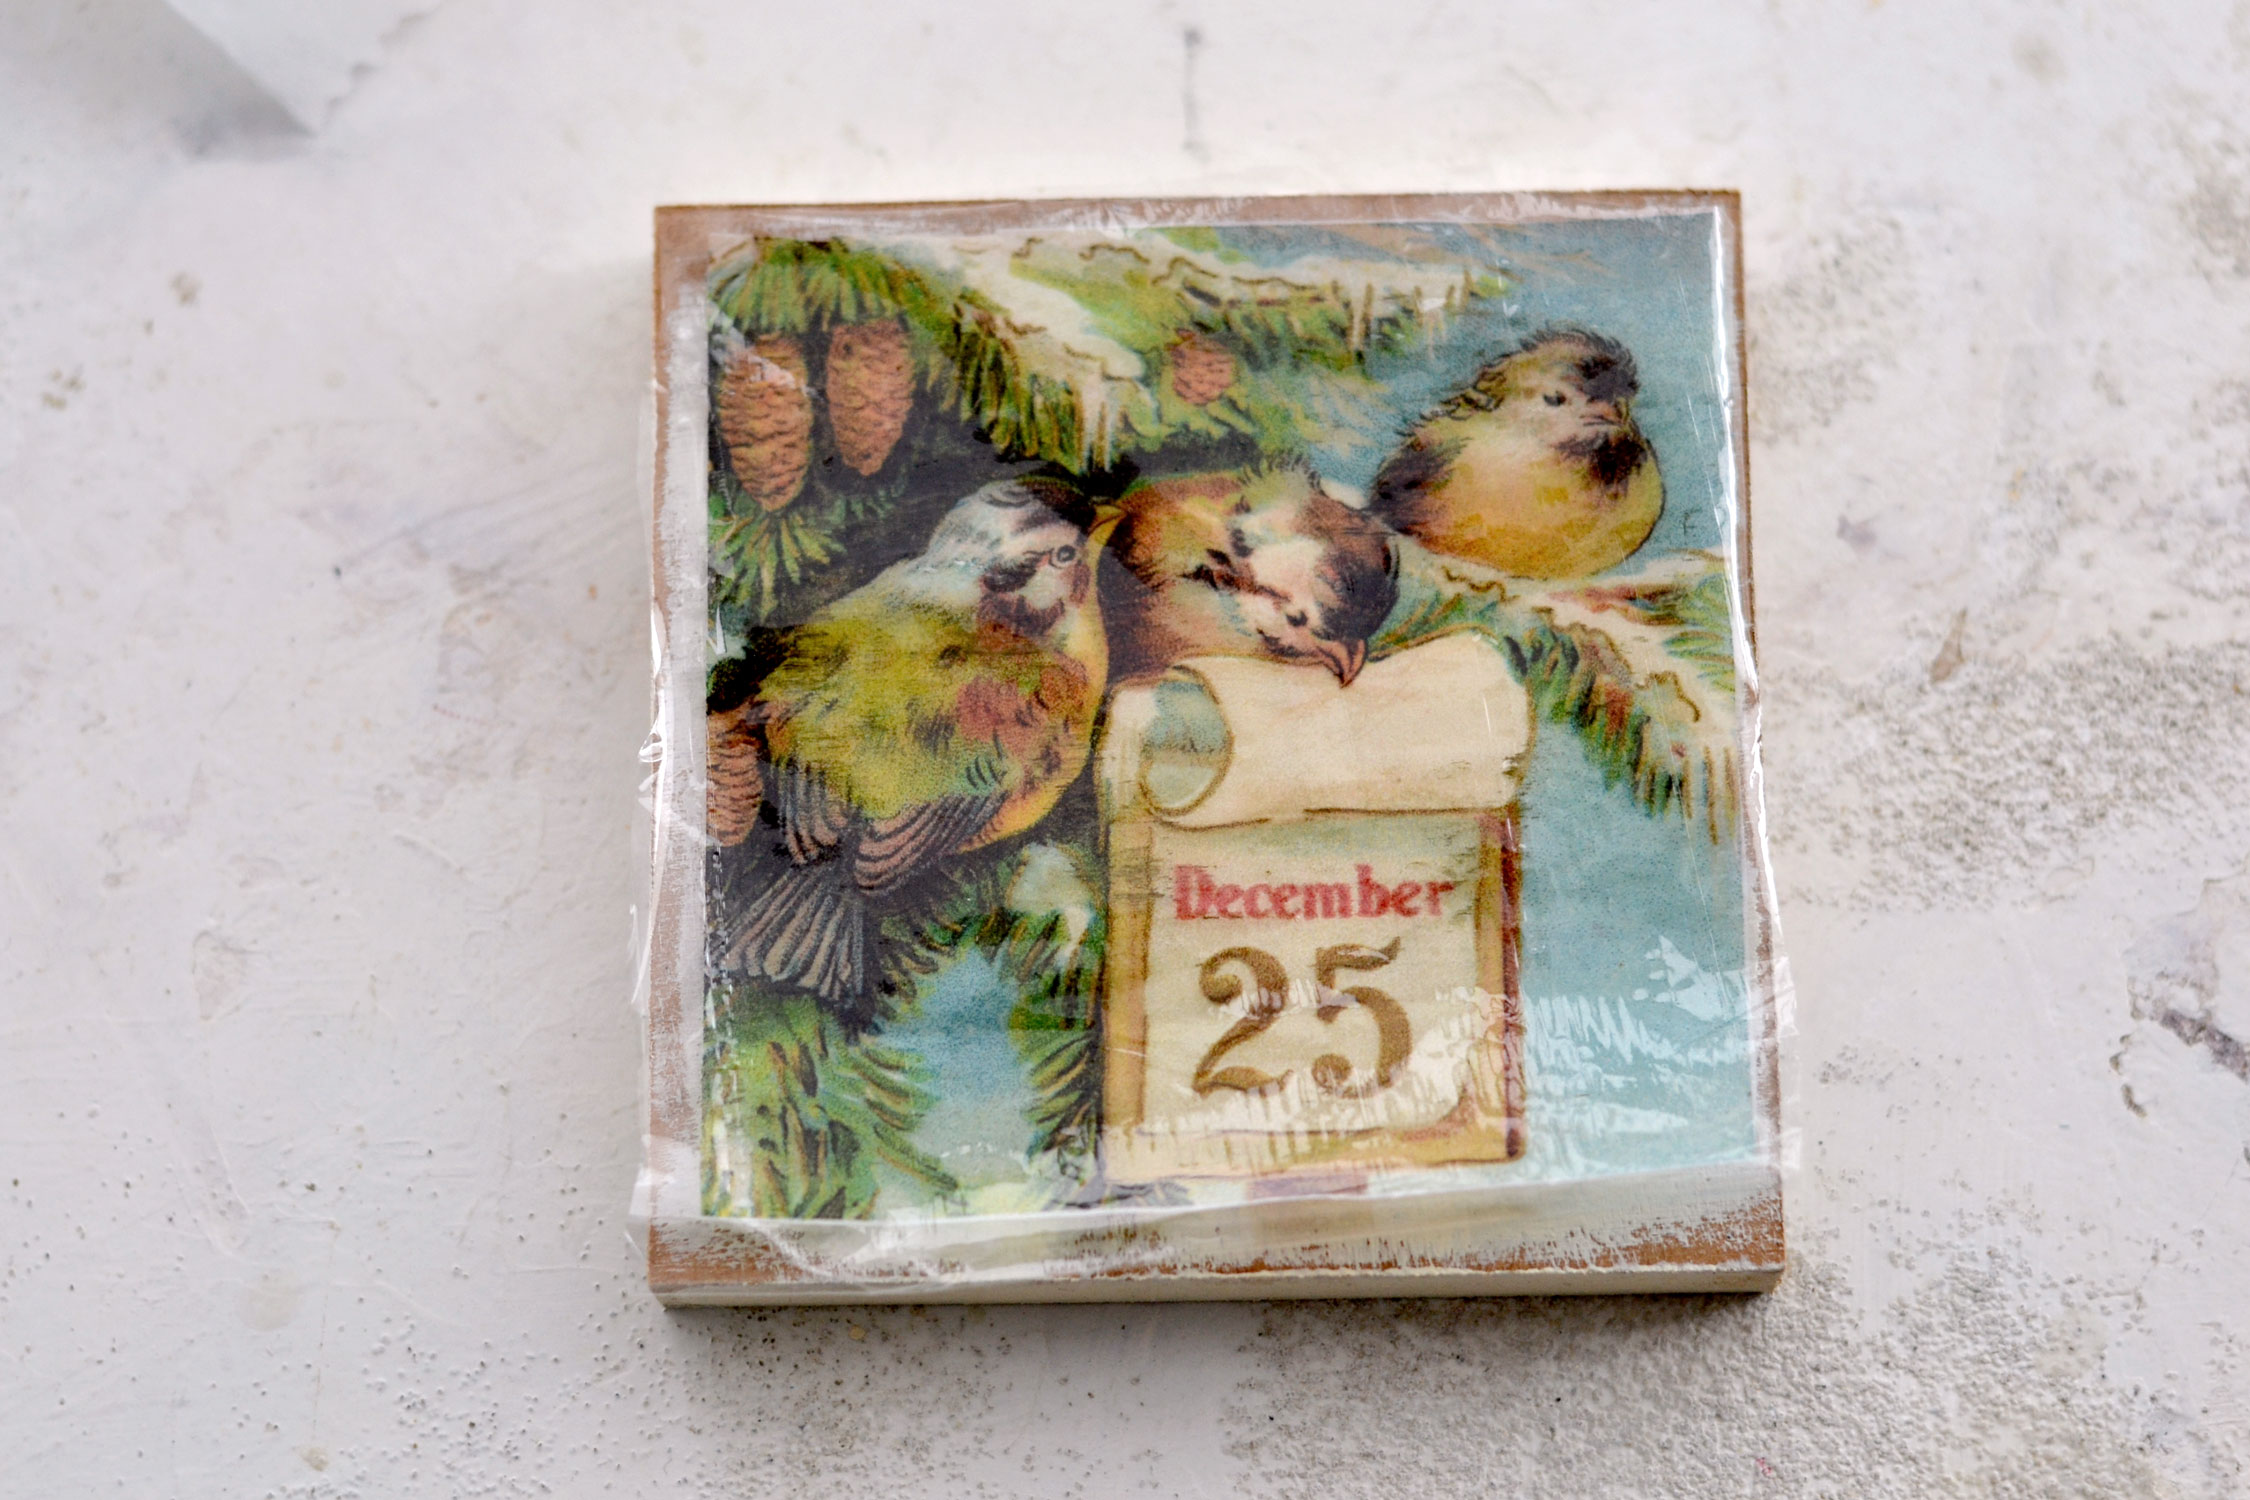
Place the cling wrap image assembly on your coasters and try to center it as much as you can. Use one of your hands to hold it in place, then carefully place a piece of parchment paper on top. Use the hand underneath to hold everything in place until you can use the other hand to do the same, but with the parchment on top.
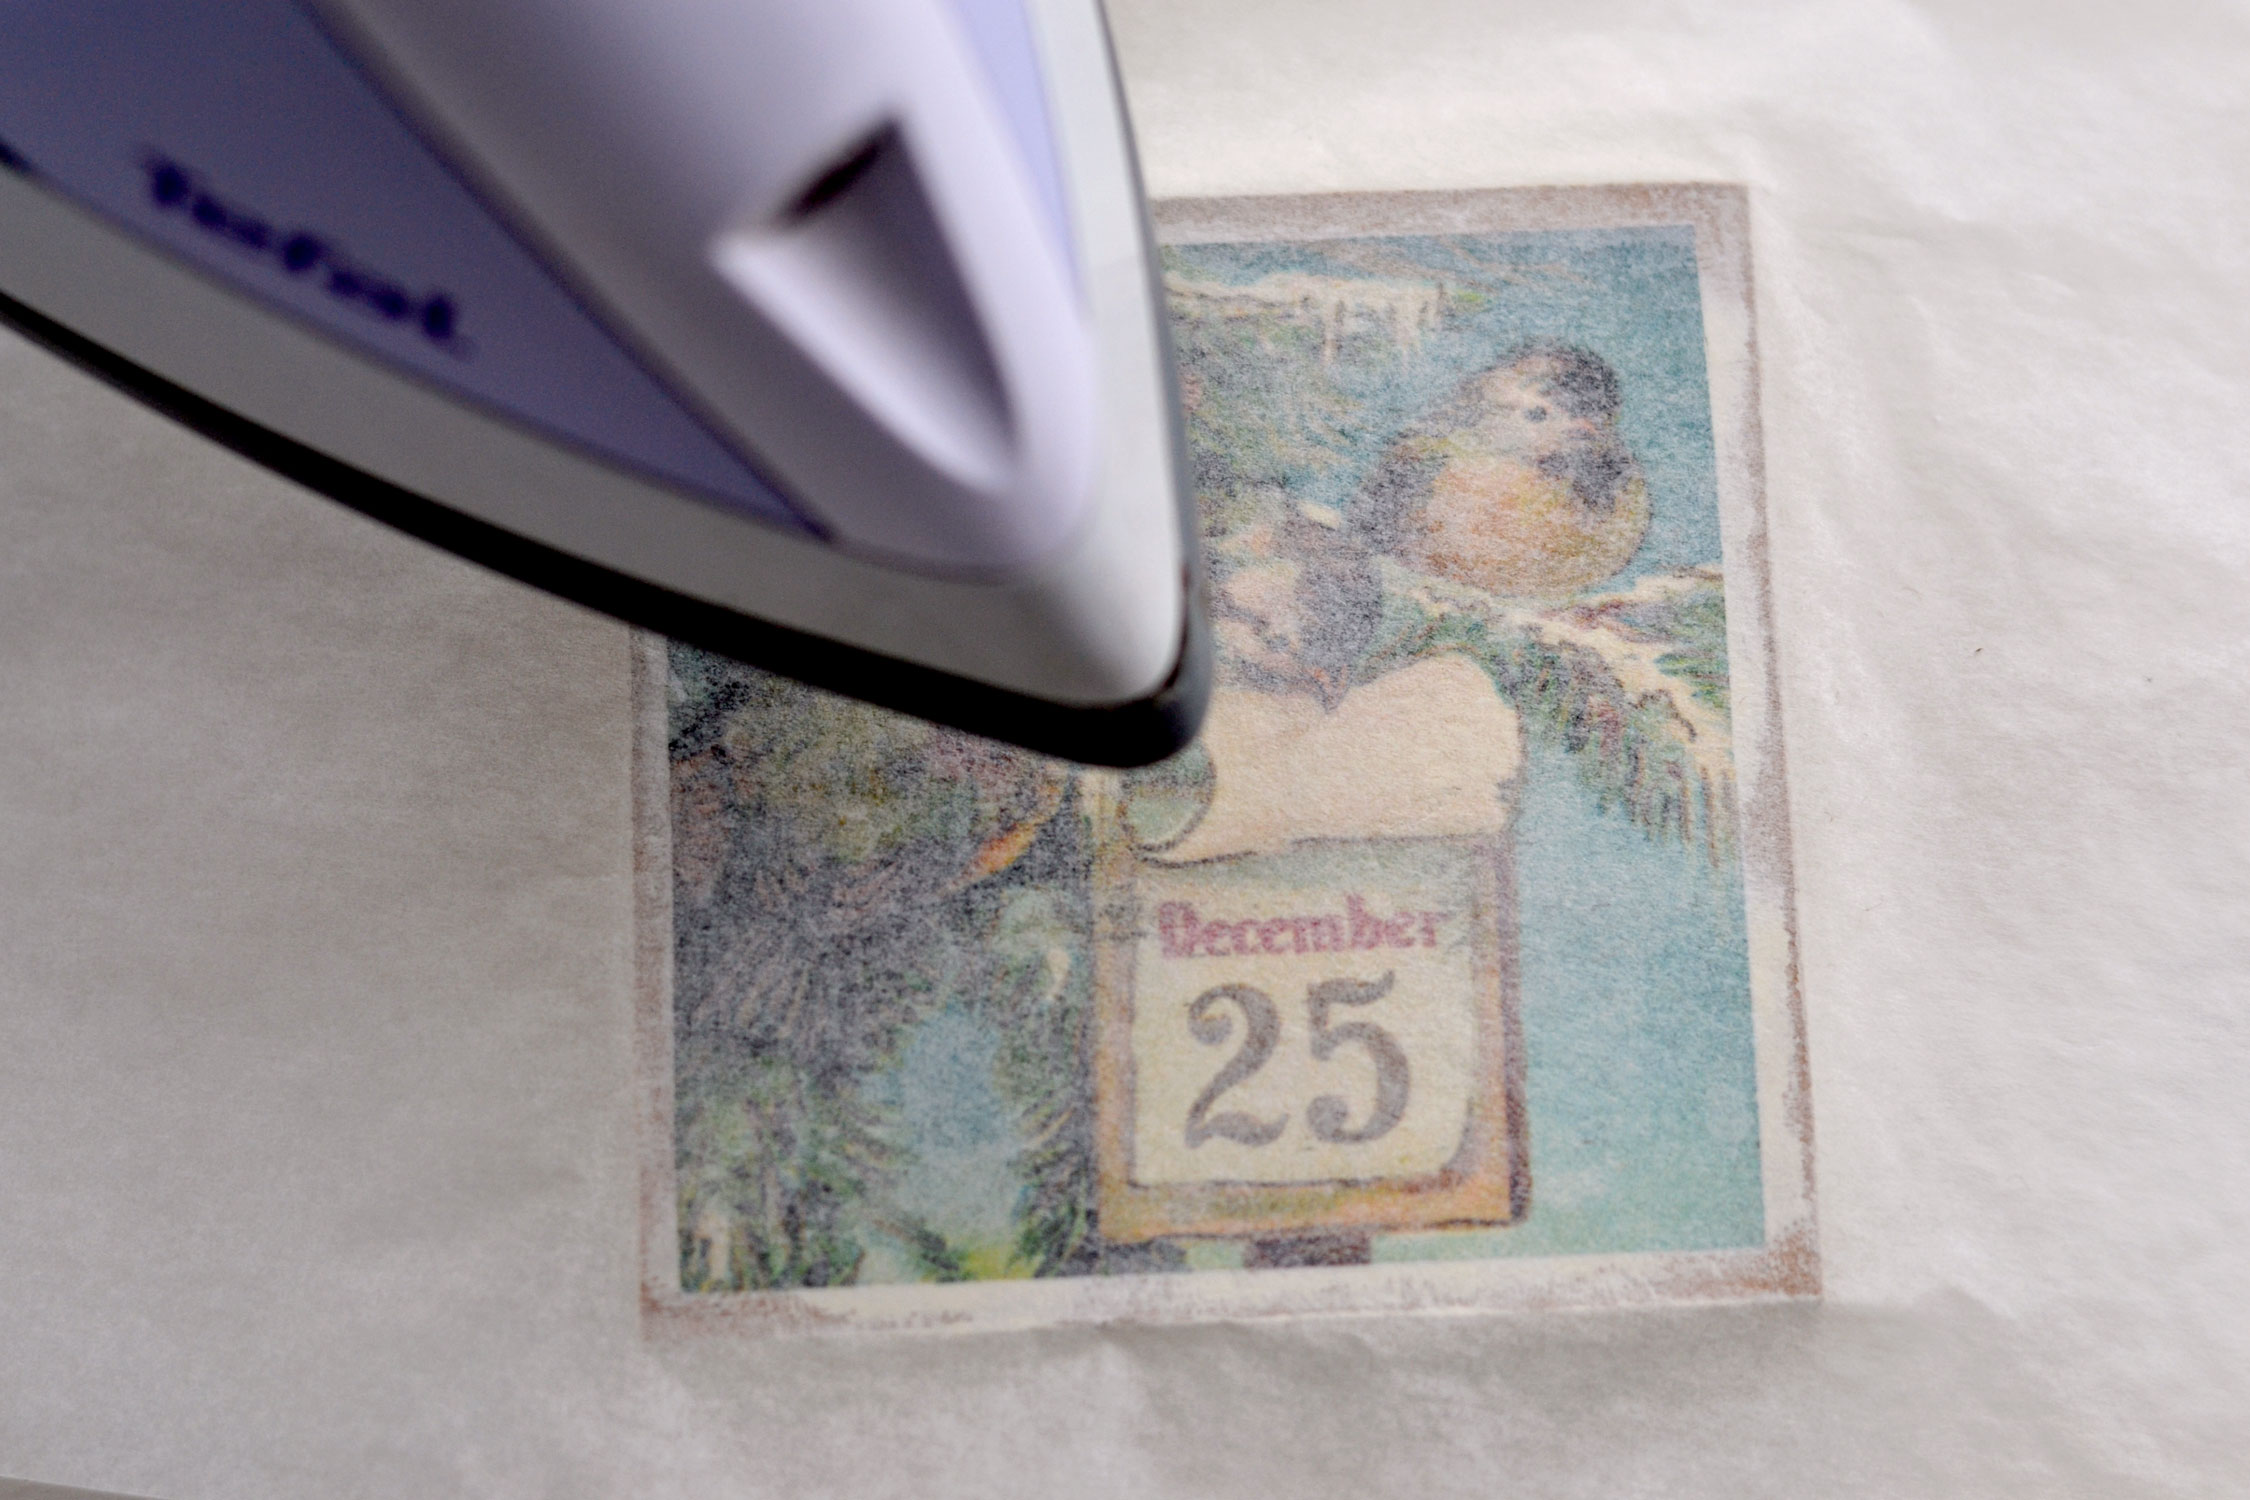
Use a clothes iron to iron the image, making sure you only iron on top of the parchment and not directly on the cling wrap. Use left/right and up/down motions rather than keeping the iron in one position.
The image underneath will become more and more visible, everything should take around 20-30 seconds.
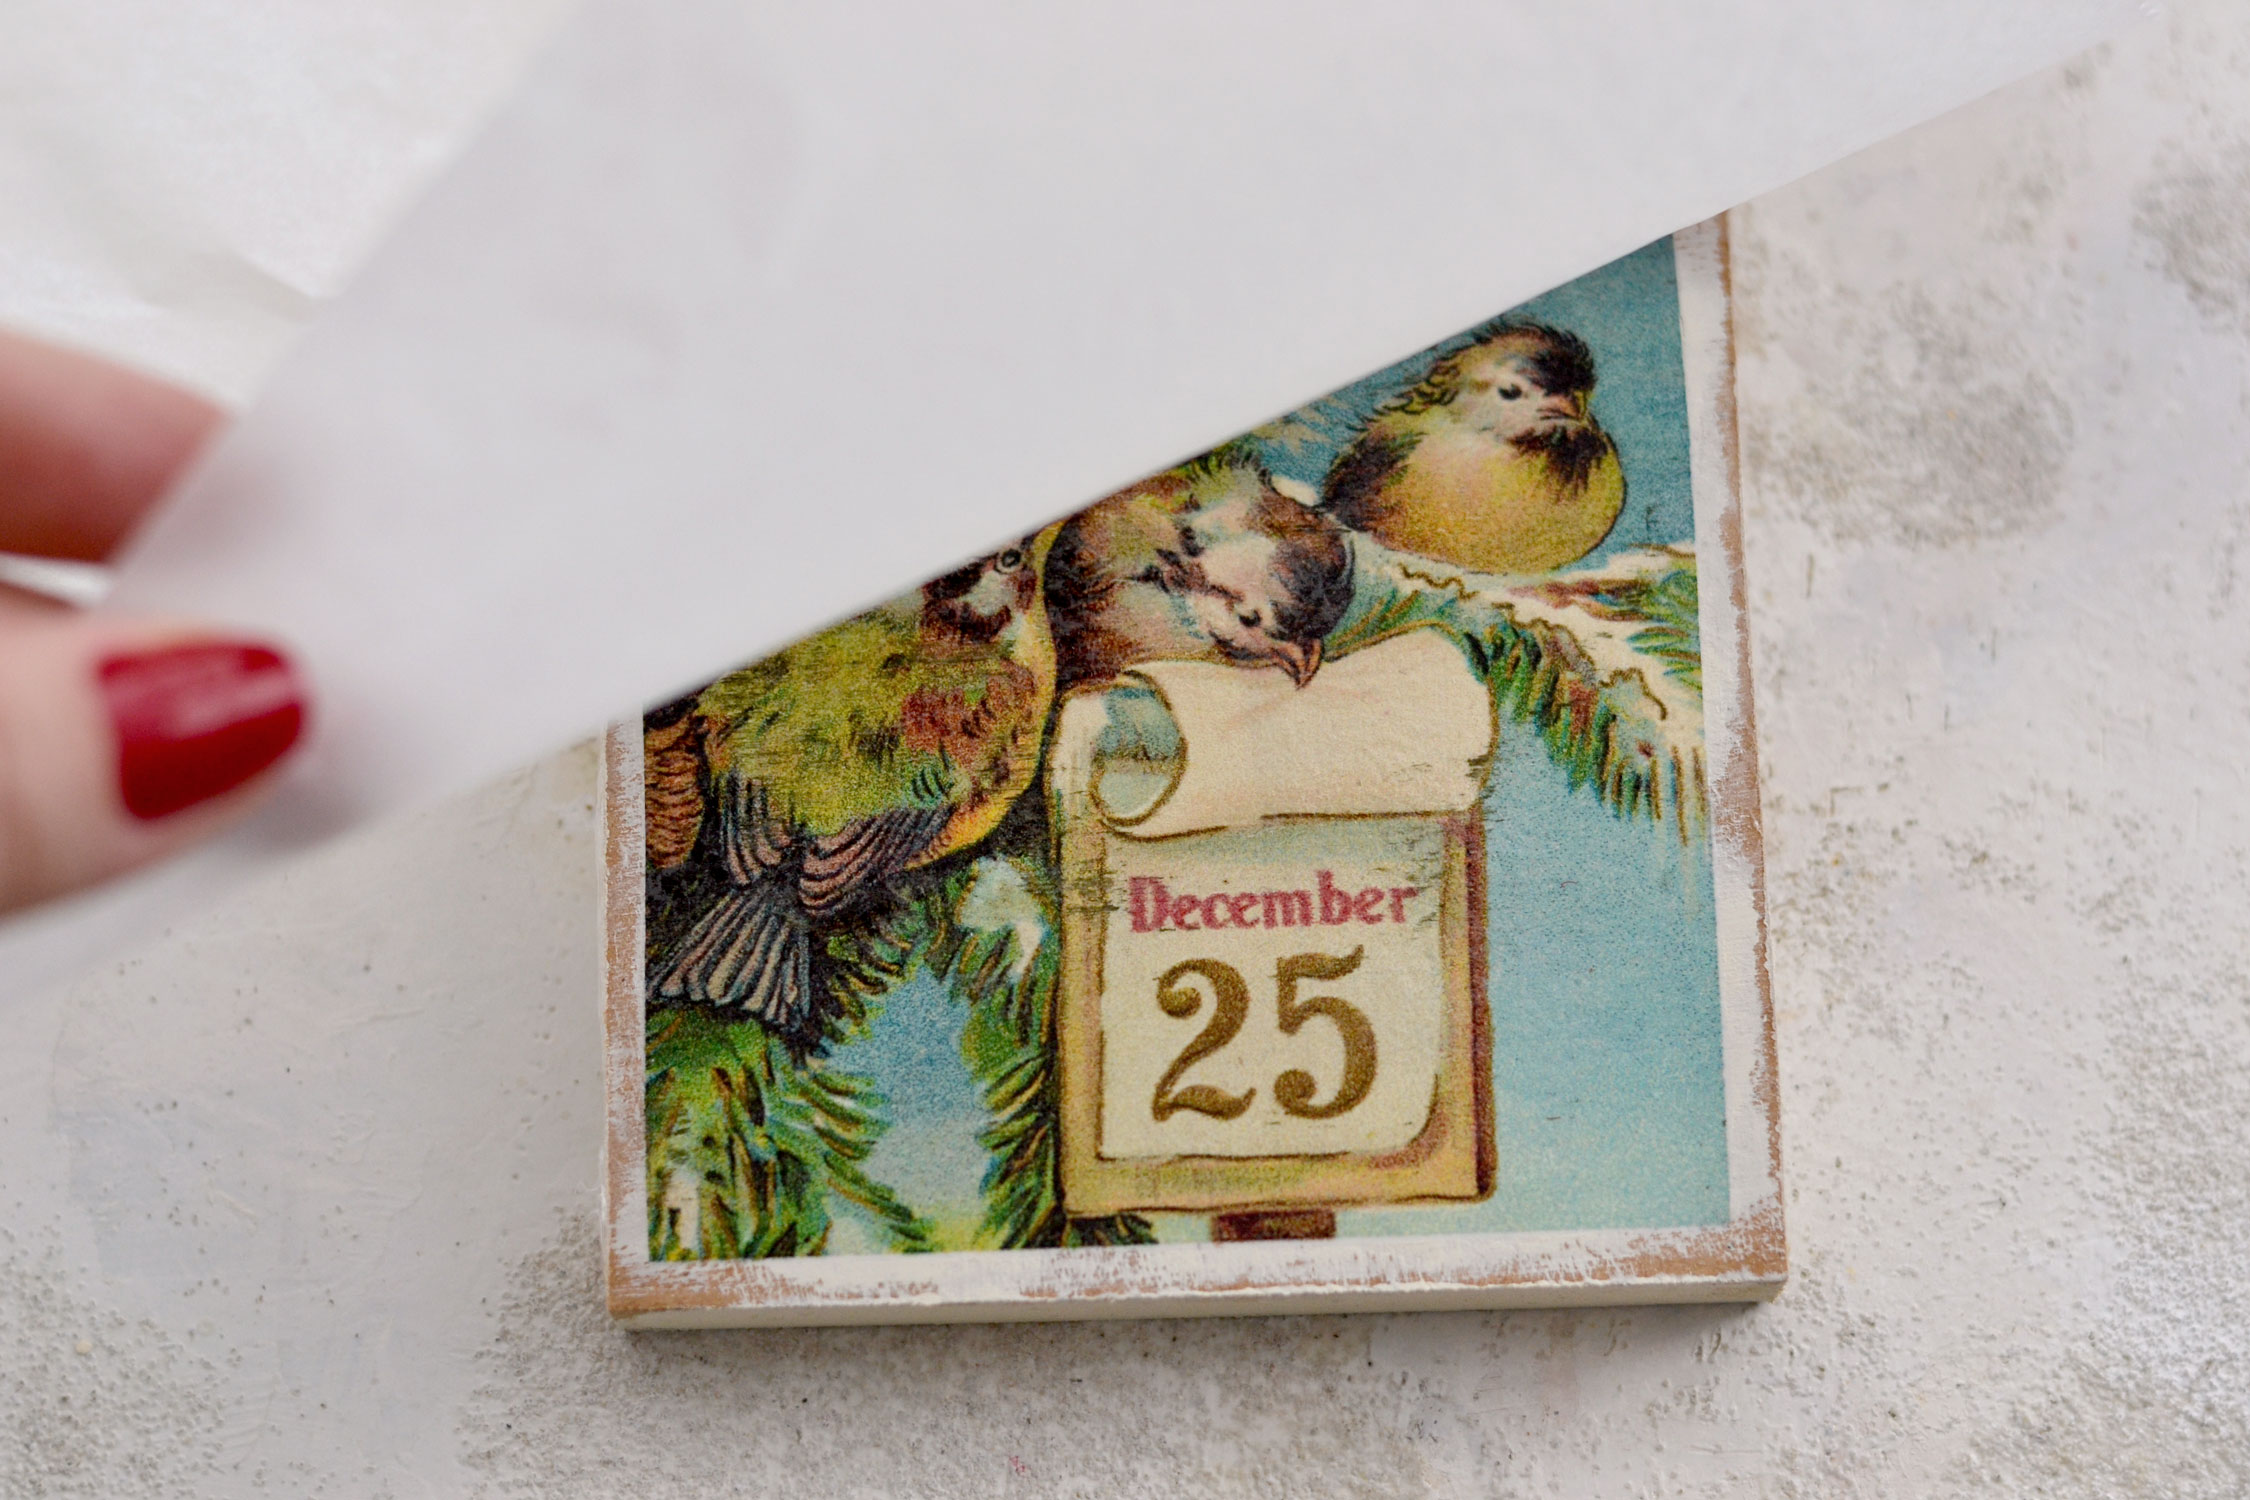
Carefully lift the paper starting from one corner and check to see how everything looks. You might need to lower the parchment over the image one more time and iron some more, just to make sure all edges are completely sealed in. Yes, we could say that the image transfer is completed when you manage to perfectly adhere the image to the coaster – check the center of the image, but also the edges, it’s important to have everything merged.
As you can see, the images are smaller than the coasters, but if you have some cling wrap that hangs over the edges after ironing everything, you can use fine grit sandpaper or even a nail file to remove it, it should come right off.
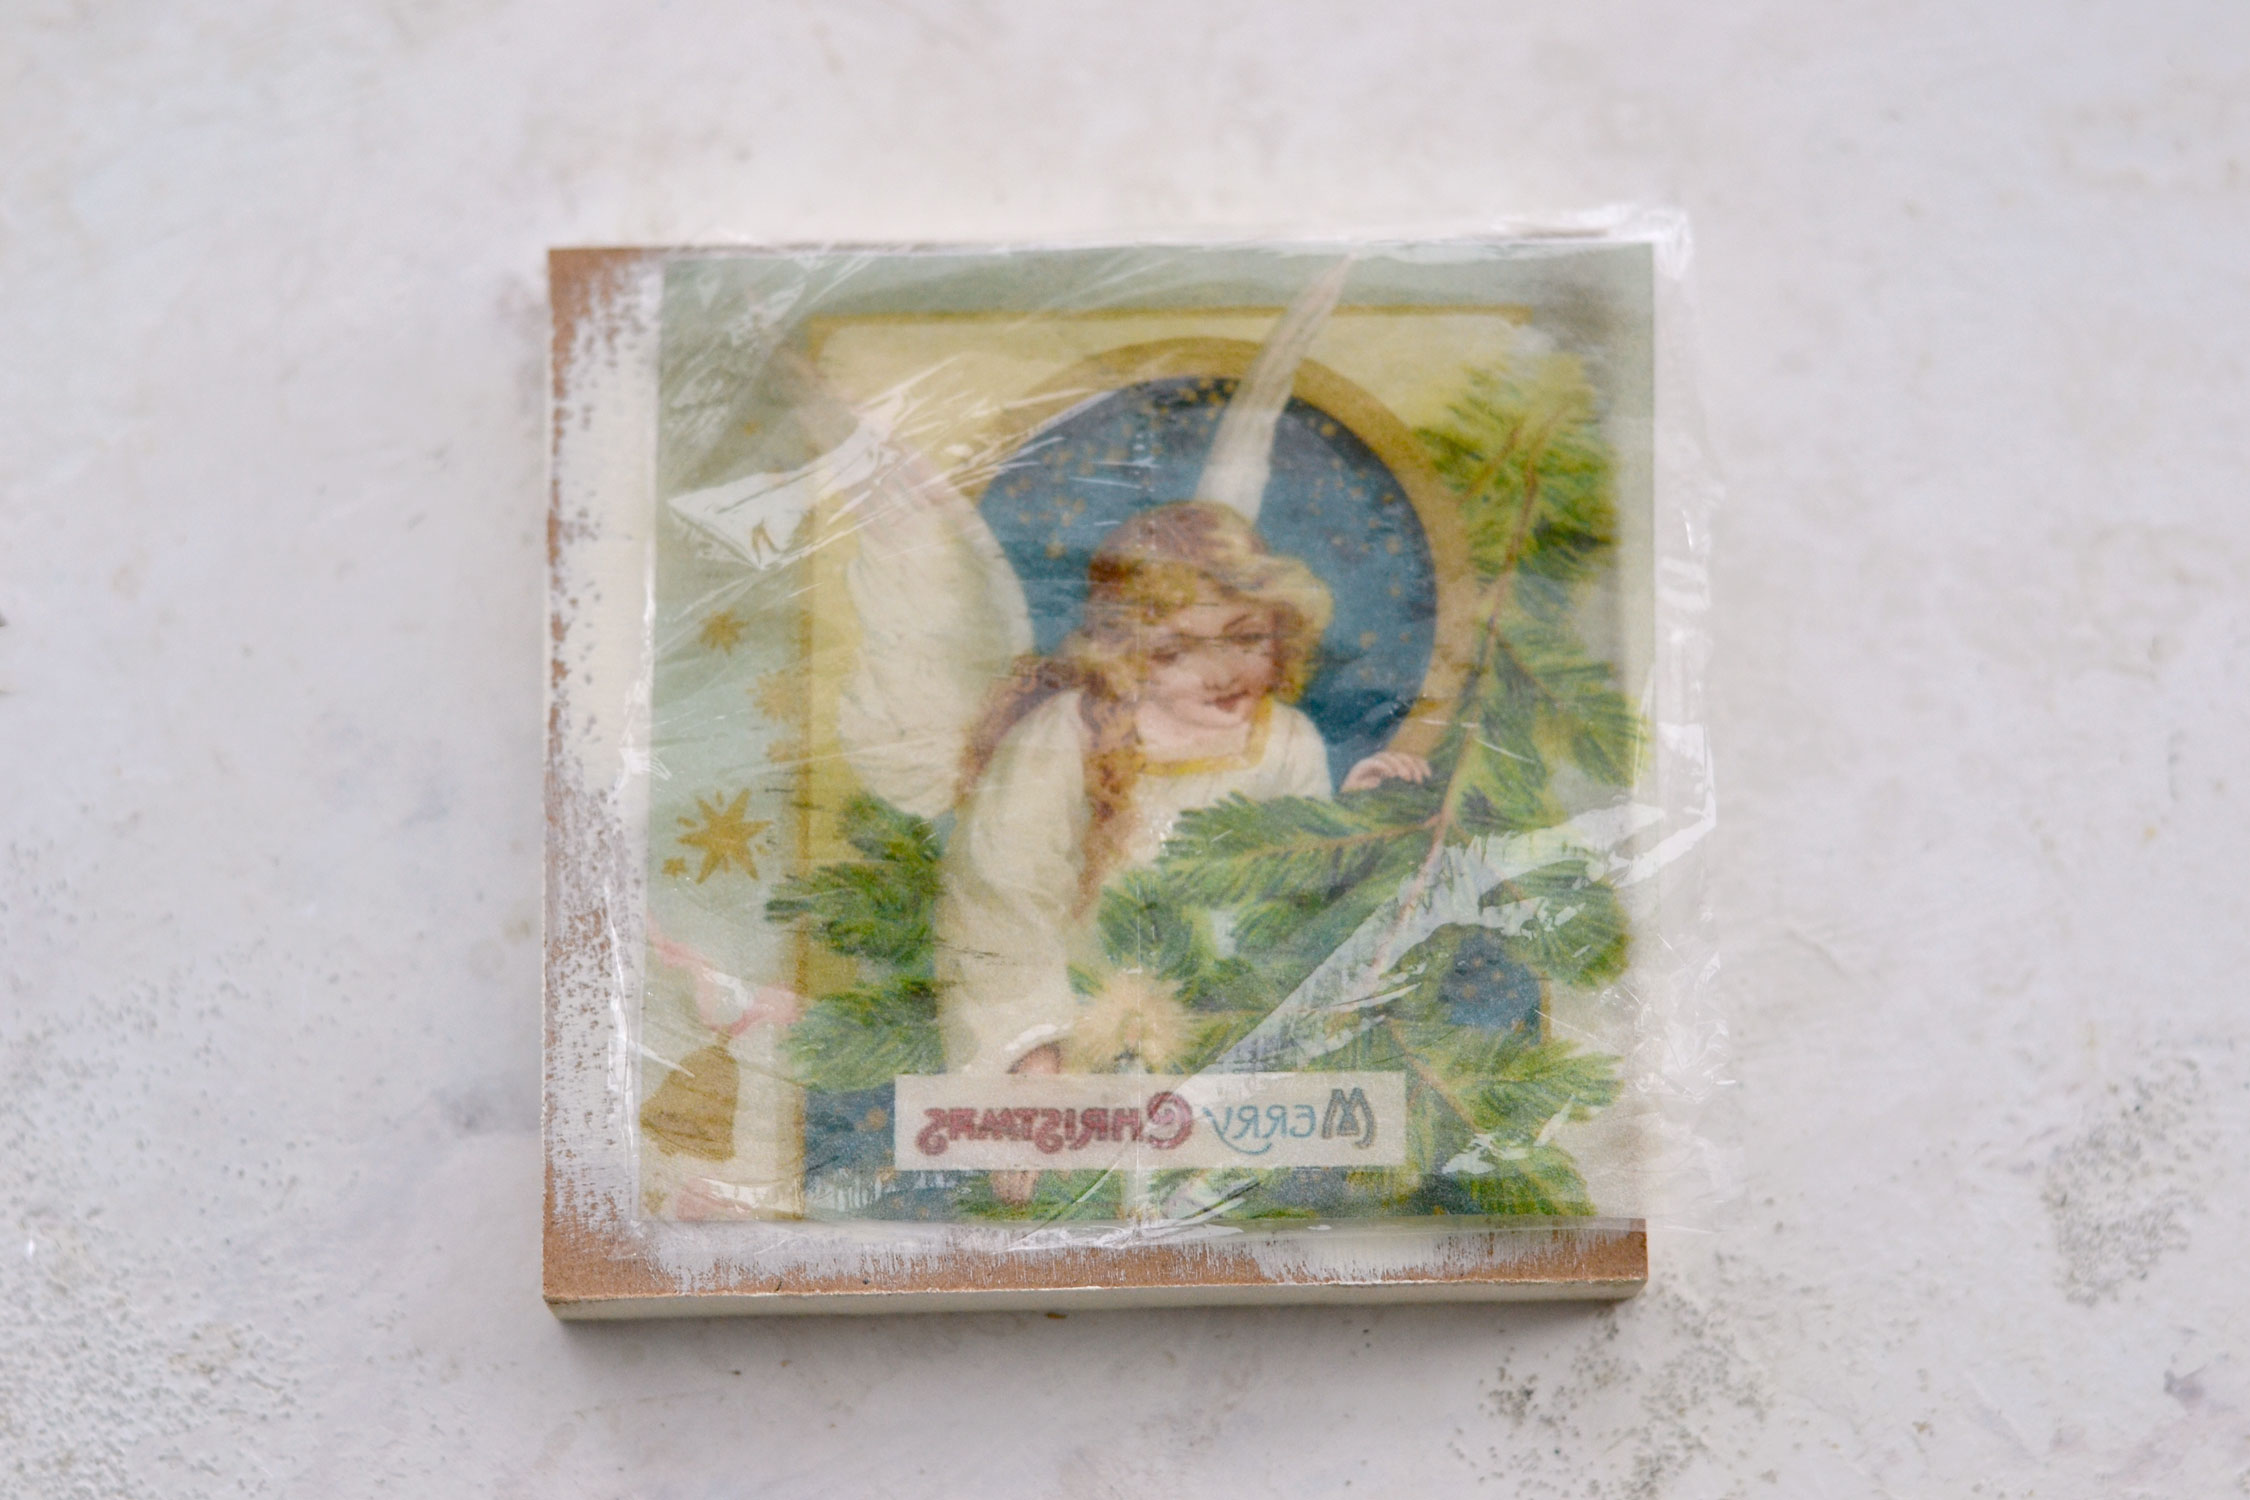
Make sure you double-check how you place your image on the coaster, the sheerness of the paper will make the image look great even from the back. I almost ironed the angel image on the wrong side here.
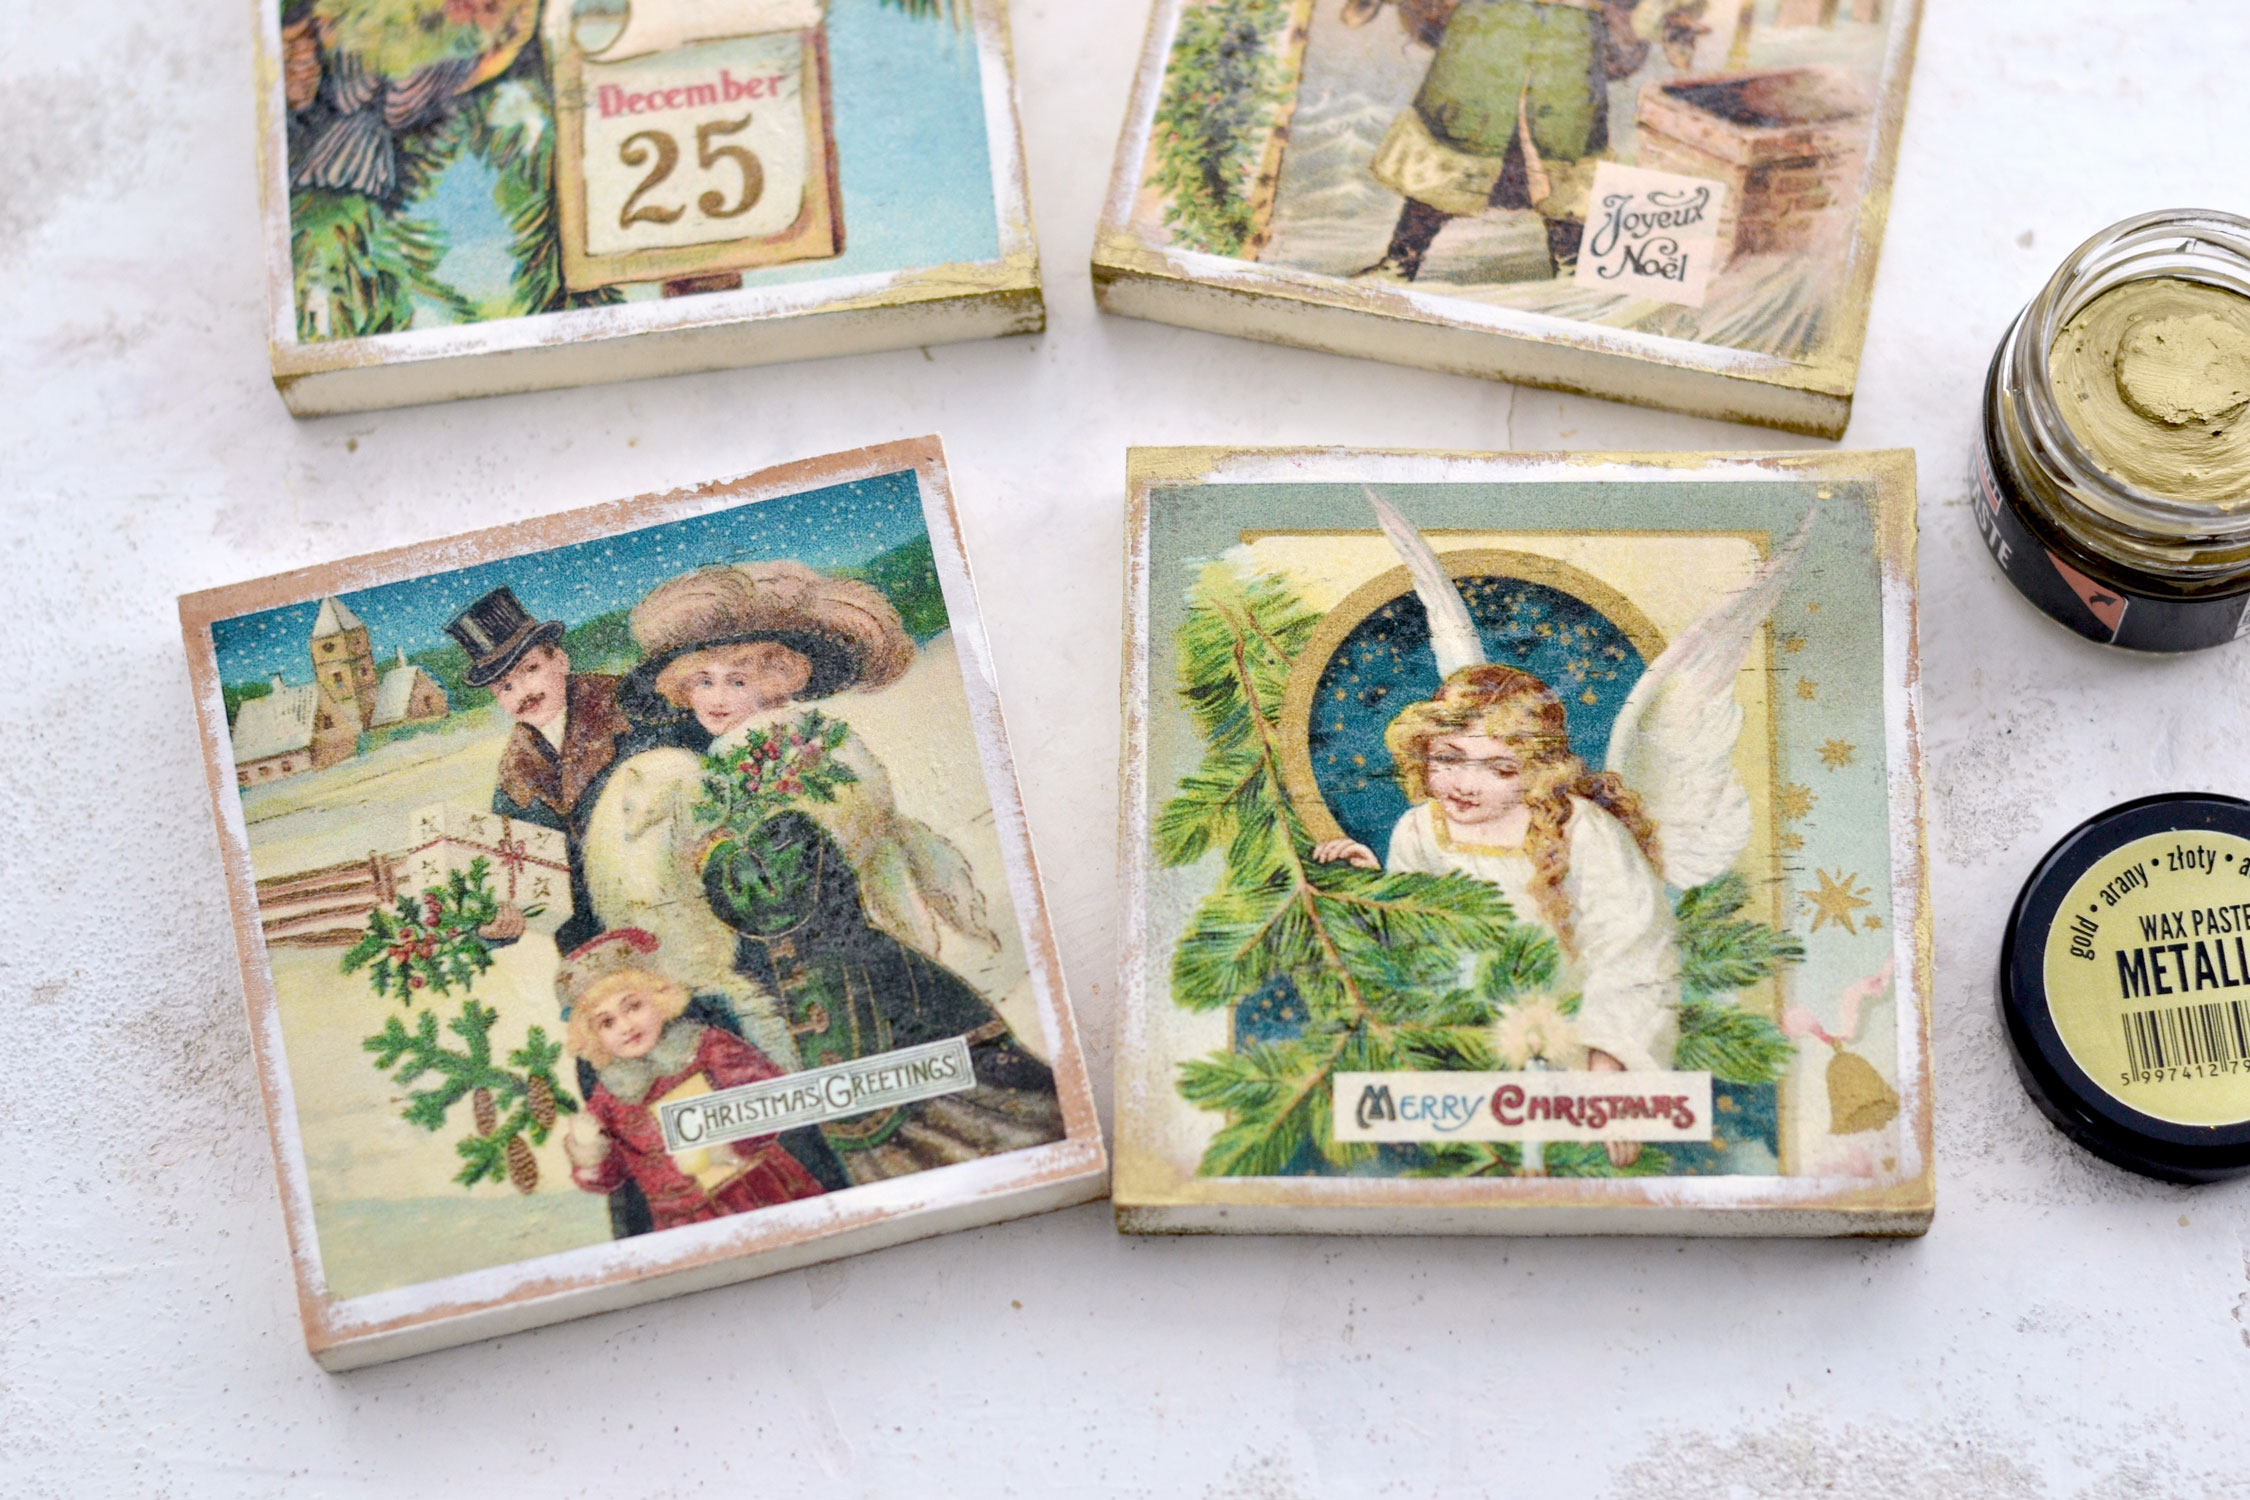
If you want, you can add a little bit of gold wax around the edges, I used my finger to add some gold here and there. In the image below I didn’t add gold wax on the coaster with the family, so you can get a side-by-side comparison. If you like the coasters better without any wax, you can skip this step and use them as they are.
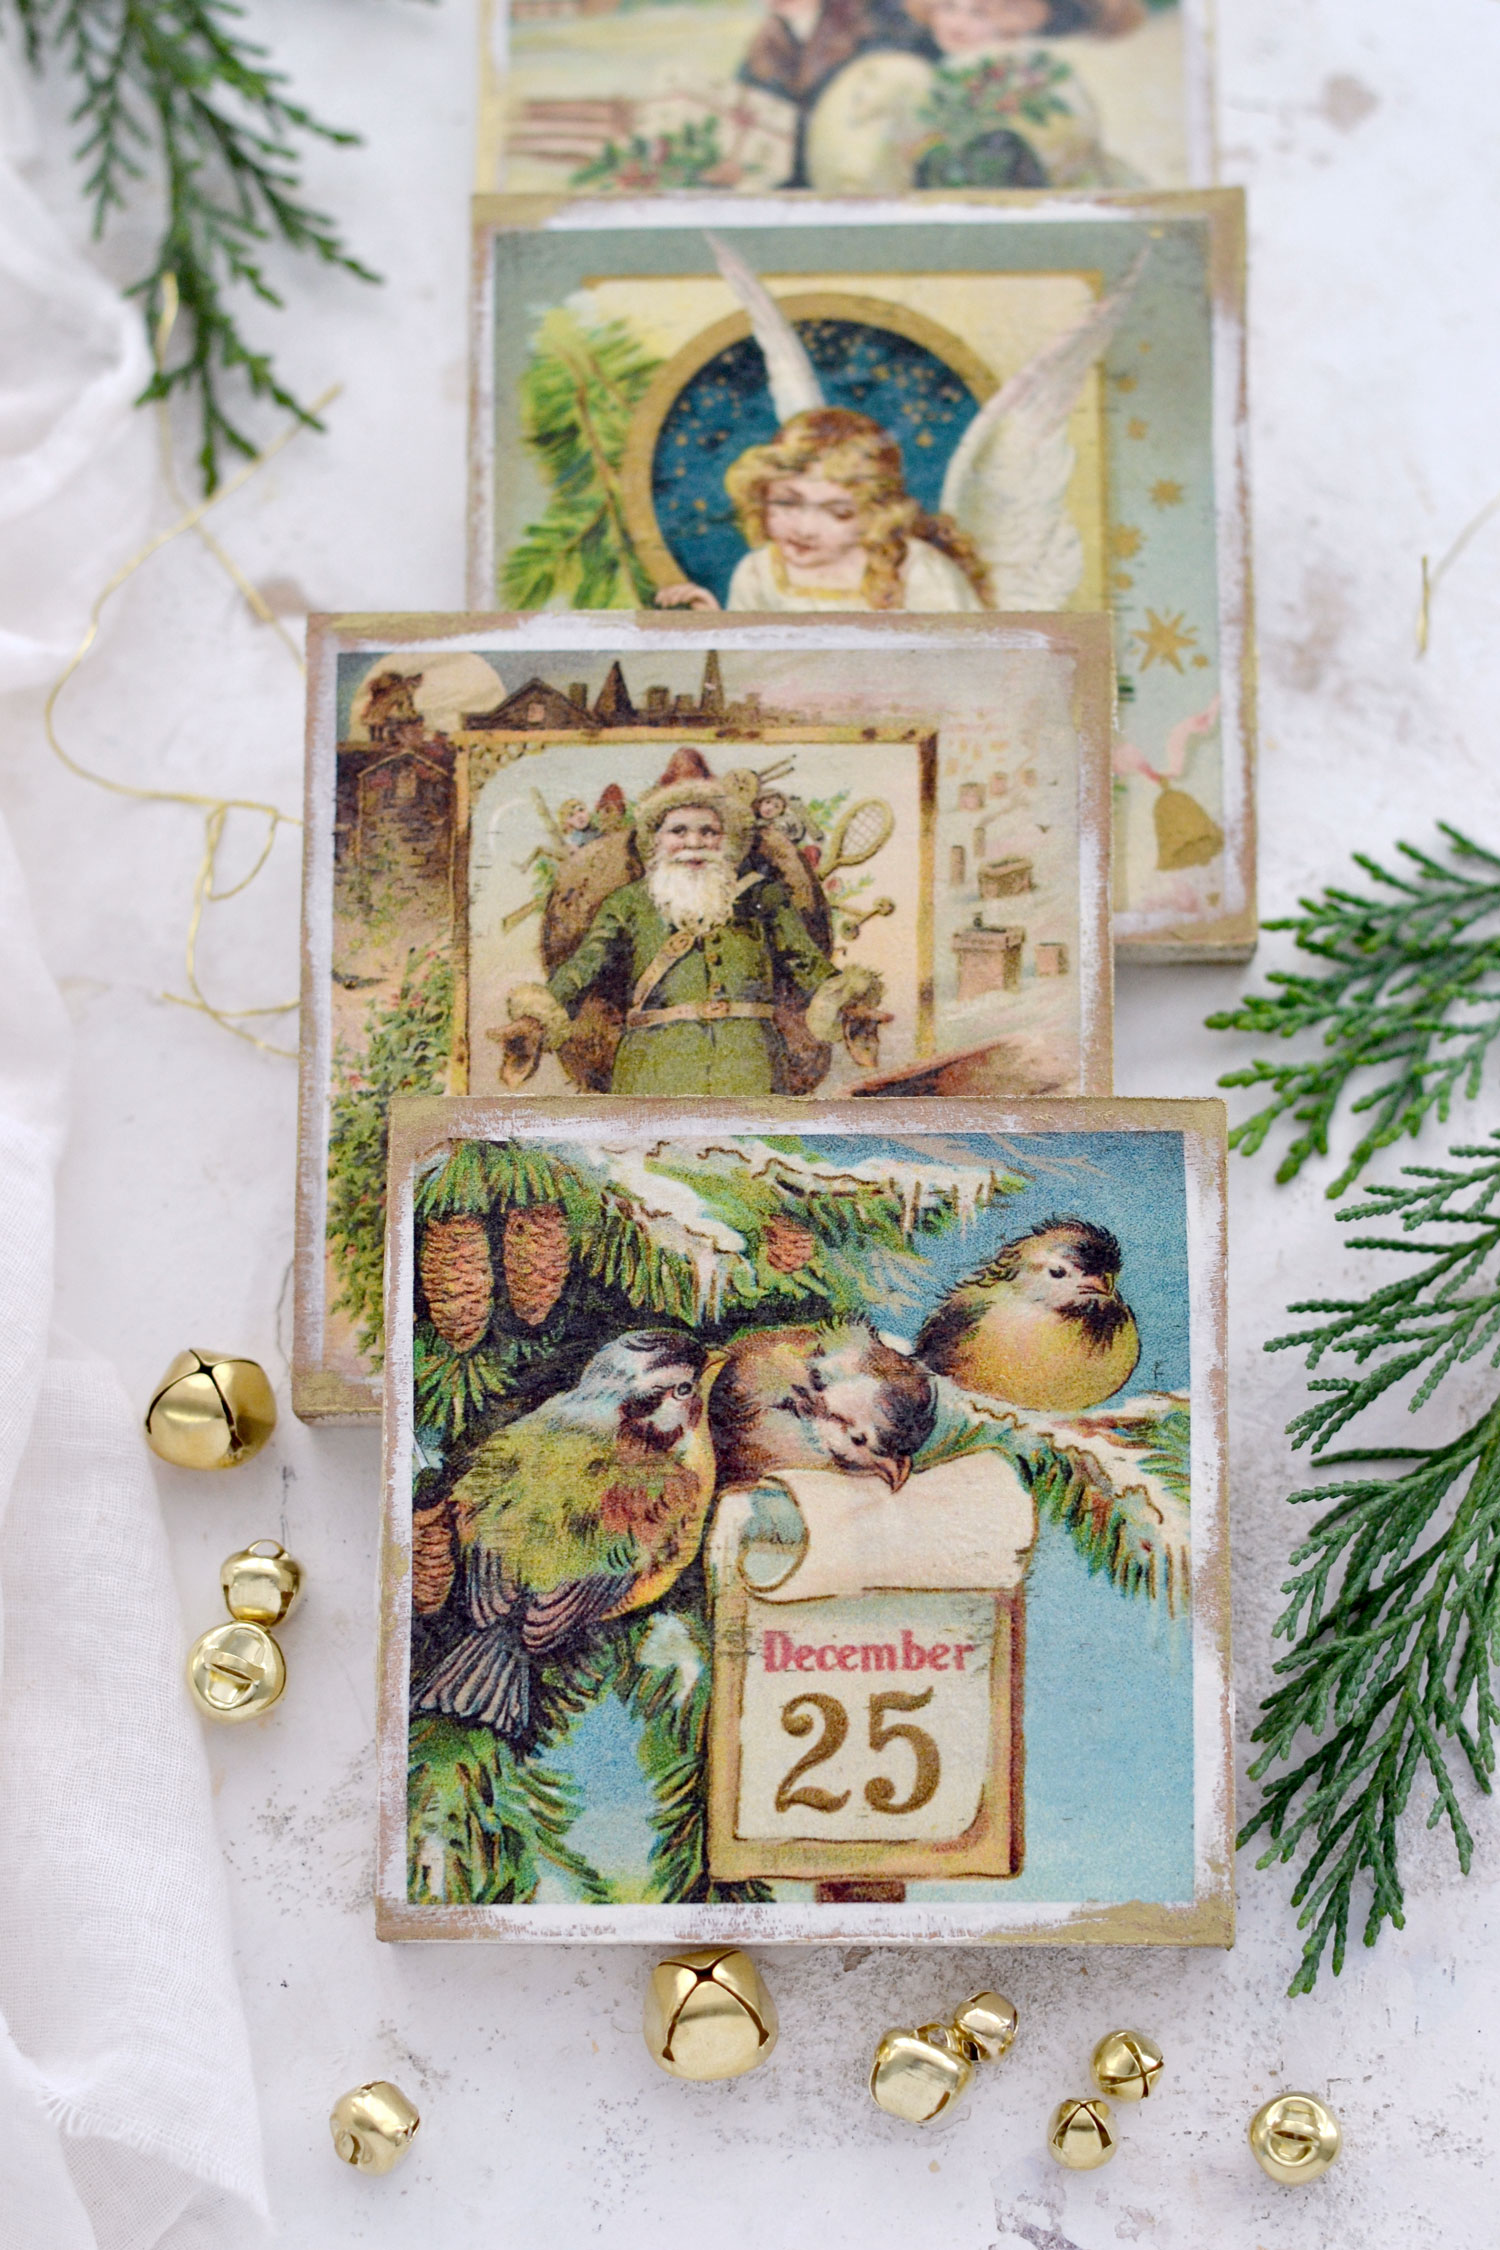
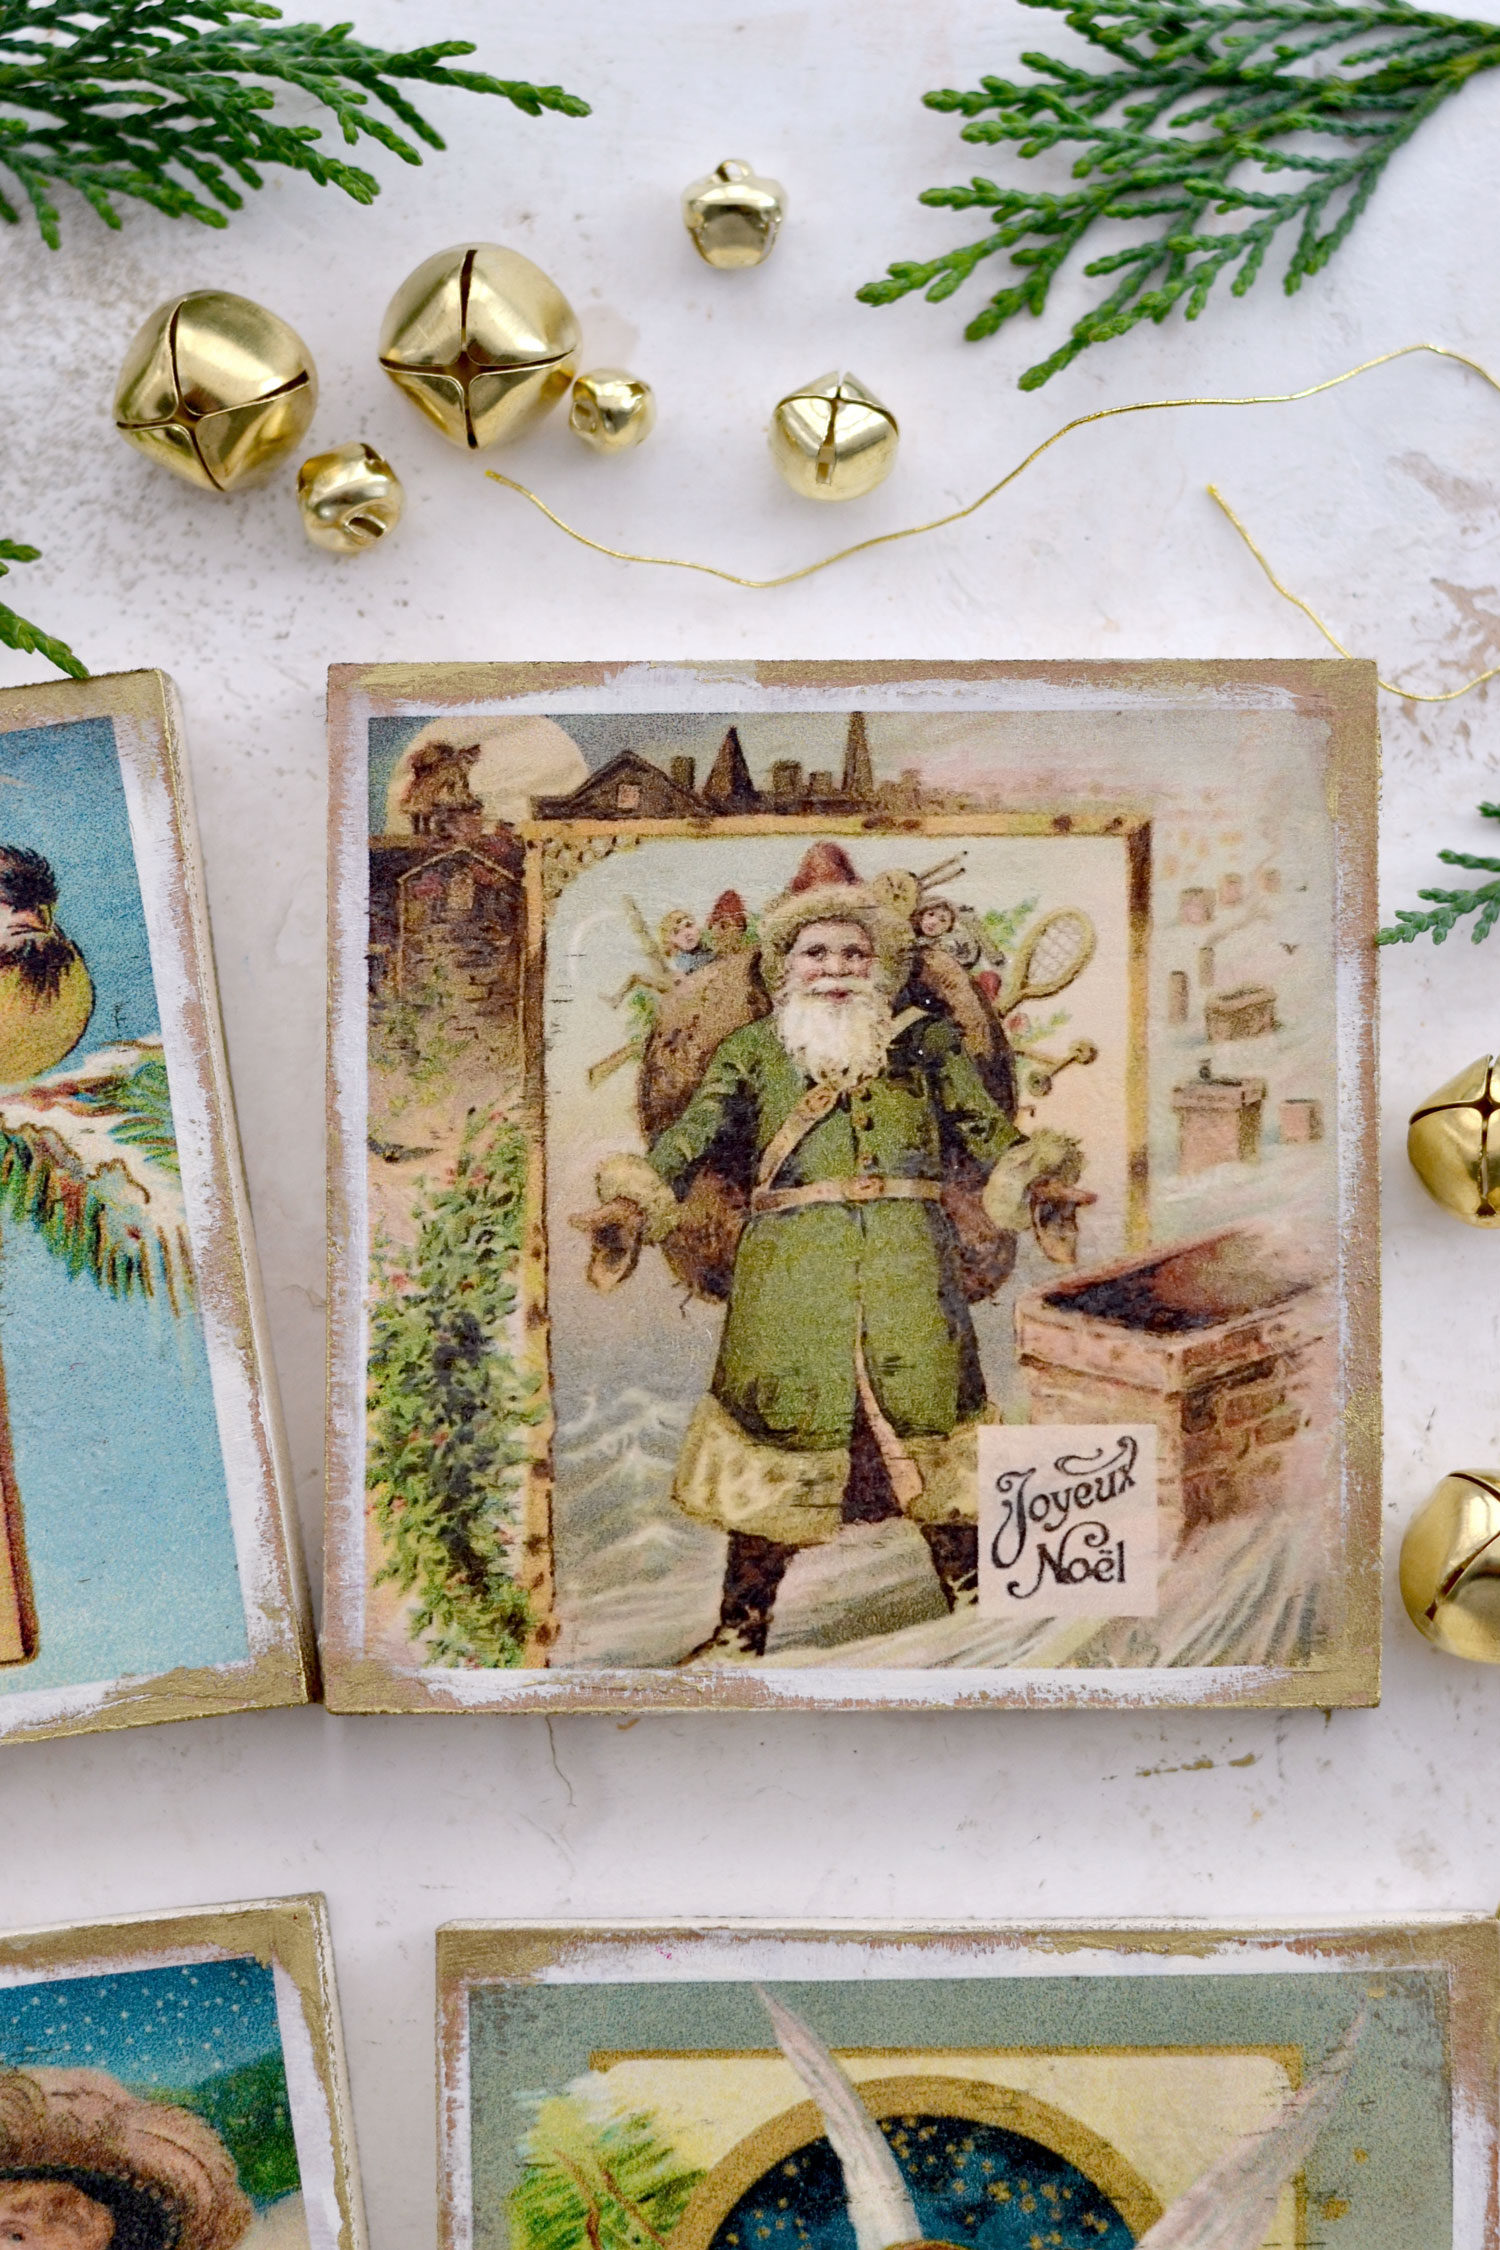
Our gorgeous DIY Vintage Christmas Coasters are now ready, I’m loving the uniqueness of each and every one of these beauties!
This type of transfer is quite intriguing because you would expect the finished pieces to be quite shiny, as cling wrap is. But in fact, after ironing everything you will get the most amazing matte finish that not only looks great but also feels great to the touch.
If you want to perfectly seal everything in, you can use a matte finish spray on top. Just make sure the edges of the image and the edges of the cling wrap are not visible when you do that, they should be merged in with the coasters. I noticed after applying the gold wax that some of the edges were becoming more visible, but I tried to peel them off and they didn’t come off, they were somehow just noticeable here and there.
I also noticed that the angel image started to wrinkle a little bit in some areas after a while, if that is the case with your paper, you might need to iron it one more time to get a better adherence.
The results might vary depending on the type of tissue paper, your printer and the acrylic paint that you used, so it would be best to make a test on a scarp piece before applying it to your coasters. It’s all about experimenting with this type of image transfer, but the final results are absolutely amazing, so you’ll need to see what works best for you.
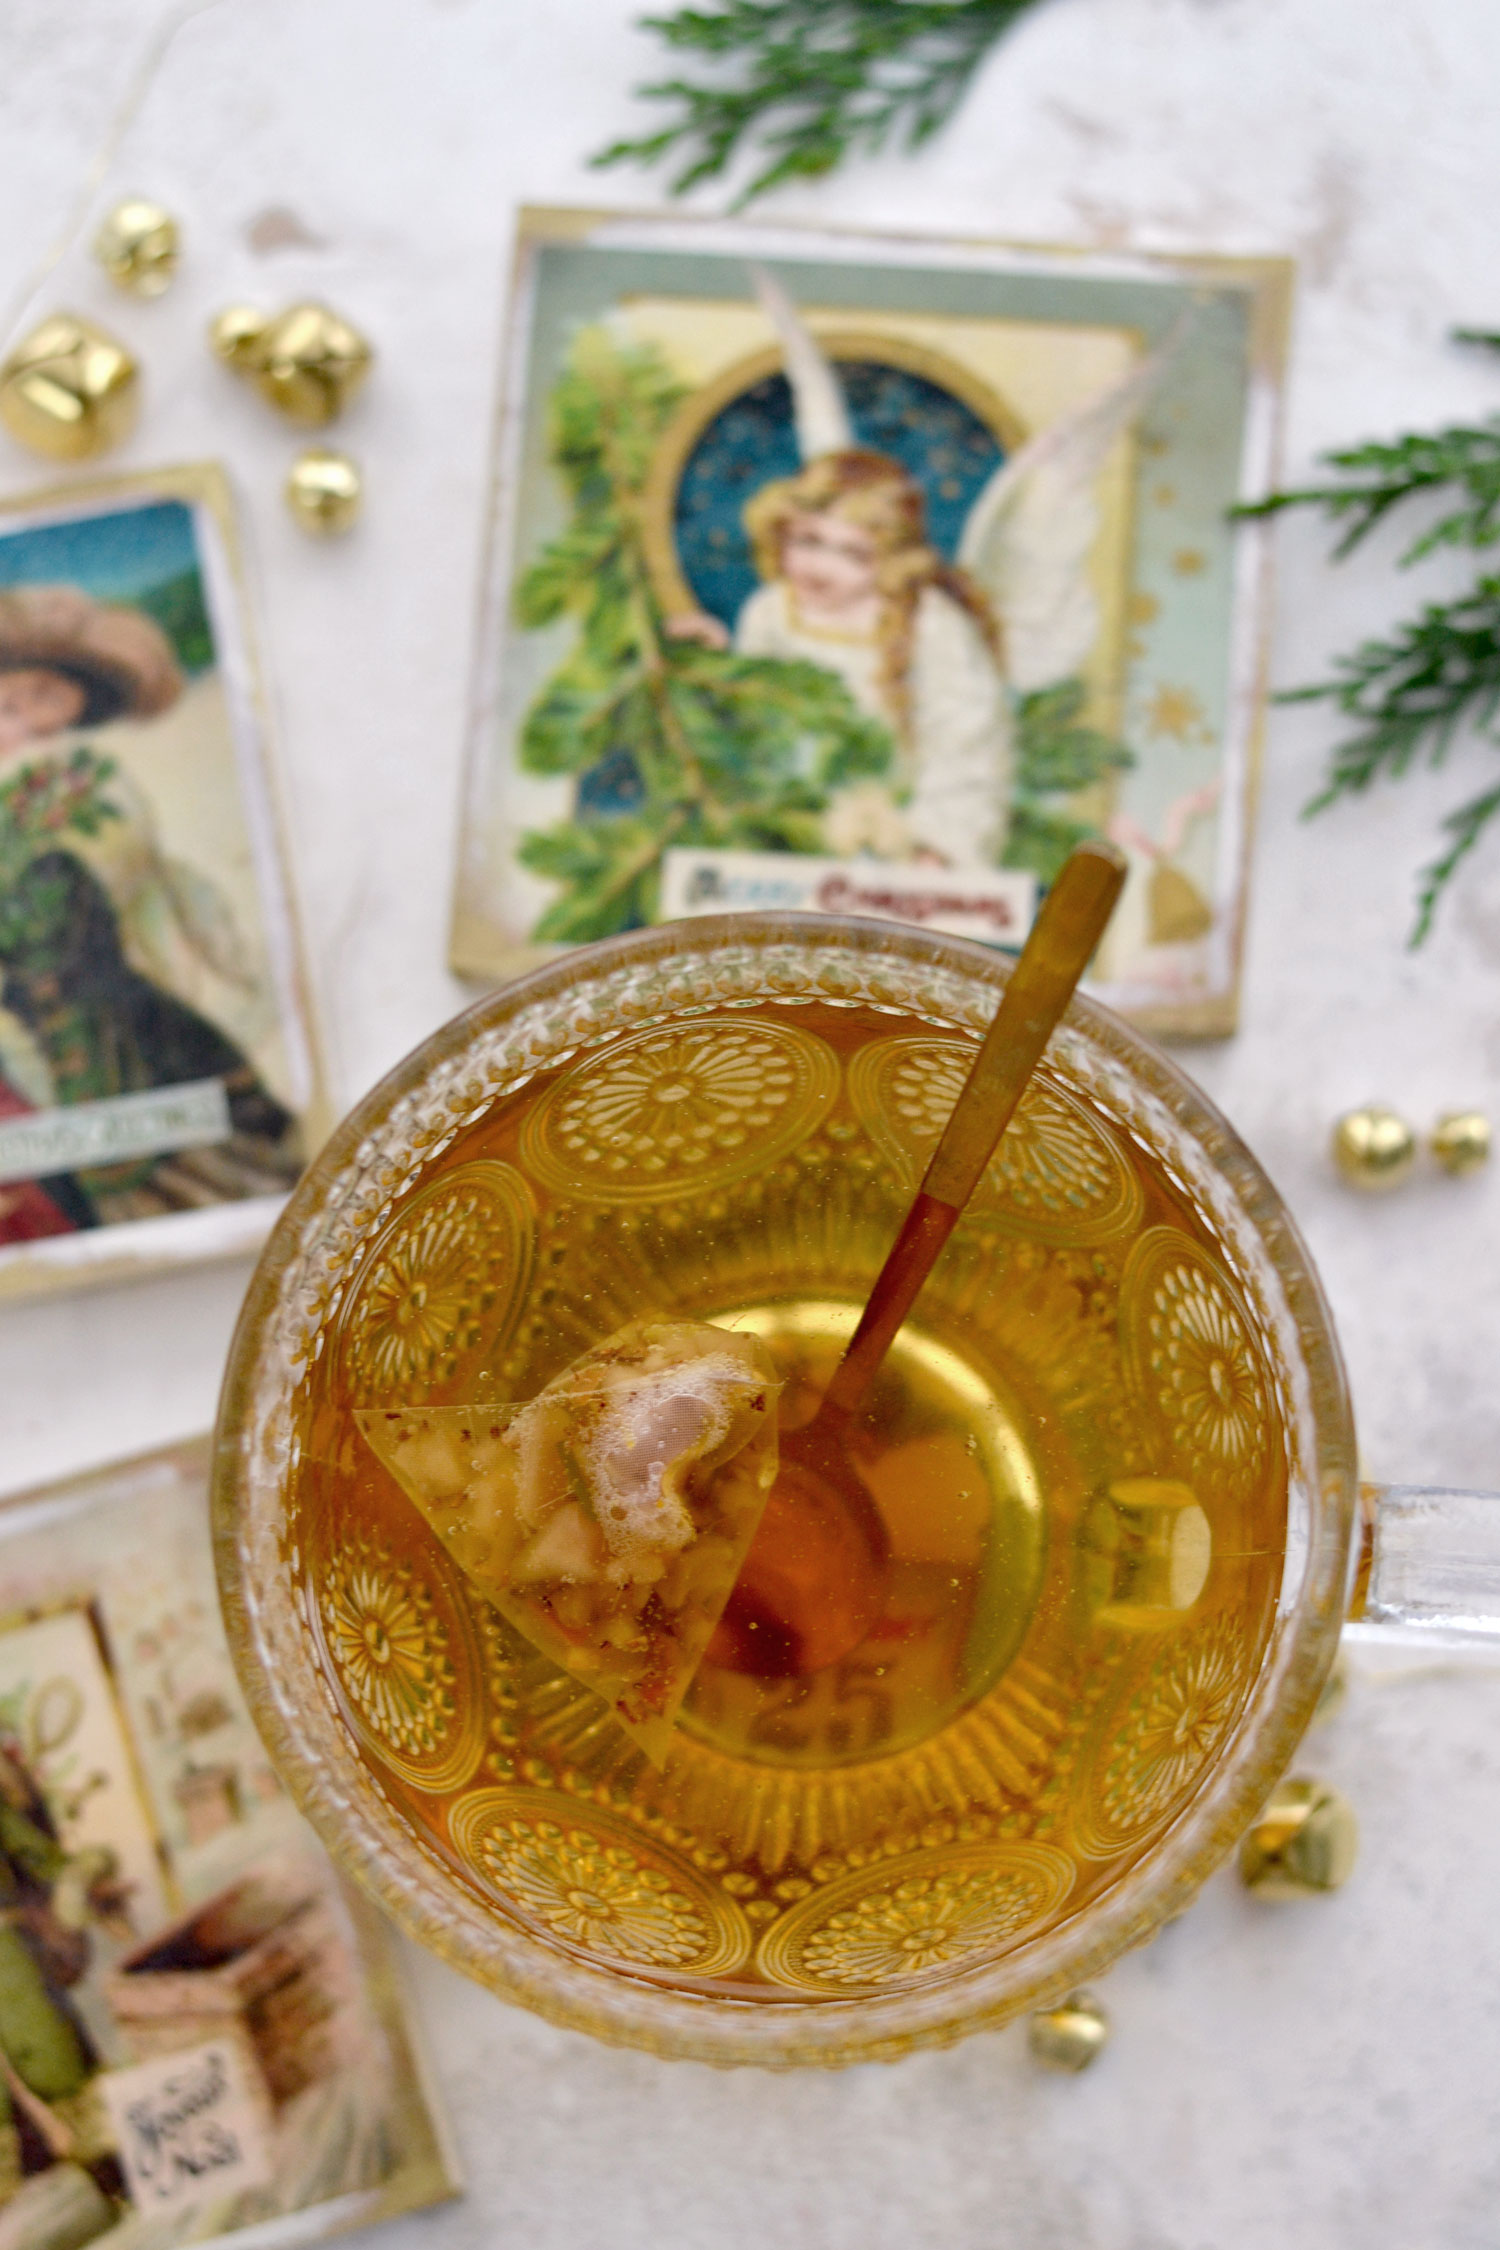
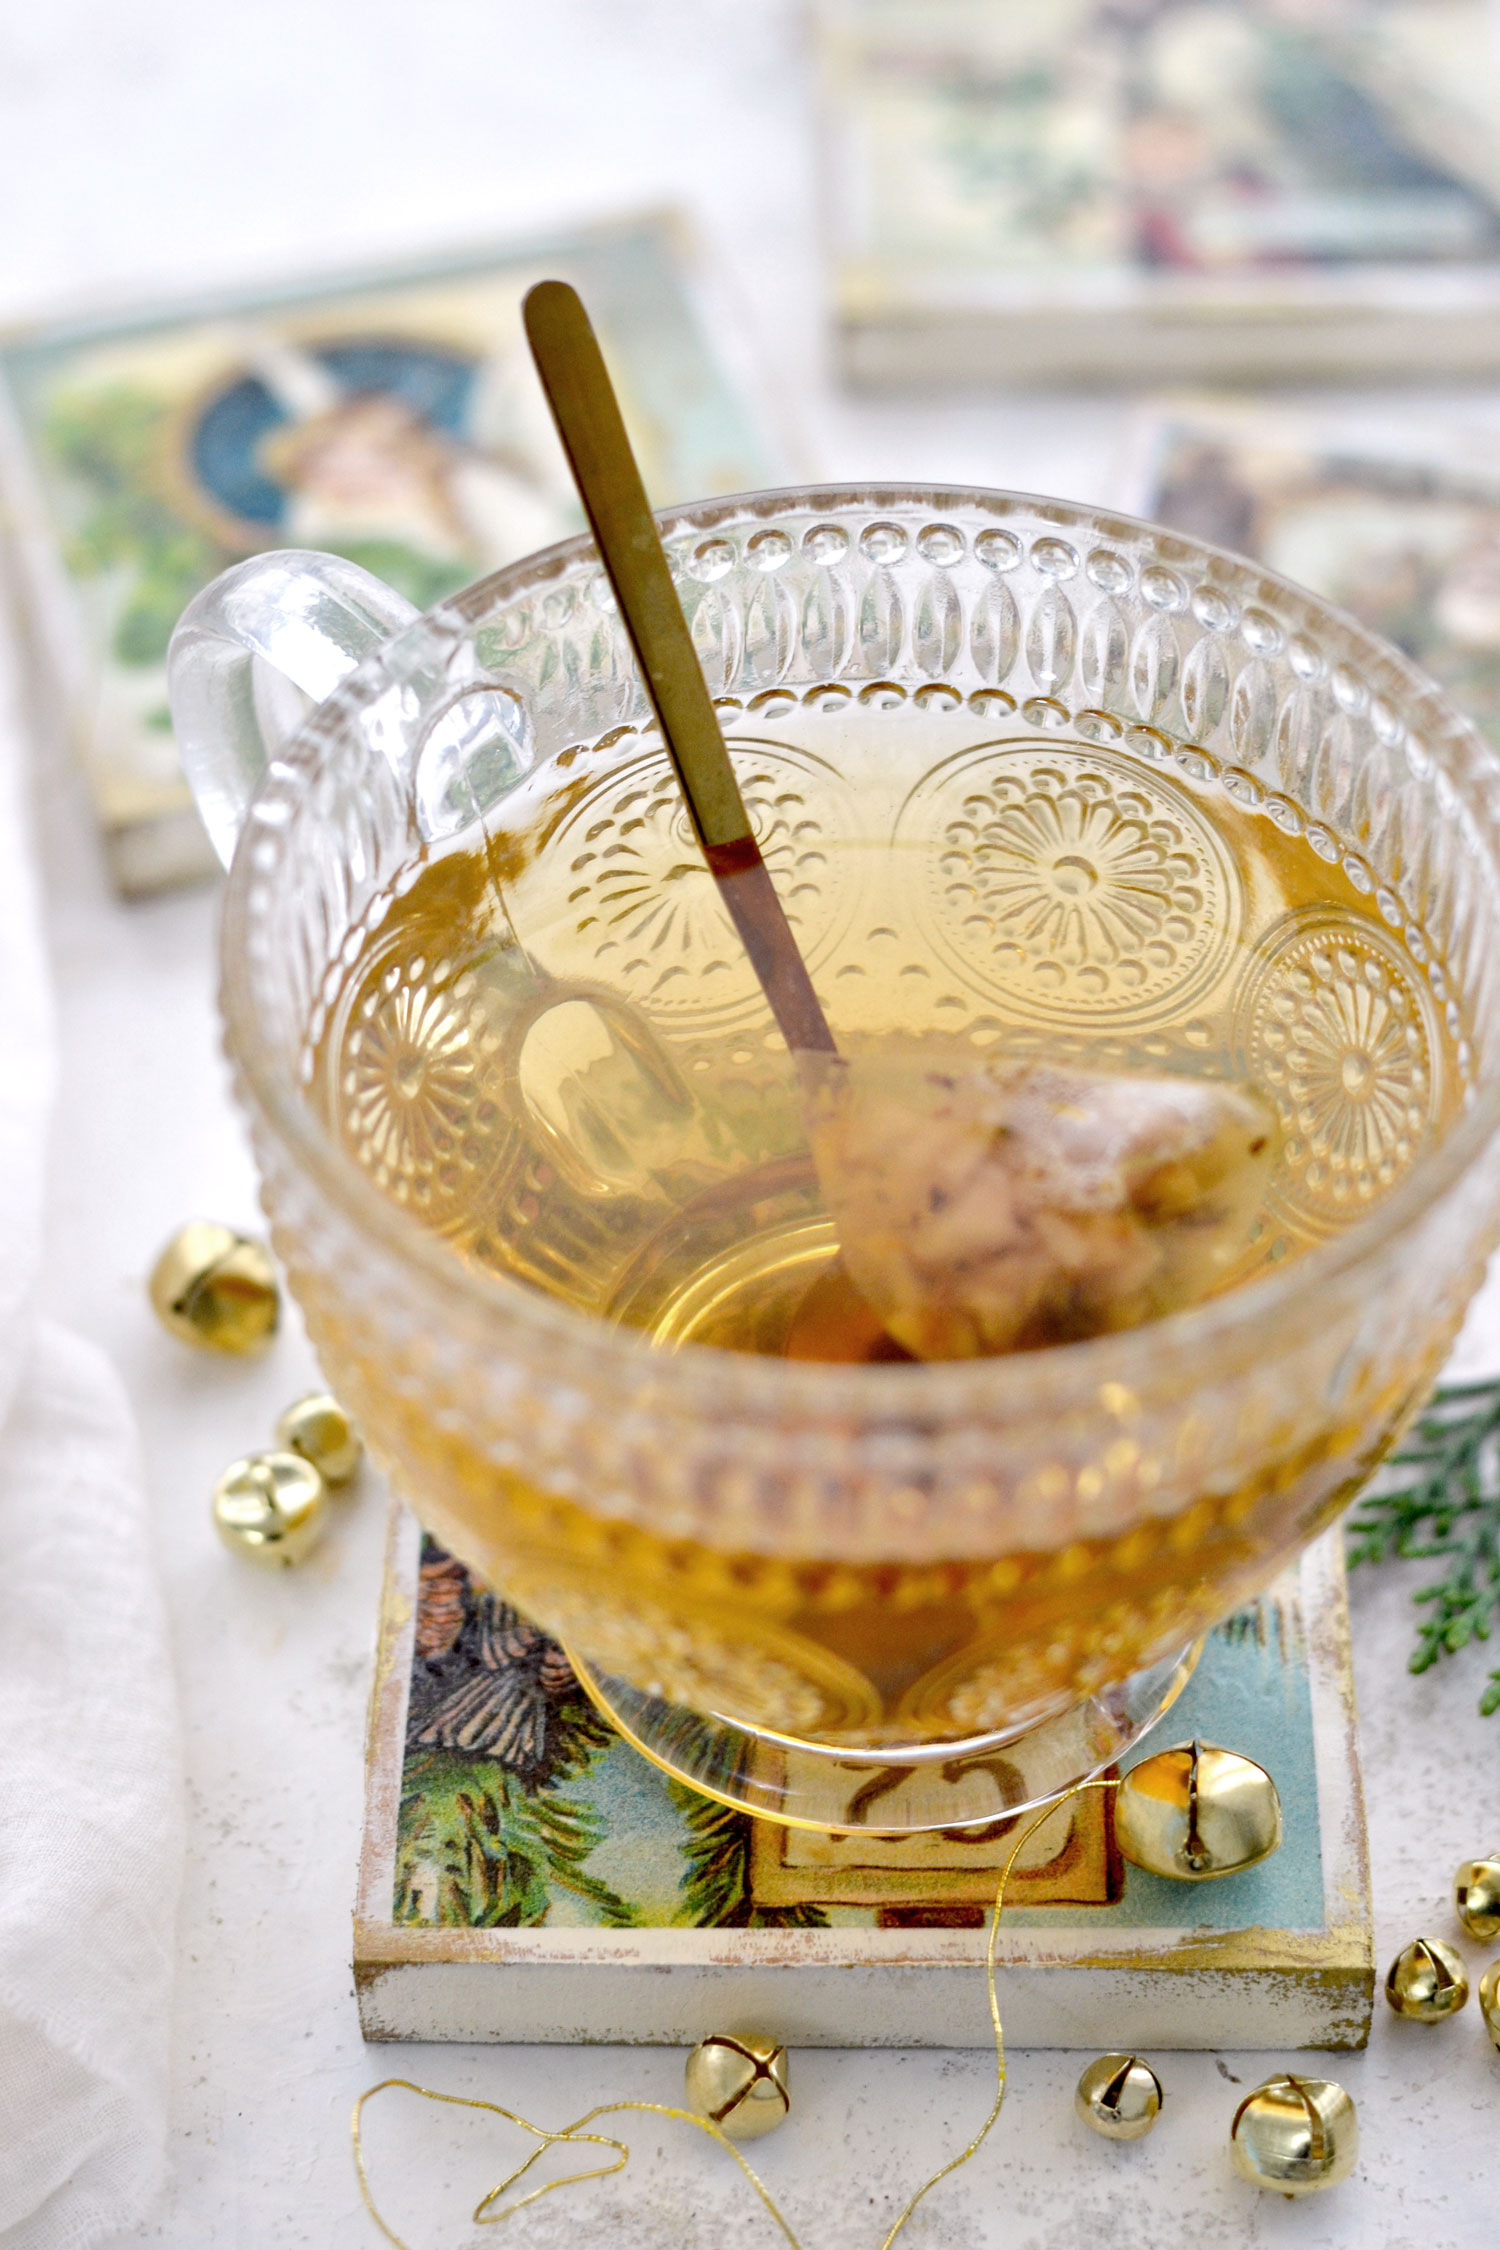
And then you can use your beautiful Christmas coasters with pretty ceramic or glass mugs, I have recently found this lovely glass set that has a gorgeous vintage pattern in a shop around my home that I absolutely love! Sip your favorite coffee or tea while admiring these beauties, this rooibos tea with pineapple, peach and calendula rapidly became my favorite.
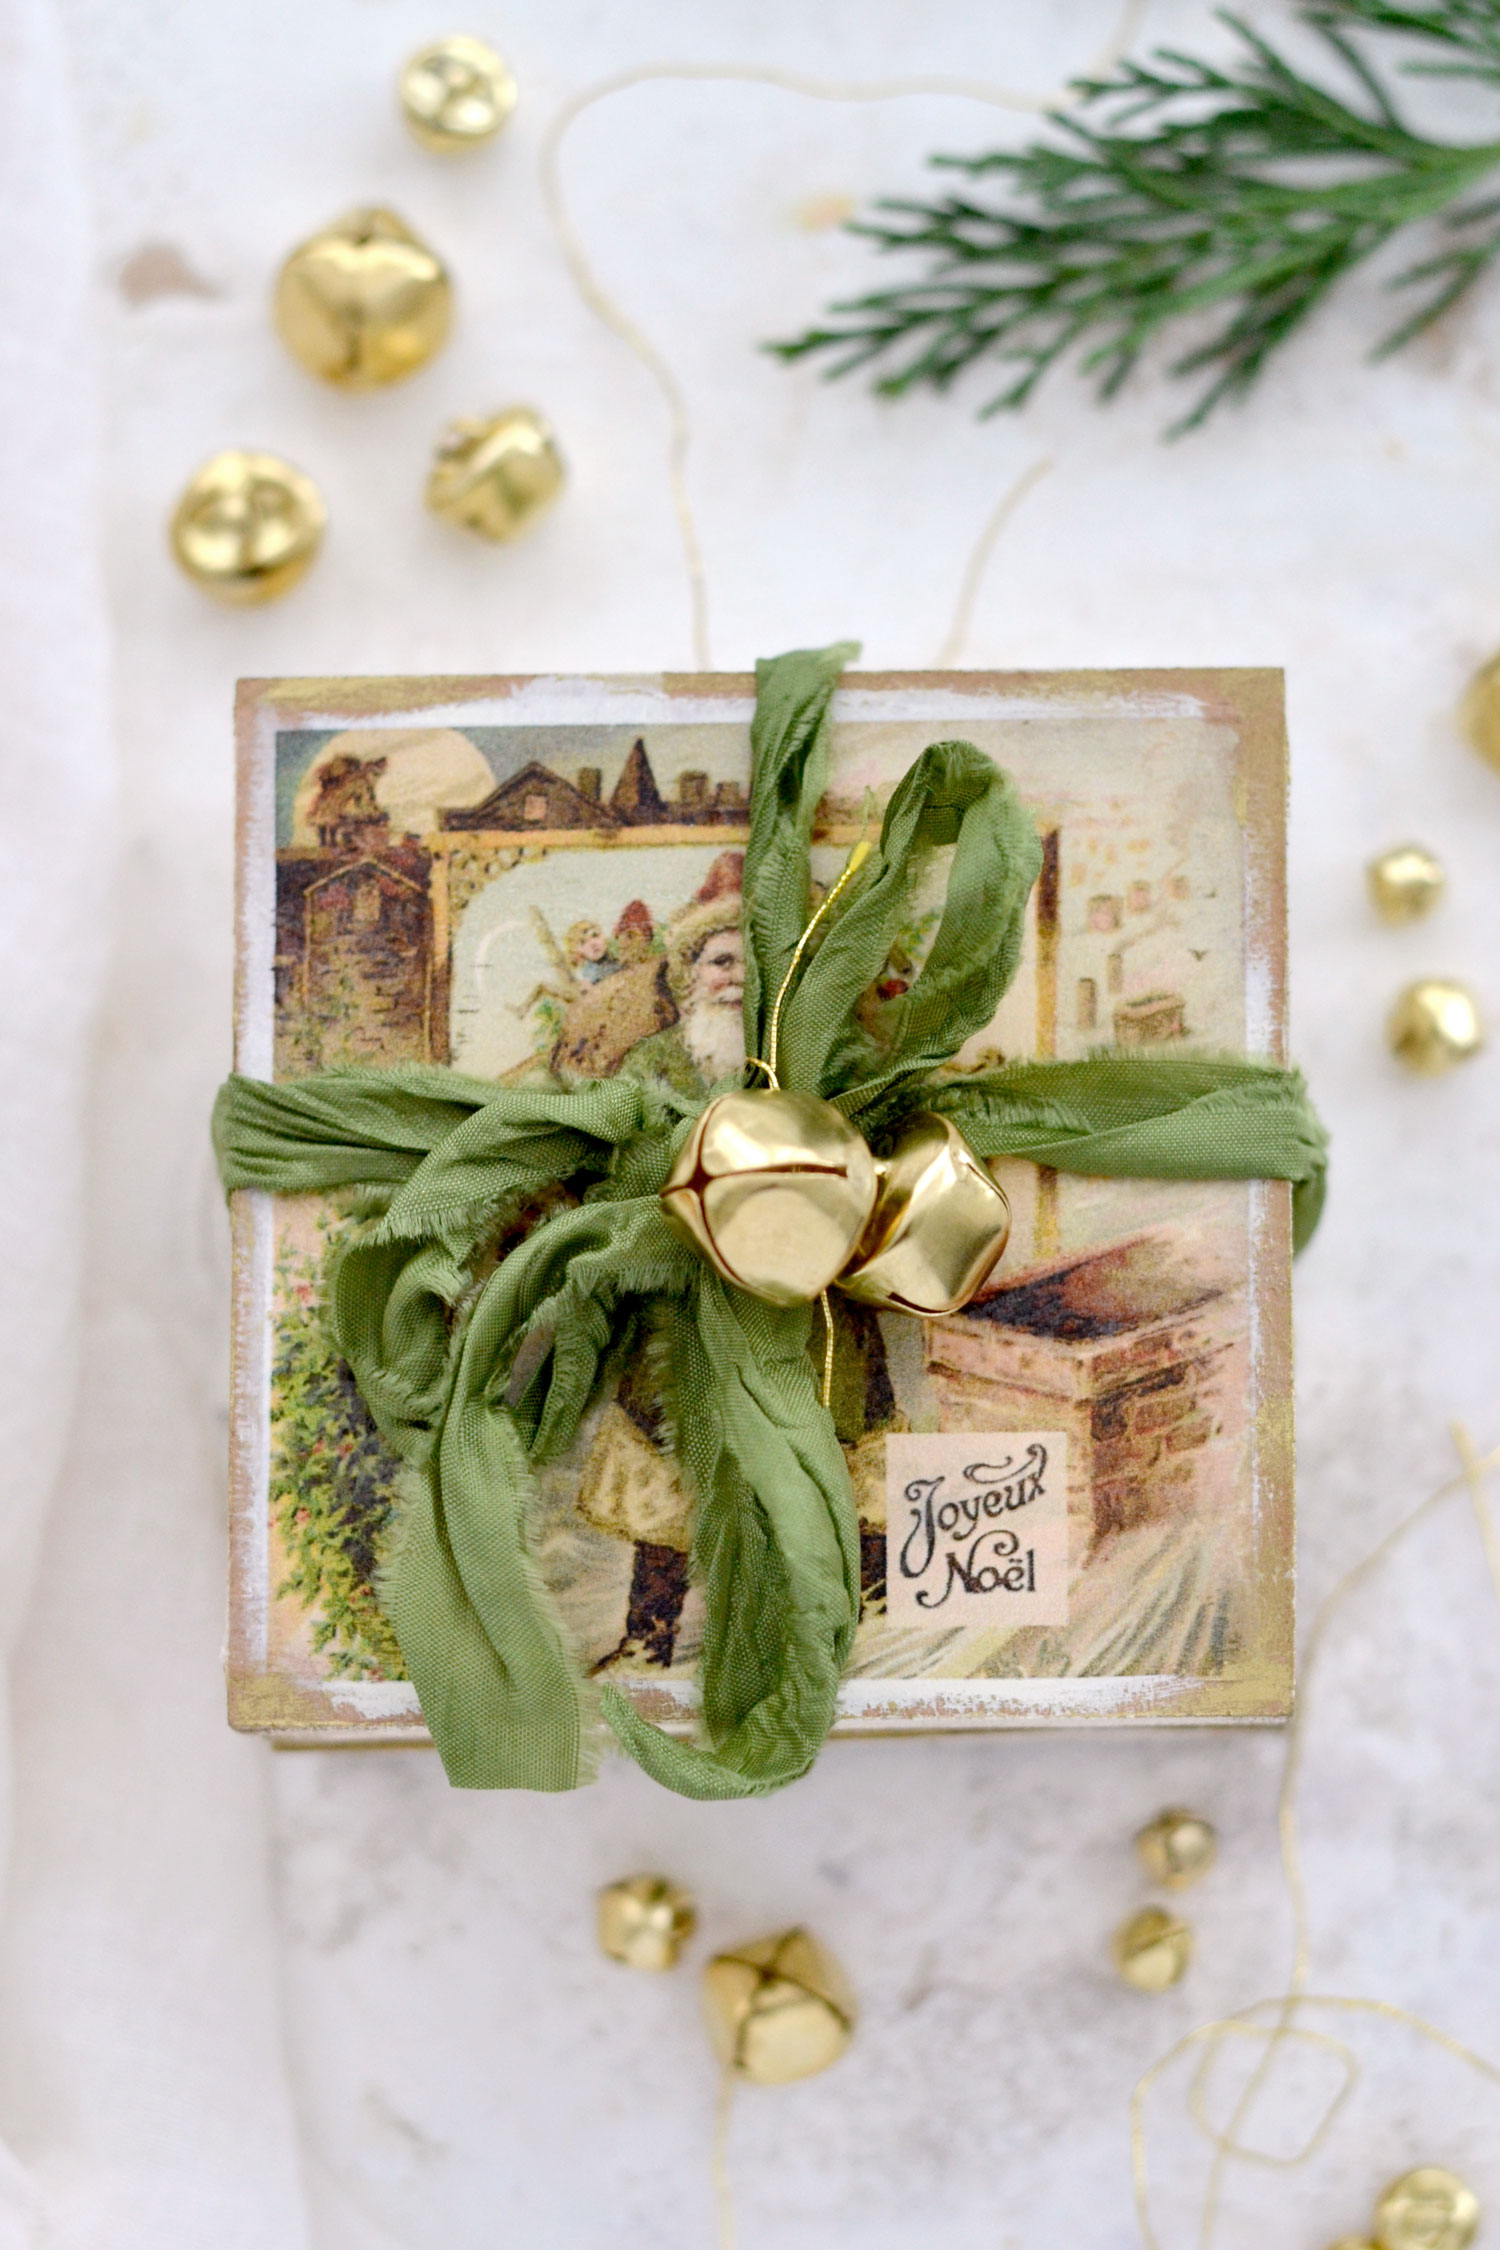
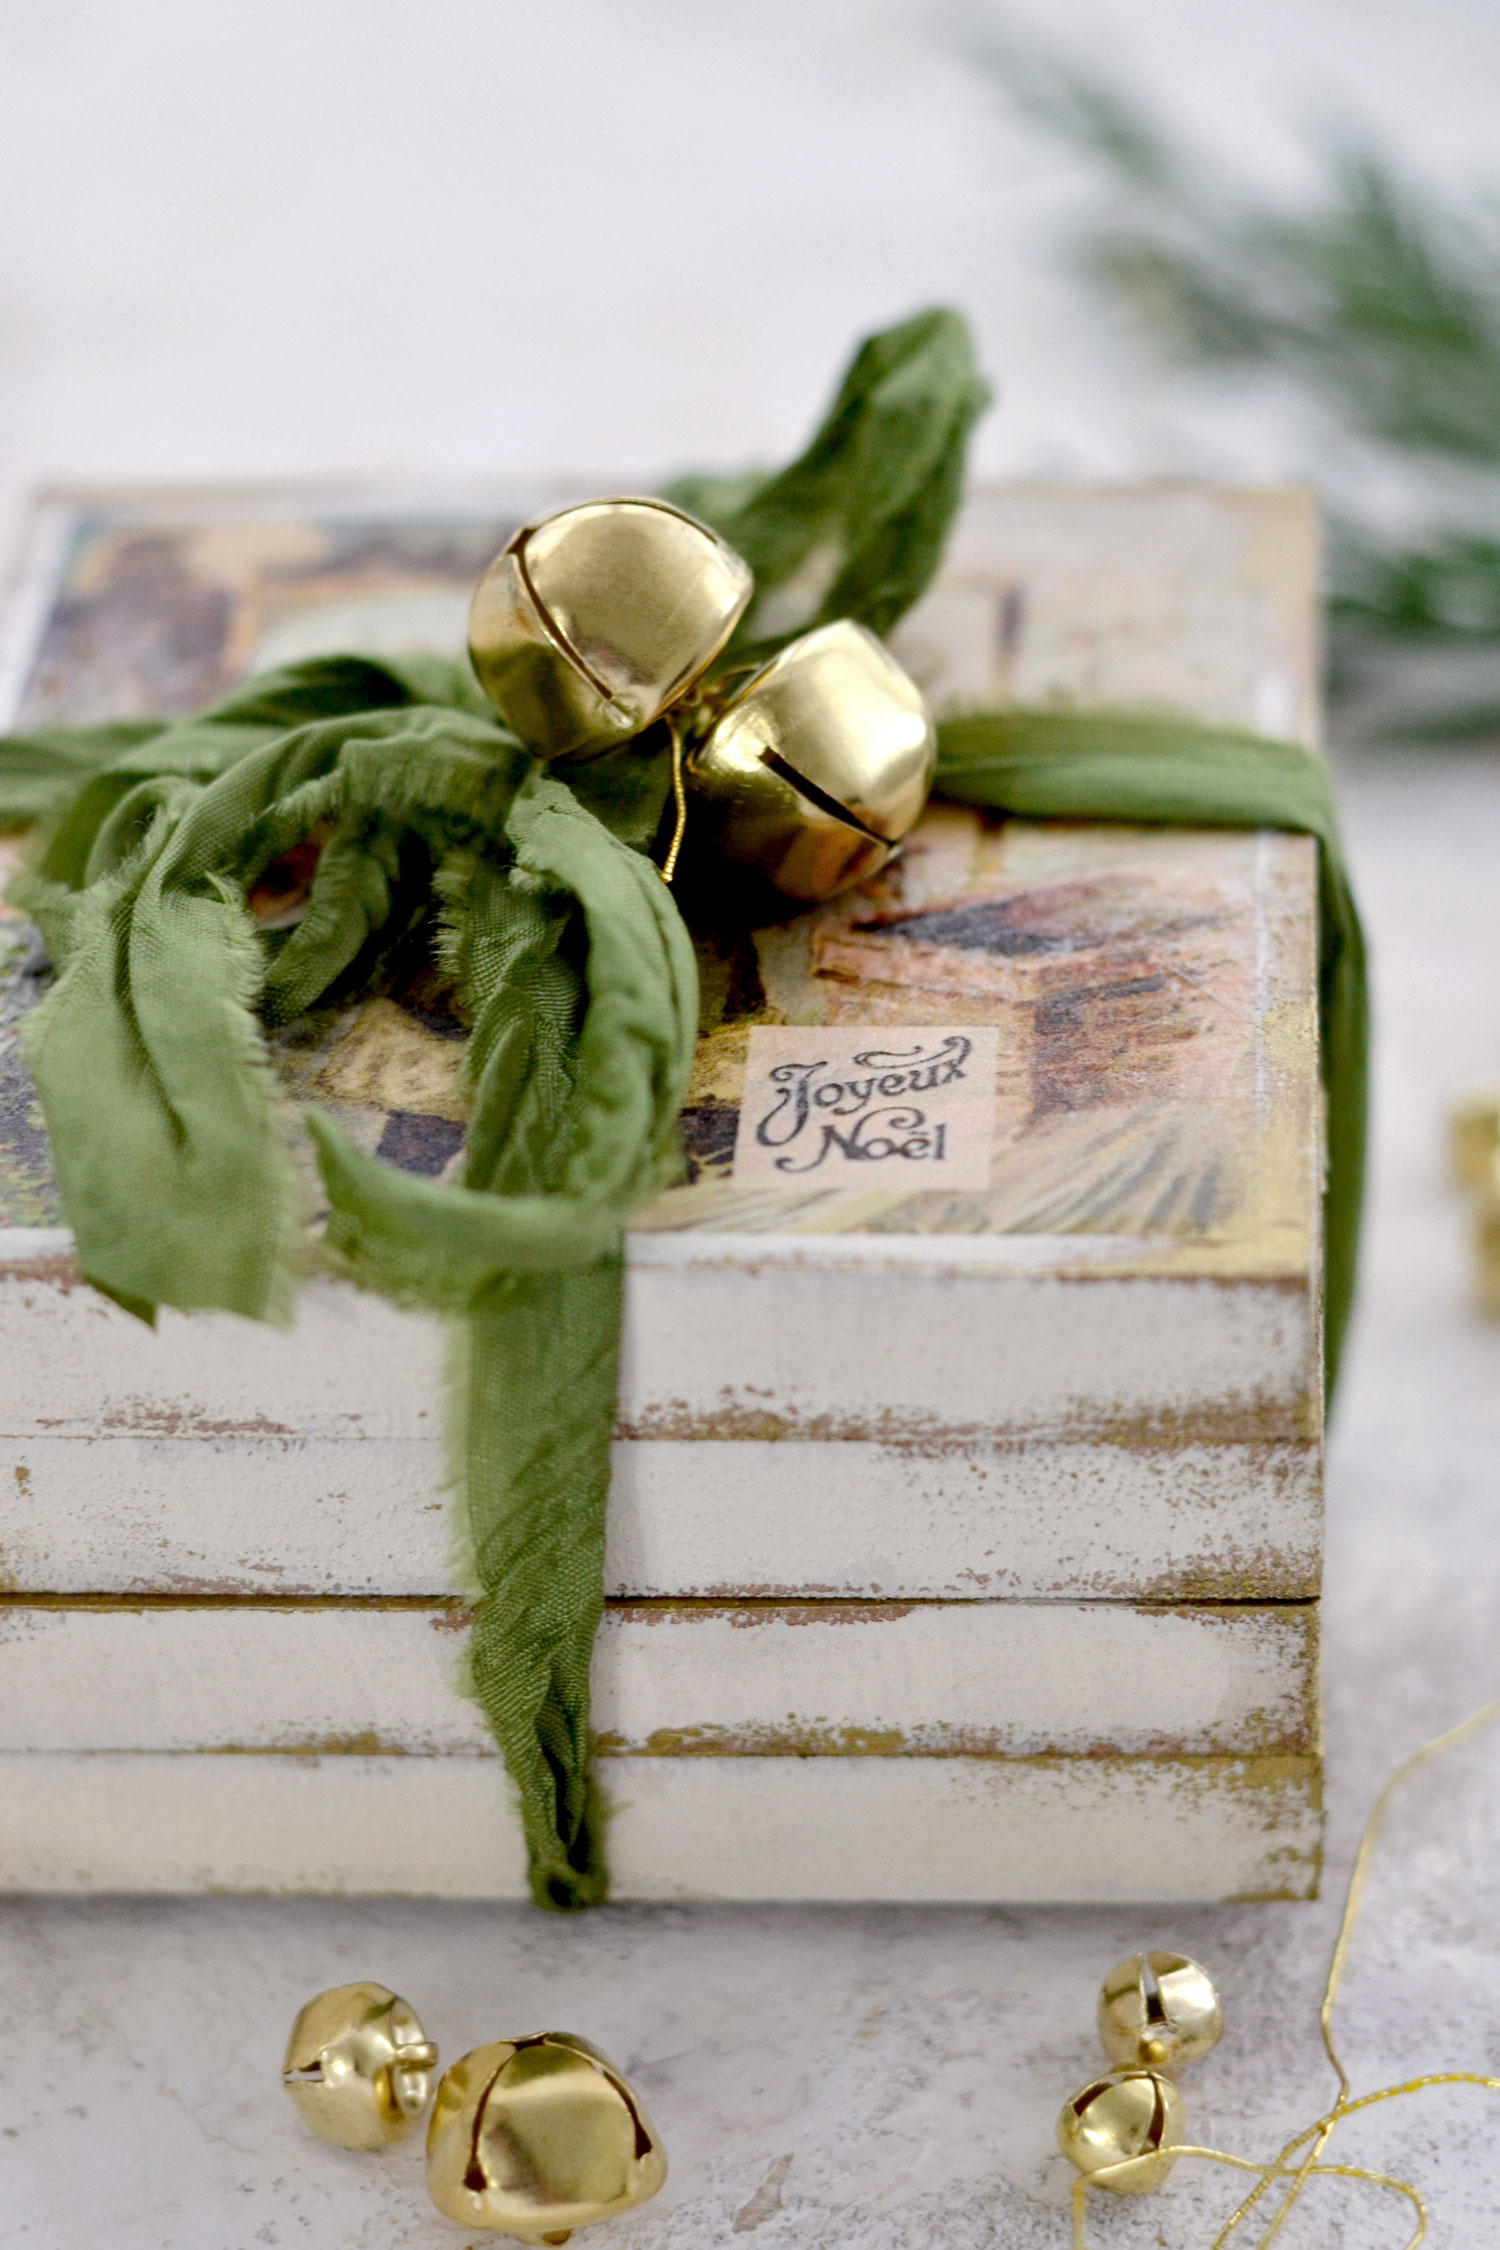
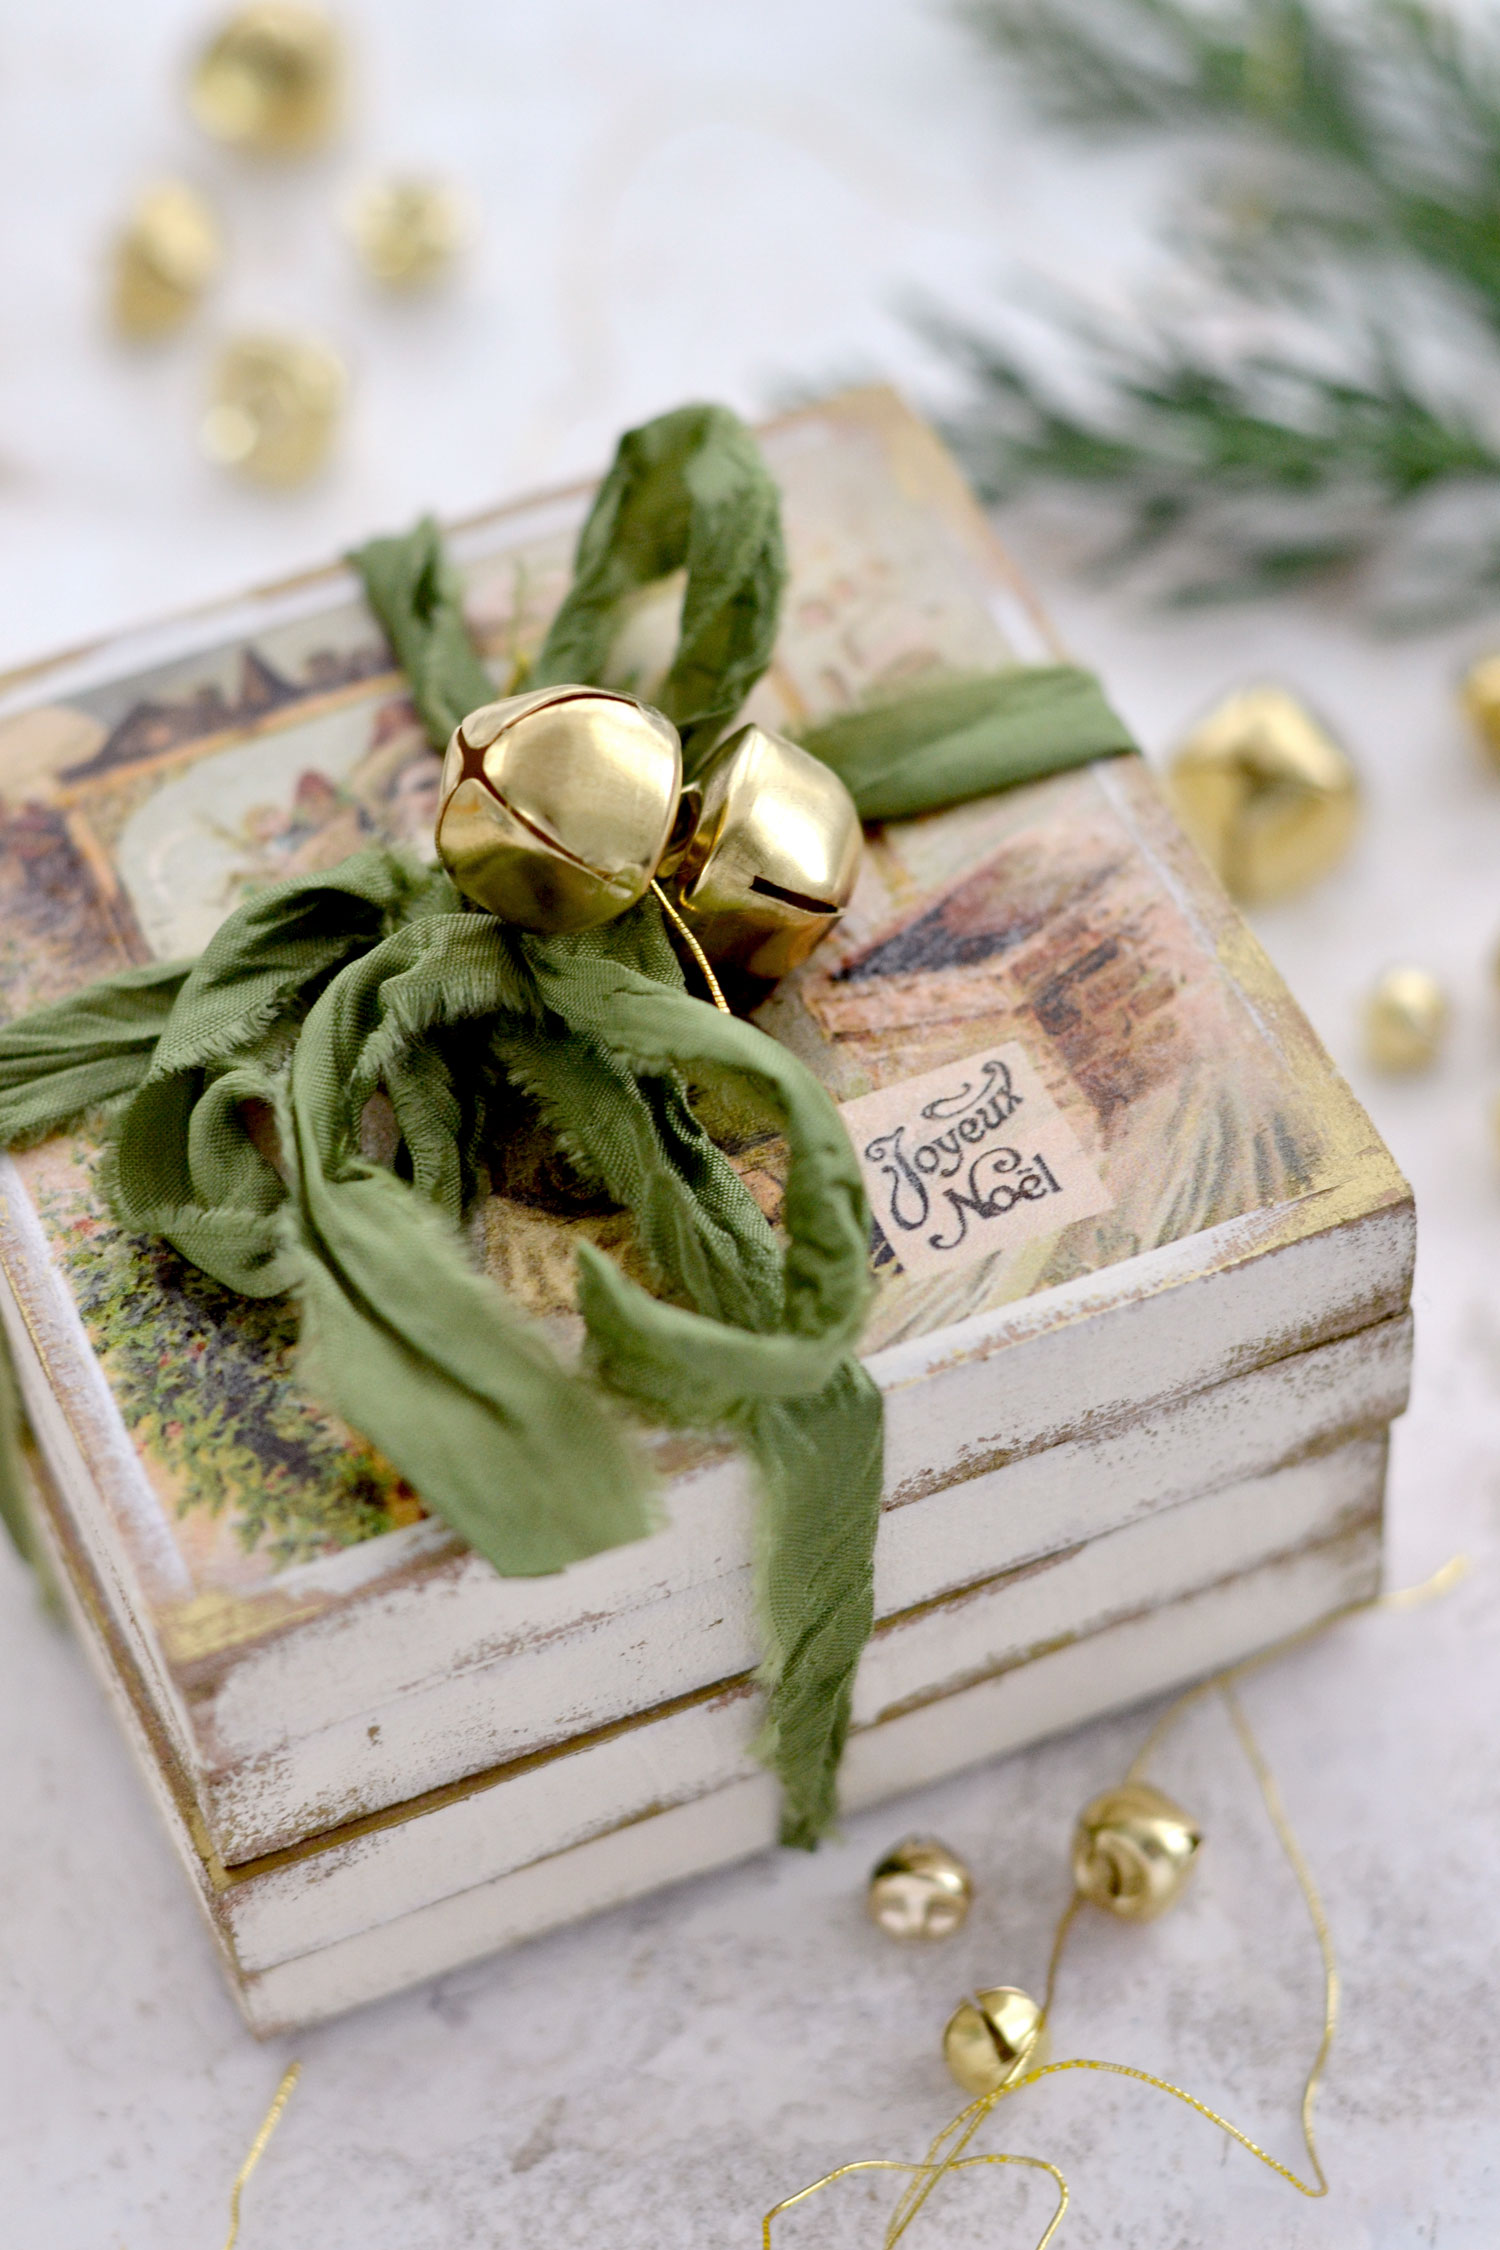
The coasters look amazing and can also be used as mini signs all around your home, they can help dress up your house for the upcoming holidays. And speaking of holidays, let’s not forget what an amazing gift they could be! Use crinkle ribbons to beautifully wrap and have them ready for gifting.
I used green crinkle ribbons and I also added two gold jingle bells that gave them a super chic, sophisticated appearance, while also keeping their vintage vibe.
I hope you will love this project and decide to give it a try! Make some of these lovely DIY Christmas coasters for yourself, but also keep the gifting season in mind. Handmade gifts made with love are always appreciated!
Happy crafting,
Diana / Dreams Factory



Karen Register says
Beautiful coasters! What setting do you use on the iron? The hottest one? Or a lower temp?
Karen Watson says
Hi Karen, I asked Diana about this. Here’s her response “I’m usually using a medium to high temperature and no steam, but I guess it could depend on the type of iron you are using. So maybe doing a test before would be a great idea, just to be on the safe side.”
Tina Vore says
These are so lovely! Can square ceramic tiles work for this project, or must it be MDF board?
Karen Watson says
I think it would be tricky trying to transfer onto ceramic. But you could experiment with printing the images on paper and then decoupaging onto the tiles. Have fun making these!
Kiki says
Great article, thank you.
Karen Watson says
I’m glad you enjoyed it Kiki!