Christmas Craft Tags
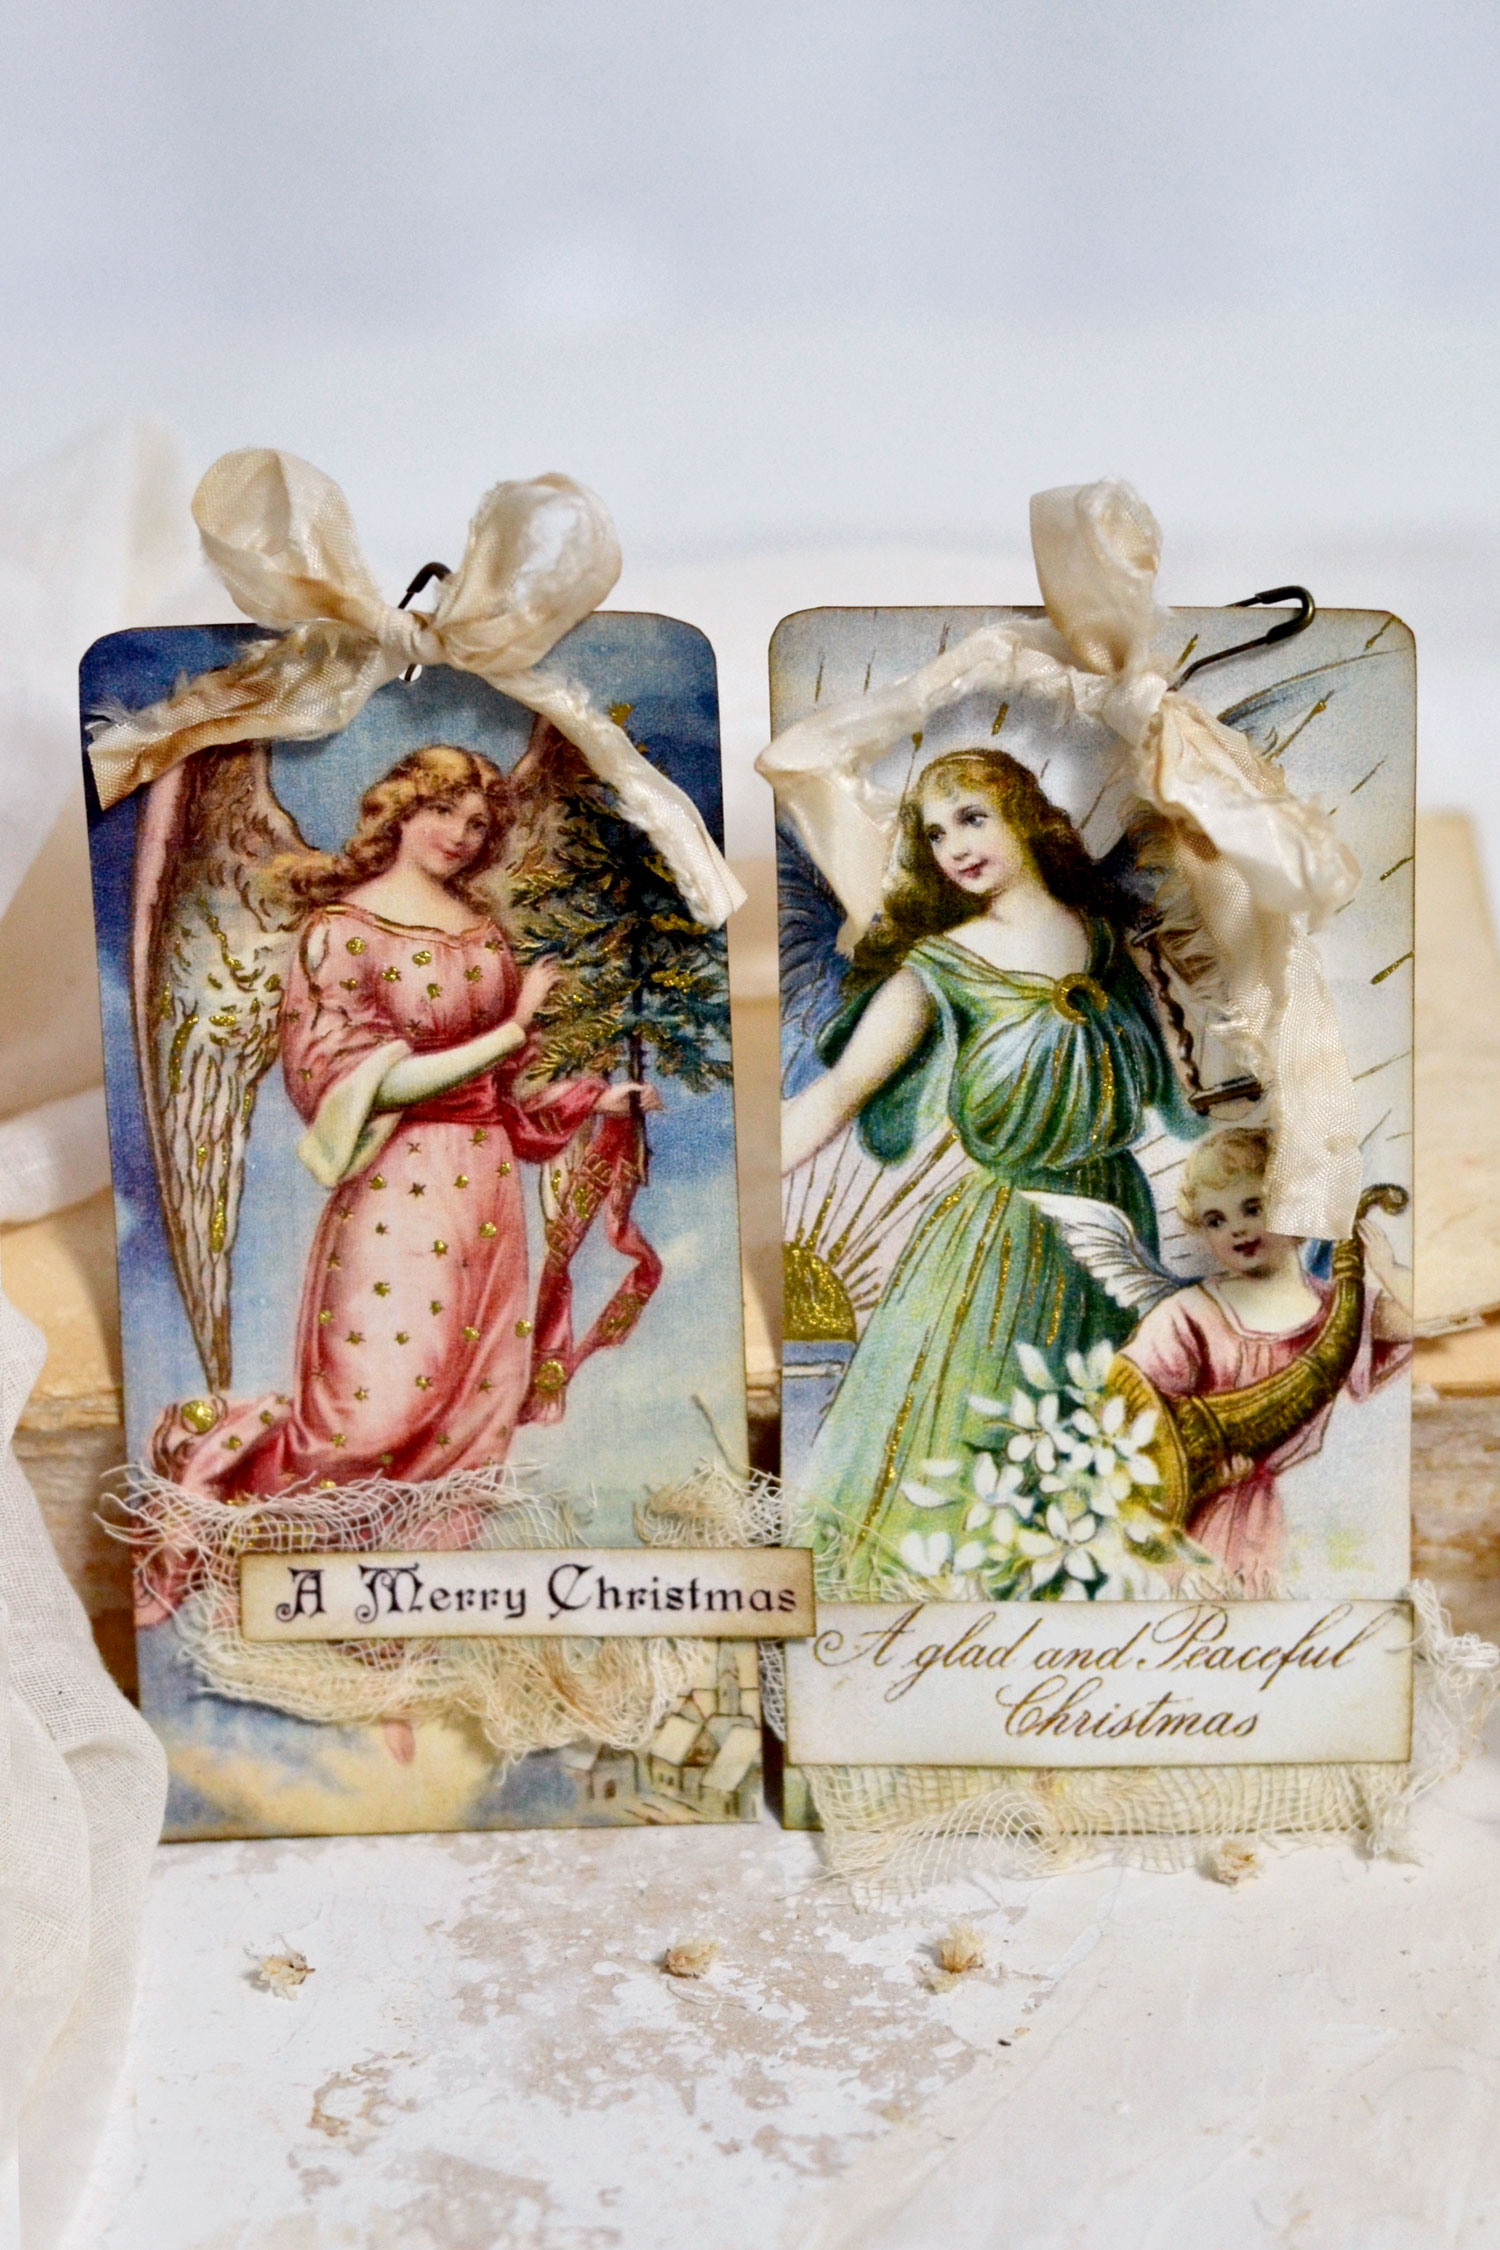
Hello Graphics Fairy friends! I’m Diana from Dreams Factory and I’m happy to be here once again to share another DIY project with you! Today I will show you how to make these gorgeous Vintage Christmas Craft Tags! These will make the perfect companion for your Christmas gifts this year, but can be included in so many other creative projects!
To keep things sweet and simple, we’ll be using distress ink to give the tags a lovely vintage vibe. We’ll also use some gold ink and a calligraphy pen to add some delicate gold highlights here and there. And for the final touches, we’ll be adding scrap pieces of gauze, crinkle ribbon and some vintage safety pins – all these will help us complete this whole chic look and add even more charm to our tags!
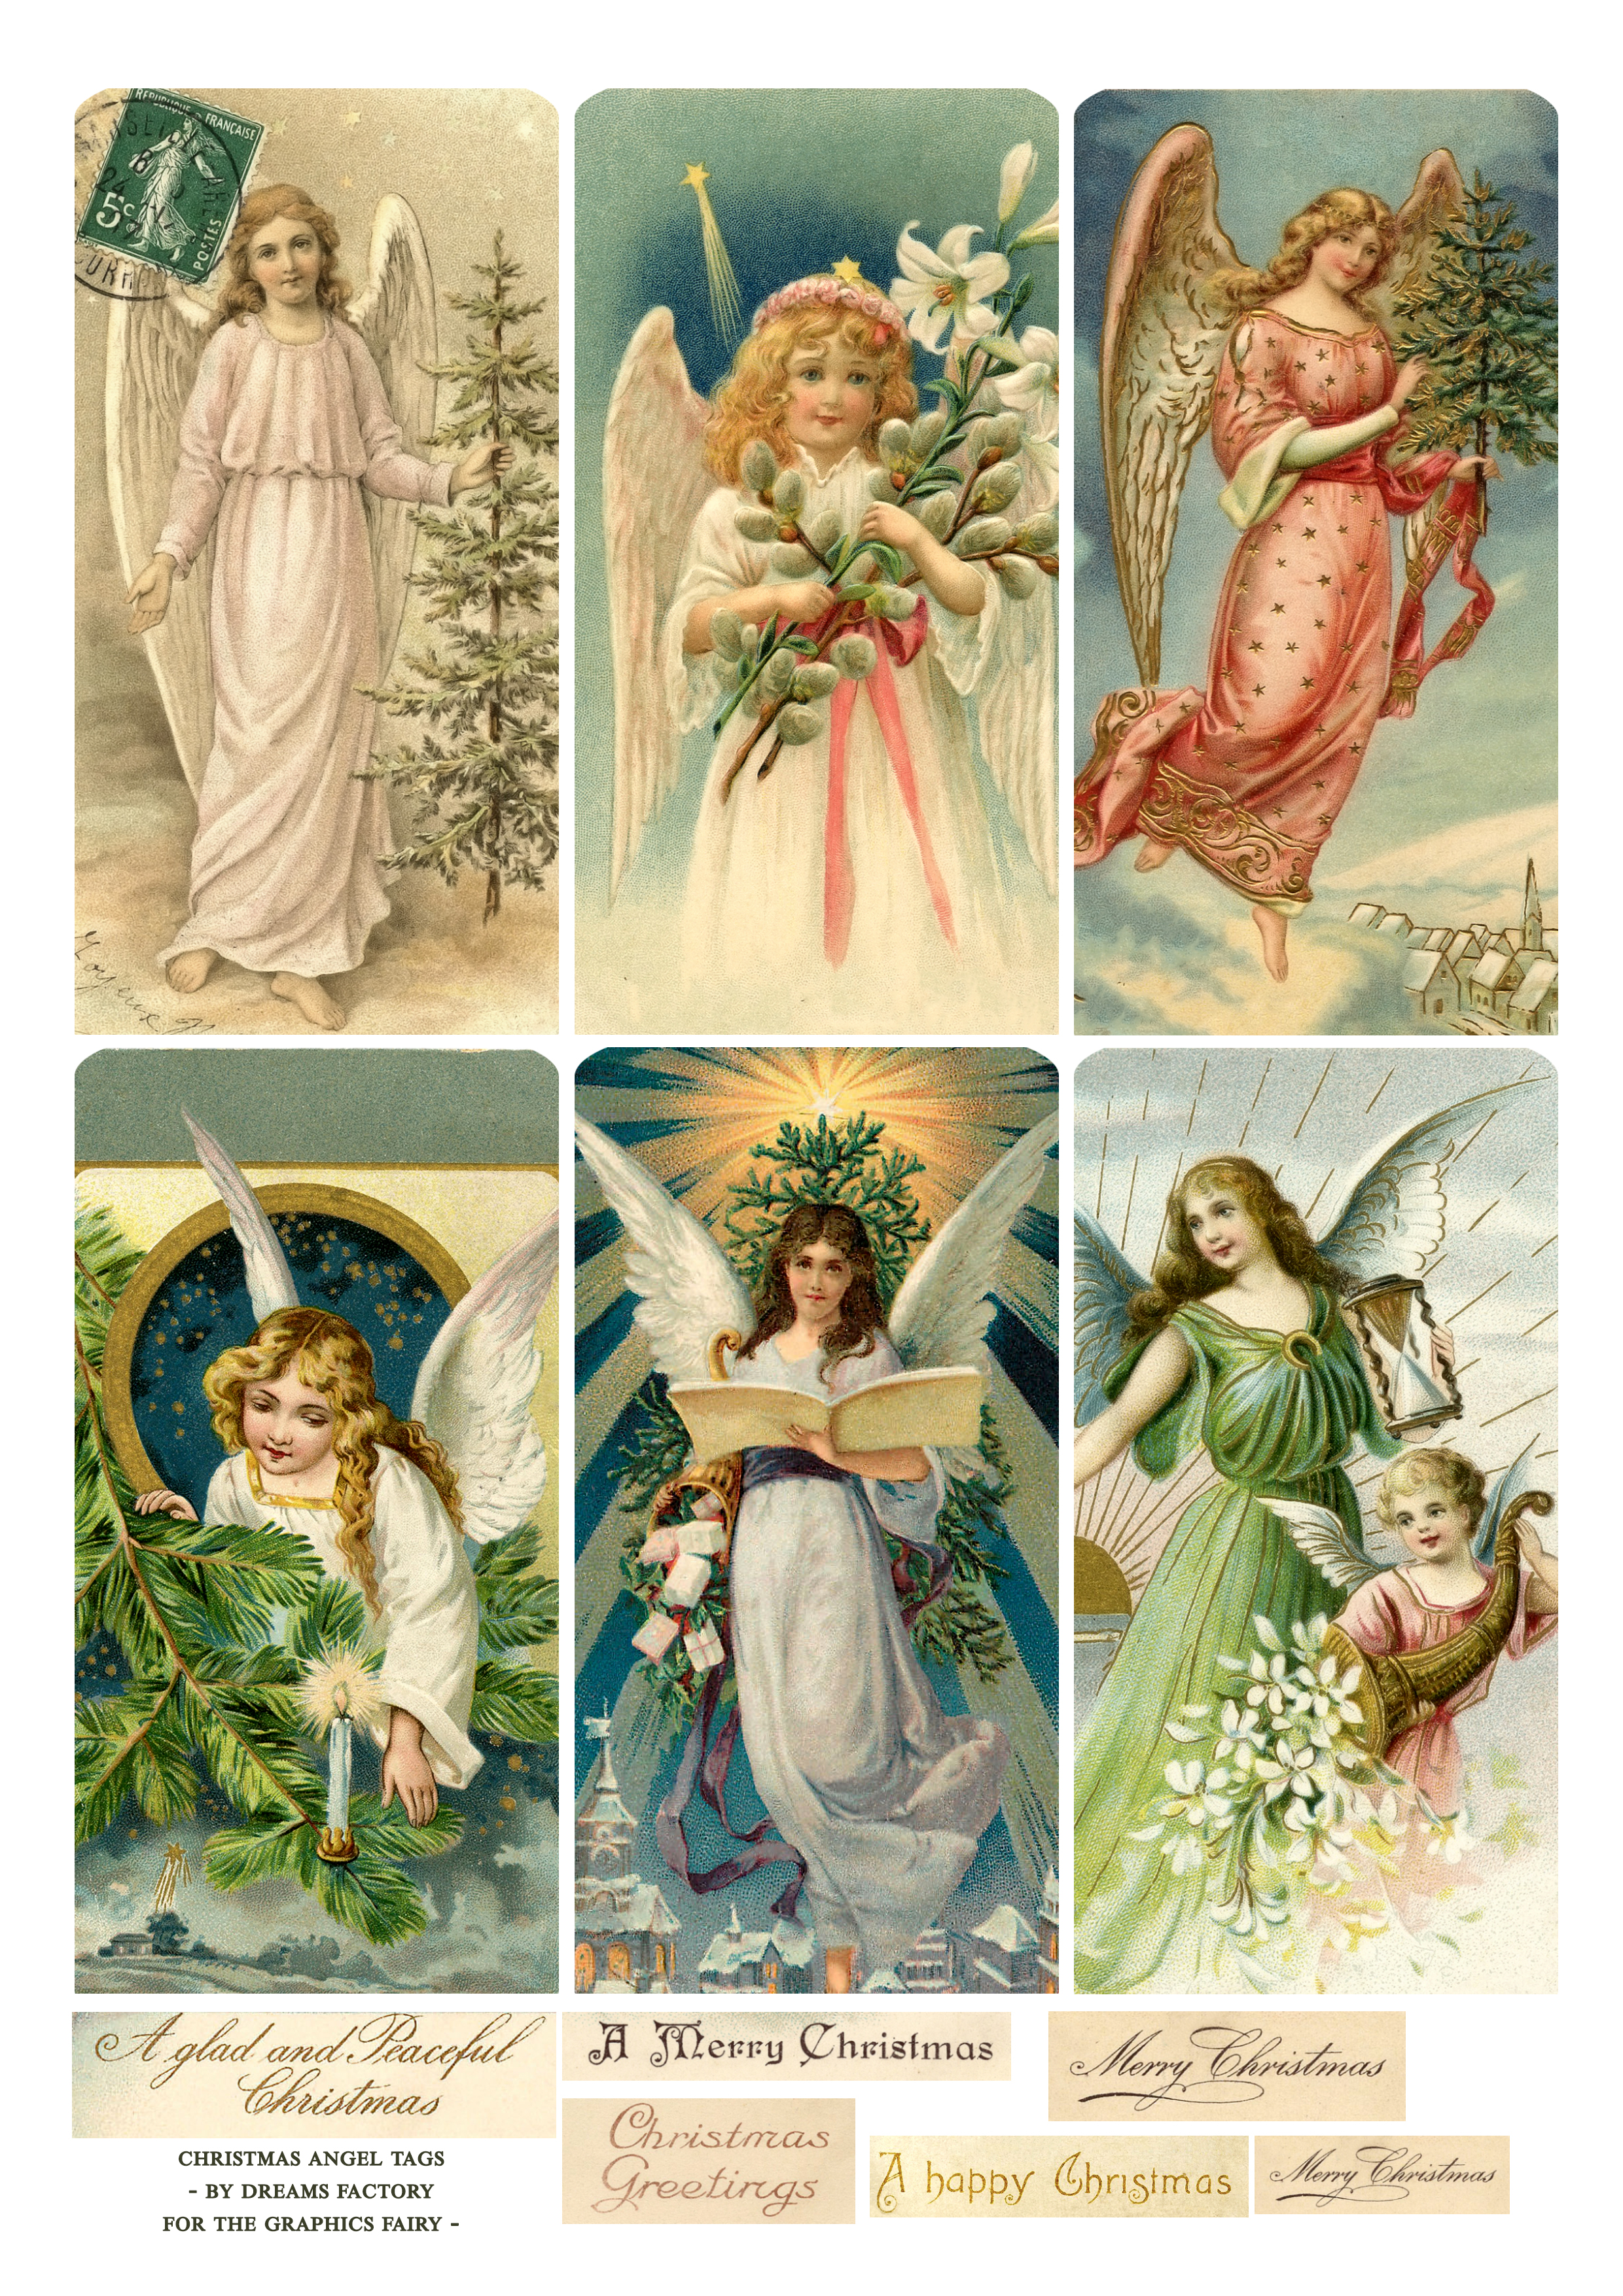
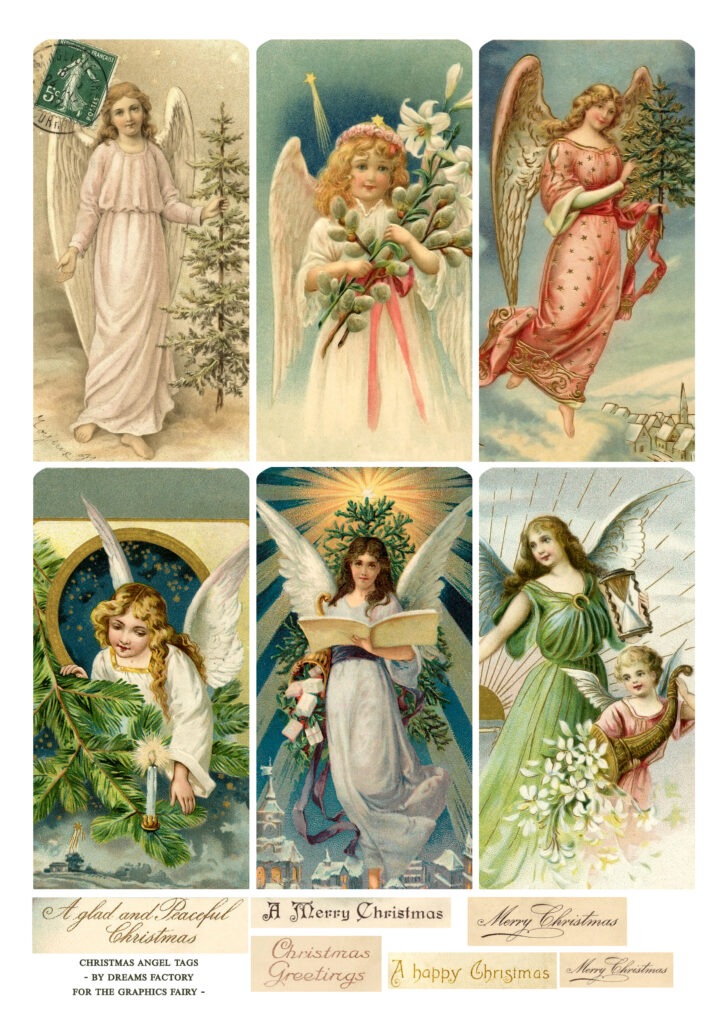
As always, I’m sharing the free printable that will help you create these beauties in no time. This is another Christmas gift that I hope you will love, so you can print these as many times as you want! I’ve also included a few Christmas wishes cutouts that can be glued on top to add a little bit more interest and dimension to our lovely tags.
Free Printable Christmas Craft Tags:
—-> Click HERE to Download the Full Size Printable PDF <—-
Supply List:
- white cardstock paper
- home printer
- scissors
- mini distress inks
- blending tool with foams
- calligraphy pen and gold ink OR other metallic pens, markers, etc.
- gourd safety pins – gold or vintage
- glue stick or any other paper glue
- hole punch
- crinkle ribbon or any other ribbon that you love
- ruler and pencil – optional, for tracing the middle before punching
Step by Step Instructions for Craft Tags:
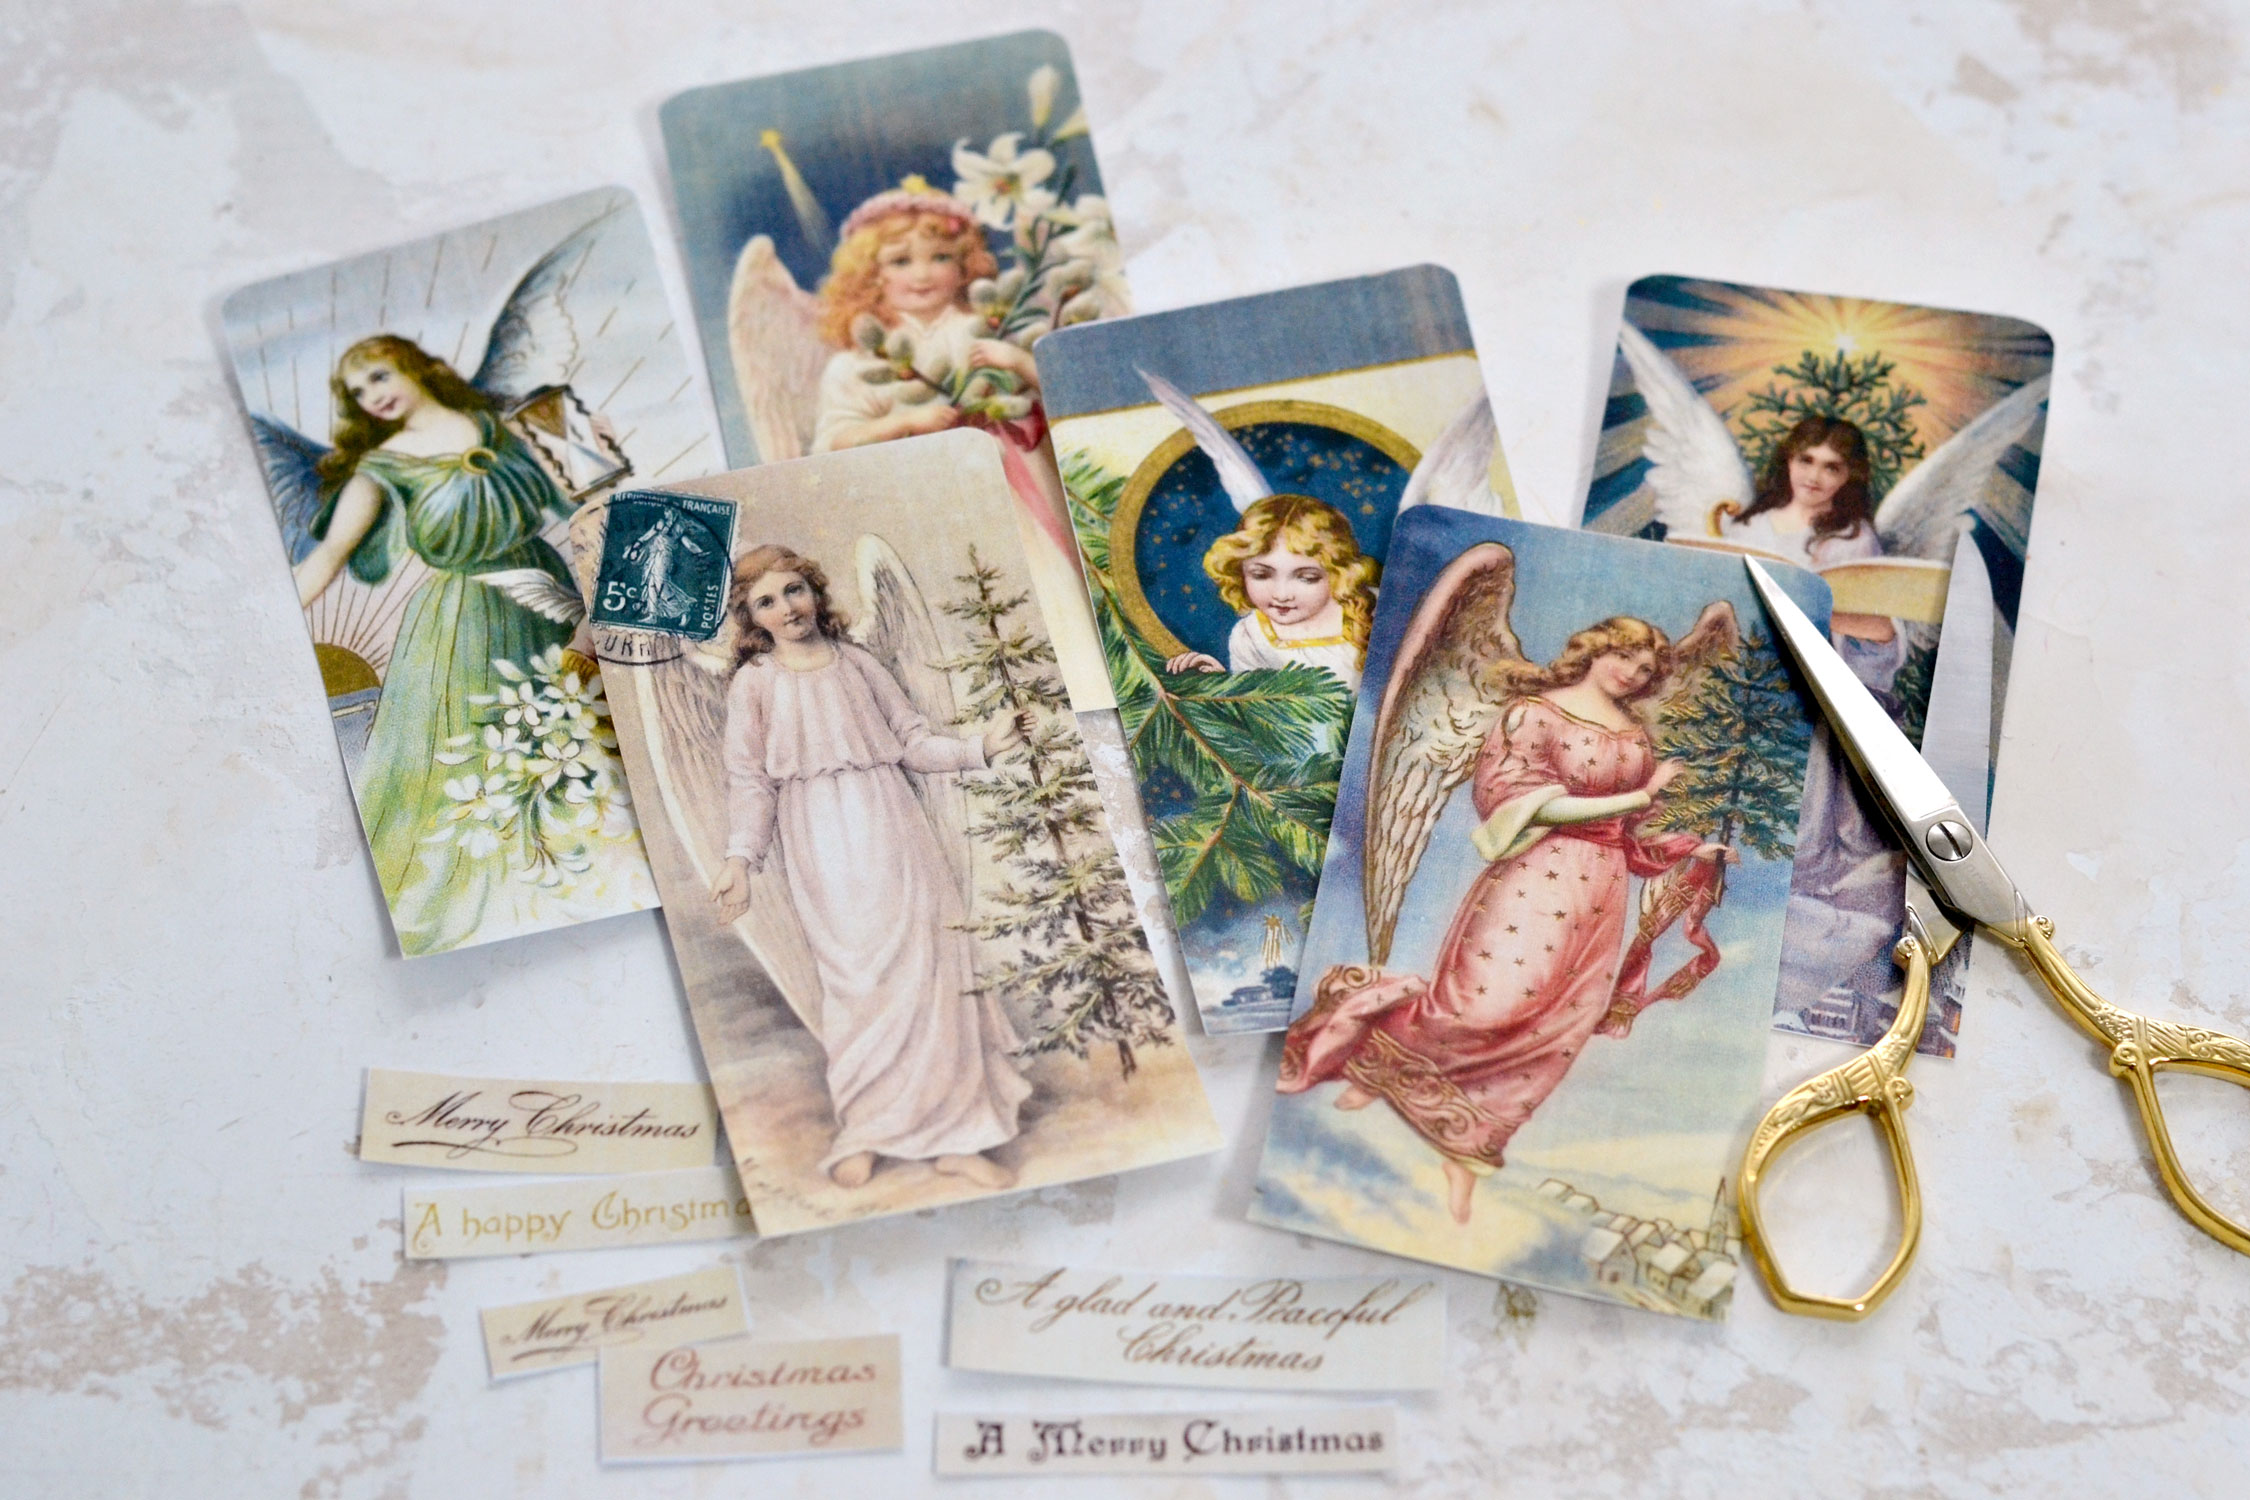
Start by printing the printable on cardstock paper, then use your scissors to cut each tag following its shape. Cut the additional Christmas wishes too.
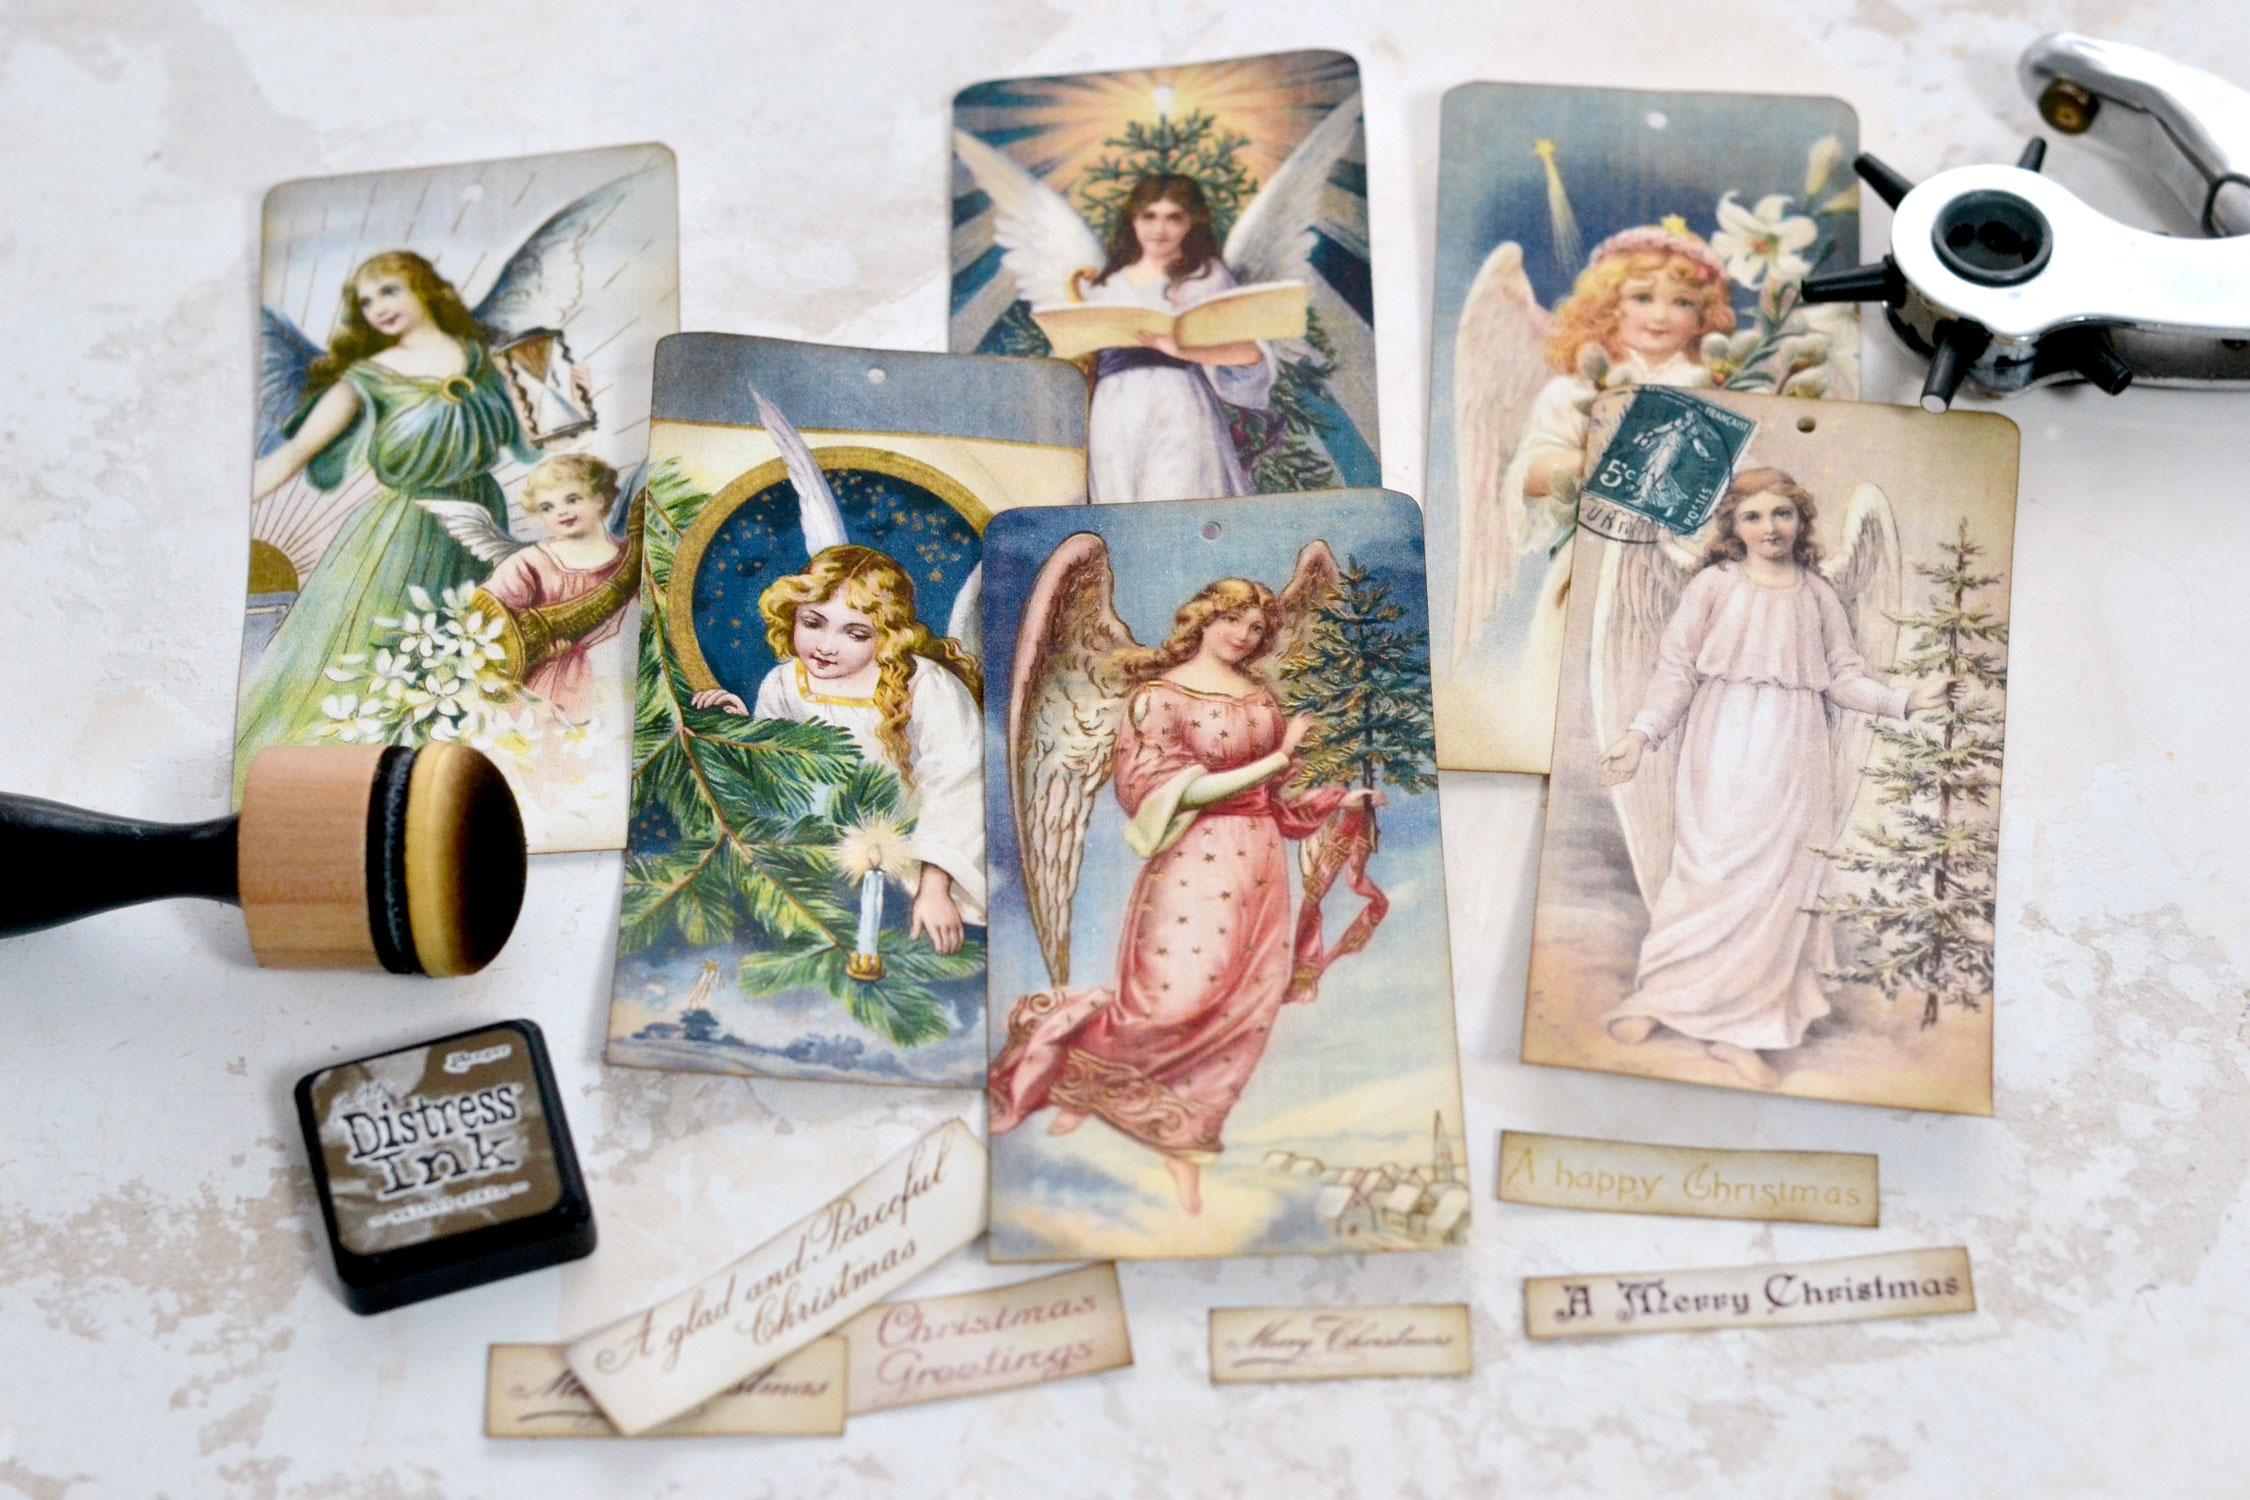
Use your favorite brown distress ink to give the paper a vintage look and create a small vignette effect on the corners if you want. I love using Walnut Stain, but you can also use other colors if you prefer – a lovely dark green might do wonders here! If you have gold distress ink or even some gold wax, you can try these instead, it’s always nice to experiment with a little bit more gold if you ask me!
Use a puncher to create holes on top of your tags. I usually use what I have around, this leather puncher it’s great because I can easily change between the sizes of the holes, depending on the project.
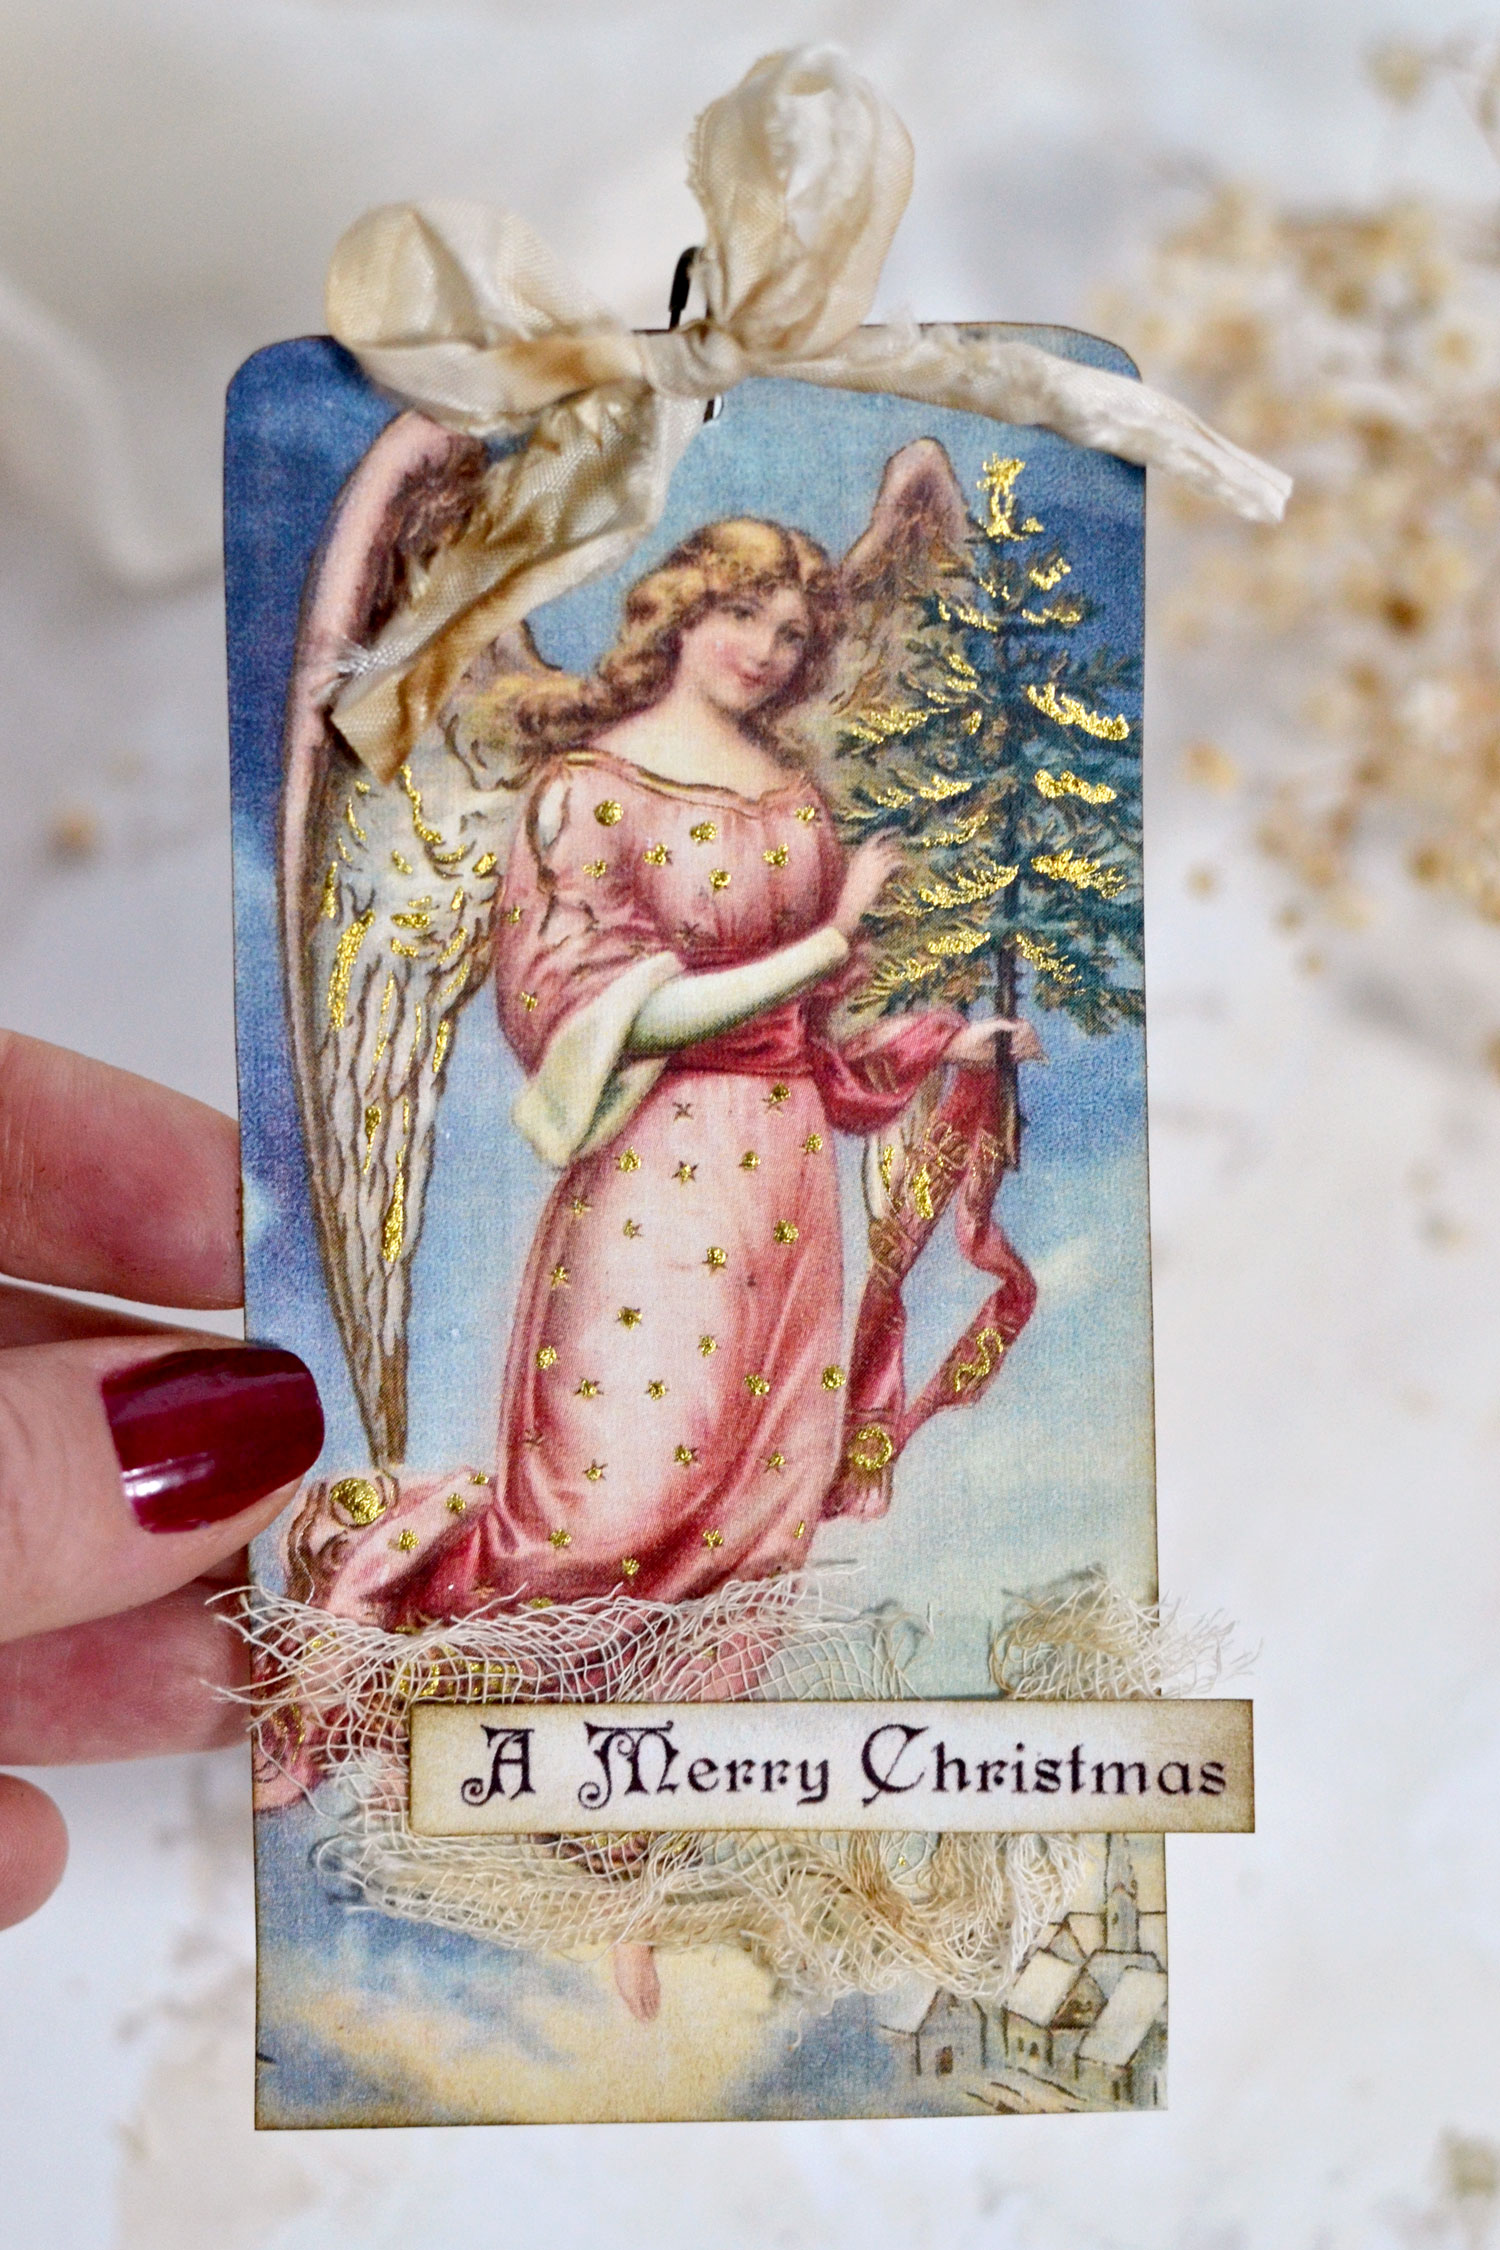
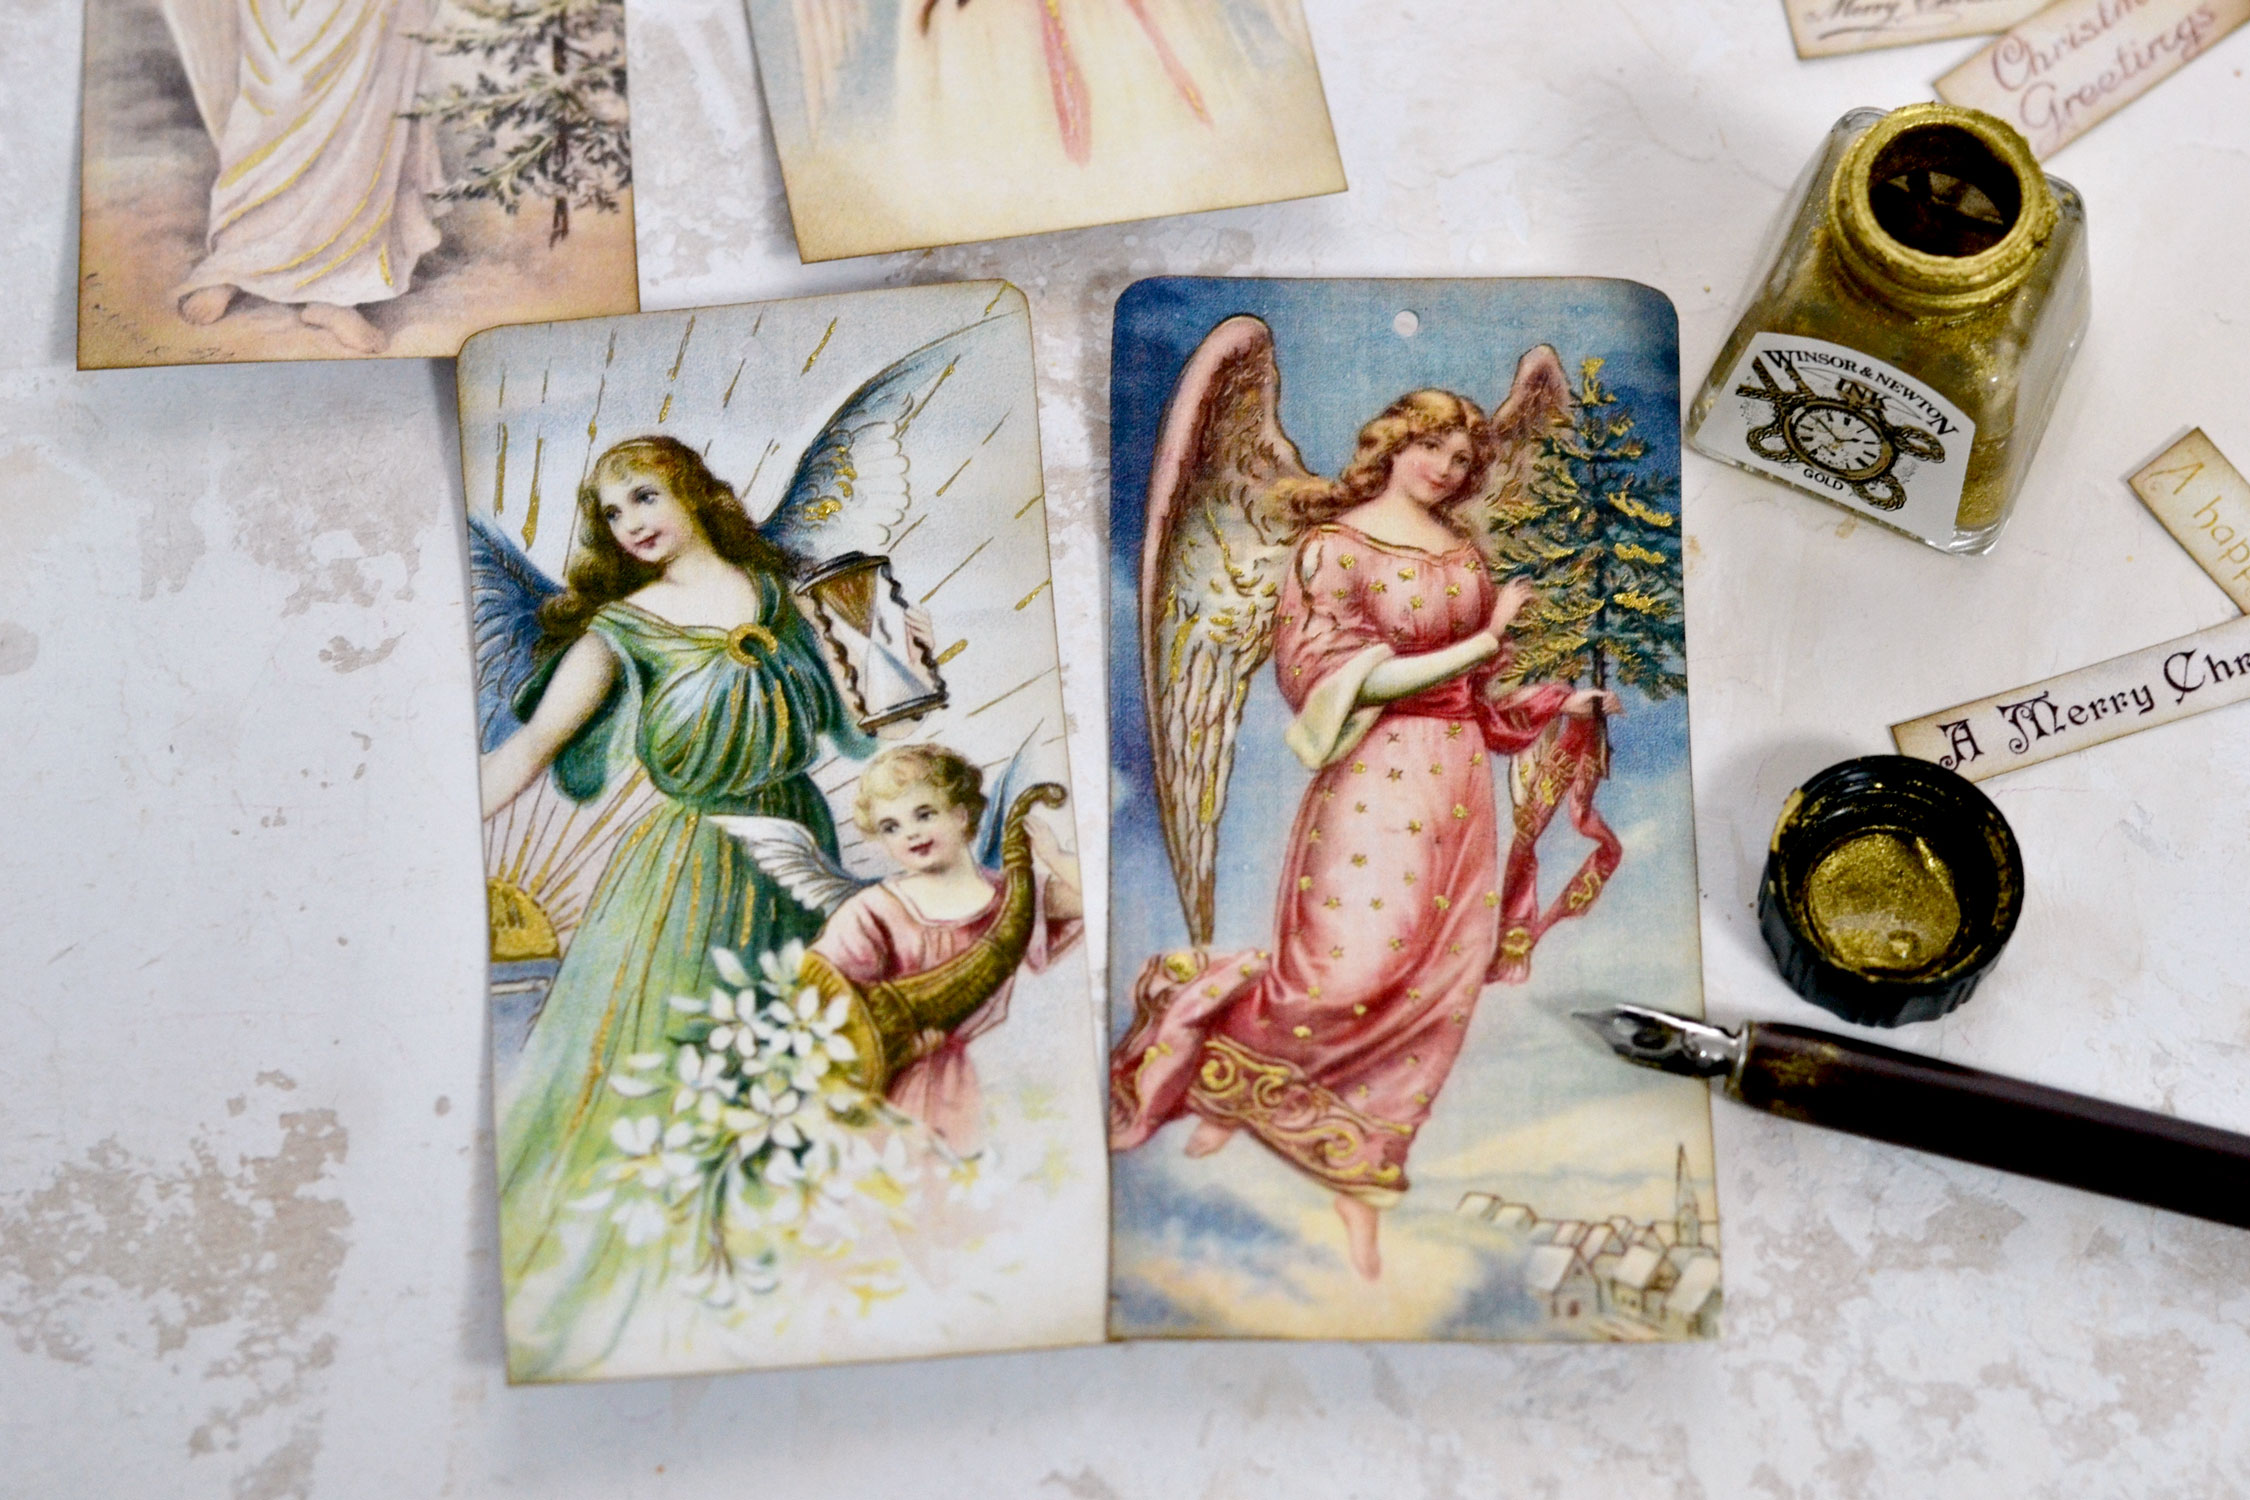
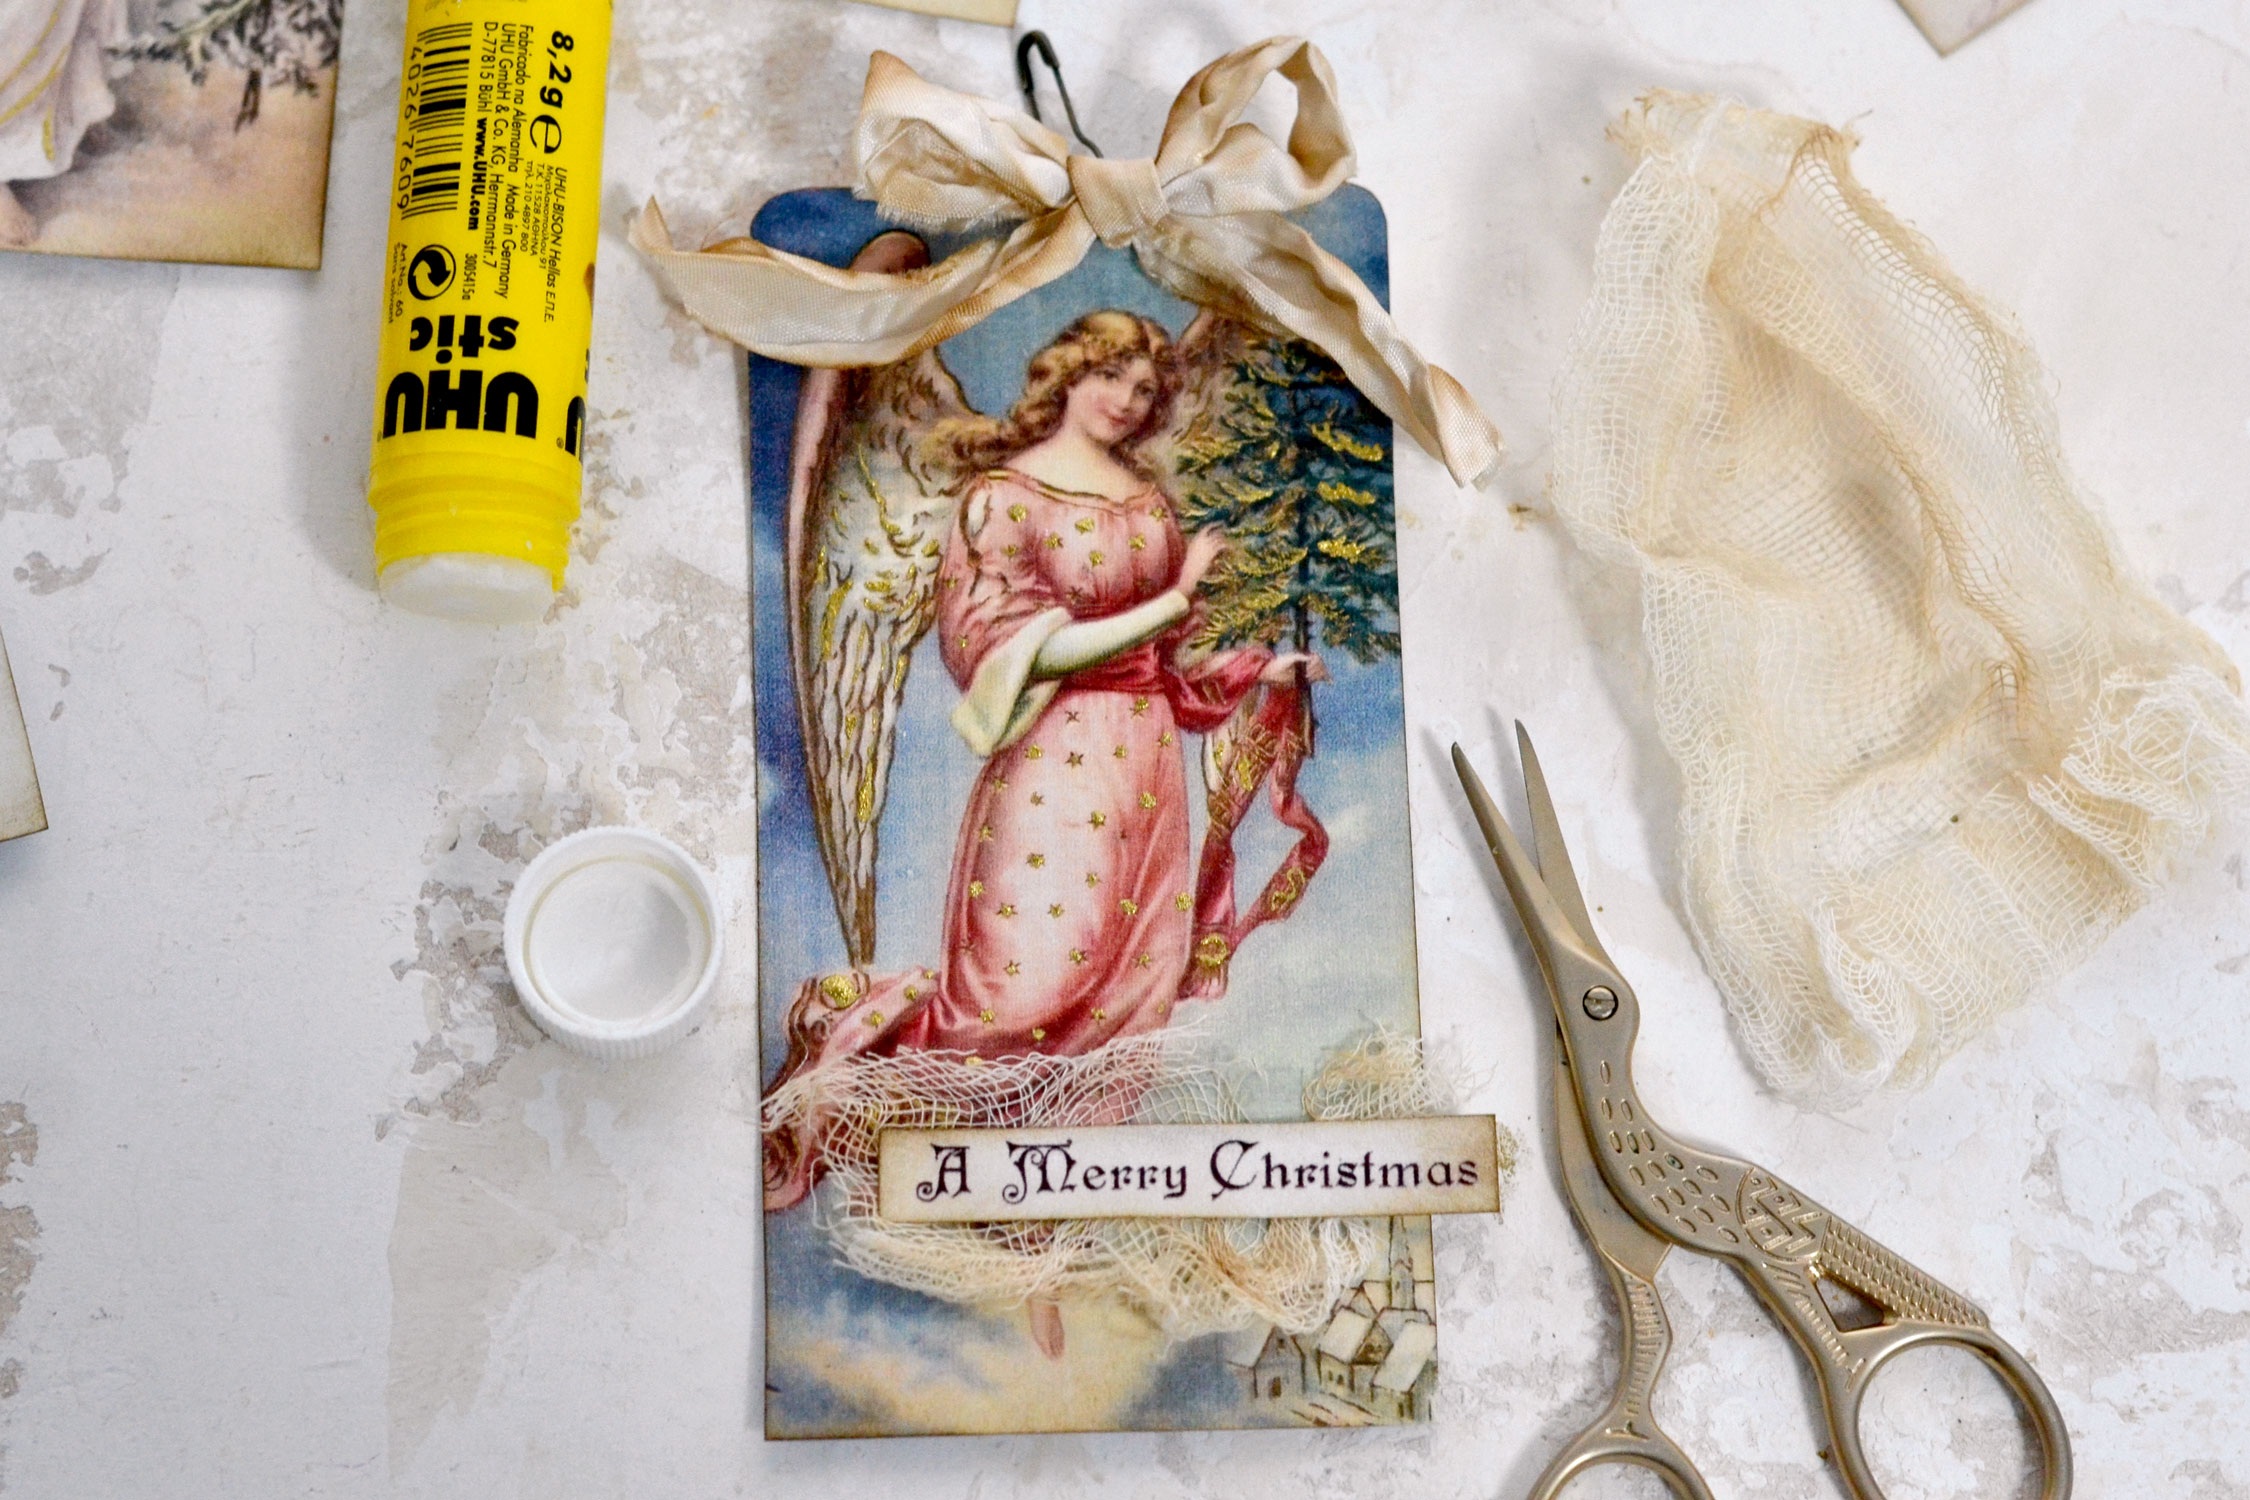
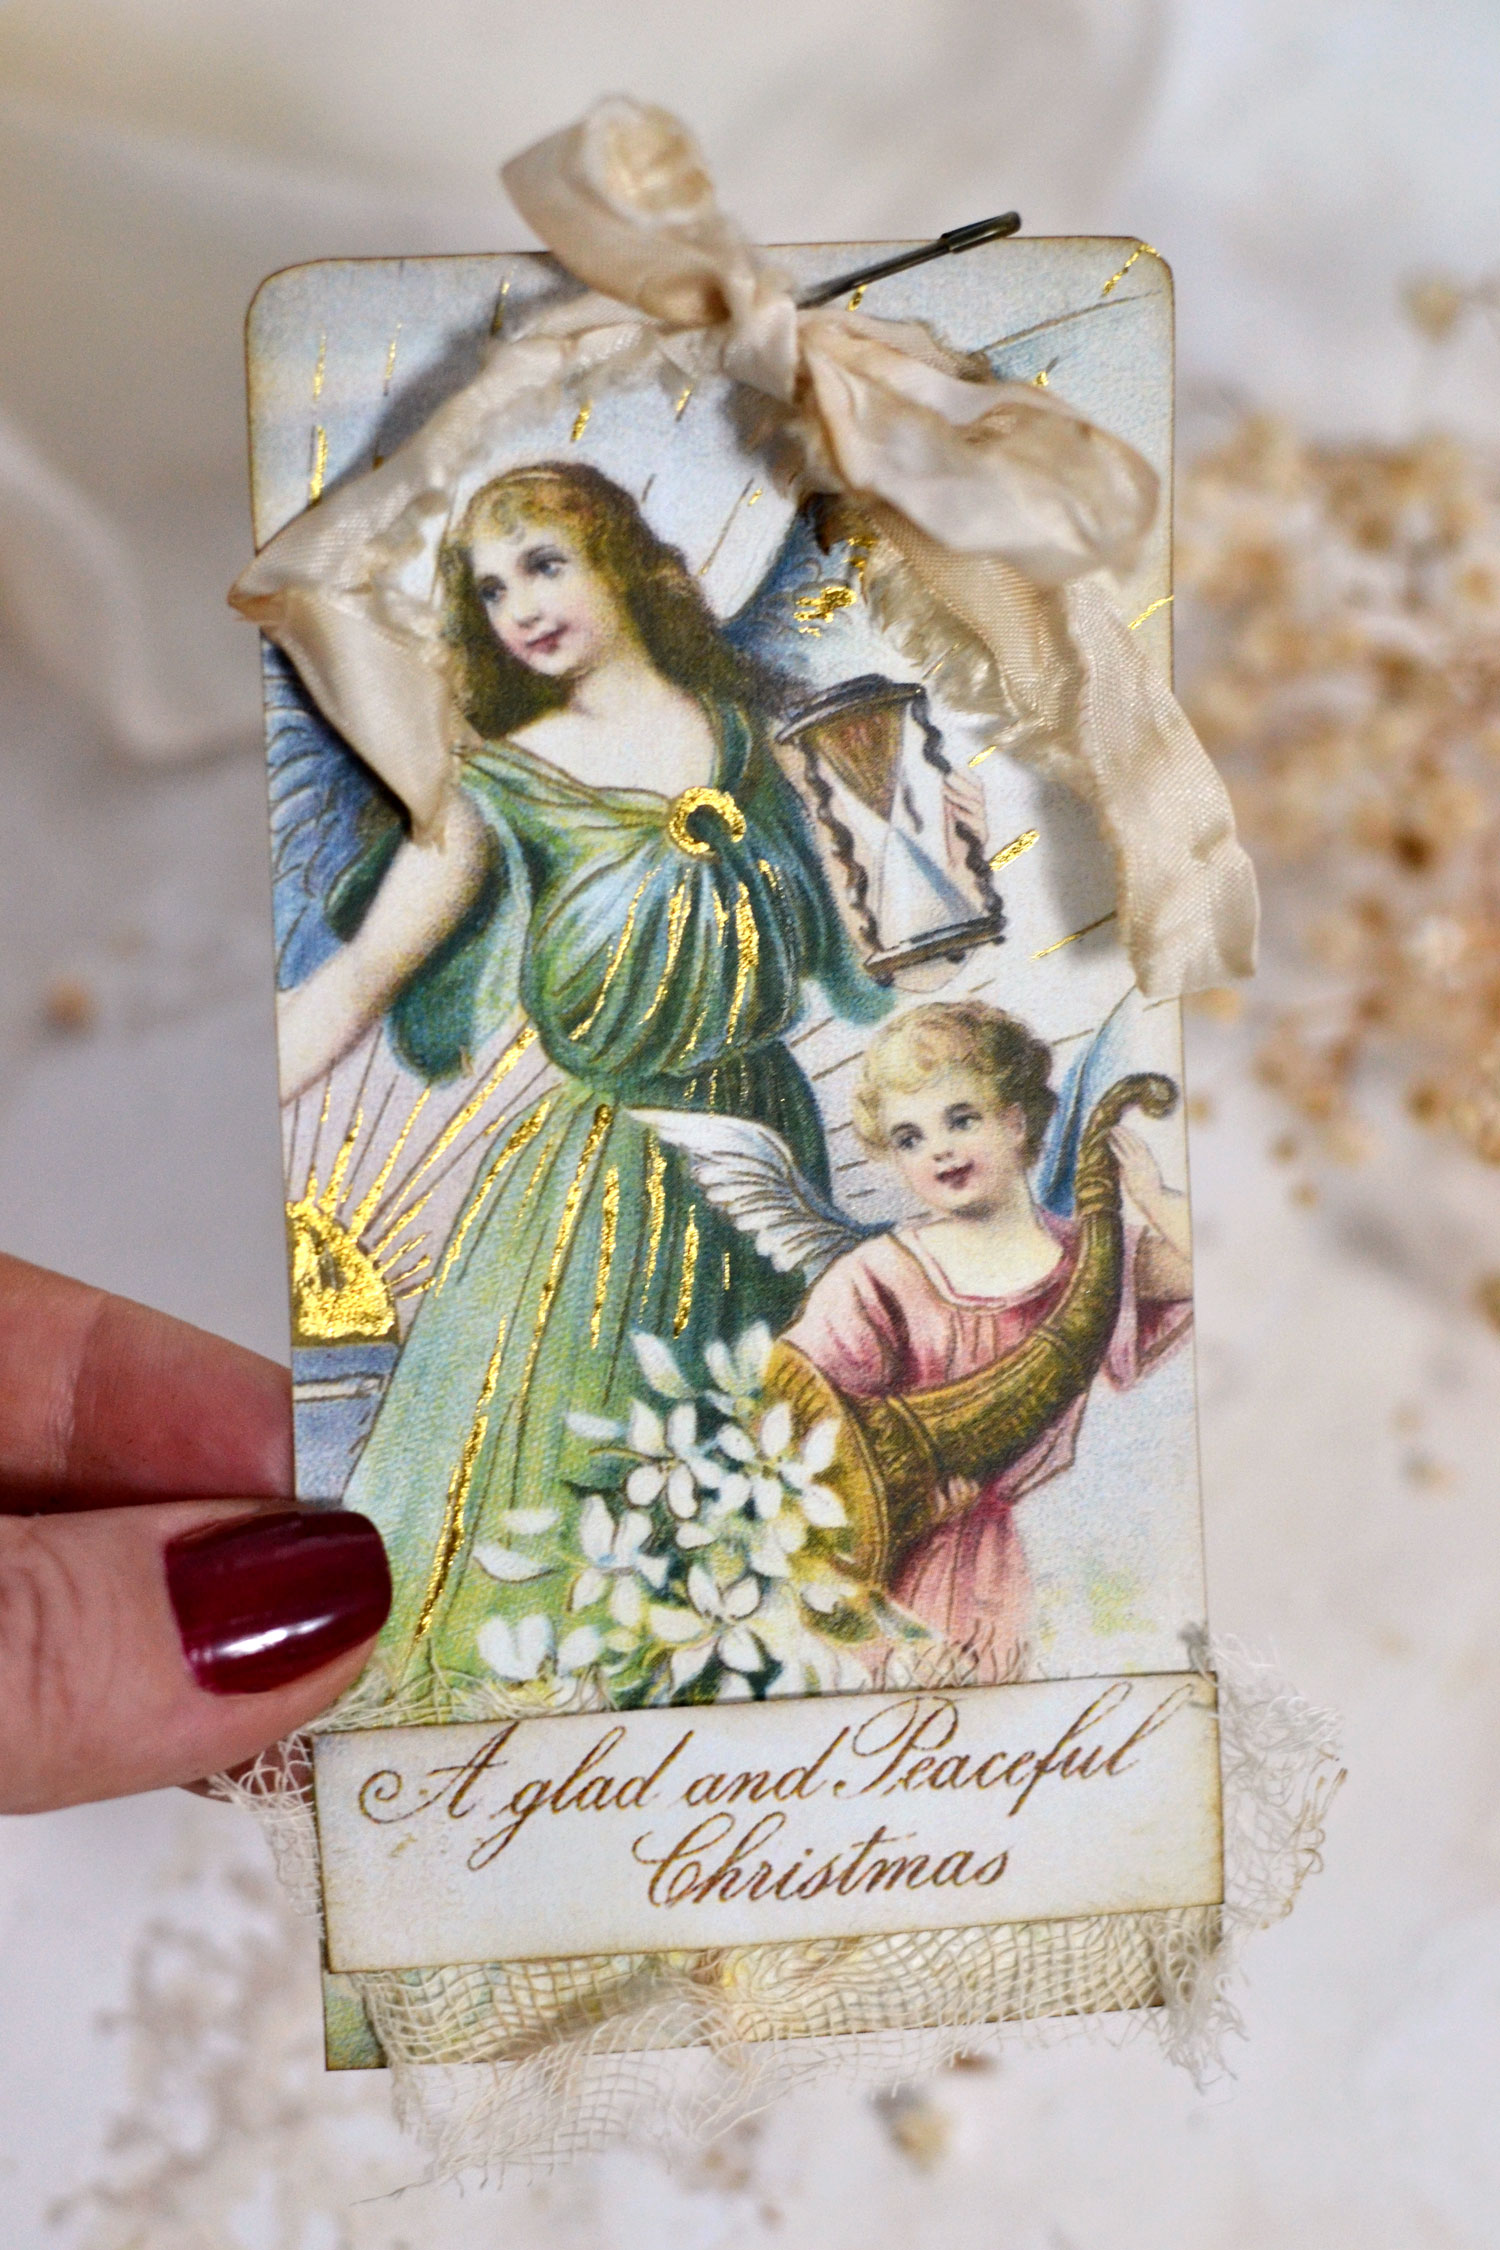
Moving on to my favorite step of this project – adding the gold touches! You can use any gold medium that you have around, I’ve decided to go this time with gold ink and a calligraphy pen. My inspiration actually came from this lovely pink angel that you can see below which already had some stunning details on the clothes, so I started there. You can see that the details are quite small and intricate, so my calligraphy pen seemed like the right choice for this. And I was right, it was a great decision! I was able to lightly go all over these small details on the clothes with my calligraphy pen and my gold ink. But then I wanted more, so I started drawing other small details here and there.
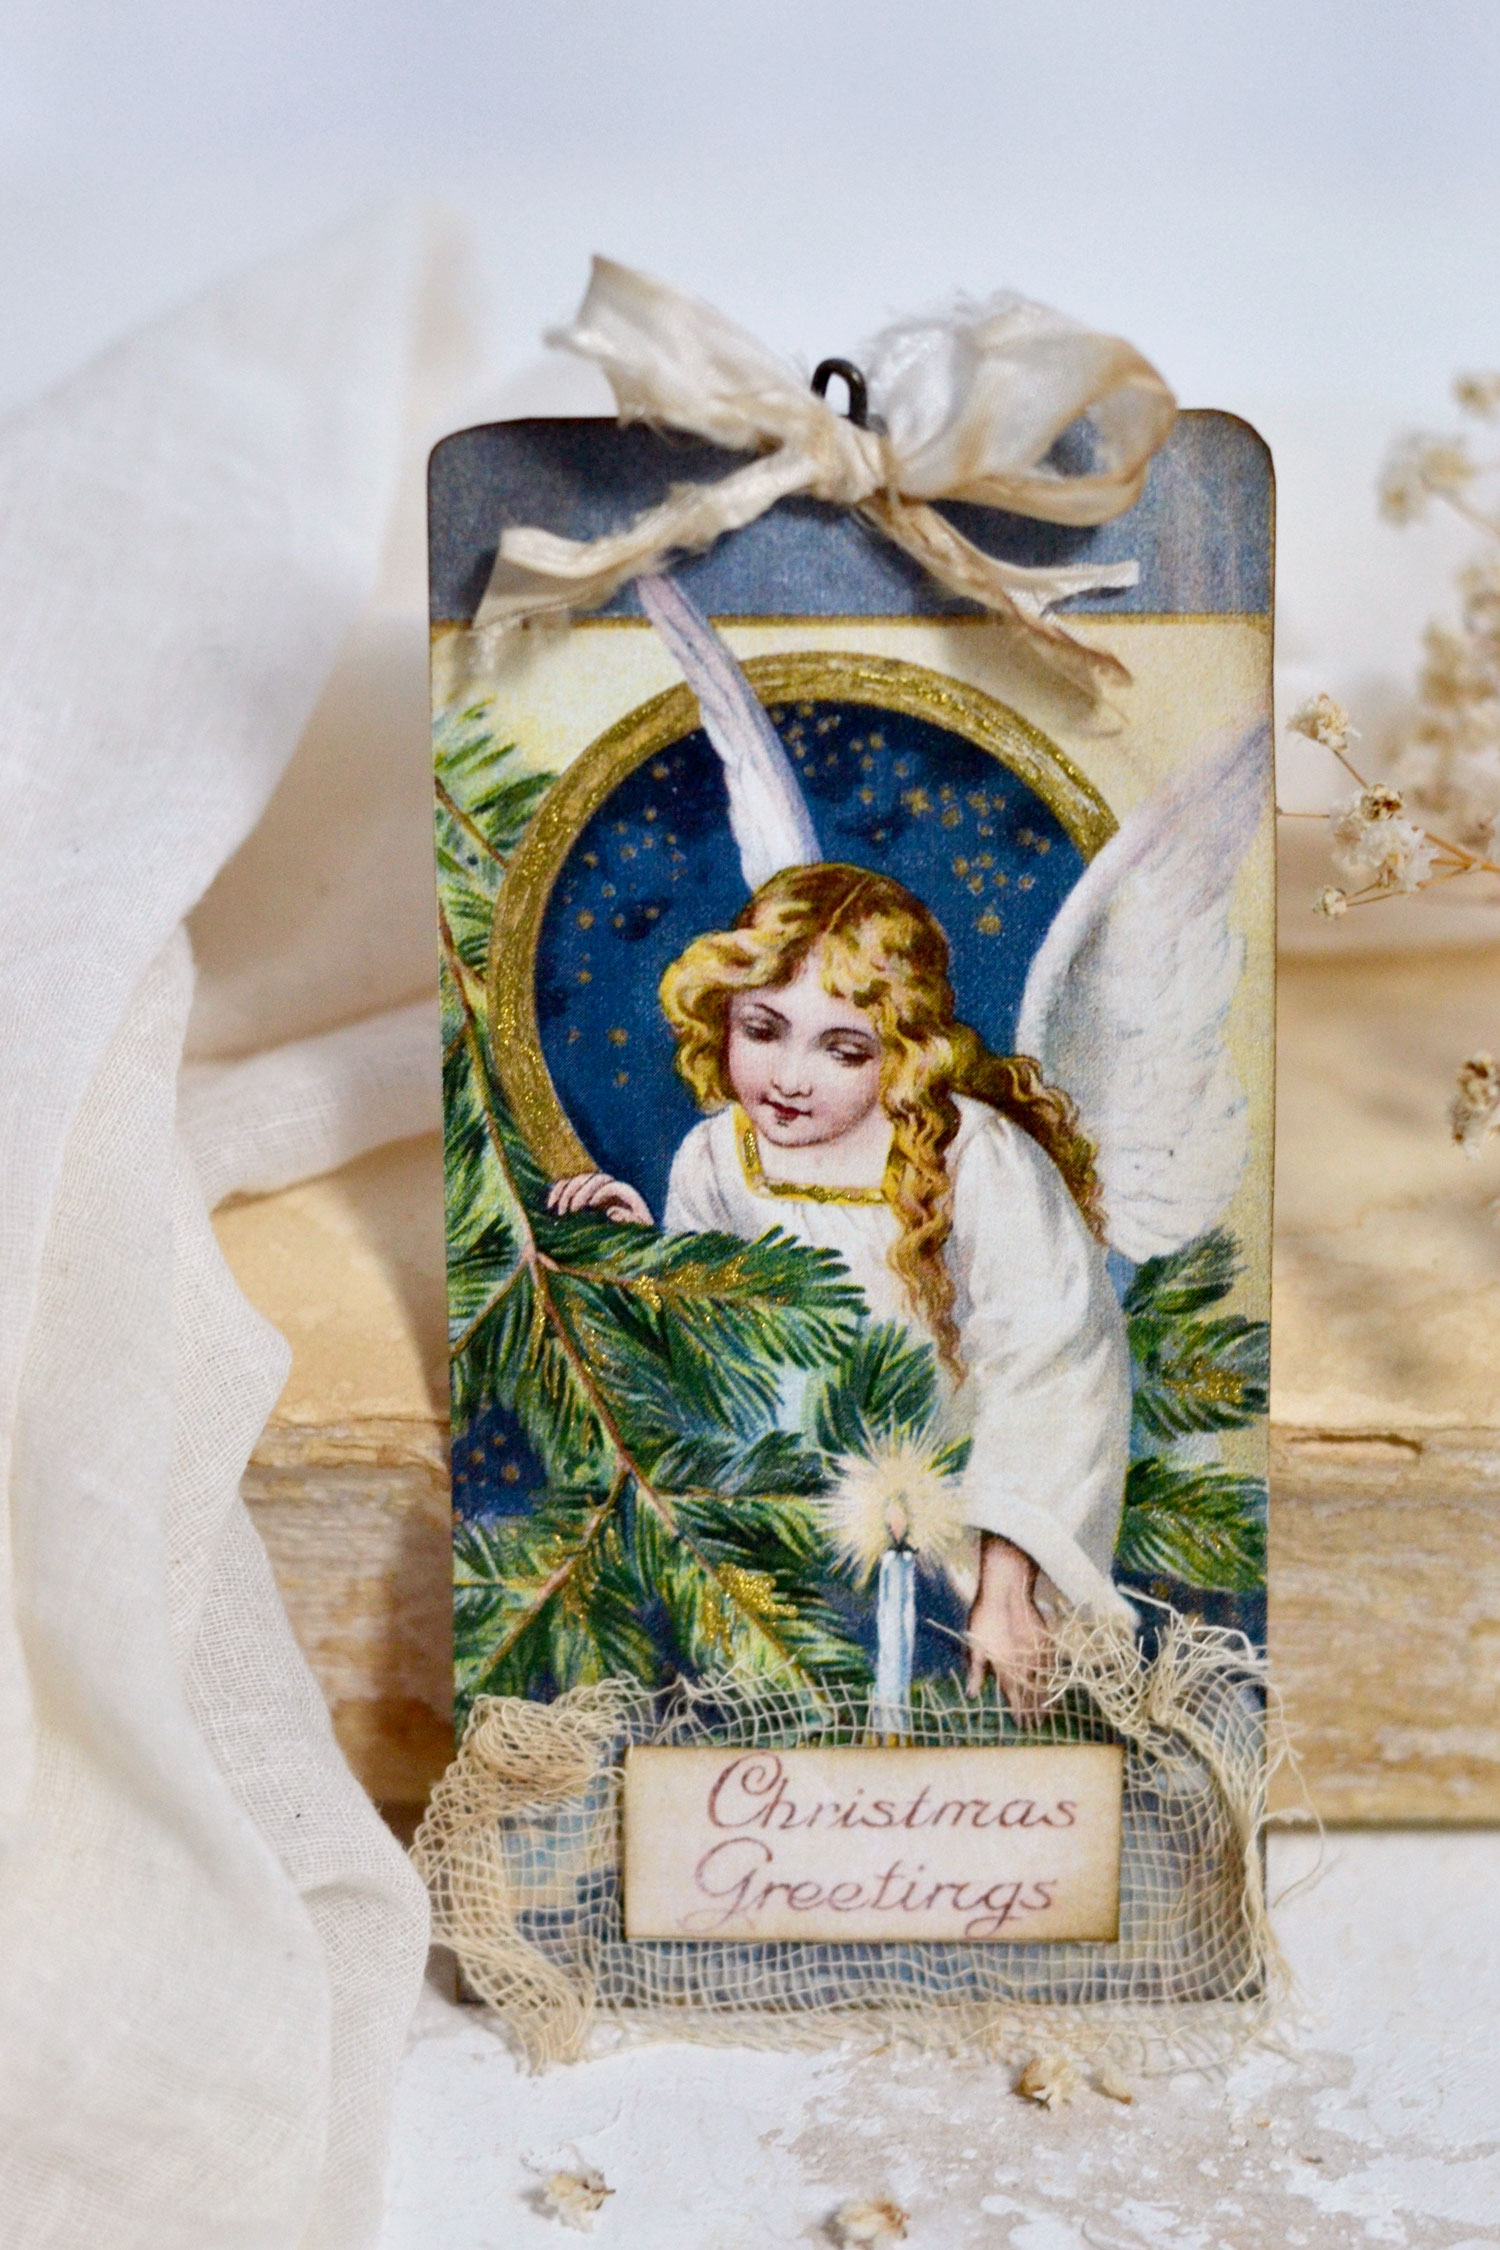
You can add as much gold as you want, but you need to be careful not to completely cover the printed design because it will lose some of its charm. We only want to emphasize the details, so try adding the gold near the lines of the design and not on top of them. And please don’t stress too much about making the gold touches perfect, drawing them should be quite a relaxing process. As you can see below I added gold touches in the form of plus signs on the clothes and highlighted the decorative border of the clothes and the waist belt. Then, I randomly added gold lines on the Christmas tree branches and the wings, following their design and trying not to cover it too much.
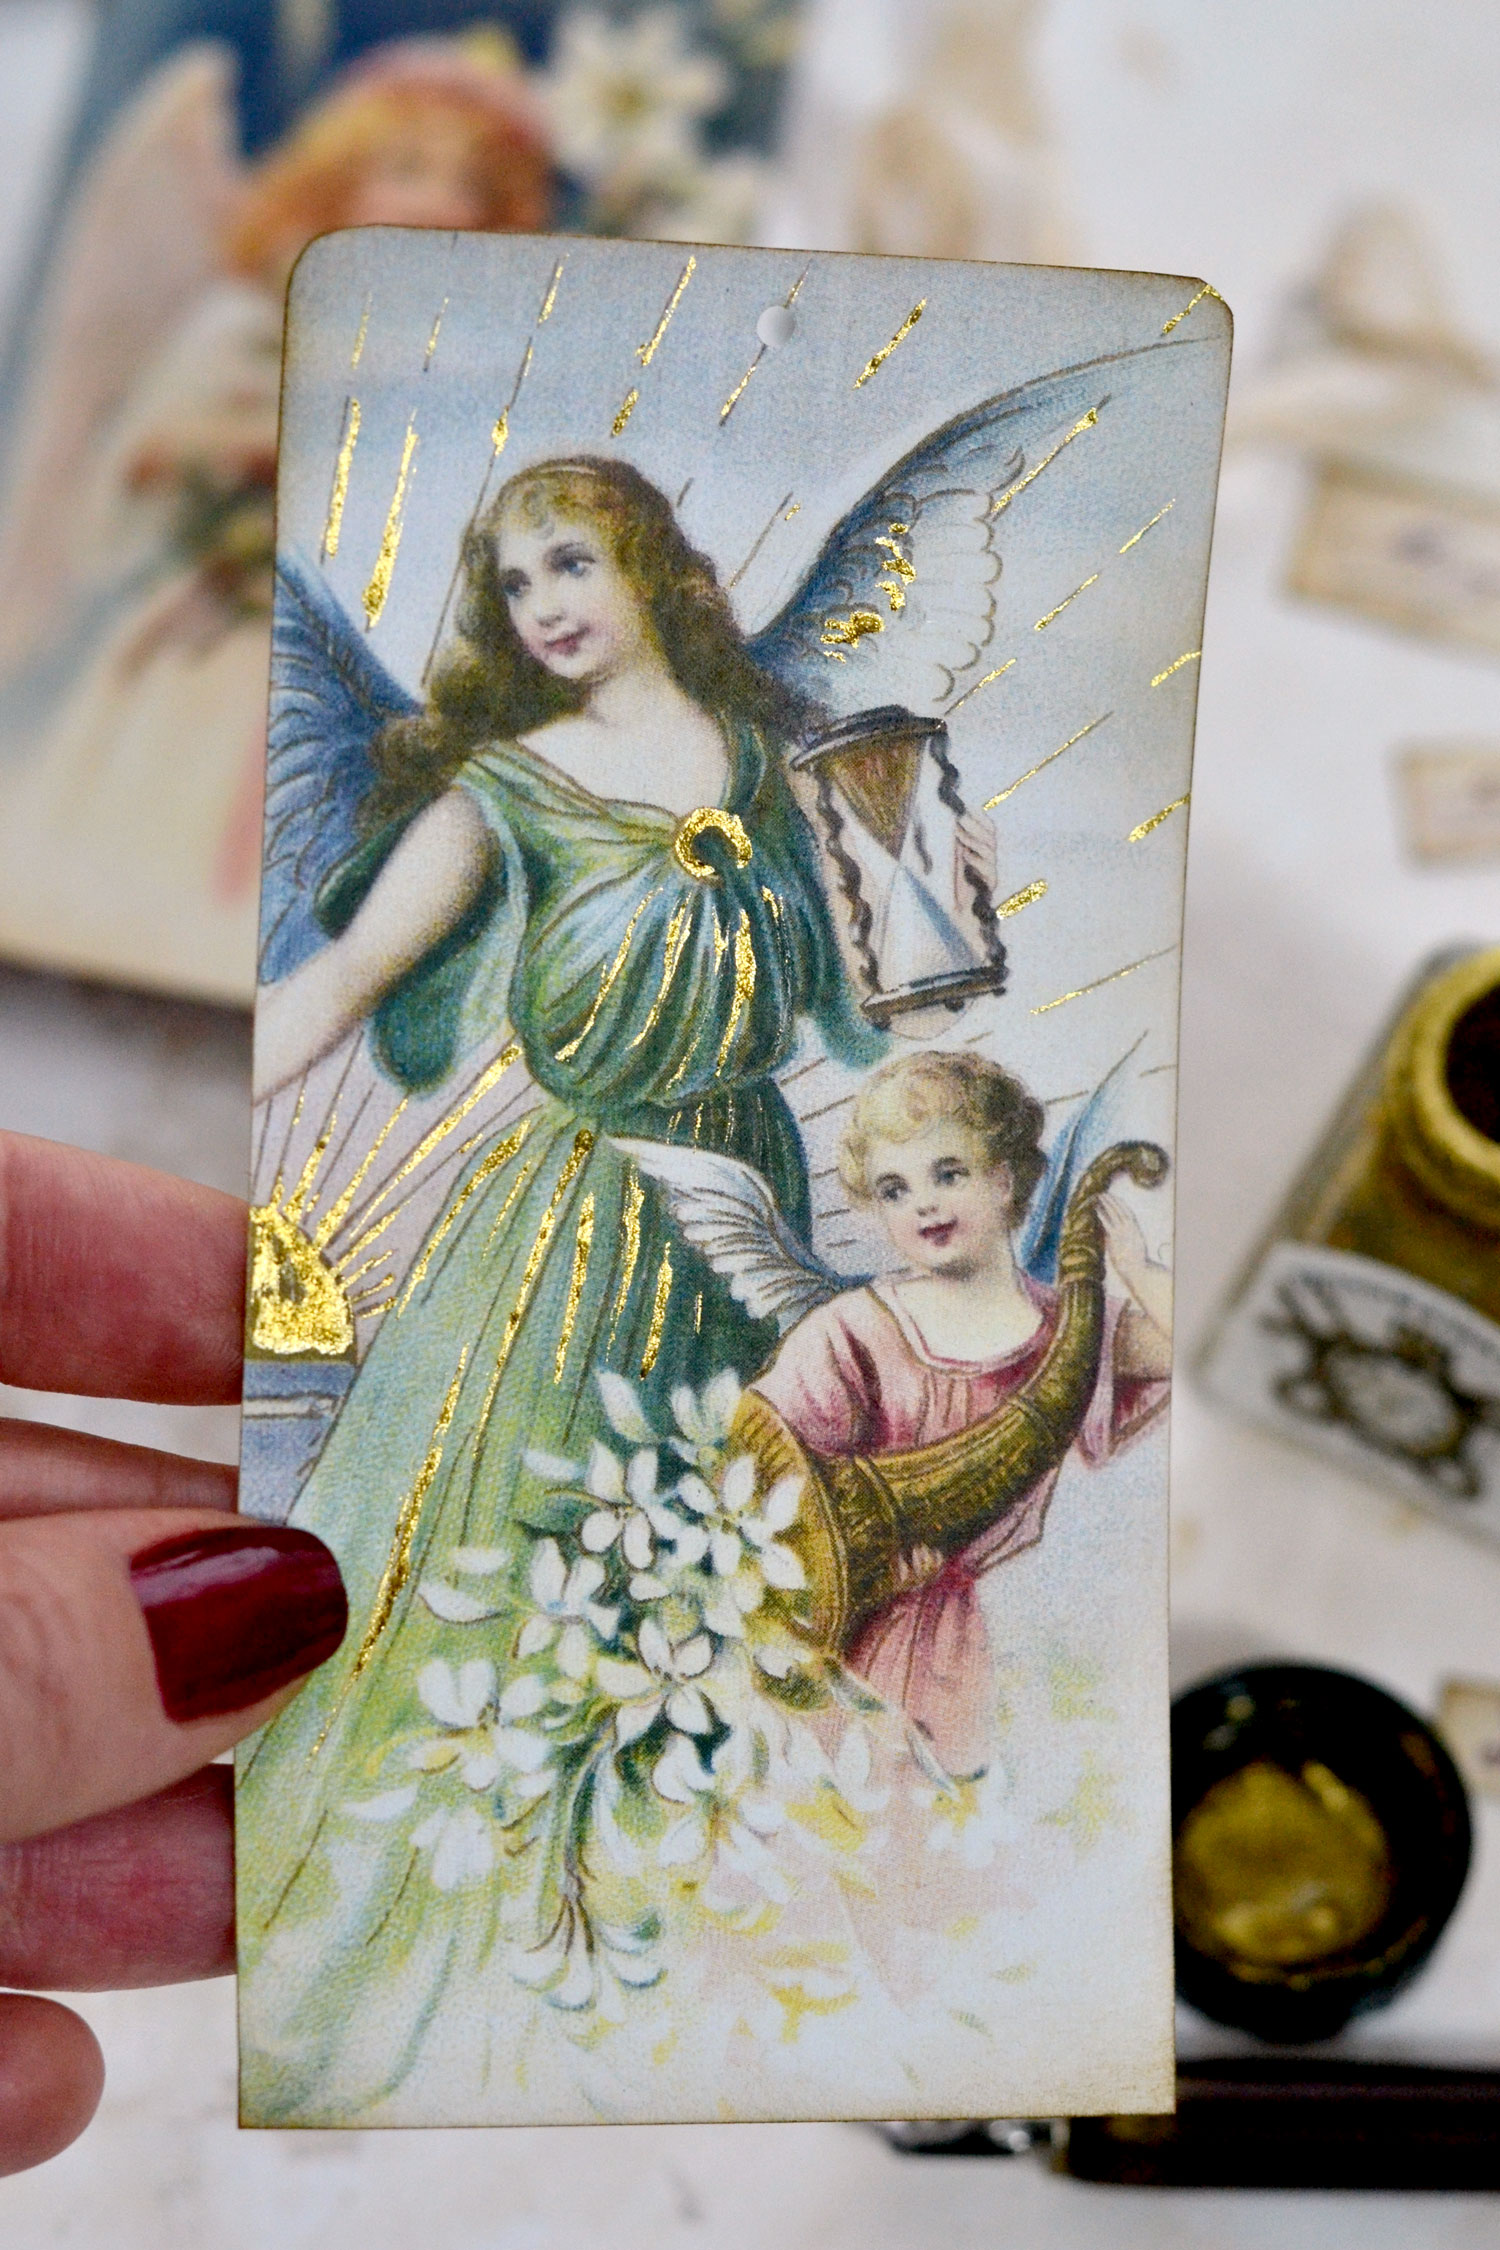
You can also try to add some gold ink near the creases of the clothes, as you can see here I also painted near the design, instead of going over it. The sun and its rays were the only things that I painted in gold on top of the design, I thought these two would look amazing completely covered in gold! But I didn’t try to make them too perfect, I still wanted to keep the vintage vibe of our tags!
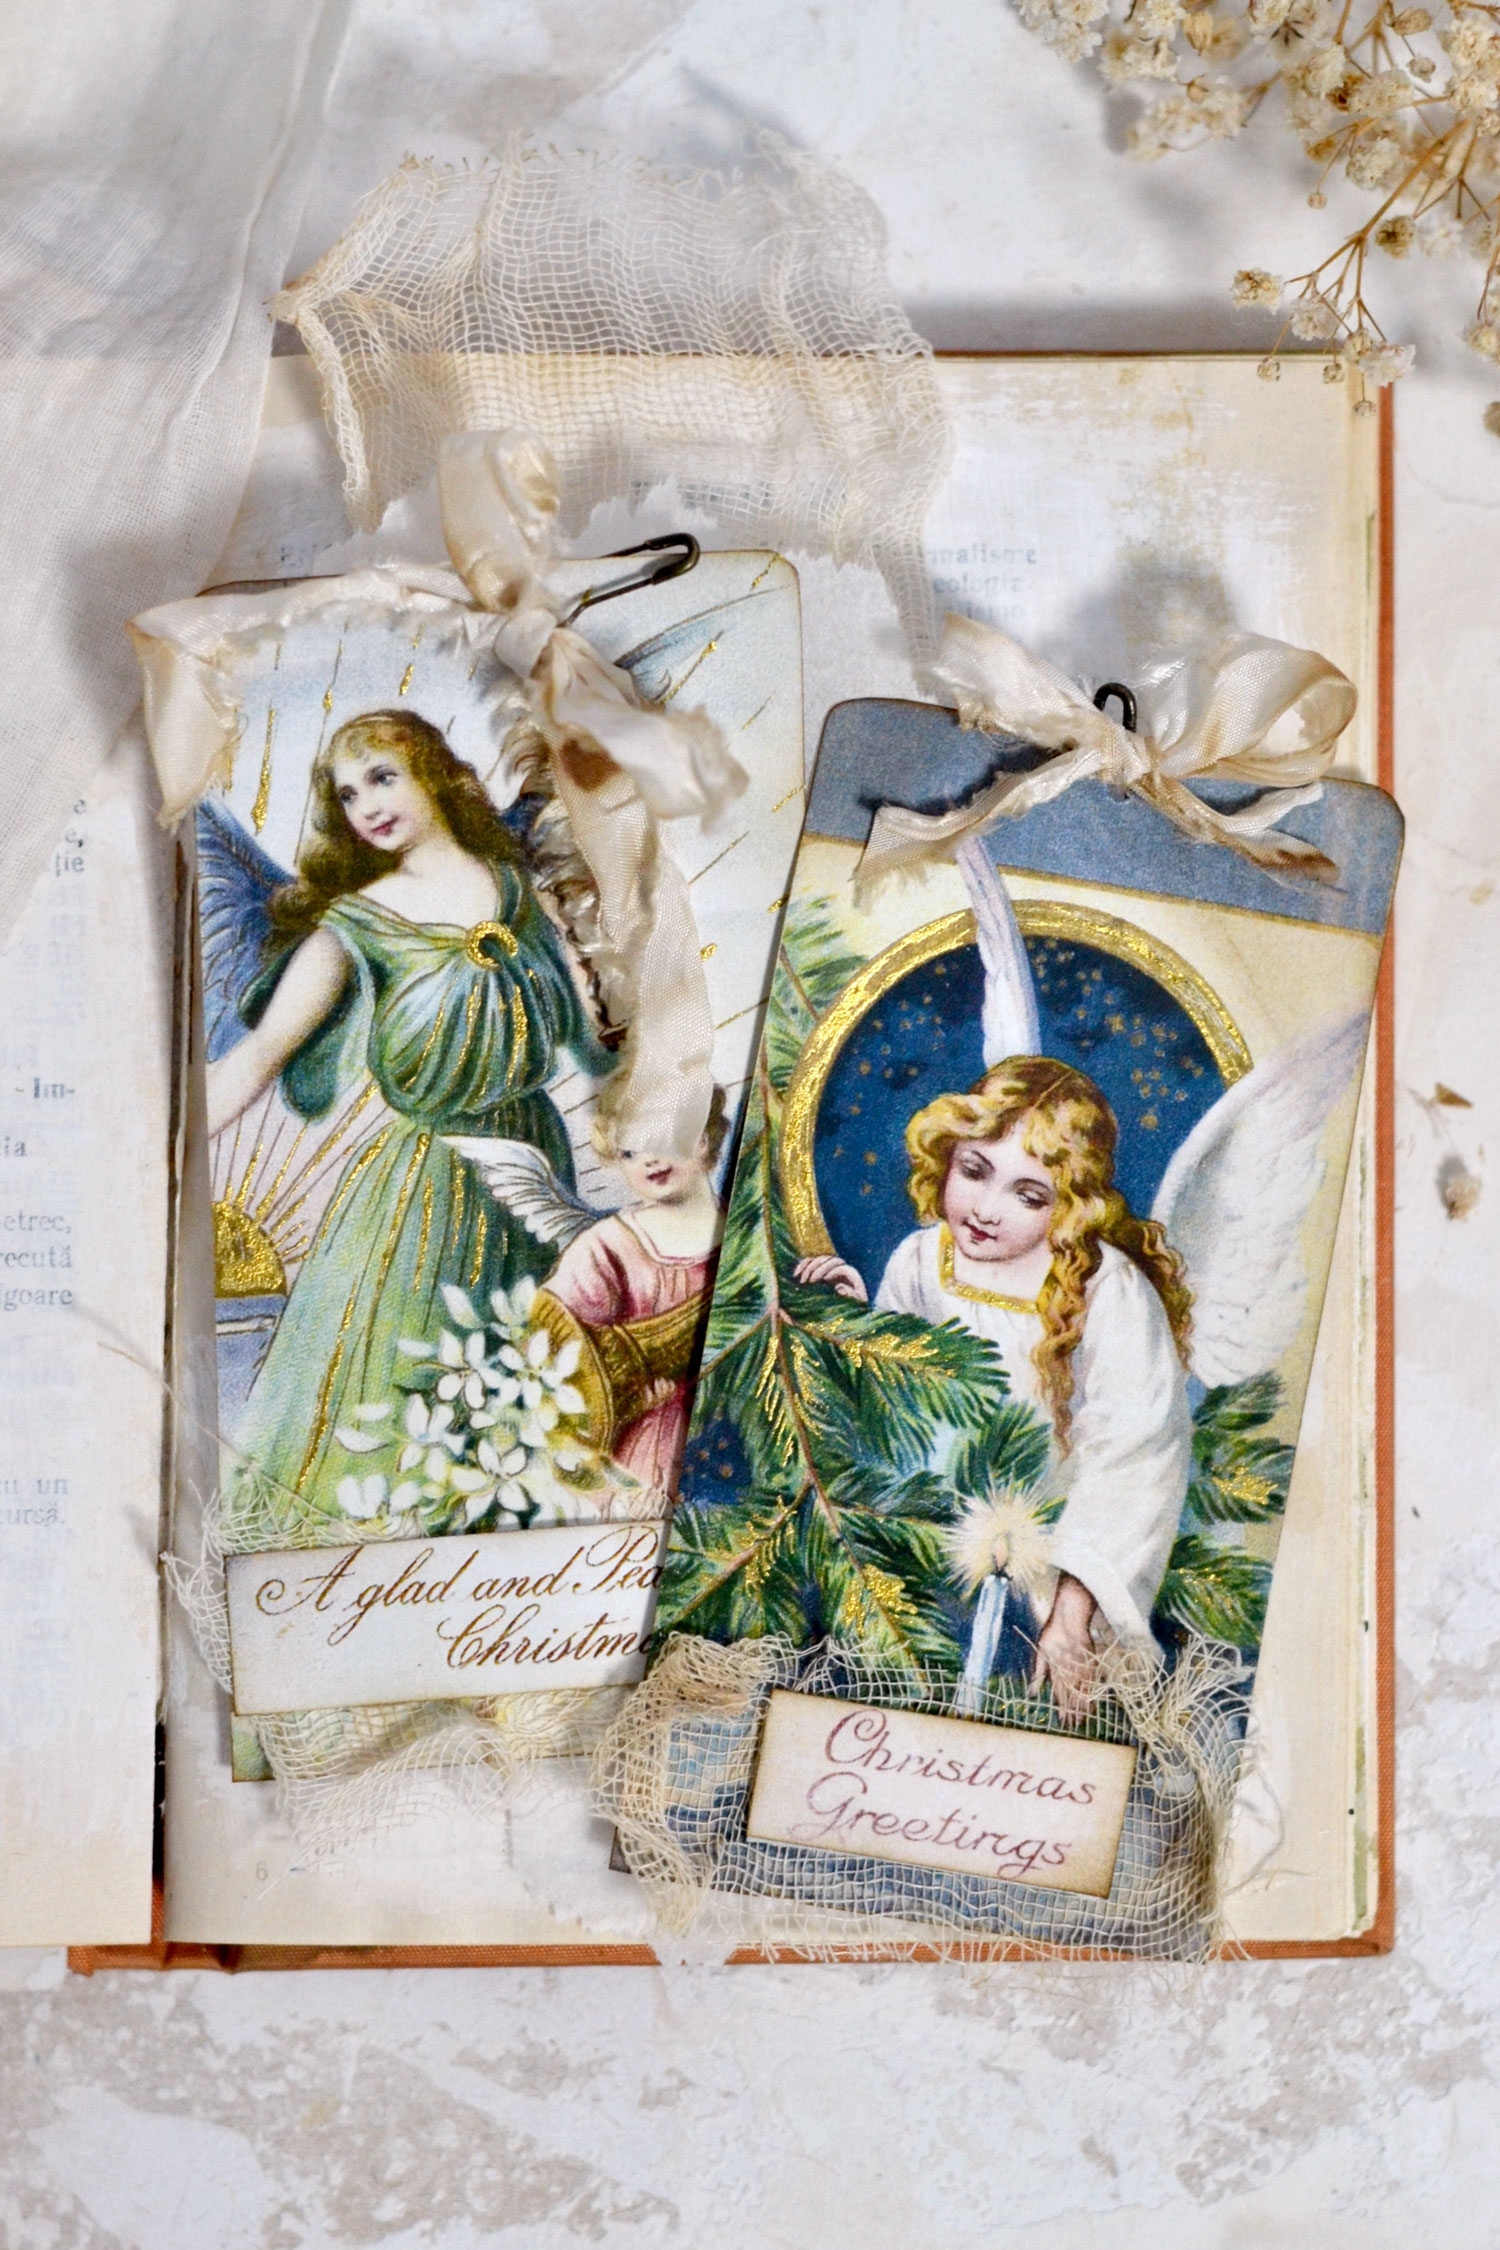
When you are done, you can move on to assembling the tags! I used gourd safety pins and some coffee-stained crinkled ribbons for my tags, but you can use any ribbons that you have around. I started using this gourd safety pin & crinkle ribbon combo more and more often for my projects, I just love how these two look together! You can use the ribbon as it is or you can turn it into small bows before or after adding it through the pins. If you want, you can skip the gourd pins and add the ribbon directly to your tags, but in this case, you might need to punch a larger hole.
Use paper glue to add the Christmas wishes on top, I used a little bit of coffee-stained gauze underneath, just to give them a little bit more texture and dimension.
I wanted to keep the tags on the neutral side, but if you prefer to make them even more festive, you can use red or green ribbons.
Now I’m thinking some gold ribbons will also look amazing with these beauties, so feel free to experiment and make these your own!
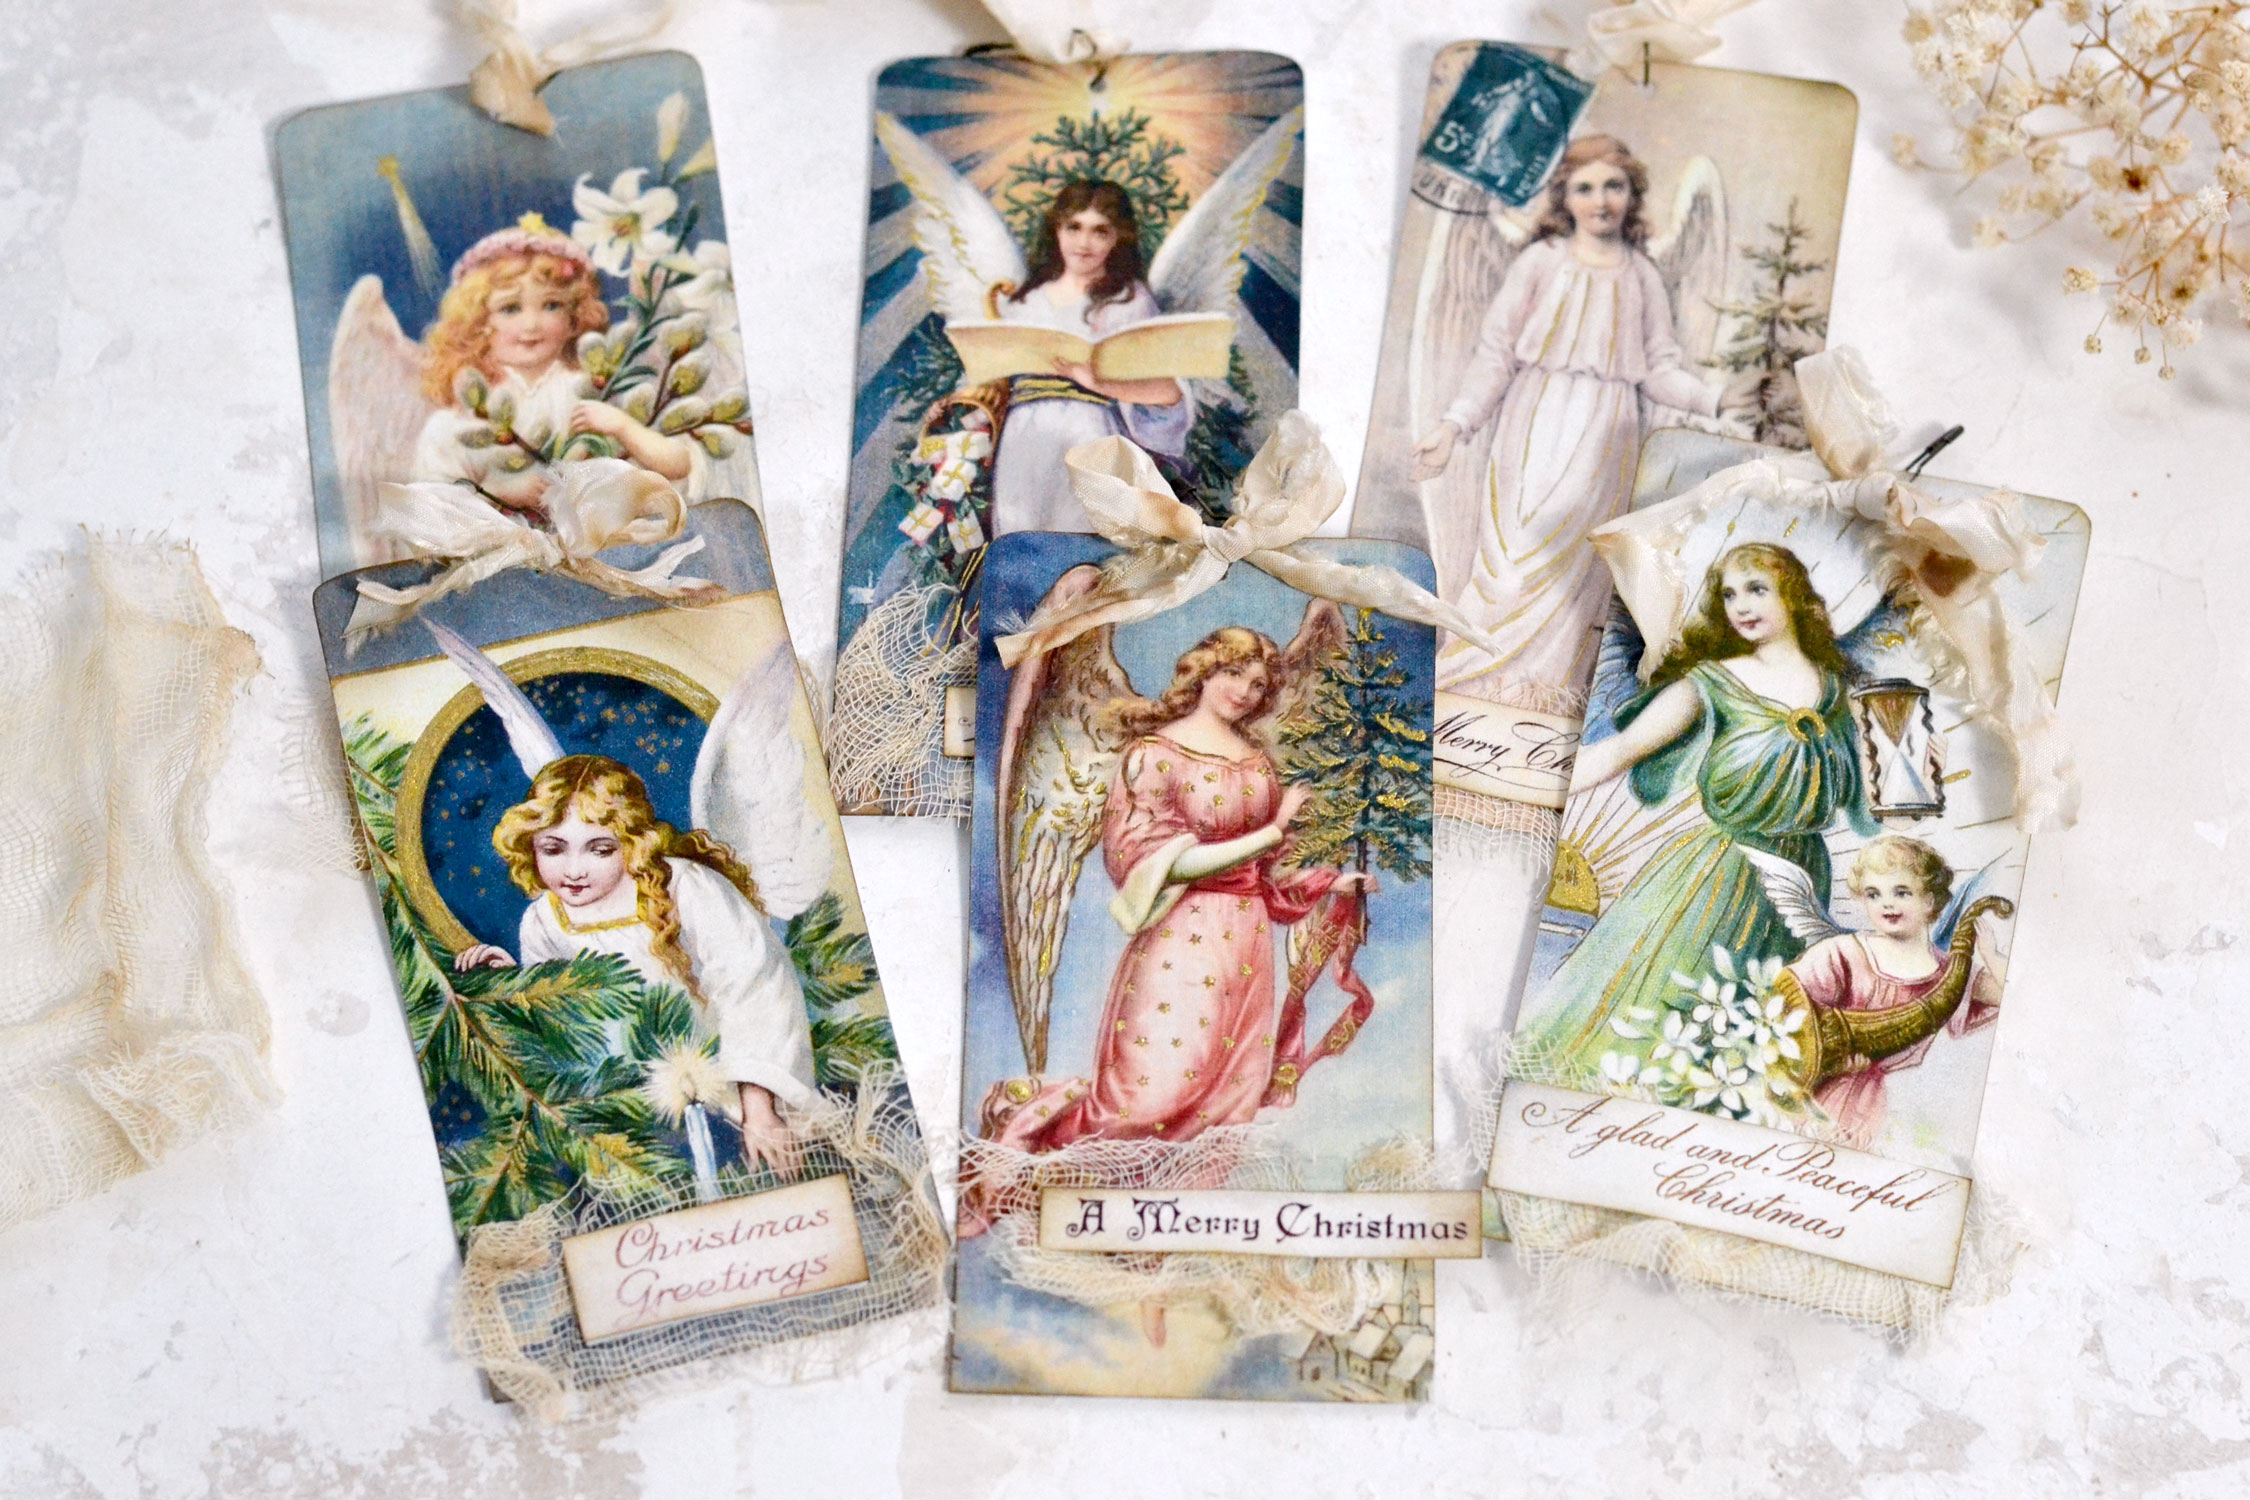
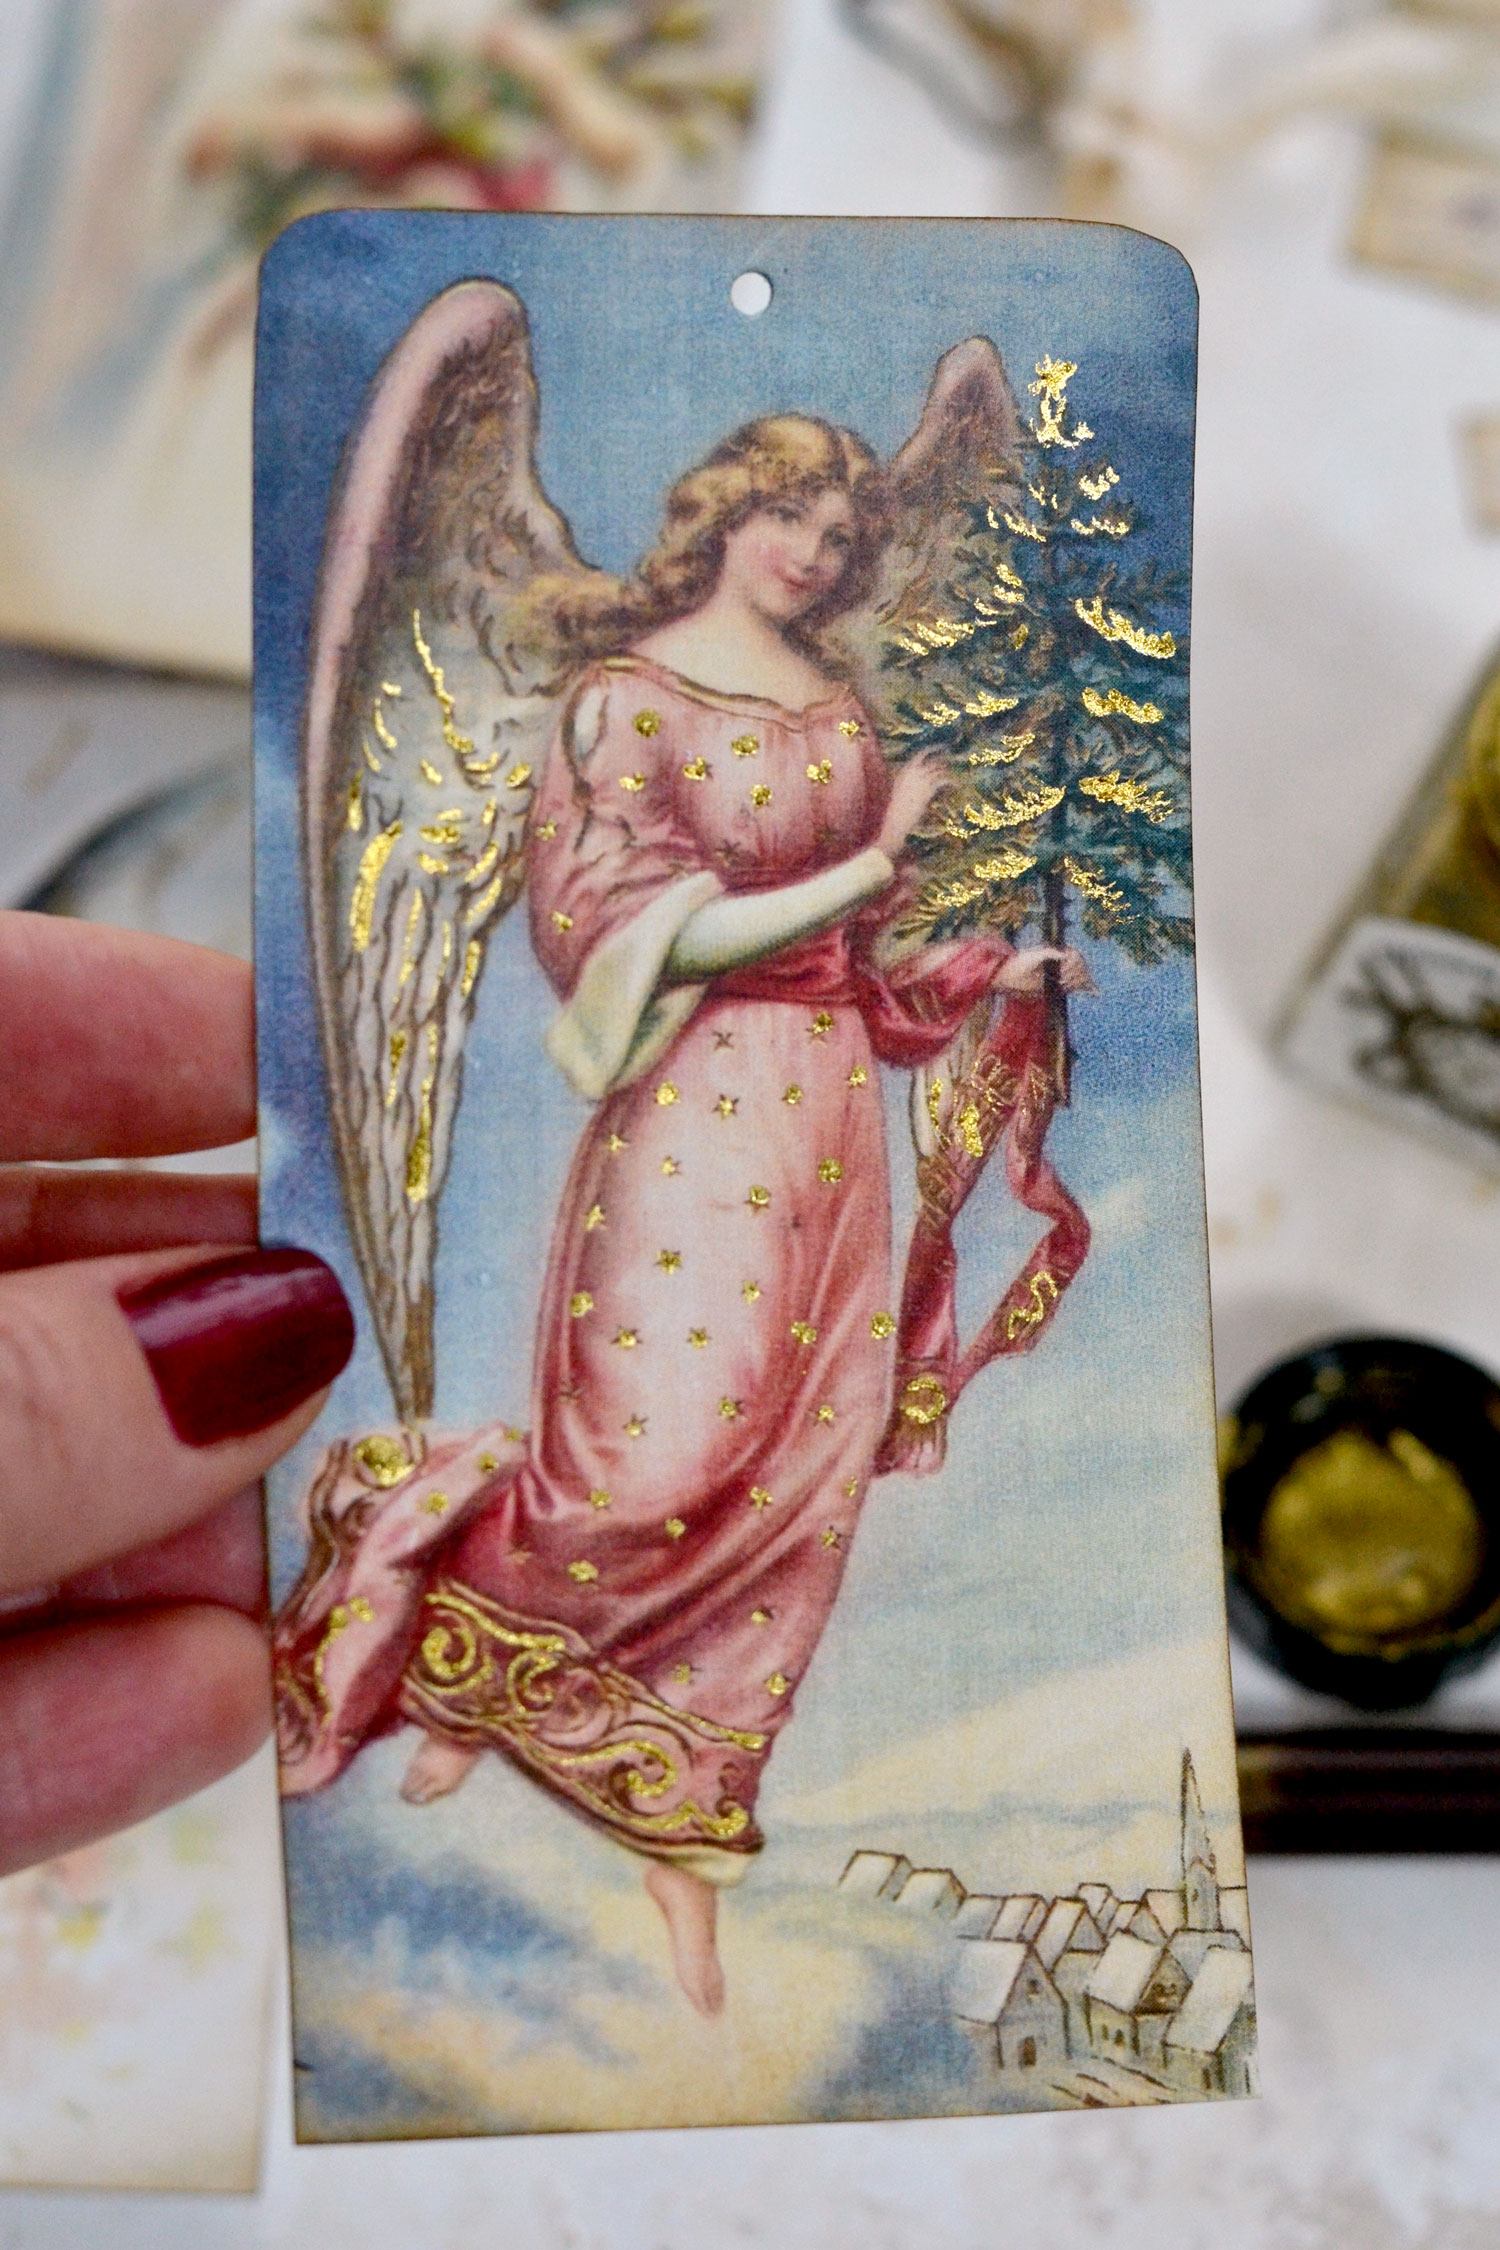
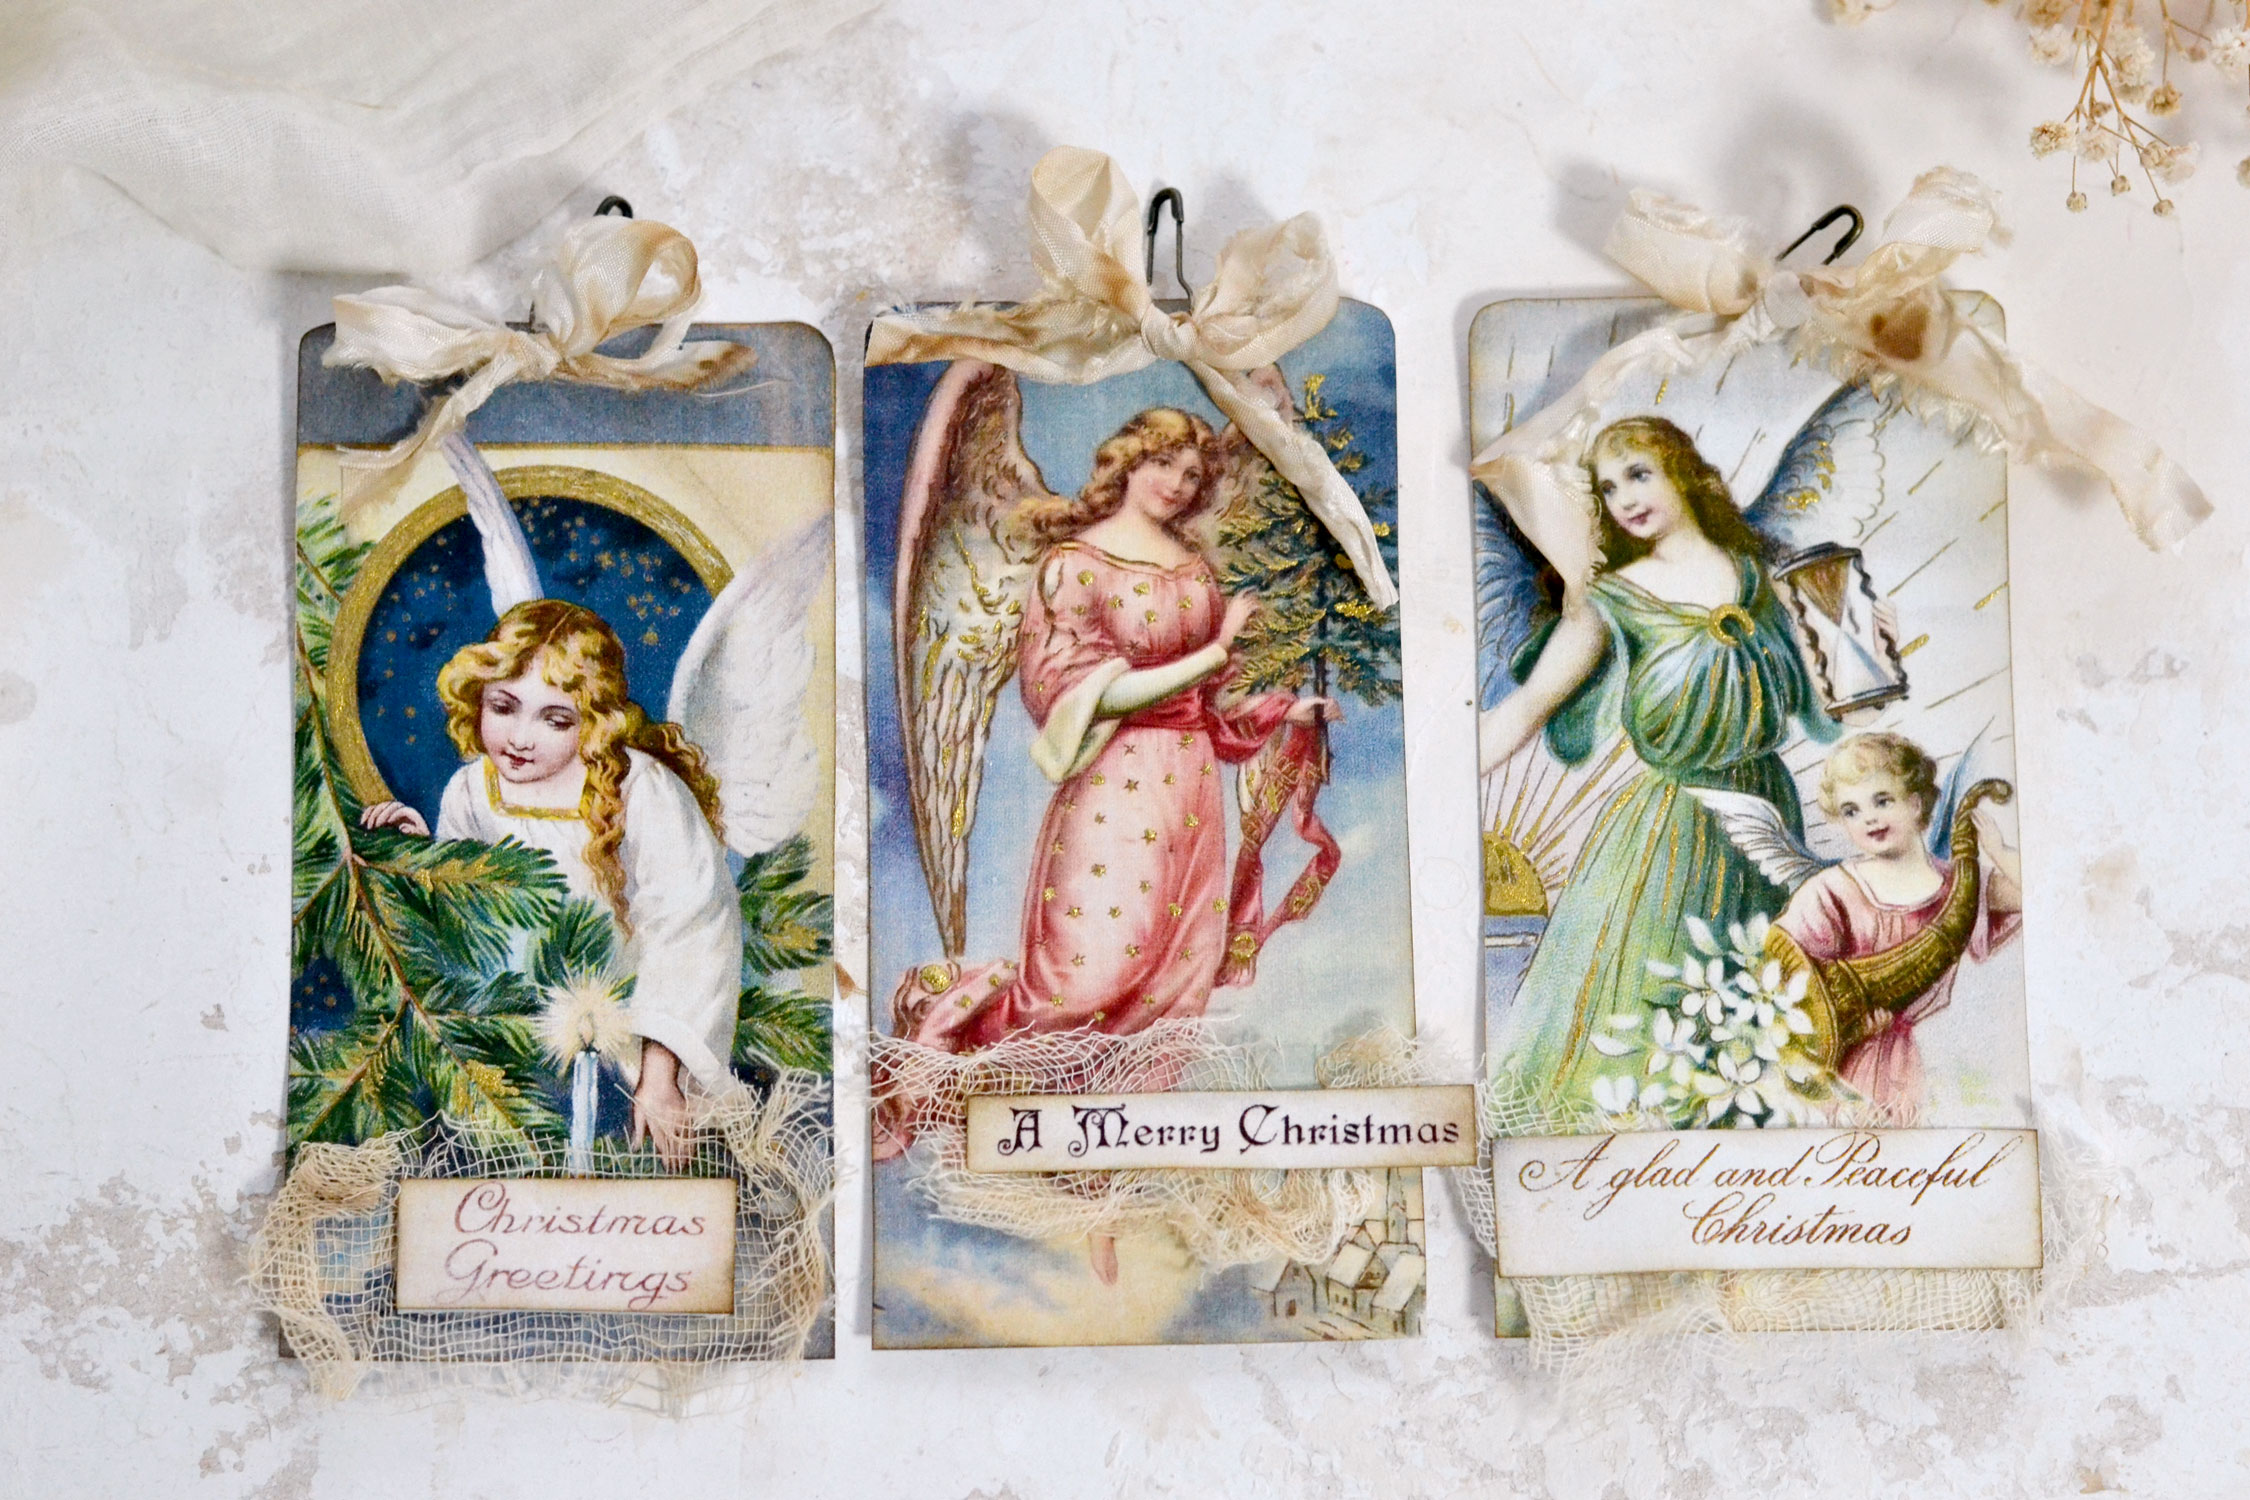
A few of my Vintage Christmas Angel tags ranked higher on my preference list, like the one below. I’m not sure if it’s the gold ink or the design that speaks the most to me, but I just love how stunning this one turned out!
I feel like the tags are somehow neutral and colorful at the same time, so depending on how you decide to use them, you can dictate their usage. But I guess that’s a good thing because they can be easily included in both neutral and colorful projects, so there’s plenty to experiment and have fun with here!
The one below was also among my favorites, I just love how the gold on the branches emphasizes the design, making it truly unique! I also added some gold to the round window behind the angel, but again, I didn’t completely cover the design, I only gold-enhanced it!
The angel tag below didn’t necessarily make it to my favorite list, or at least at first it didn’t. But then, after adding some gold touches to the wings and being able to observe it more closely, it started to somehow grow on me. There is something about these perfectly soft feathered wings that just makes this angel surreal, I just love it!
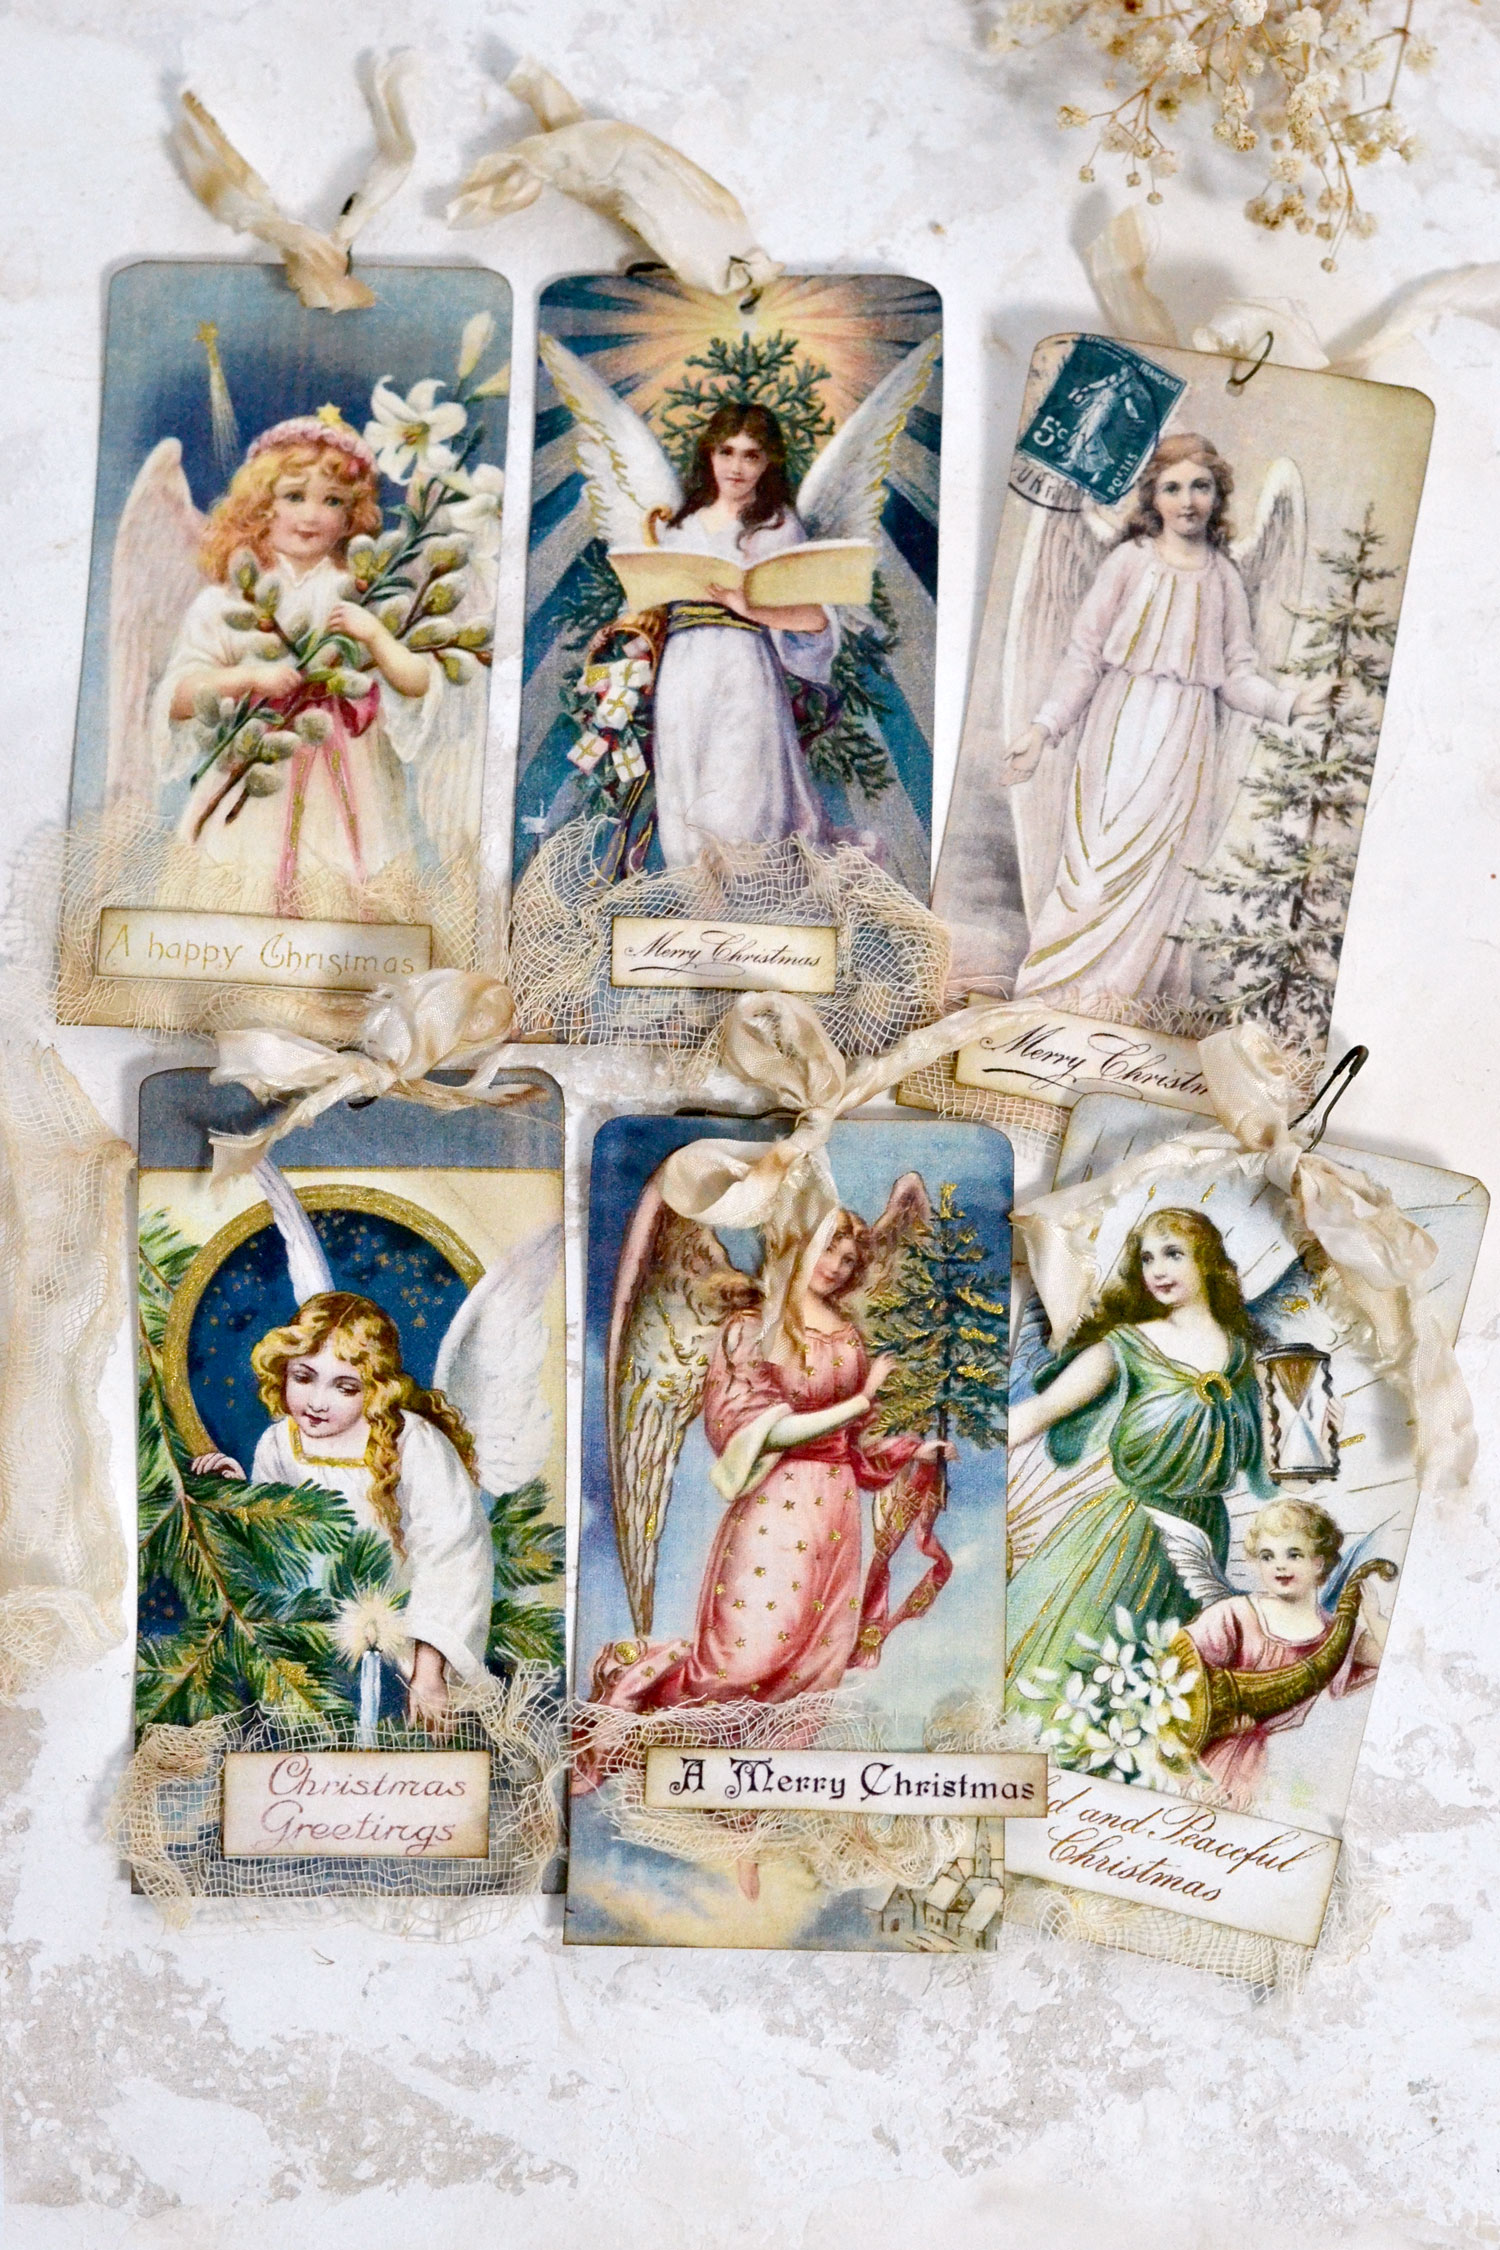
You can use the angel Christmas craft tags to embellish all your Christmas gifts this year and you can also include them in your junk journals or other creative projects. You can even place them on your Christmas tree or just use them in your home as small decorative pieces. Even your cabinets and your drawers might benefit from these as small adornments, but they can also be included in lovely vignettes with vintage books, angel statues and some cinnamon-scented candles. You can even turn them into vintage angel bookmarks, there are so many possibilities for getting creative with these!
I hope you will love this project and decide to give it a try. It won’t take too much of your time to complete it, so you’ll also have time to spend with friends and family to make beautiful memories that will last forever! Happy Holidays, creative friends, I hope you have a blessed Christmas! You might also like my Christmas Journaling Tag Pockets HERE.
 Christmas Cone Tag Video:
Here’s a related video that you might also enjoy!




Cynthia White says
These are beautiful! Thank you so much for sharing.
Karen Watson says
Hi Cynthia, Thank you so much!
Rpmo says
Why are all these angels white-skinned? I imagine it is simply the custom since Renaissance. In the medieval times, they were there. There are black saints, even Jesus was not white, so there must be black and mixed angels.
Thank you
Karen Watson says
Hi there, Diana used authentic antique postcards from the late 1800s- early 1900’s. I’m afraid during that time period this is what would have been the norm. There was just not a lot of diversity in the Christmas art at that time sadly.