Christmas Journal Tags
Hello Graphics Fairy friends! I’m Diana from Dreams Factory, and I’m happy to be here again to share another DIY project with you! Today, I will show you how to make these super chic Christmas Journal Tags with a lovely vintage vibe. The beautiful holly wreath image on top will turn into a window that will allow us to further decorate the interior with our favorite Christmas images. We’ll sprinkle some glitter to make them more charming and perfectly equipped for the holidays.
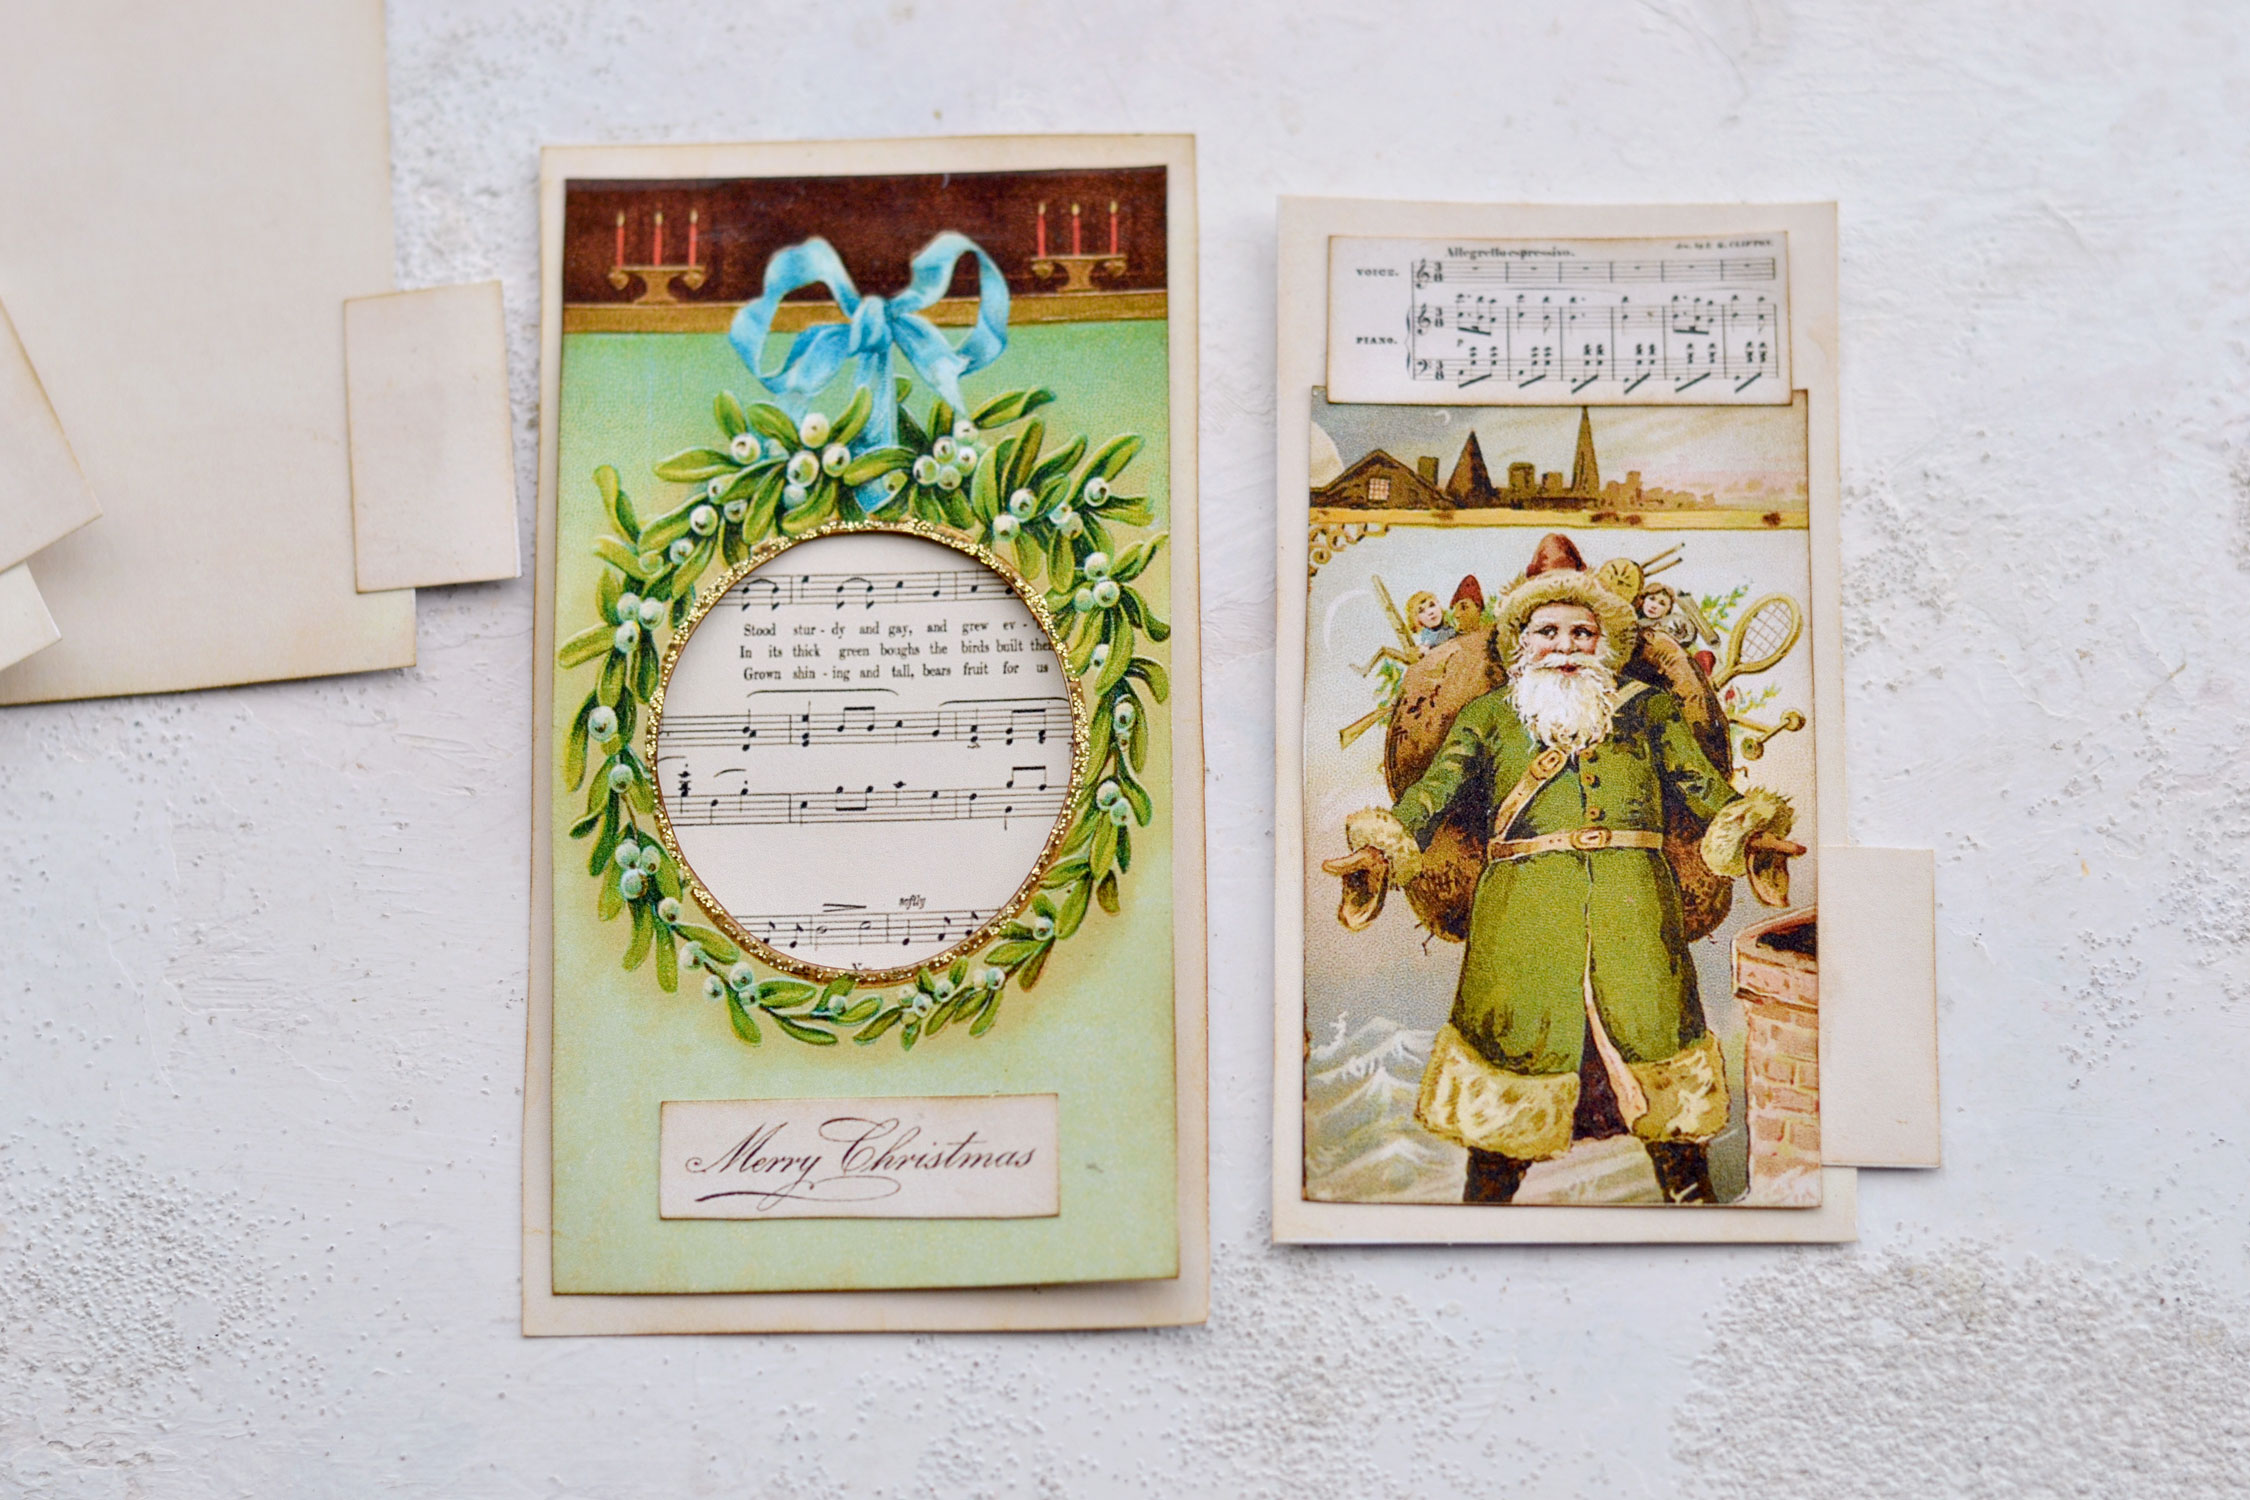
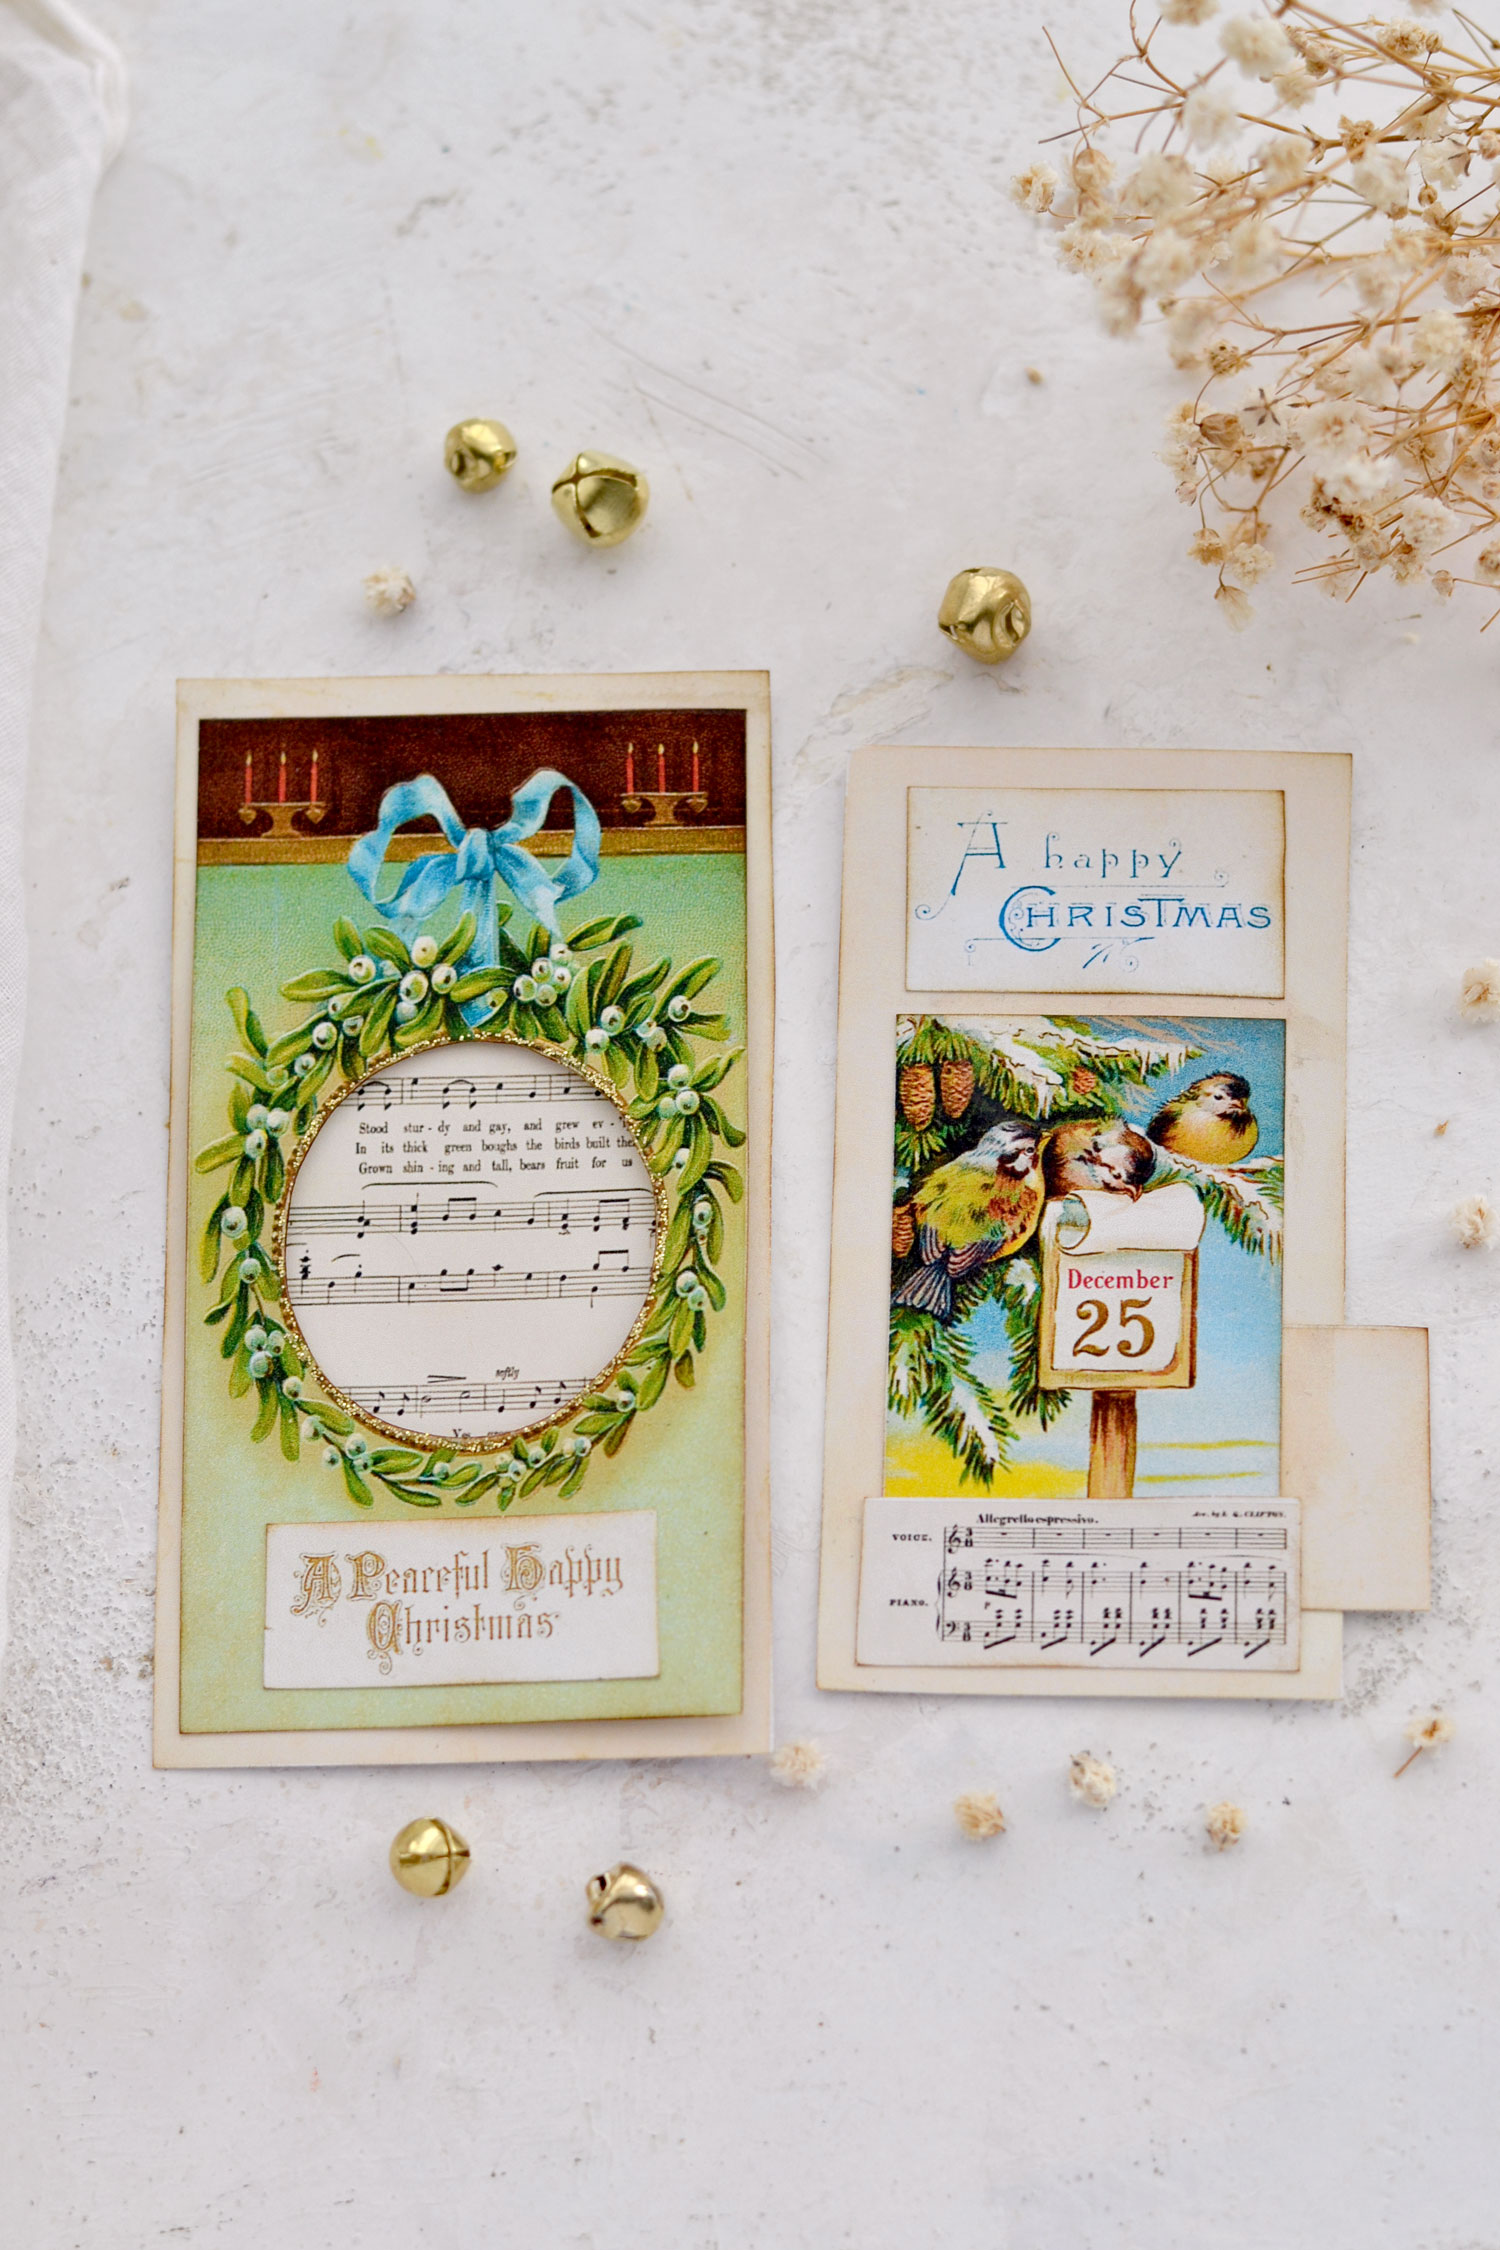
Each tag will consist of a few elements – we’ll have the beautiful holly wreath on top and a lovely sheet music base underneath. Because we will only glue the holly wreath element on one of the sides, we will be able to turn everything into a pocket that will allow us to tuck another tag element inside.
Free Printable:
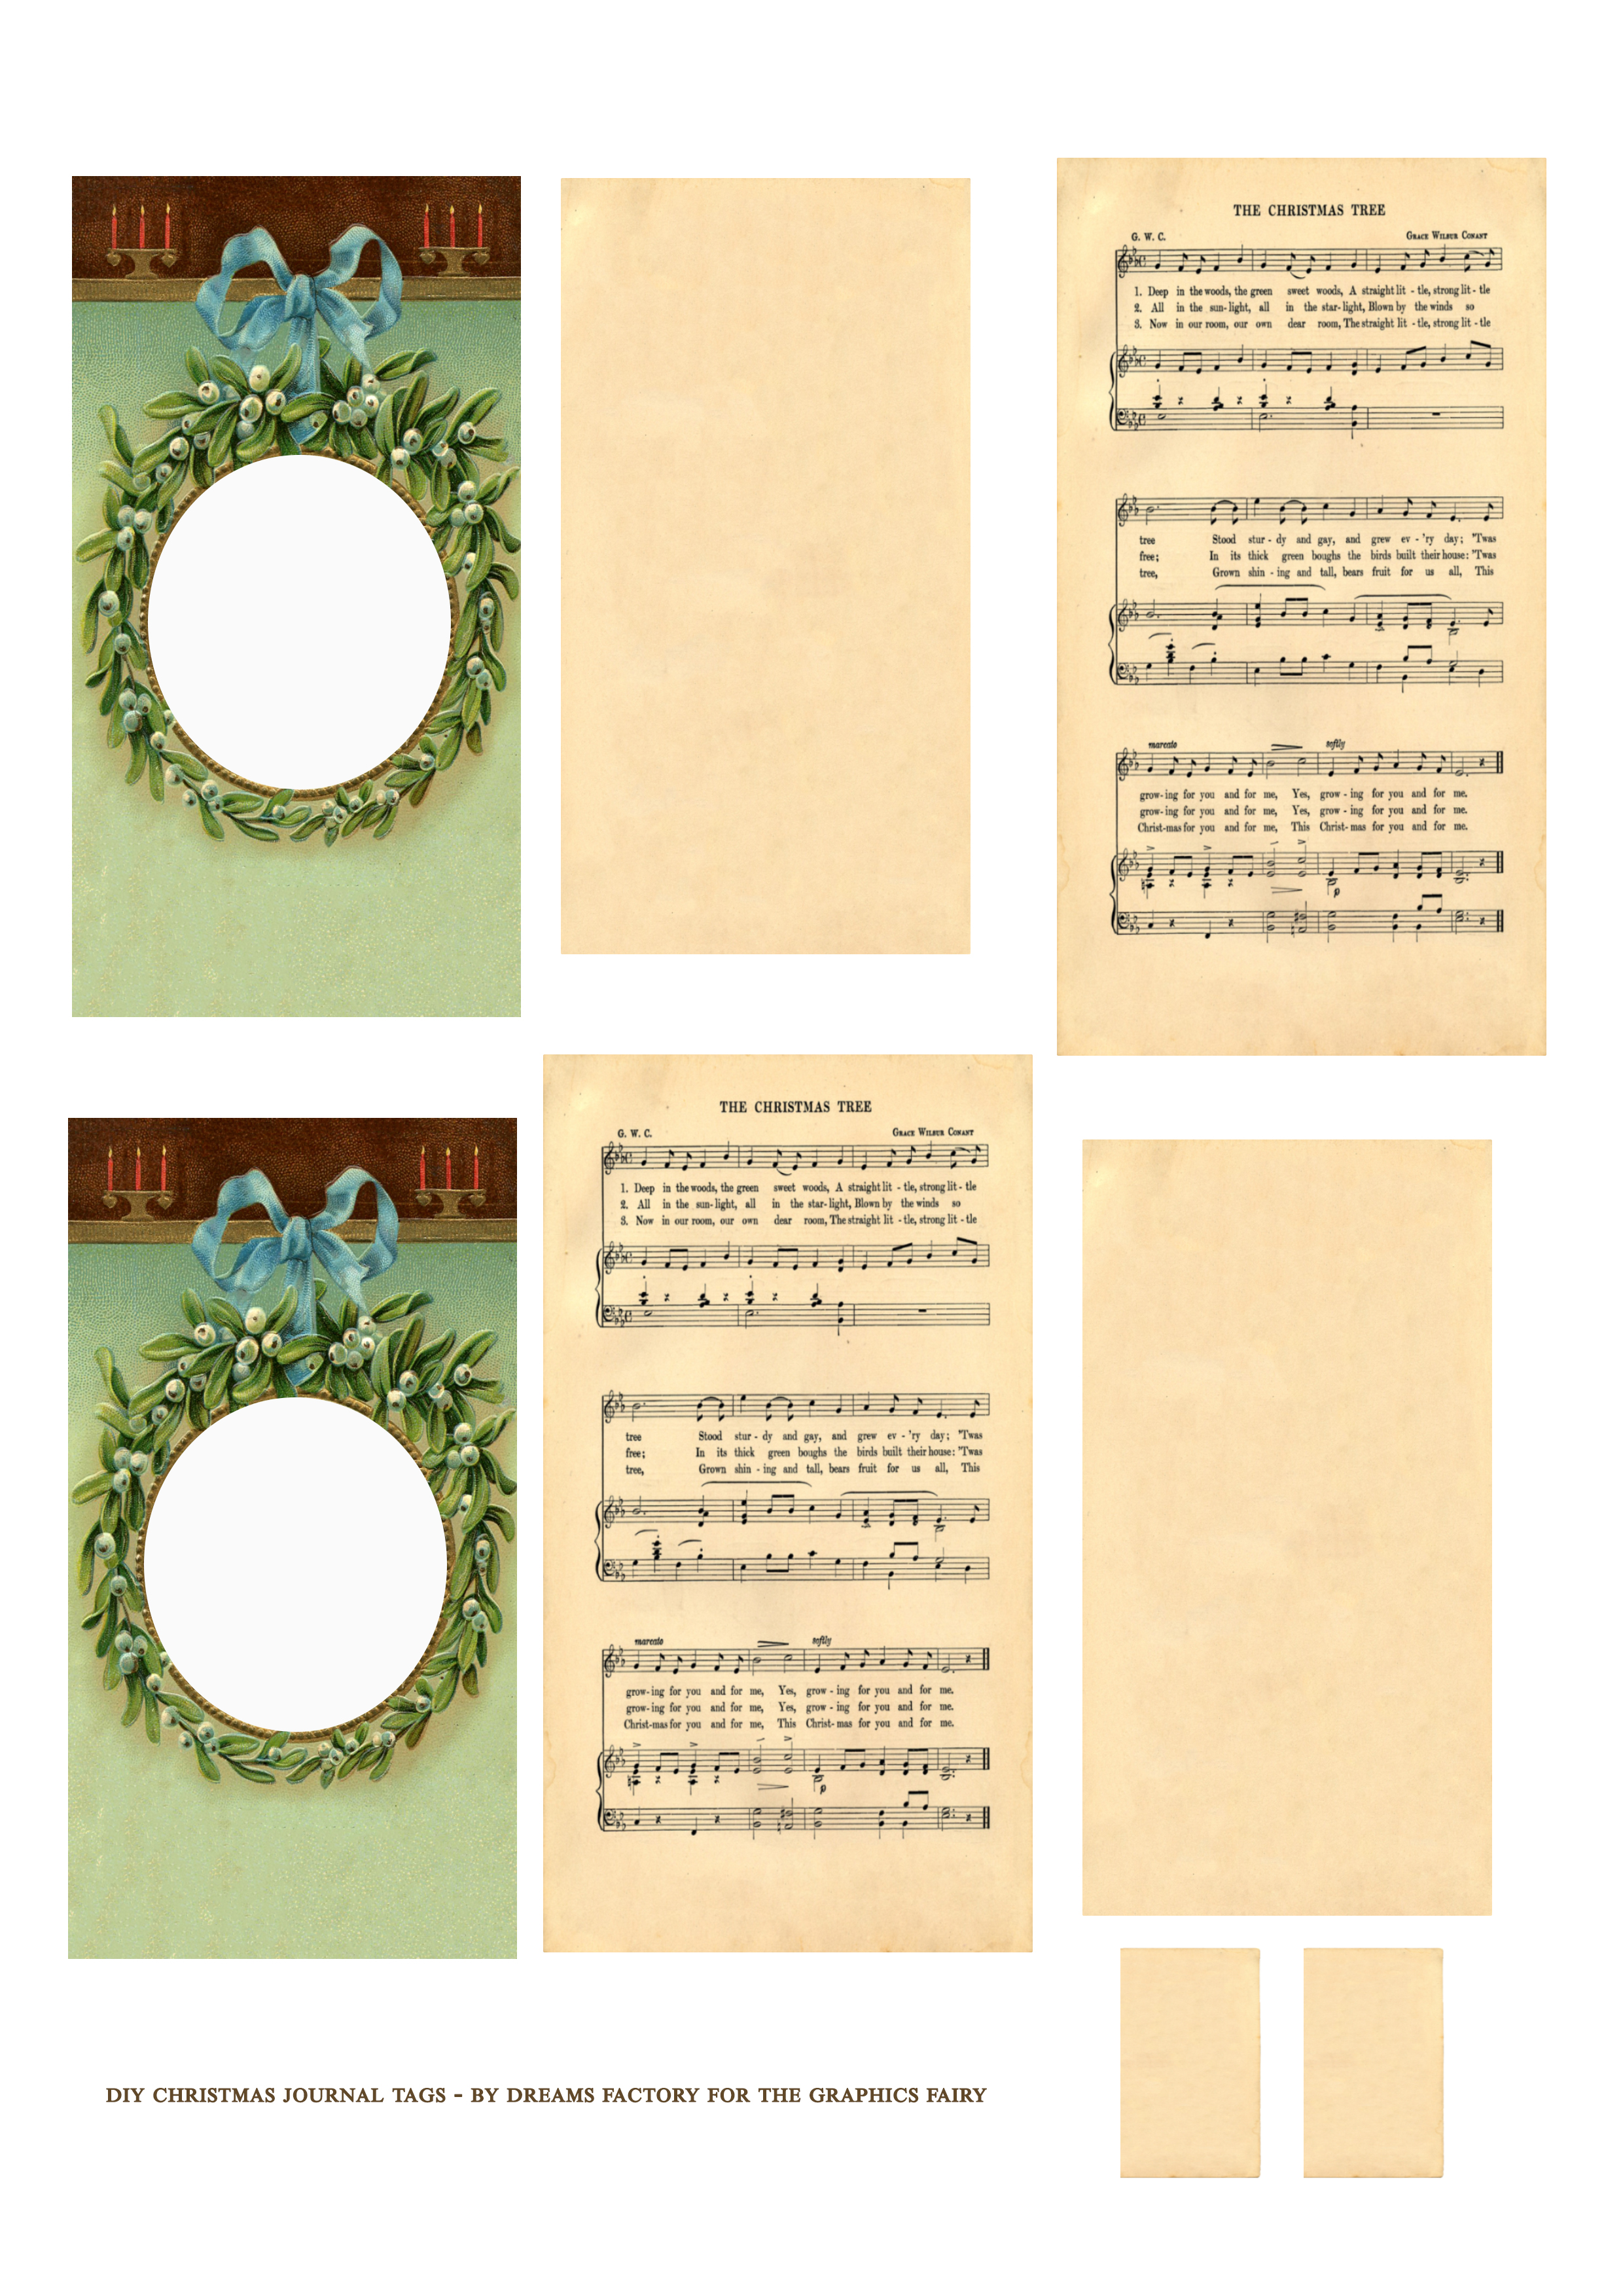
Here are the two free printables that I’m sharing for this project. The first one will give you all the elements you need to make two tags, just print it accordingly depending on how many tags you want to make.
—-> Click HERE to Download the Full Size Printable PDF <—-
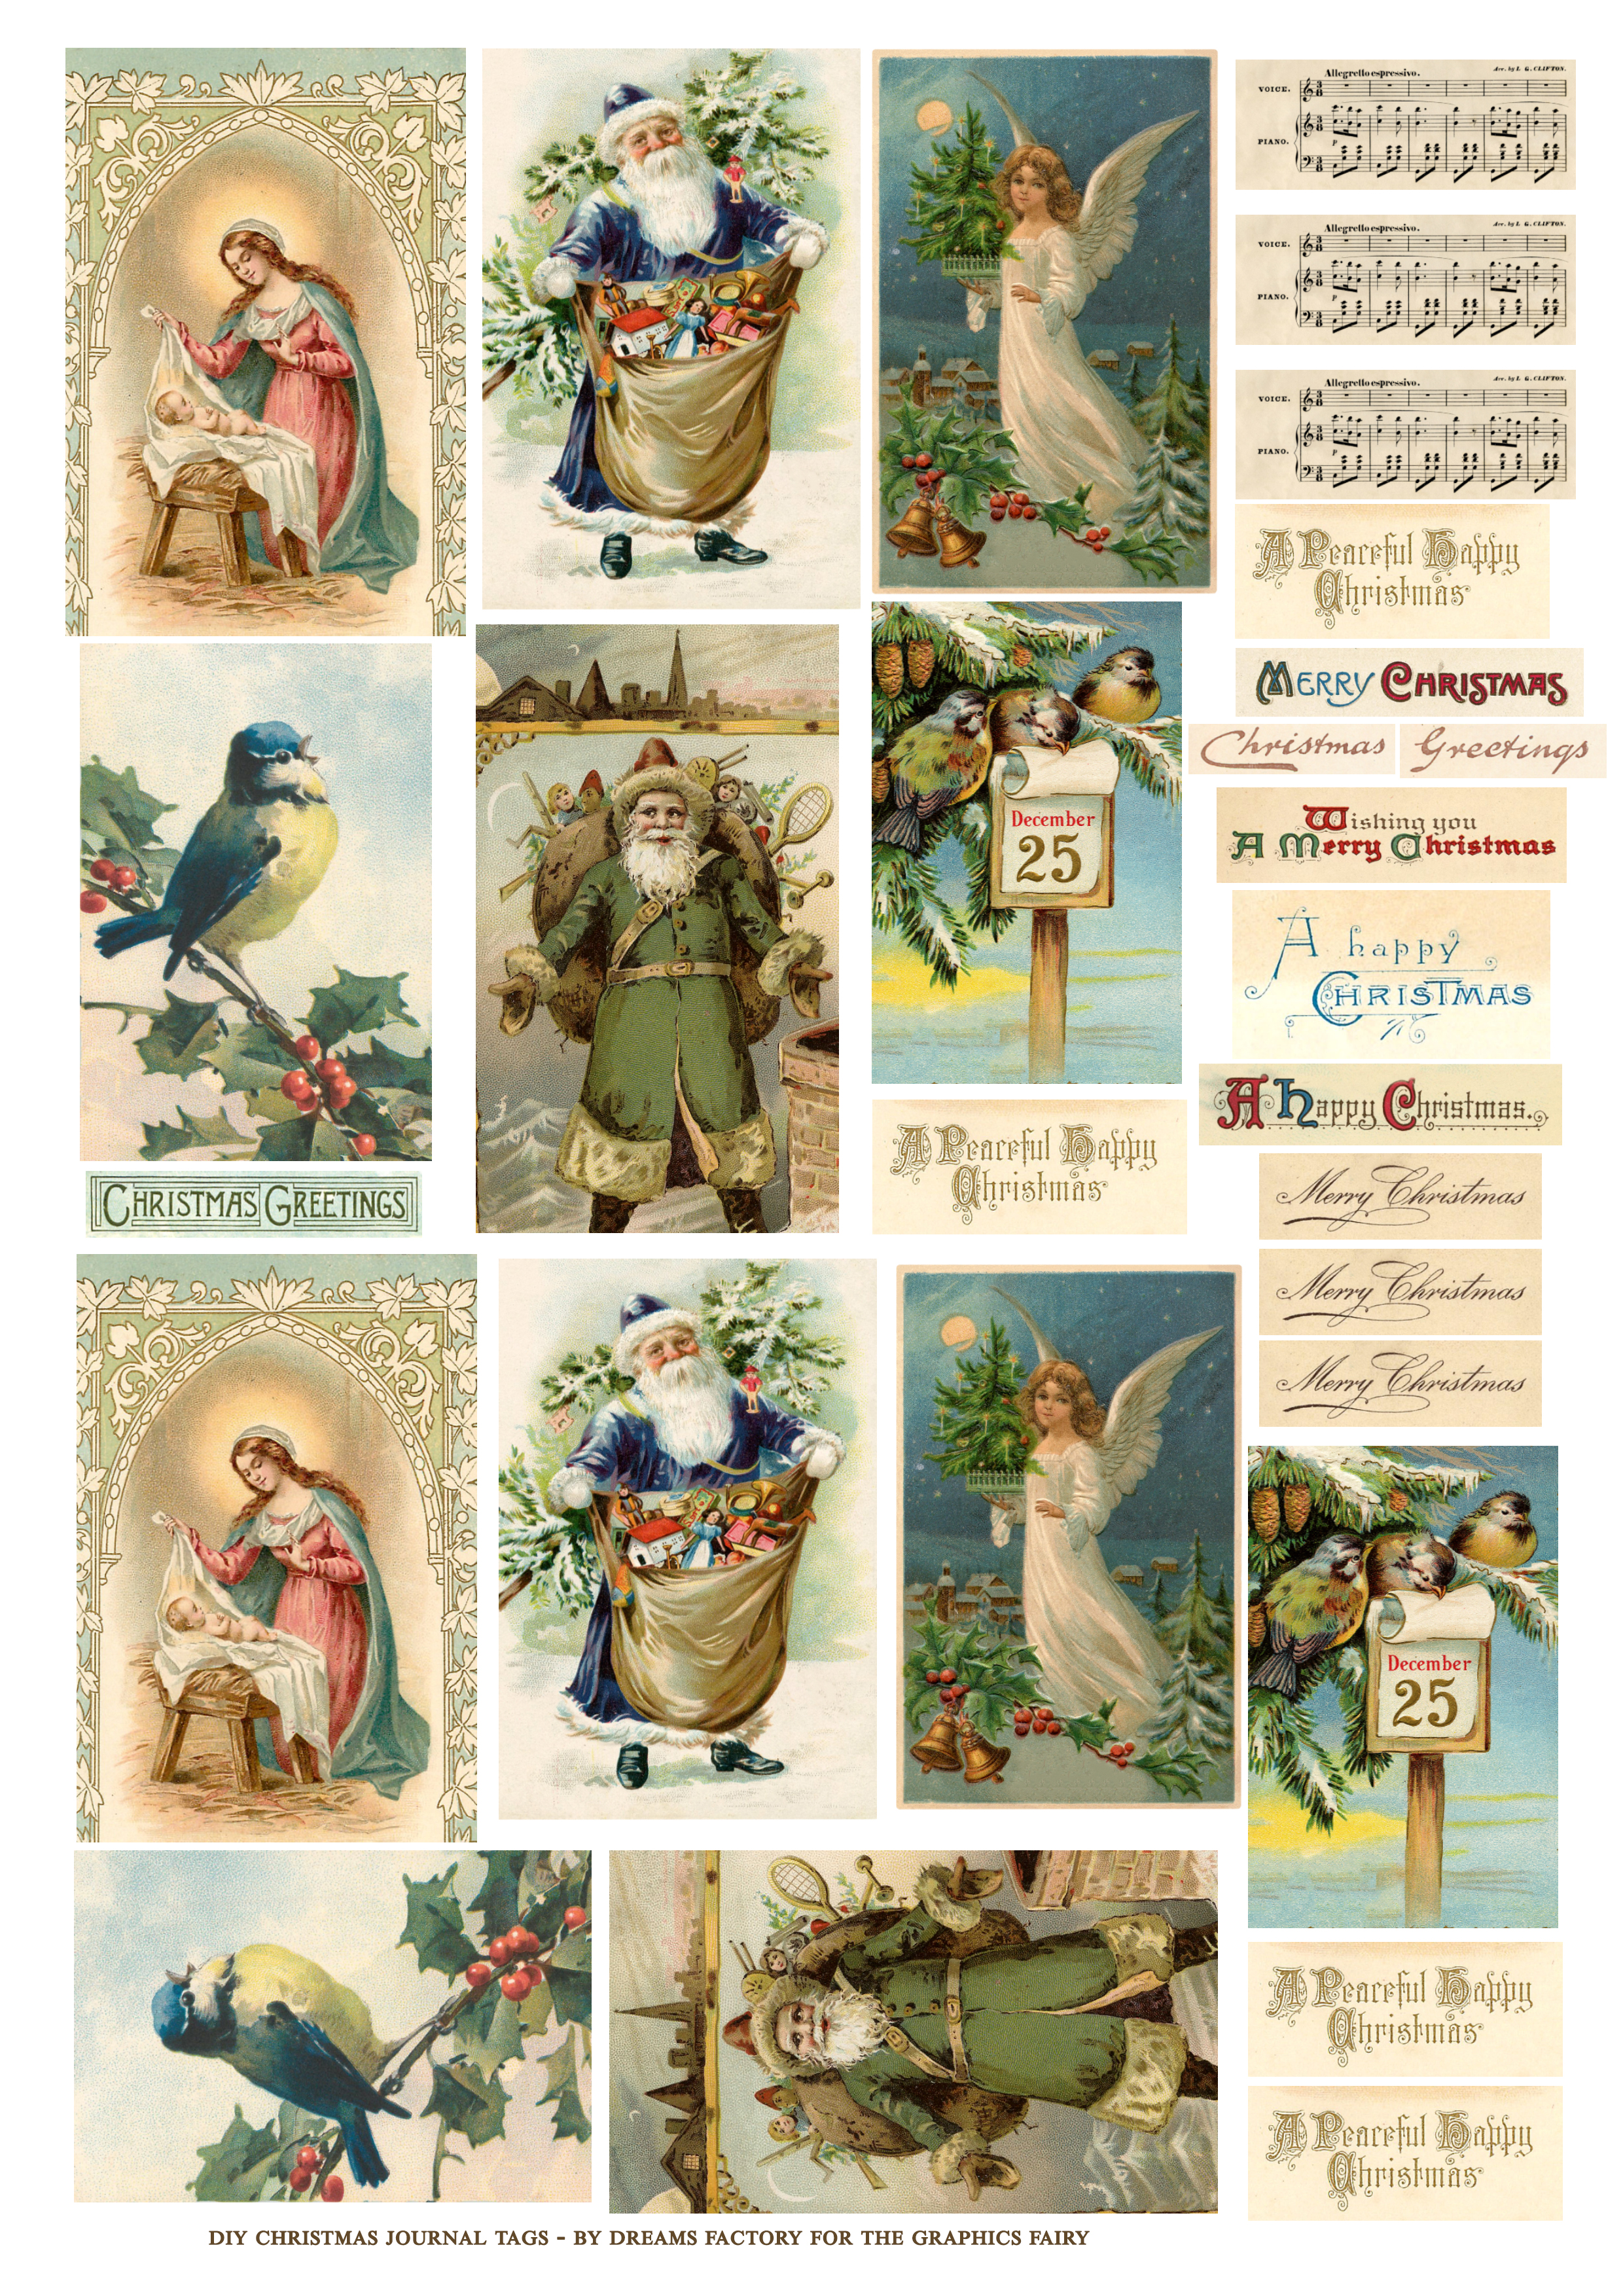
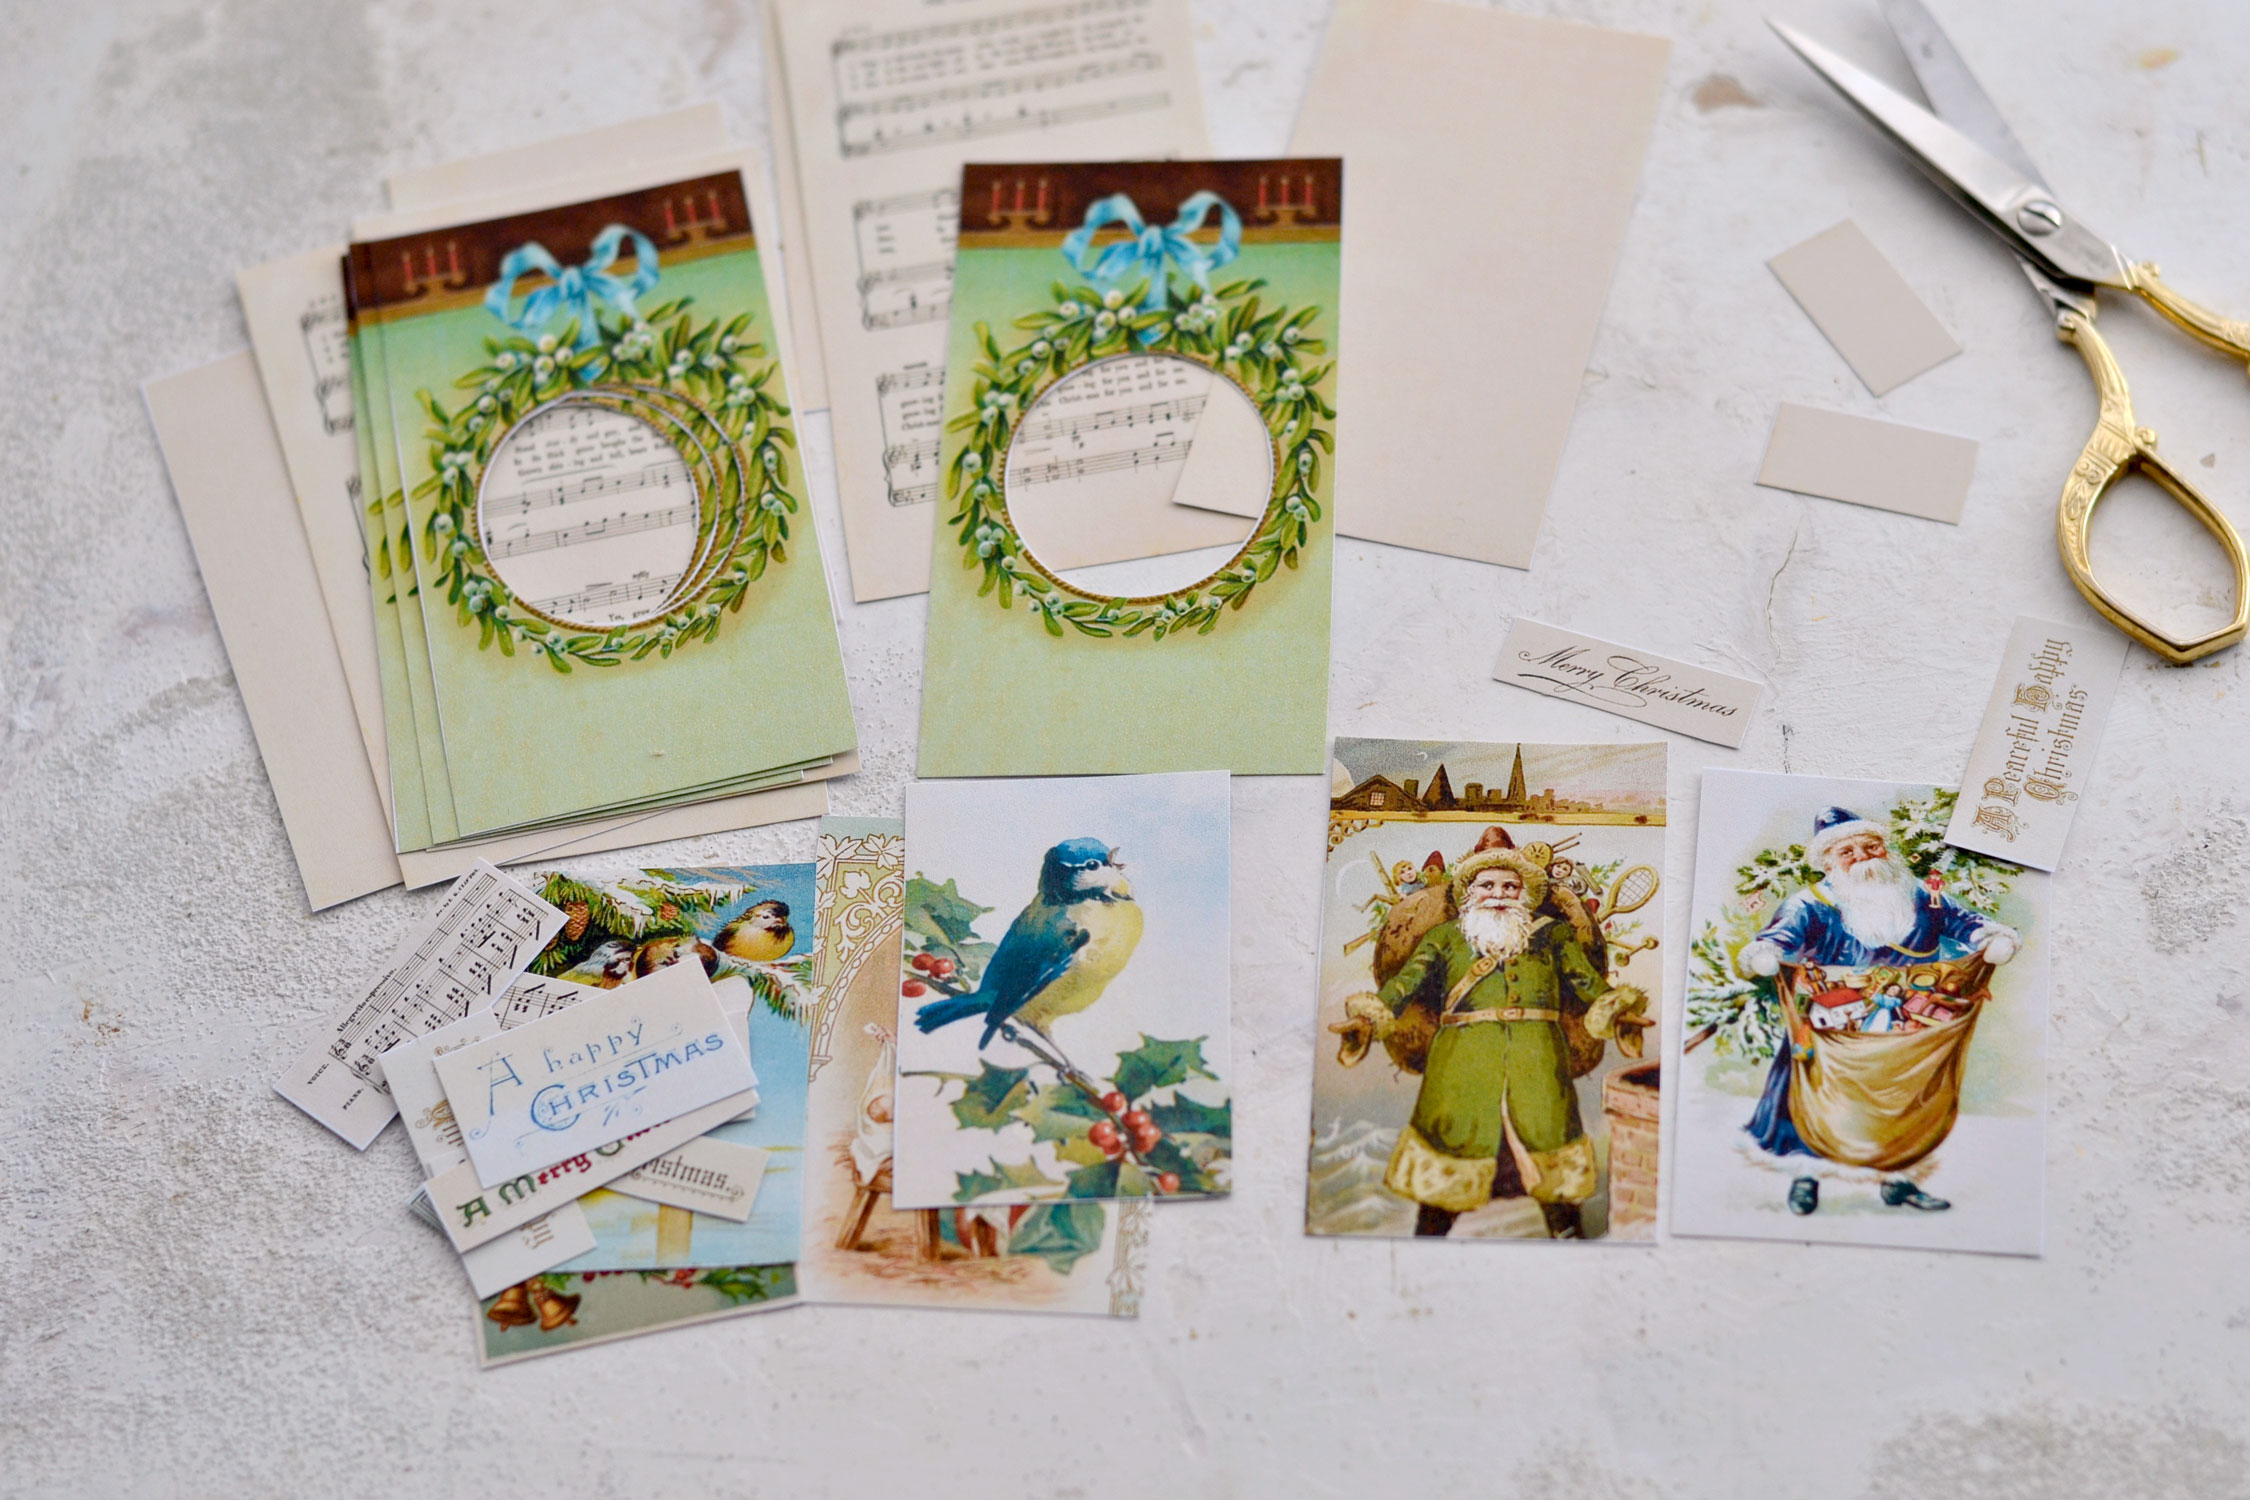
I included in the second one a variety of Christmas images that will allow you to further decorate the tags that we will tuck inside. I also included all sorts of Christmas cutouts that can be used to decorate both the inside tag and the top.
—-> Click HERE to Download the Full Size Printable PDF <—-
Christmas Journal Tags Supply List:
- white cardstock paper
- home printer
- scissors
- mini distress inks
- blending tool with foams
- pocket binders (or a silicon mat, a plastic sheet, baking paper or a non-absorbent material) to protect your working surface
- glitter glue pen (or use glitter, glue and a fine tip plastic bottle to whip up a batch yourself )
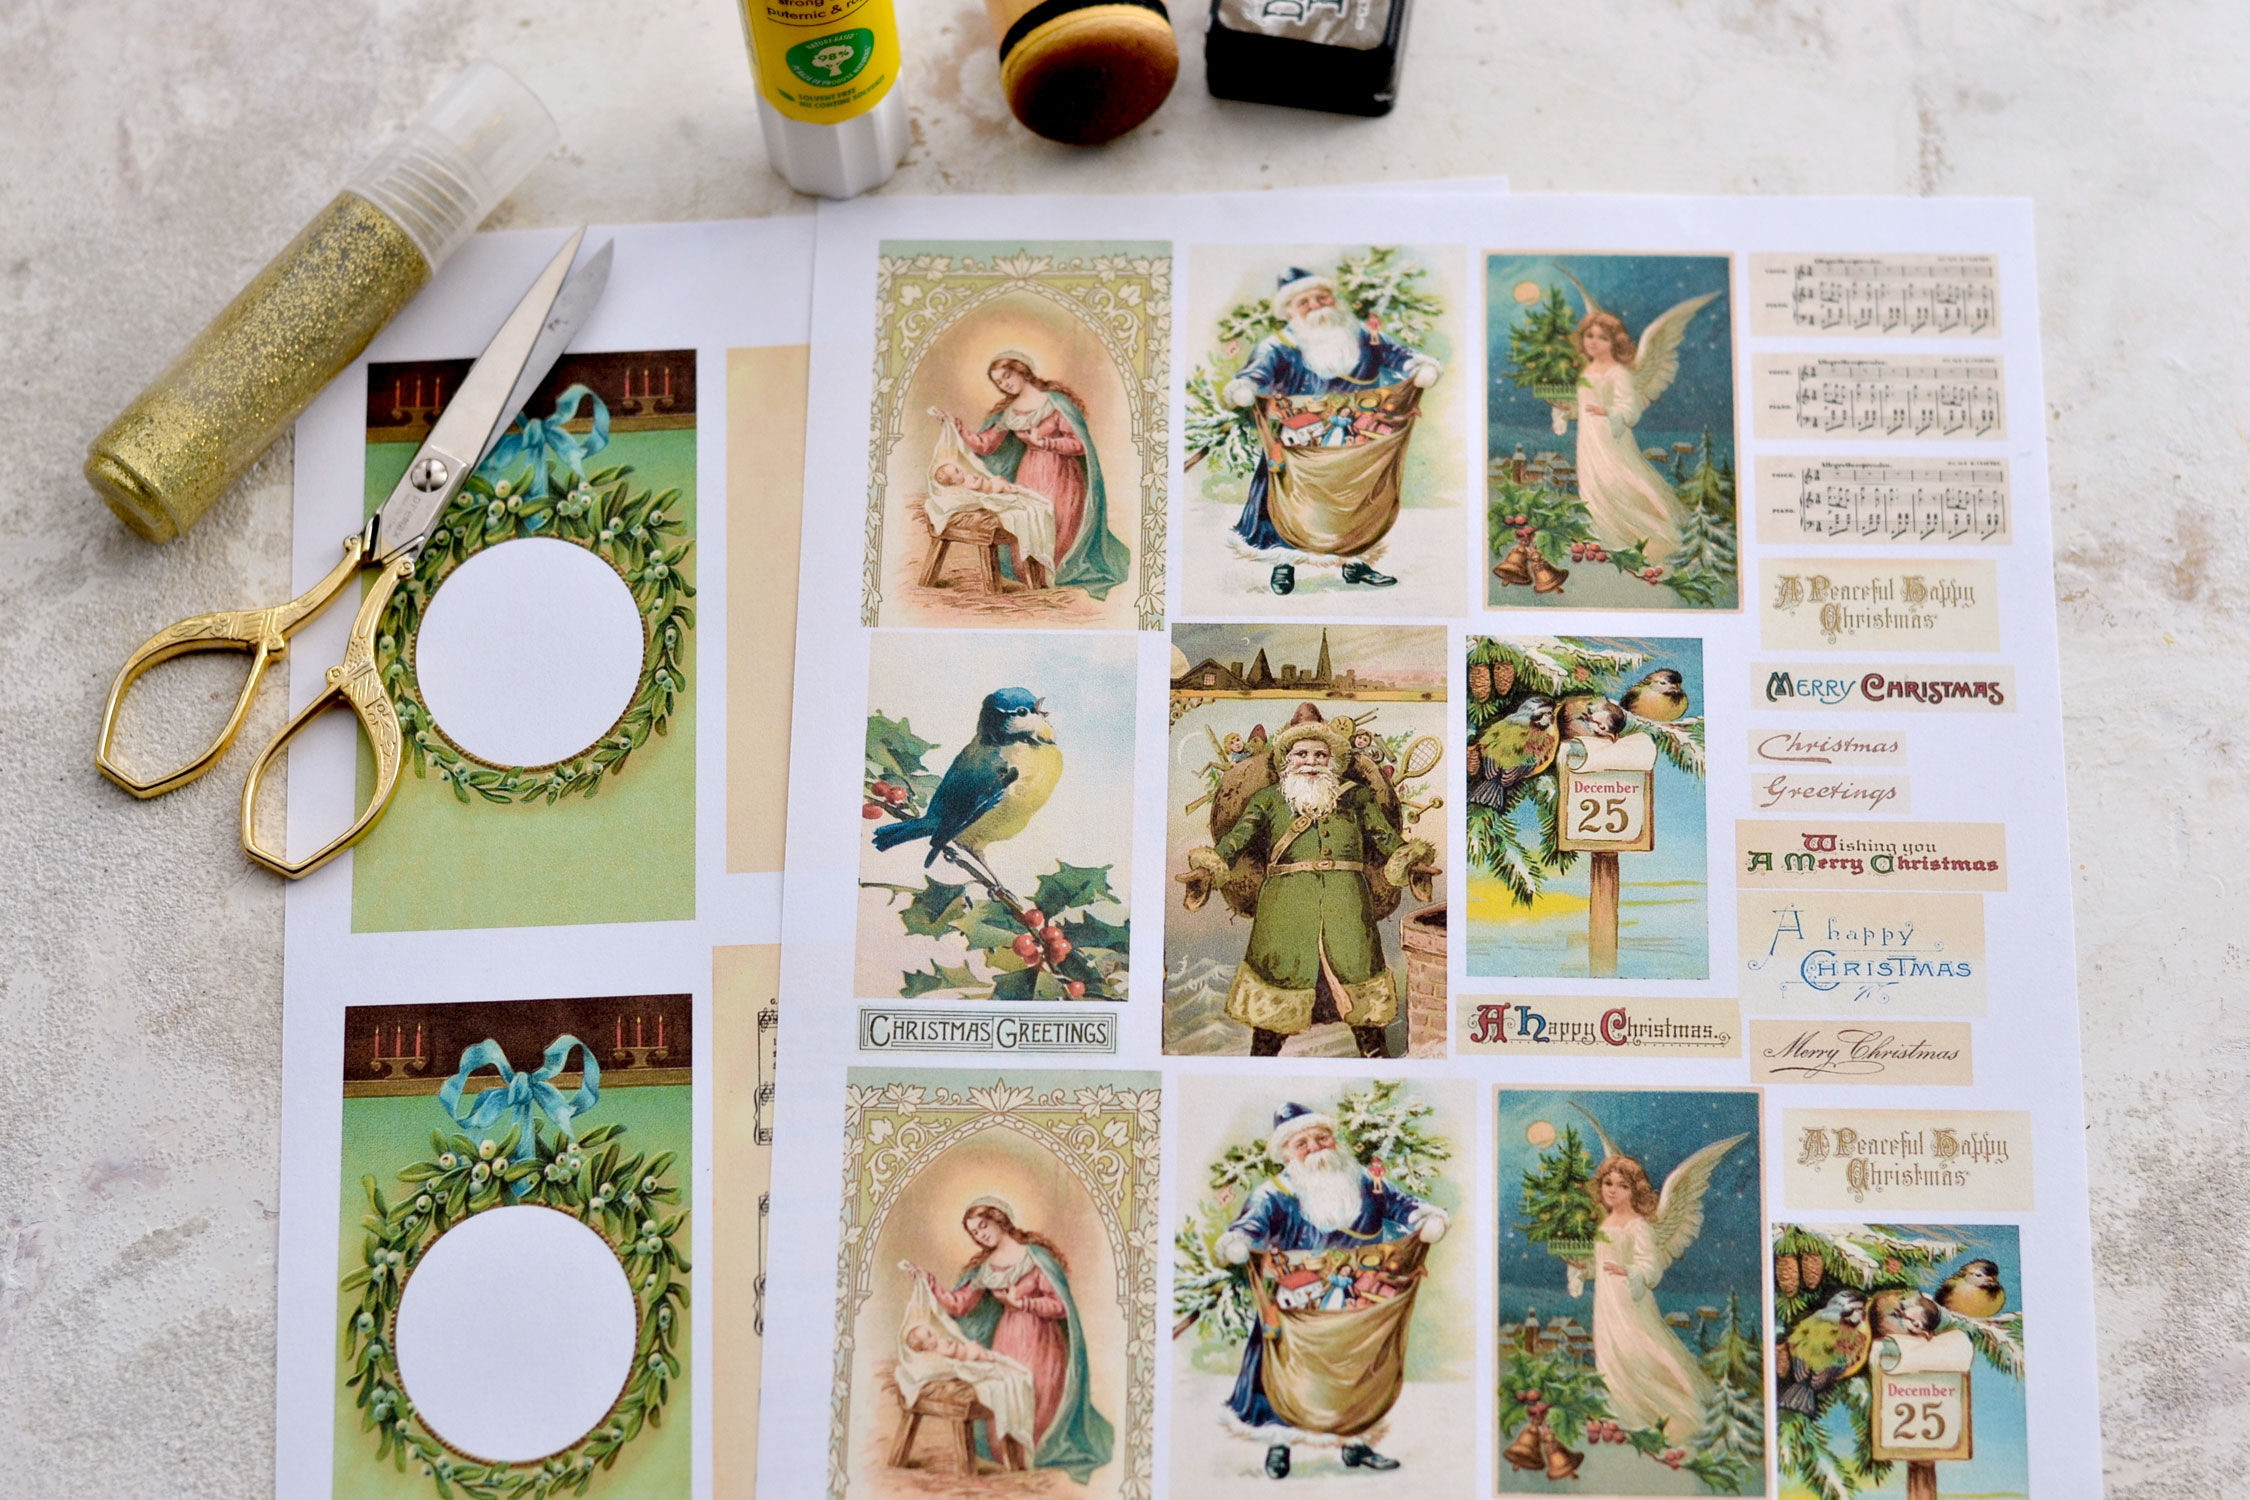
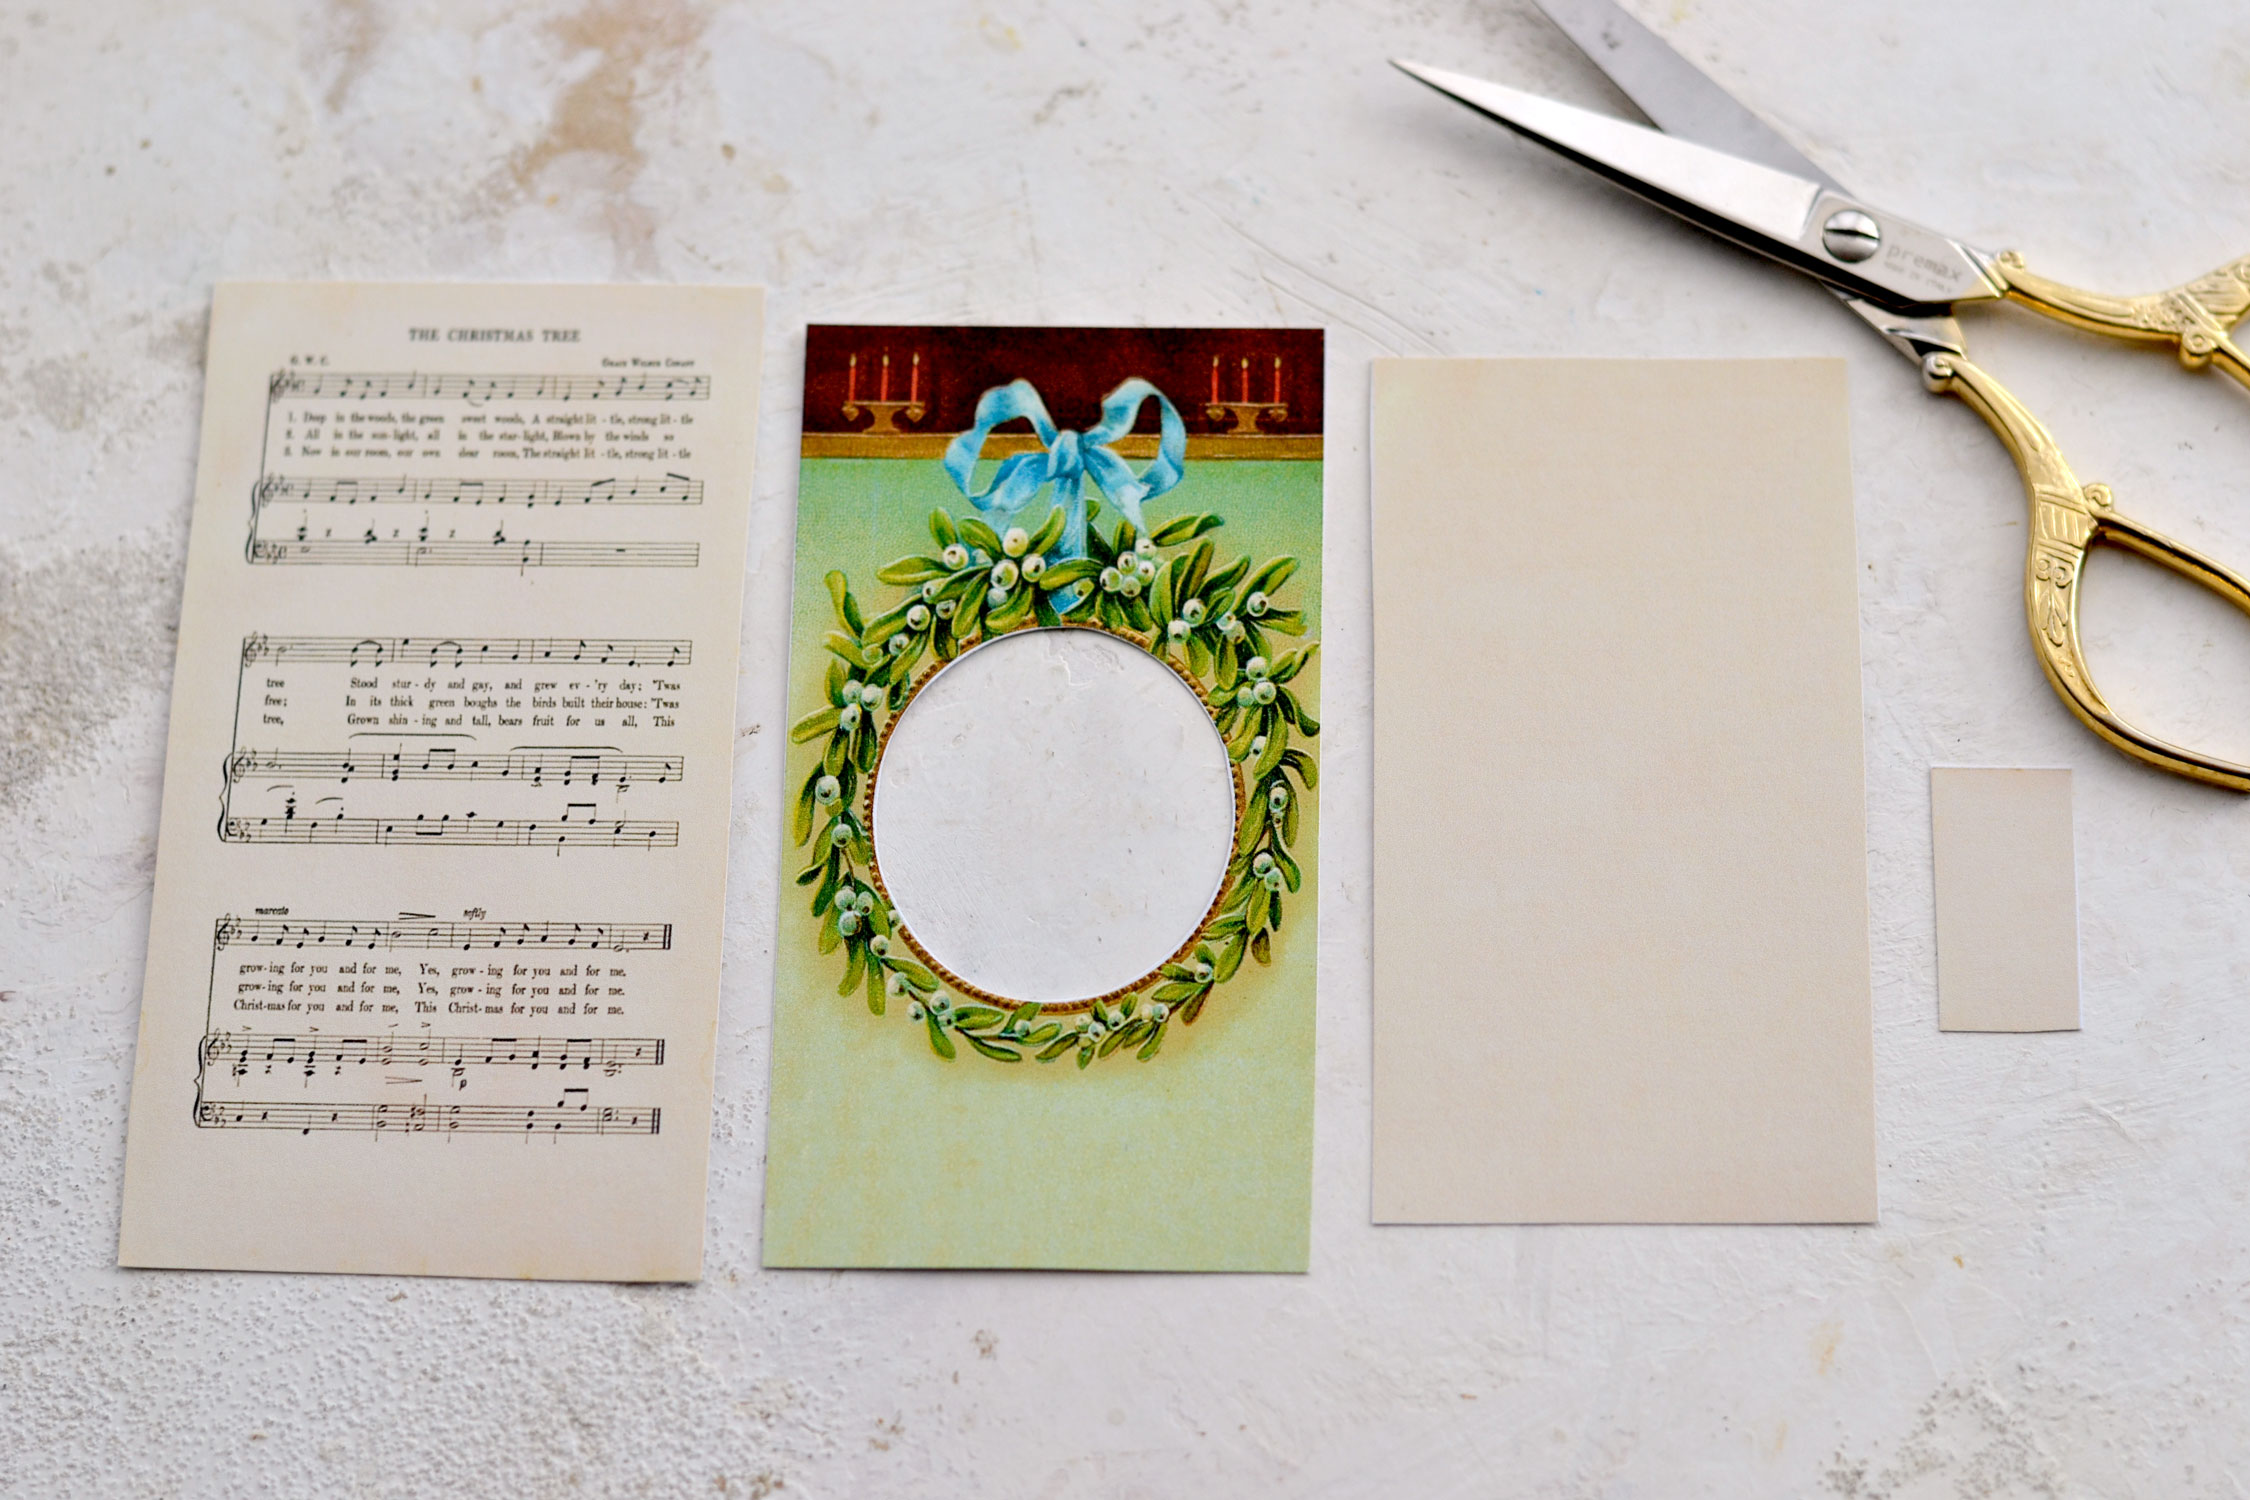
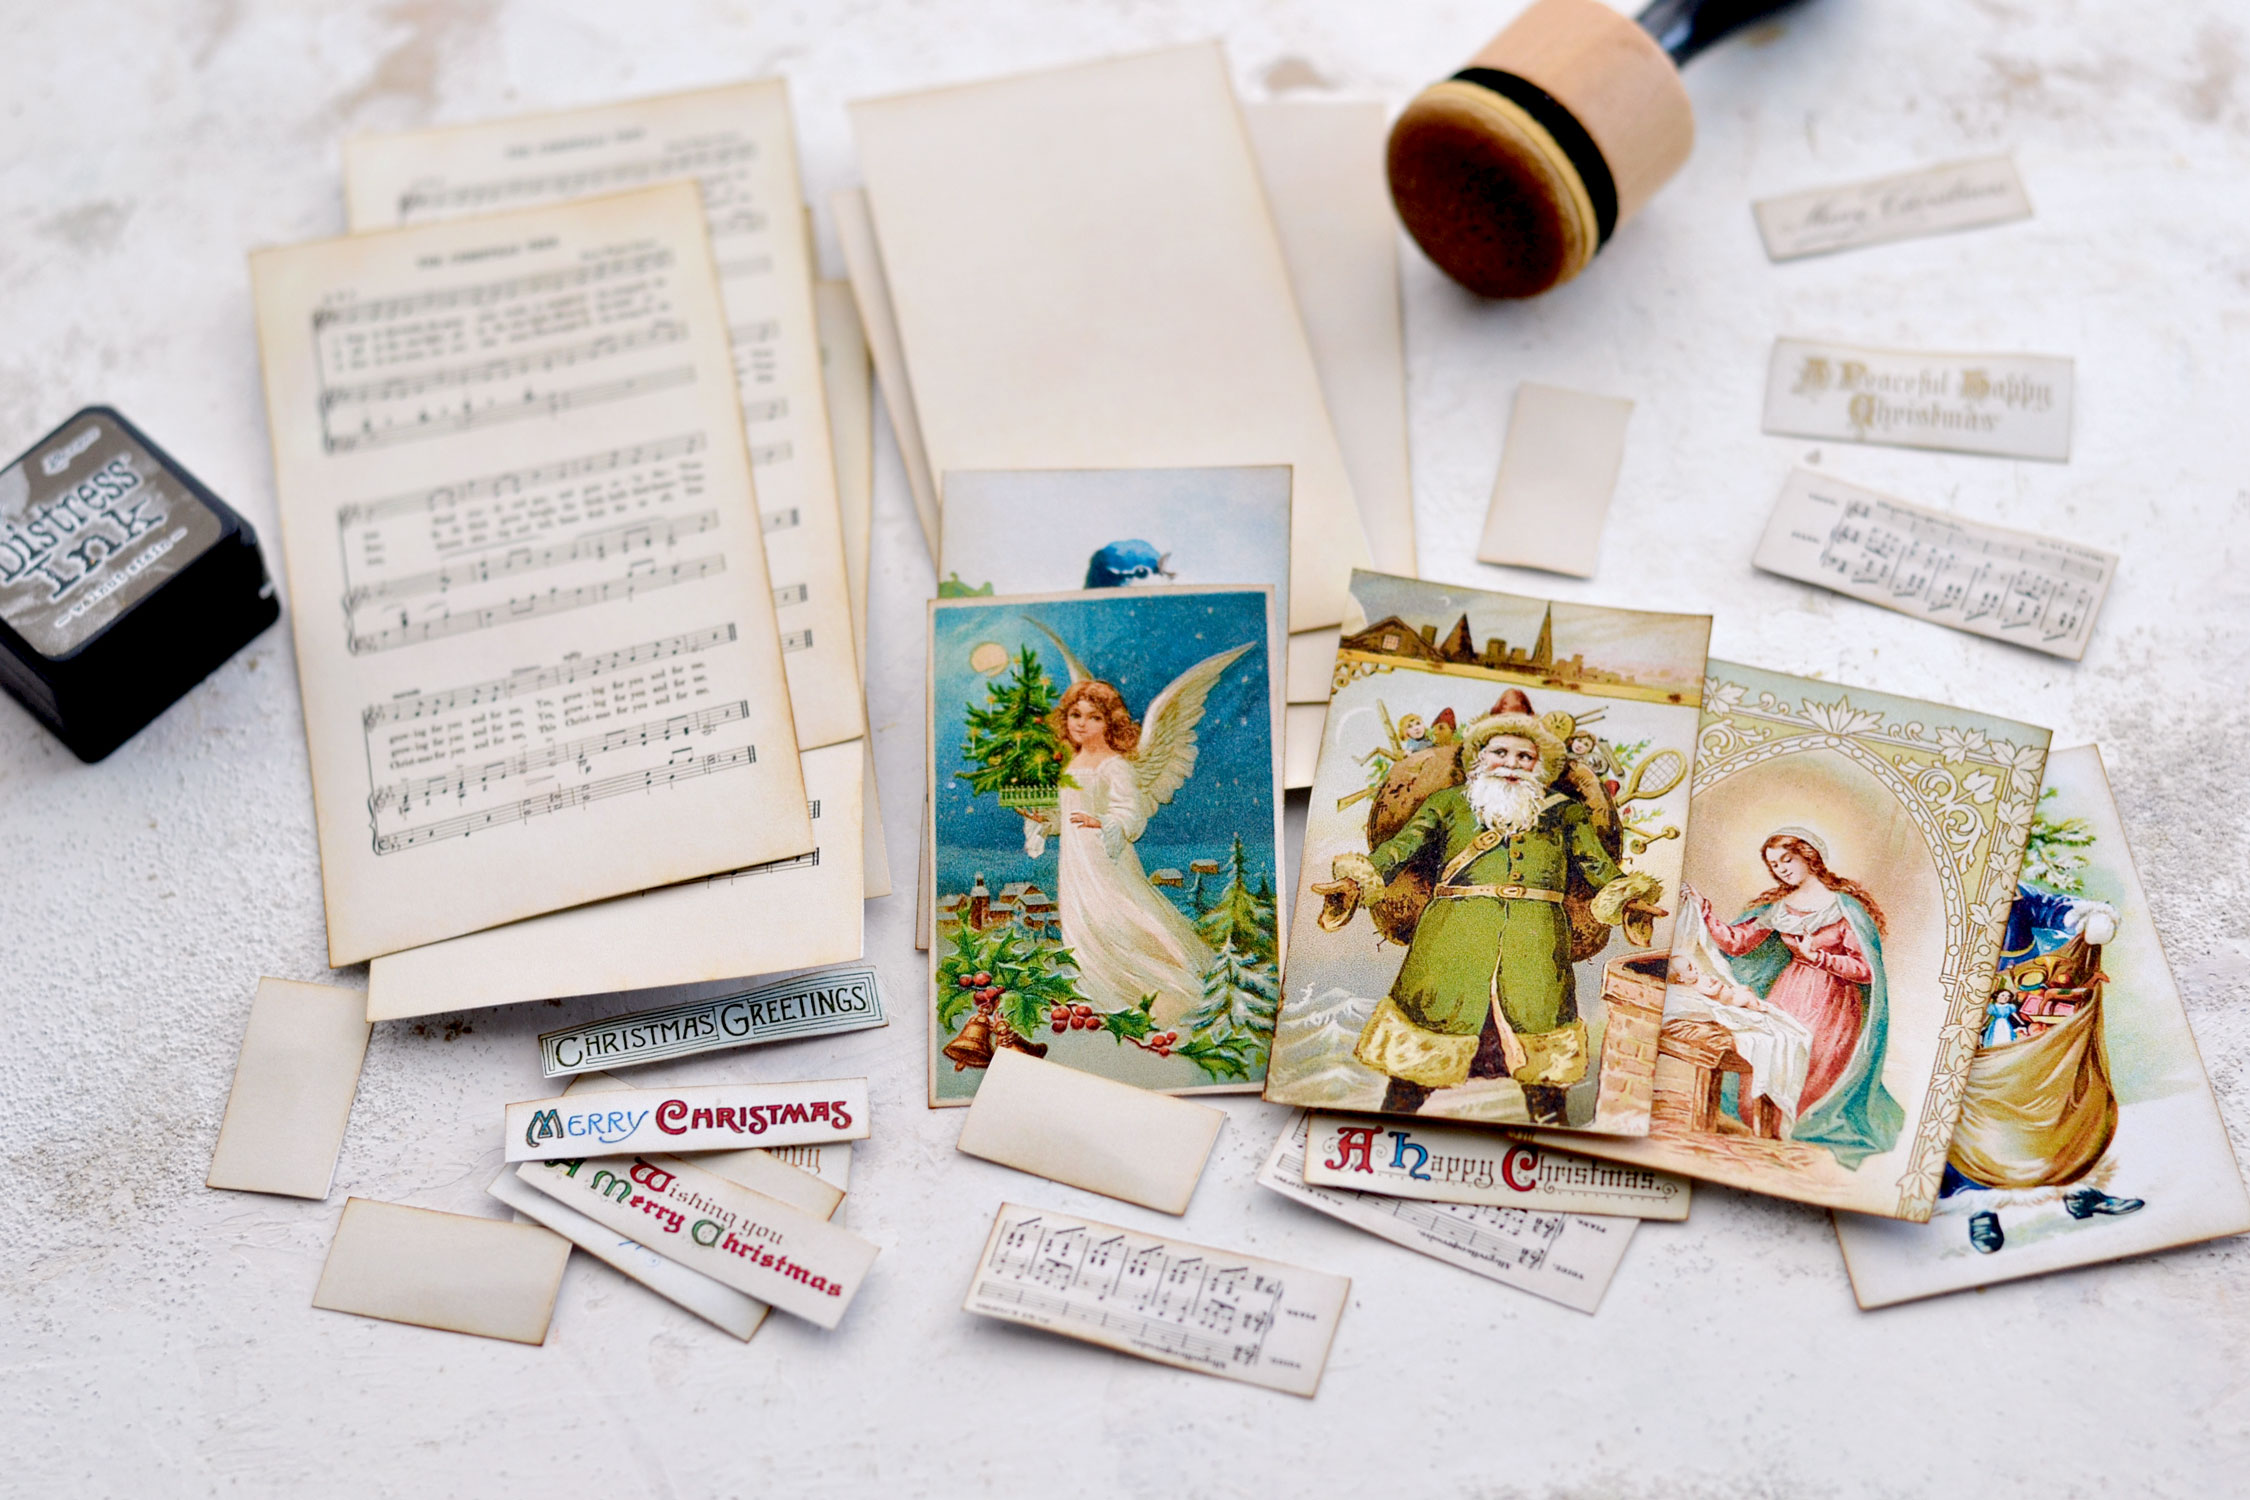
Start by printing the free printables then use your scissors to cut all the elements.
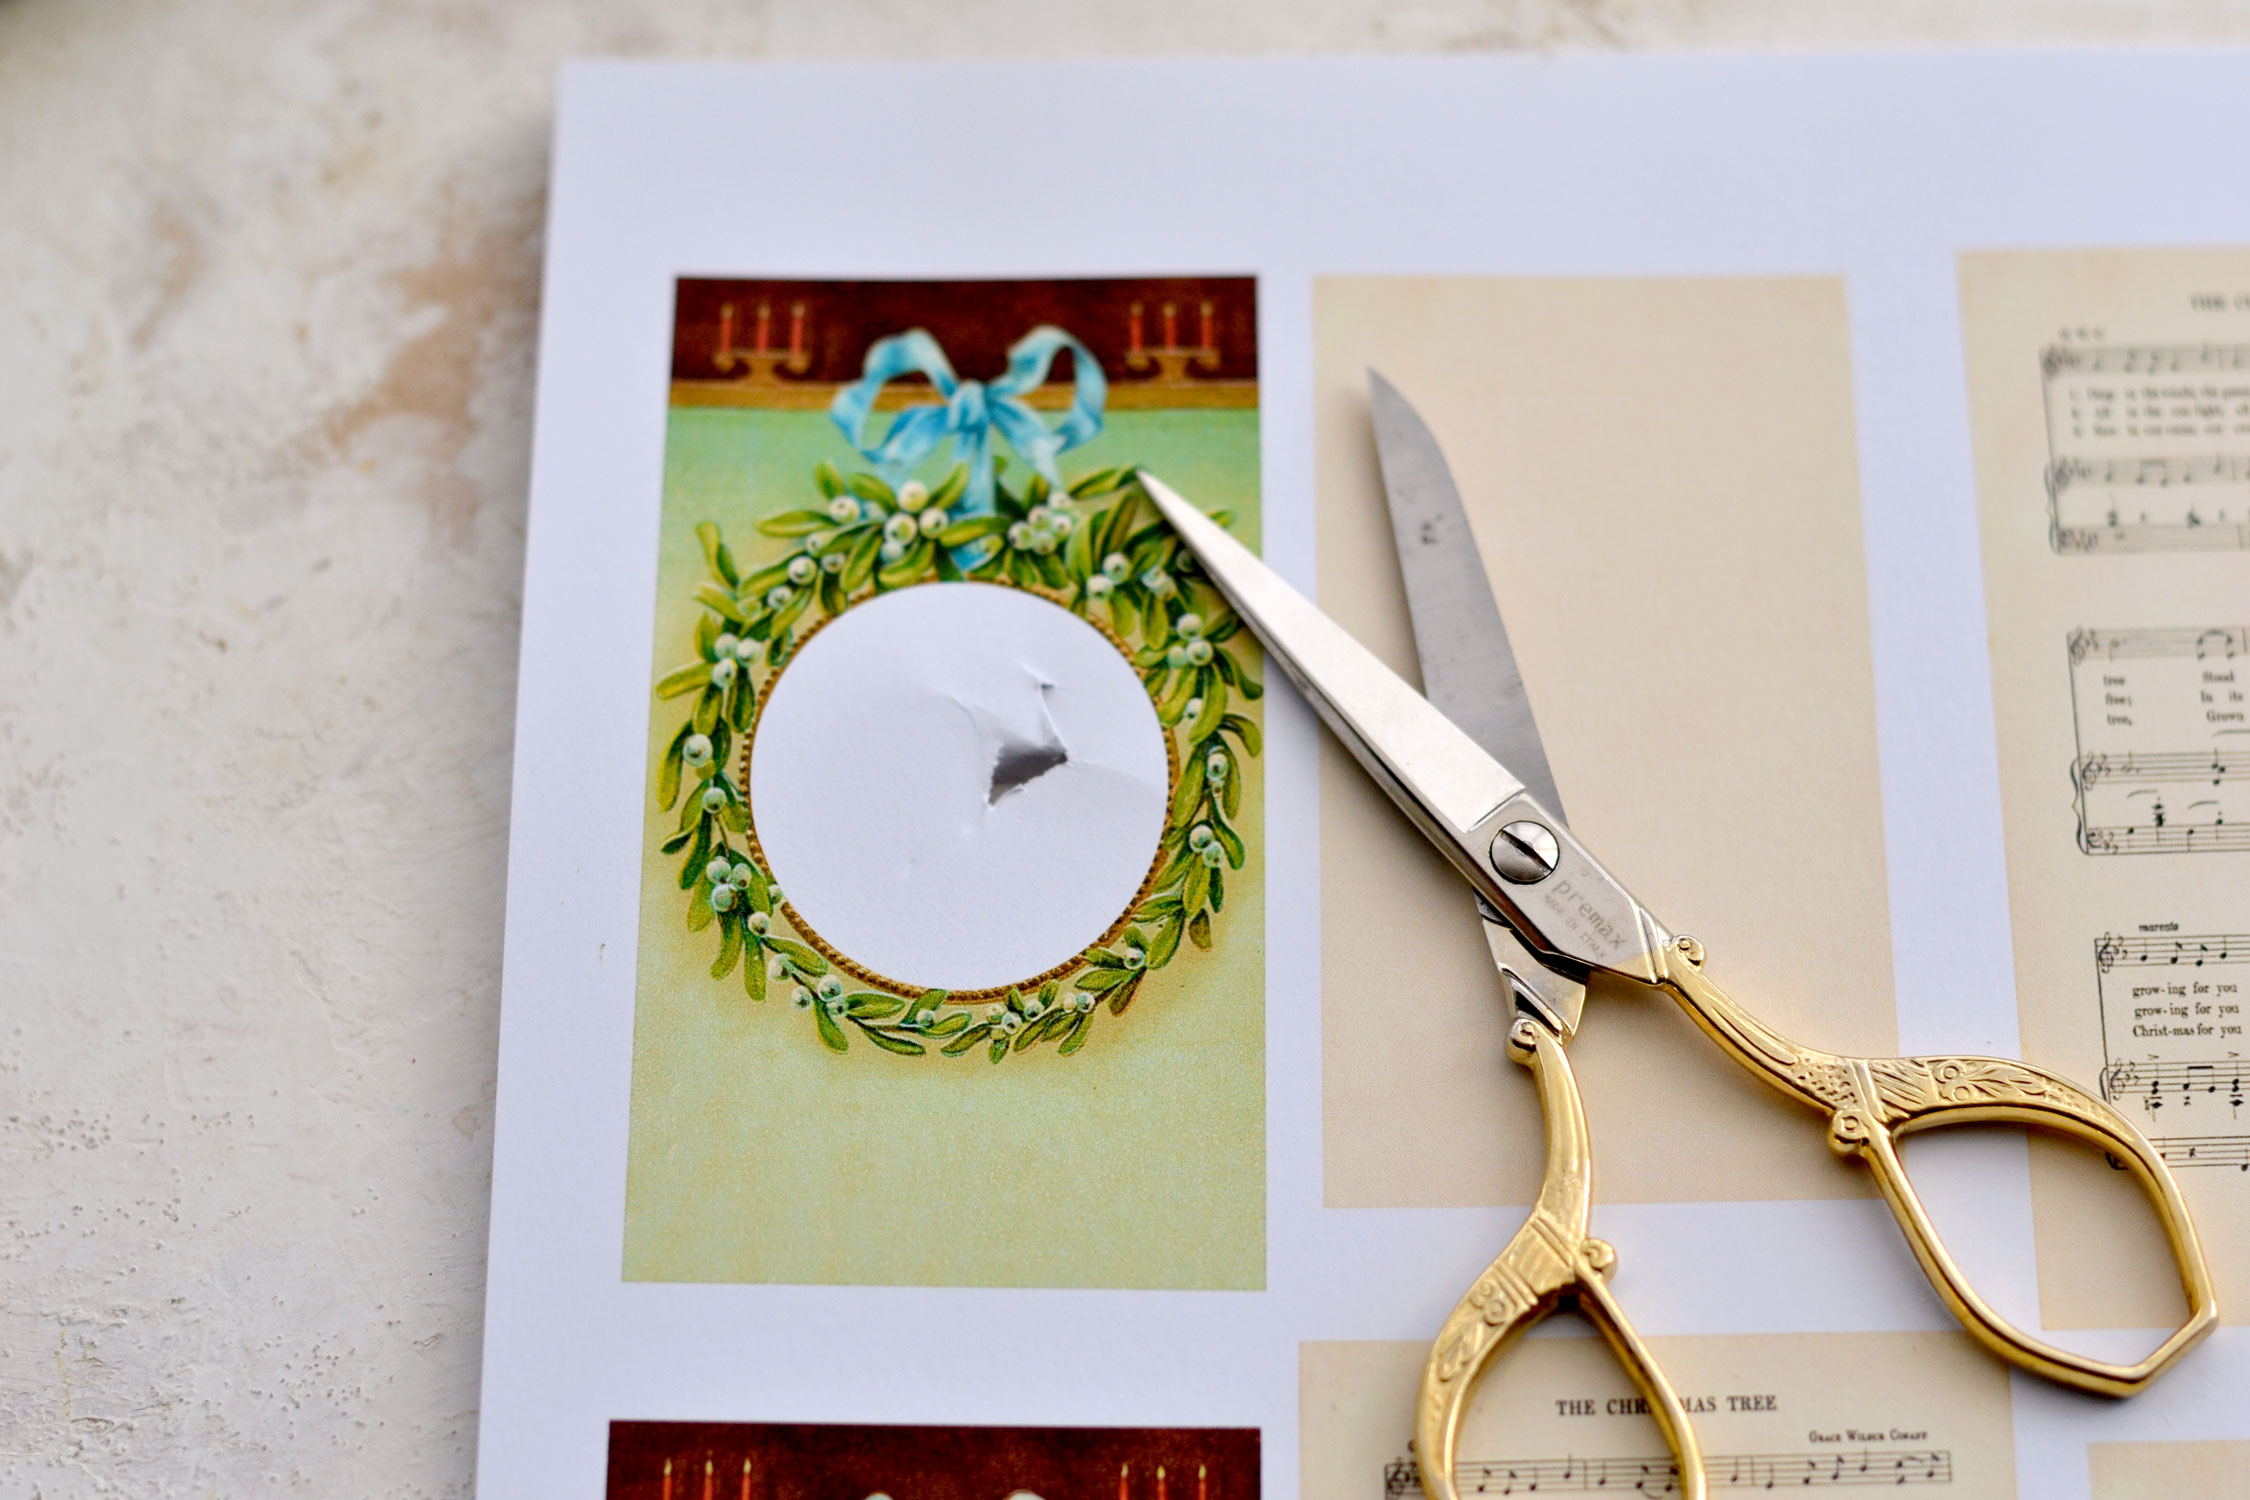
I found it easier to cut off the windows first. I lightly folded the paper just so I could make the first cut.
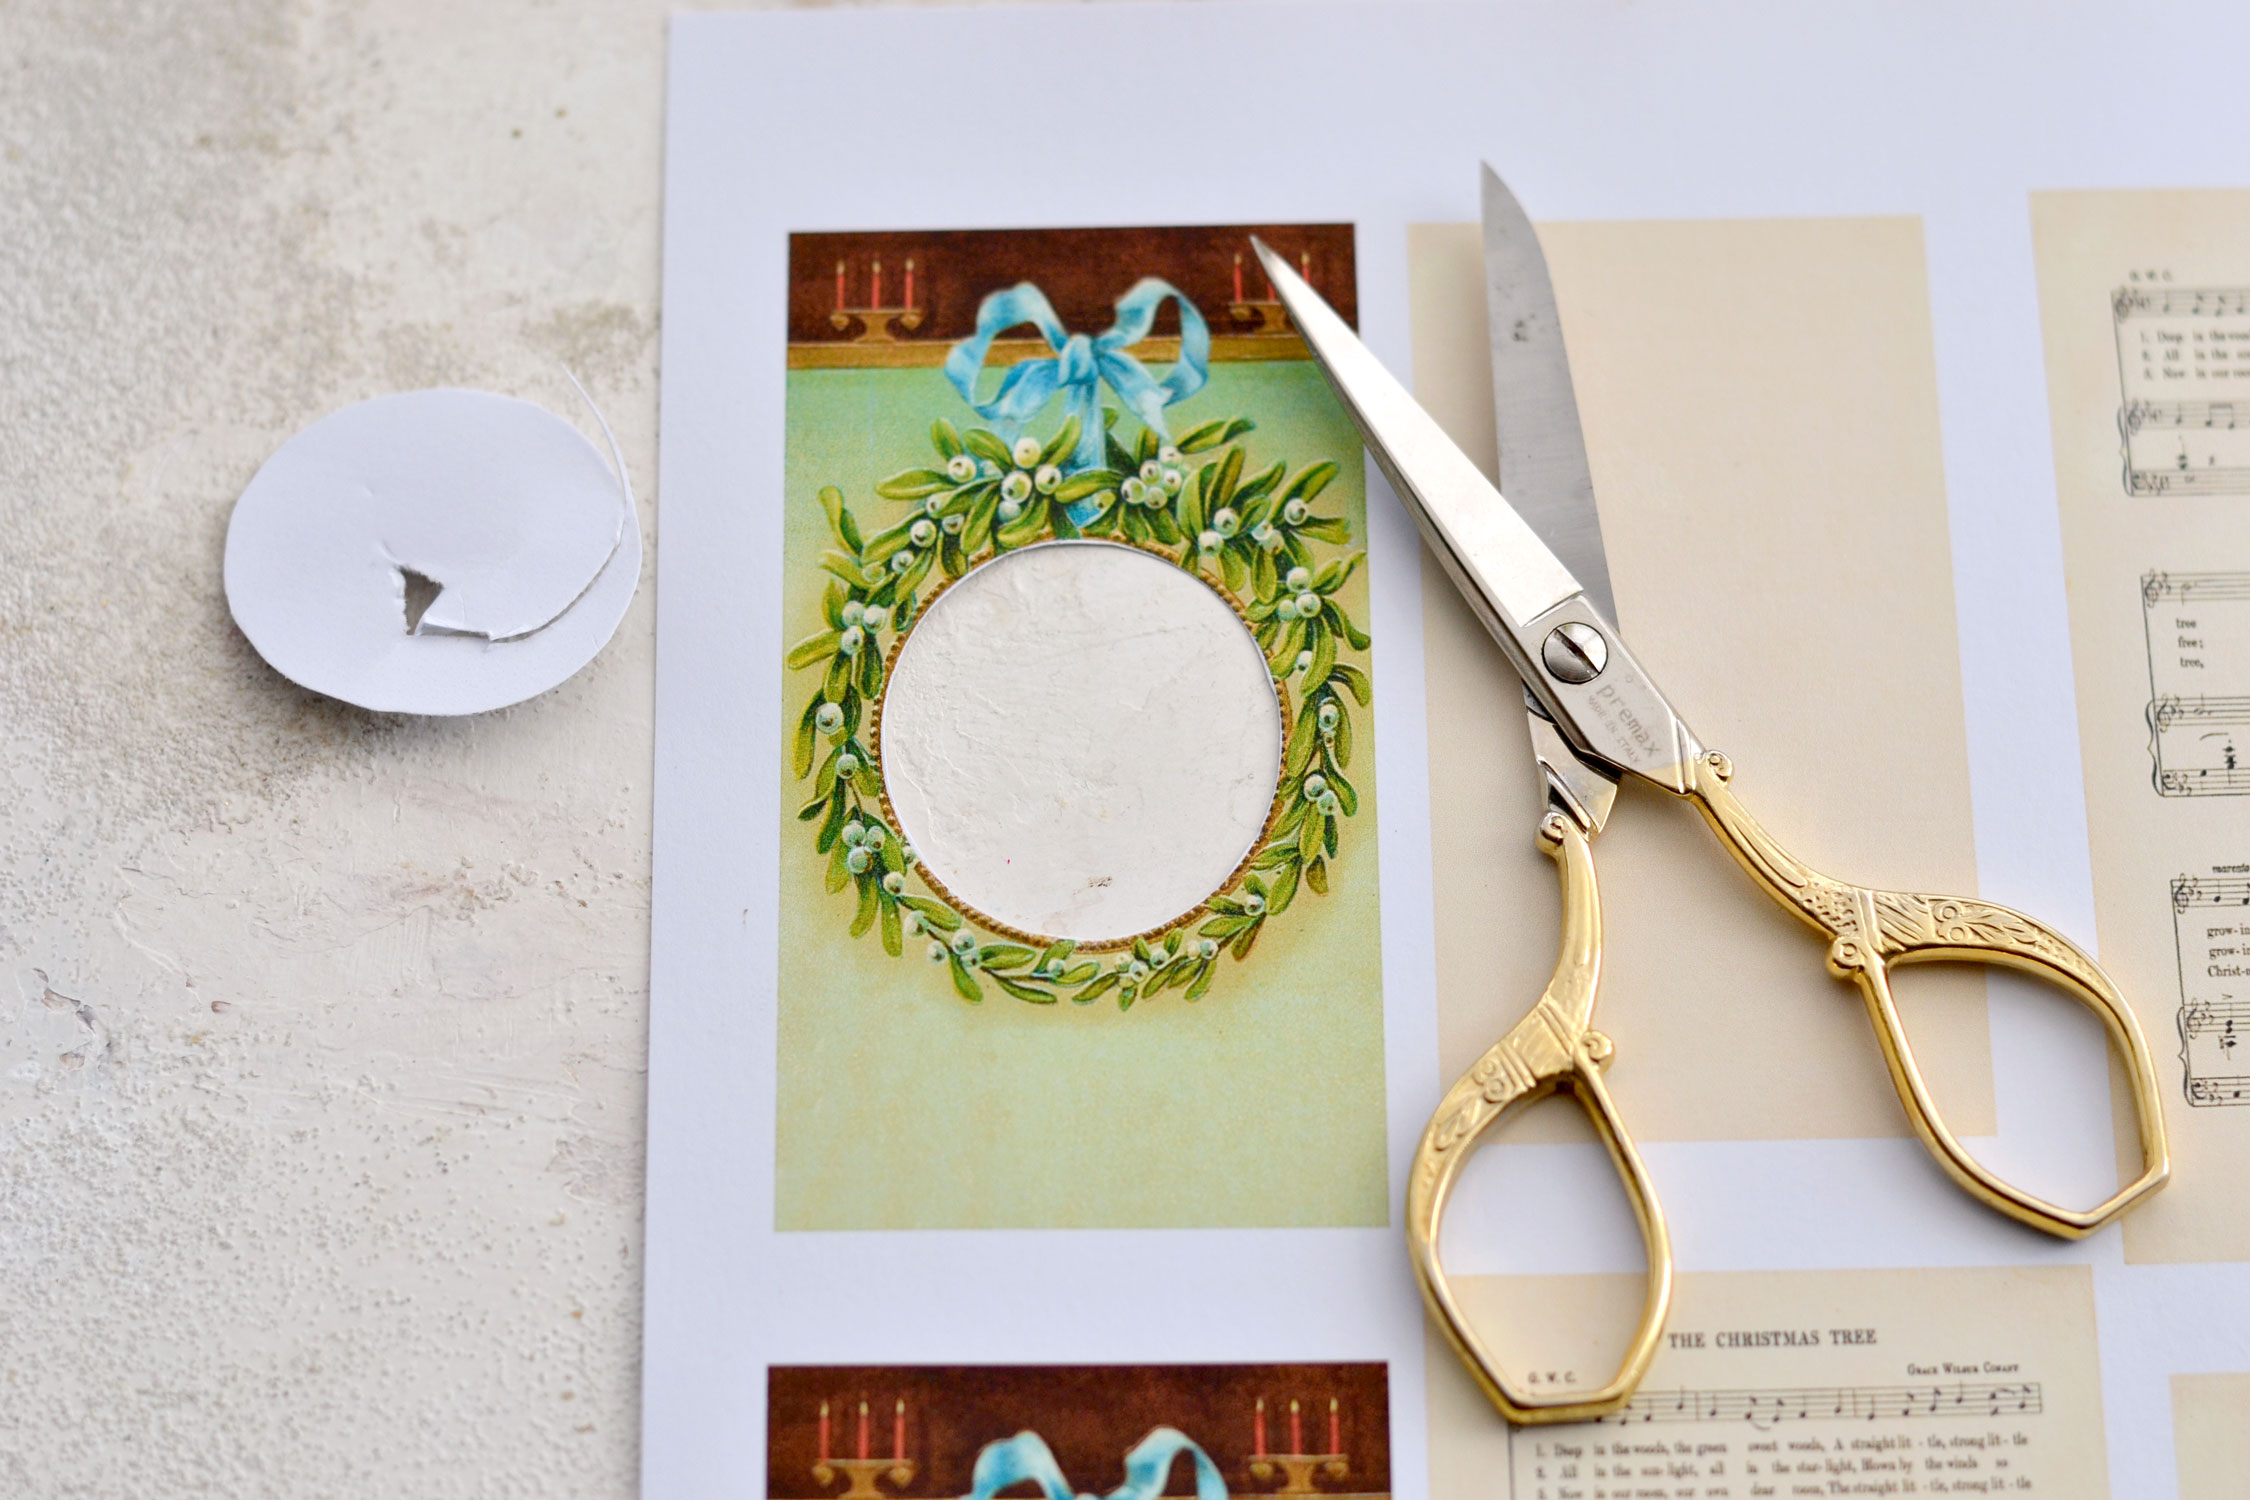
And then following almost like a spiral motion I completely removed that white paper section inside the holly wreath to create our window.
These are the four basic elements that you will need to make a full tag.
Cut all the other elements.
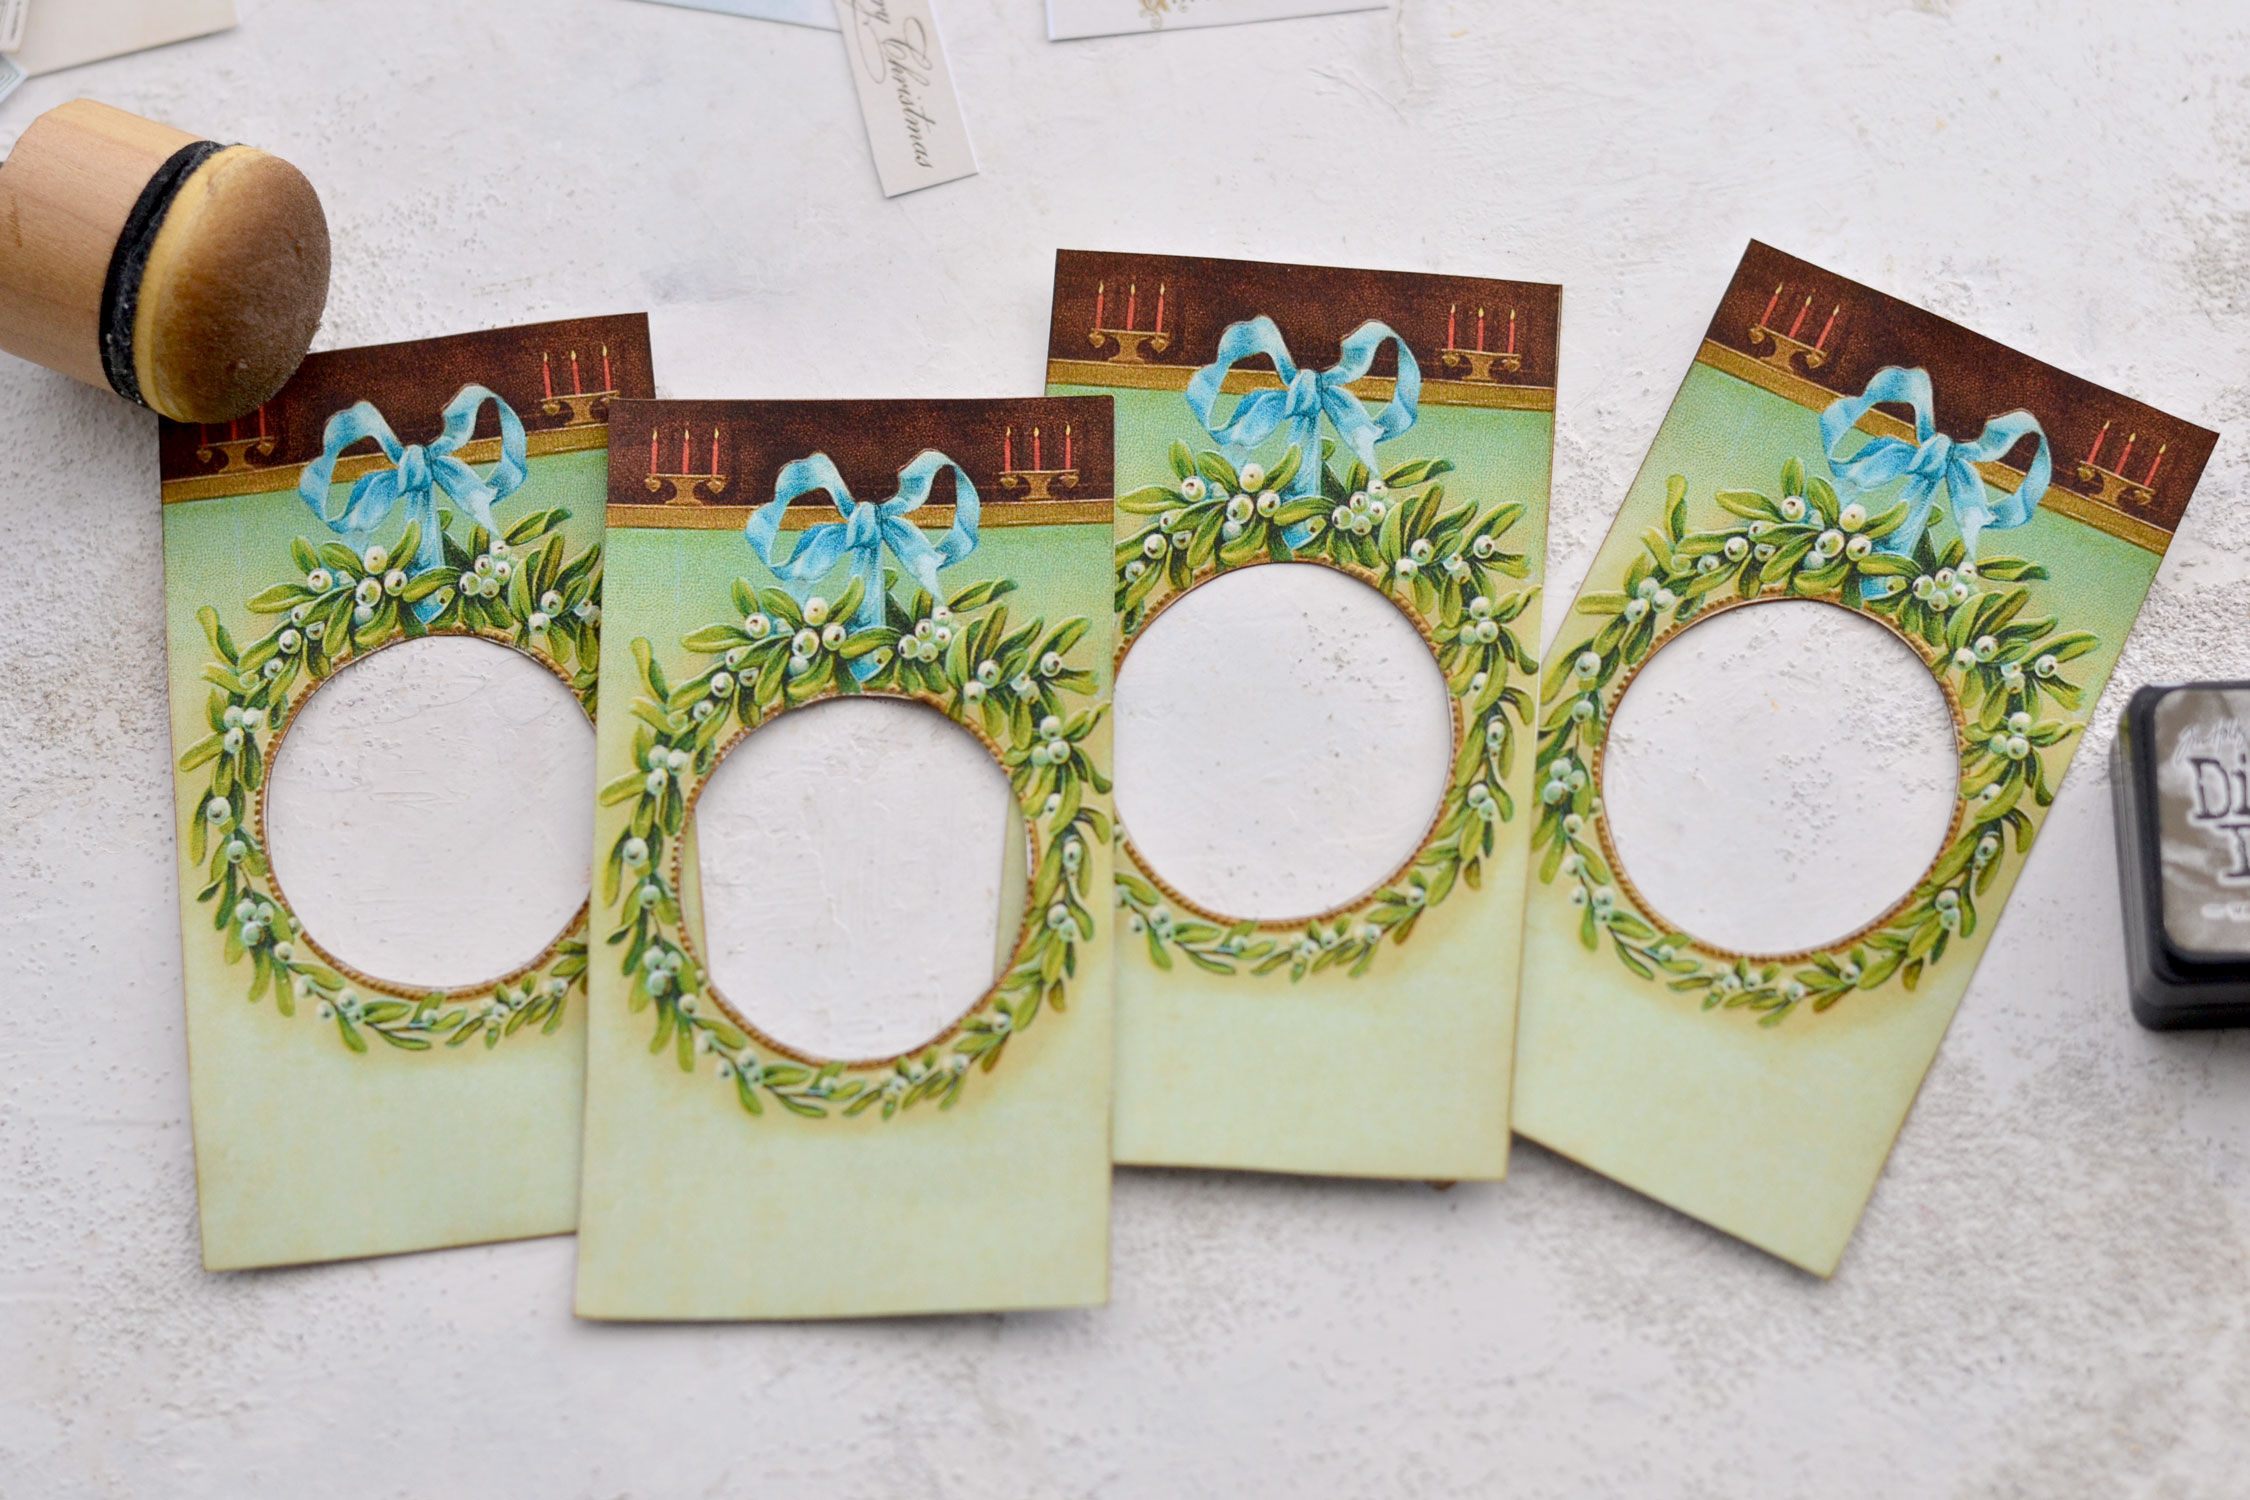
Use distress ink to give the paper even more of a vintage vibe. This will allow you to also hide the small cutting imperfections, especially on the rounded holly wreath window, so make sure you add some there too.
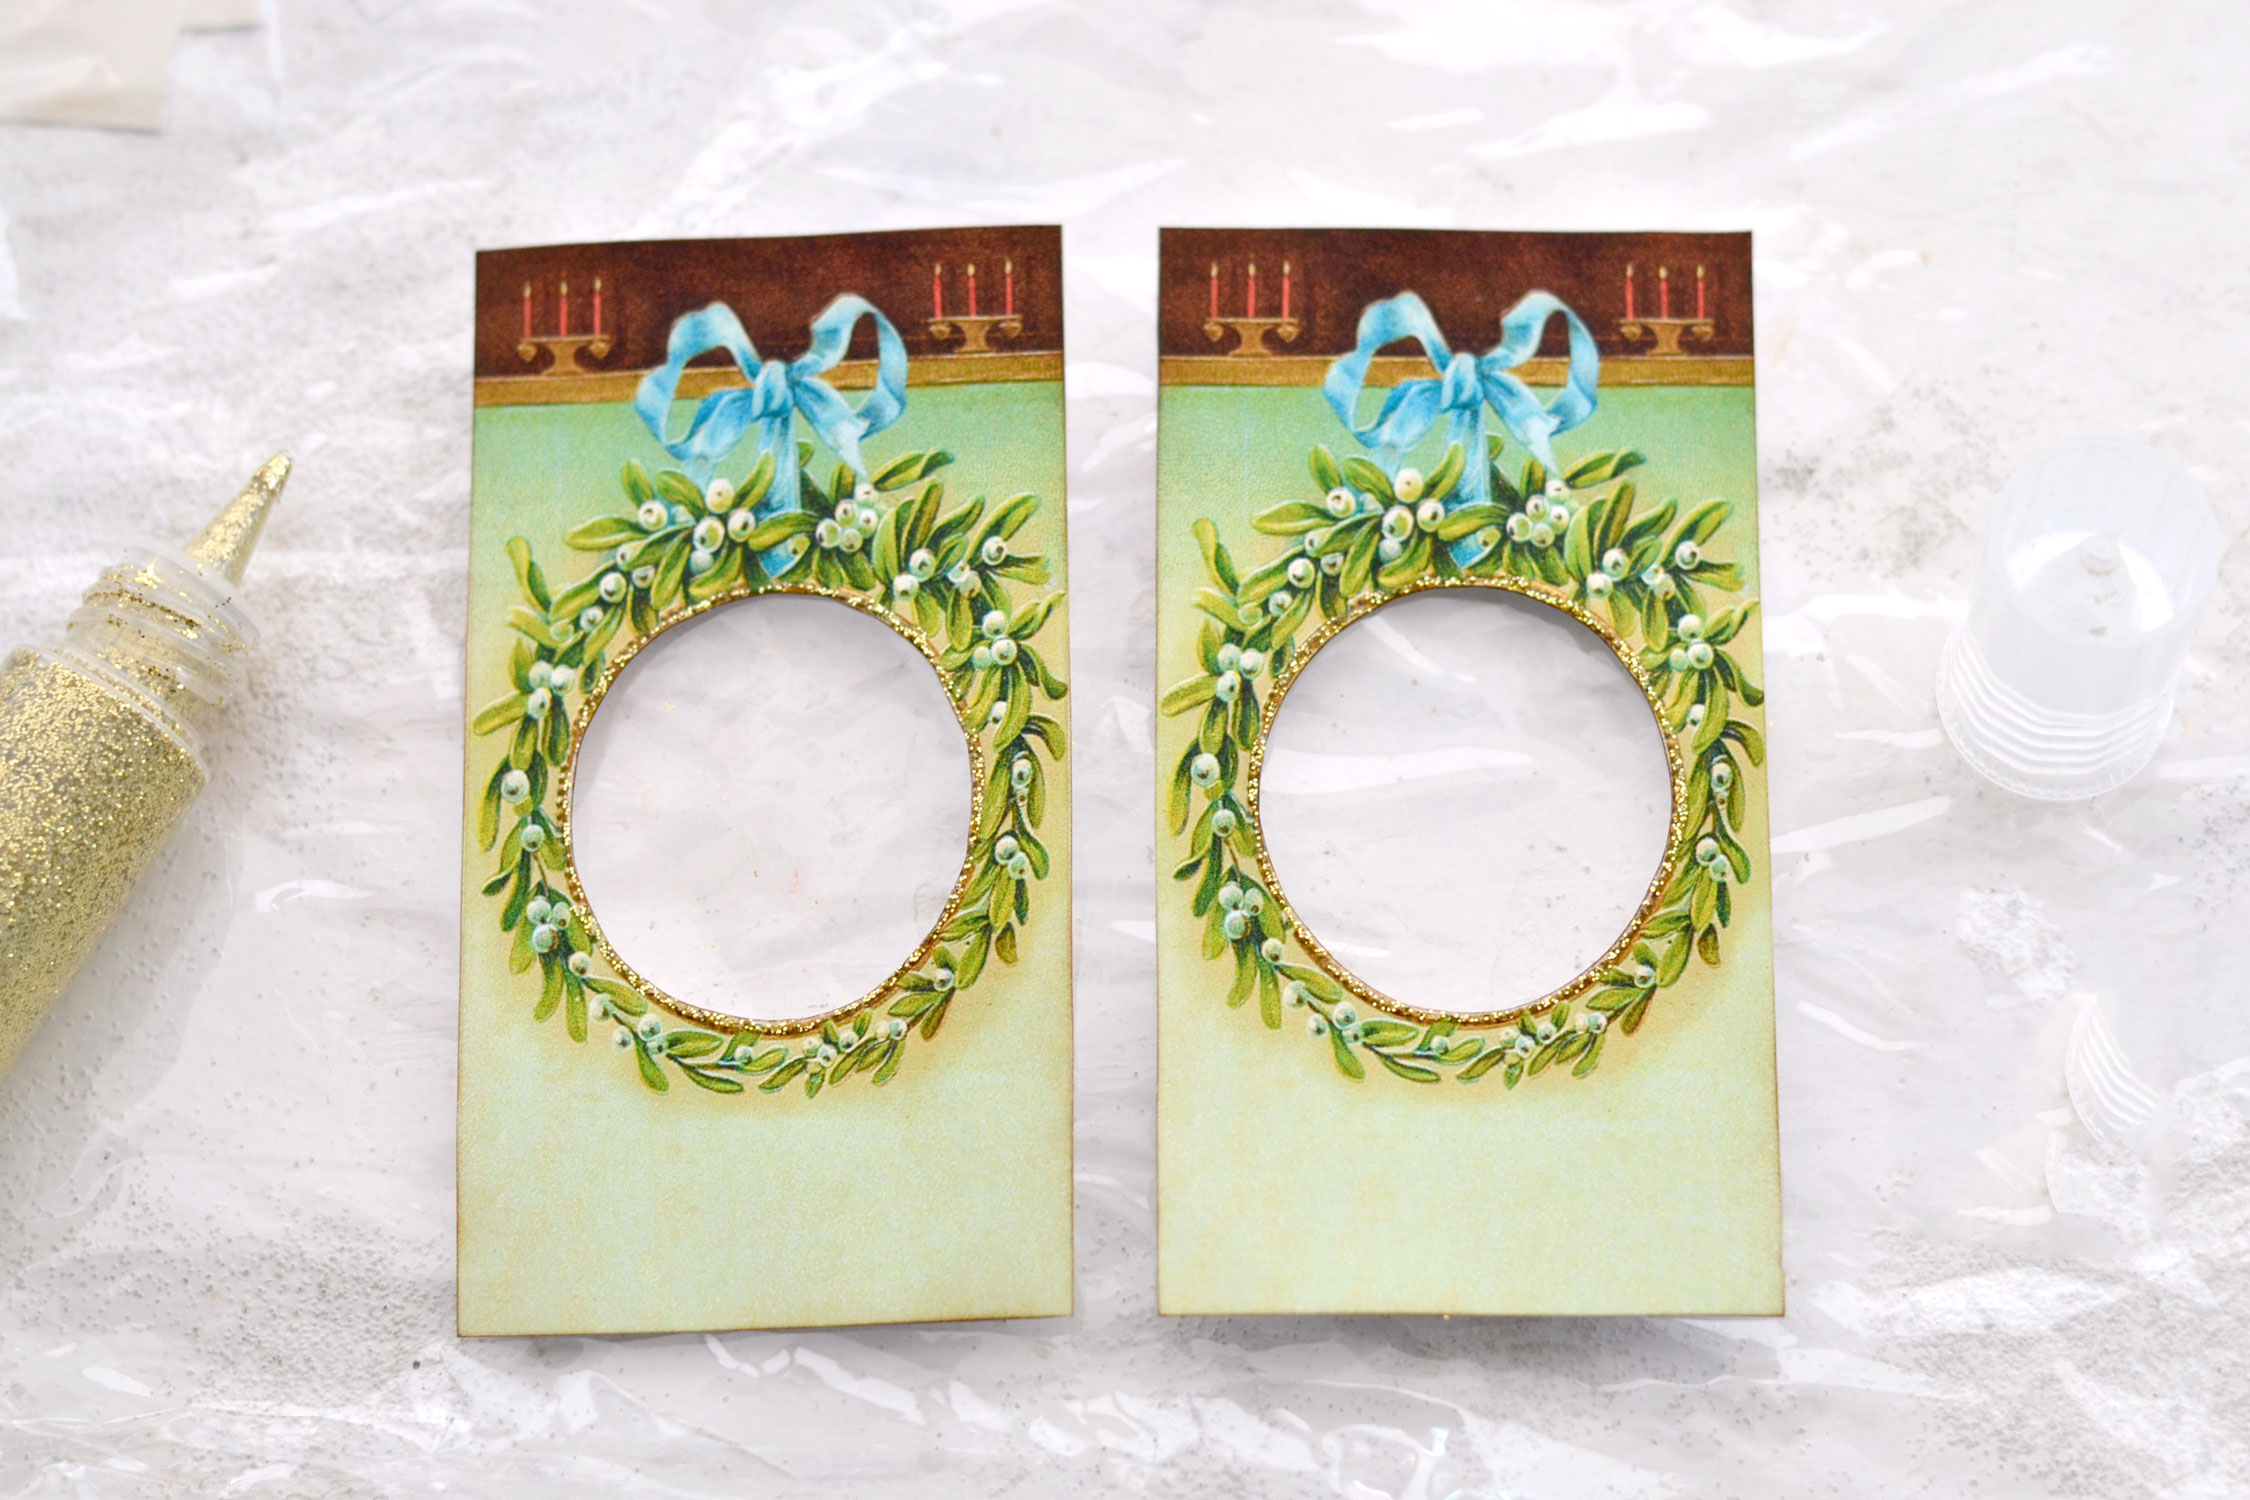
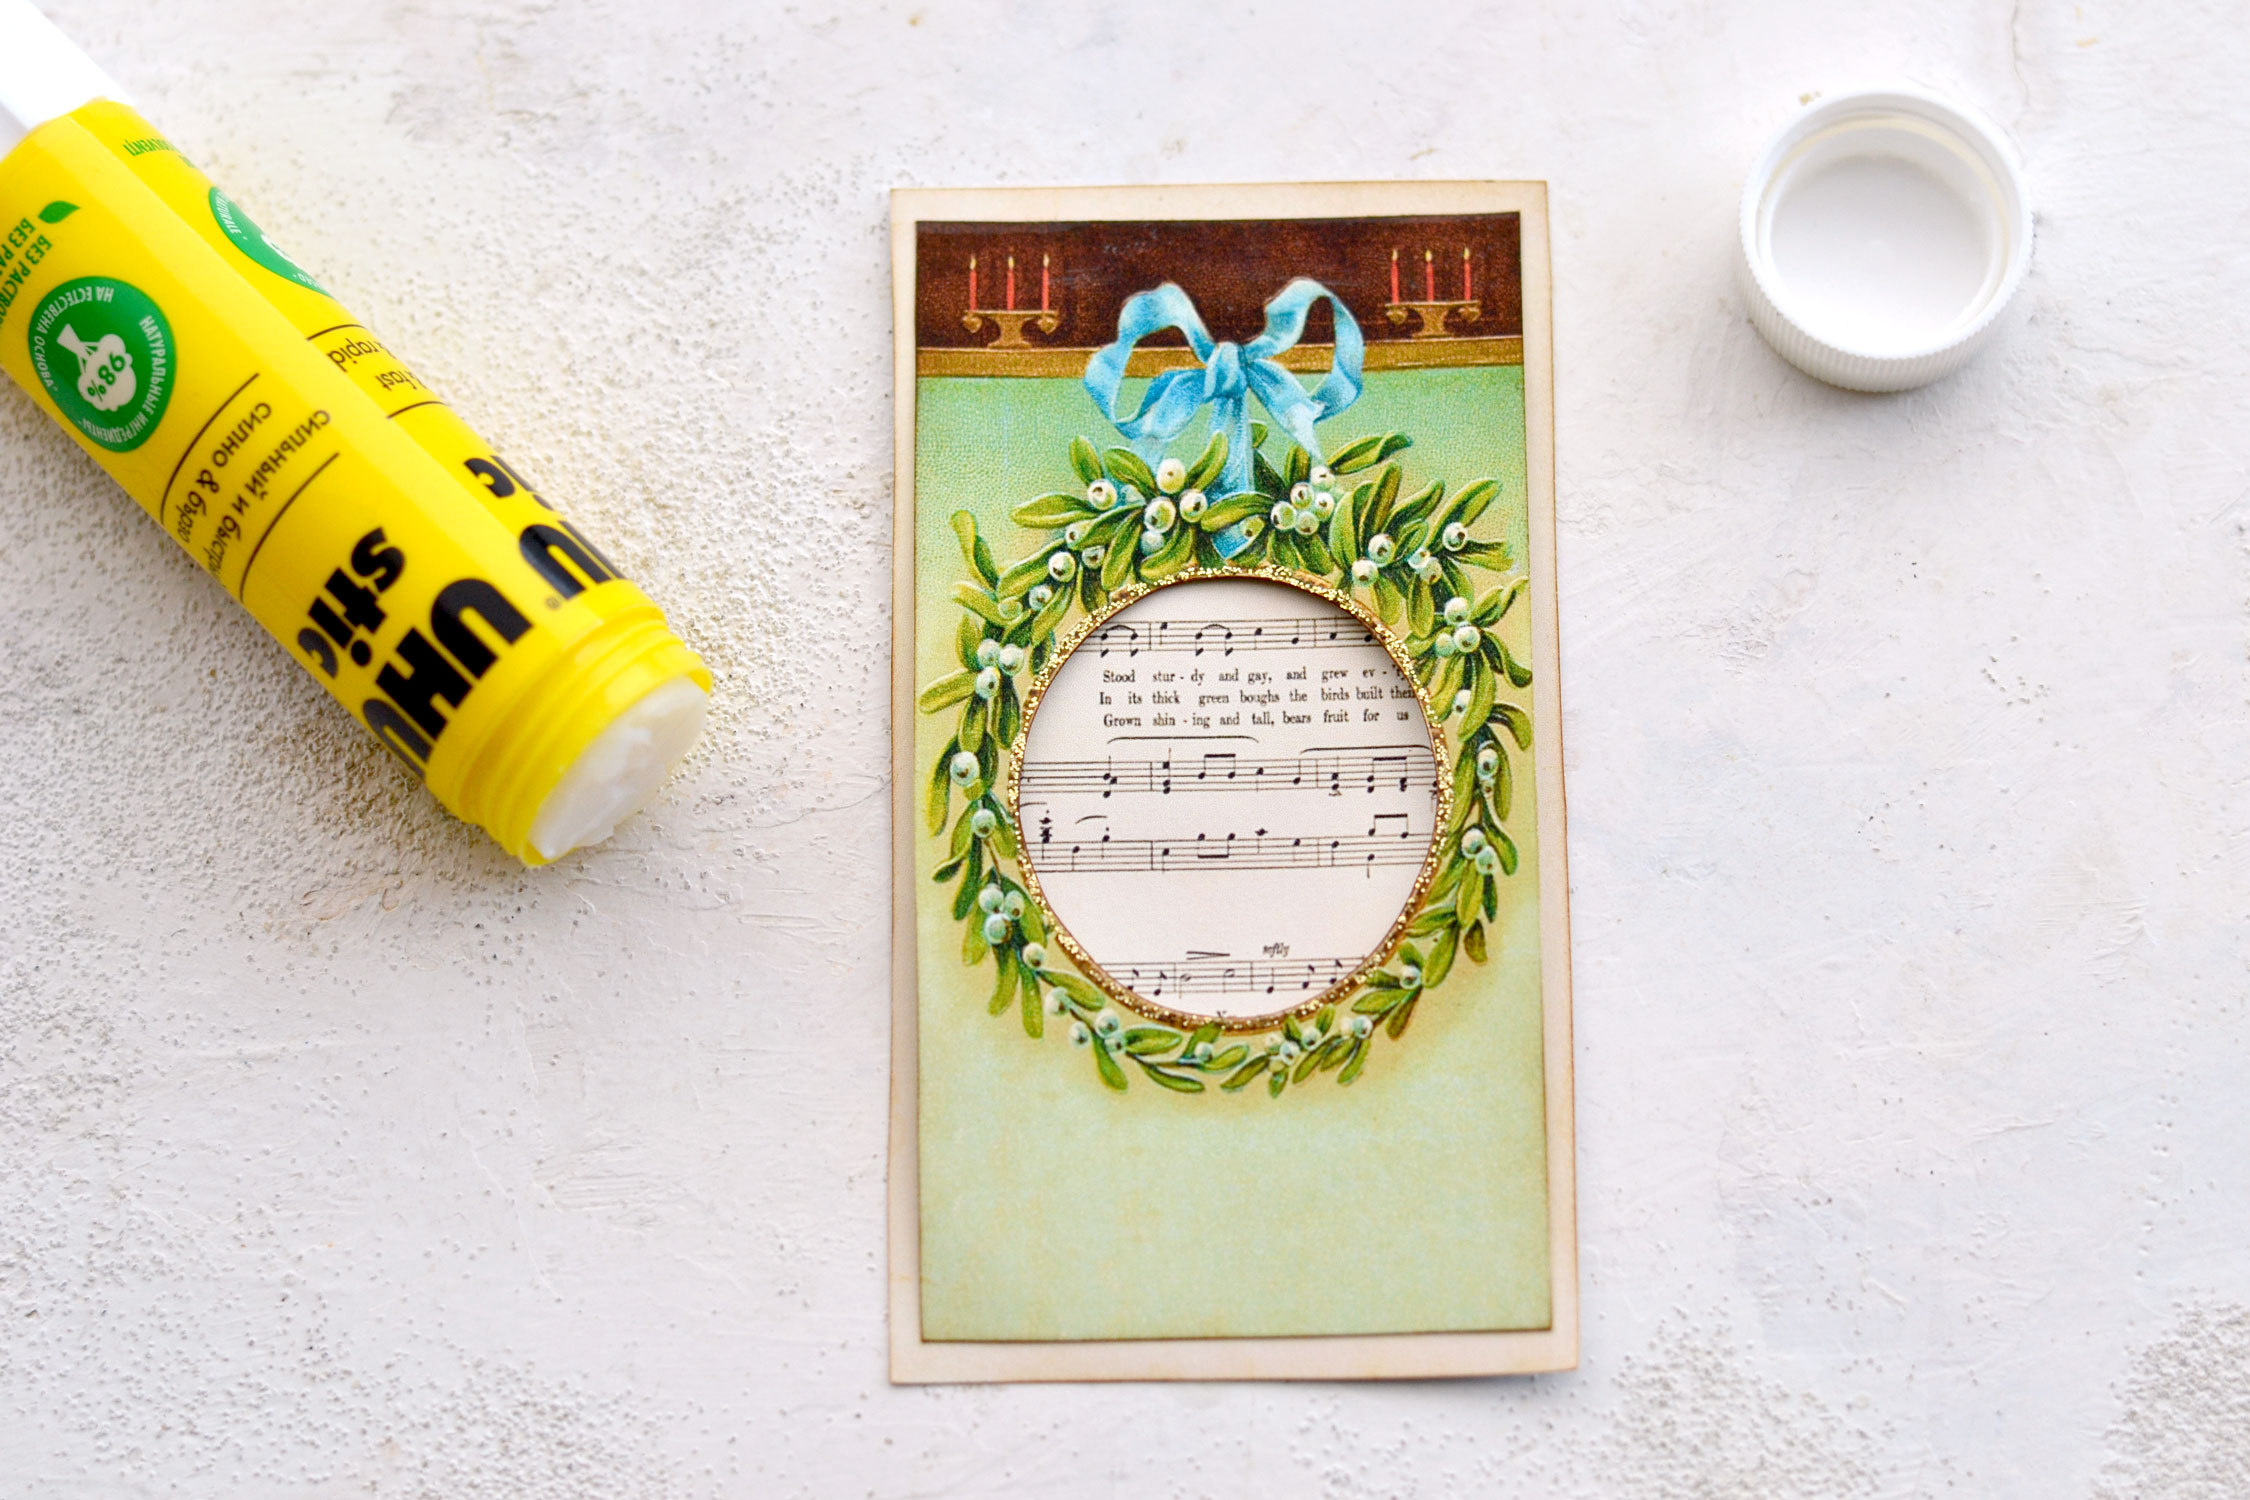
Use something to protect your working space (I used a plastic bag from old packaging) and place your holly wreath images on top. Use your glitter glue pen to decorate the inside of the wreath.
While the glitter glue dries, you can start to distress all the other elements.
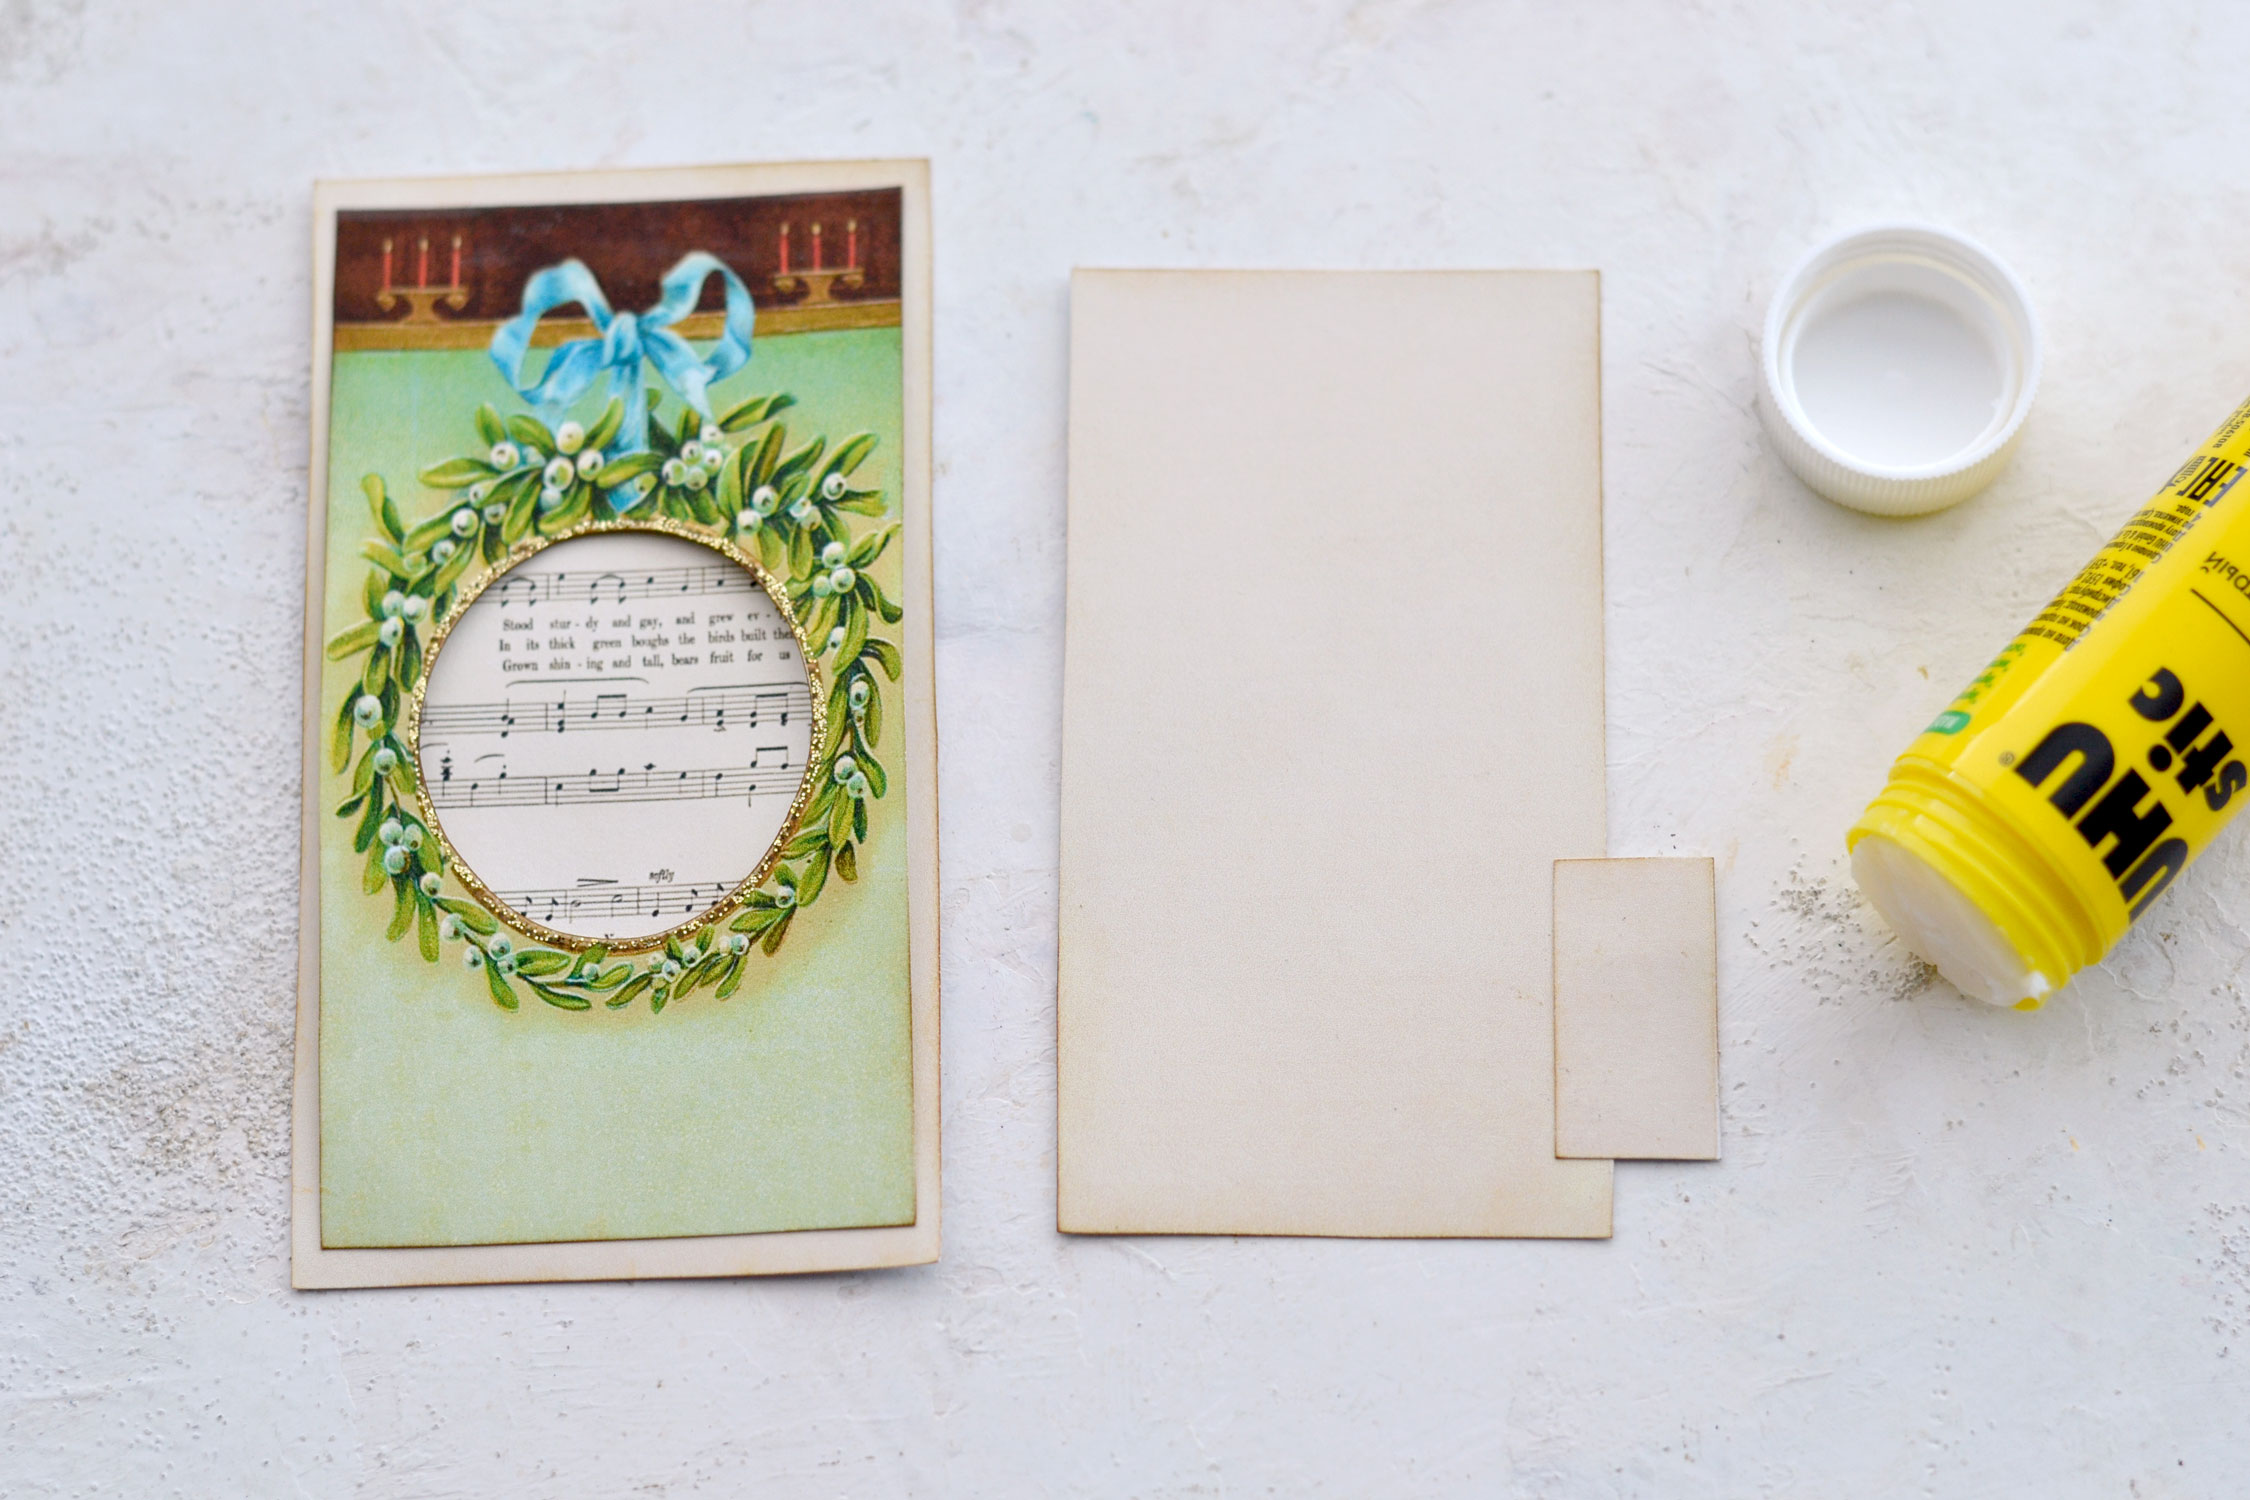
Now it’s time to assemble these beauties! Place the sheet music element on your table and use a thin line of glue on the top horizontal side to adhere the holly wreath image on top. You can also choose to glue the left vertical side if you prefer.
Use more glue to adhere the tab on the blank tag that we will tuck inside.
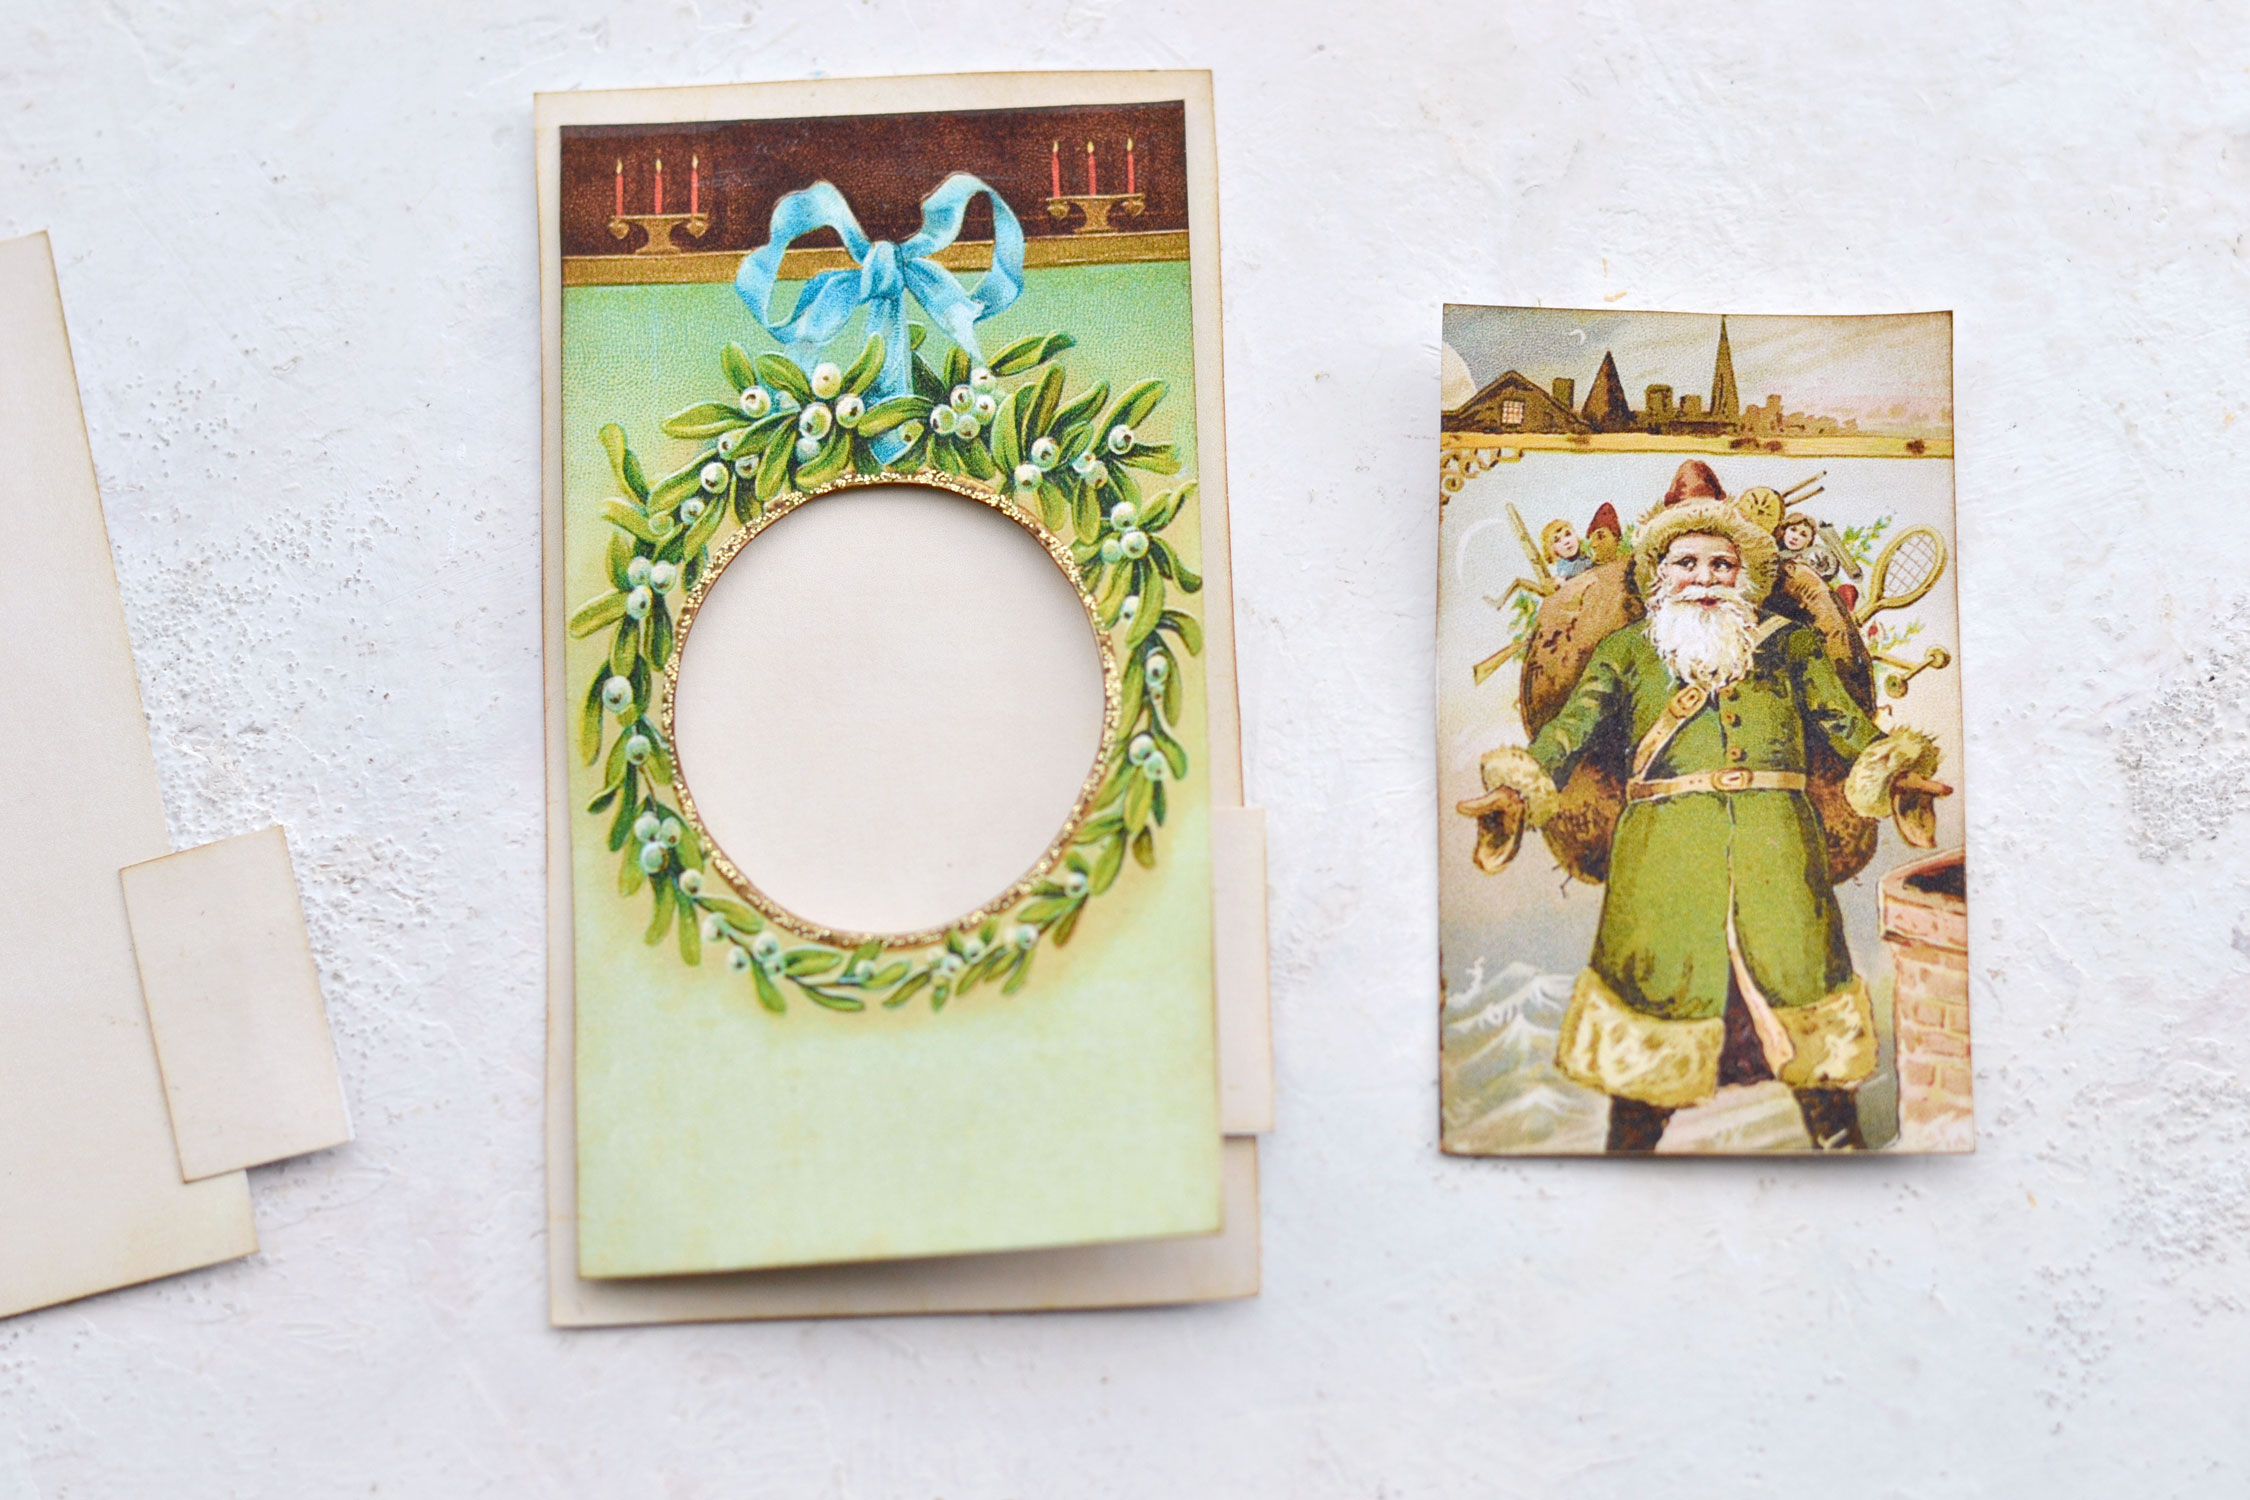
Now place the blank tab inside and decide which Christmas image you will love to use with it.
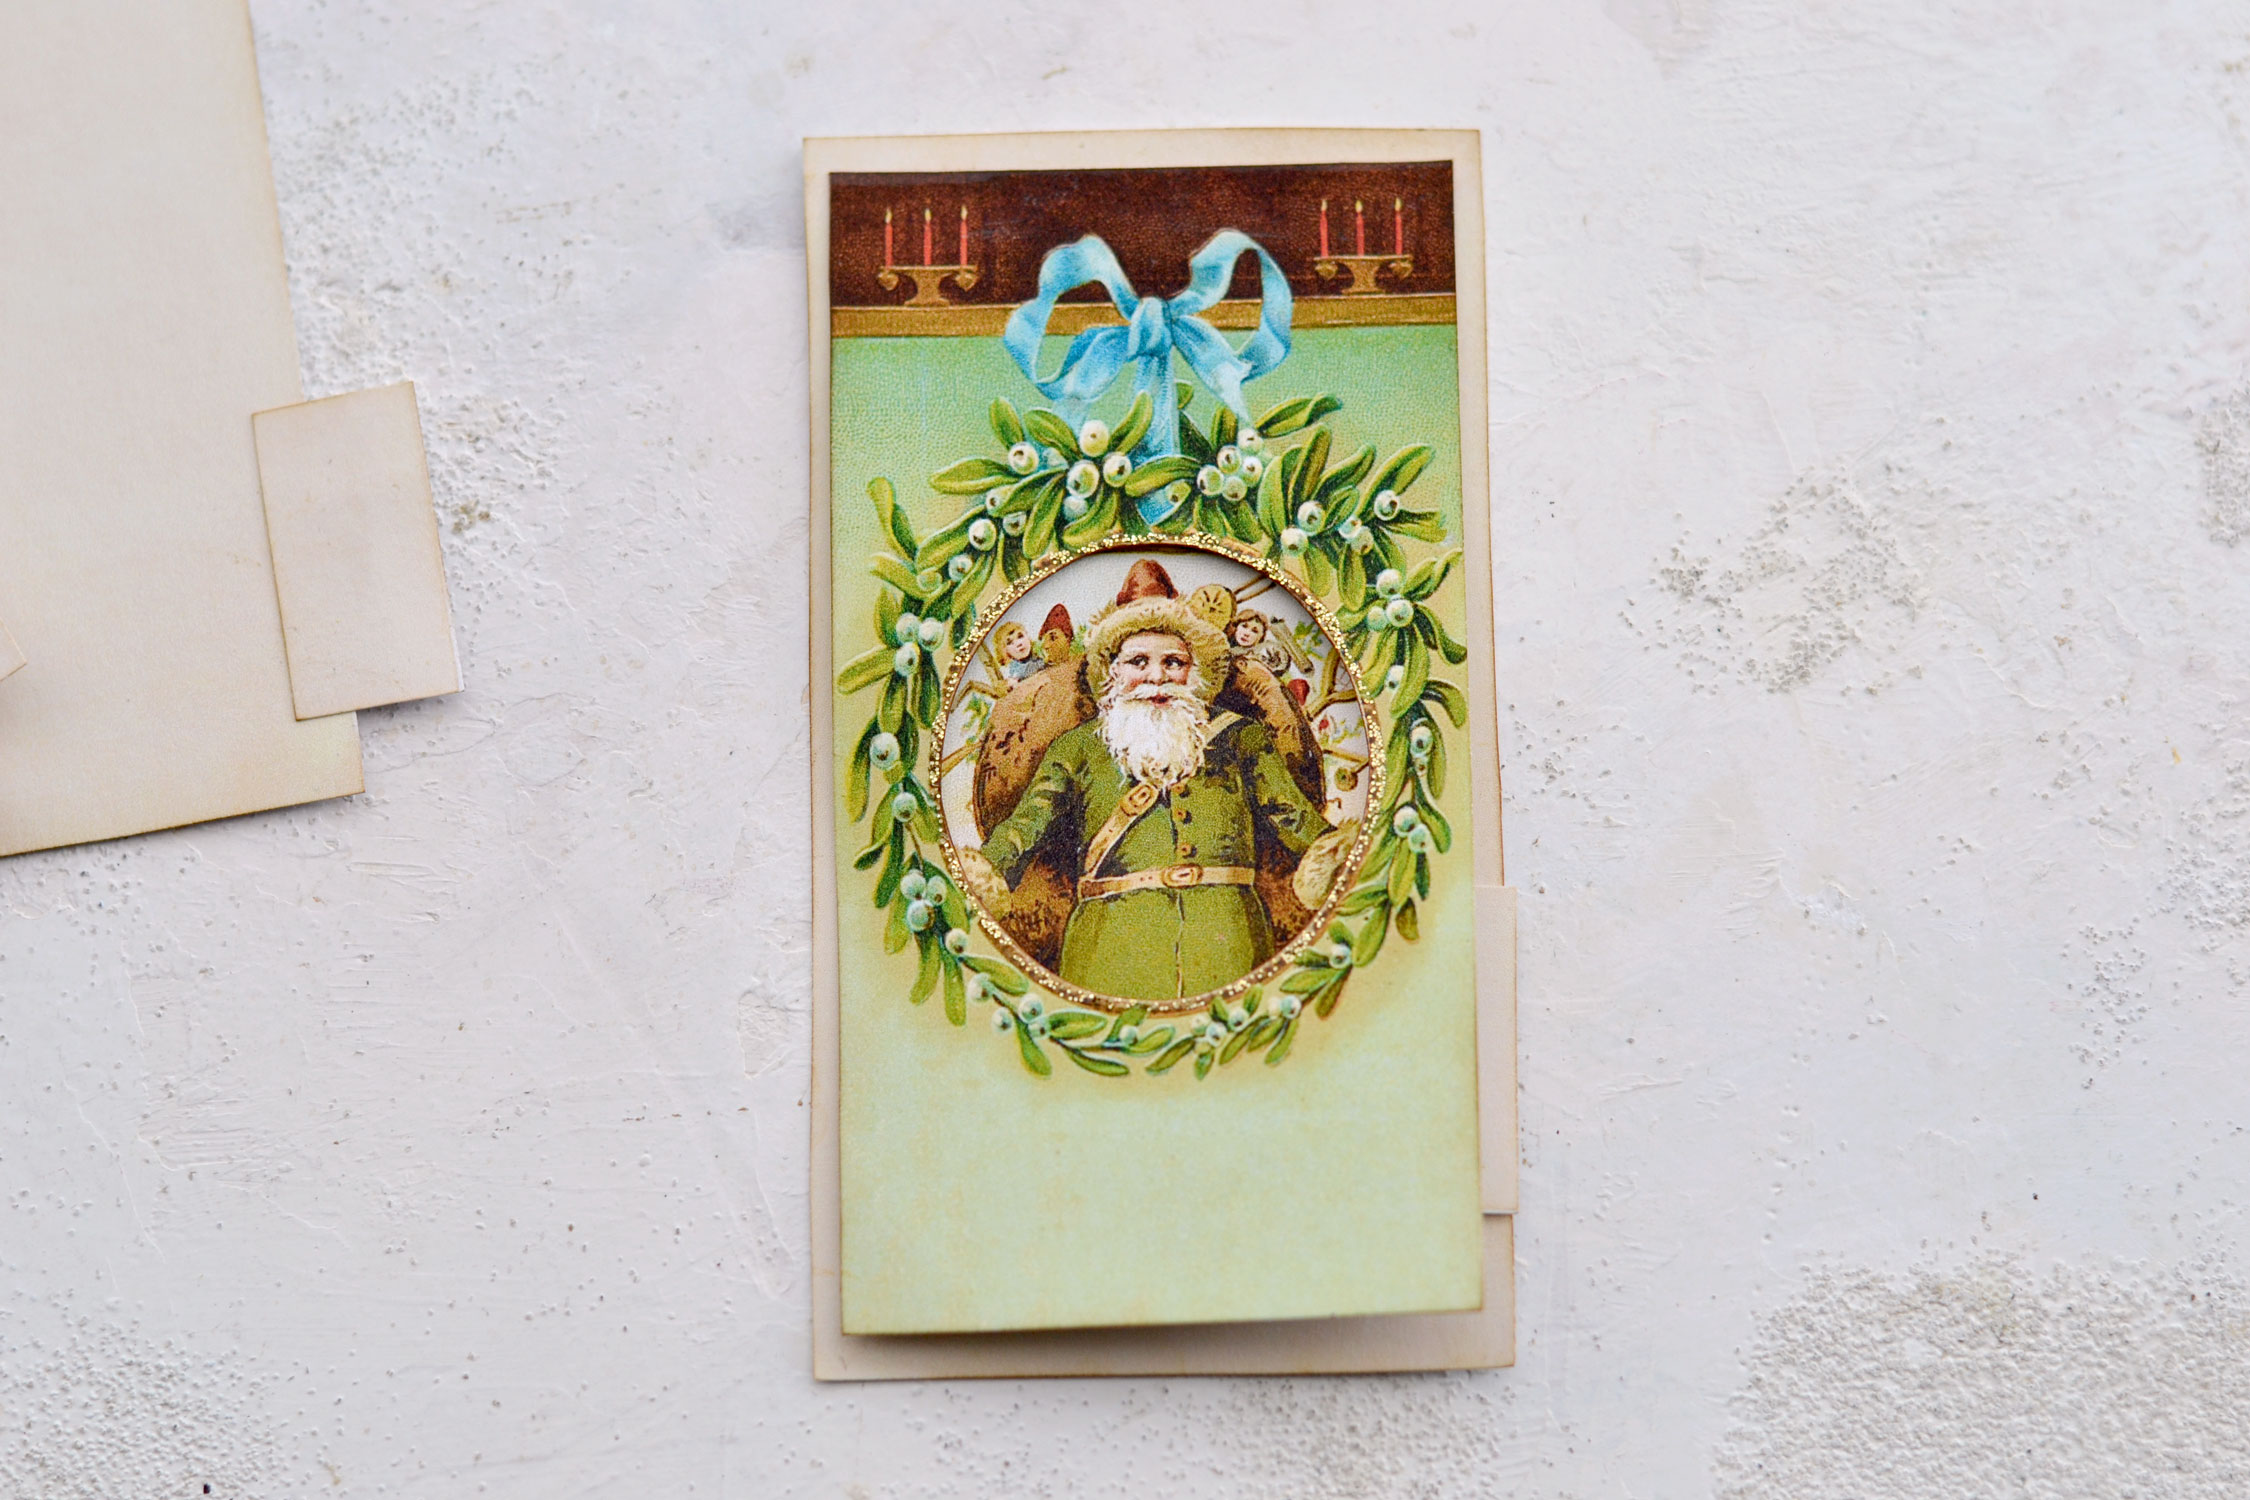
I went with this adorable Santa image and I placed it inside on top of the blank tag. Now you need to slightly move the Santa image around and better position it until it looks good from your holly wreath window. Carefully remove them both and then use some glue to adhere the Santa image on top of the blank tag.
Use some of the other cutouts to further decorate the inside tag with the tab, I used a small sheet music element to decorate the top of this one.
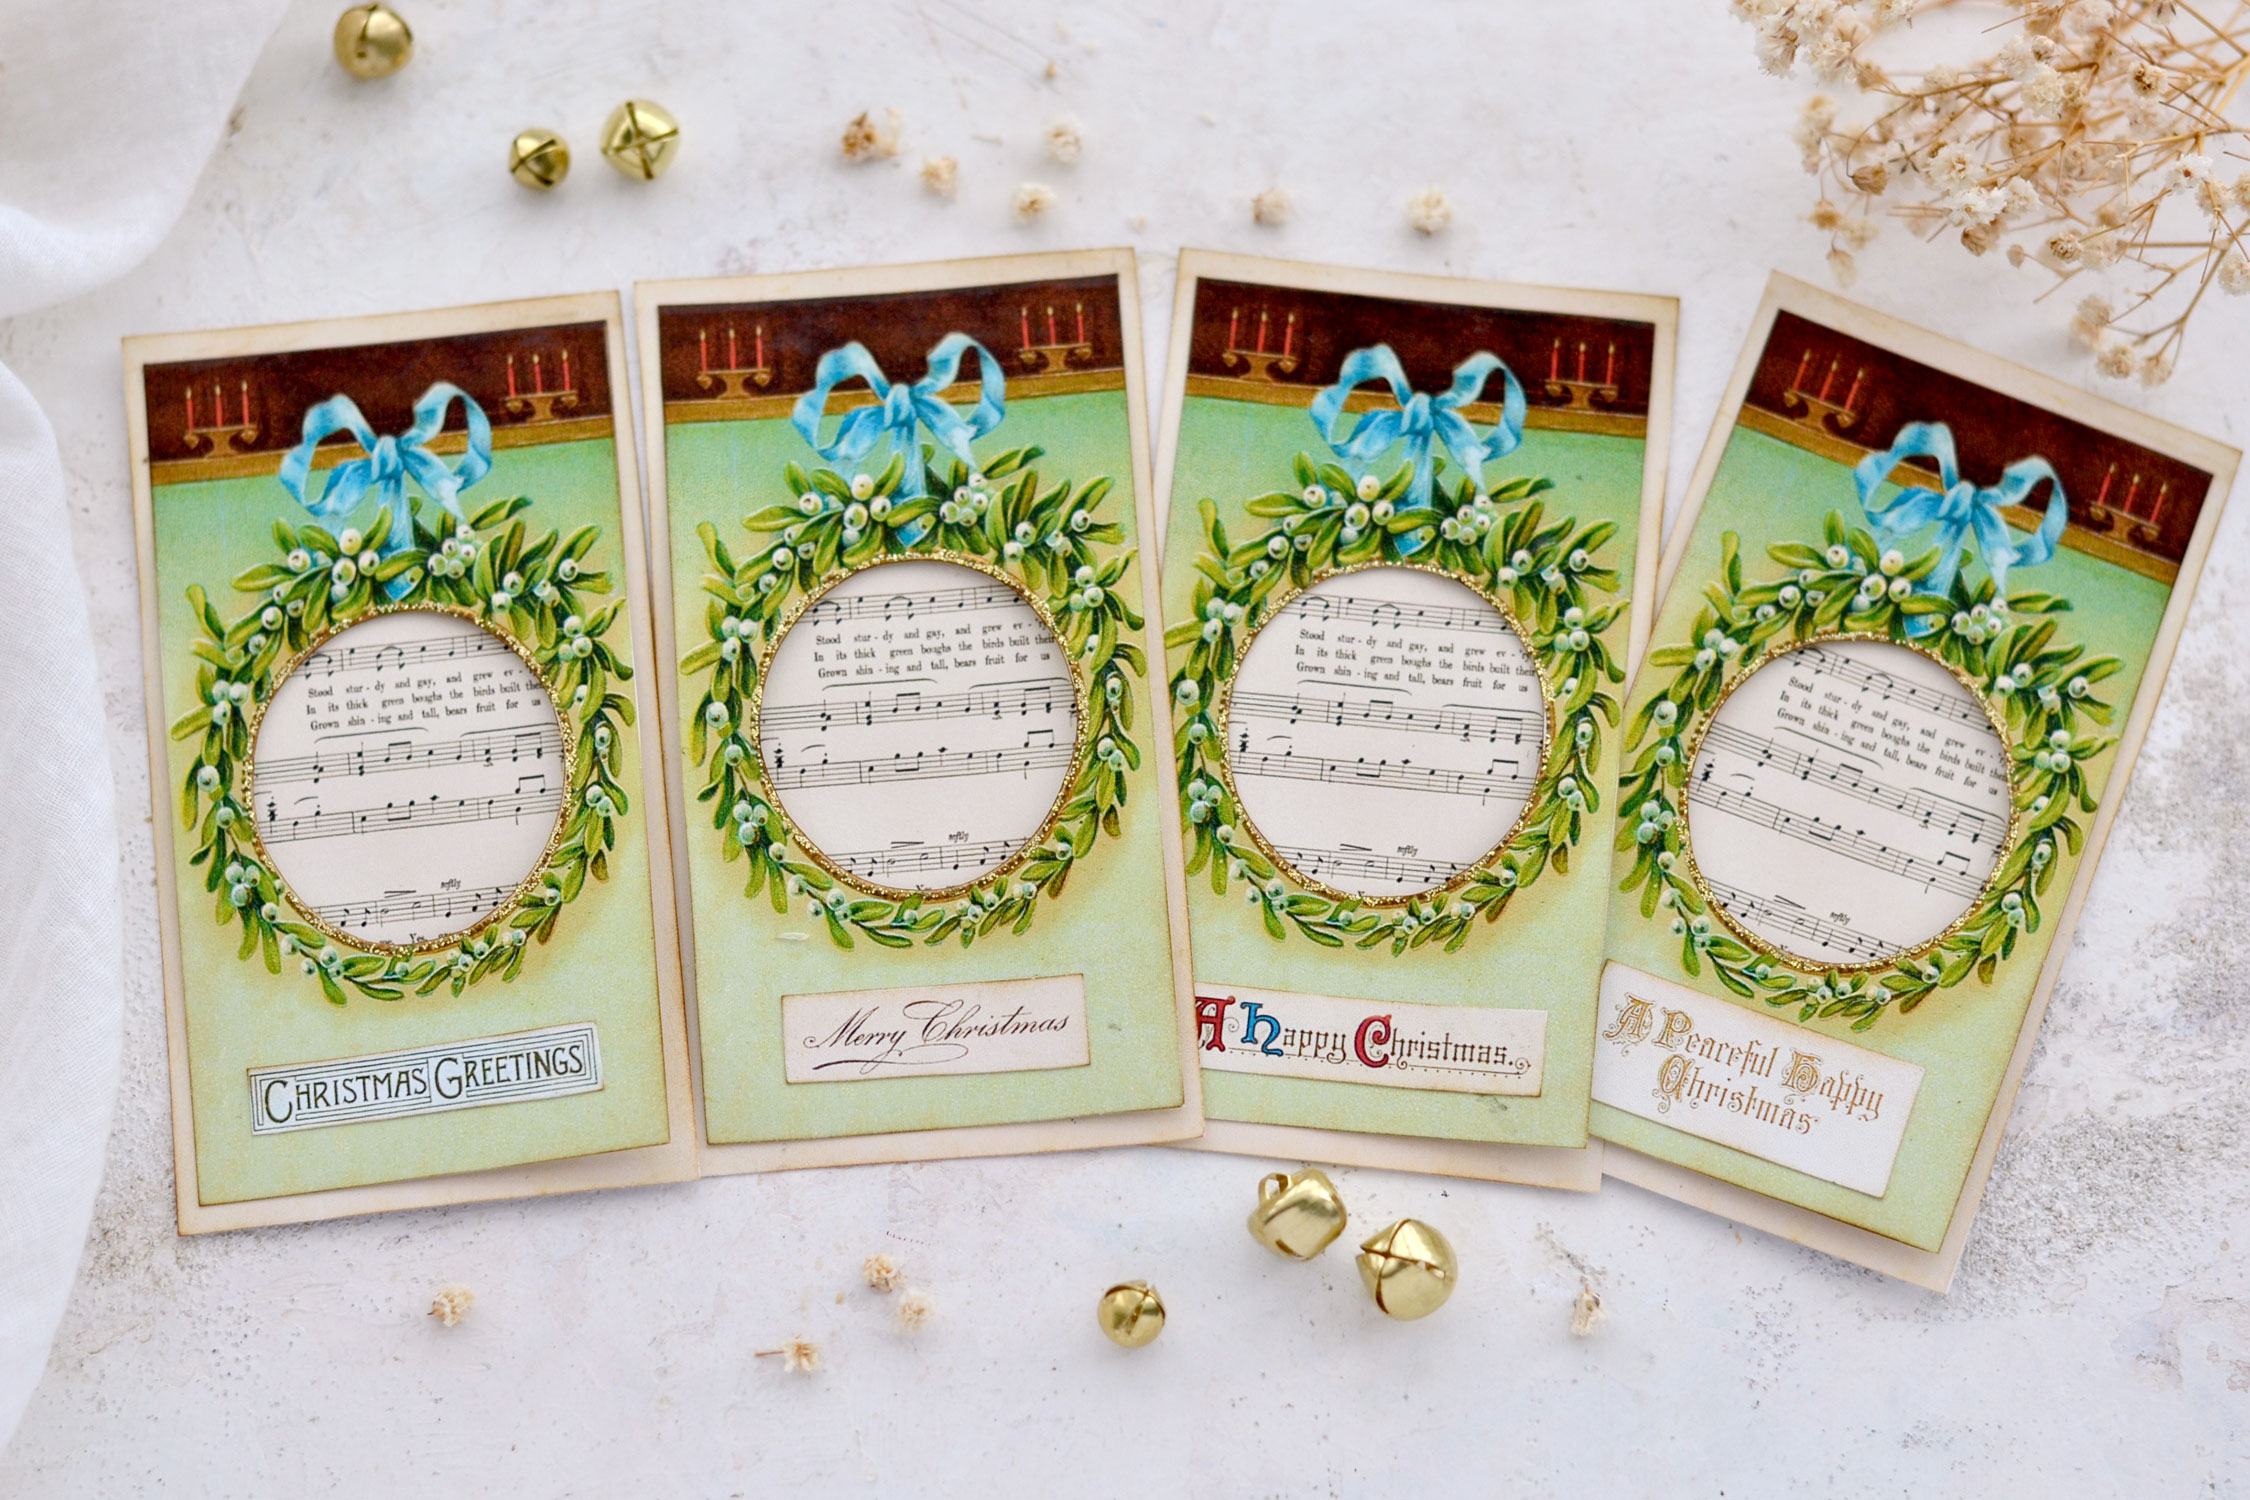
Don’t forget to also decorate the holly wreath element with a lovely Christmas wish and your first set is ready!
The finished window tags look really beautiful on their own and can be used as they are. I feel like the sheet music that peeks through the holly window is so charming, don’t you think?
Don’t forget to check the position of all the Christmas images you want to use on the inside tags with the tabs before gluing everything together. Each image is different so you need to check its position first just to make sure it perfectly peeks from your window.
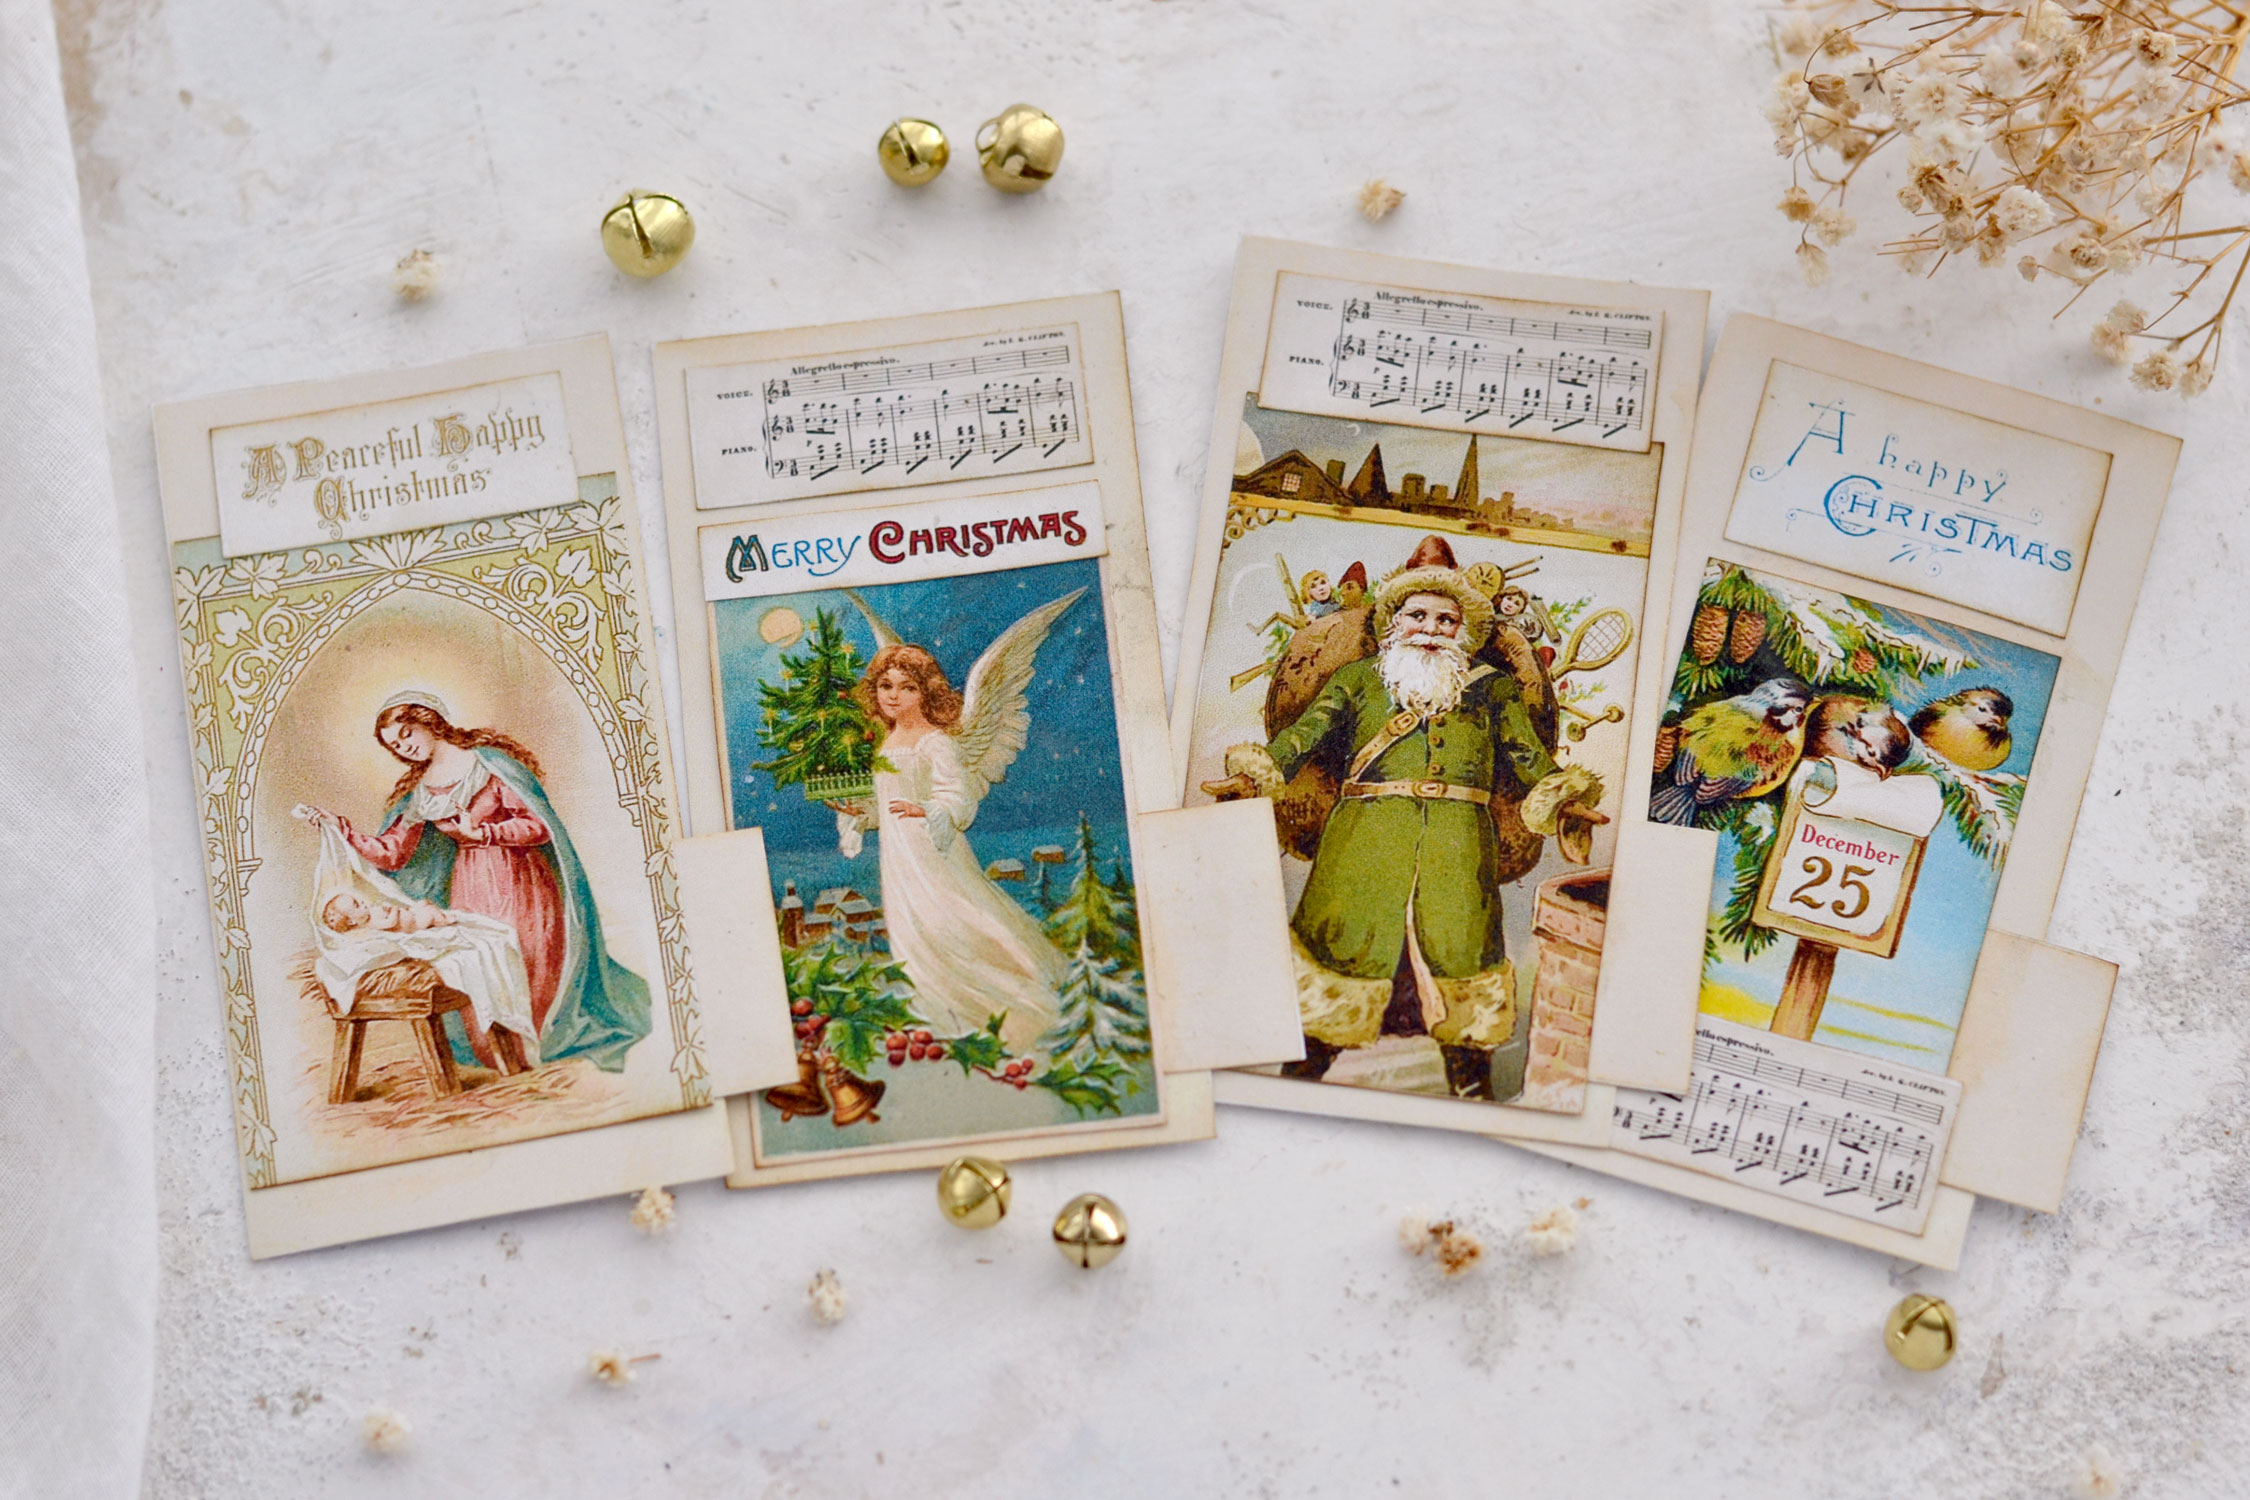
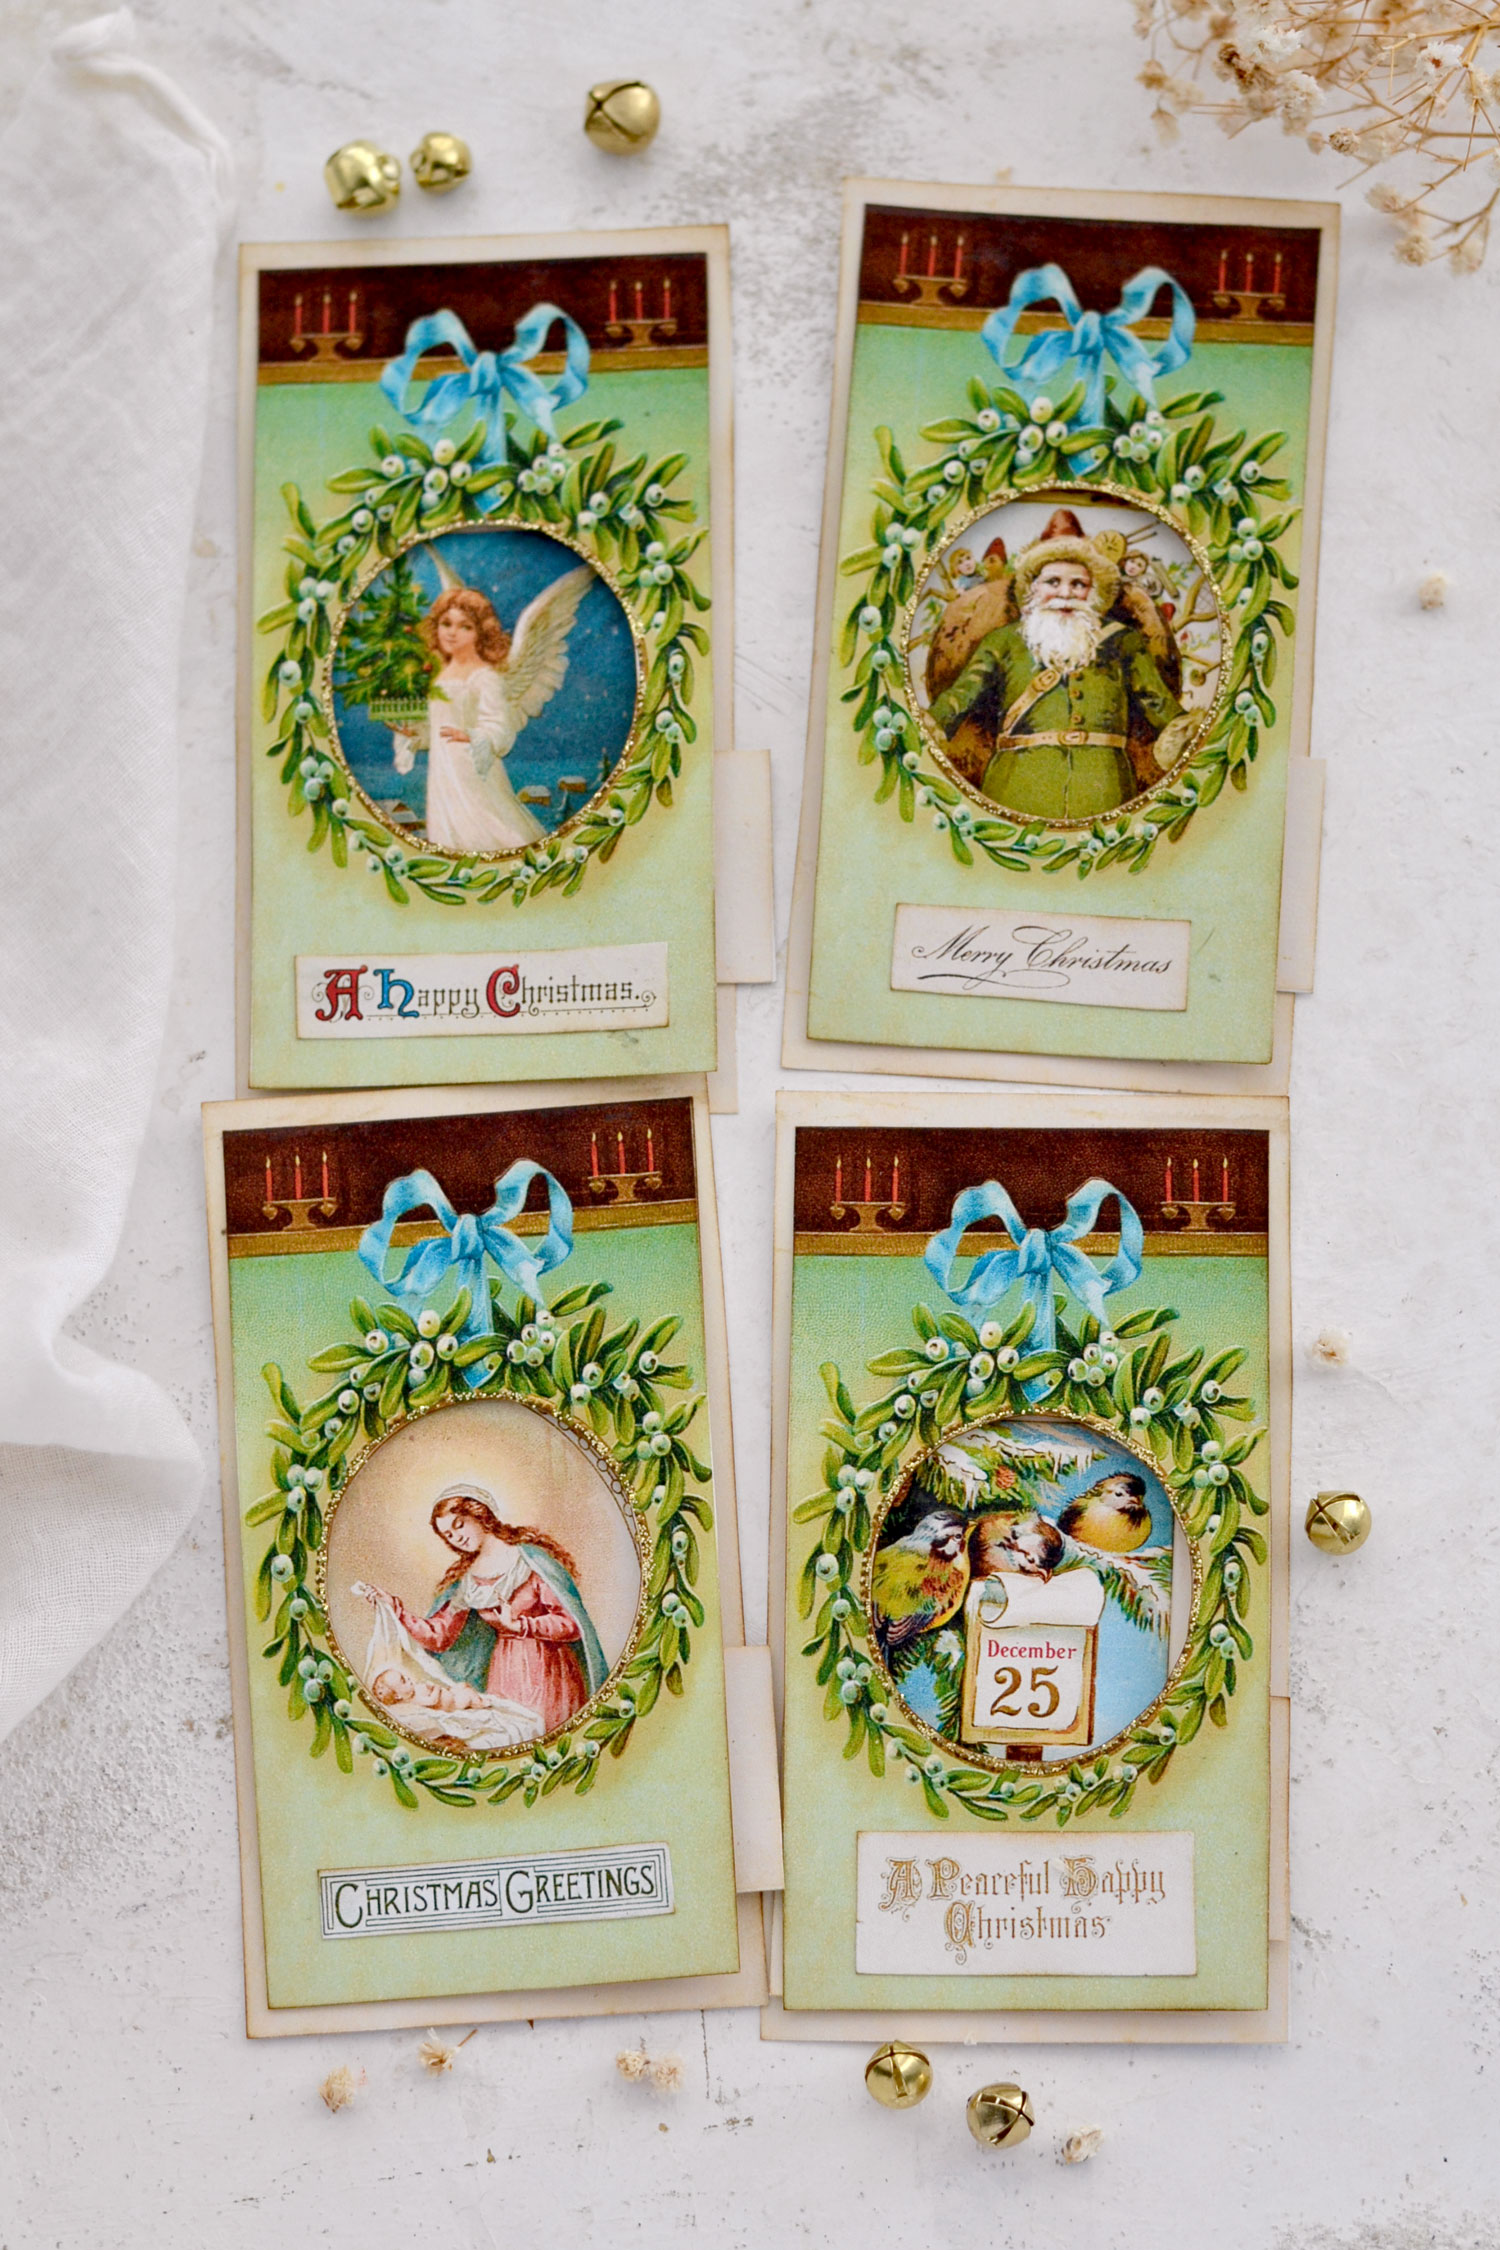
Tuck all the tags with the tabs inside and your super chic Christmas Journal Tags are now ready to be used!
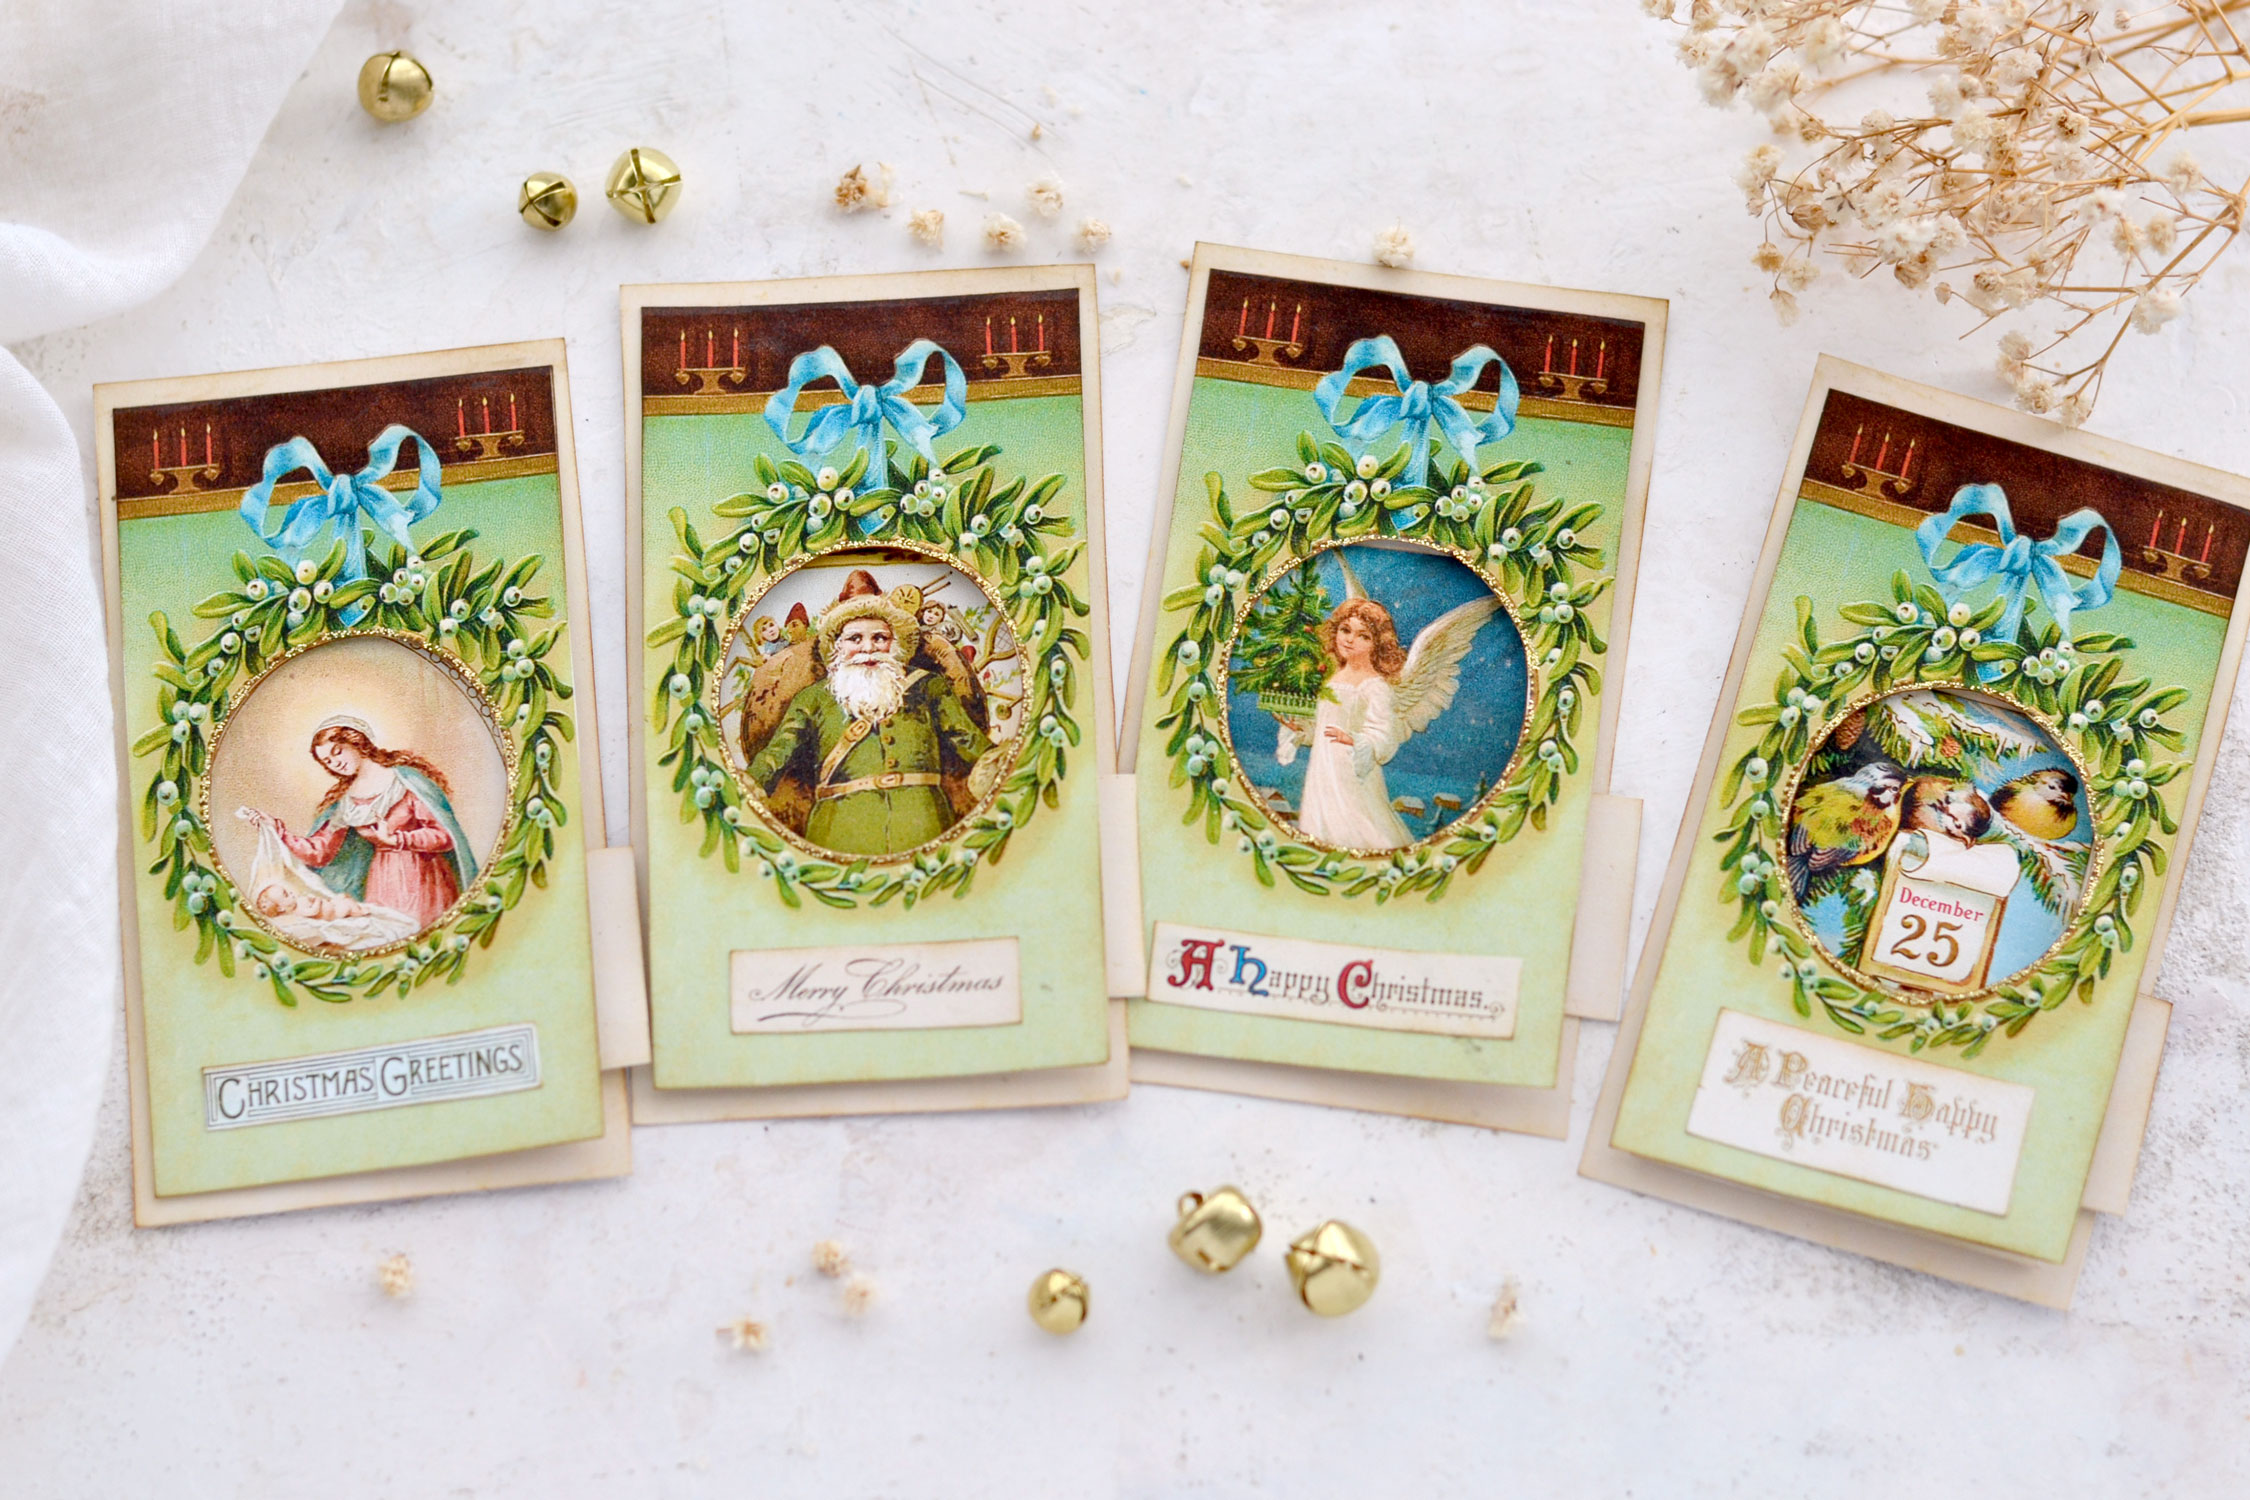
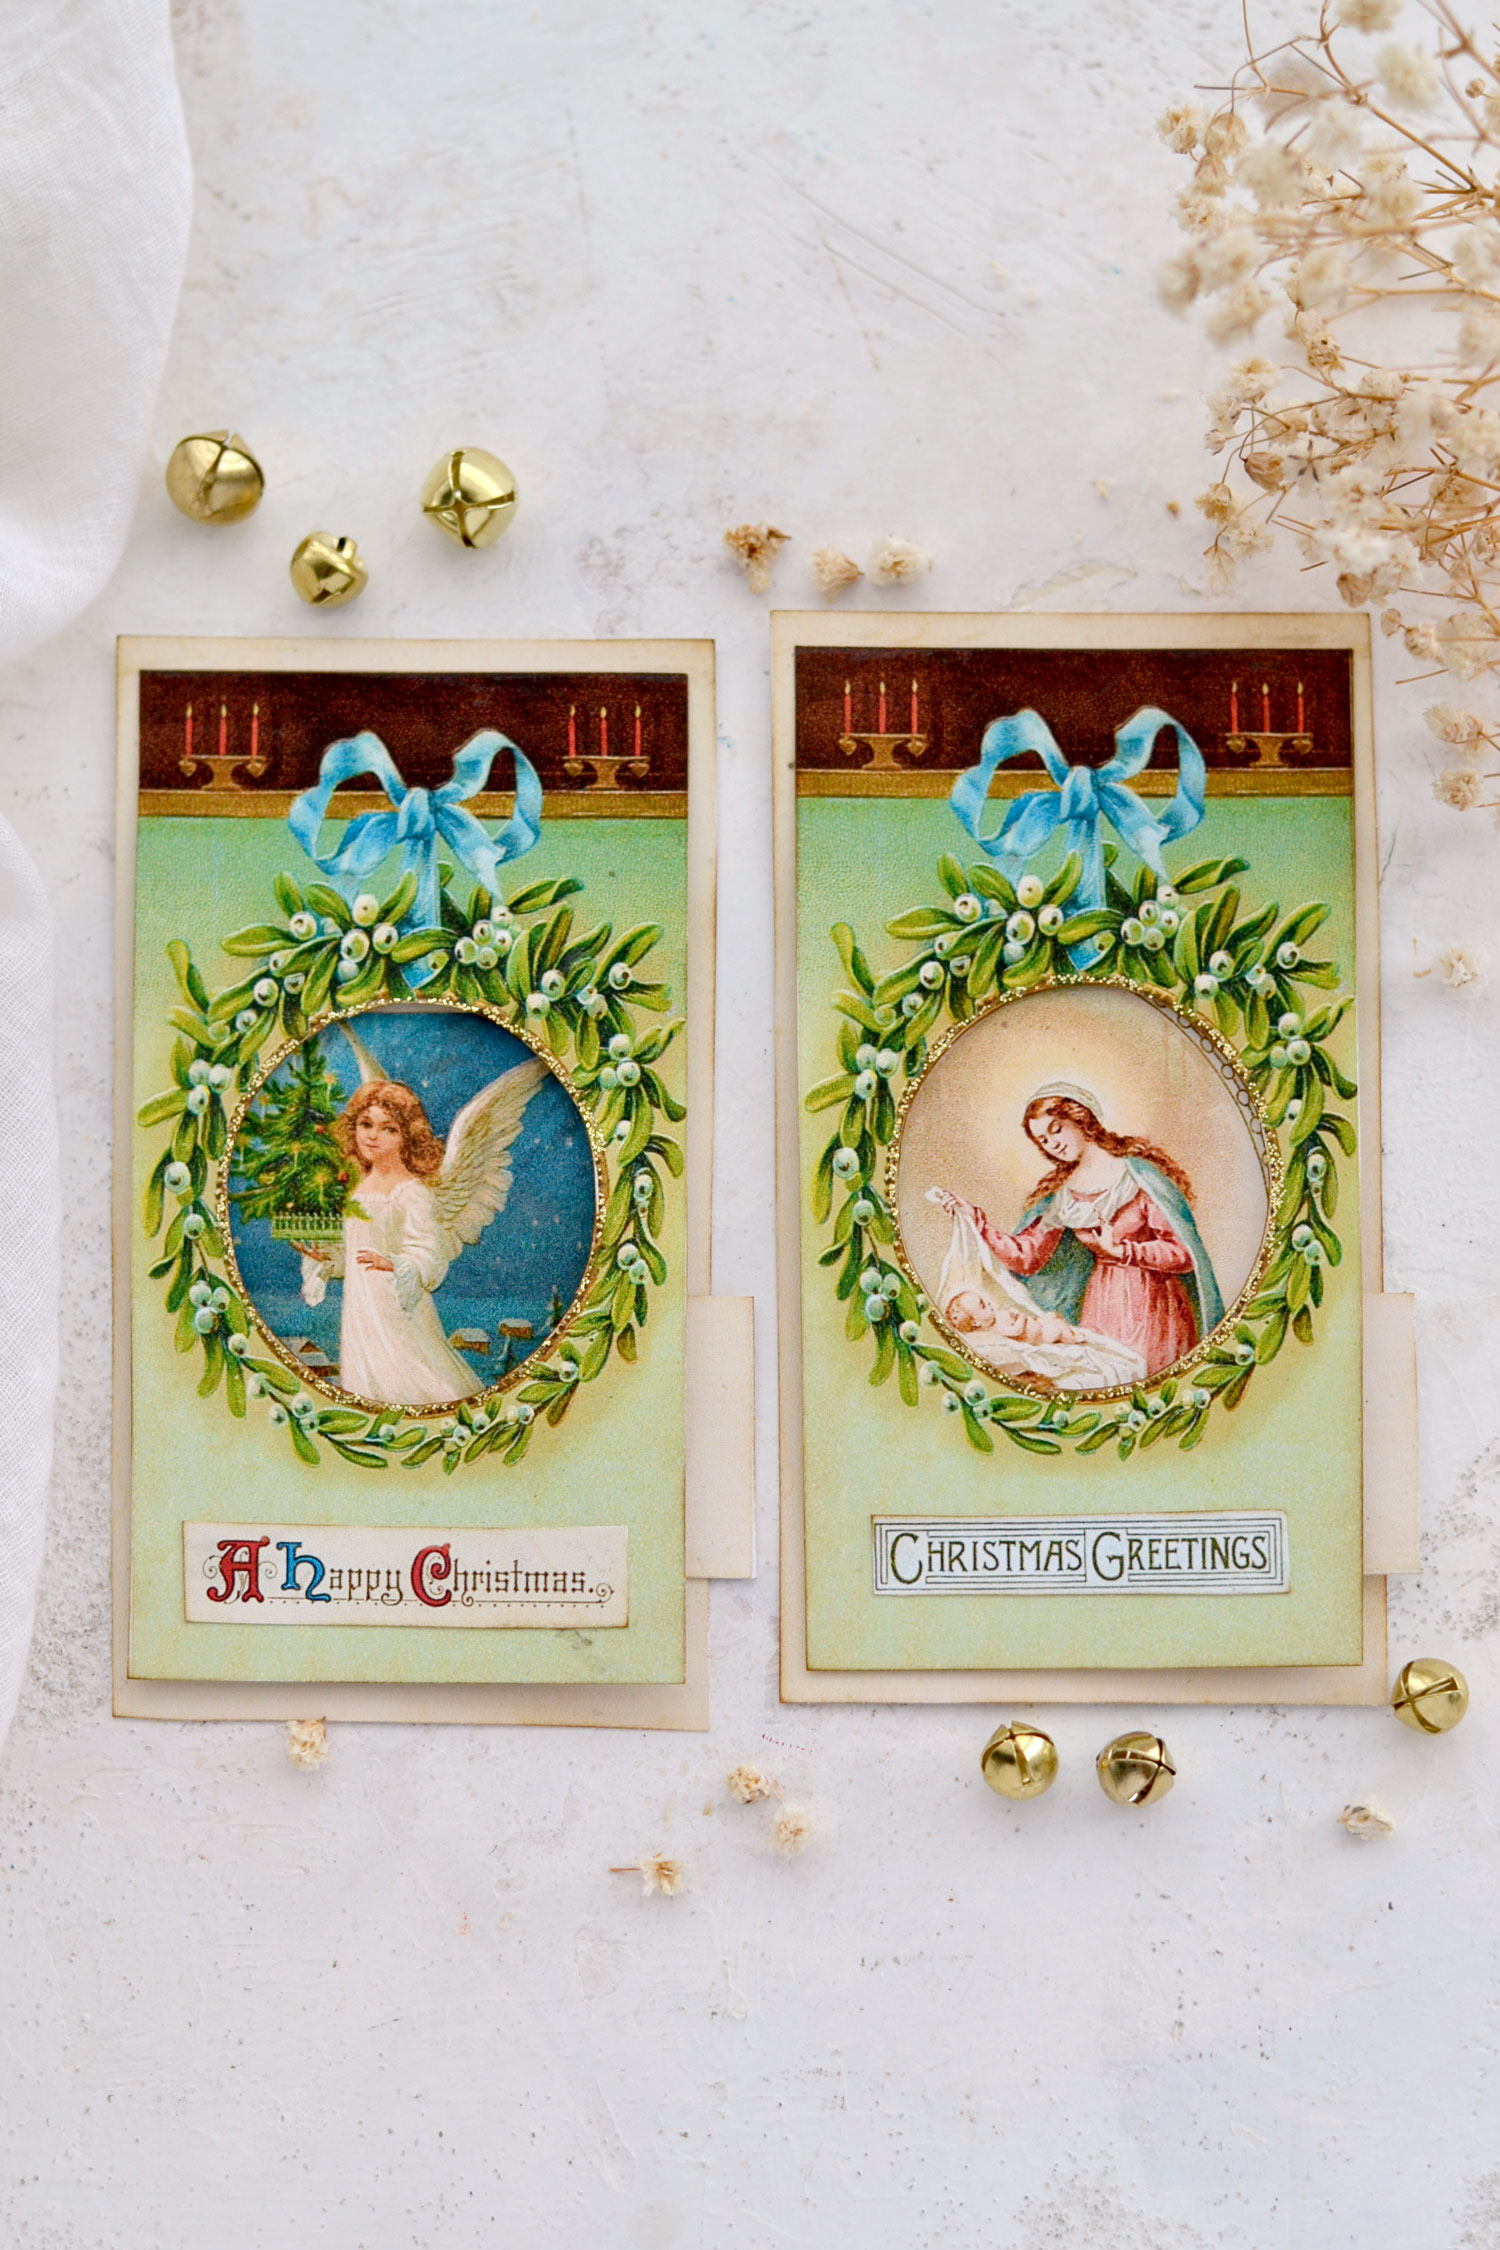
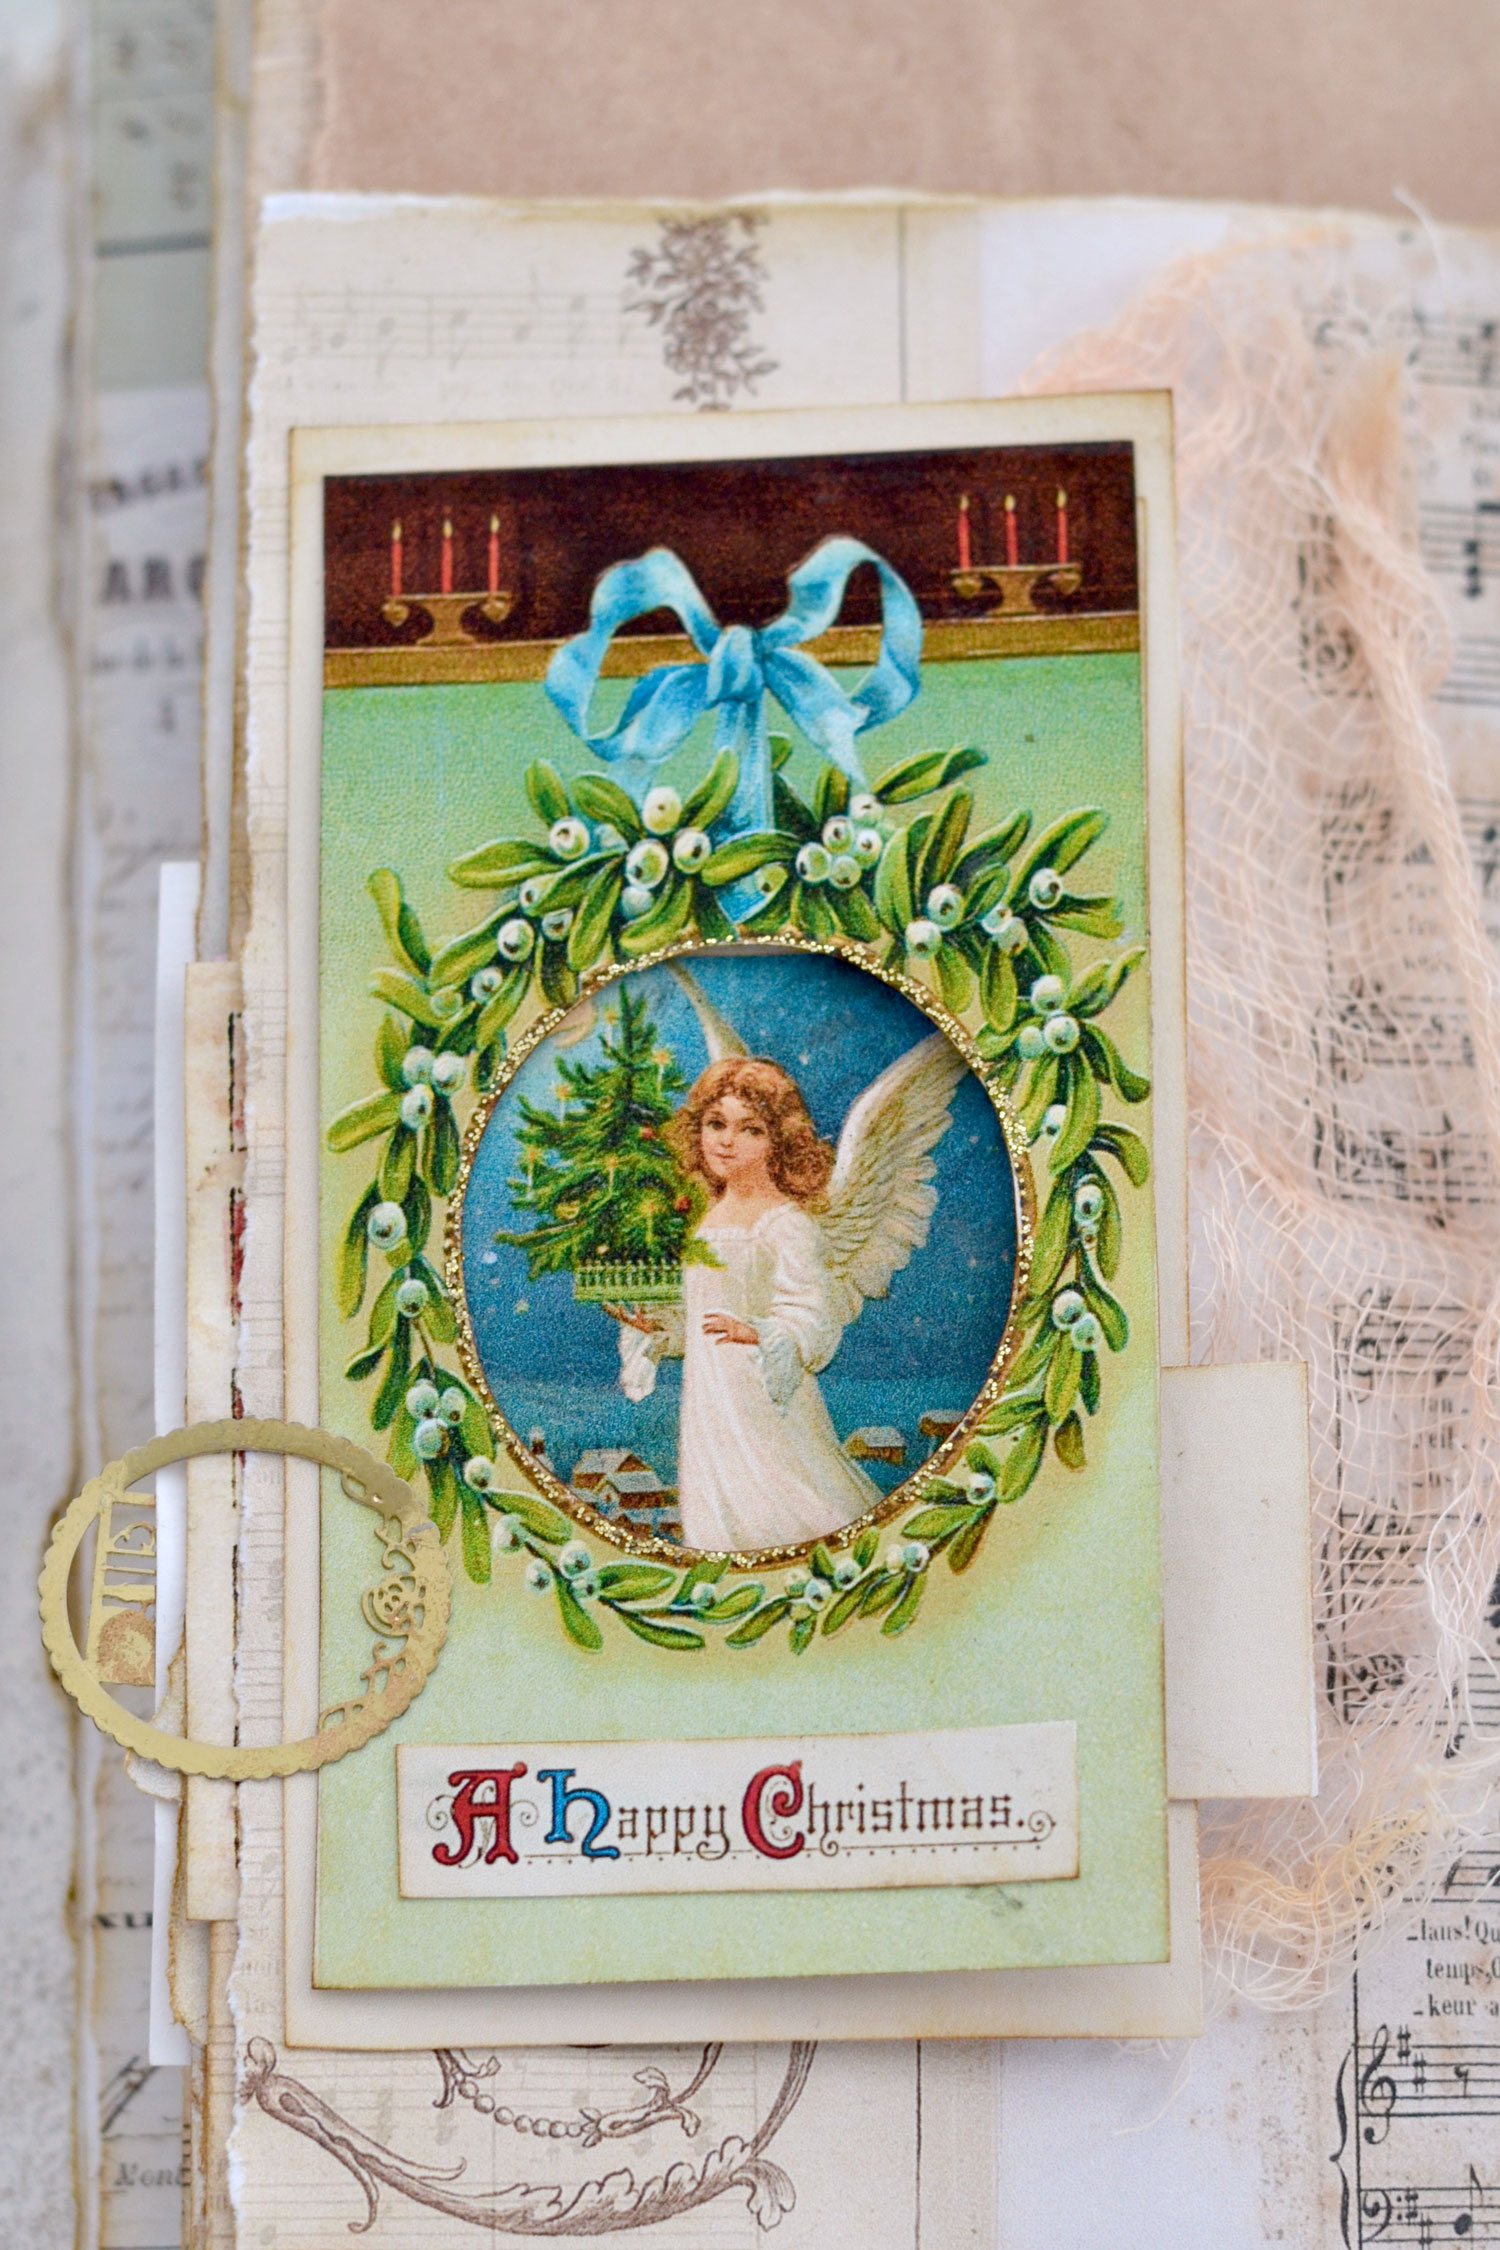
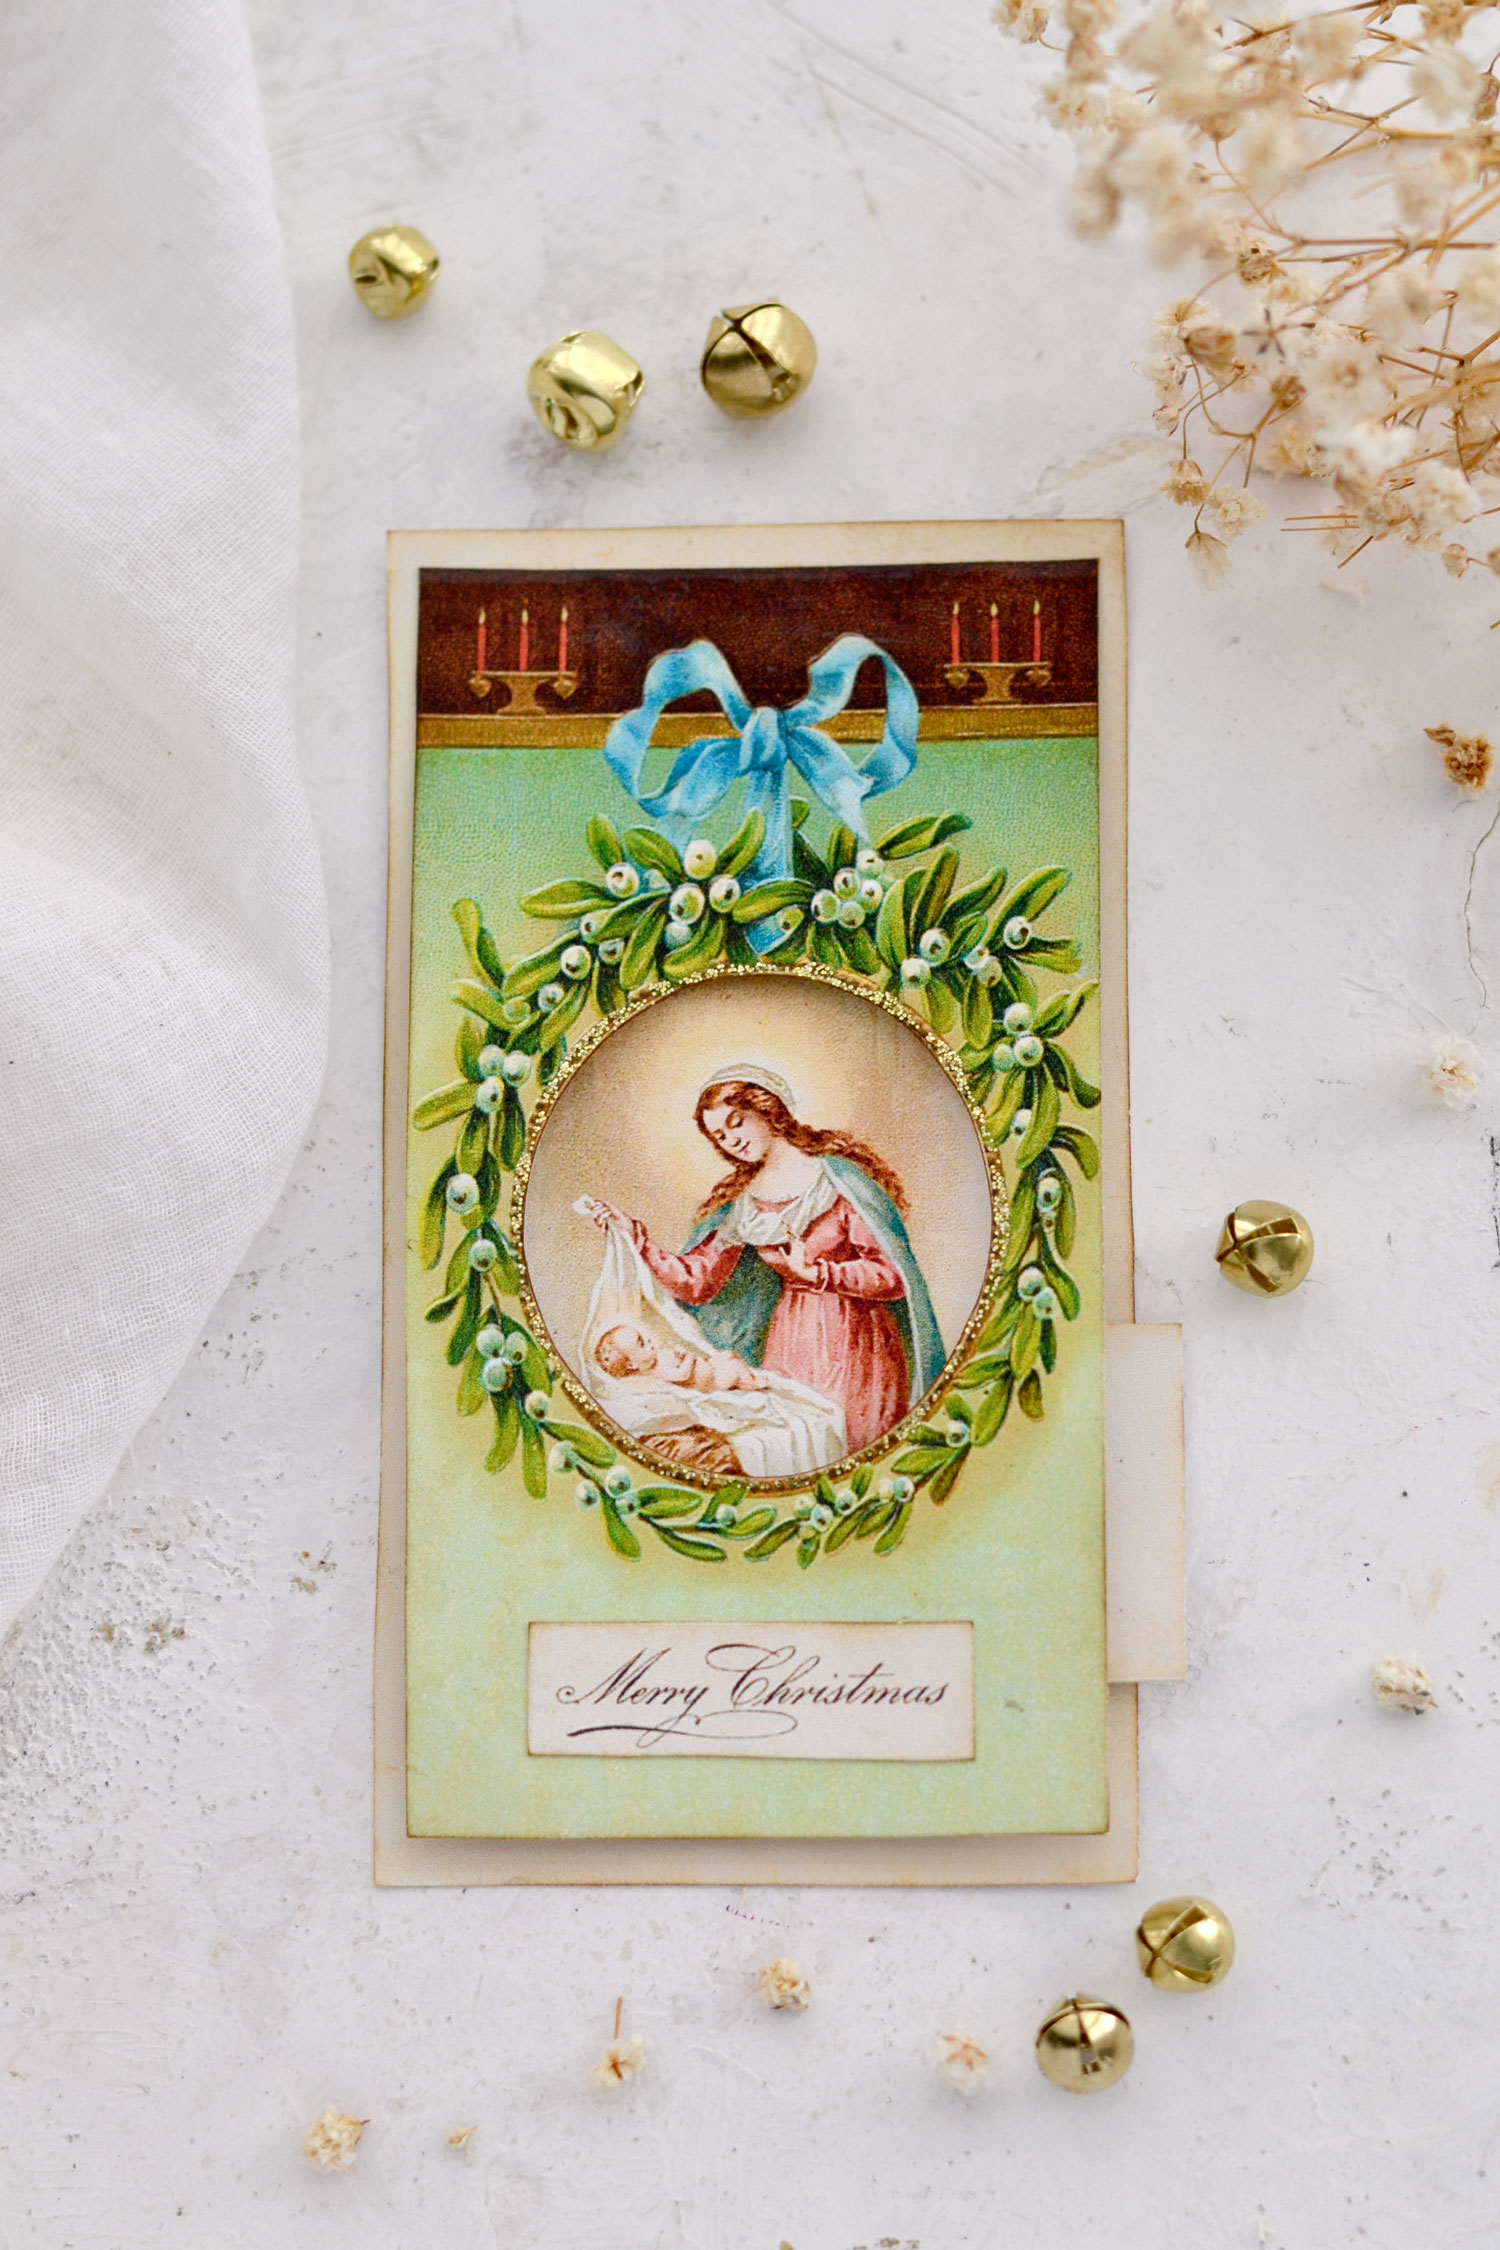
As you can see I created a total of four tags and on these two, I’ve decided to use the vintage angel and the Virgin Mary with Baby Jesus image to decorate the inside tags.
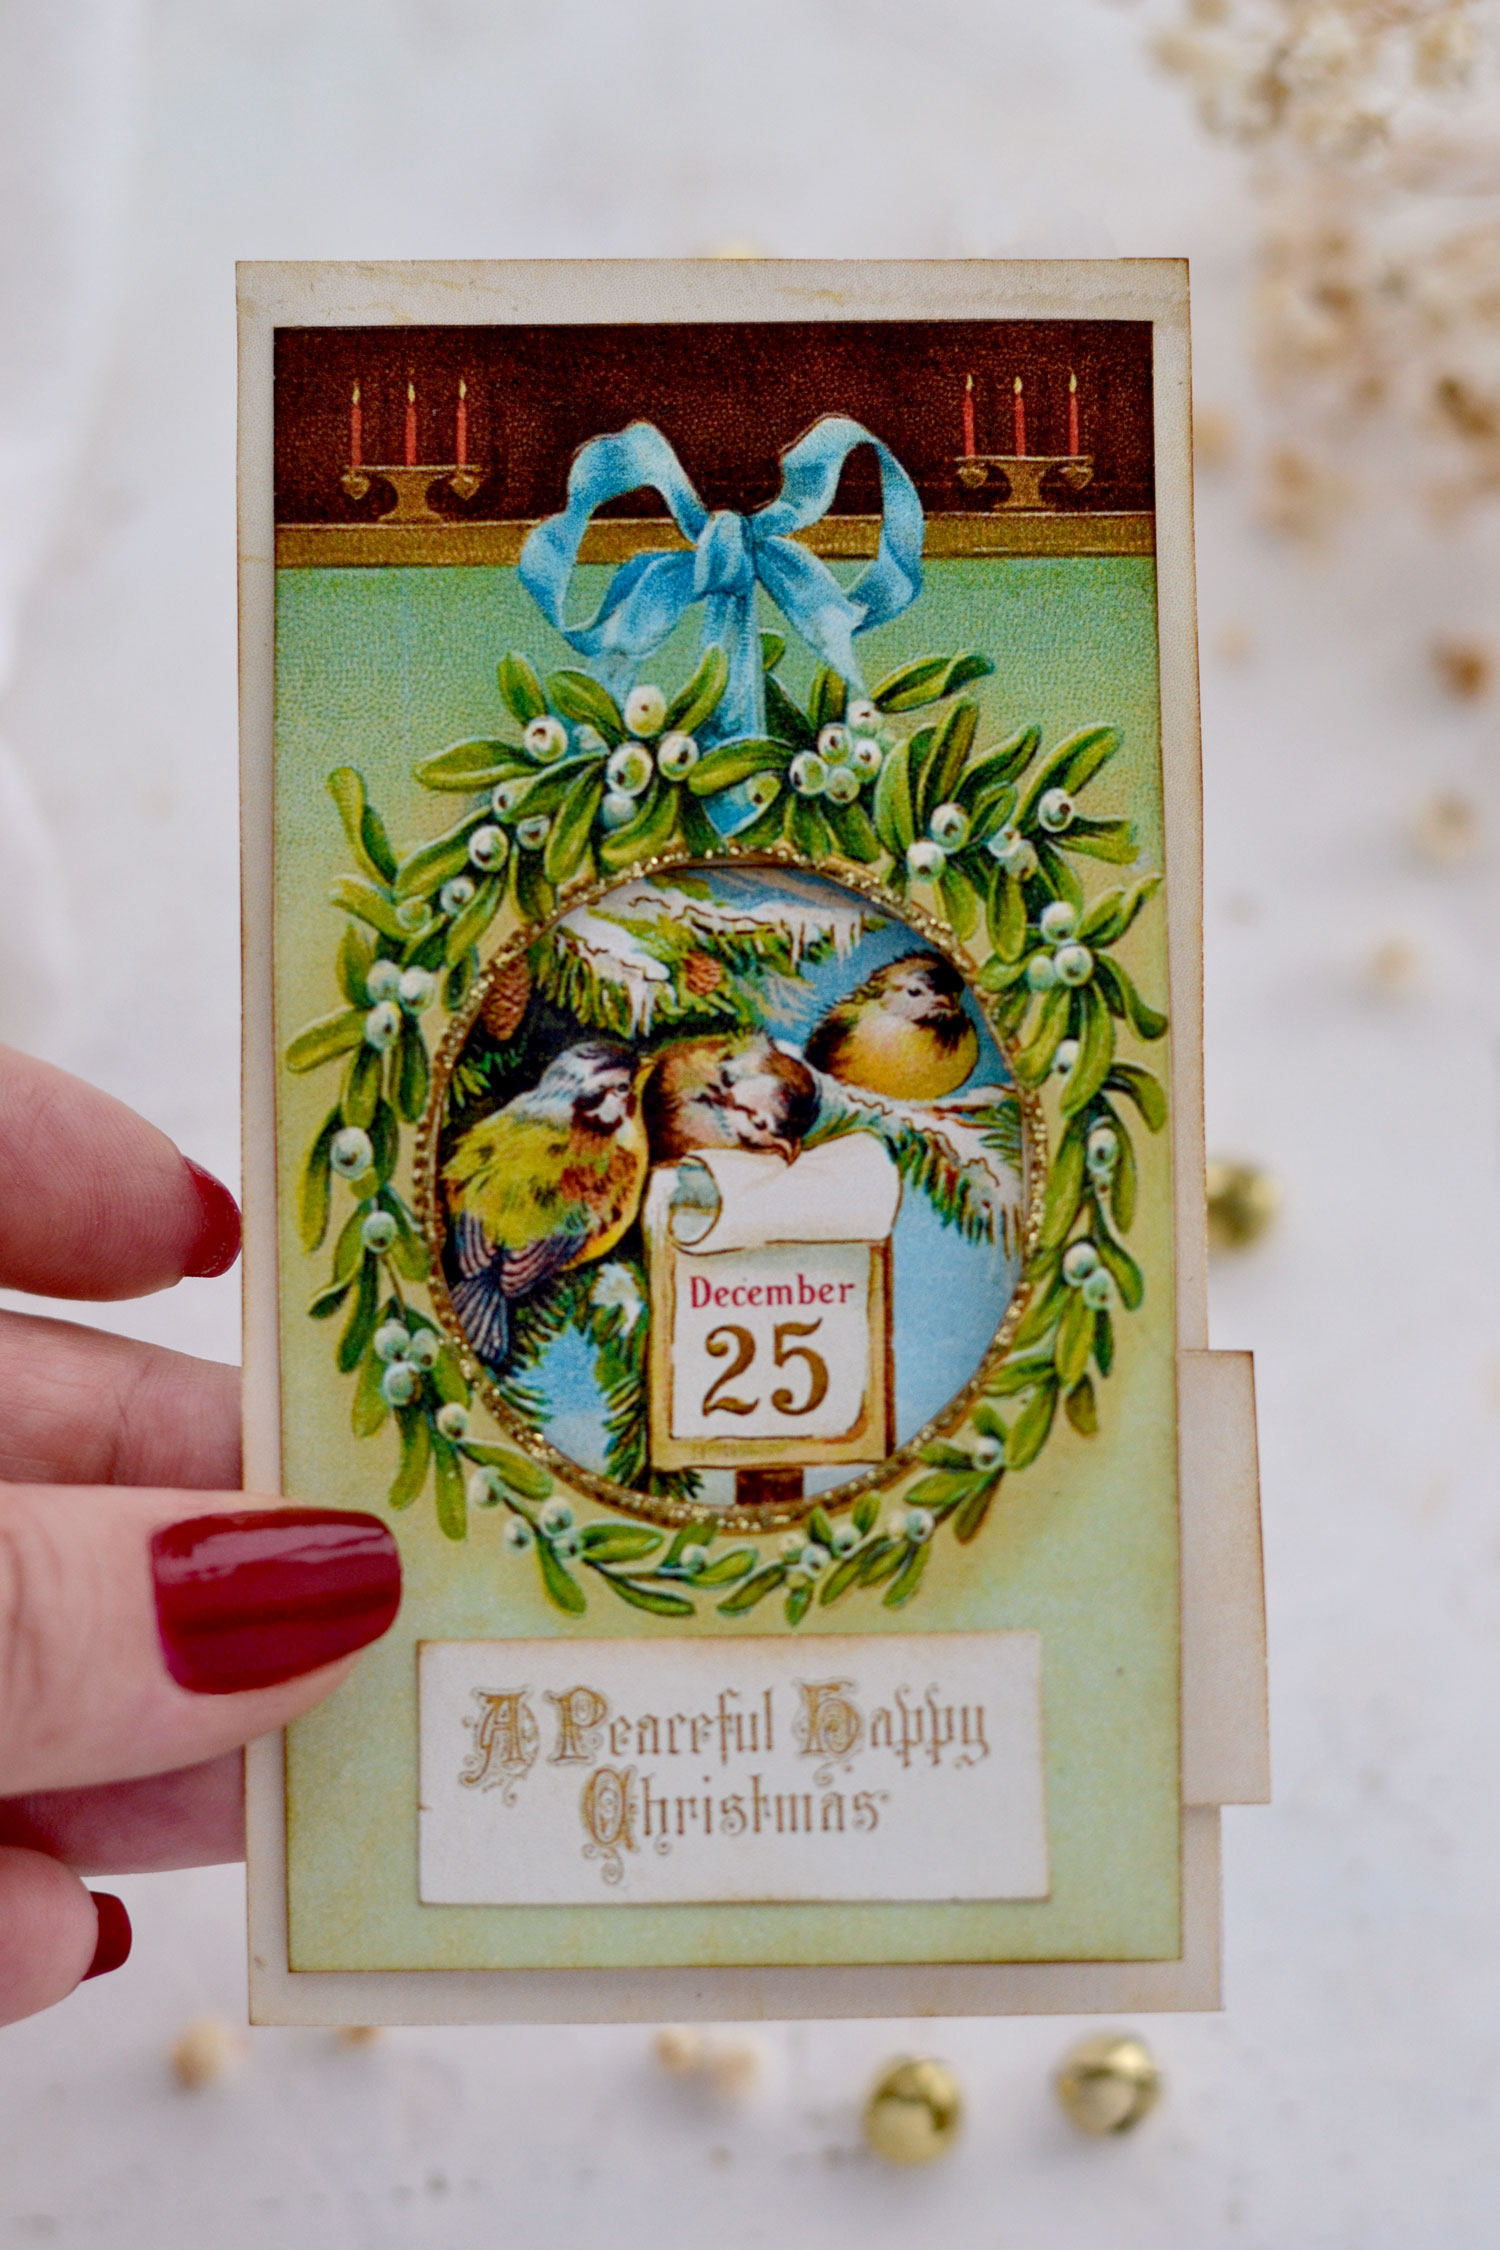
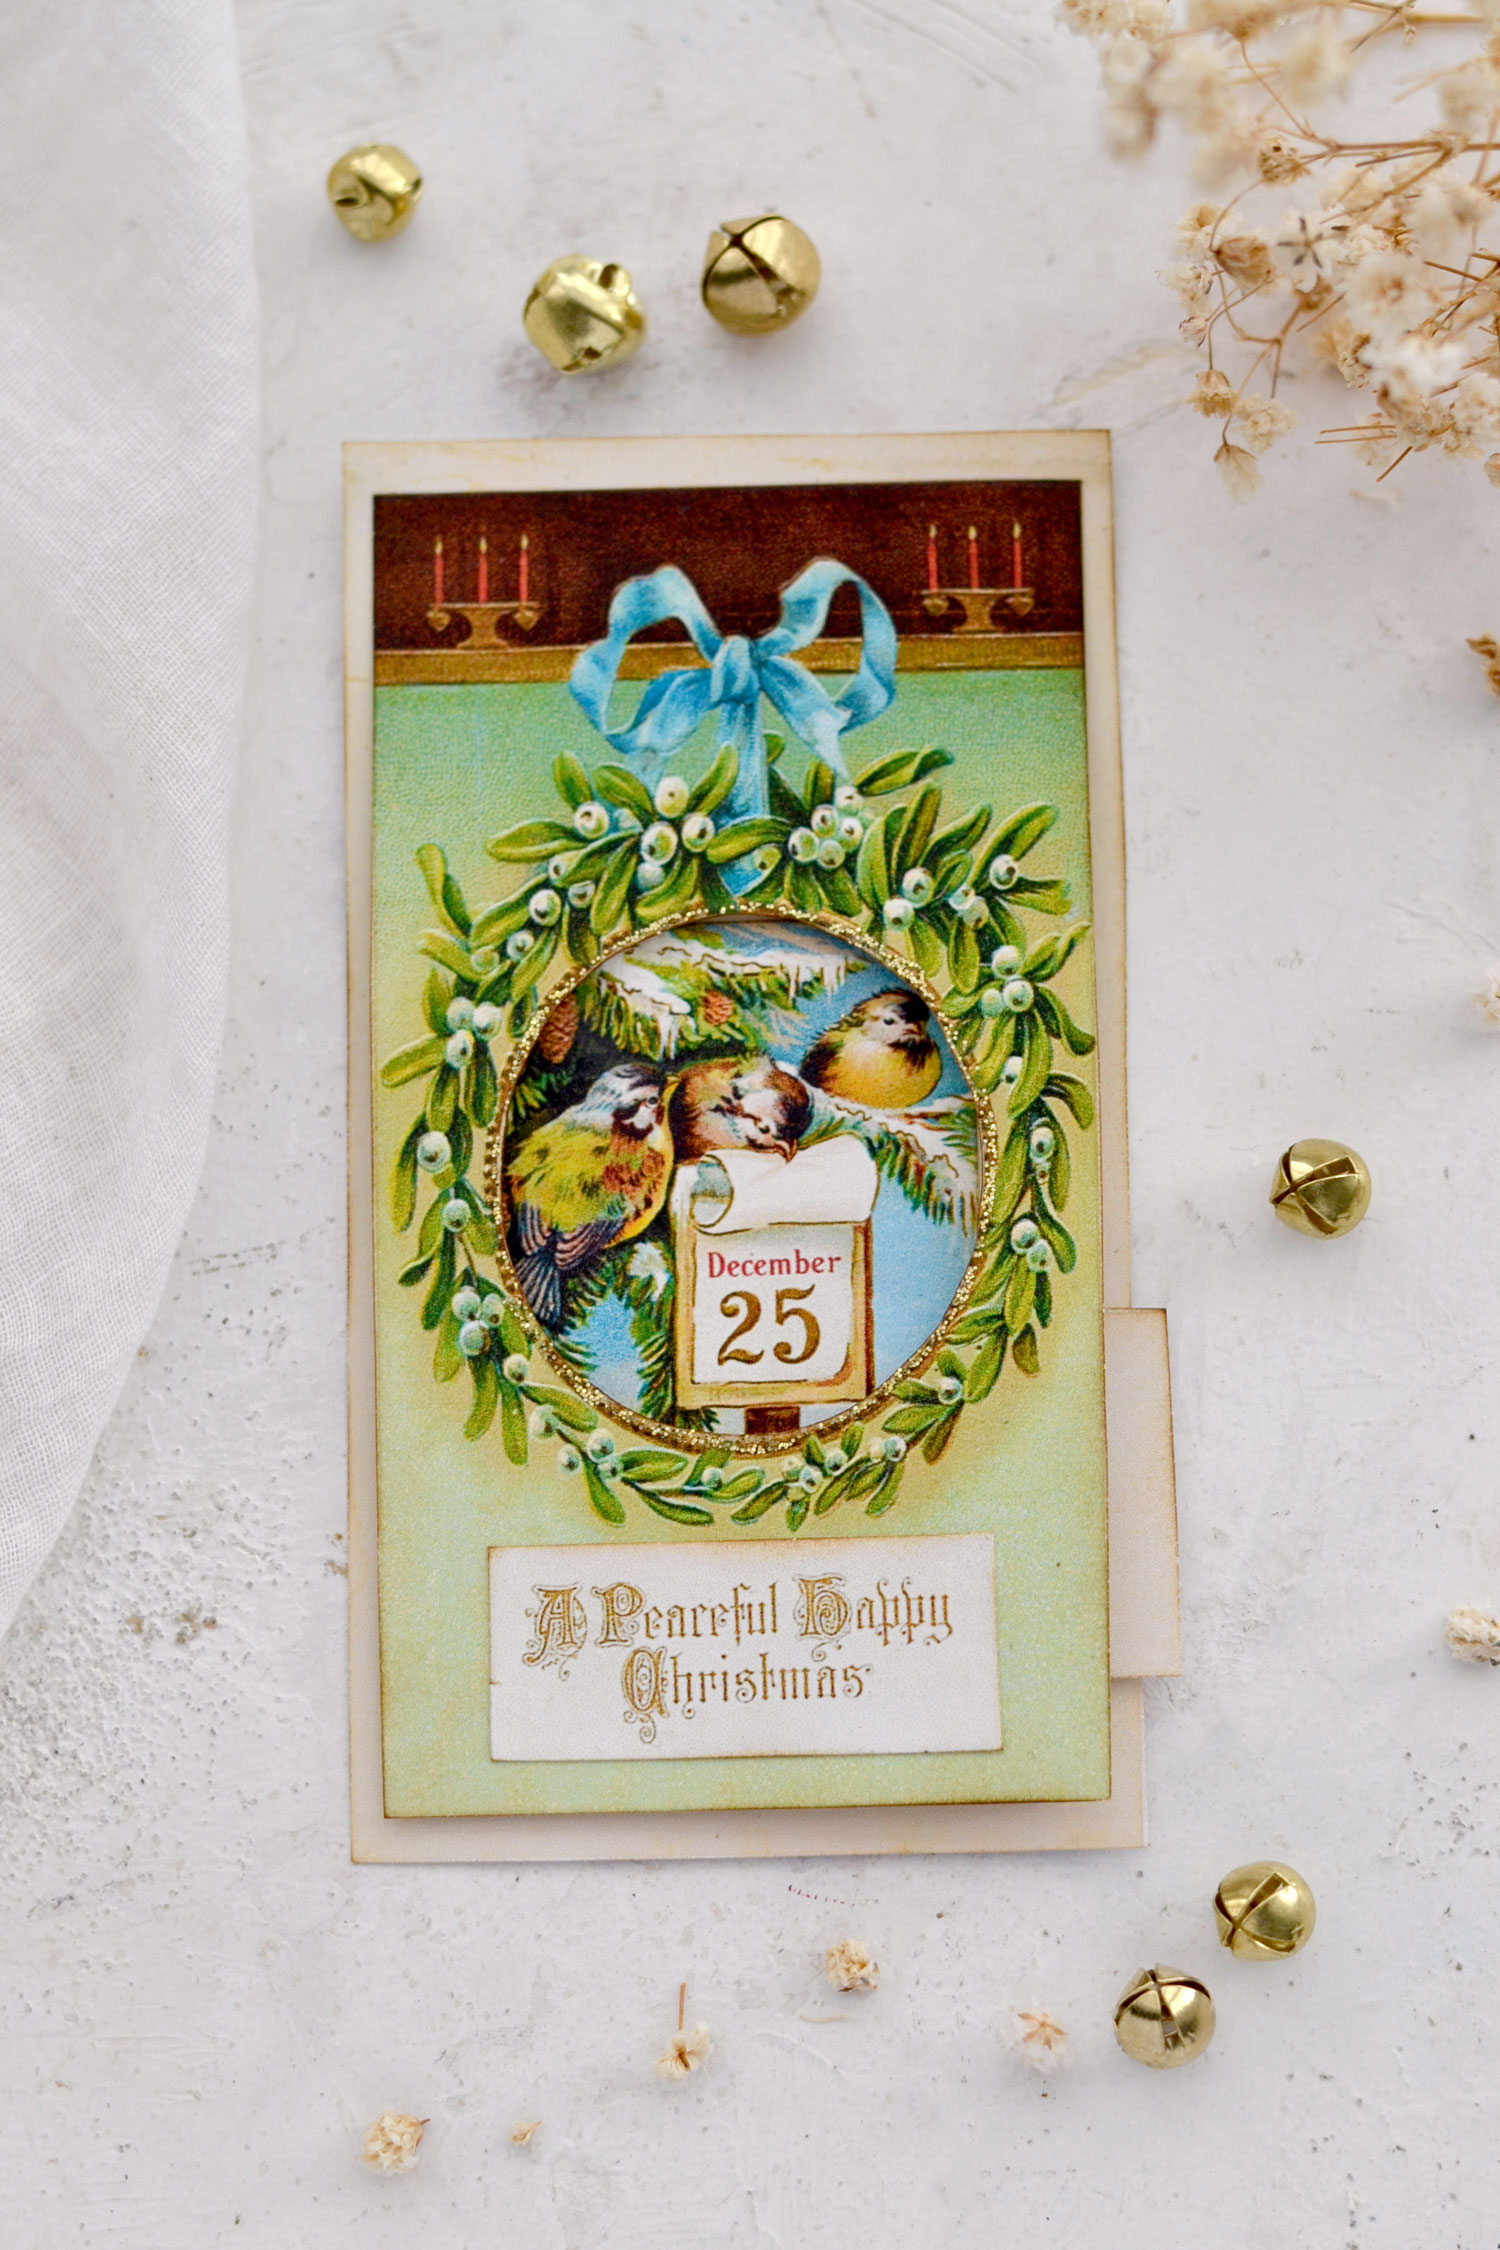
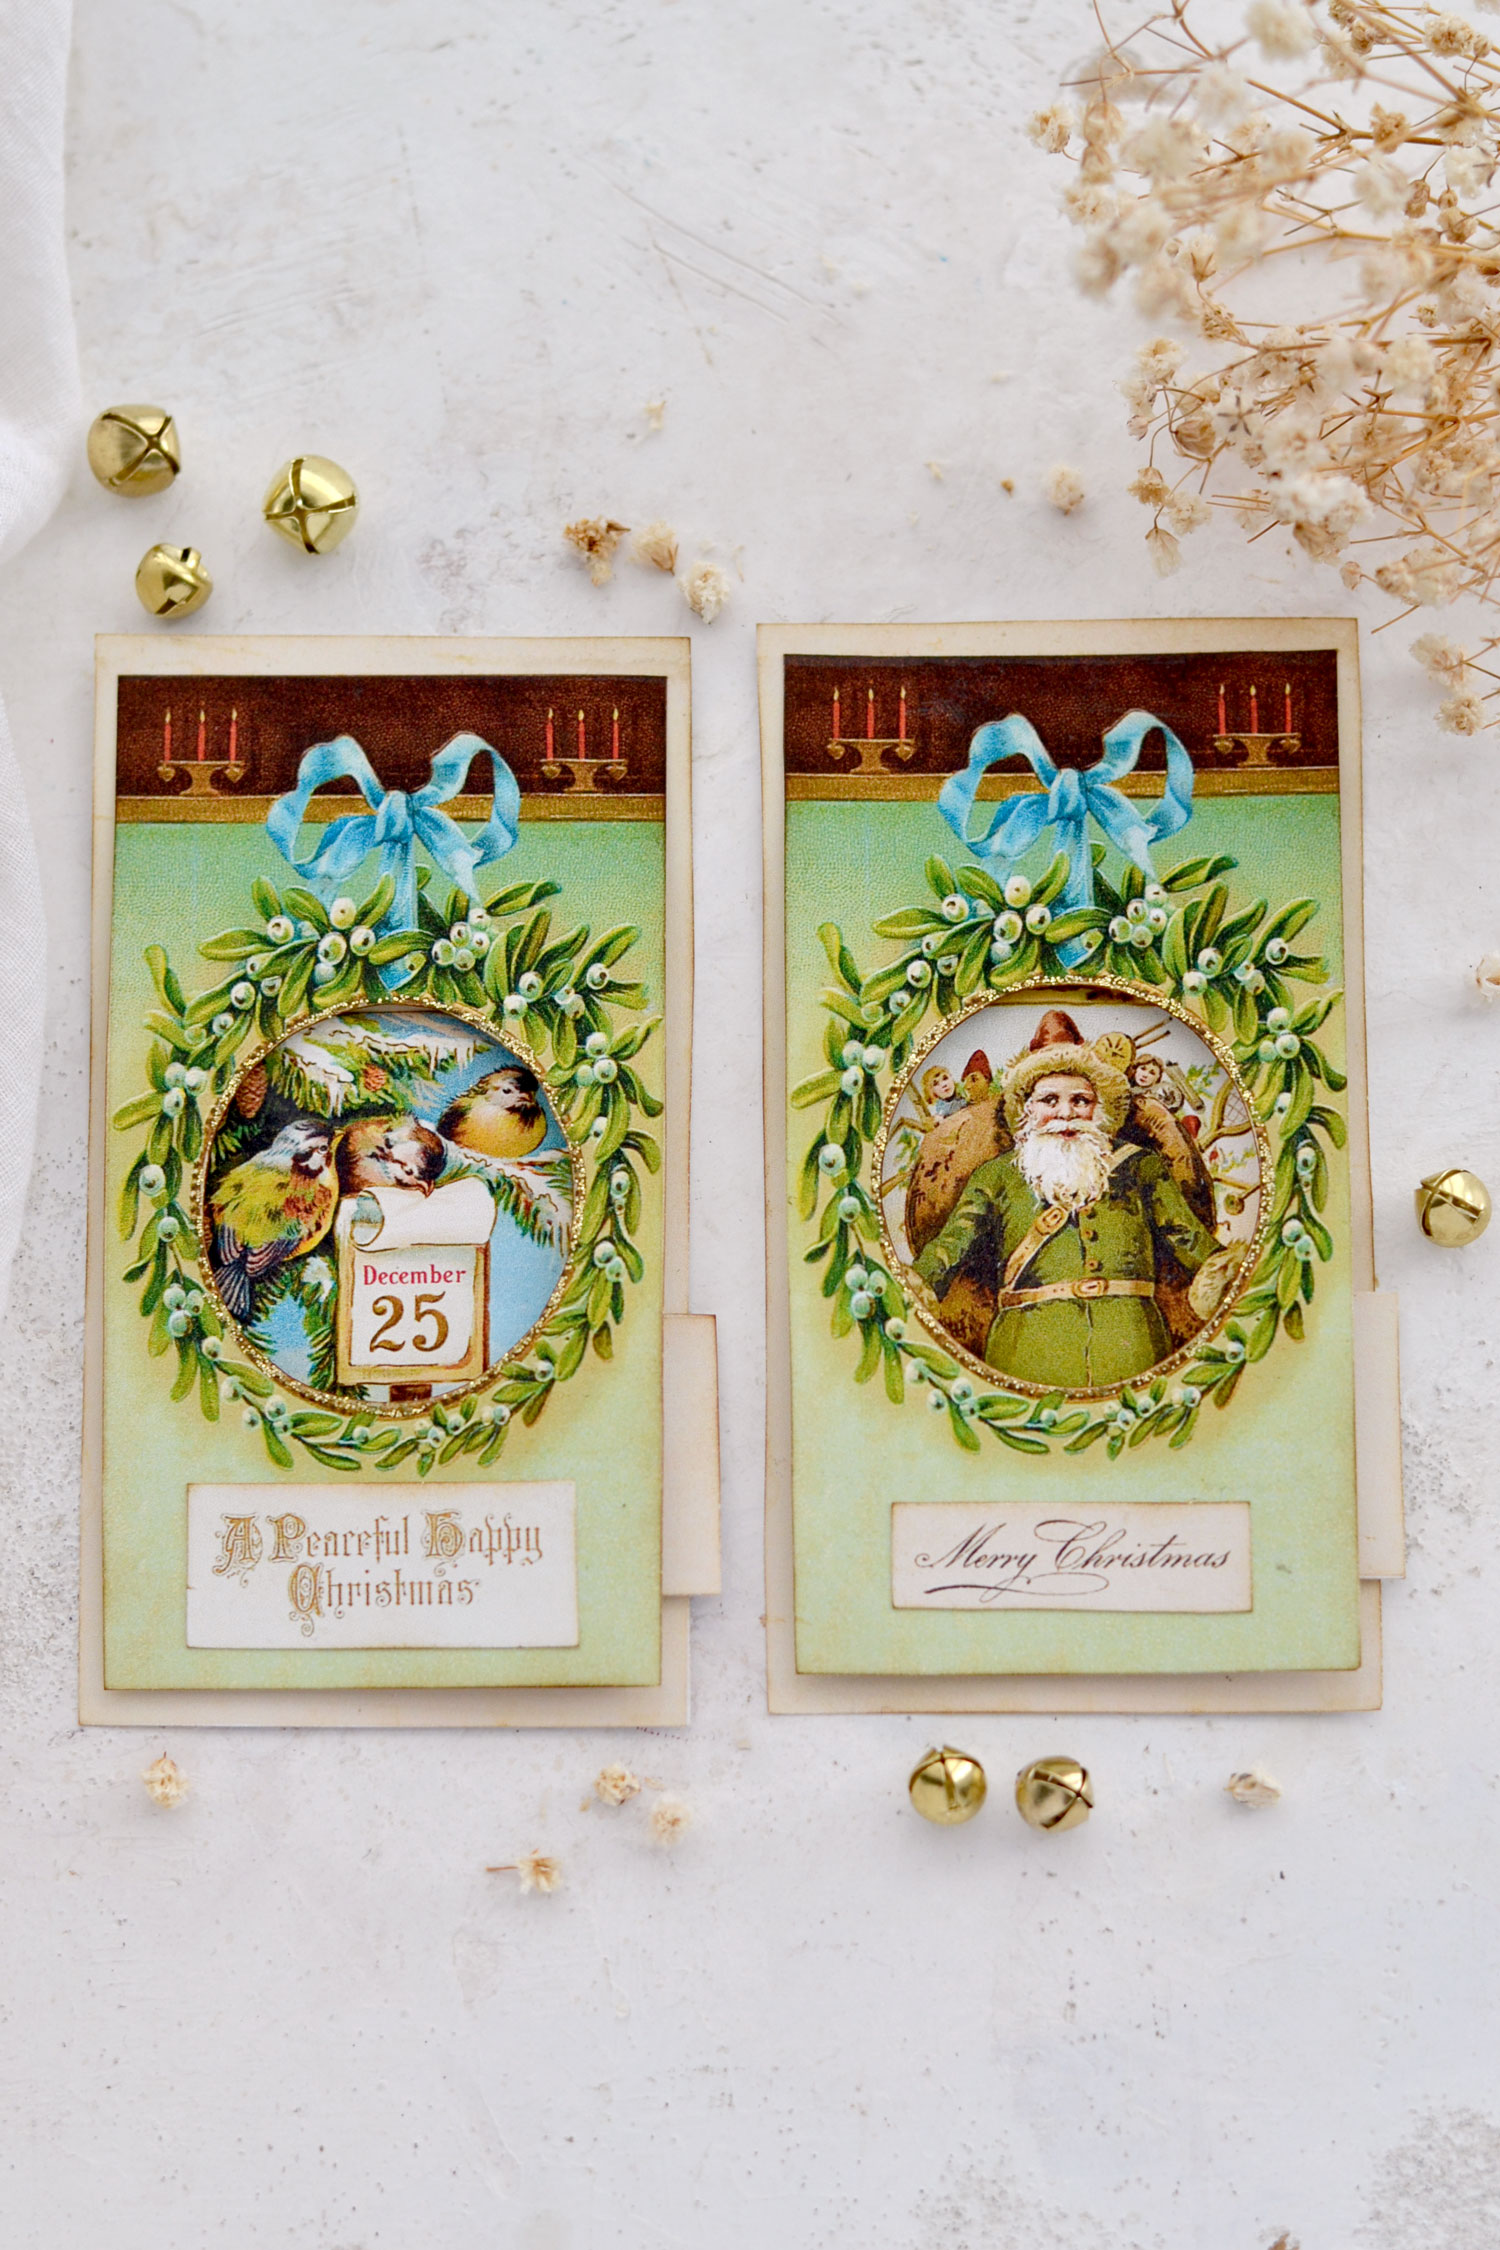
For these two I’ve used the one with the vintage birds that can’t wait for Christmas to come and the one with the green vintage Santa.
I’m simply in love with how they all turned out! And the fact that you can use them together but also as separate elements I think is a big plus.
You can choose to further decorate the tags if you prefer, then simply tuck them inside your Christmas-themed journals to add some charm! If you prefer to give them more of a winter vibe rather than a Christmas one, you can skip the Christmas elements and use something else instead.
This one with the Virgin Mary and Baby Jesus turned out to be my favorite, I think it looks so peaceful and beautiful!
I hope you will love this sweet project and decide to give it a try! These lovely tags will add so much charm to your Christmas journals, but of course, they can also be used to beautify all sorts of Christmas gifts. Another quirky suggestion would be to use them as place cards if you are holding a Christmas dinner this year. You could write the name of the guest on the small tab on the side, I think they will make such an amazing statement and will be equally appreciated and loved.
 You might also like my Christmas Pocket Junk Journal Tags HERE.
Happy crafting,
Diana / Dreams Factory




Connie Griffin says
They are all so pretty!
Karen Watson says
I’m glad you enjoyed them Connie!
Karen says
This is really a lovely project! Thanks so much for this one. I love the vintage Christmas images!
Karen Watson says
Have fun making Diana’s lovely tags Karen!