Cathe Holden Craft Projects
Years ago, my friend, the now famous Cathe Holden, did some wonderful projects for this blog. Back then we did things a lot differently, photos were usually much smaller, instructions were fairly sparse etc. But the projects are still great, so I am consolidating them all into one collection so that you can browse them all together at once glance. I hope you enjoy them, some of these would make really great gifts. And if you don’t already follow her site, make sure you do, it’s always a treat to see what creative things she’s doing over there!
Craft Project 1: Free Printable Button Jar Labels
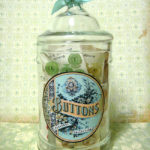
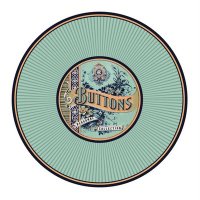
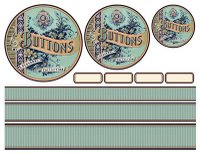
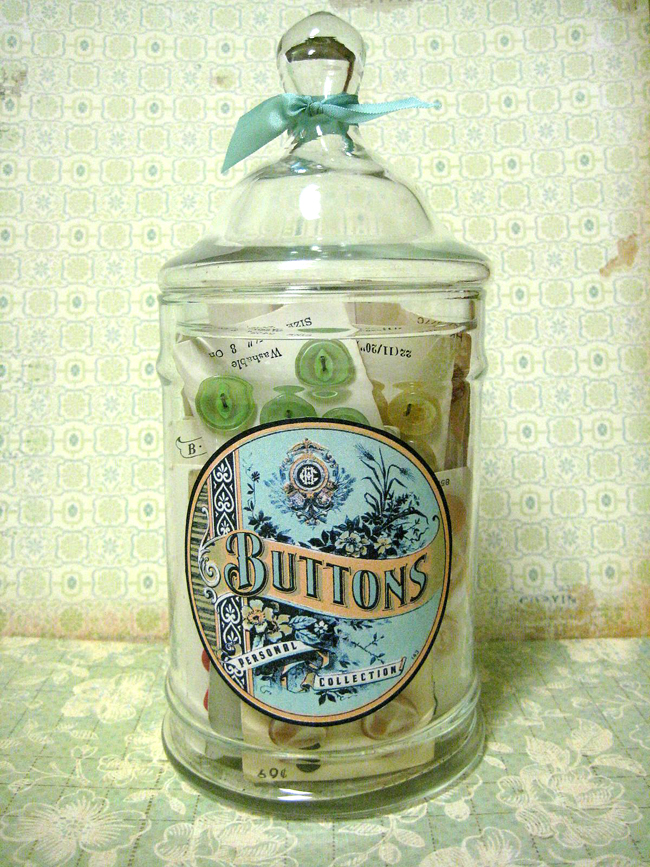
I’m so excited to share a wonderful craft project with you today! This project was created by the amazingly talented Cathe Holden at Cathe Holden Blog, using an image from here at The Graphics Fairy. She will be my guest blogger today, all photos and text in this post come from her blog. Cathe has created a gorgeous button jar label digital sheet in PDF format that you can download for free from her site HERE.
As far as a tutorial: print, cut and stick. That’s it.
A few tips: When cutting circles with scissors, you’ll cut more accurate when turning the paper and holding your scissors in one position. Also, I ink the edges of my labels with a marker to hide the white cut edge, it gives a more finished look. For labeling, either print onto full sheet label stock or use spray adhesive once the labels are cut out.
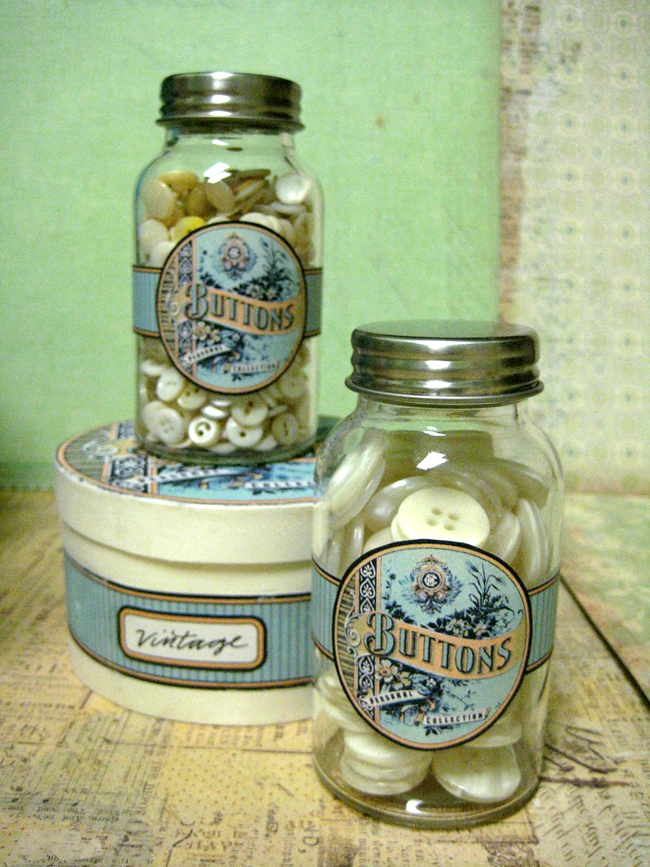
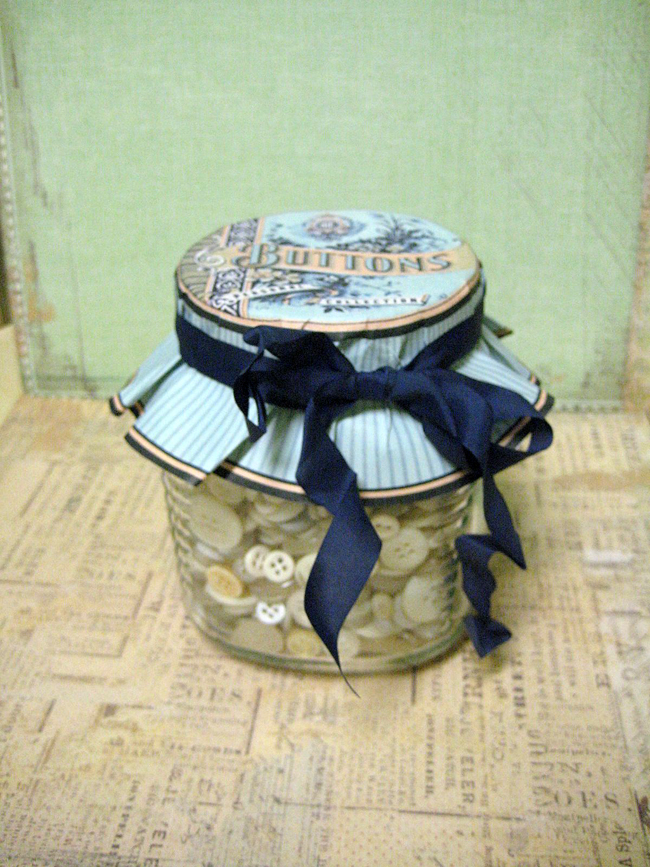
You can use the button labels on most any container. I placed the largest label onto a $1 craft store round wooden box and sanded here and there for a distressed look. I wrapped labels and bands on thrift store spice jars and labeled an old candy dish, courtesy of my friend Desirai. And lastly, I folded and ribboned the label topper over a small cracker jar found in Martha’s section at Kmart. You can also print the large lid image onto an iron-on transfer sheet and transfer to fabric, it will drape nicely and make a sweet gift for your favorite crafter.
And now, the photos. Have fun!
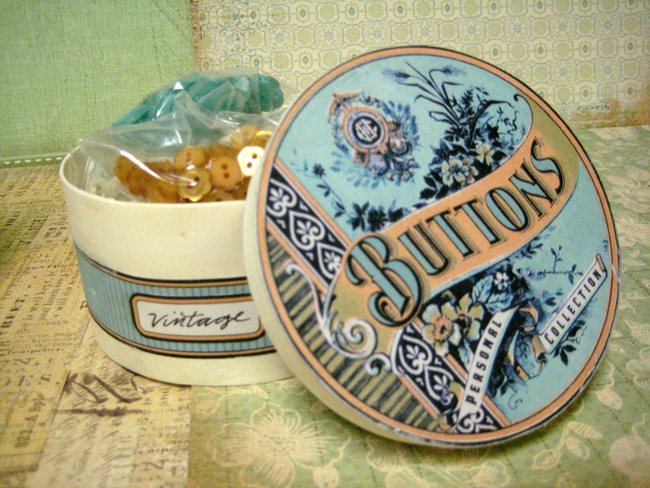
I hope you enjoyed this fun project tutorial! For this and other gorgeous projects be sure and stop by Cathe’s blog at http://www.justsomethingimade.com/
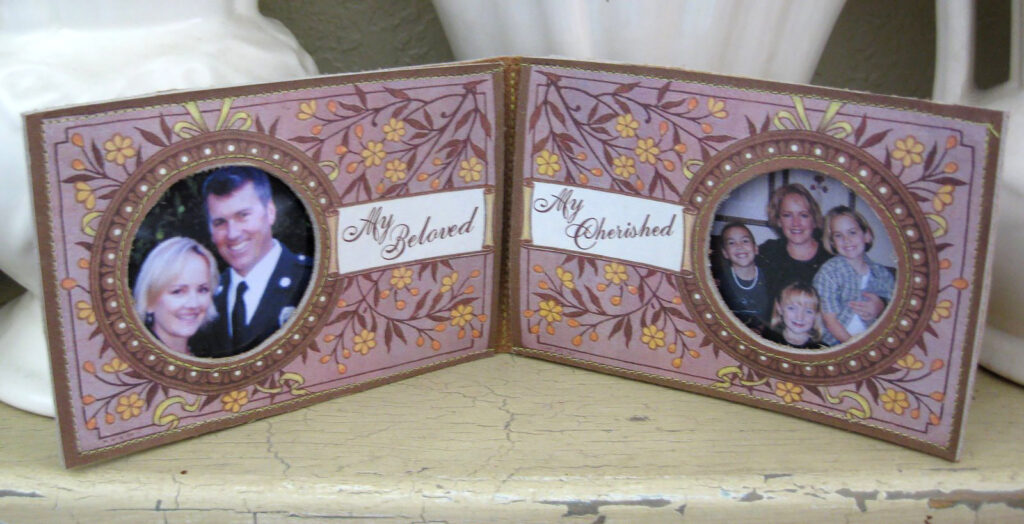
Craft Project 2: DIY Easy Leather Photo Wallet
I’m very excited to share with you another amazing craft project from the fabulously talented Cathe Holden of Just Something I Made! Cathe made this project using a vintage image from here at The Graphics Fairy, and turned it into a beautiful leather wallet. She will be my guest blogger today, all of the photos, text and project instructions come from her blog.
Today I made fun and very easy project using a beautiful image from where else, but the Graphics Fairy! This time, a Victorian postcard image, (sans the dog.) This project is so easy that you could probably figure it out by photos only. There are so many ways to modify this idea with other great Graphics Fairy clip art.
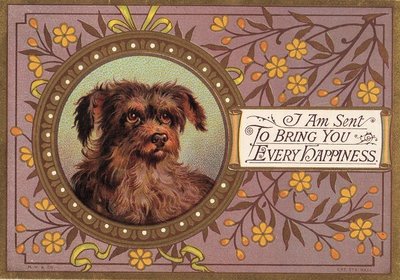
I played with iron-on transfers on leather again. I am repurposing leather furniture swatches, but you can also find leather in your closet (old purse or jacket possibly?) or at the thrift store in the form of a coat or bag. And you don’t have to use leather, or even sew for that matter. Copy images onto cardstock for pretty photo mats!
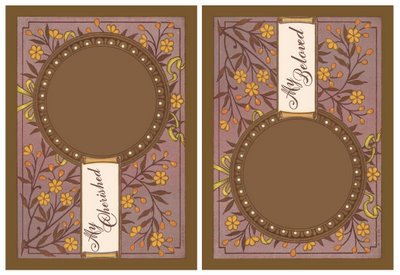
I modified the dog postcard by removing his precious little face and changing the wording in the ribbon. You can access these modified images by clicking on the artwork above to retrieve the JPG file and reduce to whatever size you find best to work with.
Click on photos to enlarge for detail
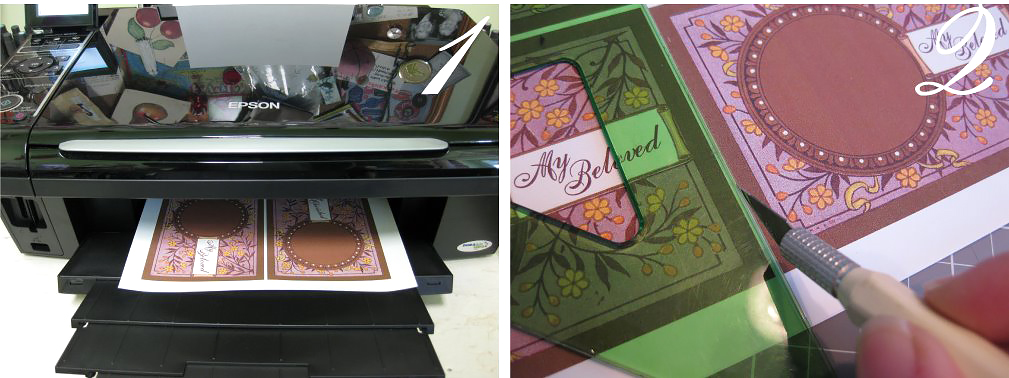
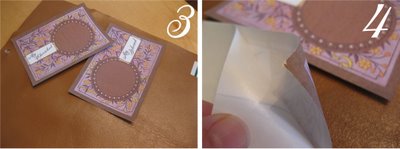
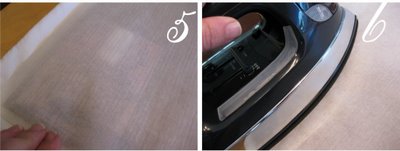
{1} I printed out the image onto Wilton T-Shirt transfers for DARK fabrics. (No need to flop the image, you end up printing sort of a decal that you peel and stick.) {2-3} I then trimmed out each image
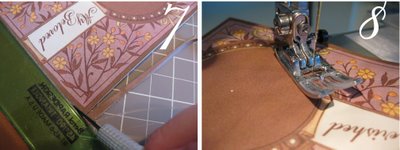
{4-5-6} Following the product instructions, I peeled off the backing of each piece, laid them on the smooth side of the leather, covered with the parchment (supplied with the transfers) and pressed in places, (do NOT slide the iron around.)
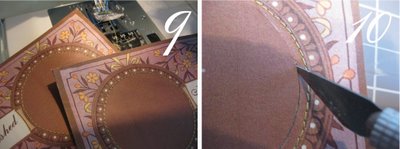
{7} Once the images were pressed onto the leather and cooled, I trimmed them out. {8-9} Using the slowest setting on my sewing machine, I stitched around the inside of the circle design. {10} Then, with an X-acto knife, I cut out the inside of the stitched circle area.
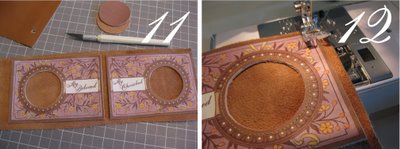
{11-12} I positioned the two image pieces side by side with a gap in the middle (for the fold) on top of another larger piece of leather (suede side up) and stitched all around the borders of the two images leaving the inside edges open (to later slide in the photos.)
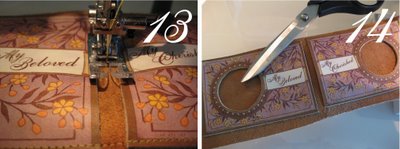
{13-14} I made a seam down the center of the wallet between the two images to score the leather for easier folding.
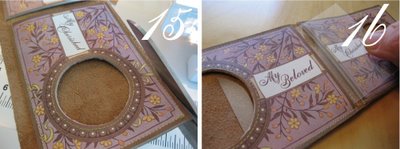
{15} After trimming out the final sewn piece neatly, I slid clear sheets of film into the pockets. {16} I used PVC plastic from a greeting card box.
I hope you enjoyed this fun project today. Make sure you check out Cathe’s blog at Just Something I Made for this and other great tutorials!
Craft Project 3: Make Patches with Vintage Labels
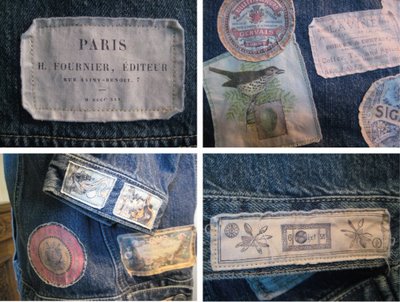
I’m very excited to share with you another exciting craft project from the ever so talented Cathe Holden of Just Something I Made! Cathe made this project using vintage images and labels from right here at The Graphics Fairy, and turned them into gorgeous fabric patches. She will be my guest blogger today, all of the photos, text and project instructions come from her blog.
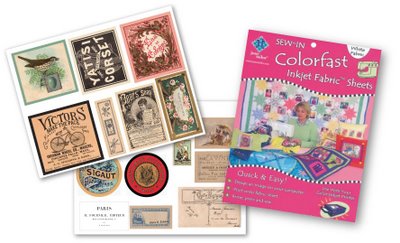 ” This time I made patches from my favorite images. The only modification was adding borders to each to allow for stitching around the images and not having just white around each patch.”

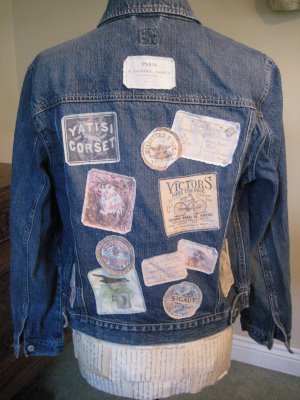
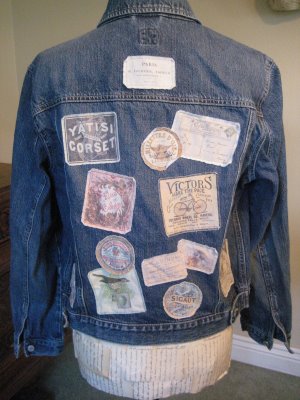
“This is the final jacket! ”
“Vintage patches would look great on a tote, pillow, jeans, shirt, you name it!”
Craft Project 4: Leather Key Chain and Cuffs
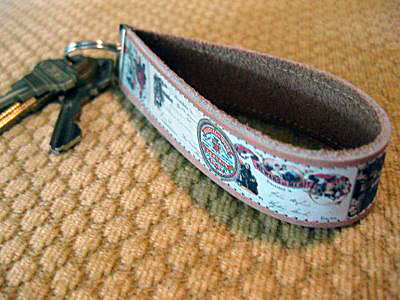
I’m so happy to share with you another great craft project from the ever so talented Cathe Holden of Just Something I Made! Cathe made this project using a vintage image from here at The Graphics Fairy, and turned it into the a gorgeous keychain and fantastic leather cuffs, it’s like two projects in one! Once again, she will be my guest blogger today, all of the photos, text and project instructions come from her blog.
Similar to my leather photo wallet project, these pieces were pretty easy to make with a T-shirt transfer sheet for DARK fabric and more great graphics from The Graphics Fairy. I also designed a couple with art from my blog & Etsy store banners.

Using The Graphics Fairy images, I created a narrow collage measured to fit the size crimp bars I’ll be using, which are 3/4″ wide. I also made a repeat pattern from a pretty frame image she had on her site. You can grab the art from here and reduce or trim to size. You may also notice that when I print on the transfer sheets, I usually fill up the whole sheet with art & images that I can always use later. I hate to waste any space on these sheets, especially if there’s not enough left over to feed back through the printer. I made a few images for patches I’ll sew to something one day.

[3]-[4] Following the directions for the transfer sheets, I peeled off the backing of each piece and ironed onto the smooth surface of the leather.

[5] You can see what happens if you move your iron when pressing instead of holding it in place. But this little mishap was fixable, you’ll see. [6] Once all my images were transferred to leather I cut out the strips, leaving some extra space around the edges.

[7] I stitched along the strips and [8]-[9] trimmed out each to size.

[10] The stars of this project are the crimp bars. For this post I wanted to link to my original supplier, but found that they are out of stock. So by googling, I located more: LINK.

[11]-[12] I placed the crimp bar on the ends of the strips and covered with a scrap piece of leather before crimping with my pliers to avoid scuffing the metal. The cuffs have teeth that sink into the leather and grip well.
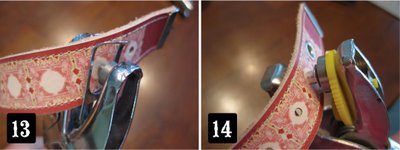
[13] I punched starter holes into the repeat frame strip and then [14] pressed in metal eyelets
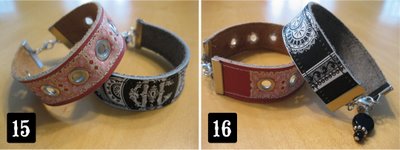
[15]-[16] To complete the bracelet cuffs, I added jump-rings and clasps to the crimp bars and on my blog cuff, also attached some beadsFor the keychains, I simply hooked the openings of the crimp bars onto a metal key ring. The keychains are perfect for looping over a hook and have less chance of getting lost in my purse!
 I hope you enjoyed this fun project today. Make sure you check out Cathe’s blog at Just Something I Made for this and other great tutorials!
Craft Project 5: Message Box
I’m thrilled to be able to share with you another great craft project from super talented Cathe Holden of Just Something I Made! Cathe made this project using some vintage images from here at The Graphics Fairy, and turned them into the loveliest message box. She will be my guest blogger today, all of the photos, text and project instructions come from her blog.
My blog-friend Amy of Living Locurto asked if I would create a guest blog post for a Mother’s Day project. If you don’t know Amy, you’ve been missing out on a lot of scrumptious art freebies over on her website, so get over there! I have been working on a project for my mom and made a tutorial to share with you, and in keeping with spirit of freebies, I have created one of the designs with the fabulous free vintage wallpaper graphics of a another blog-friend, Karen, The Graphics Fairy!
I created a gift to fill with many little notes reminding my Mom why I love her so much and the little things that she has done in my life that mattered. (I’m only showing a few, my mom reads my blog daily and although now she’s going to know one of the things she’s getting, I still have to keep a few little notes a surprise!…Hi Mom.)
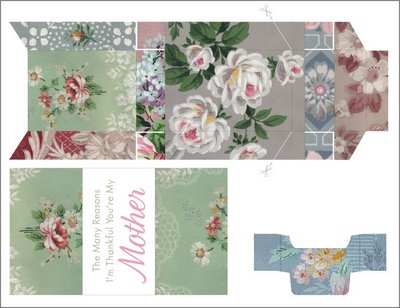
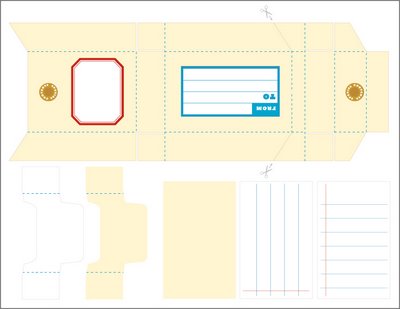
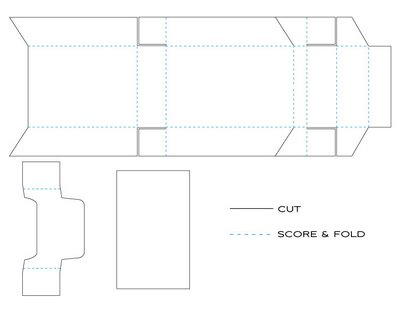
I designed a template based on the construction of a cigarette box, (no, I don’t smoke, but still think it makes for a great little package pattern.) I designed this box to fit business card size notes. You can use the designs provided, or utilize the blank template for use with scrapbook paper, or any other paper you’d like, but it’s best to print and construct the box with card stock to keep it rigid. A really big Thank You! to Amy for making the PDF files easy to download, just click on any template image

(1) Print the template you choose onto white card-stock. If printing the Manilla box, write your “To” and “From” info before trimming and folding (in case you make a mistake in writing, you will not have already gone through all the assembly!) (2) Trim out the template, cutting notches and slices where marked. Score (press deep crease with dull pointed object) along all fold lines. Scoring is essential to the success of this project!

(3) Fold along all fold creases. (4) & (5) Using double-stick tape, tape under lid flap and tuck and tape side flaps of the lid as shown.

(6) Add double-stick tape to the inside panel, slide into position and stick.
(8) & (9) For the Manilla Message Box, cut out business card size (2″ x 3.5″) pieces of paper, cardboard, vintage ephemera, etc. and add a sentiment to each. Embellish with stickers and more. (10) For the Wallpaper box, simply cut out plain cardstock, write on each, and gather with the “Mother” wrap-around cut-out.
Finally, tie your box with ribbon or string and send along to your mom to let her know just how much she means to you!
BONUS FEATURE: You can use this craft for other purposes:
~Fill with 30 little notes for your friend who’s turning 30. 40 for 40, etc.
~Use as a file for business cards you pick up here and there.
~Make several boxes to organize small craft supplies.
~Before printing the wallpaper template, cover the wording with a white box to erase the ~type and add your own for another occasion or purpose.
~Use the basic template to create custom boxes for product packaging.
————————————————————————————————
Please note, in order to download the PDF files, you will need to get them from Cathe’s Blog HERE.







ruth says
I love these!Very nice of you to share with everyone.
Gabriela says
Hello,
Just found your wonderful blog!
~ Gabriela ~
Jann says
Karen, thank you so much for sharing this wonderful idea!!!!! I am going to get busy and print some of these button jar labels, as I have several little jars of antique buttons and had been thinking of decorating them somehow–I love that image! I used it on a Valentine ATC I made last month. You can see it at:
http://a-vintage-heart.blogspot.com/2009/02/valentine-atc-swap.html
Sharon says
Especially love the button jar label! You always find such beautiful graphics and unique ways to use them. Thank you! Sharon
Dana and Daisy says
you are an angel indeed! these are beautiful!
Jenny@ L.O.T.s of Love says
I L.O.V.E. it! Thanks for the great project!
Karen- The Graphics Fairy says
I’m so glad you guys liked Cathe’s project! She really is amazing, every time I go to her blog I want to make every project she has!!
Karen
P.S. Robin, the links work fine on my computer, perhaps there was some sort of glitch earlier, thanks for letting me know though!
xashee's corner says
Thank you so very much for sharing such a GREAT tut!! Have an AWESOME day!! 🙂
Robin says
Thanks Karen! I have visited Just Something I made and found it to be a great blog but wanted you to know that your link wasn’t working. I think it’s because it doesn’t contain the blogspot part of the address. Thanks for all that you do for us in blogland!!
Barbra joan says
Karen, as a longtime button collector I really love these to add to my jars. Thanks and thanks to Cathe Holden.
Liz says
what and awesome gift! thank you for sharing your idea and graphics. those button jars are adorable!!!
~Liz
Acorn Cottage says
Thanks Karen for the wonderful art you provide to us in Blogland! I love the button label! So nice of you to share!
Smiles,
Nancy