How to Make Custom Knobs
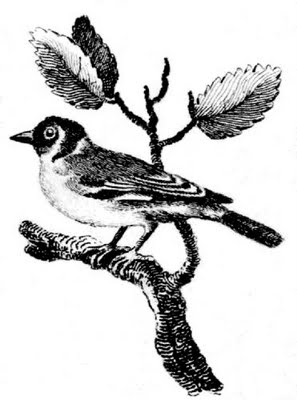
I began with this sweet antique engraving of a bird on a branch, which I converted to a silhouette. You are welcome to use the original image in whatever way you like!
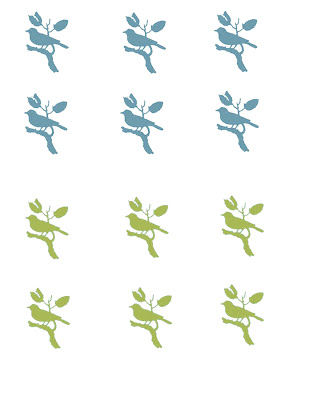
I’ve included a printable pdf sheet and instructions below.
Supply List:
1)Plain wooden knobs (you can find them at Lowes & Home depot for just around $1 a piece)
2)Omni Gel Transfer Medium (Try Amazon or JoAnne’s)
3)Mod Podge- Gloss
4)Primer (I like Kilz Premium)
5)White Paint
6)Paintbrush
Step 1: Go HERE to download the PDF sheet for this project, and print it out on your computer. Next, you will need to have a Photocopy made of this by your local copier( inkjet printers do not work with this process.)
 Step 2: Paint your knobs with the primer first (I did 2 coats) and then paint with a coat of white paint.

Step 3: While your knobs are drying, you can start brushing the gel onto your photocopy. You will need to brush on 3 coats of the Omni gel. Brush the first coat in a horizontal direction, let dry completely. Brush the second coat in a vertical direction, let dry completely. Brush the 3rd coat in a diagonal direction, and again let dry completely.

Step 4: Cut image into a circle (the circle around the image can be used as a cutting guide) and then soak in a bowl of water for 10-20 minutes.
 Step 5: While paper is still wet, rub the paper backing with your fingers in a circular motion to remove all of the paper leaving just the gel transfer behind.
 Step 6: Use more of the Omni Gel as a glue to adhere the transfer to the knob. I found that a light coat on just the transfer worked the best, even though you see me putting glue on the knob here, trial and error and all that!
Step 7: Press the transfer down and smooth out to get rid of any air bubbles, and let dry.
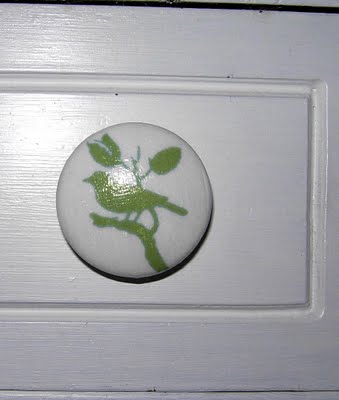
Step 8: Add a coat of Mod Podge gloss over the whole knob to blend it all in. This makes the knobs nice and shiny, and gives them a porcelain like look!
All done, now you can put them on a dresser, desk or whatever!



Astrid says
Absolutely brilliant! I had no idea one could do that to plain old wooden knobs!
Pearl Maple says
Just gorgeous, thanks for sharing the inspiration, your bird knobs are just so cute.
cindy@cottage instincts says
Gorgeousness! And so unique. I love them :o)
peace.
Cate and David says
I love these too – and I just wanted to add how much I’m enjoying your blog! Thank you for it!
Junie Moon says
What a fun project! I love the freshness of the bird graphic and using it on the knobs is quite pretty.
Stephanie says
If we have our own silhouette that we would like to use….PLEASE let us know what steps you took to make your silhouette blue and green.
Thank you!!
Victory says
Love these! My grandmother used to make lightswitch plates using that same method!
Tara says
These are so stinking cute! it gives me so many ideas!
Michelle says
So I have been trying to find the perfect knobs for my dresser and voila, you found them for me! Im totally going to do this today in black! Thanks sooooo much!I will send you pictures of my finished project. Wow, I love it, what a clever idea! Stop by for a visit soon.
Michelle
Mod Podge Amy says
Oh dear, these are wonderful! I absolutely love them. I wanna post!!
Rhonda says
Oh my gosh! Those are so stinking cute!!! Thanks for sharing.
northern cottage says
this is D.A.R.L.I.N.G!!!!!!! so lovely. THANKS FOR SHARING!
Melanie says
Hi, me again … I was thinking you could make a skin using the digital ground … print on it then cut out a circle and apply to the knob (sorry … that is what I meant .. lol) But I have only tried one thing so far, so I am NOT an expert!
Lori says
what a great project Karen…thanks for sharing!!!
Nerissa Alford says
so cute! i love all these ideas you have!
nerissa