How to Make Custom Knobs
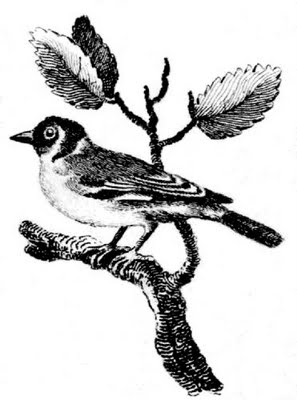
I began with this sweet antique engraving of a bird on a branch, which I converted to a silhouette. You are welcome to use the original image in whatever way you like!
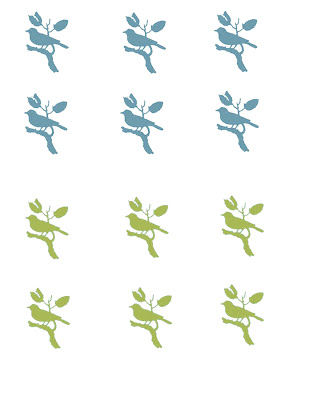
I’ve included a printable pdf sheet and instructions below.
Supply List:
1)Plain wooden knobs (you can find them at Lowes & Home depot for just around $1 a piece)
2)Omni Gel Transfer Medium (Try Amazon or JoAnne’s)
3)Mod Podge- Gloss
4)Primer (I like Kilz Premium)
5)White Paint
6)Paintbrush
Step 1: Go HERE to download the PDF sheet for this project, and print it out on your computer. Next, you will need to have a Photocopy made of this by your local copier( inkjet printers do not work with this process.)
 Step 2: Paint your knobs with the primer first (I did 2 coats) and then paint with a coat of white paint.

Step 3: While your knobs are drying, you can start brushing the gel onto your photocopy. You will need to brush on 3 coats of the Omni gel. Brush the first coat in a horizontal direction, let dry completely. Brush the second coat in a vertical direction, let dry completely. Brush the 3rd coat in a diagonal direction, and again let dry completely.

Step 4: Cut image into a circle (the circle around the image can be used as a cutting guide) and then soak in a bowl of water for 10-20 minutes.
 Step 5: While paper is still wet, rub the paper backing with your fingers in a circular motion to remove all of the paper leaving just the gel transfer behind.
 Step 6: Use more of the Omni Gel as a glue to adhere the transfer to the knob. I found that a light coat on just the transfer worked the best, even though you see me putting glue on the knob here, trial and error and all that!
Step 7: Press the transfer down and smooth out to get rid of any air bubbles, and let dry.
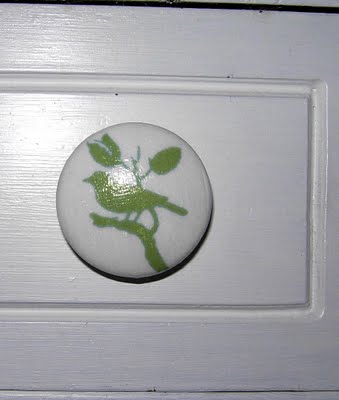
Step 8: Add a coat of Mod Podge gloss over the whole knob to blend it all in. This makes the knobs nice and shiny, and gives them a porcelain like look!
All done, now you can put them on a dresser, desk or whatever!



Marisol says
Thank you Karen!! I just LOVE them and will make those right away
graphicsfairy says
Thanks Marisol, have fun making them !
hollyb says
is the copy because you have to have a laserjet printer instead of an inkjet printer?
Karen Watson says
Thank you Memamah! I’ve fixed the link, it should download fine for you now!
Maria Elena says
Great Idea !! Thanks for all that you share
Karen- The Graphics Fairy says
Hi Nan,
Several reasons actually. For one the knobs were mostly plain pine, so the the edges and the backs would have stayed pine, and it would not have matched up. Secondly, I used a mix of knobs that I had laying around, some light pine, some dark pine, and some antique ones that were painted white already, so to make them cohesive the painting was necessary. And thirdly, if memory serves (and sometimes it doesn’t, I did these quite some time ago!) I don’t think the white transfers, only the color does, again I could be wrong about this, I’m just going by what I think I remember!!
Nan says
Those are really cute! I really did think they were porcelain. One thing I’m wondering about. If you are going to glue on the omni gel printout anyway – why not skip all the white paint etc. and just print out the image on white paper and then glue it on and use Mod Podge? Then you’d have your white backgroung without all the fuss?? Just wondering if I’m missing something here.