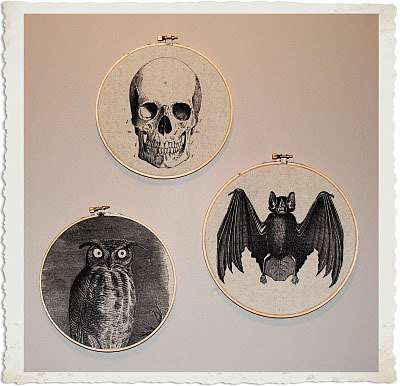
Halloween Wall Decor DIY

Supplies for Halloween Wall Decor DIY:
- Embroidery Hoops (8.5″ for Bat and 7.5″ for Skull and Owl)
- Spooky Printables (see the links below)
- Plain off white fabric (Canvas Drop cloth works great!)
- Inkjet Printer
- Full Sheet Printable Labels
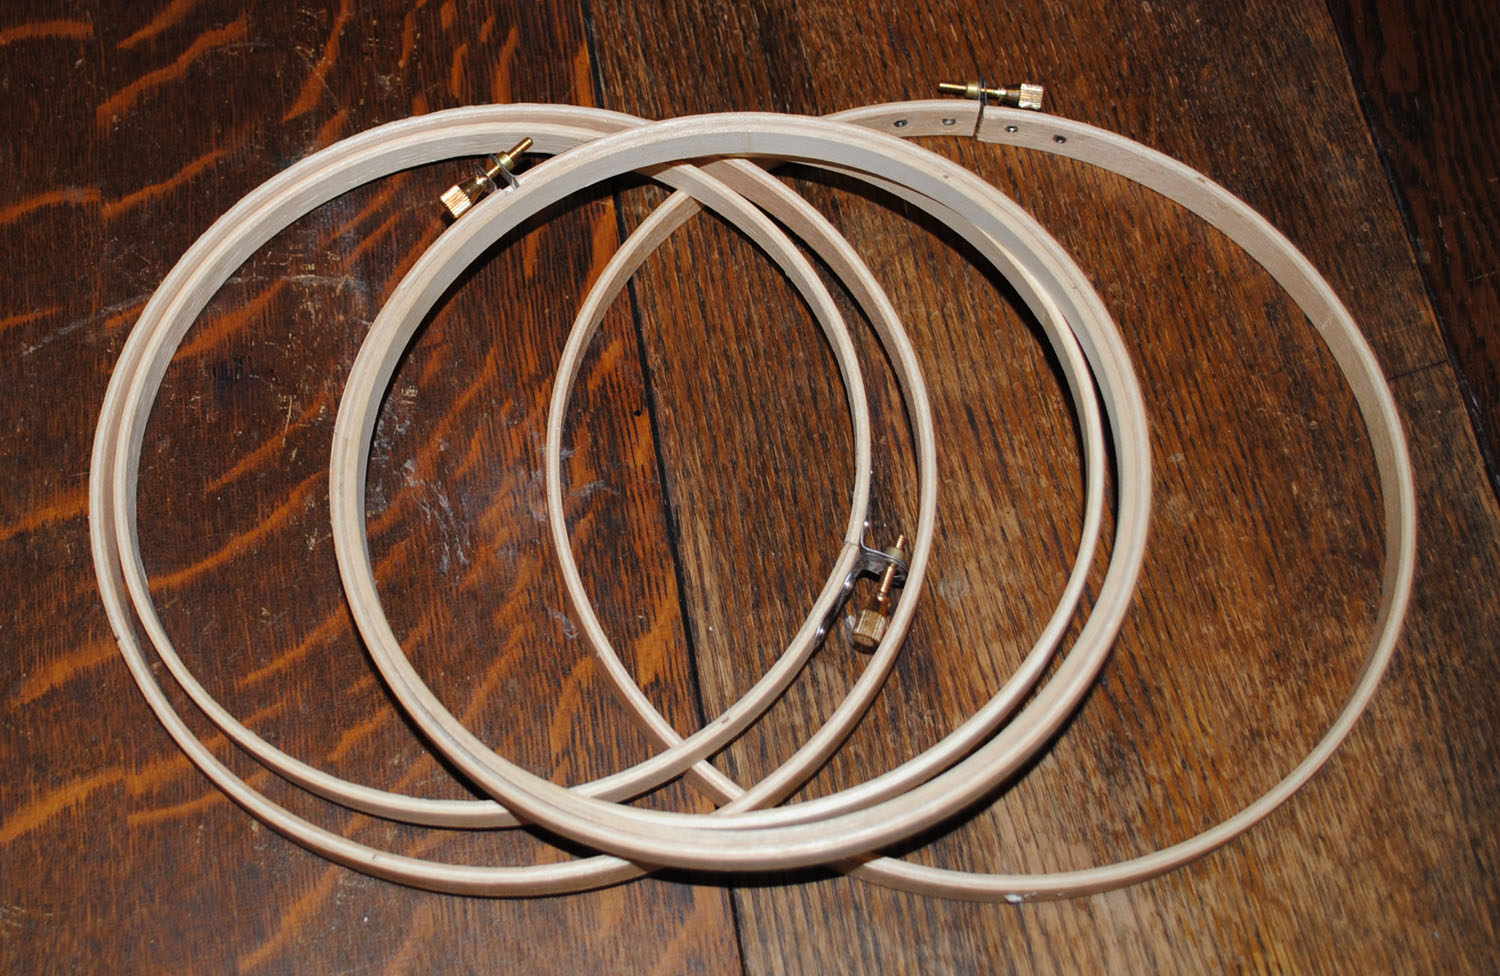
This is the before, just some plain cheap wooden embroidery hoops from the craft store. I think these cost like $1.49 each, you can probably find them cheaper at a thrift shop, or you might even have them on hand already.
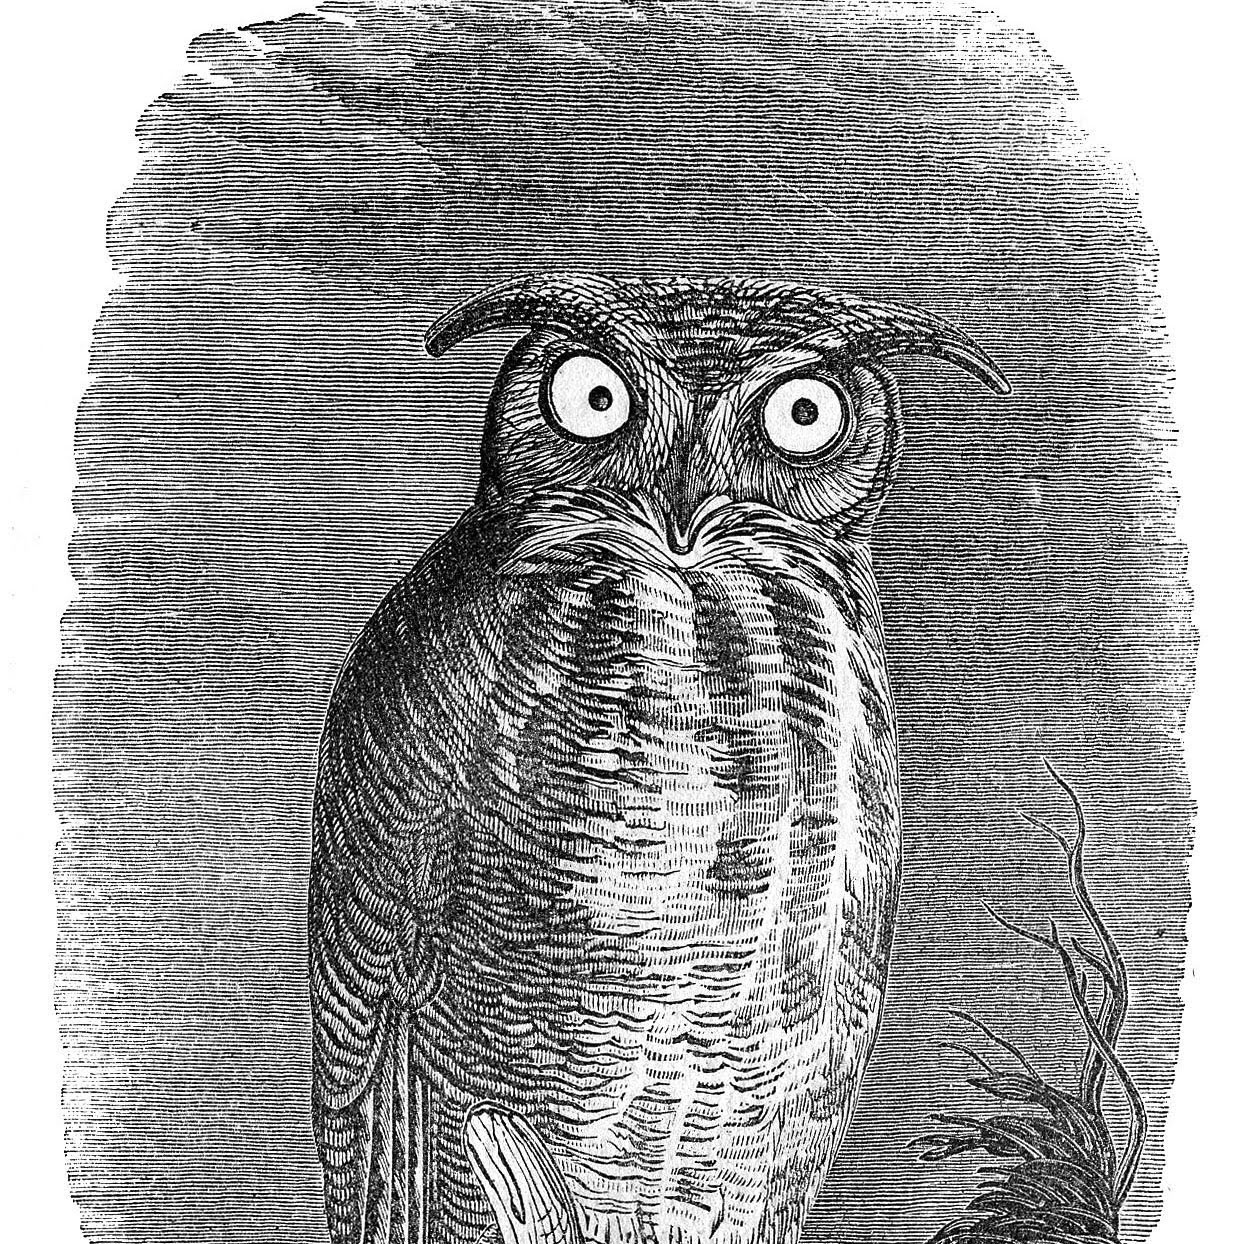
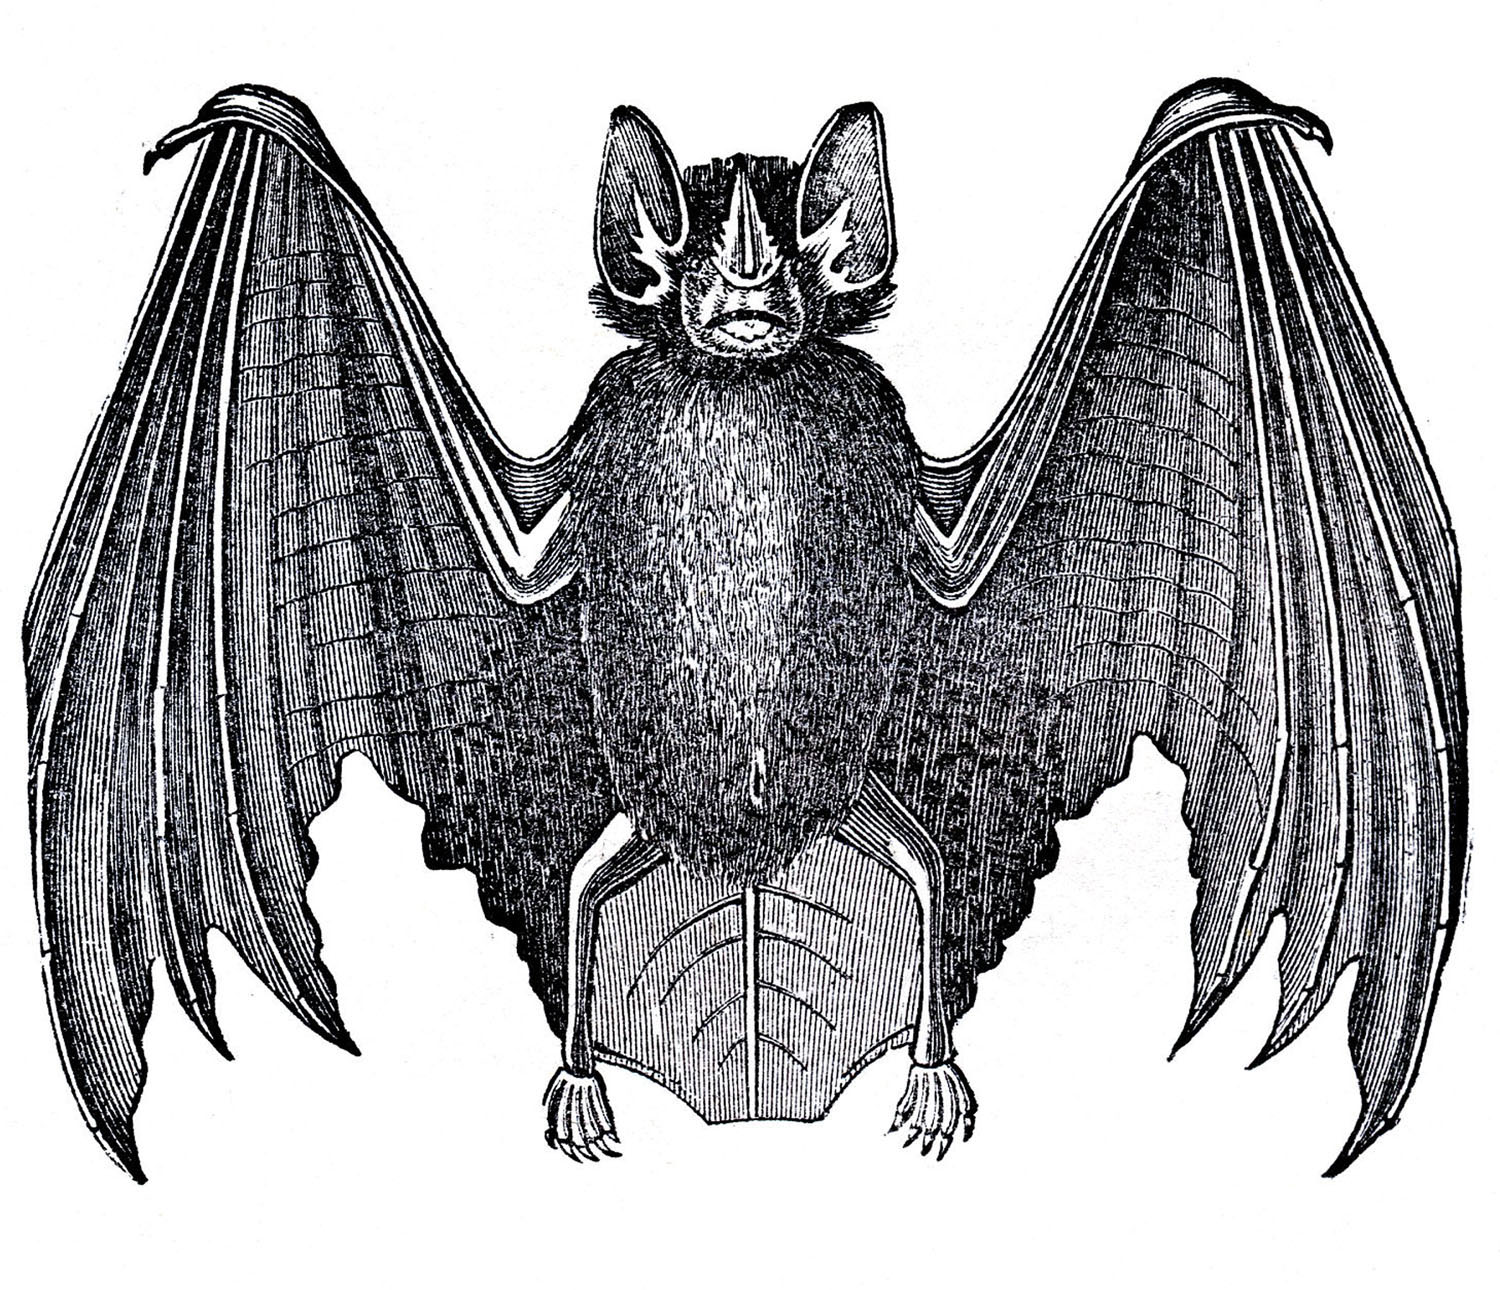
Halloween Printables
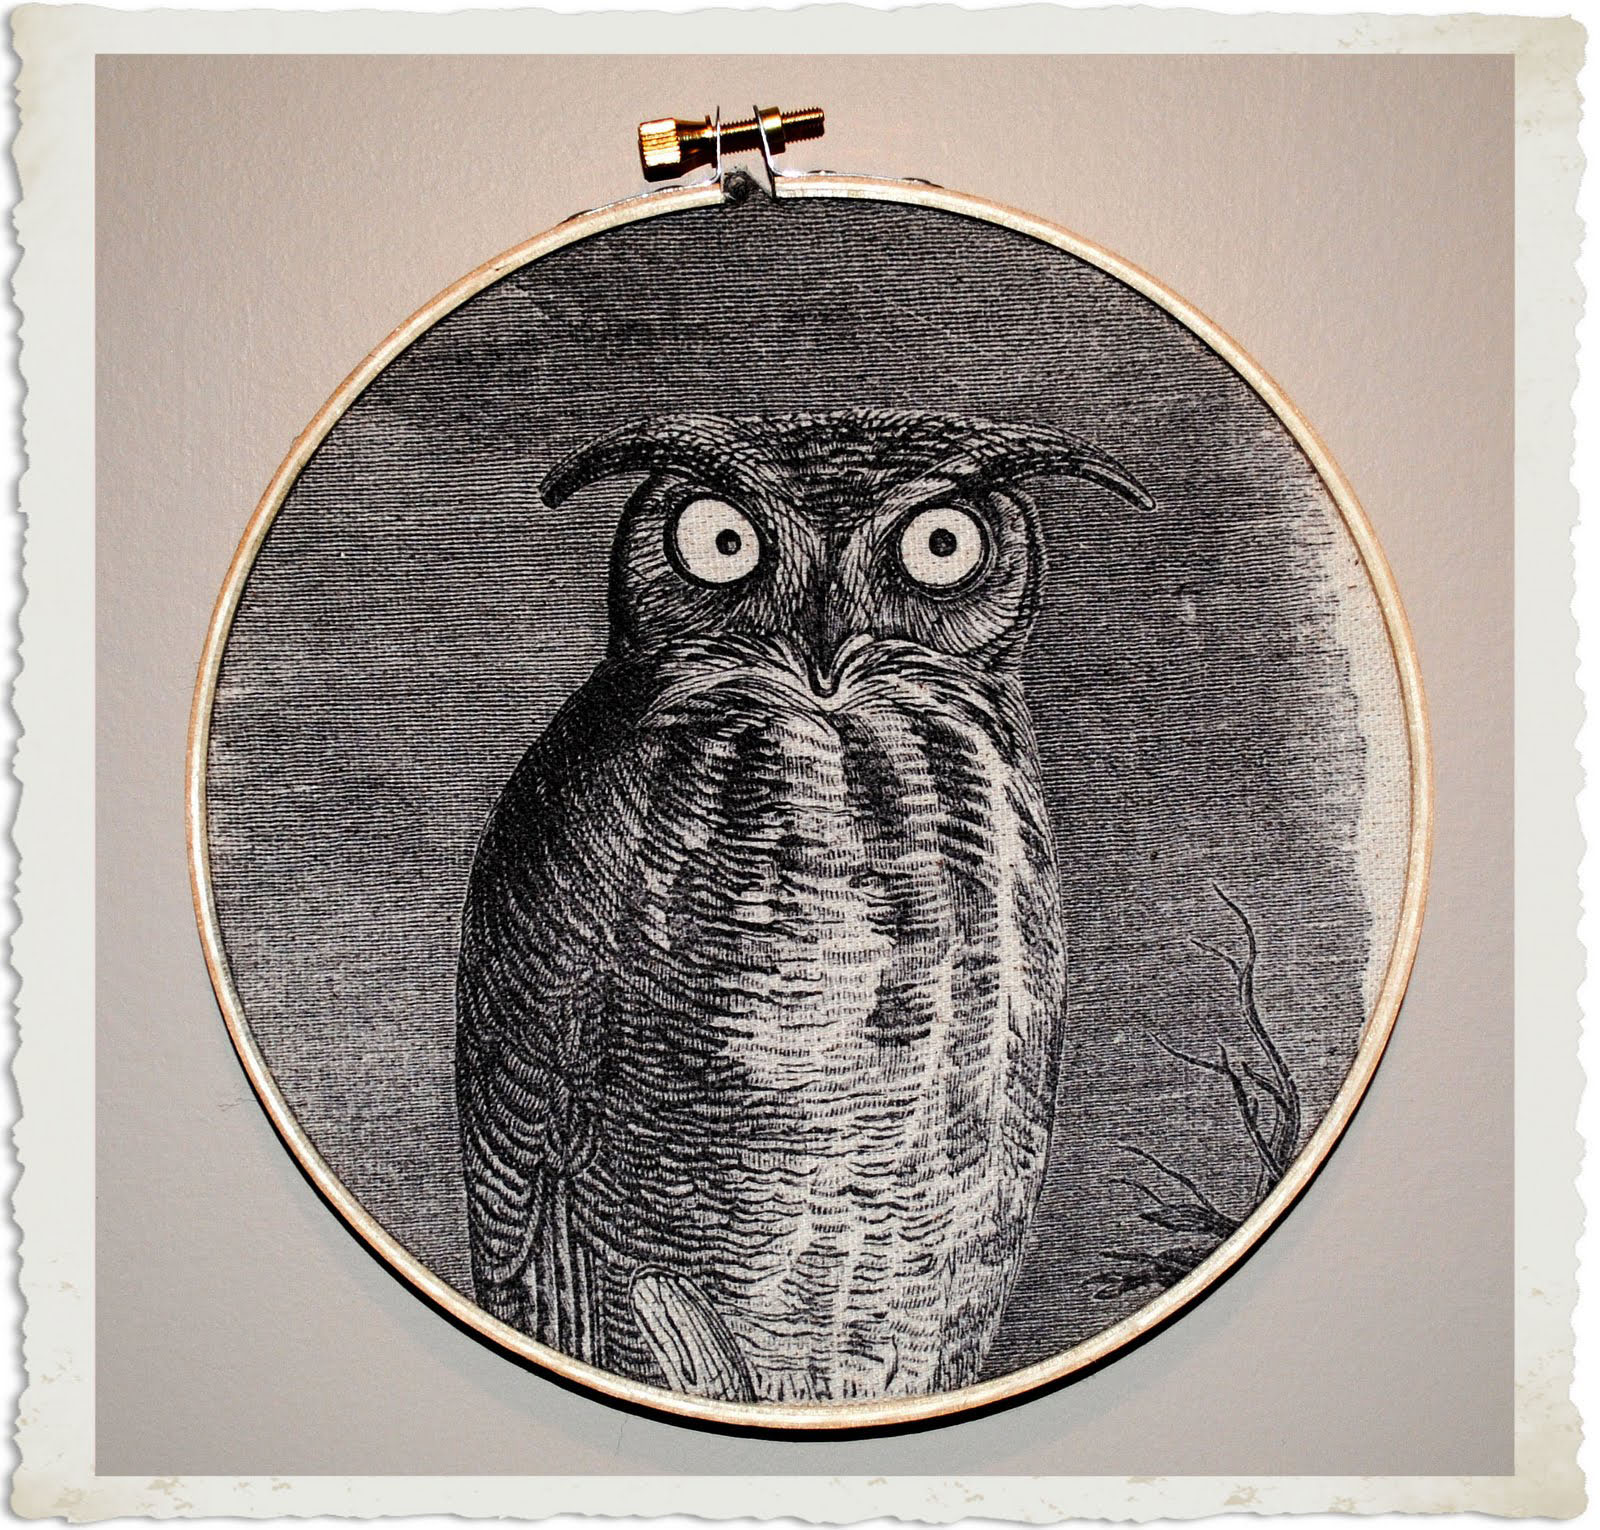
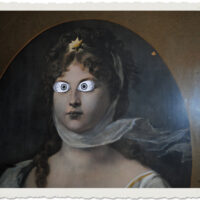
I’ve created 3 printable PDF files for you to download. You may have seen these images on my site already, but these versions are perfectly sized for this project, to make it really easy for you. The printables are below.
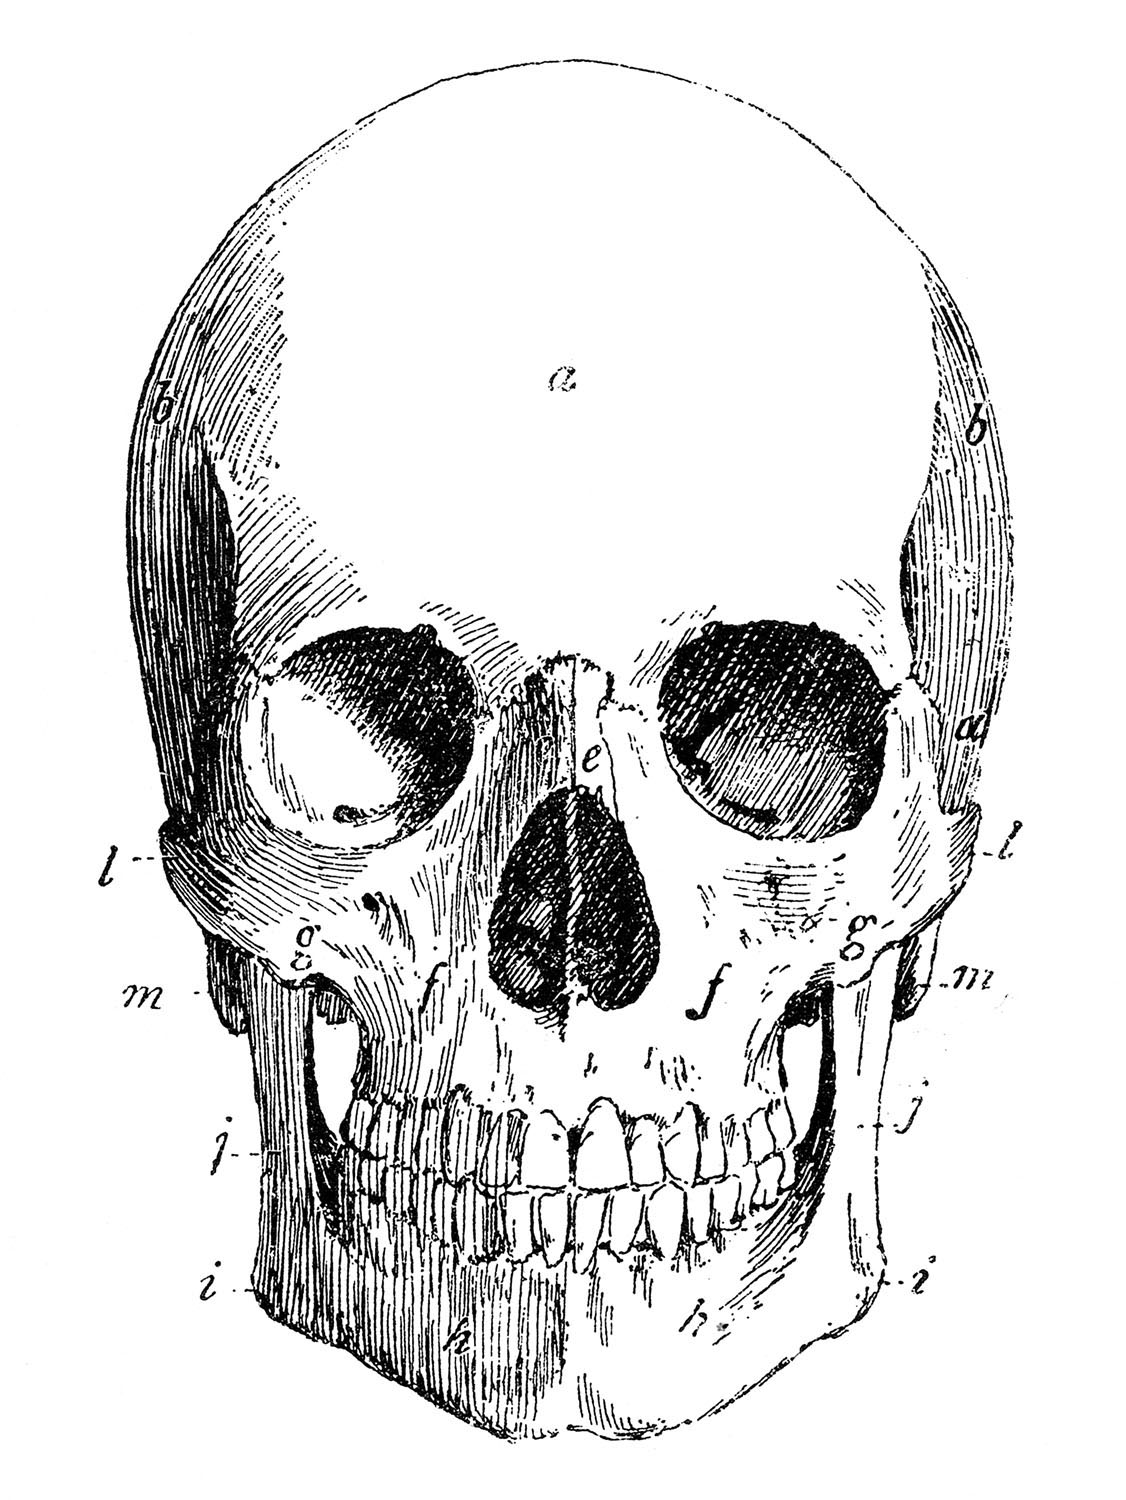
I printed these using my home computer straight onto the fabric itself. (I used drop cloth fabric, but you can use linen or muslin or whatever.) Many of you have probably seen other crafty bloggers using this technique. It worked great for me and was so easy, but please use caution, there is always some risk involved when putting things in your printer other than paper. I would definitely suggest staying right with your printer and guiding the fabric in while you watch it. There are several methods for this technique, all of them require that you attach some type of printer paper to the back of the fabric before feeding into the printer. I used the Label Method. I purchased some full sheet printable labels (with a sticky back), adhered the fabric to the label and then trimmed away the excess fabric. I popped it into my printer and out came my beautifully printed fabric!! After that I just placed these in the embroidery hoops ( I used an 8.5″ hoop for the bat and 7.5″ hoops for the other two) and trimmed up the excess, and there you have your Instant Halloween Wall Decor!
After Halloween, you can always take the fabric out of the hoops and reuse them with a different image! I hope you enjoyed this tutorial for making your own Halloween Wall Decor. Happy Halloween!


Maija says
Those pictures are great and fit perfectly to paintings for hallow’s eve. Horrific idea! 😉
the cape on the corner says
oh man, this is awesome! love this, and those images are great!
Leaping Frog Design's says
Oh those are spookylish!!! I am going to try them this week…I have some old embrodery hoops from junking. How fun!!!
Jenny at Henrietta's House says
This is a great idea! I love the owl.
charles says
fantastic post xoxo karen
The Answer Is Chocolate says
These turned out great and I’ll bet I know where we can find seasonal images to rotate 🙂
Karen- The Graphics Fairy says
I have to say the label paper worked like a dream. I like easy, and this definitely was easy!!
Kat_RN says
Great Graphics, as usuall. I am inspired.
Kat
Kathy Martin says
Those are very cool! Love it! 🙂
Christine says
I have never heard of the label technique before! I always put fabric on freezer paper with an iron and printed on it that way…I’ll have to try your way now! Thanks!
Melanie says
I had never heard of using the full sheet sticker paper!!! I mean, how smart is that? I had heard ironing the fabric onto wax/freezer paper (I always wondered which side you used? would it be sturdy enough? So I never did it). Thanks so much for this tip!
Dixie Mom says
Those turned out awesome!! So creative!! Love them.
Karen- The Graphics Fairy says
I’m so glad you both liked this one!!
Amy @ Living Locurto says
Spooktacular! I’ll be featuring this for sure:-)
Dayhomemama says
Wow, Thanks Karen. I will try this since you’ve made foolproof for us!!