Halloween Wall Decor DIY
Supplies for Halloween Wall Decor DIY:
- Embroidery Hoops (8.5″ for Bat and 7.5″ for Skull and Owl)
- Spooky Printables (see the links below)
- Plain off white fabric (Canvas Drop cloth works great!)
- Inkjet Printer
- Full Sheet Printable Labels
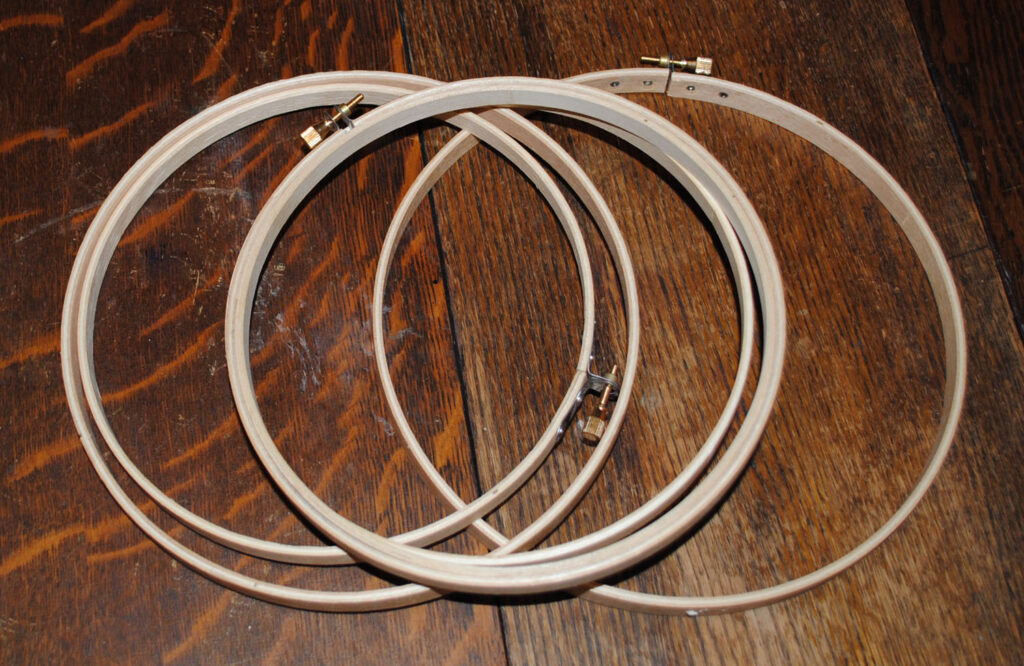
This is the before, just some plain cheap wooden embroidery hoops from the craft store. I think these cost like $1.49 each, you can probably find them cheaper at a thrift shop, or you might even have them on hand already.
Halloween Printables
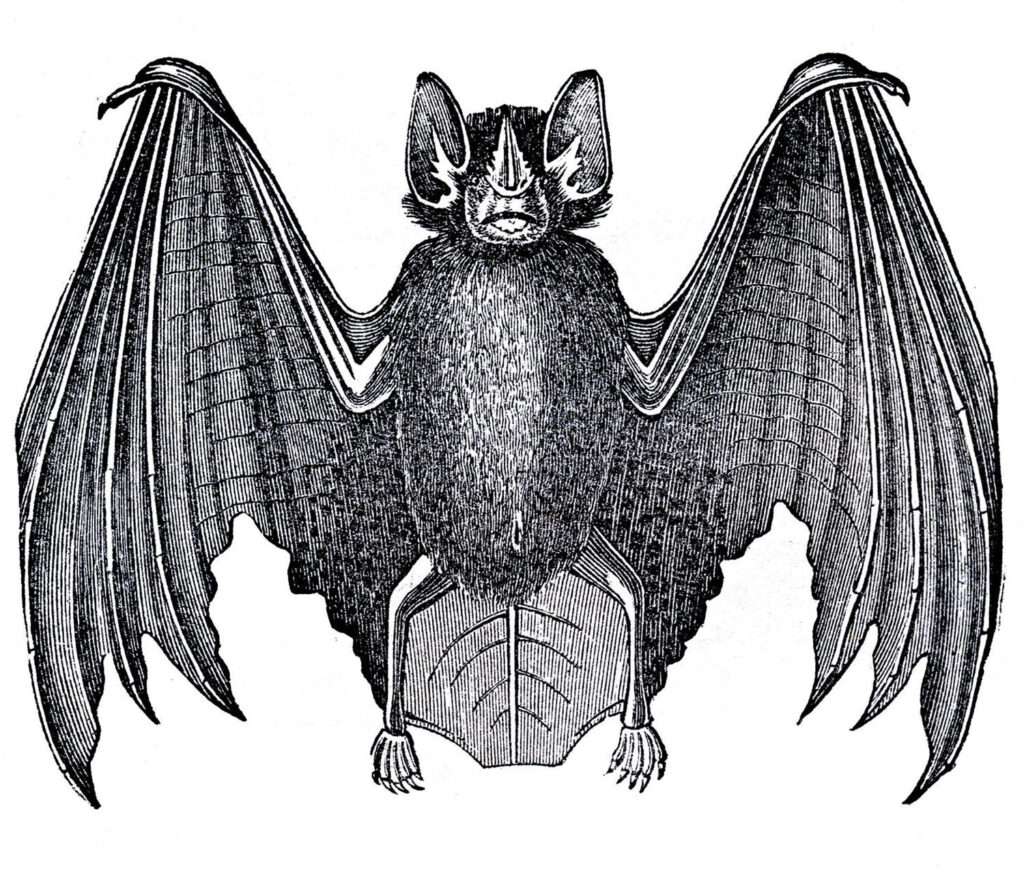
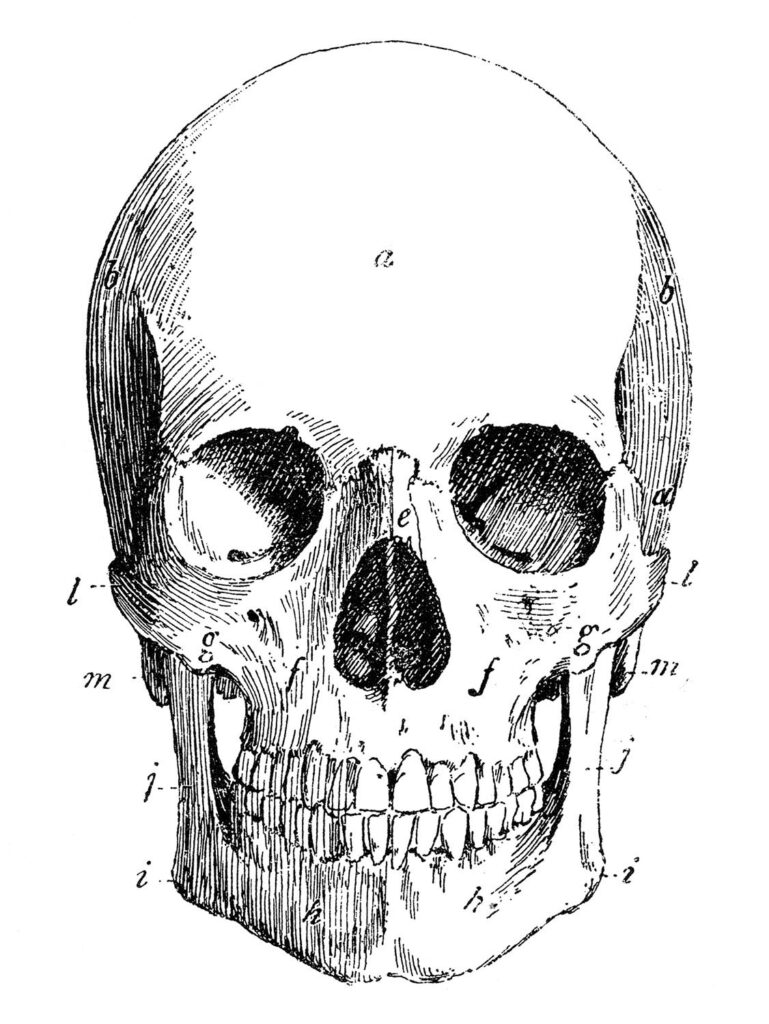
I’ve created 3 printable PDF files for you to download. You may have seen these images on my site already, but these versions are perfectly sized for this project, to make it really easy for you. The printables are below.
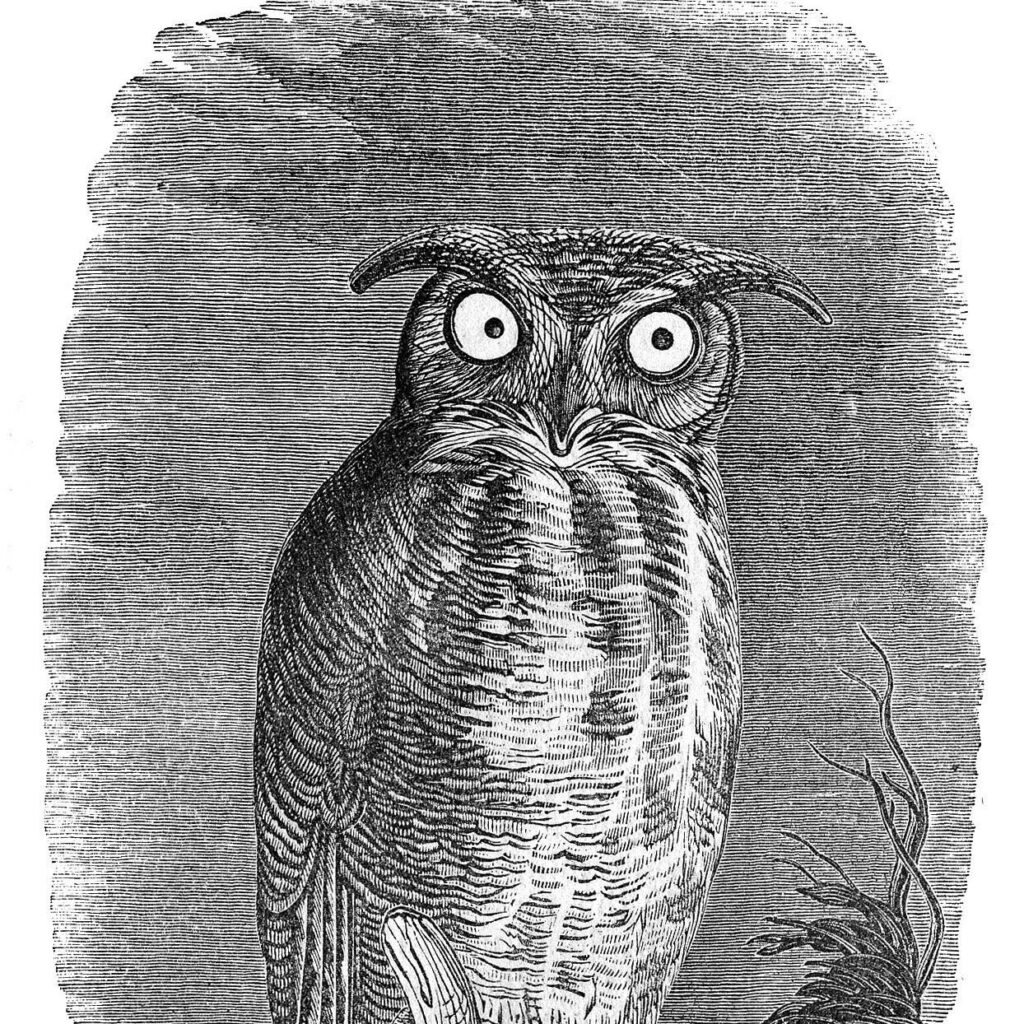
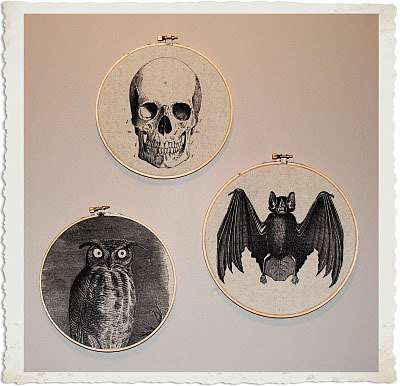
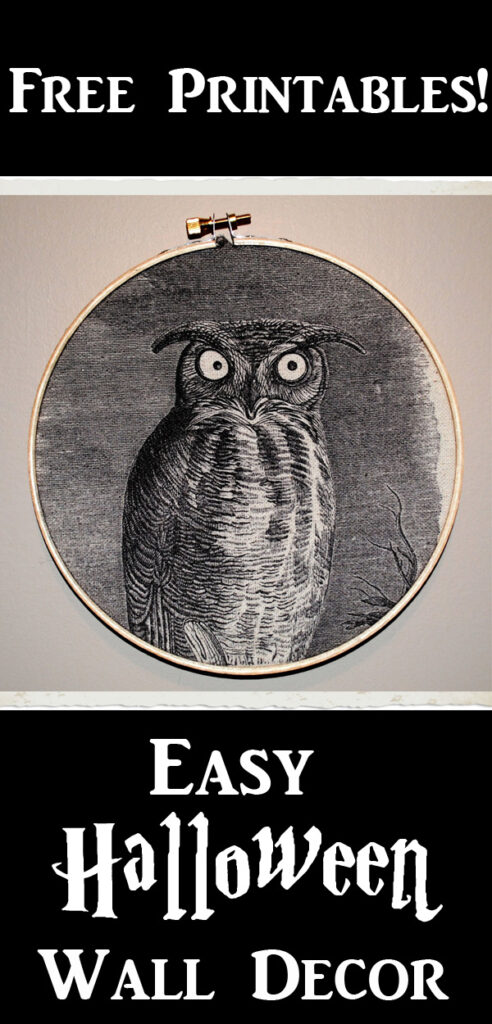
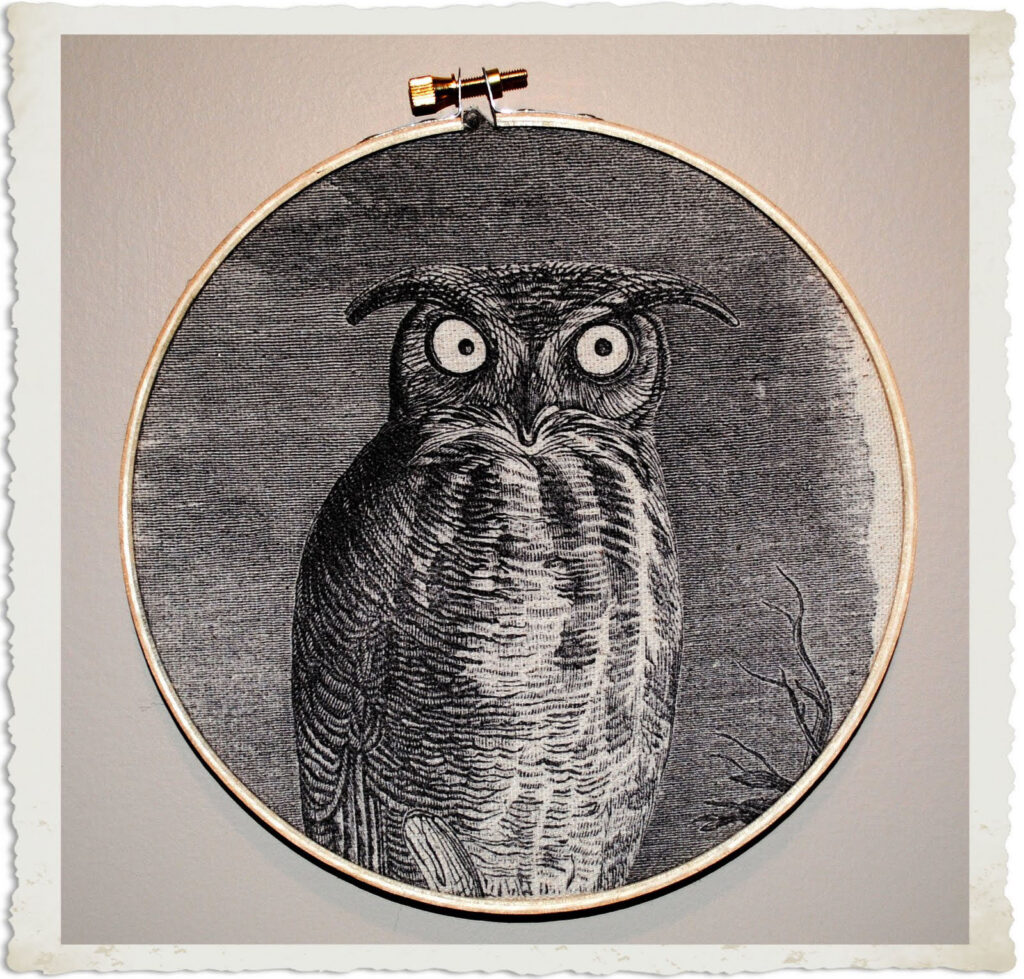
I printed these using my home computer straight onto the fabric itself. (I used drop cloth fabric, but you can use linen or muslin or whatever.) Many of you have probably seen other crafty bloggers using this technique. It worked great for me and was so easy, but please use caution, there is always some risk involved when putting things in your printer other than paper. I would definitely suggest staying right with your printer and guiding the fabric in while you watch it. There are several methods for this technique, all of them require that you attach some type of printer paper to the back of the fabric before feeding into the printer. I used the Label Method. I purchased some full sheet printable labels (with a sticky back), adhered the fabric to the label and then trimmed away the excess fabric. I popped it into my printer and out came my beautifully printed fabric!! After that I just placed these in the embroidery hoops ( I used an 8.5″ hoop for the bat and 7.5″ hoops for the other two) and trimmed up the excess, and there you have your Instant Halloween Wall Decor!
After Halloween, you can always take the fabric out of the hoops and reuse them with a different image! I hope you enjoyed this tutorial for making your own Halloween Wall Decor. Happy Halloween!


Val says
Thanks, Karen!! These images will decorate a care package for my teen-age son at college!! Thanks for sharing! The Post Office always appreciates the extra embellishment!!! V
Amy says
These are so great! Thanks for the tip on the label paper – I never would have thought of using that. This is now on my list of projects to complete before Halloween quickly arrives!
Ann @ makethebestofthings says
Karen, you are consistently, exceptionally creative and clever. I love your designs! Can’t wait to try these with freezer paper to stabilize the fabric. Love your ideas!
lou says
good job lady. i love those designs a lot! very unique and great for the halloween season!!
Kris Stepney says
I have been looking for a skull like this for a craft project!! OMG Thank you!
Anonymous says
I´ll have to try this, it looks awesome!!!
Thanks
Ann says
so fun…great images for this craft. thanks so much !!
Karen- The Graphics Fairy says
Wow, you guys are awesome! Thanks so much for your compliments!!
Miss B,
Anthro eh? Woohoo!! I’m glad you think so!
Miss B says
Karen this is AMAZING! So very Anthro;)
Rachel says
I love this project. This will definitely be the next project I try out. Thanks!
LeAnne says
Oh my, these are creepily eerily wonderful!
Shabby Anne says
Those look great Karen! I think you deserve a spot at the top of the page for Brag Monday….hehe.
Creations by Tee says
Interesting!And Thank You for sharing your great graphics with us!
If I need a graphic’s for a craft project I know I will find them here on your blog! And this technique sounds fun and easy. Inspirational!
Jane says
To show my appreciation for all you share with us, there is something on my blog for you!
Jane :0)
xx
Linda says
What a fabulous project!! Just looks awesome!