Easy DIY Wire Brush Bleached Trees
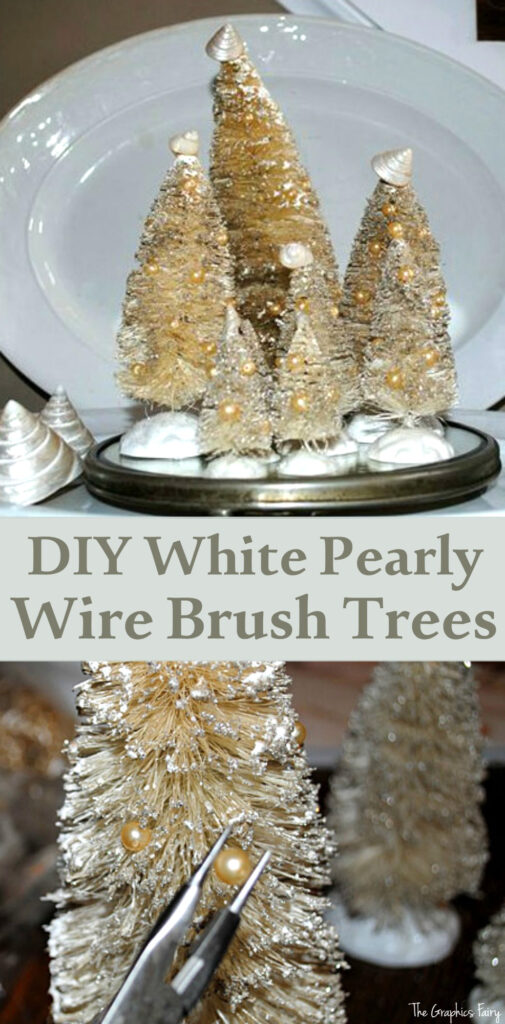
This post will show you how to make some Easy DIY Wire Brush Bleached Trees! Having been an Antique Dealer for quite a few years, I have always loved old Christmas things and especially the old Wire Brush trees. The old ones can be hard to find and a bit pricey when you do find them, so I thought I would try my hand at making over some new ones. I had planned on coloring these, but I ended up liking the white ones so much, that I ended up leaving them that way and added some pearly accents to them!
Shown below is the pack of mixed Wire Brush trees that I picked up at Michael’s Crafts. I believe these are typically used for Train sets and such. I also saw some individual ones for sale at Walmart, so you might want to try there too. You can also sometimes find these at Home Depot and possibly Lowes. 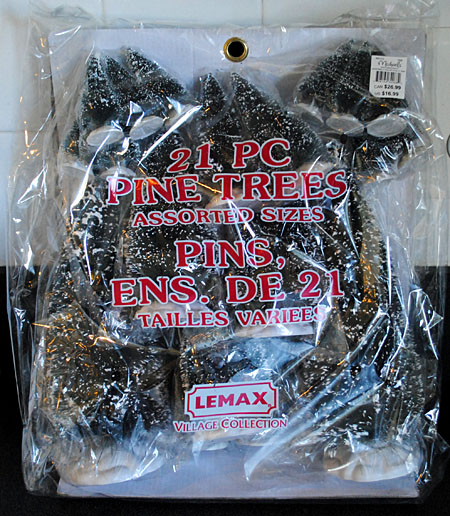
DIY Wire Brush Bleached Trees Supplies:
- Wire Brush Trees
- Clorox Bleach
- Mod Podge
- Glitter
- Pearls
- Seashells
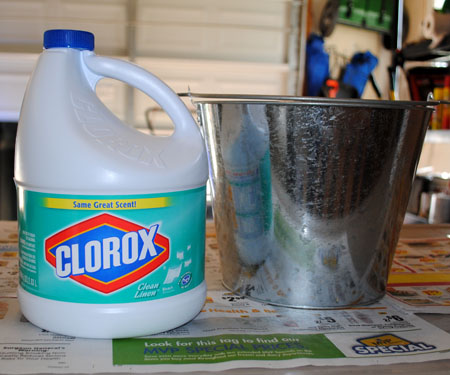
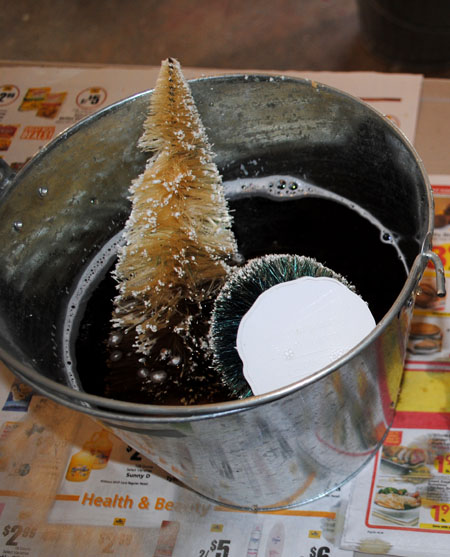
Safety First! I did this project out in my garage with the door open, to get plenty of ventilation, and used a Gallon of Clorox to bleach out the green color. Make sure you wear gloves and safety goggles to protect your eyes too and keep this away from kids and pets.
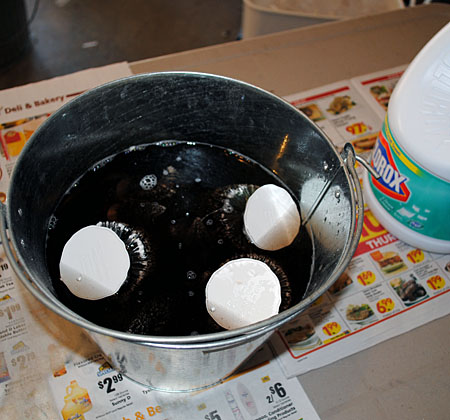
I just poured the Clorox into a bucket and left them to site. Just keep an eye on them so that you can pull them out as soon as they turn white. I think it was around 10 minutes or so that I left them in.
The big ones didn’t fit all the way in to the pail, so I just turned them over and bleached them one end at a time.
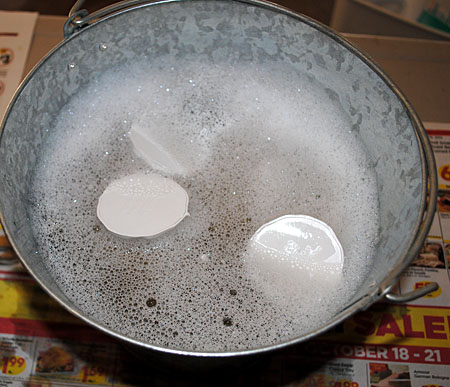
Once they’re done, just pop them into a another pail of soap water, to stop the bleach process. And then do a final rinse with plain water to get any soap residue off.
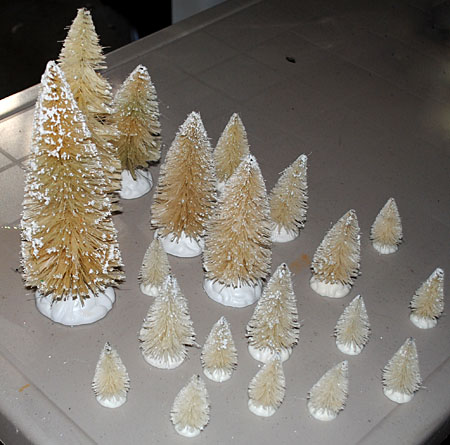
So cute already right! Like a little blonde forest! I love that they are an off white, and not pure white, as it gives them more of a vintage look I think. Let them dry thoroughly before the next step.
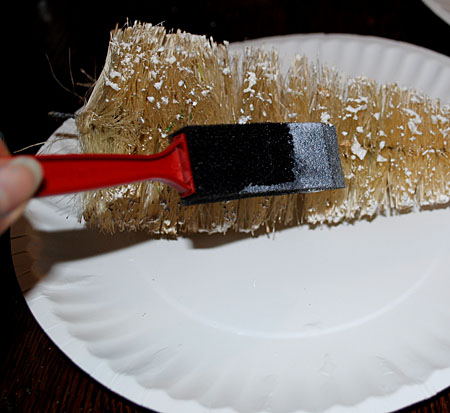
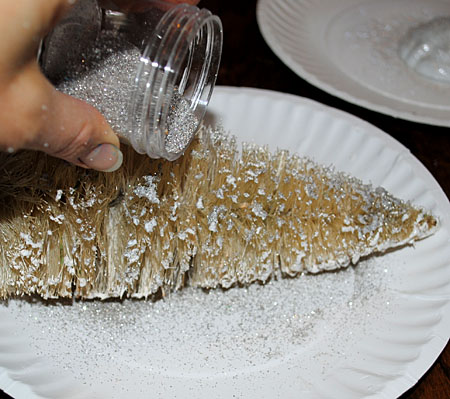
Next I brushed on some white glue, I think I used Mod Podge actually.
And then I sprinkled on some silver glitter. I used German Glass Glitter because it looks more authentic, but you can use what you like.
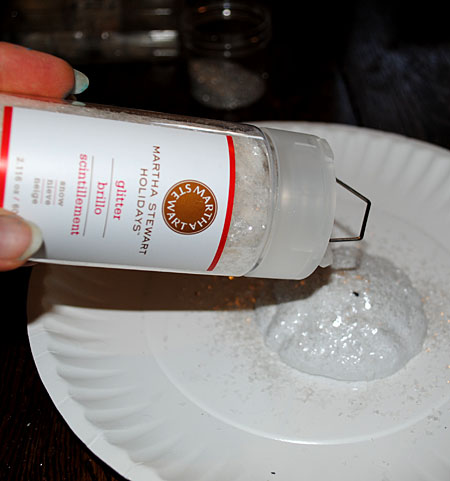
Next I applied more glue to the base and then sprinkled on some white glitter from Martha Stewart. (I found out that you can unscrew the bases and then screw them back onto the trees again). I like this glitter because it looks like Mica which gives them an authentic vintage look! After the bases dried I reattached them to the trees.
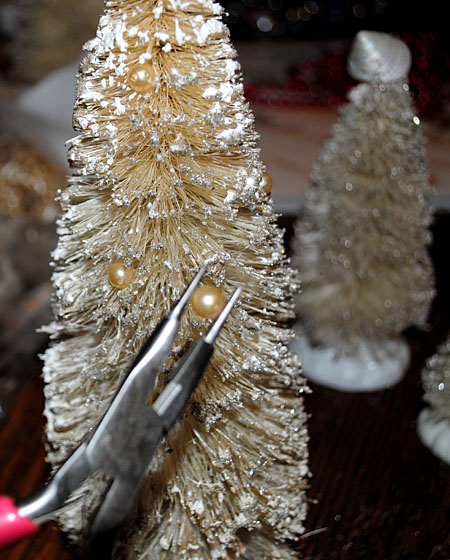
Then I repurposed the beads from an old Pearl necklace, they made the perfect ornaments for my little trees! I used pliers and hot glue to attach the pearls in a random pattern to the trees. And then I added some small pearly Seashells to the tops of the trees!
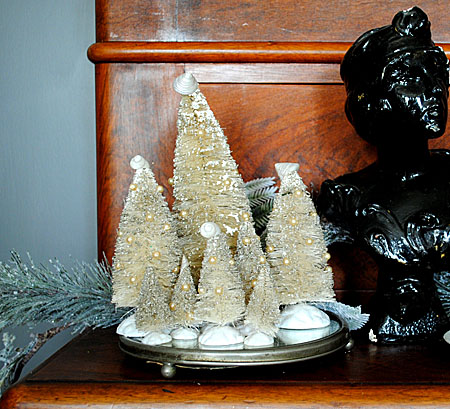
Cute and sparkly! They look so nice in a grouping, I placed mine on top of an antique plateau mirror. I hope you enjoyed this project!
I hope you enjoyed this tutorial for making these Easy DIY Wire Brush Bleached Trees! You might also like our Christmas Book Page Paper Rosettes HERE.


Diana says
OMG I have been looking for white bottle brush trees forever! The best thing is, I have those green trees already, had no idea bleach would turn them white/cream! Definitely will be giving this a try toady!
Karen Watson says
Hi Diana,
That’s awesome, I’m so glad you found this tutorial! Have fun bleaching your trees!
Petticoat Junktion says
Karen, the trees are just fabulous. All the extra touches really made the trees pop.
Karen Watson says
Thanks Kathy!
Miss Char says
OK…I see a trip to HD today to pick up some trees. This is a fabulous project and I can’t wait to start my mini forest of bottle trees. Thanks for the great tutorial.
Karen Watson says
You’re welcome Miss Char, thanks for your sweet comment!
Beverly...Heartland Creations says
Yea! I was wondering also how to get the off white trees. Thanks for the great info. I hope I can find some of the trees. Yours are lovely1
Thanks, bev
Karen Watson says
You’re welcome Bev! I hope you can find them too, so you can try this!
flowersandhome says
I had been wondering where all those typical trees came from. You don’t see them around here but they keep popping up on all thsoe wonderful blogs. Amazing that they’re just sold a whole bunch in one big bag. There’s so much you can do with these. Wish those were available here as well.
Bye,
Marian
Karen Watson says
Thanks Marian! Perhaps you have a hobby store in your country that sells hobby trains and accessories? That’s what these are meant for.
Ann says
how cute are these!!
clorox..my goodness..i never would have thought!
love the pearls as ornaments!!
great tutorial..thanks so much!!
Karen Watson says
Thanks Ann!
Susan says
Thank you for this tutorial! I can’t wait to try it! I just found some vintage mercury glass beads that would be cute on these trees!
Karen Watson says
Hi Susan,
Your mercury glass beads would be perfect for this project! That’s what I planned on using originally, but I couldn’t find any, so I used the pearls instead.
jeanetteann says
These are so lovely. I am in love with little trees this year and have a few. I do hope I can get a big packet like yours here so that I can have a go at making some more. Merry Christmas xx
Karen Watson says
Thank you Jeanette Ann!
Elizabeth Johnson says
Thank you for these instructions! I love these and think I will simply HAVE to take time to make some. And now I know how!!!
Karen Watson says
I hope you get a chance to make these Elizabeth, they really don’t take much time at all, and they’re so cute!
tracy wood says
How wonderful. I found a whole bag (16) at the thrift store. My sister has a christmas village all in white and cream. The trees are green, and they look good, but she really wanted white ones…Voila!! Now she has cream ones.T for the cool idea!! P.S. Love your website…I visit almost every day!!
Karen Watson says
What a lucky find Tracy!! Thanks so much for visiting regularly, that means a lot to me … hopefully that means I’m doing some right! 🙂
xoxo
E says
Love these … I have some soaking no for hrs no apparent bleaching happening, but my solution is not pure clorox … will try undiluted … recycled beads are pretty ! E
Karen Watson says
Thanks E! Yes, do try it with straight Clorox, it took no time at all!
It's Just Me says
Karen, I’ve seen these little trees at Homedepot (package of 21) for $6.99. Just a heads up : )
Karen Watson says
Oh, you are awesome!! Thanks for the hot tip! I’m going to add that to my post, that’s a great price!
Okio B Designs says
Your trees look very sweet Karen. I keep wanting to try this method but I just never seem to get to it before the holidays. Maybe next year. =)
Jeanine
Karen Watson says
Thanks Jeanine! And I hear ya! I bought this bag of trees last year, or it might have even been the year before, and finally made a point of doing something with them this year! I actually surprised that I could still find them in my craft room!
TLady says
SUPER IDEA!!!!!!! THANKS FOR SHOWING US HOW YOU DID THIS!!!!!!!! I LOOOOOOOOOOVE THESE TREES!!!!!!!They look FABULOUS!!!!!!!!! 🙂
Karen Watson says
Thank you so much TLady!!
Painting Queen says
Oh they are a great addition to your Holiday decor! Magical!
Karen Watson says
Thanks Crystal!!