Printable Paper Ornaments
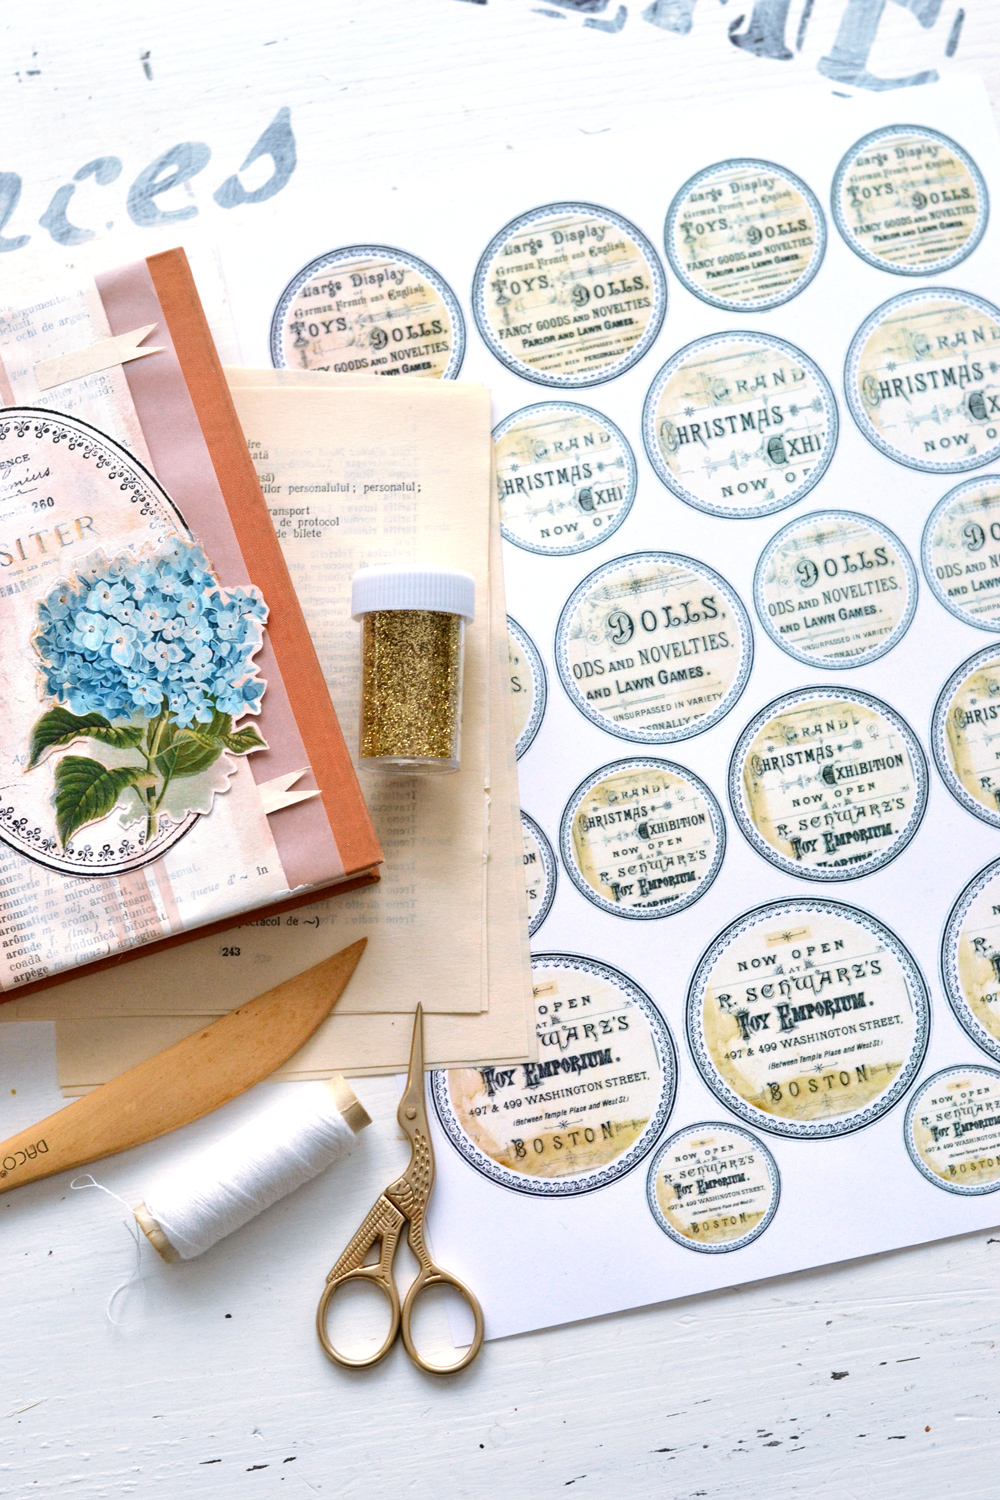
Hello, Graphics Fairy friends! I’m Diana from Dreams Factory and I’m happy that today, we will be making some beautiful printable paper ornaments using book pages and some lovely Christmas ephemera medallions that I created just for you! This will be our last project for the year, so we’ll be adding a little bit of sparkle too. I decided we just NEEDED some glitter for the Holiday Season!
We will be keeping things fairly uncomplicated today, because I’m sure you all still have so many things to check off on your Christmas TO DO list. But let’s also have fun, relax and do something creative, it’s important to take time to also do some of the things that we love! This is a fun project to make on your own, but it would be great if you could involve the whole family, having fun and creating beautiful memories together. And let’s not forget that glitter is involved here, that could spark some interest in your loved ones, no matter the age!
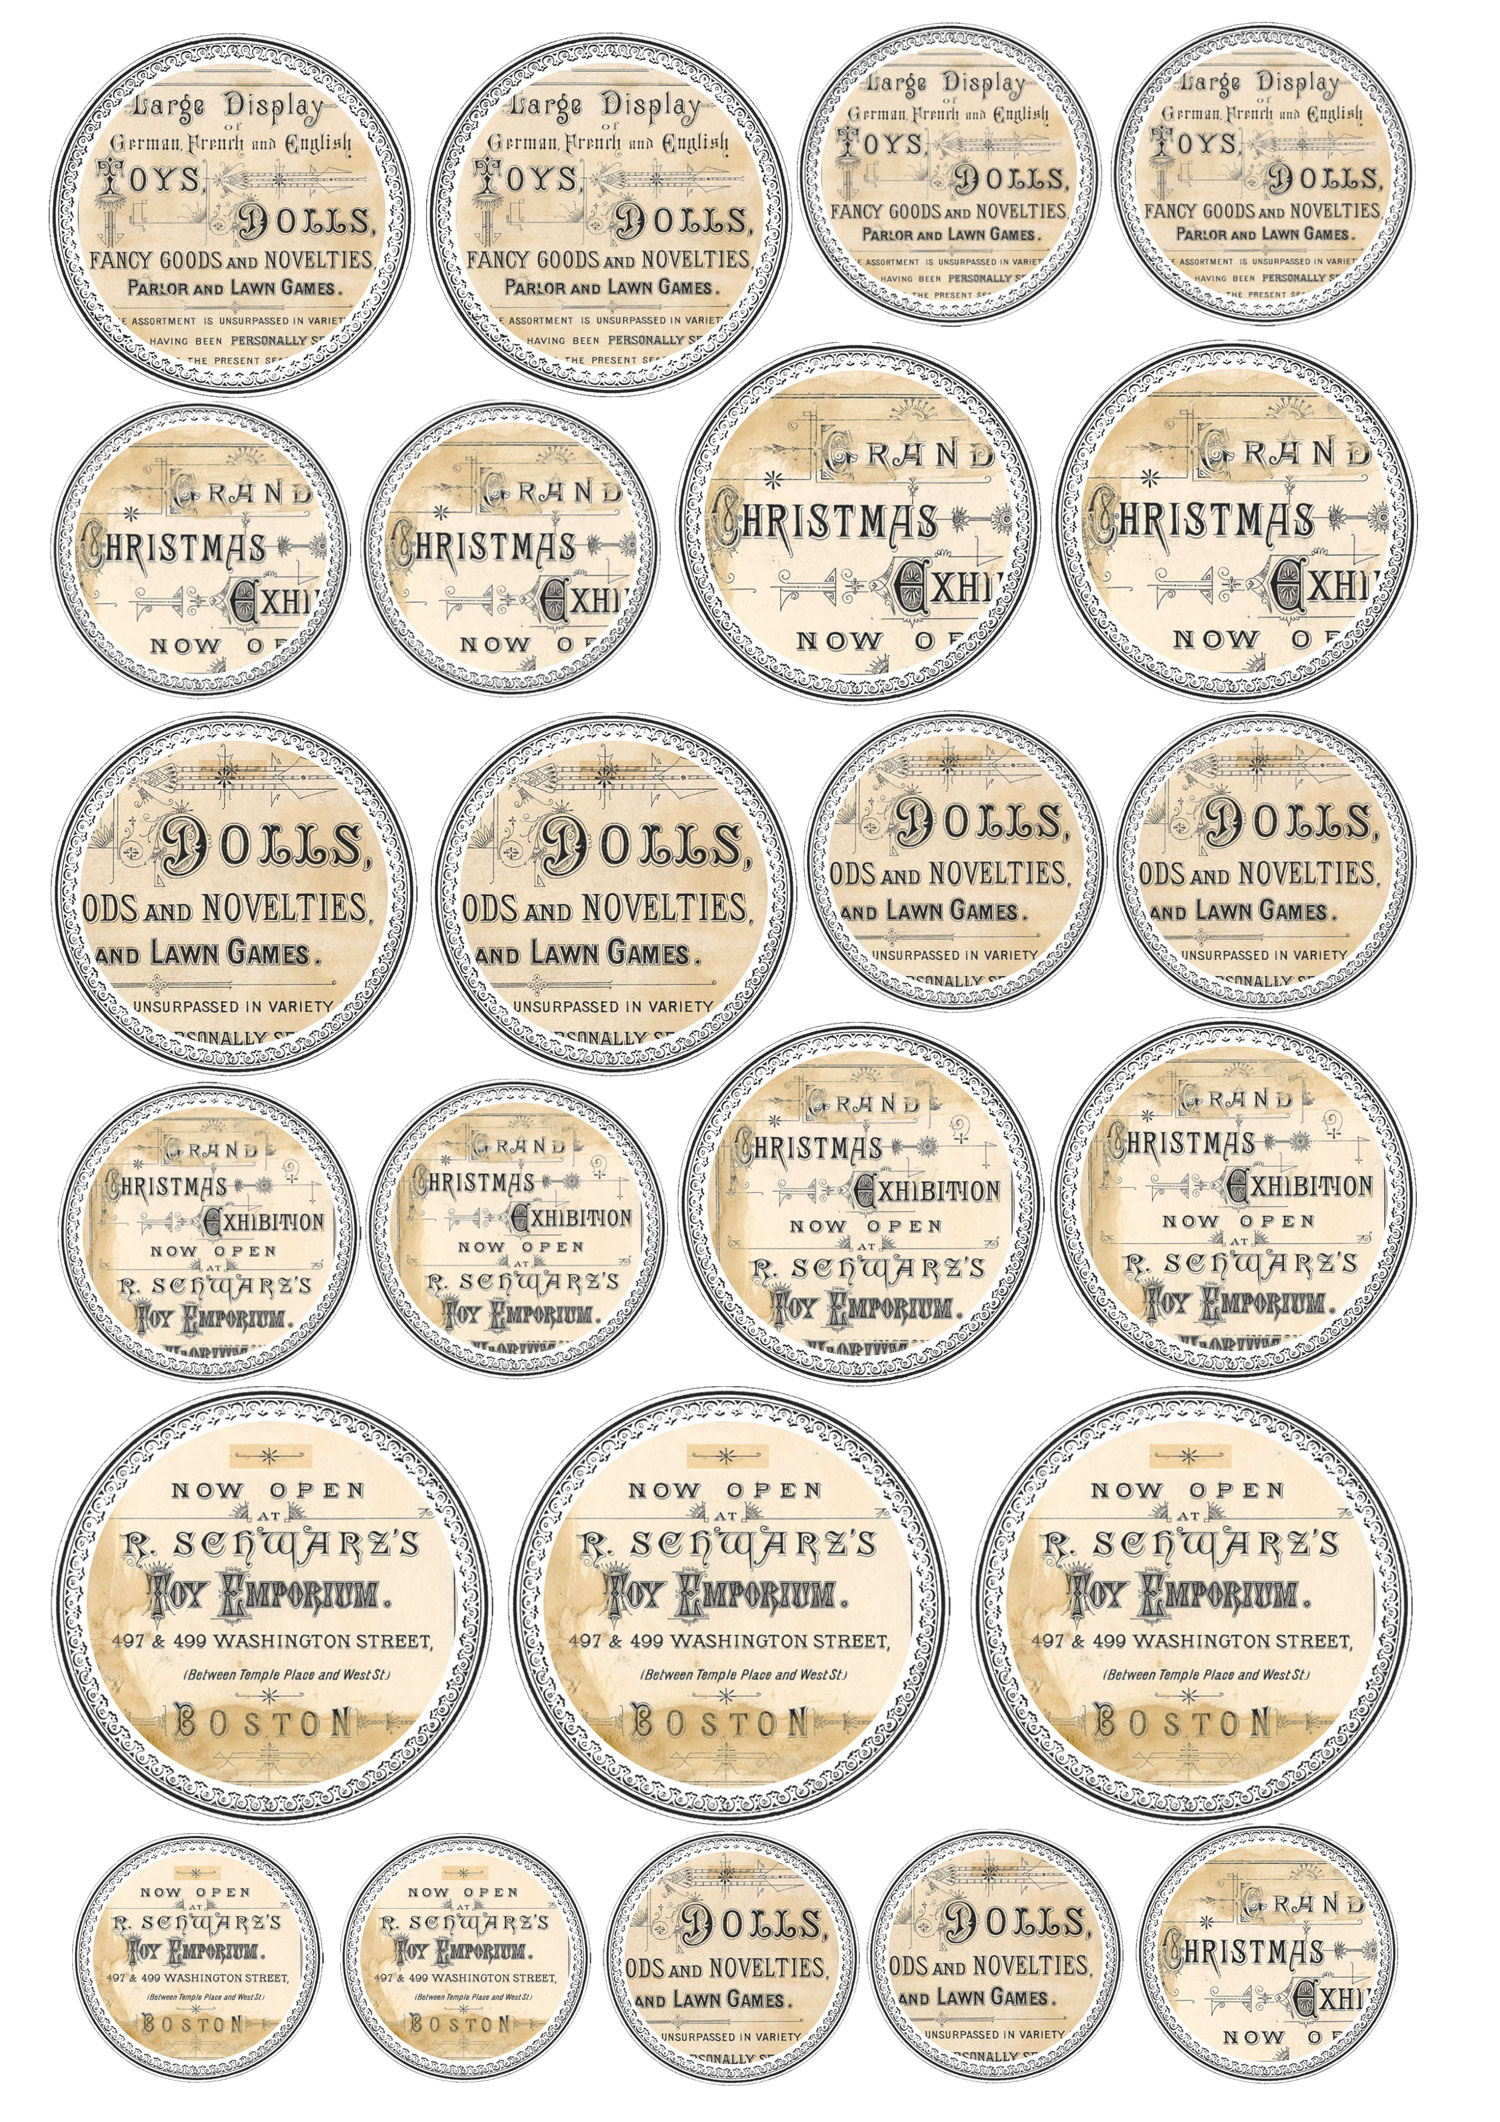
The Christmas ephemera with vintage frame medallions that I created for this project will somehow complete the whole vintage and Christmas look of our Printable Paper Ornaments.
Free Printable Paper Ornaments
—> Click here to download the full size PDF <—
Printable Paper Ornaments Supplies
- a few pages from a book, dictionary, etc. (old or new)
- cardstock paper
- ink or laserjet printer
- regular scissors
- sewing thread
- stick glue
- Mod Podge
- glitter (I used gold glitter)
- Paintbrush
- sponge brush or a brush
- glue applicator or a small brush
Full Step by Step Tutorial:
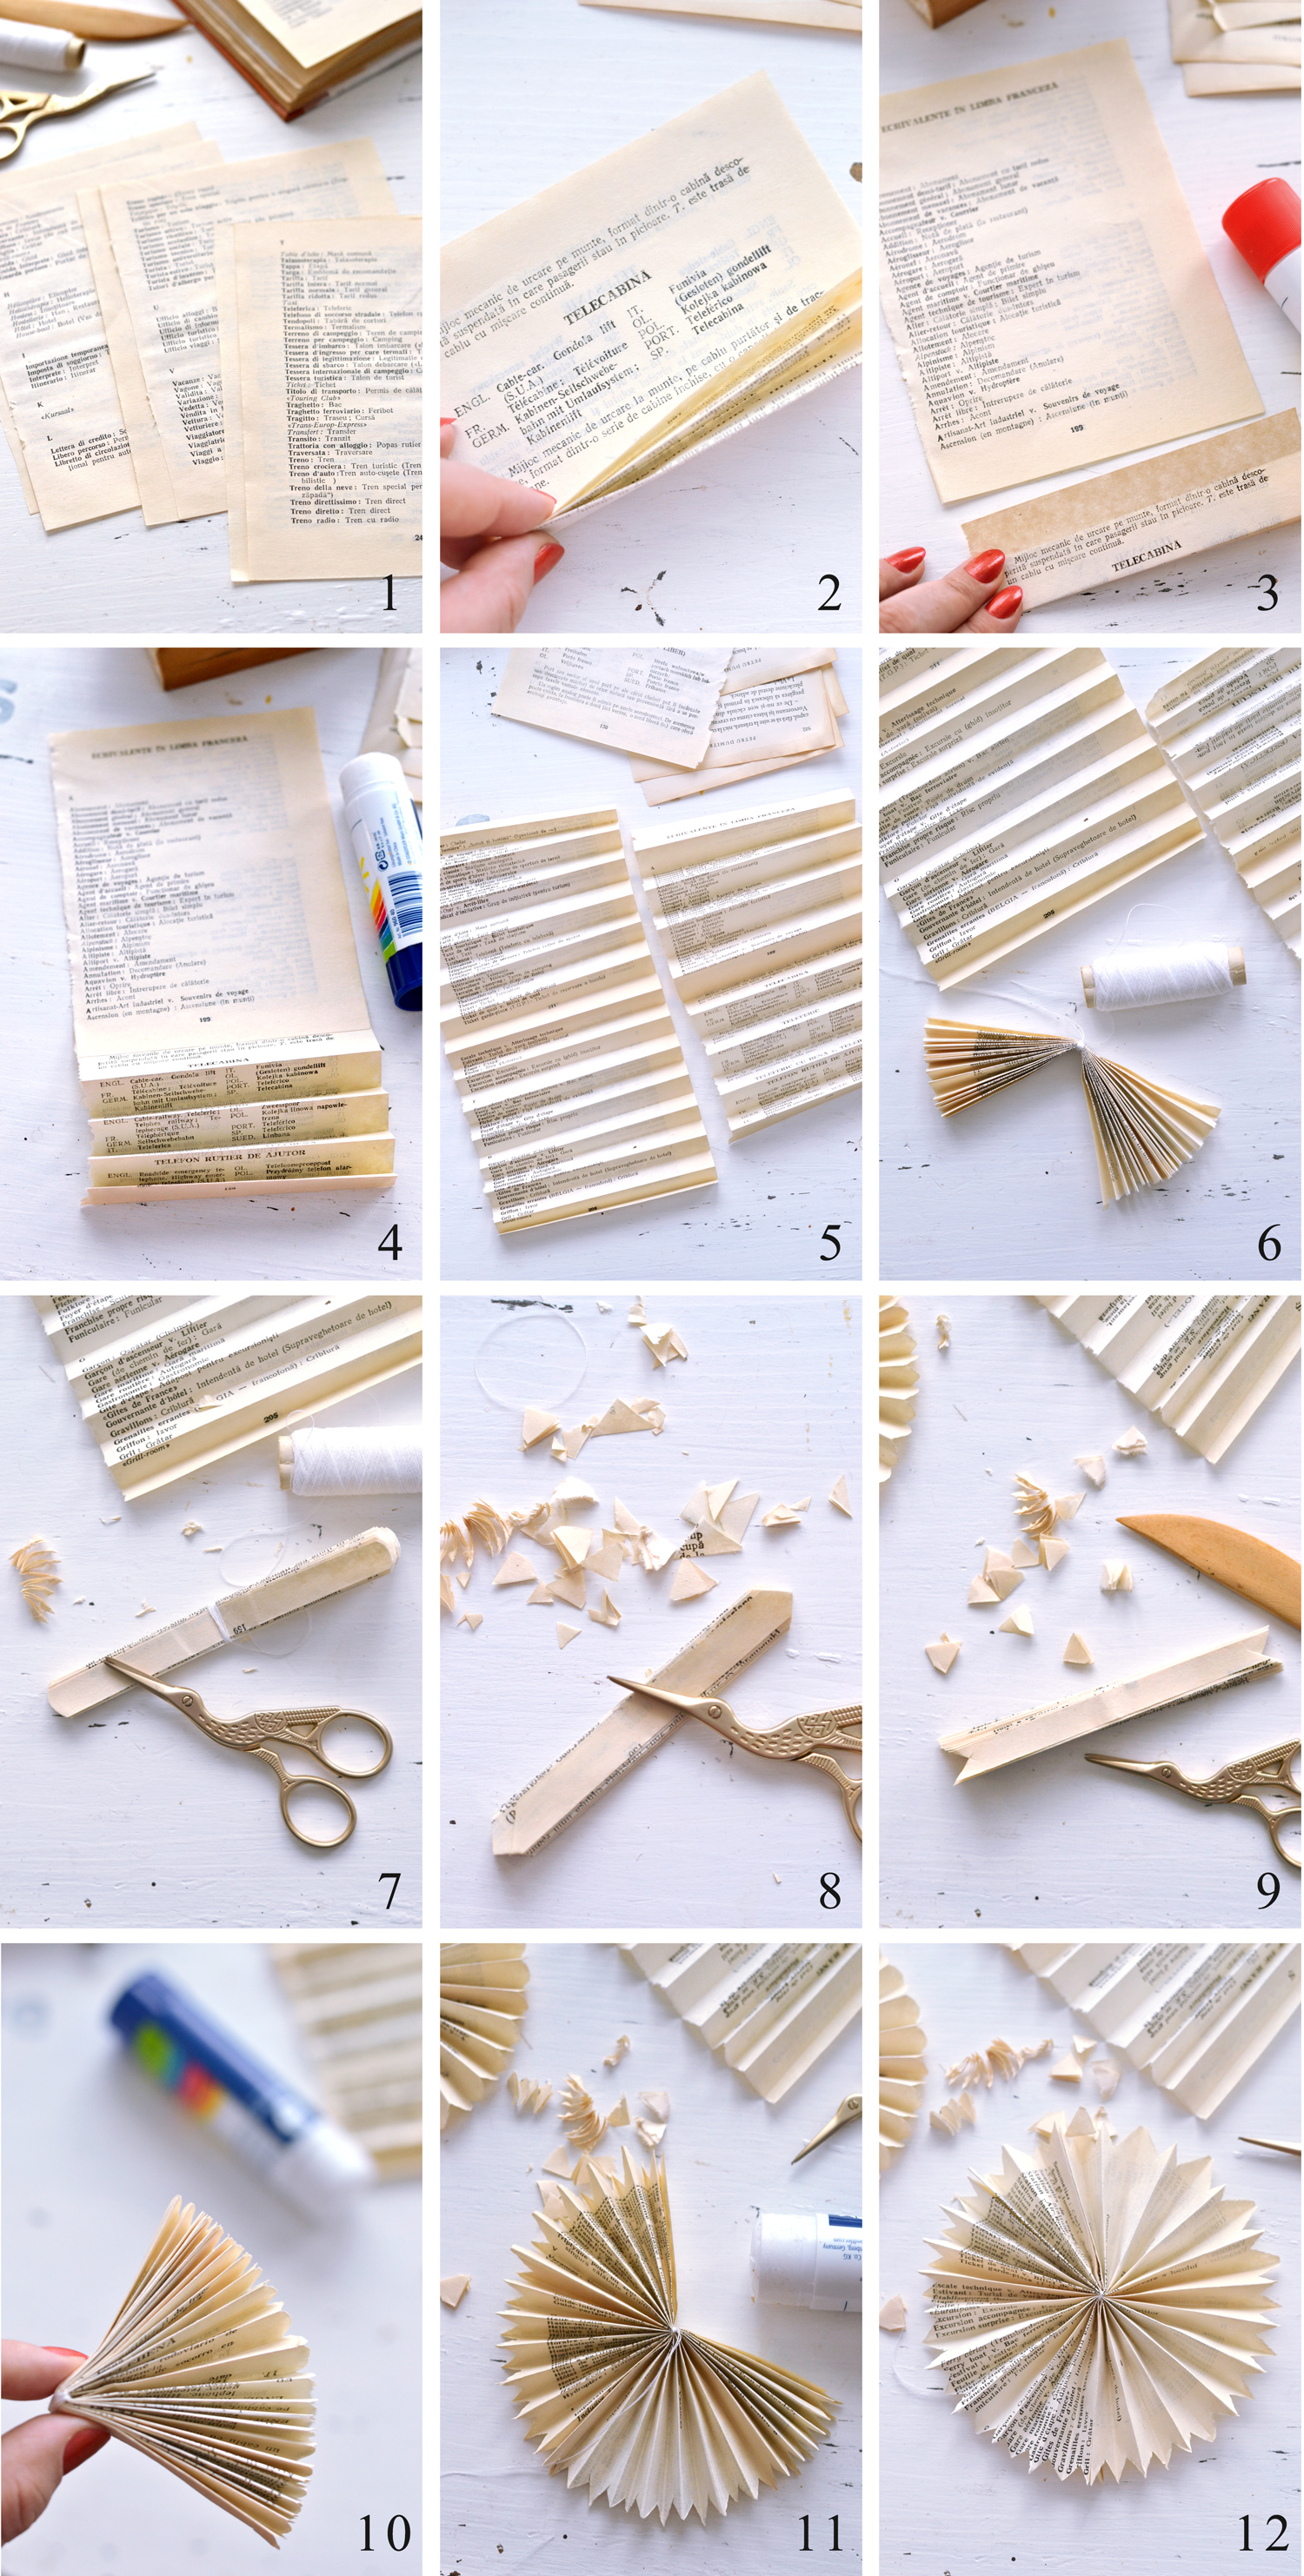
Gather your supplies. Or just a part of your supplies, like I did here, and keep everything else close by.
I actually used a few pages from my old dictionary turned into art journal, the one that I showed you how to decorate a while back with that beautiful blue hydrangea -> DIY Vintage French Art Journal.
- Start by ripping a few pages from your book. You can use different books to create different sizes or you can use the same book and trim the edges a little to create the smaller sizes. You will need 2 book pages for each rosette, no matter the size.
- Fold one book page, accordion style. The smaller the folds, the fuller your final rosette will look, so keep that in mind when you start folding.
- When you have finished folding one page, prepare a second page and glue it on the last fold of the first page. Use you finger to press really well and let the glue dry. I used stick glue and it dried quickly so I was able to move to the next step almost immediately.
- Continue folding the book page paper until the second paper is completely folded. Let’s just call the 2 folded pages that are now glued together our accordion style ensemble that will make 1 rosette!
- Follow the same technique for as many rosettes as you want. I made 3 accordion style ensembles to create 3 rosettes.
- For the next step we will need to fold each of the accordion style ensemble in half and tie it really well (using multiple sewing threads) in the middle. Leave some spare thread if you plan on maybe turning the rosettes into a banner or hanging them somewhere.
- Use scissors to decorate the borders of the paper, on both ends. This step will completely transform your rosettes, giving them a more (or less) floral feel! I really loved this step! For one rosette I just rounded the edges – the final ensemble looked like a popsicle stick!
- For the next one I used my scissors to create an angle on the outside.
- And for my third rosette I created an angle on the inside. You can play and have fun here to create other beautiful decorative borders for your rosettes!
- Now fold the accordion style ensemble in half and glue the edges together, lengthwise. Press it with your fingers until the glue dries.
- Unfold the ensemble and then glue the other side to create a full circle, making sure you leave out the sewing thread. Press it with your finger until the glue dries.
- Now you have your first beautiful rosette ready!
Make as many as you want and admire your work! As you can see, mine had a few imperfections on the edges, but I really loved their imperfect worn look!
Moving on to the glitterrrr!
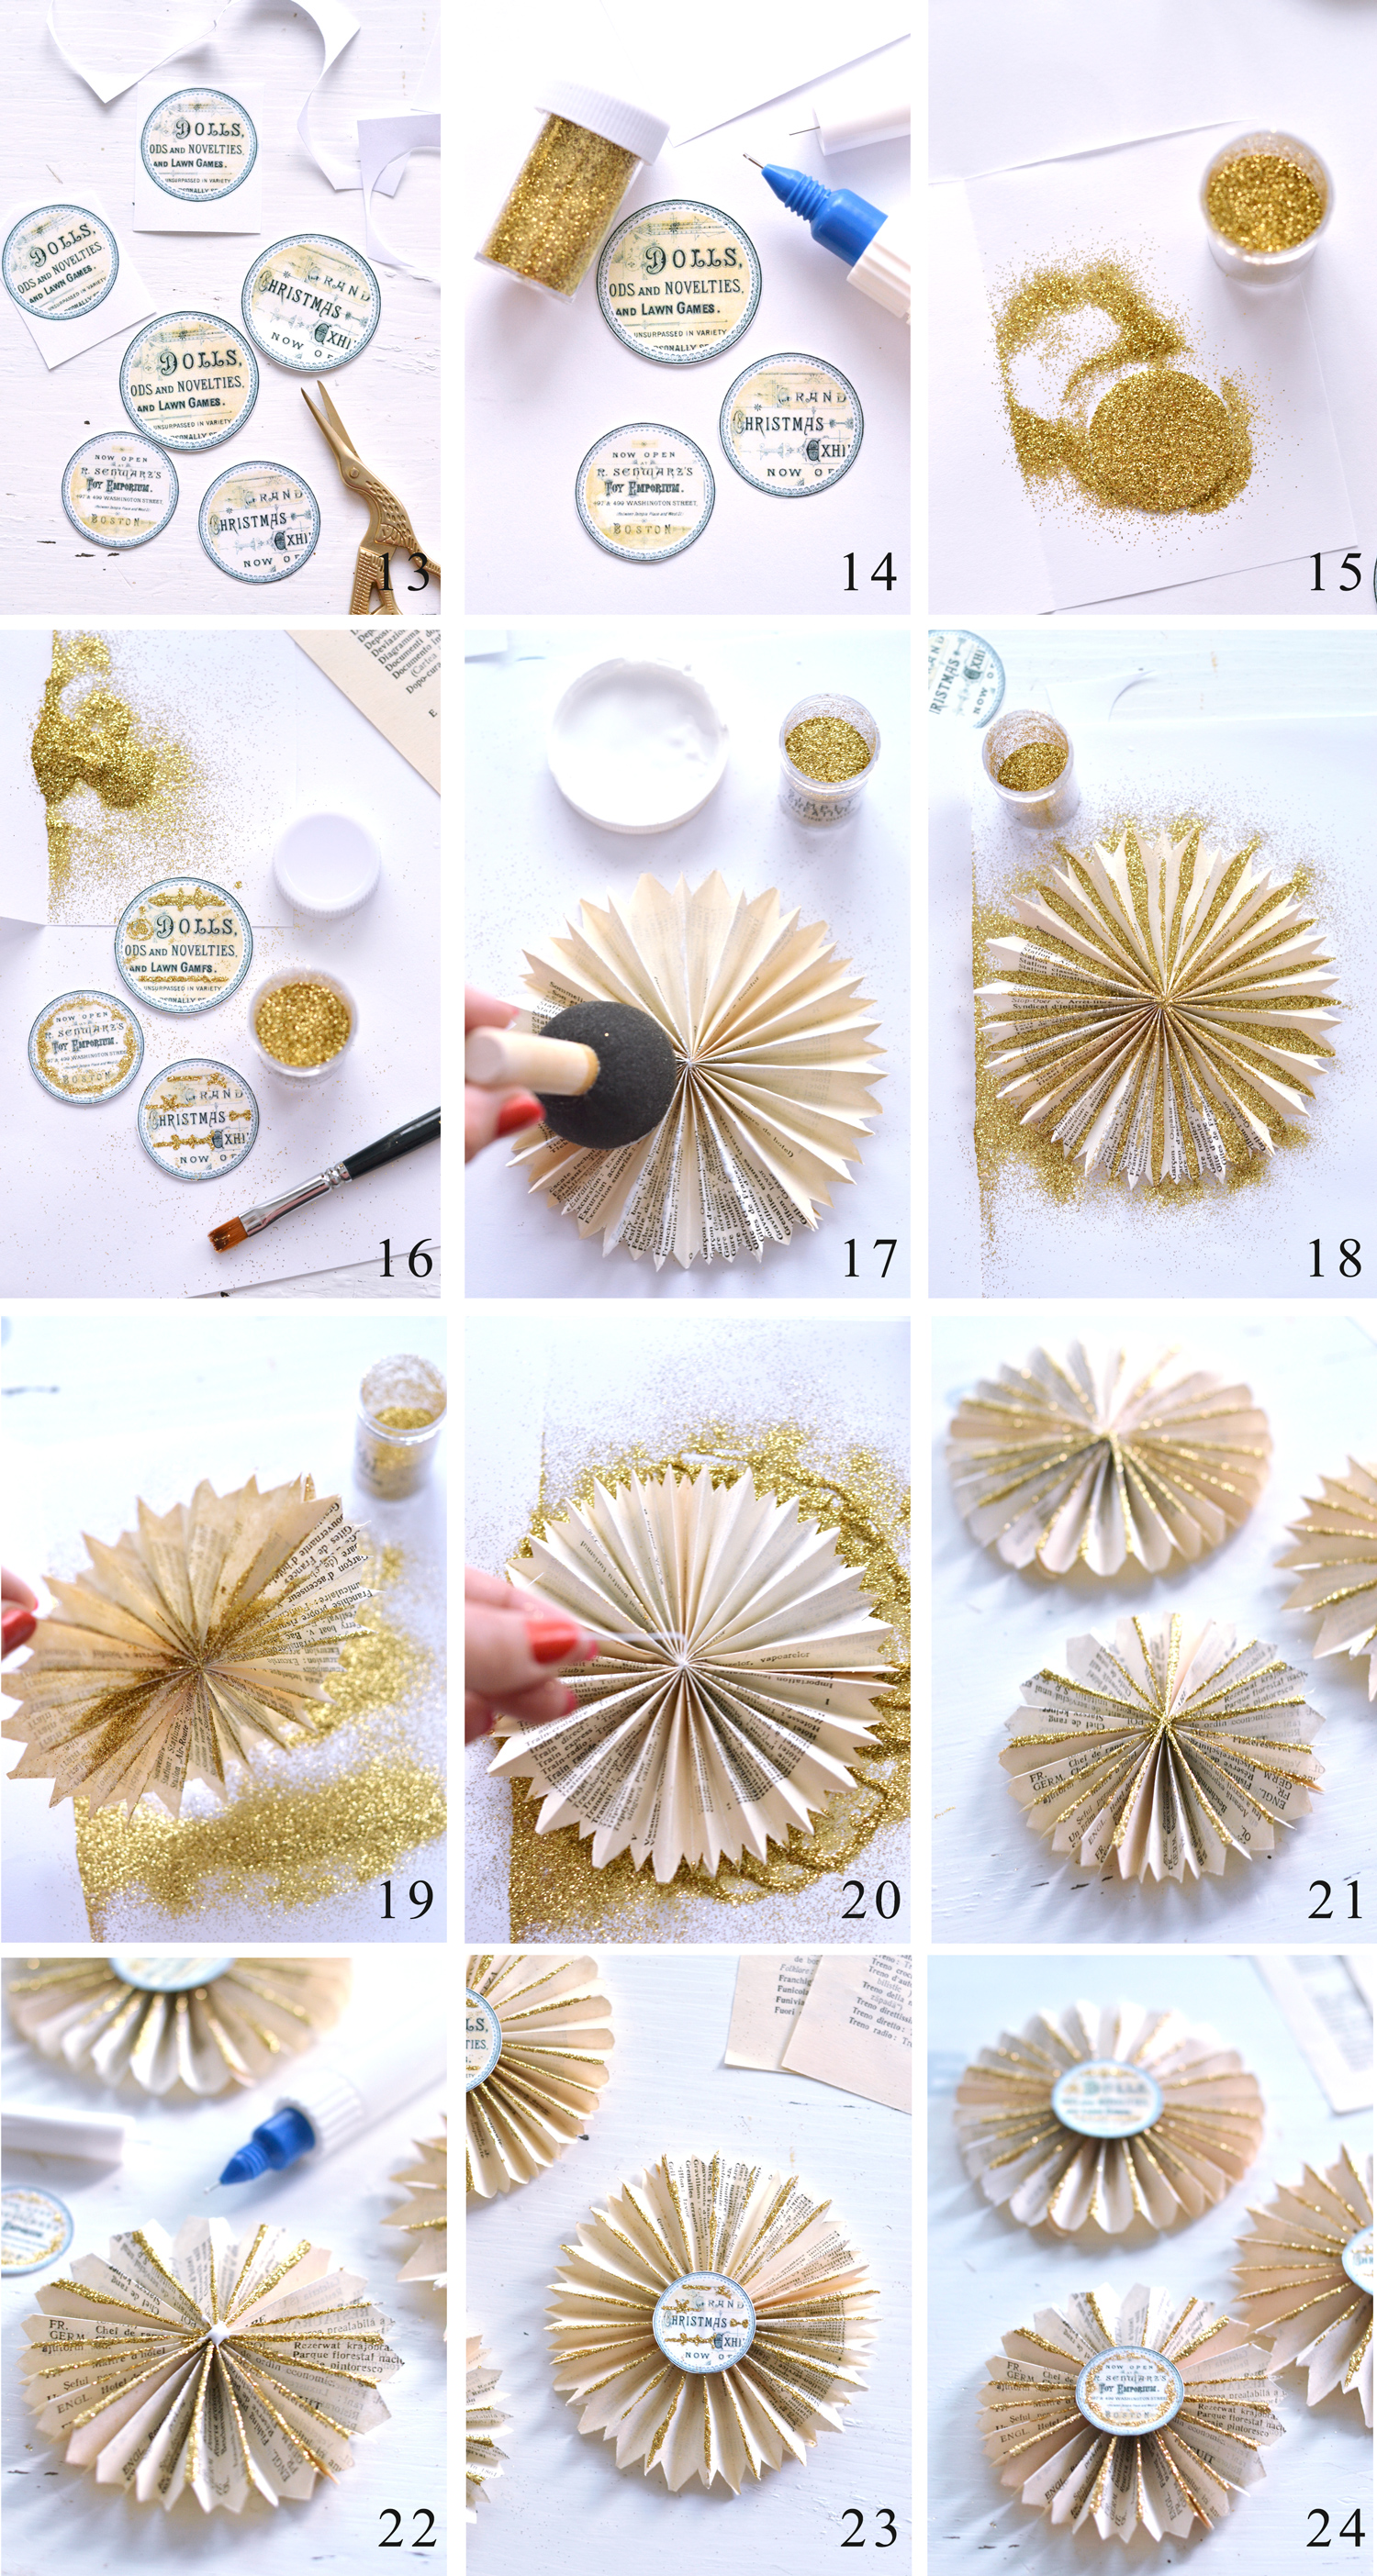
13. Using scissors, cut the Christmas ephemera medallions removing all the paper outside their vintage border. They come in different sizes, you can play around to find the right ones for you.
14. Use a small brush or a glue applicator (this small bottle with a precision tip is so amazing for fine details!) and some Mod Podge. Draw glue lines, decorative borders, dots or really anything you want on your paper medallions. The glue details that we applied will make the glitter adhere to them!
15. Add a pieces of folded paper on your working table (and a few other unfolded pieces underneath) and sprinkle some glitter … or just dump half of the glitter bottle, like I did!
16. Tap the excess glitter on your folded page and pour it back into your glitter bottle. You could also use a small brush to wipe some glitter off or make some of the harsh lines more subtle.
17. Use a small sponge brush to add some Mod Podge to the top creases of your rosettes if you want to glitter those too! I did, because you can never have too much glitter!
18-19. Add the gold glitter and tap the excess off, just like before.
20. Add more glue and more glitter if you have some uncovered creases.
21. Do the same for all the rosettes.
22-24. Add a blob of glue right in the middle of the rosettes and glue the lovely Christmas ephemera paper medallions on top. All done!
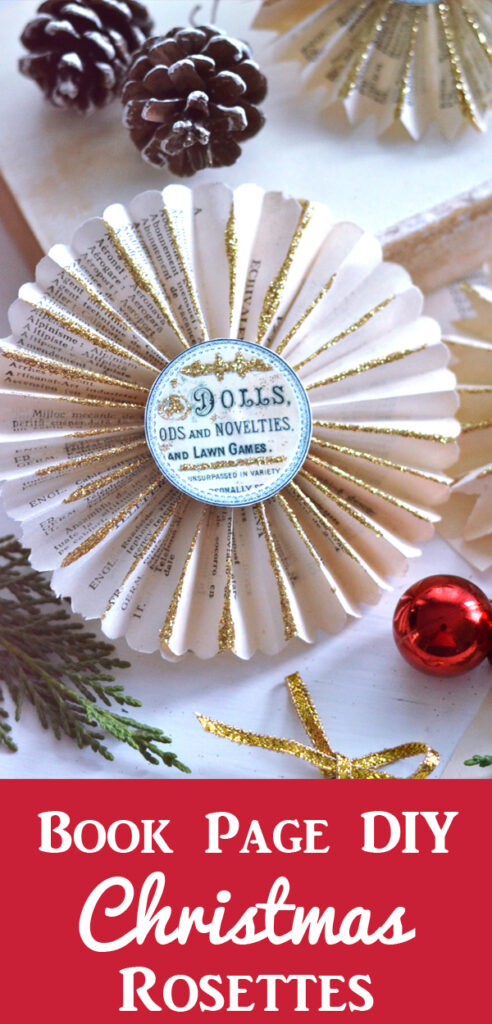
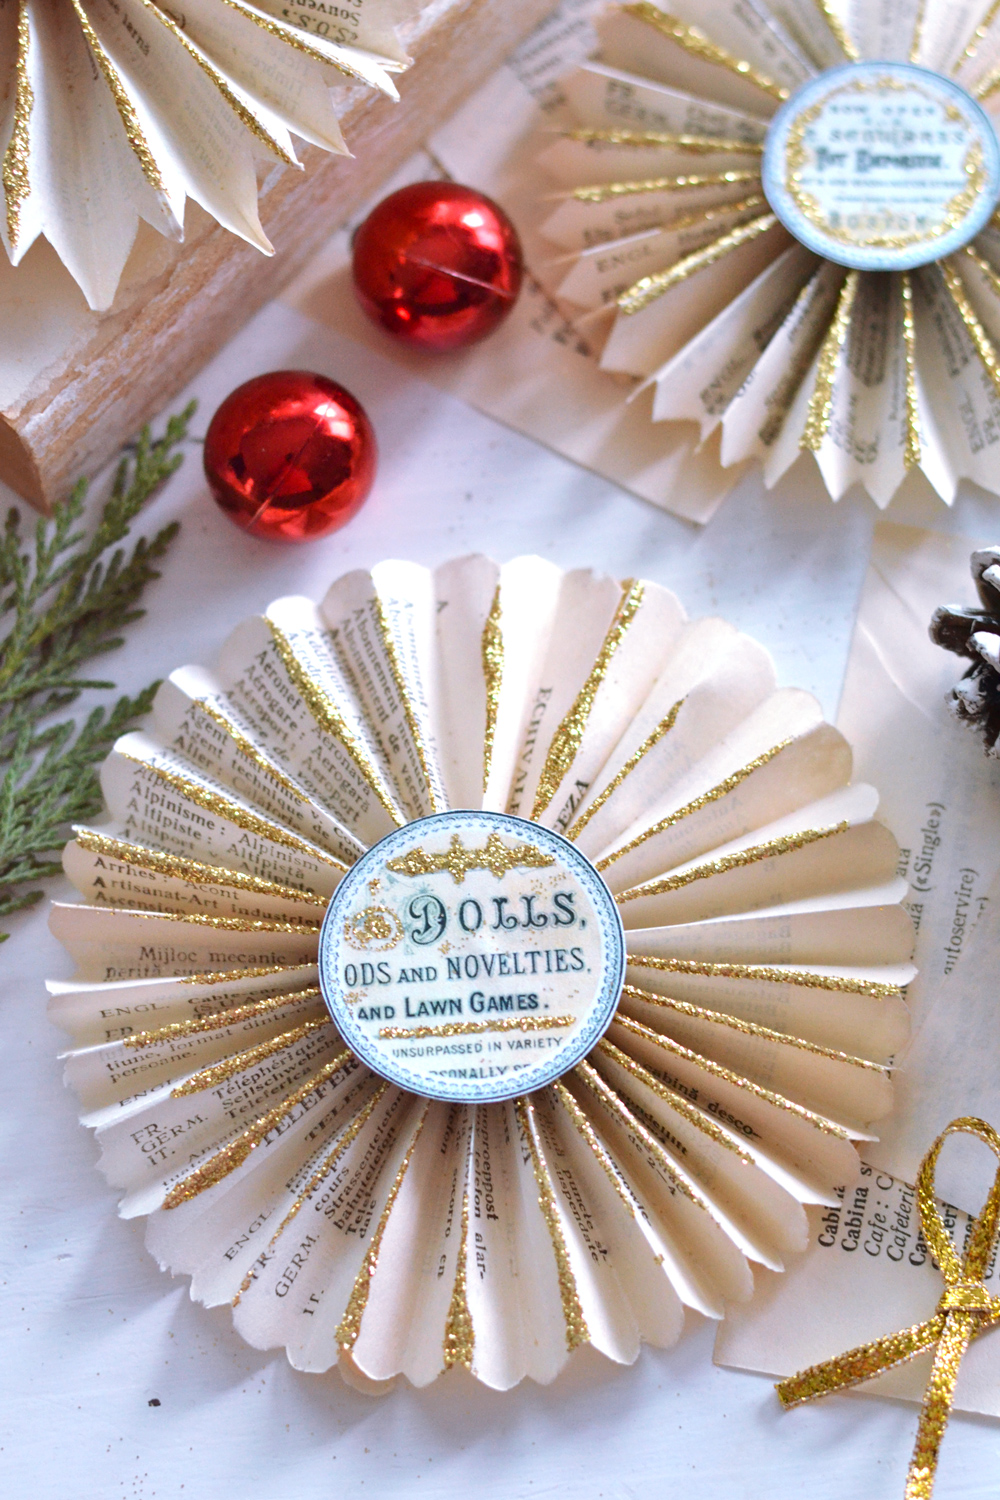
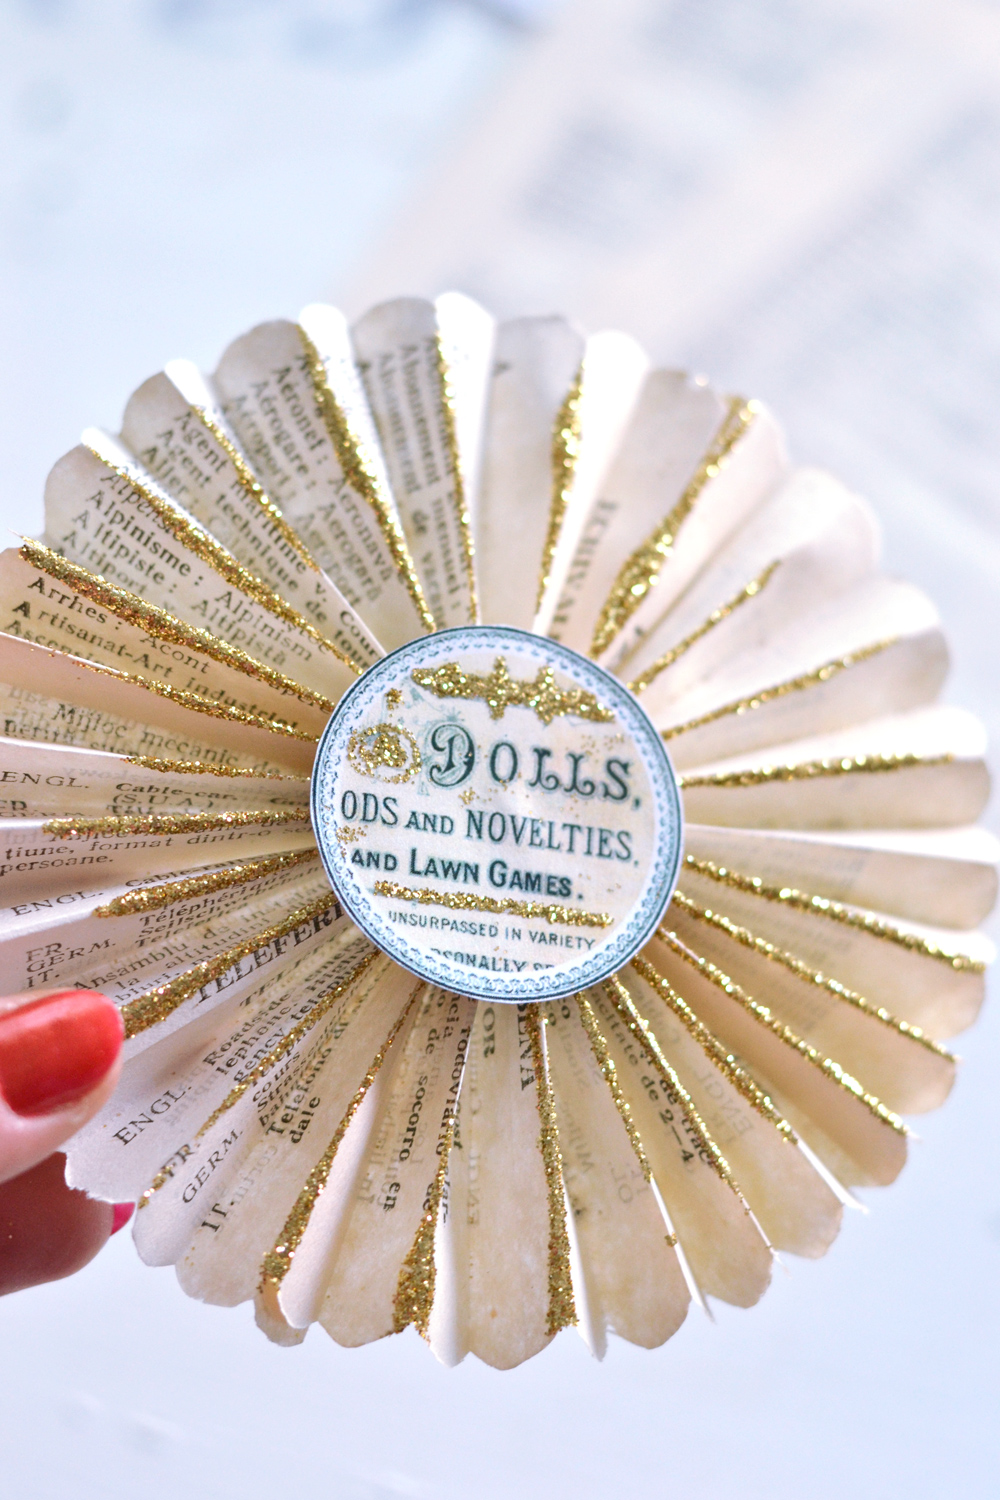
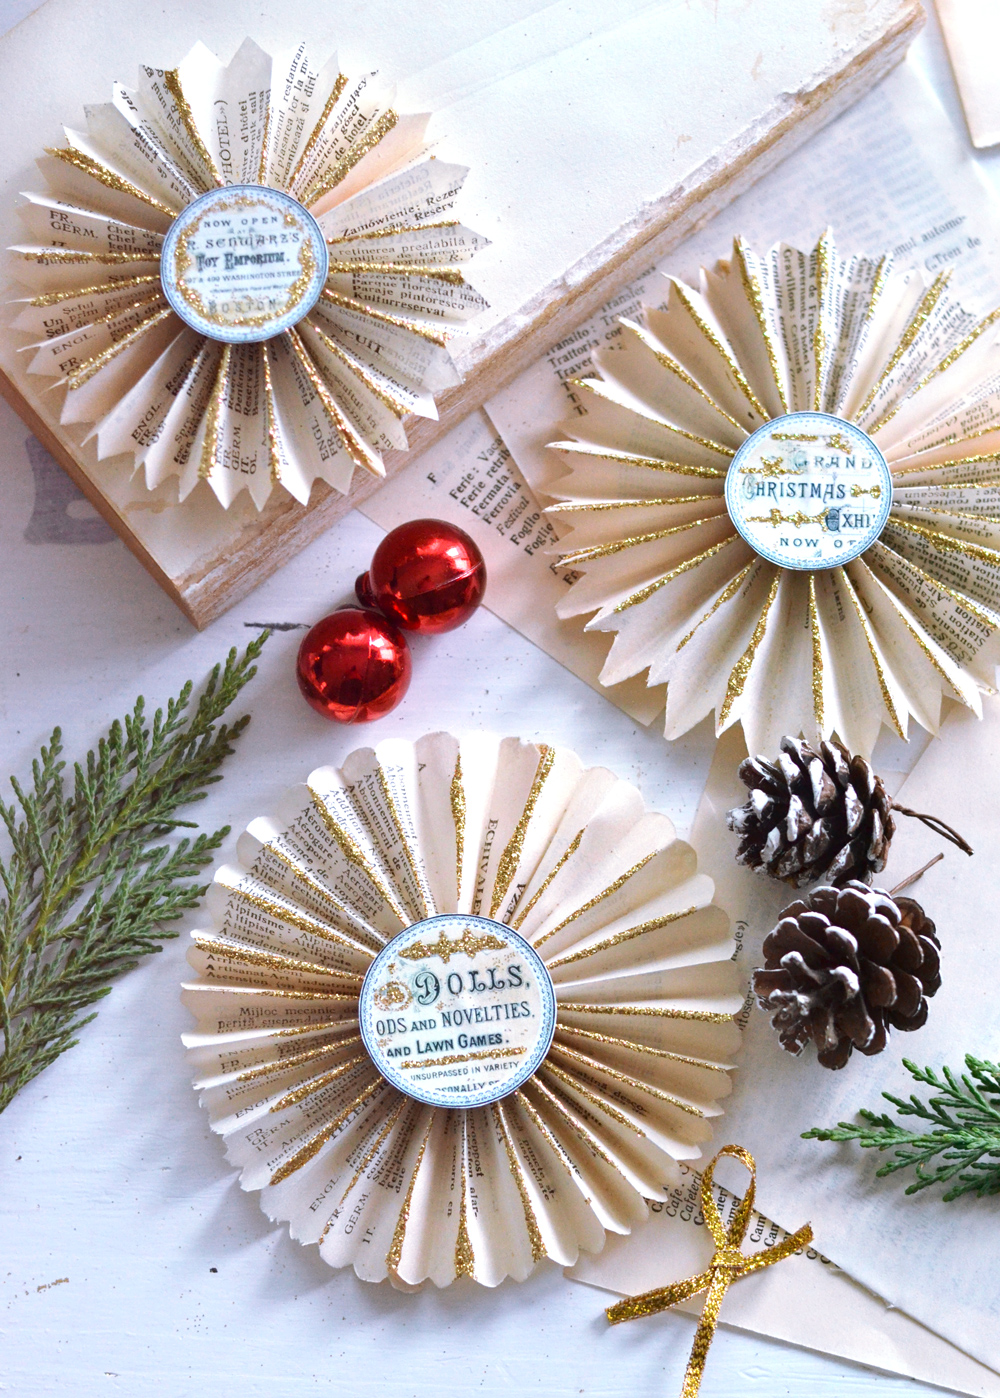
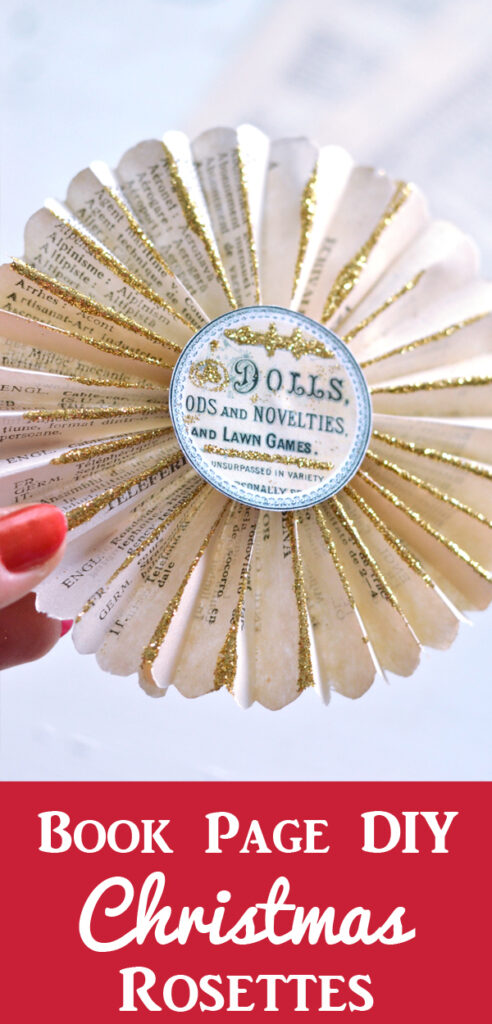
Now you have these amazing Printable Paper Ornaments ready to glitter your Christmas! I love how they are classy, but also delicate and almost ethereal! I now call them my beautiful winter flowers, because their chic decorative borders make them look like flowers, don’t you think?
And because of their neutral color, they are basically suitable for any decor! You can create a small vignette with other neutral Christmas decorations – white tree ornaments, greenery or other small branches, even some old books or book pages.
Or you can go for a more classic Christmas look and include some red Christmas tree ornaments, more greenery, even simple or painted pine cones! Now I’m thinking you could also use walnuts, cinnamon sticks, dried orange slices, some Christmasy ribbon – just experiment and create something you love!
You could also punch a hole in your Printable Paper Ornaments and hang them as ornaments in your Christmas tree! Or why not use them to decorate last minute Christmas gifts!? There are so many choices here!
I hope you’ll give this project a try, it’s quite easy to make once you get into the creative mood! Don’t forget to involve your loved ones and have fun while creating these beauties … and some beautiful memories together!
And if you want to try another fun project involving book pages, you can take a look on my DIY Folded Book Christmas tree that I’m sharing on my blog, these two are a match made in Heaven! 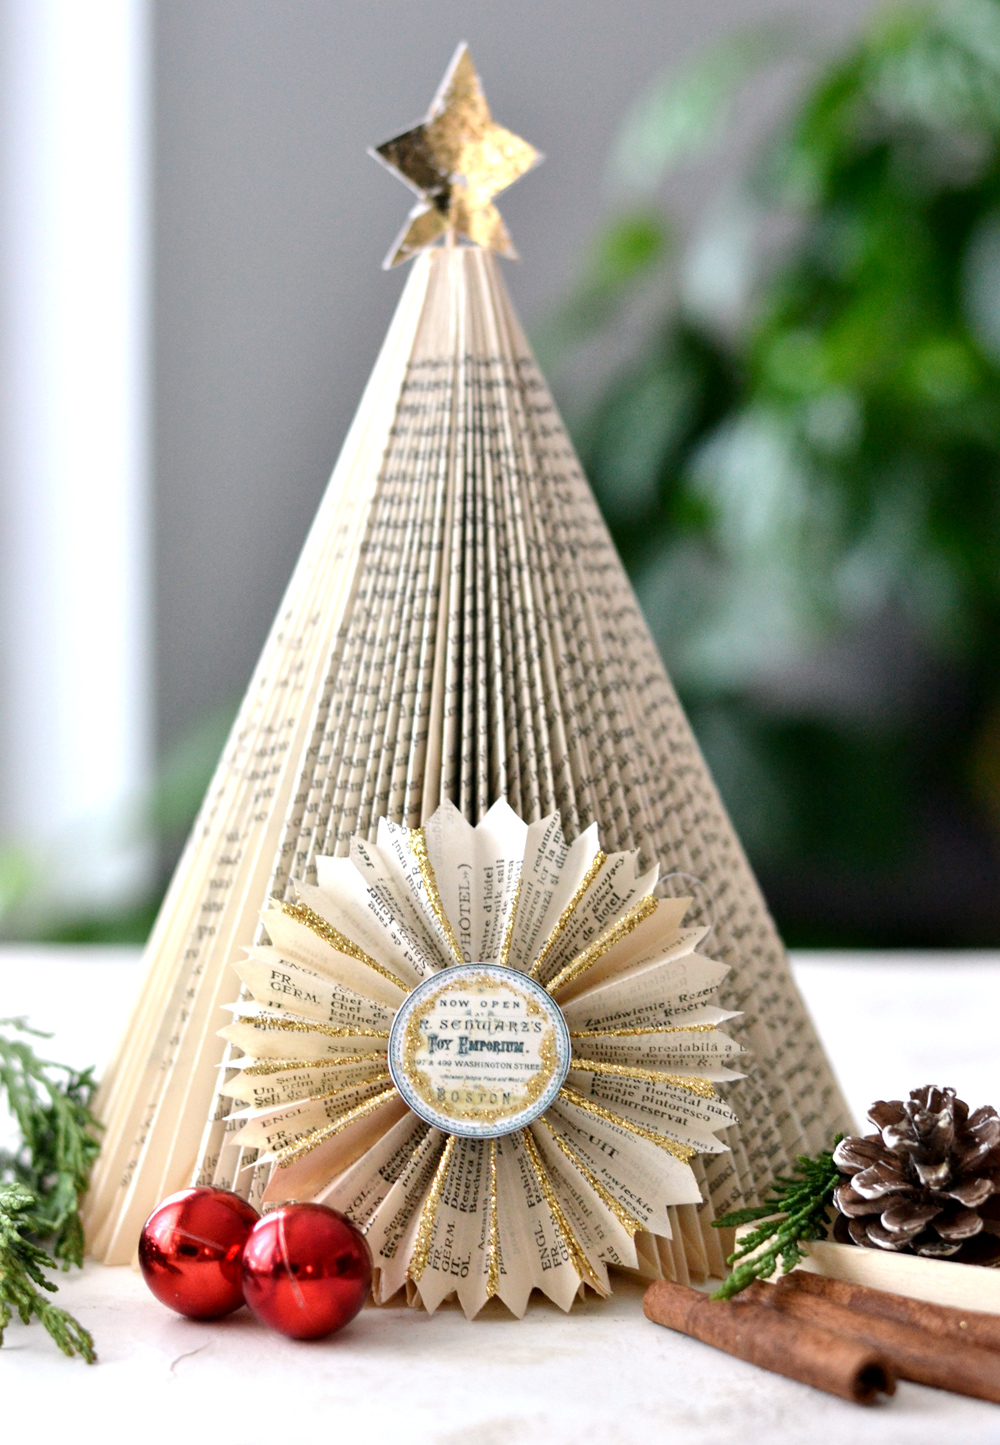
Thank you for your lovely comments and for reading, liking, sharing and hopefully trying my DIY projects that I shared on The Graphics Fairy throughout the year! You might also like the Printable Christmas Banner HERE that I created and these DIY Sheet Music Ornaments HERE.
Happy holidays!
Diana / Dreams Factory




suzanne says
How wonderful, brilliant ideas, thank you for the freebies
Karen Watson says
I’m glad you enjoyed these pretty ornaments Suzanne! I’m sure they will love lovely on your tree.
Barb M. says
Really pretty–I love them! You could also cut small rounds out of photos of kids, grandkids, or pets for the center of the folded ornaments! I’m going to give these a try–this is several years later but just found it in my email. Good ideas are forever.
Karen Watson says
Yes! Those are great ideas Barb! You could definitely customize them with your own photos. Thanks for sharing! 🎄
Connie Hindmarsh says
I was so surprised to this this marvelous project. I have been making these sunburst ornaments for a very long time. I usually add a couple more layers of graphics to the enter. I make these all year round and attach them to presents and cards. They are so much fun to make and turn out so well.
Karen Watson says
Thanks for your input Connie! Such a great idea to make these all year round!
Toni says
I absolutely adore your projects!! I know Christmas just passed, but I will be starting my projects for next Christmas very soon!! You have the best ideas & I have a list a mile long to start on!! I’m giddy to get started ❤ Thank you so very much for sharing!!
graphicsfairy says
Good for you for getting an early start Toni, good luck and have fun, oh and Happy New Year!
Mary Beth says
These are so beautiful! I always enjoy seeing what Diana creates.
Karen Watson says
Yes, me too Mary Beth!! She never disappoints!