Decorative Book Bundles
Hello, Graphics Fairy friends! Diana from Dreams Factory here, ready to share another DIY project with you! Today I will show you how to make some super chic DIY Decorative Book Bundles! We will be using a few painting and distressing techniques and we will pay attention to all those small details that will turn some ordinary books into gorgeous treasures.
Some French ephemera labels, distressed with tea and acrylic paint will bring even more chicness, making our stacks of books look like they’ve come from different times, imprinting them that amazing old-world vibe. You can use old or new books (use duplicates if you have some), but it’s really important that they have hardcovers. This will allow us to treat the covers as a canvas, adding layers upon layers of stunning patina. I hope you will love these White Decorative Books!
What I love most about painting books and turning them into decorative old books beauties is that you can get really creative while making them! These can be highly adaptable to your needs, so you can use specific colors that would match your home decor color scheme. Choosing neutral colors (whether on the warmer side like browns or on the colder side like grays) will make the books more universal, but you can also add that touch of color that would make them truly unique!
For example, today I started with an off-white color as my base, then used some brown and built from there with a little bit of black and just a touch of gold.
You can save the French ephemera printable on your computer and use it for this project, but you can also include the labels in other projects too!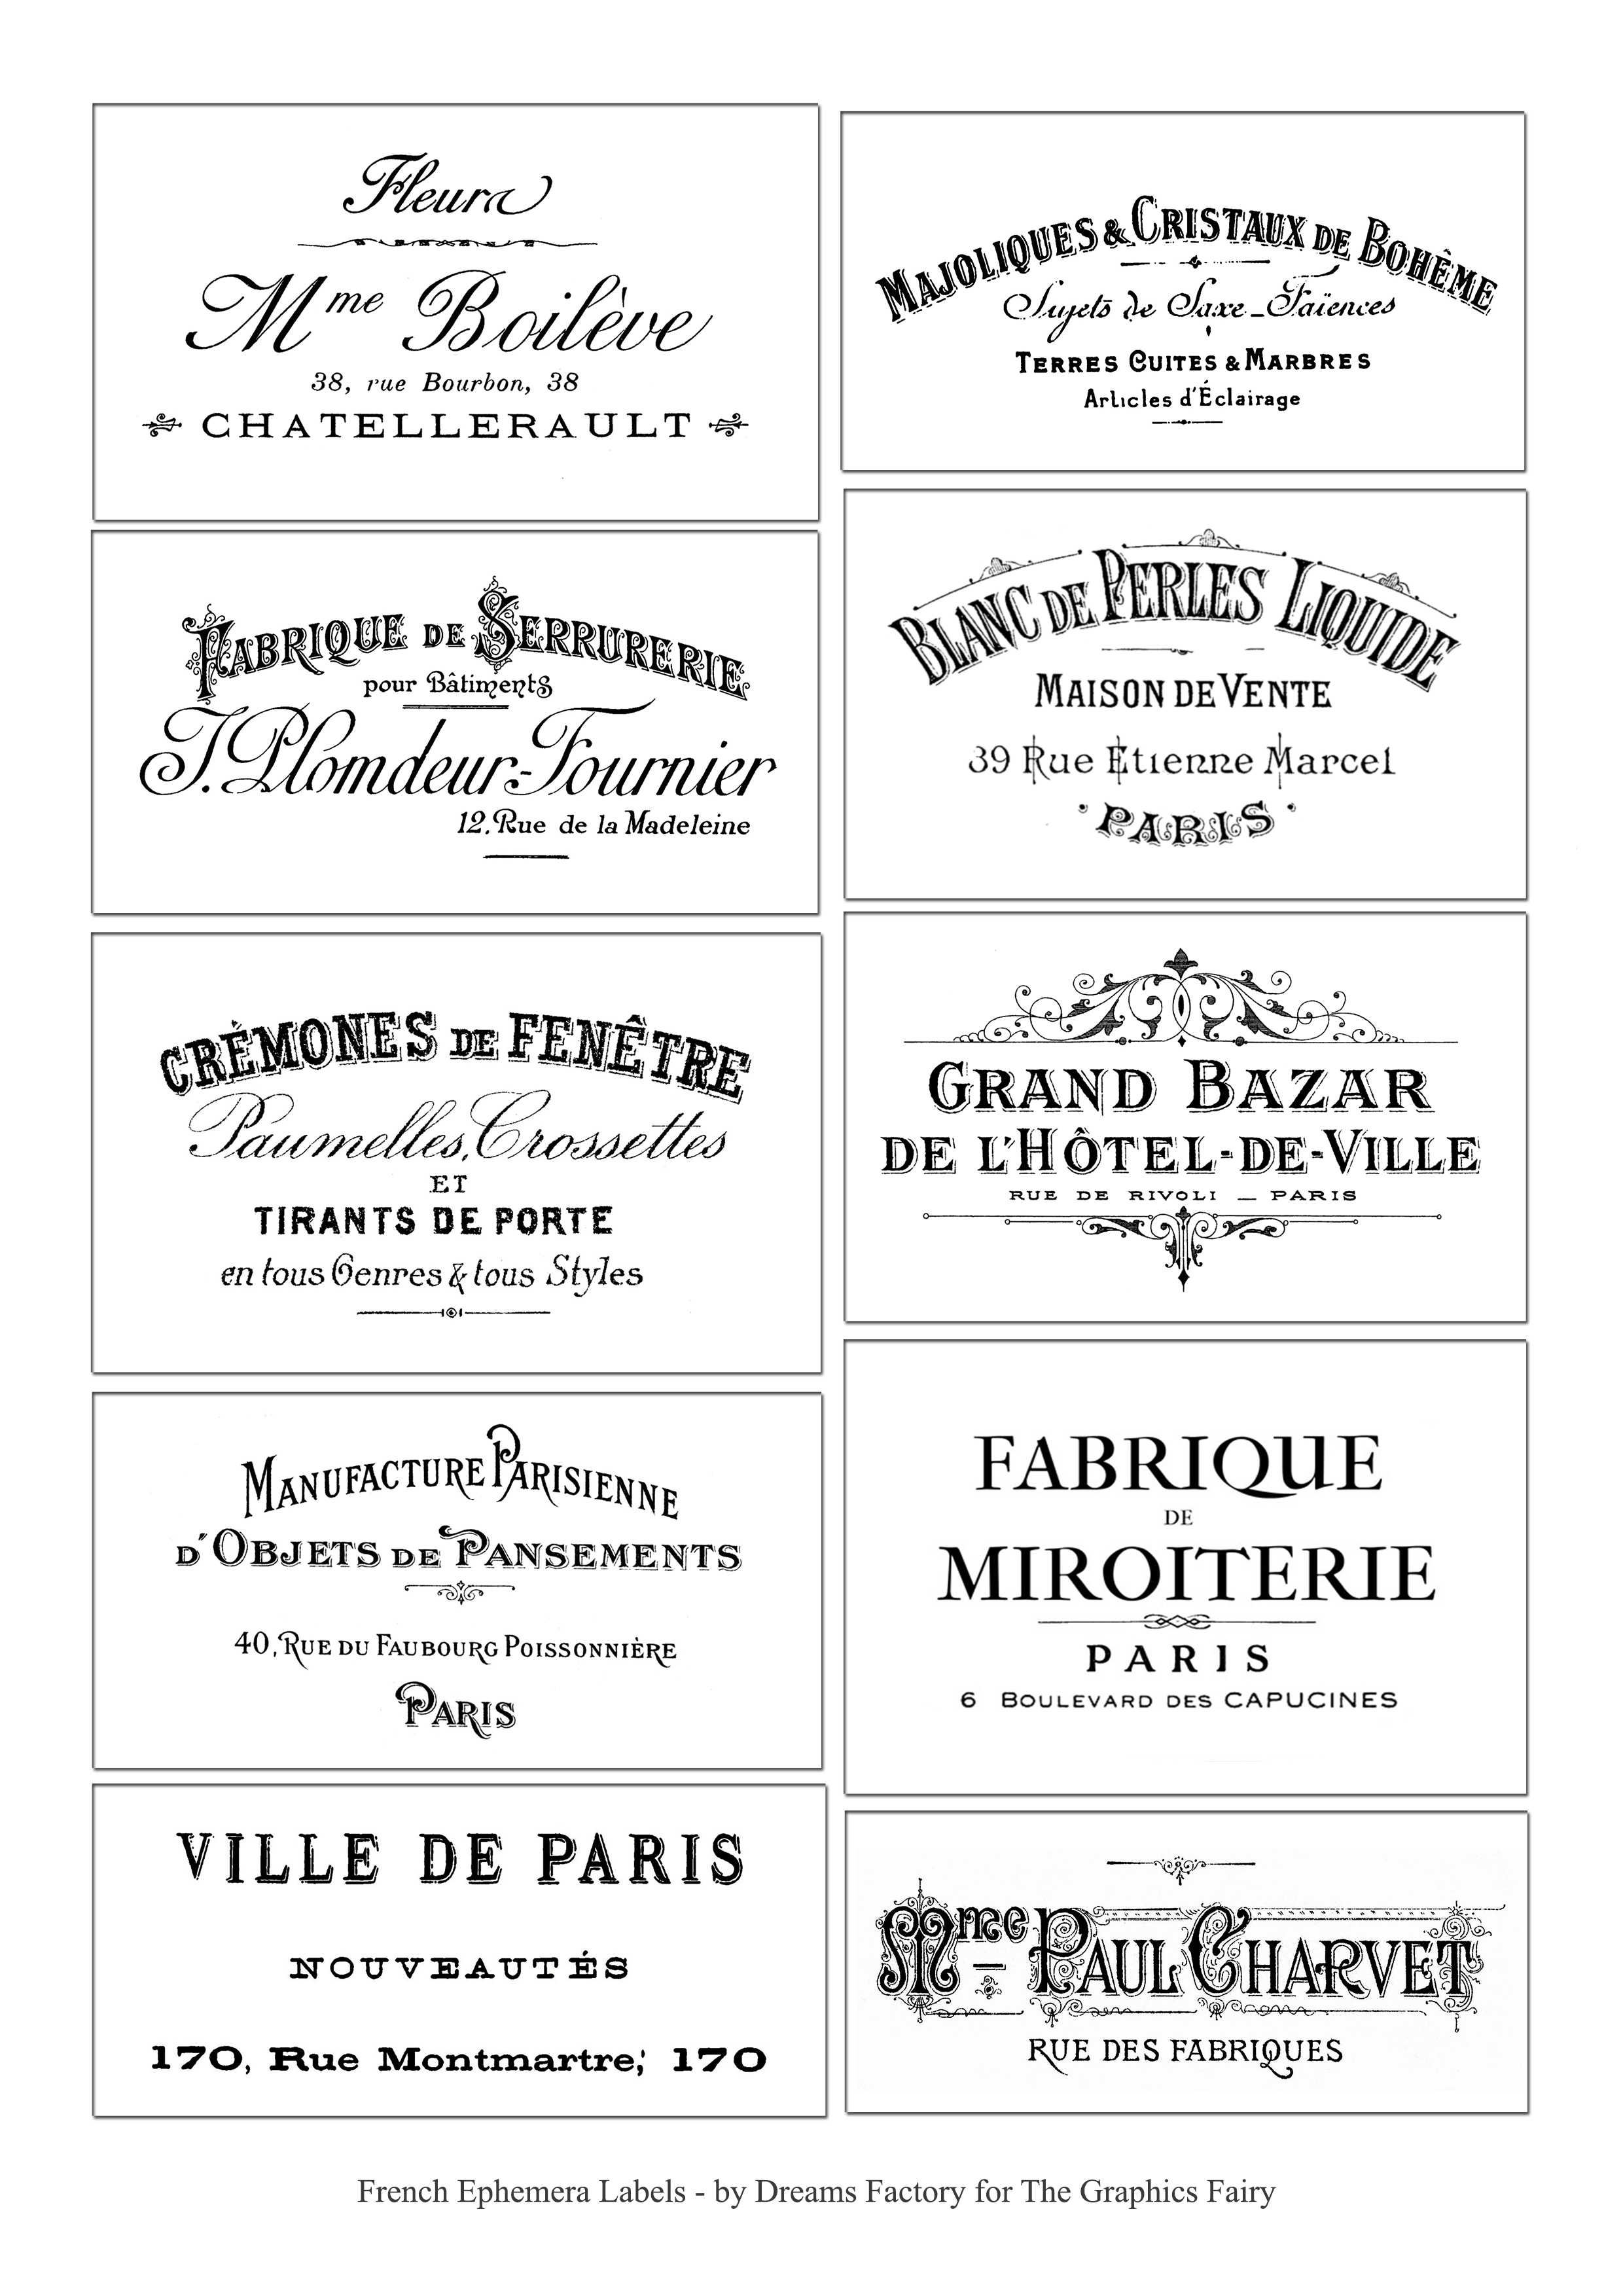
—> Click here to download the full size PDF of the French Labels<—
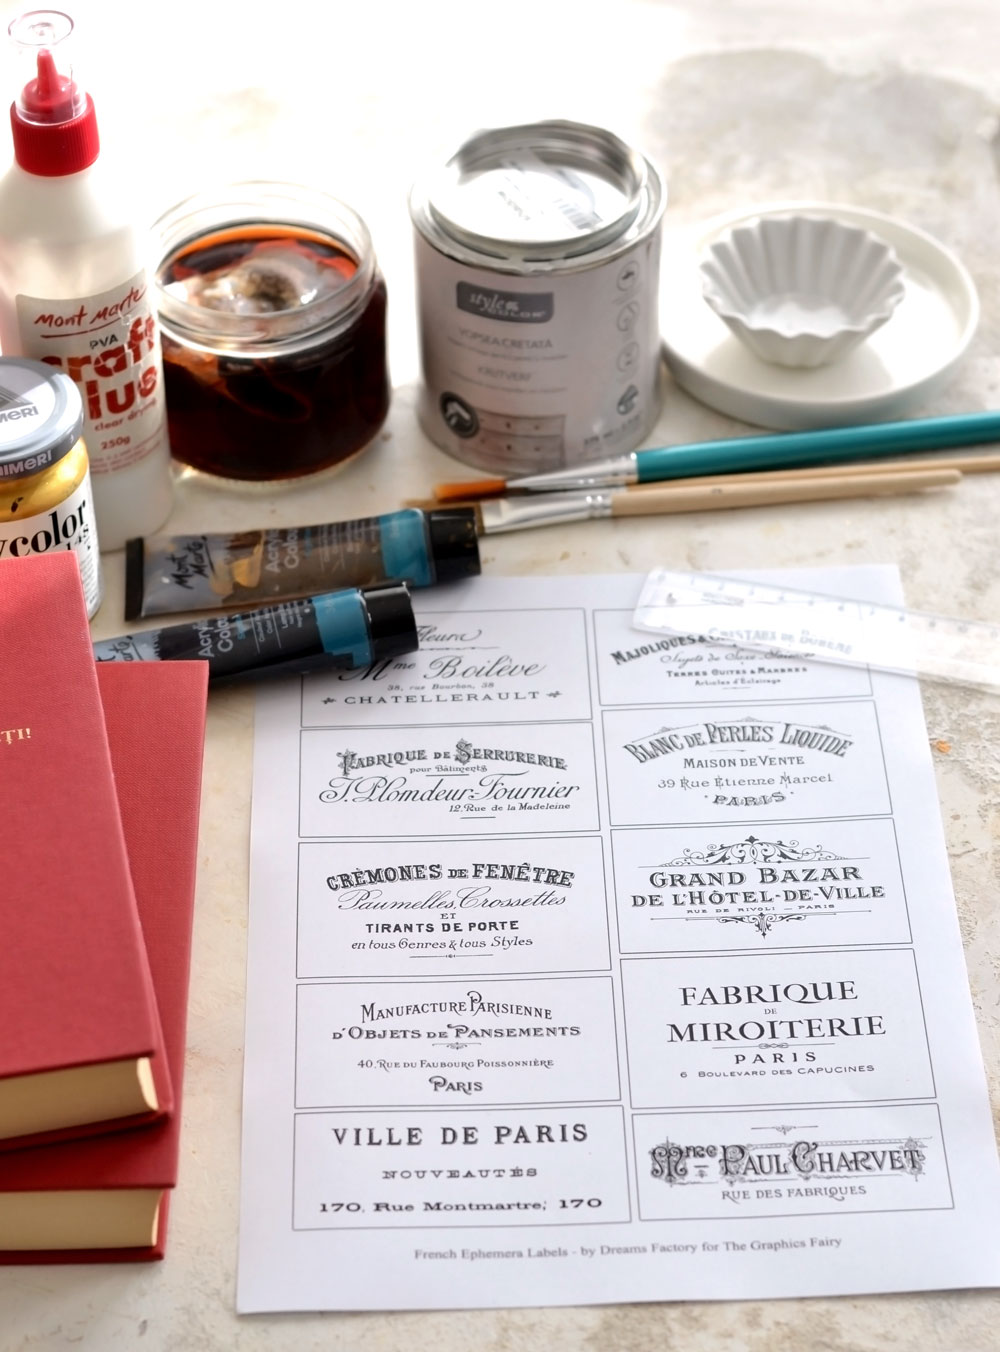
Supplies For White Decorative Books:
- French ephemera printable
- regular paper
- laserjet printer (I have this laserjet printer)
- scissors
- 3 books with hardcovers
- chalk paint (I used off-white as my main color)
- acrylic paint (I used brown, black and gold as my distressing colors)
- a small spray bottle filled with water
- small mixing palettes (I used a small plate and a small bowl)
- paper towels
- brushes
- strong tea
- a ruler
- a plastic sheet or a non-absorbent surface (to protect your working area)
- a heat gun tool or a hairdryer (optional, to speed up the drying times)
Distressing the page edges with tea
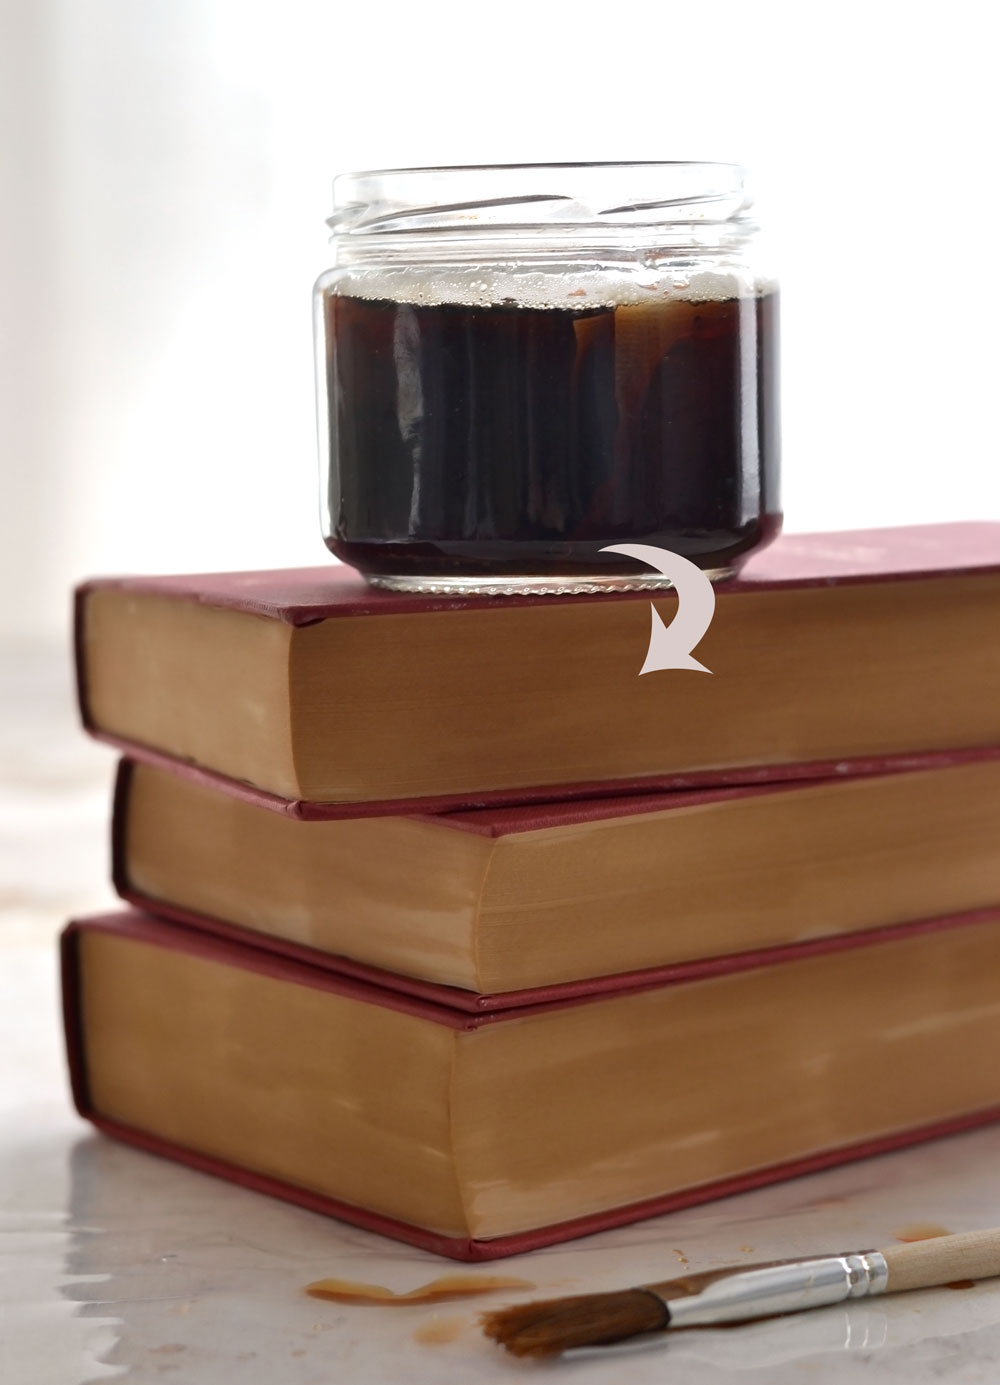
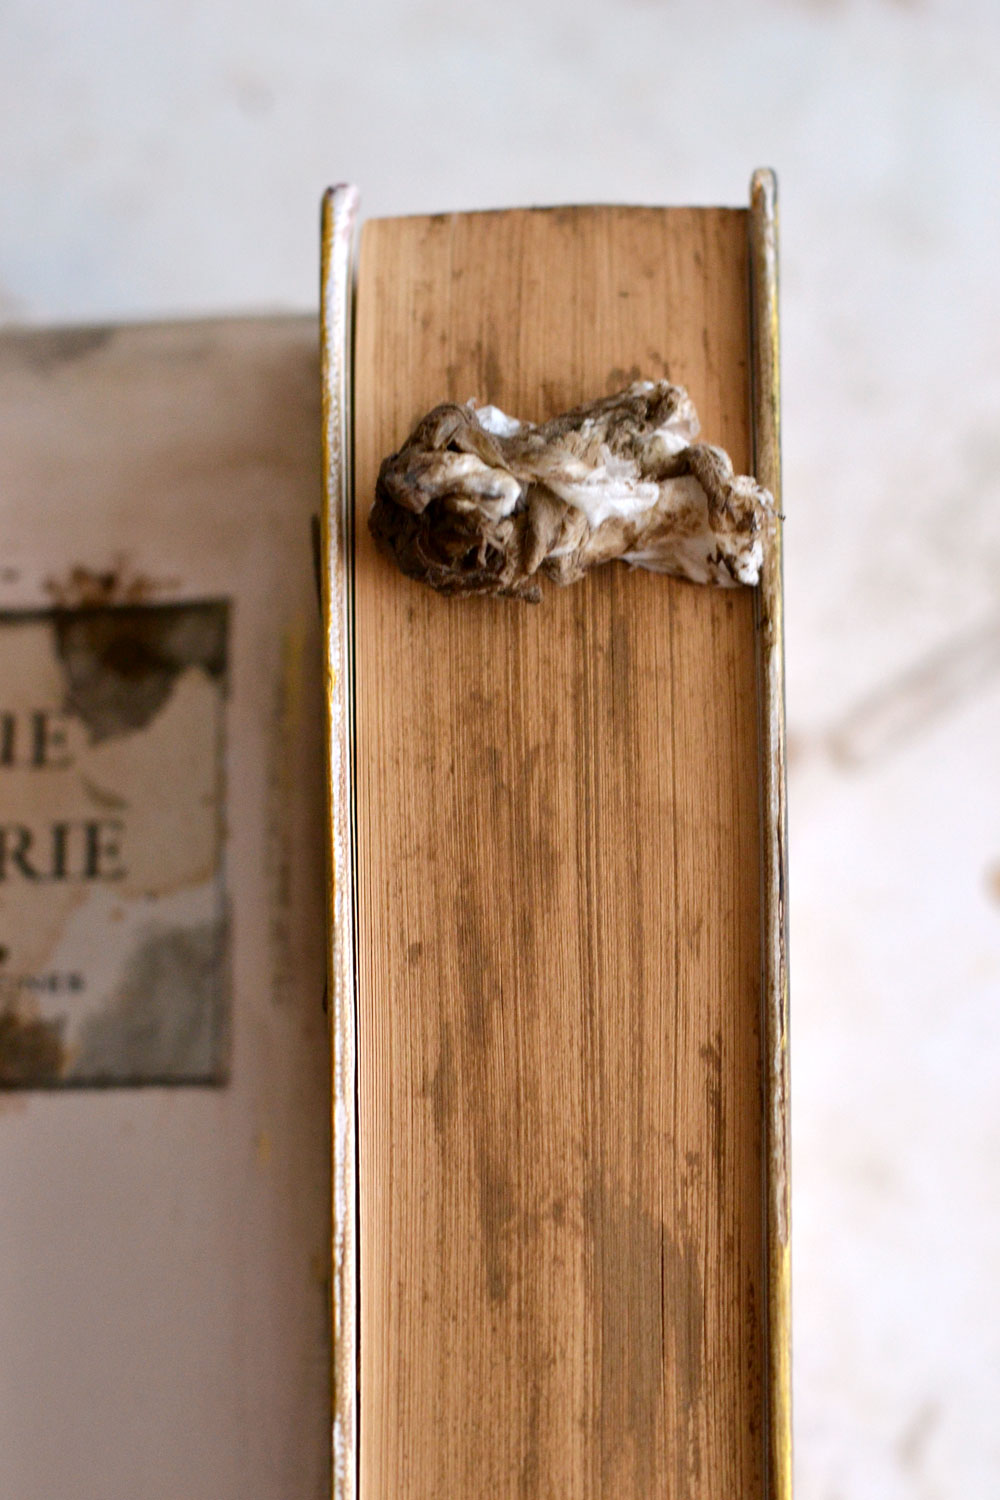
I first made some strong tea using 1 cup of boiling water and 4 black tea bags. My idea was to use the tea to distress the French ephemera labels, but I thought it would be fun to also try brushing the tea on the edges of the book pages (also called fore-edge). I used a brush to apply the tea and the first thing I noticed was how the tea made the pages a little bit darker in appearance. I flicked through the pages and they started to slightly curl and warp because of all the liquid that I added, giving the pages a worn feel and look.
Painting the hardcovers with the base color
You can better see in the image below how the pages started to curl, don’t forget to flick through them a few more times to add even more of that worn feel.
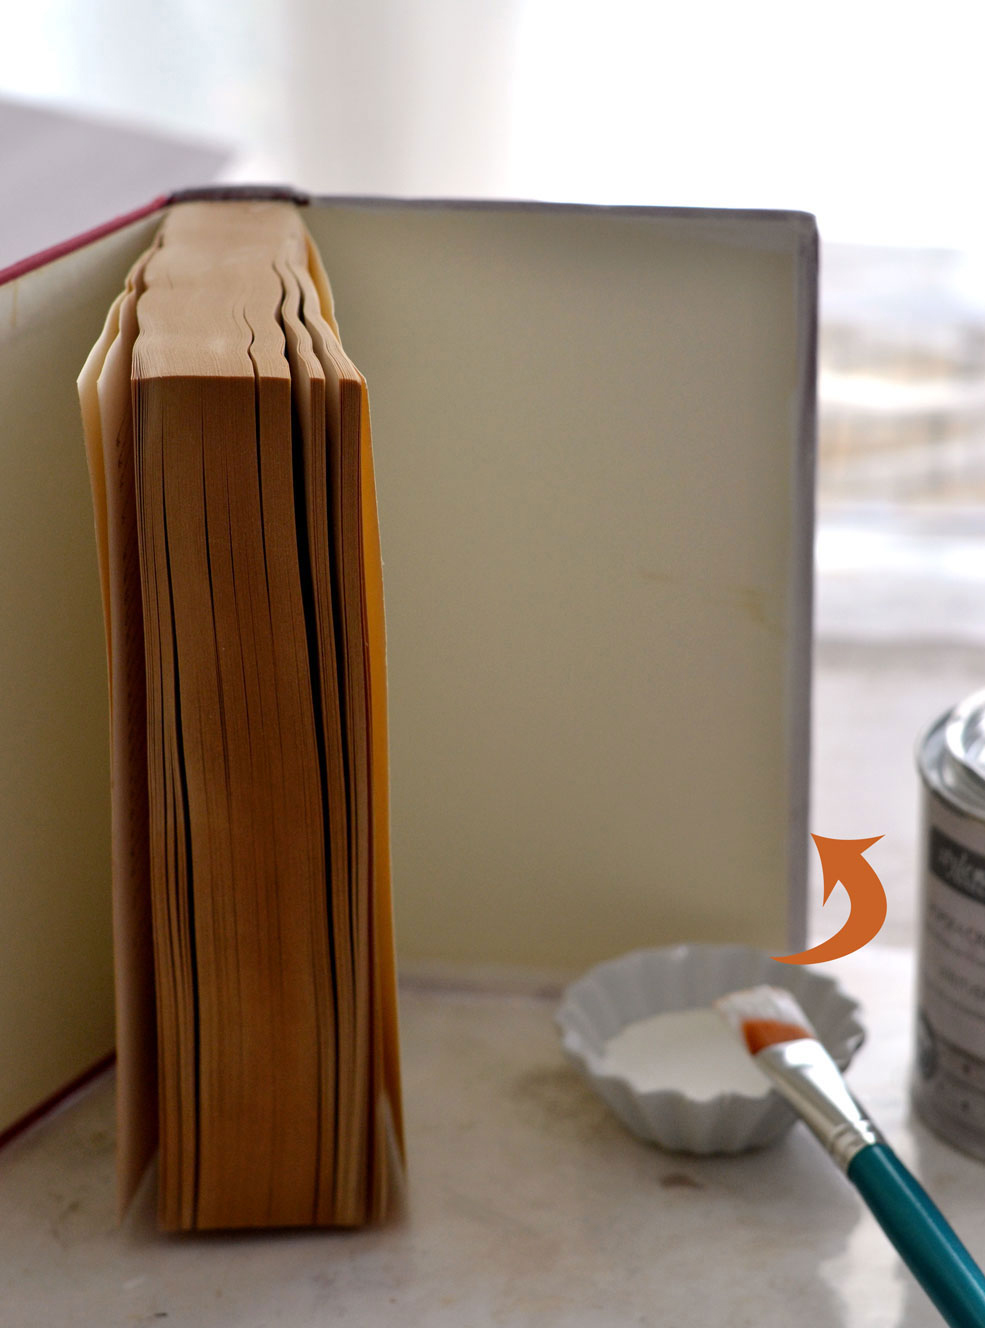
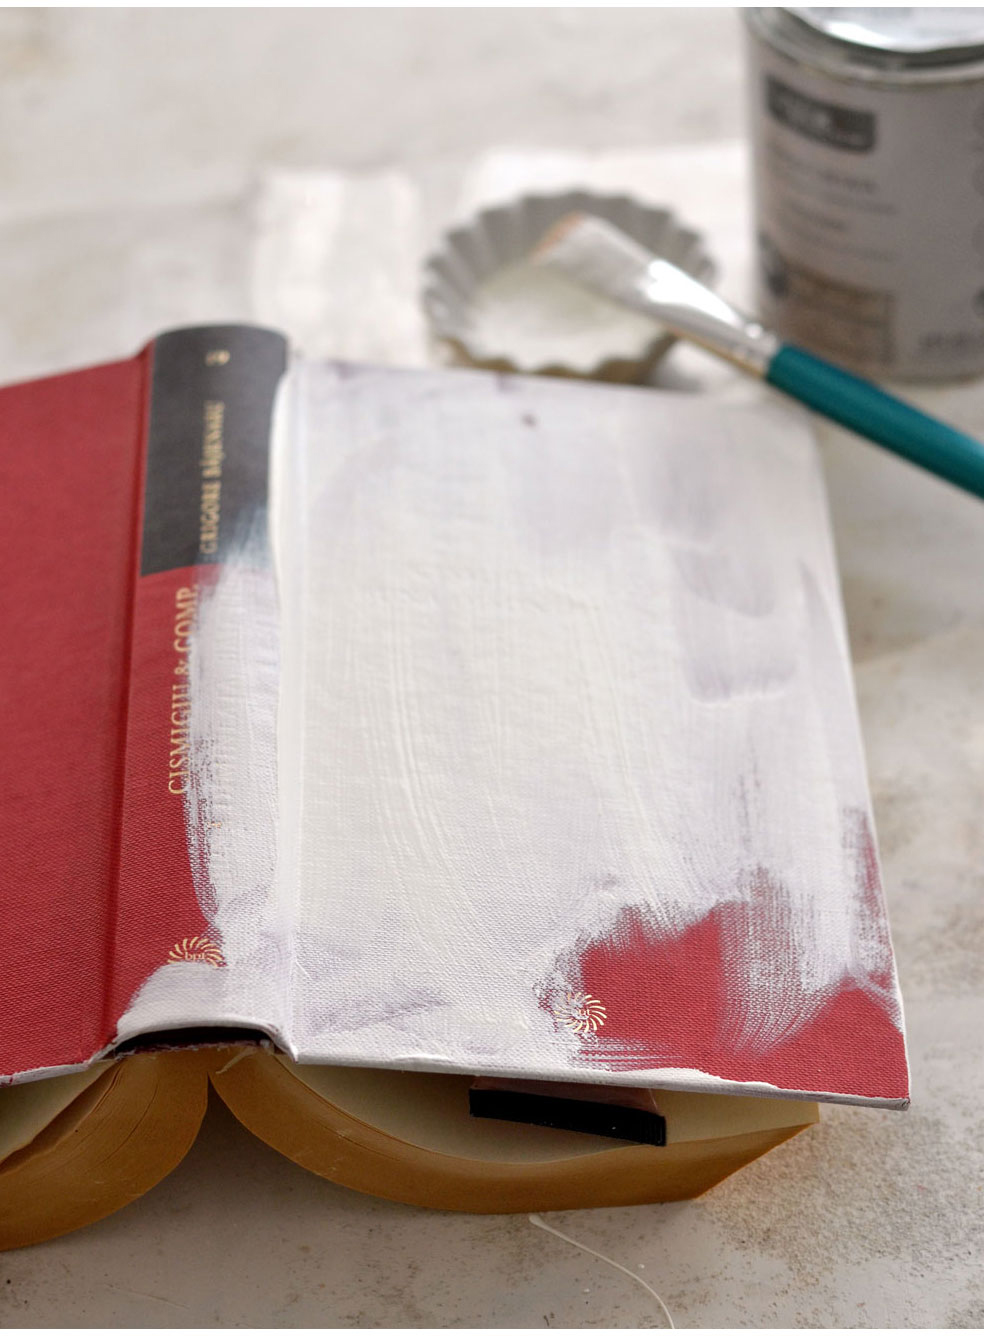
Use the off-white chalkpaint (you can also use acrylic paint) and start painting the exterior of the books.
Place the books laying flat on your table and use some paint tubes in between the covers and the pages, so the painted exterior doesn’t stick to the pages.
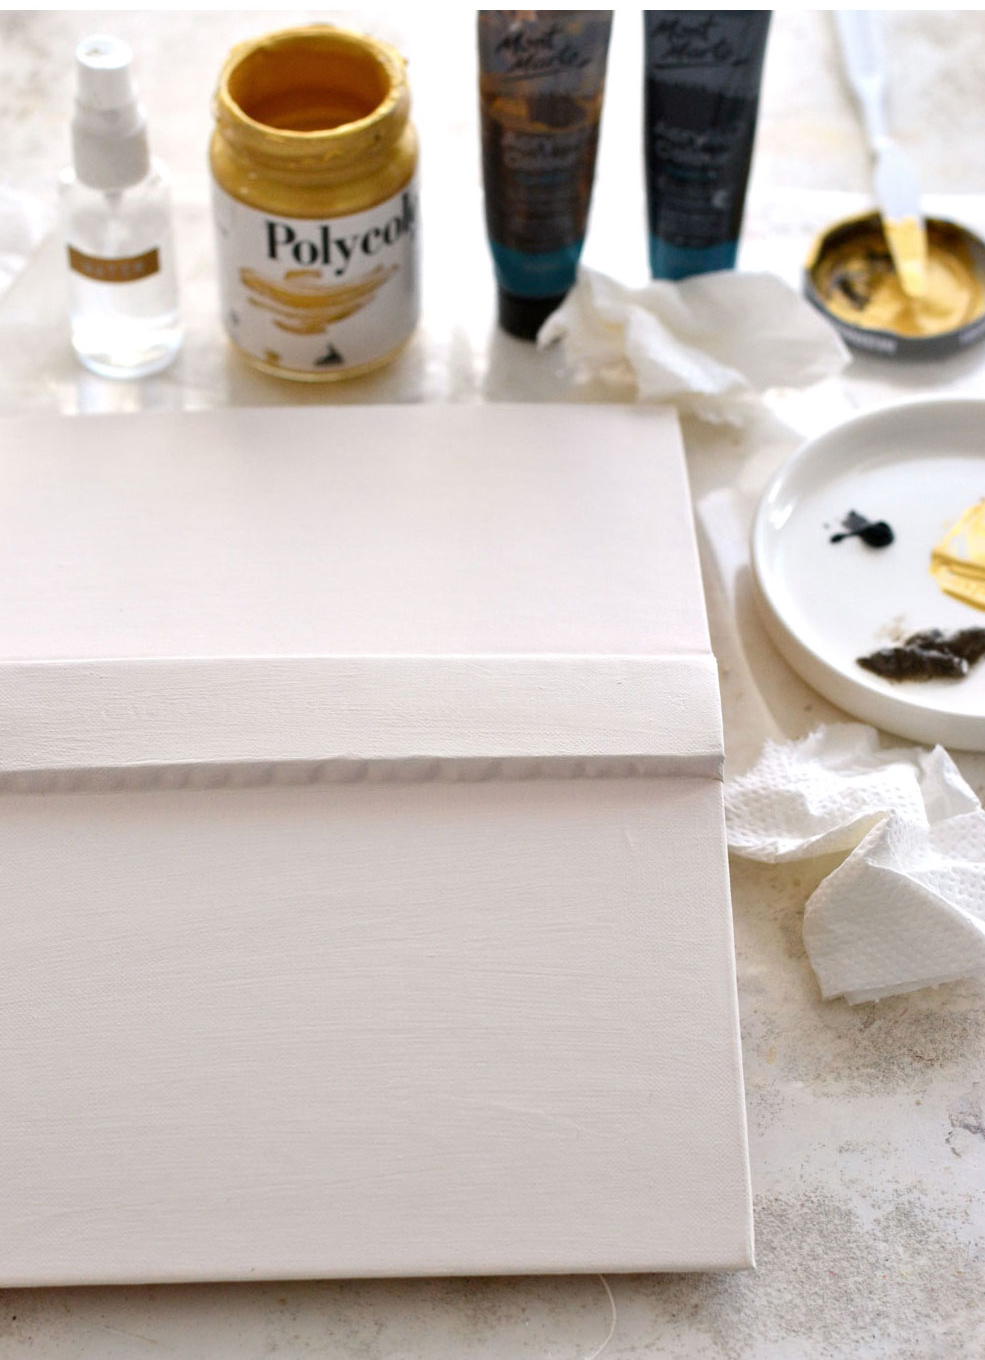
Depending on the coverage of your paint, you’ll need to add 2-3 layers of paint, letting each layer dry before applying a new one and before moving to the next step.
Adding the patina on the edges of the White Decorative Books
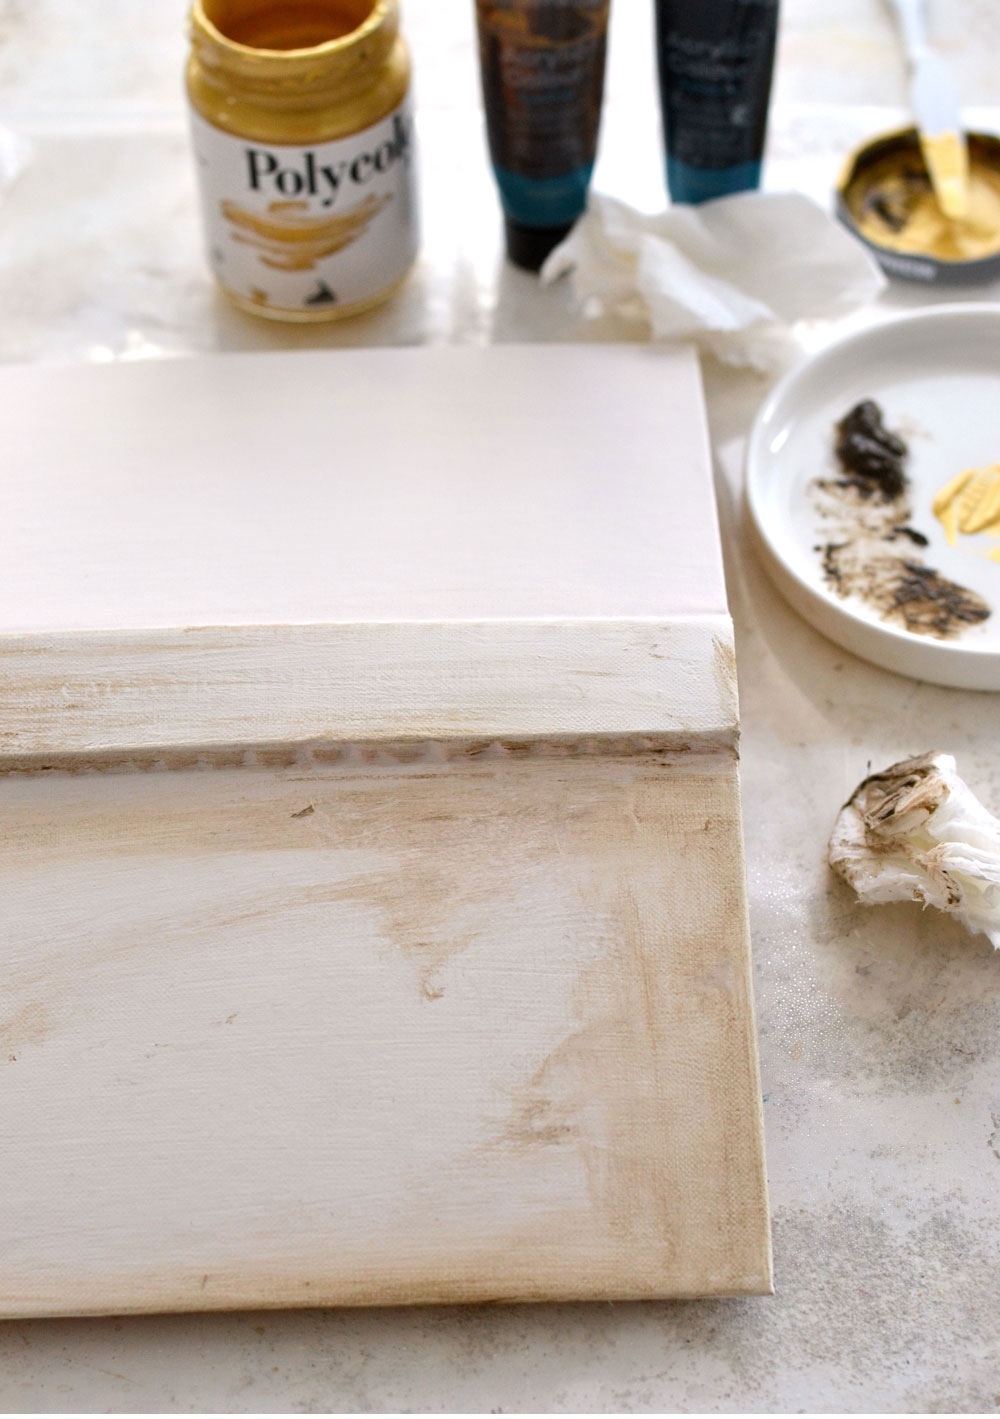
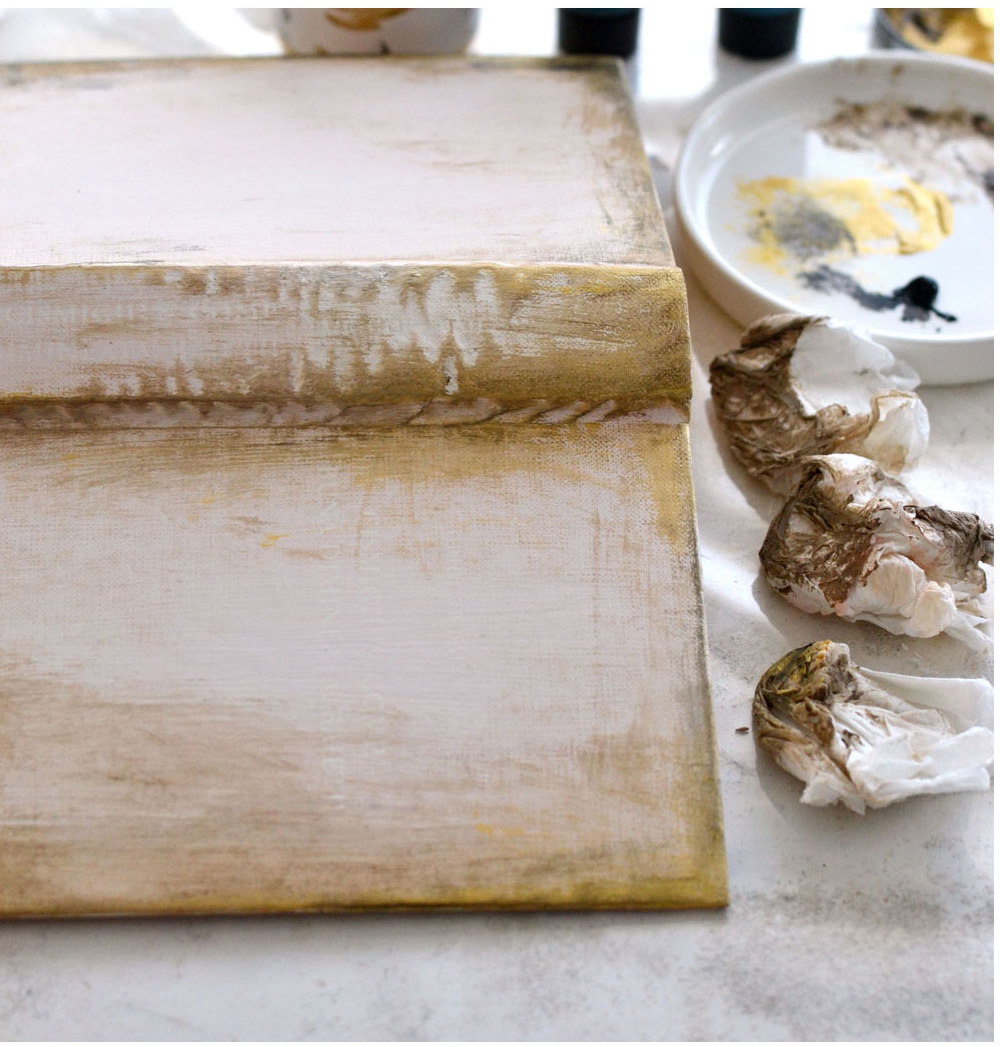
Now I want to show you my technique of adding patina to the covers. I used a somehow unconventional ‘brush’ at this stage – paper towels! I know it might sound a little bit odd, but I just LOVE turning paper towels into an improvised brush while adding the layers of paint. I feel like this creates some sort of an organic feel, more natural than using a regular brush.
I lay the books flat on my table again, then placed some paint – brown, a little bit of black and some gold – on a small porcelain plate, my palette. I sprayed two mists of water using a small spray bottle on the covers, then I used my paper towels to gradually add the acrylic paint layers. I started with the brown and applied it mostly on the edges, then lightly going towards the middle of the covers and spine, trying to create a ‘vignette’ effect, while keeping the amount of paint to a minimum.
The level of distressing is definitely a personal preference, just stop when fully satisfied! Just remember that the chalk paint that we previously added needs to be completely dry for this to work. The paper towel, our improvised brush will start to tear here and there, but that’s OK, this will add more interest when applying the distressing paint.
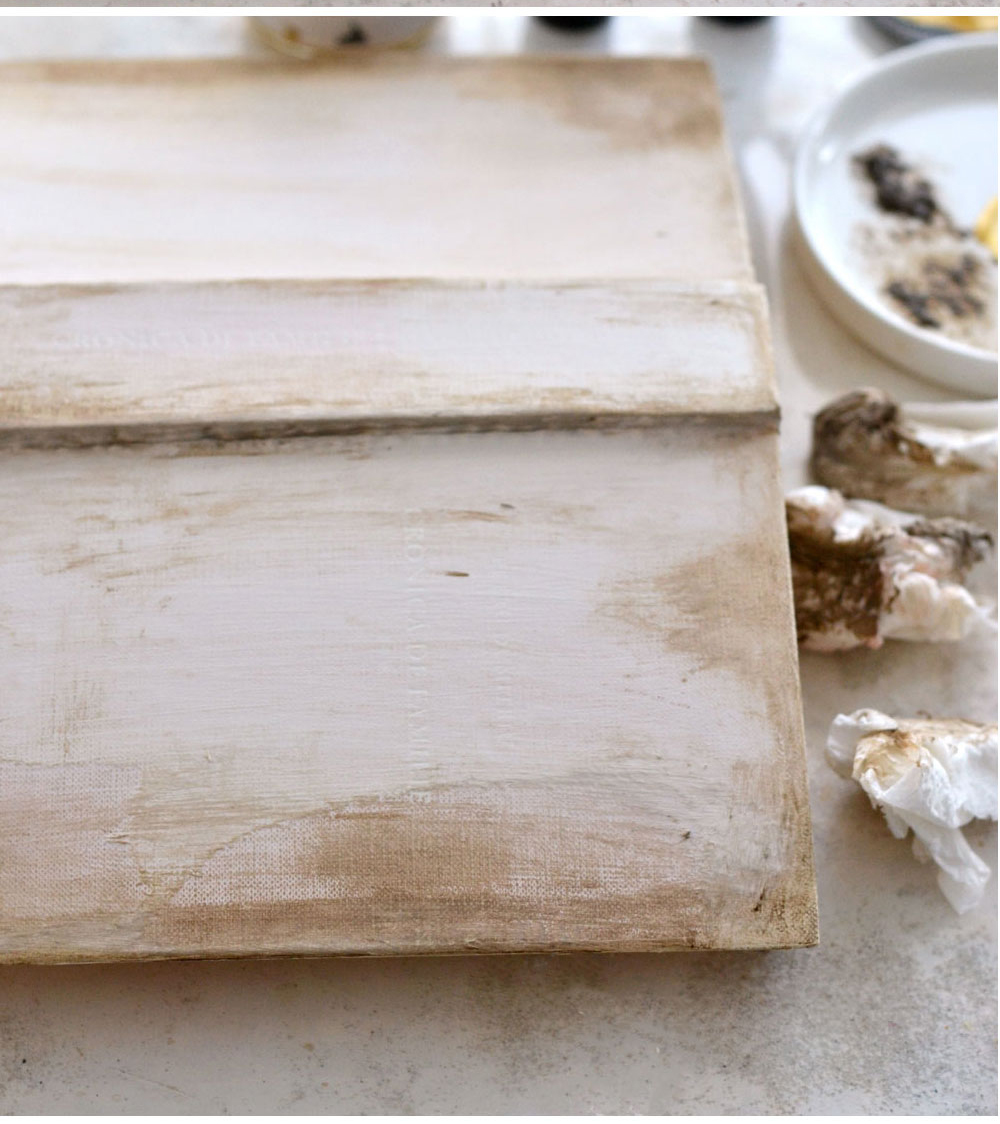
If at any point you feel like maybe you added too much paint, you can use some paper towels and some water to remove some of the excess paint, keeping in mind that organic feel.
Spray some water on a new paper towel, then use some of the black paint as another layer, to better highlight the distressing effect. And as a final touch, use a tiny bit of gold to add some more interest and metallic glimmering effects.
I was really happy with how the books turned out at this stage, I let them air dry completely – you can also use a hairdryer or a heat gun to speed things up.
Staining and distressing the French ephemera labels
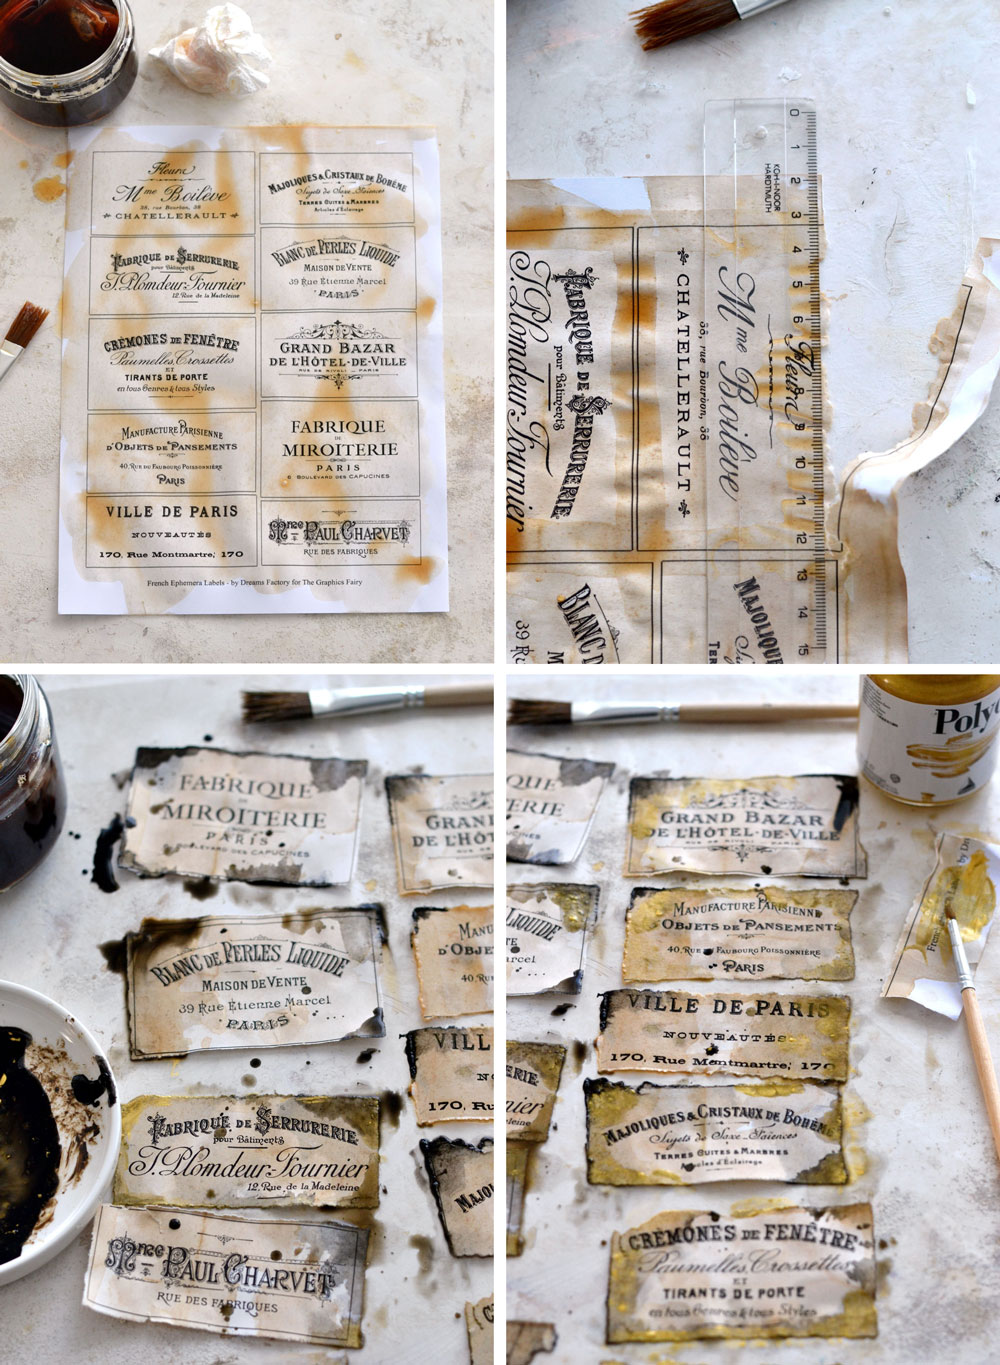
Then I moved to the French ephemera labels. I used some more of that strong tea to liberally brush it all over the surface of the paper, making sure all the whiteness of the paper was covered. I let everything dry for a few minutes, then I used a small ruler to ‘cut’ the labels. This works best if the paper is quite wet, so you might need to add more tea on the edges if too dry. This will create a lovely torn effect on the edges! I initially thought about removing all the black borders off my labels, but I liked how they both looked so I decided to leave a few with the black border on. Decisions, decisions!
I then used some more tea to dilute the paints that were sitting on my palette and basically created some highly diluted colors, following the same color scheme. I brushed the paint mostly on the edges, letting the paper organically absorb all the paint. Then, while everything was still wet, I even added some undiluted gold using a different brush, creating that vignette-y effect on the edges. You can also place a brush parallel to the labels, then use your fingers to flicker some paint on. While they are still wet, you can partially tear them in some places to add more of that lovely vintage feel.
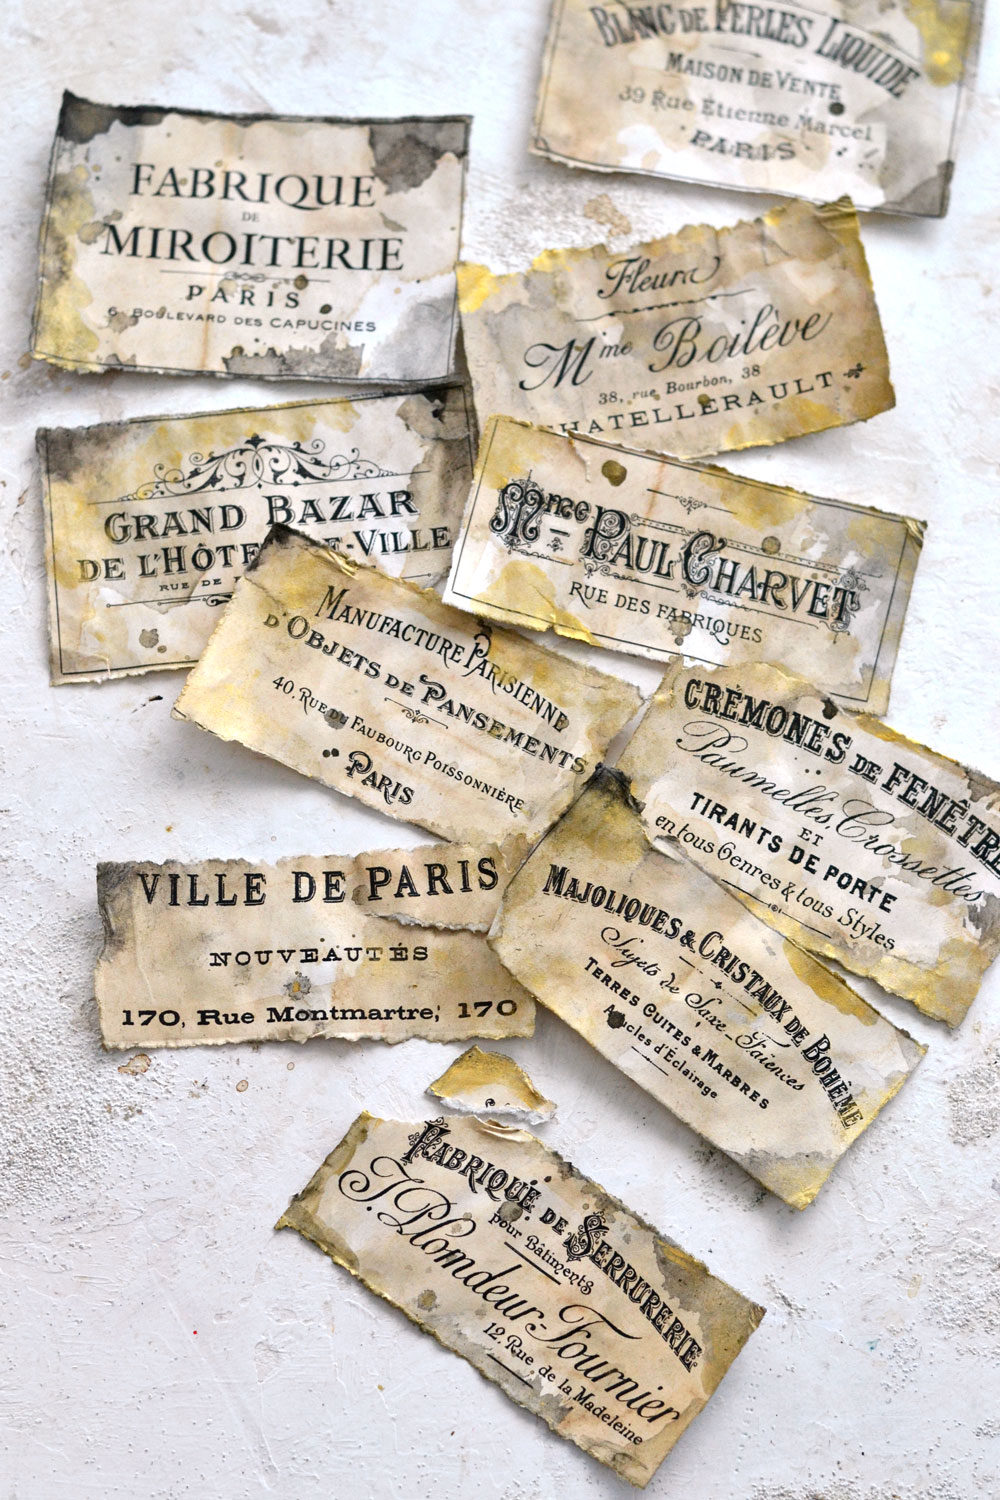
This is how my lovely distressed labels turned out after drying, such great textures! If you want, you can place them between the pages of a book to flatten them again.
Gluing the labels
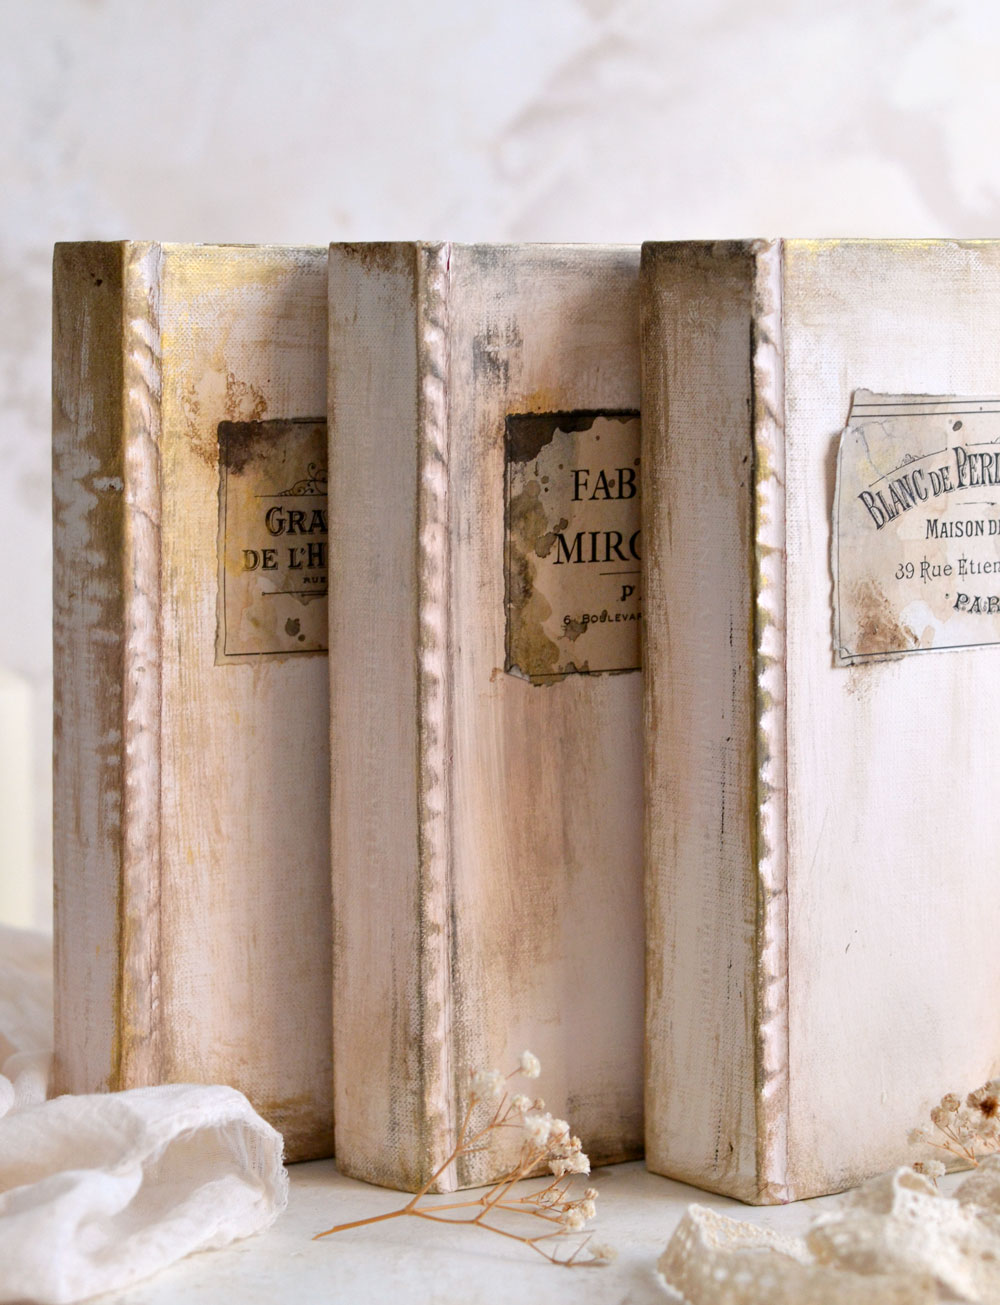
Use Mod Podge or any craft glue to adhere the labels to your white decorative books. I applied the glue on the back of the labels in the center, then used my fingers and a bone folder to smear the glue toward the edges. I didn’t completely glue the edges, just to emphasize the vintage vibe even more.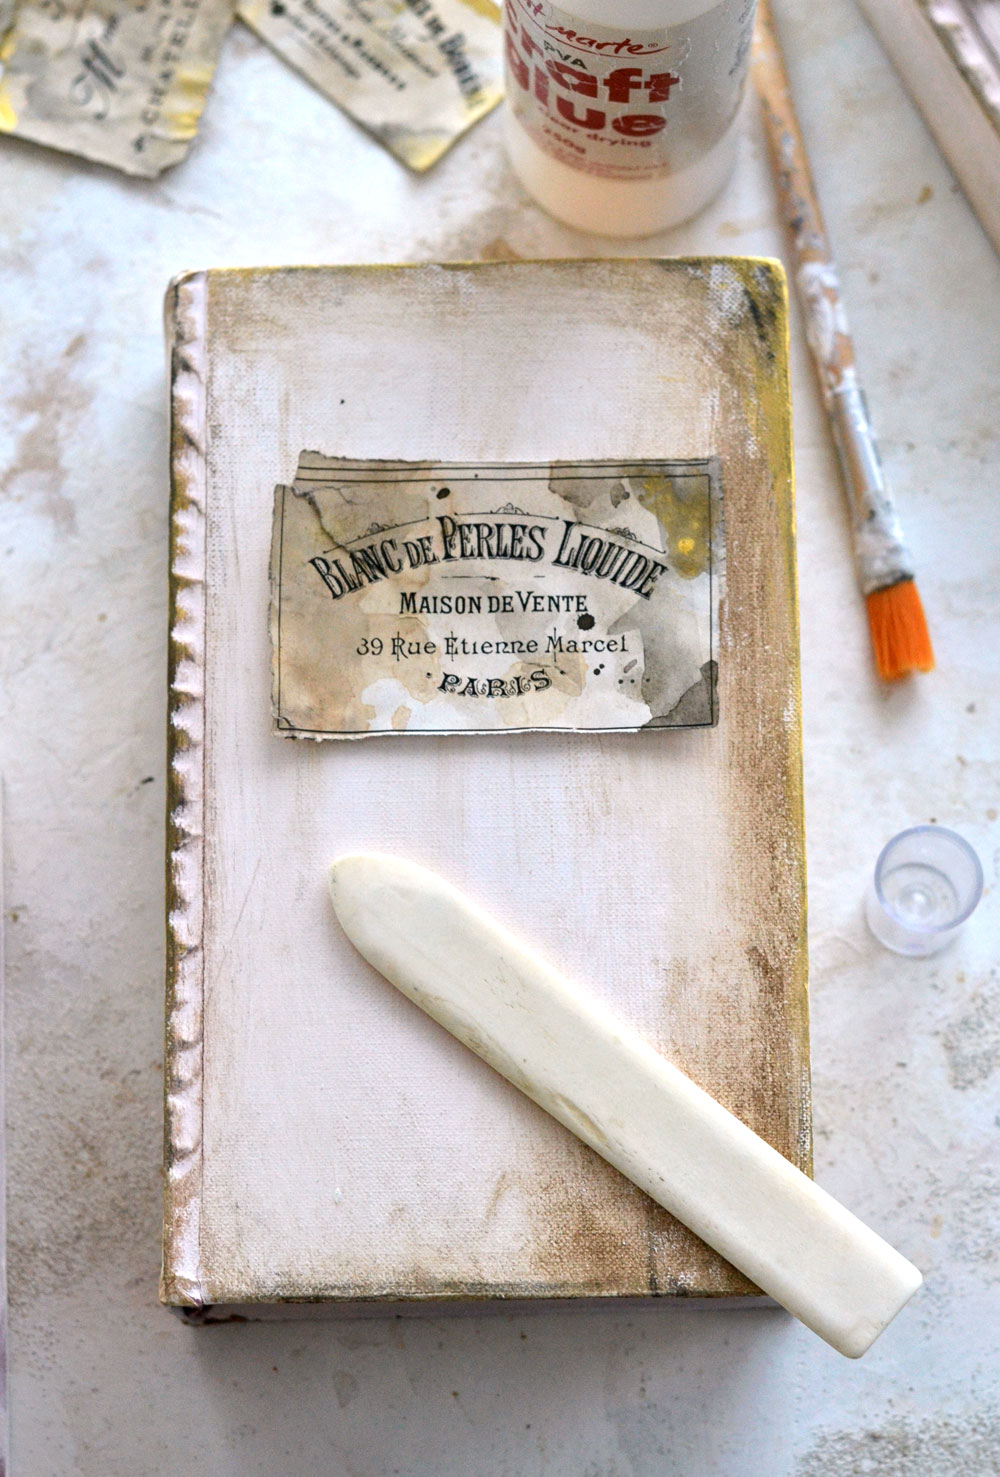
Adding a few final touches to your Decorative Book Set
I felt the edges of the pages needed just a touch more of that distressing, so I used paper towels again! I misted the towels with water using my spray bottle, then picked up and applied some brown paint here and there.
I even added some more paint around the labels, in different places using more paper towels, somehow continuing parts of the distressing from the labels on the books.
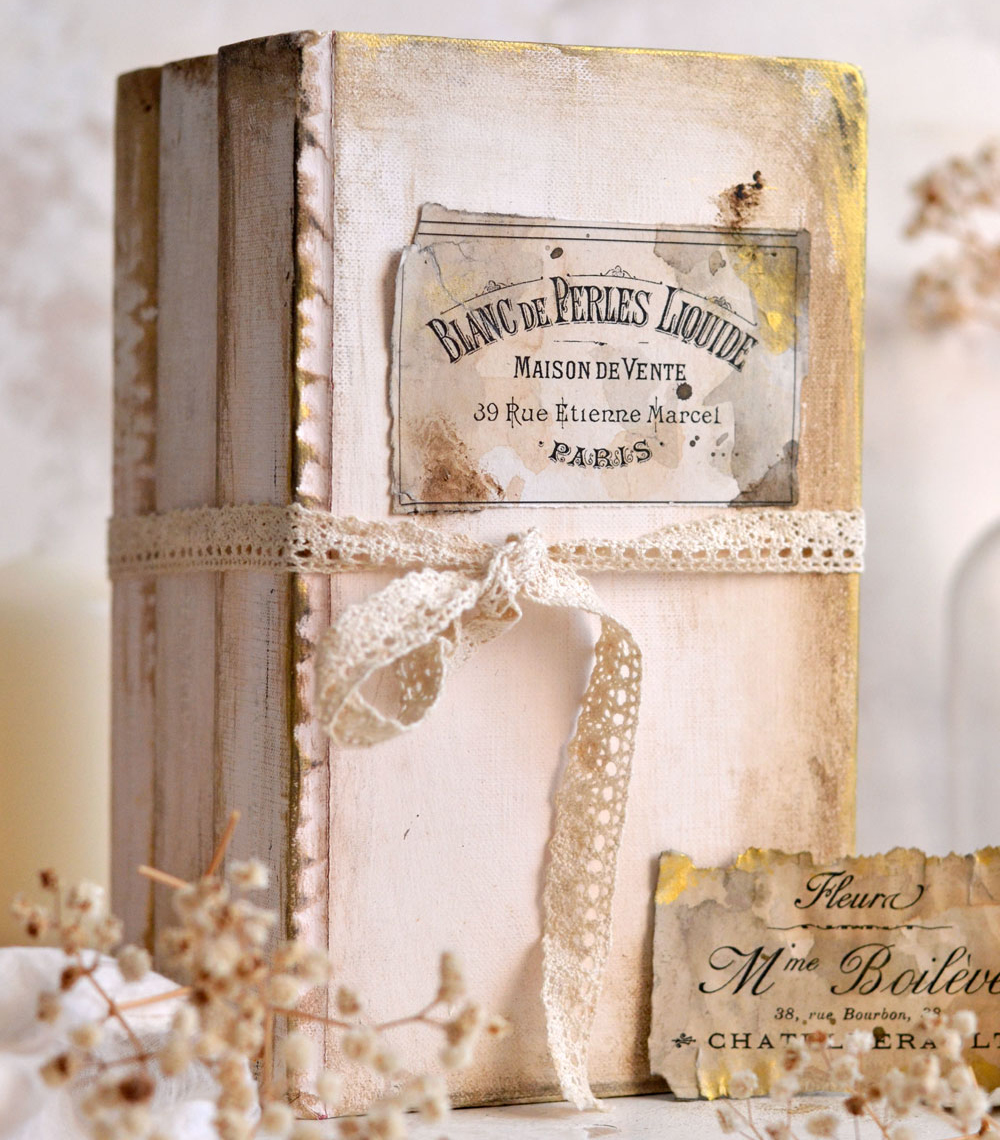
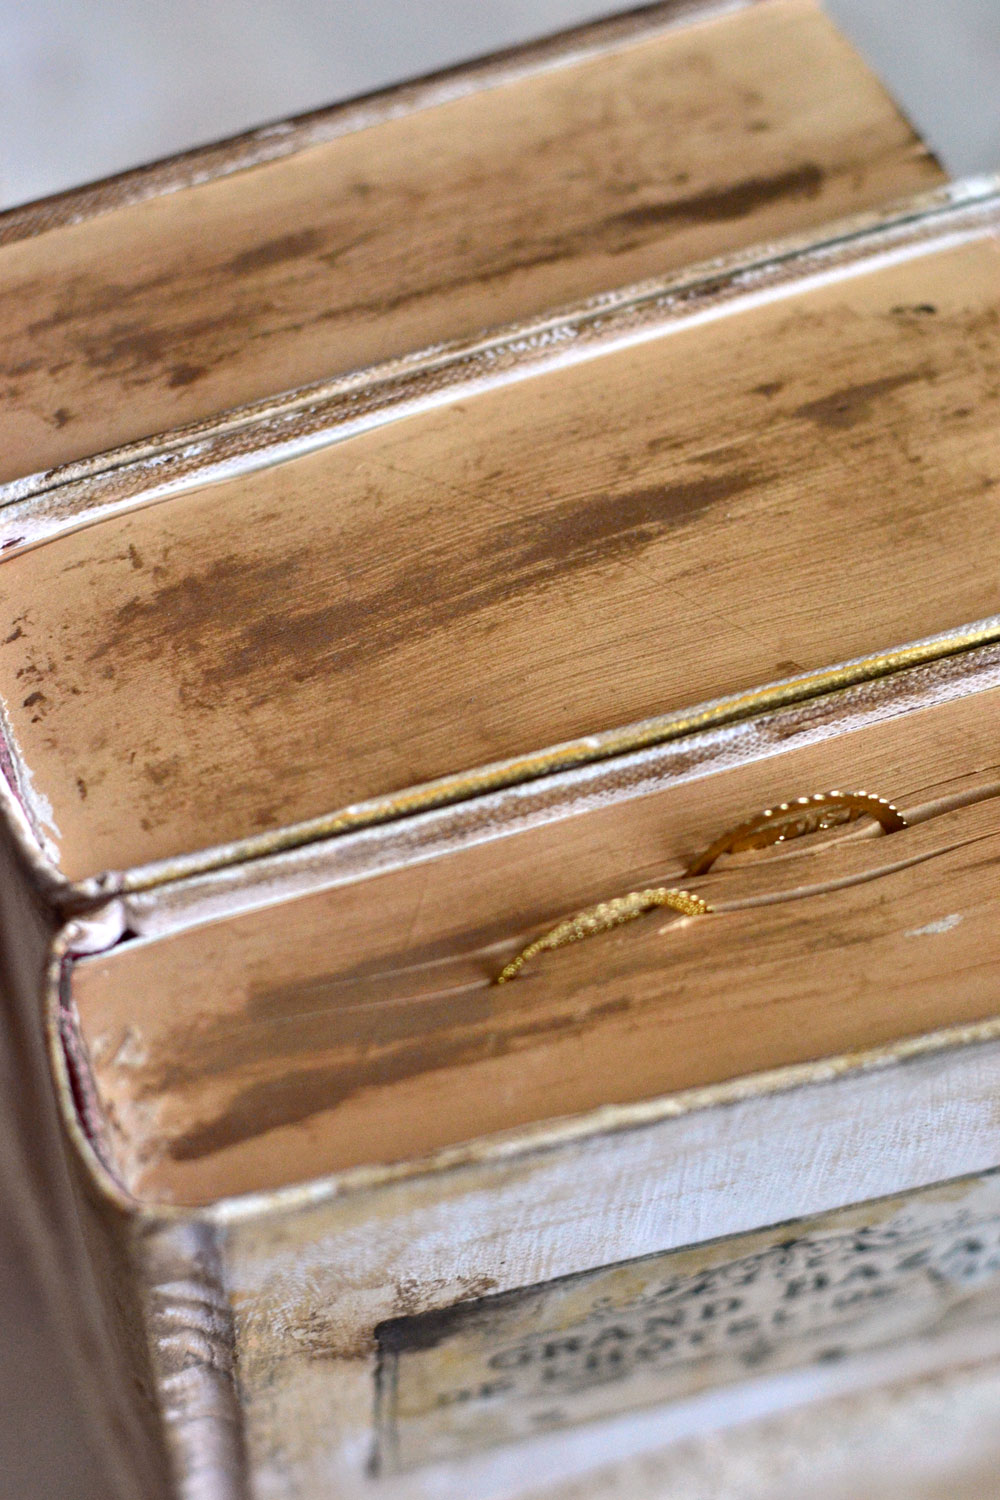
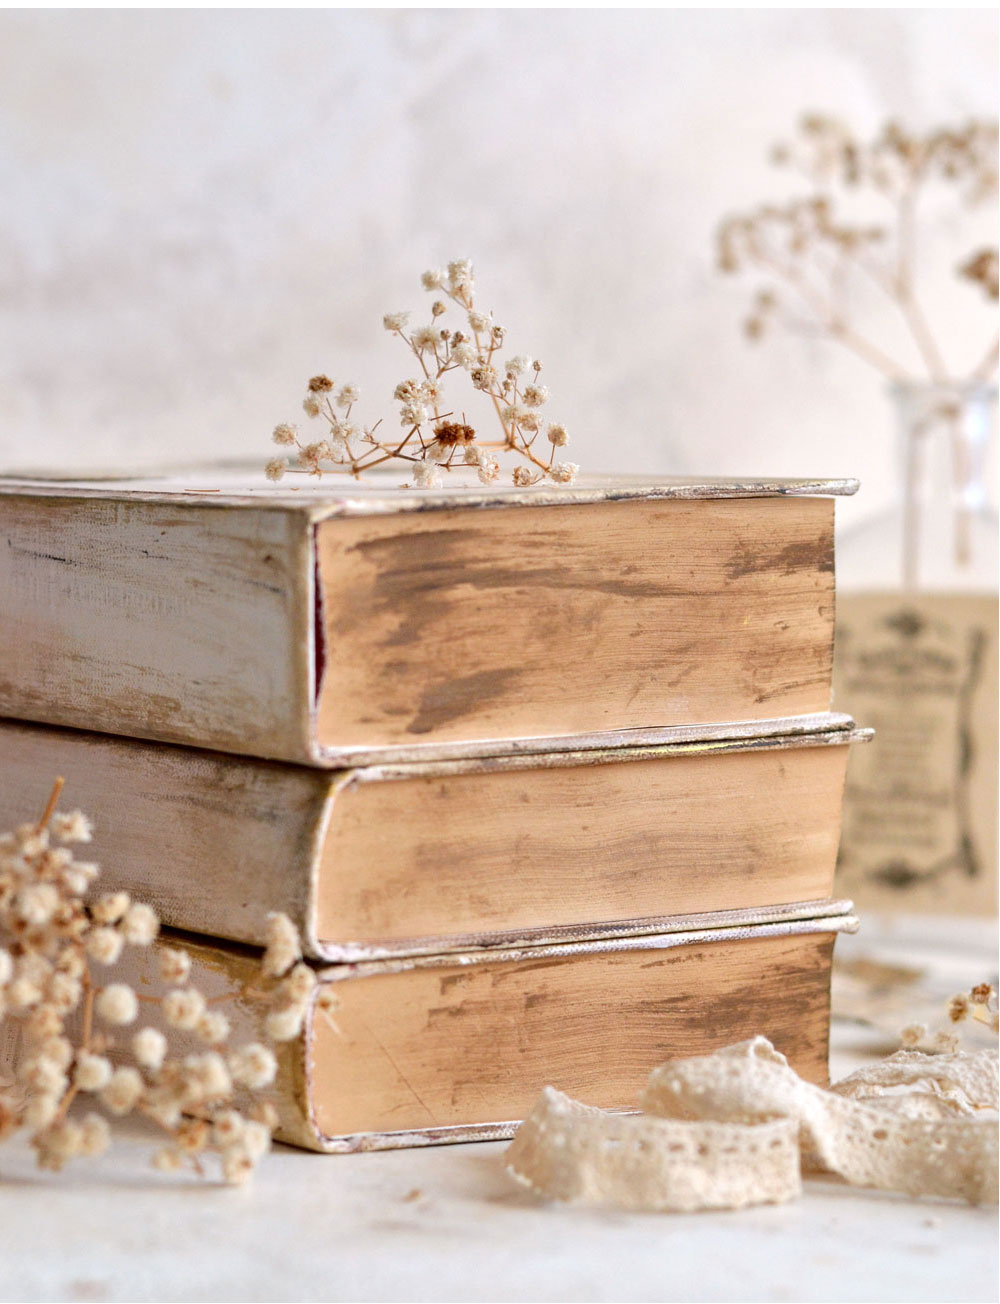
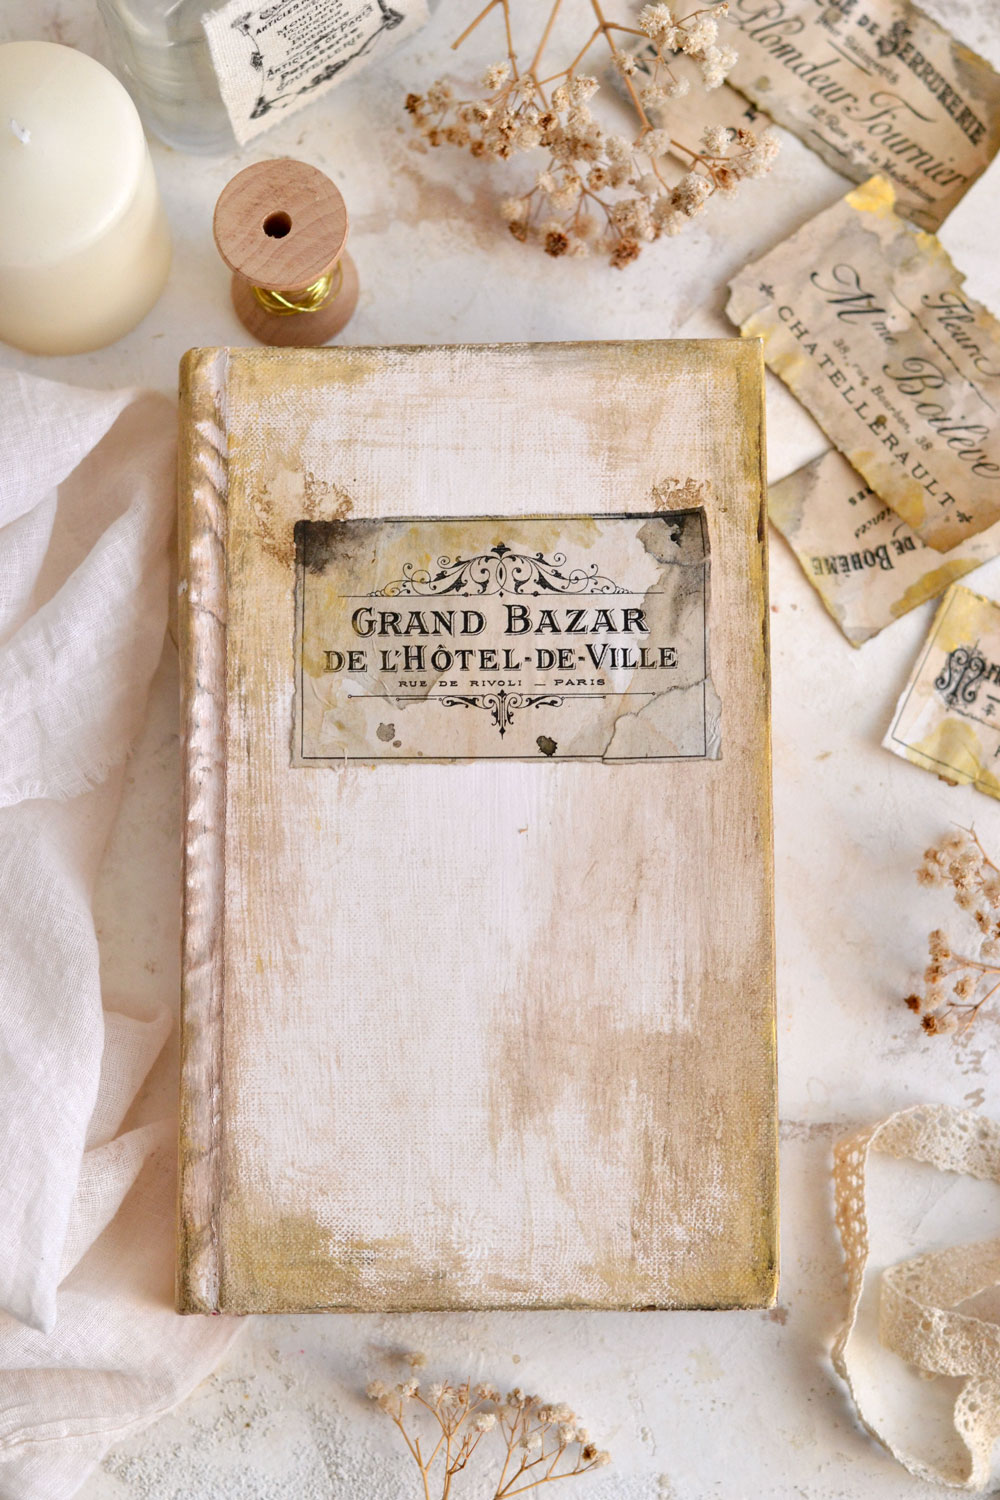
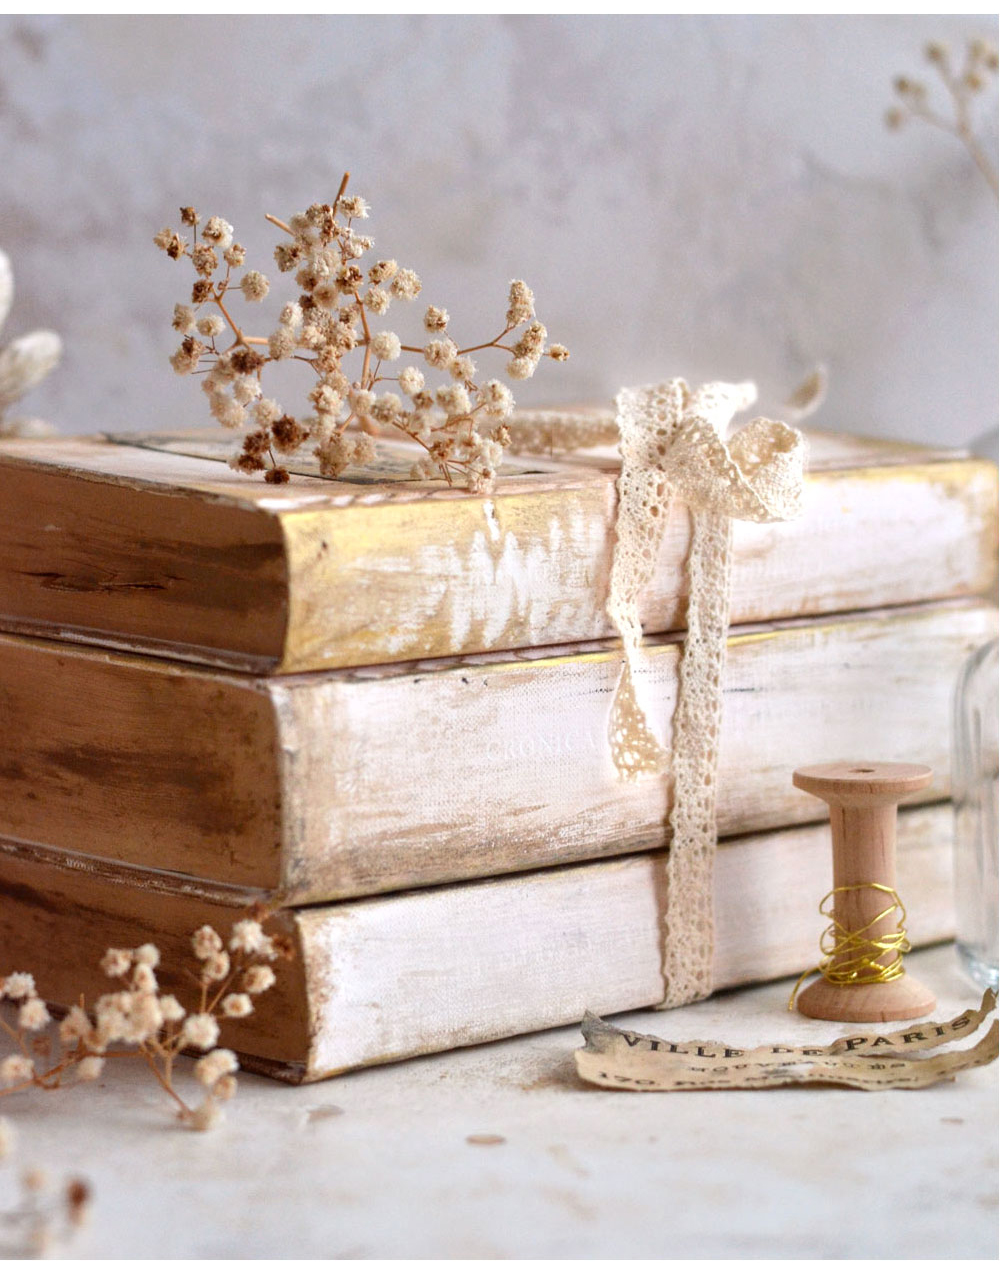
Our gorgeous DIY Decorative Book Bundles are now ready, all these small details really complete the whole antique look! Each book is truly unique and wears its patina proudly!
Now you’ll be able to integrate the chic White Decorative Book Bundles in your home, using other small objects like candles, angels statues, decorative bottles with French ephemera fabric labels in different sizes. Just use what you have around, these decorative books will look stunning anywhere you’ll put them!
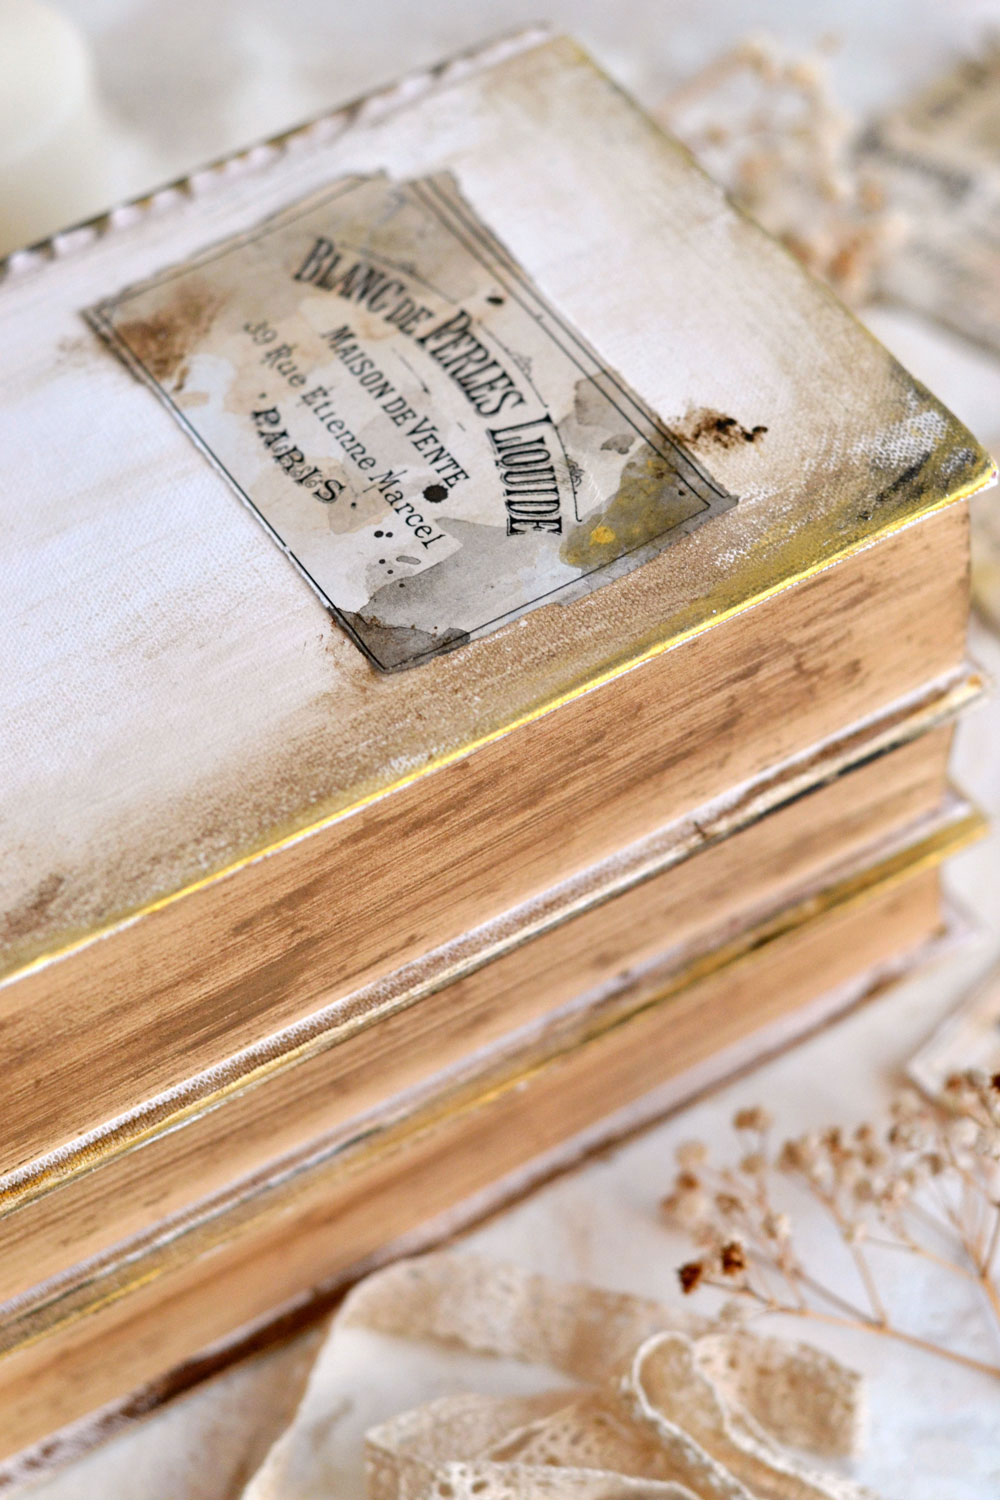
You can see in the image below (on the lower right side of the label) that I completely tore one of the corners while distressing the label, then I ‘reconstructed’ it while gluing it on the book.
Using some lace will not only hold the books together but will also add a little bit more charm to the whole assemble!
The DIY Decorative Book Bundles will make the perfect gift for your home, they look so beautiful on a Coffee Table, Bookshelf or Mantel! Or make them for your friends’ home, they will appreciate the gift even more, especially since it is handmade by you!
Diana




Mary says
What a lovely idea! I just wanted to take the time to thank you for all the hard work and research you do for crafters all alike! You not only give us the graphics, you also provide us with inspiration, too. The Graphics Fairy site is similar to entering into YouTube. Some may enter for a specific image or idea, but soon you’ll find yourself clicking one after another, after another. C-mon folks, you know exactly what I’m talking about. Soon enough you’ll look at the time and realize it’s an hour and a half later and all you really wanted was an image of a piece of fruit, lol. So again, just wanted to say ~Thank You~ for your dedication and hard work!
Mary
Karen Watson says
Oh wow! Thank you so much for the lovely comment Mary! It means so much to me that you are enjoying yourself here and finding some inspiration!
Donna Butler says
Wow, these look so beautiful! I would love to try it, but she said to use chalk paint on the interior of the books. Did she mean exterior? I want to be sure of everything before I begin. Thanks! Donna B.
Karen Watson says
Hi Donna, Yes she meant to say Exterior. I have corrected it in the post. Thanks so much for catching that!
RB B says
I adore vintage ephemera and have plenty of old books to decorate this way, thanks for another wonderful idea! Your free graphic print-outs are always lovely, very generous!
Lady Dragoness says
Cool idea. This would be a good use for all those unloved college textbooks cluttering up my shelves…
Lisa Hogan says
OMG! So cute! I love old books. These would look great on a vintage desk! I have a small child size school desk that has been in the family for years. I am going to create a book bundle for the top of it!
Chris Rothenbach says
like this very much. think of your local library for a sourch for books. ours often has 2/$1.00 (hardcover)
Sheila Earhart says
YUMMY idea/work! Love them!
Sheila
Elaine says
Hi, I loved this project – it has sent all kinds of ideas flying through my poor brain. Thank you for sharing this.
Judy says
I love book bundles of all kinds. I recently made some with old paperback books. The pages were nicely aged. I ripped the covers and the spine covering off and tied four of five into small bundles using combinations of burlap, vintage ribbons and vintage lace. I gave them all away as gifts, so I am back to the flea market for some more books. Your book bundles are beautiful. I never thought about covering books with kraft paper and doilies. The look is so vintage chic!
Robin Grudzinski says
Oh, loved the doilies! They would be perfect to add to my DIY wooden wine box shelf I just posted to my blog http://thedesignest.com/dig-wall-shelves-from-woodenwine-boxes/
Mary Helen-Art Saves Lives says
This is a great decorating idea for books to sit by the visitor guest room this summer. Elegant touches. Thank you for all yo share. Peace, Mary Helen Fernandez Stewart
Lynda says
Awesome…perfect for a baby’s room! Love the peacocks!
Cynthia S. says
So very beautiful! Love it!
Susan Newberry says
Adorable! What a great decorating idea. Thanks for sharing.