Paint a Wine Bottle
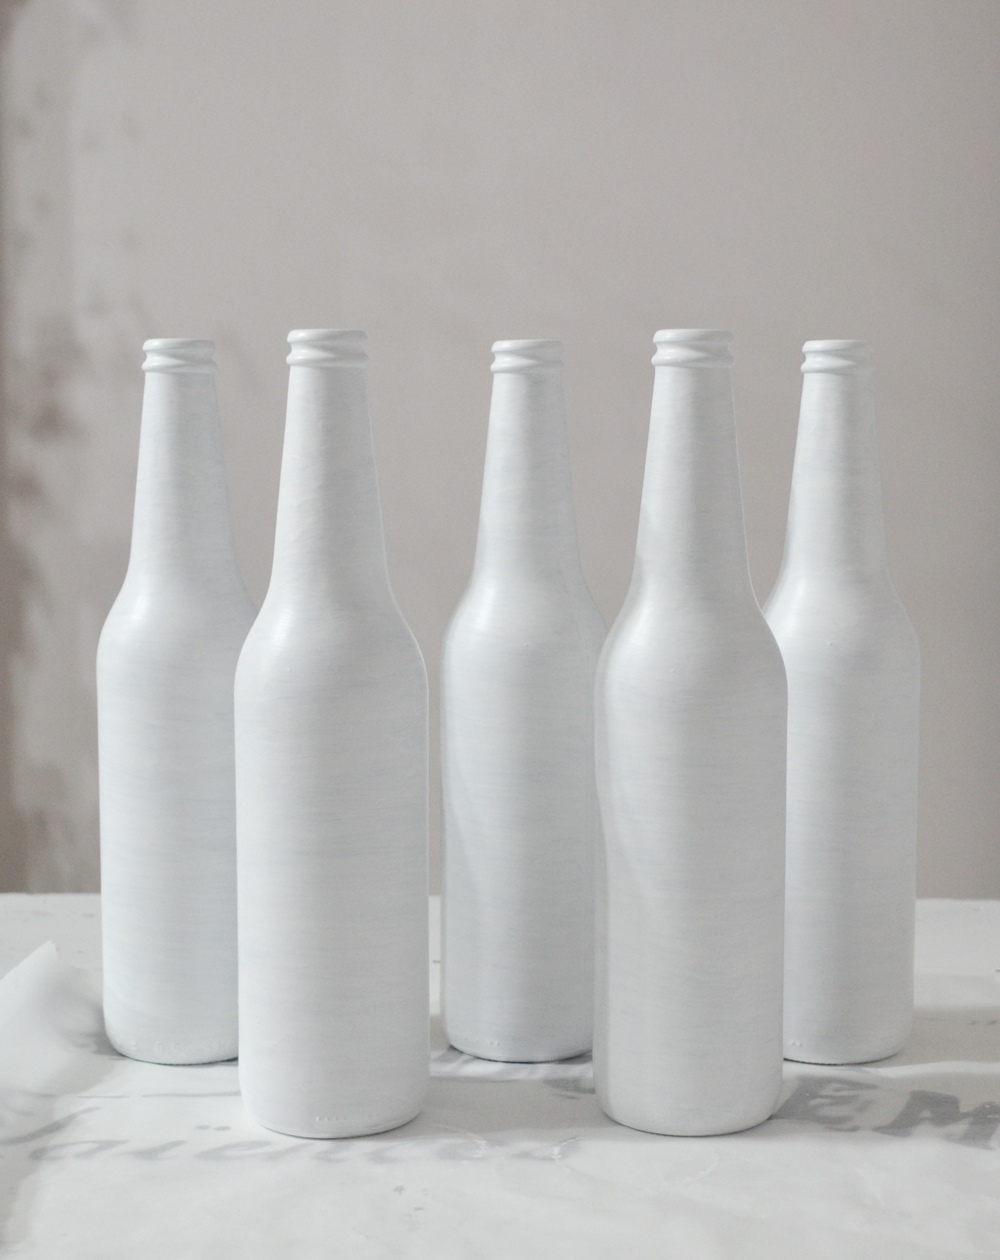
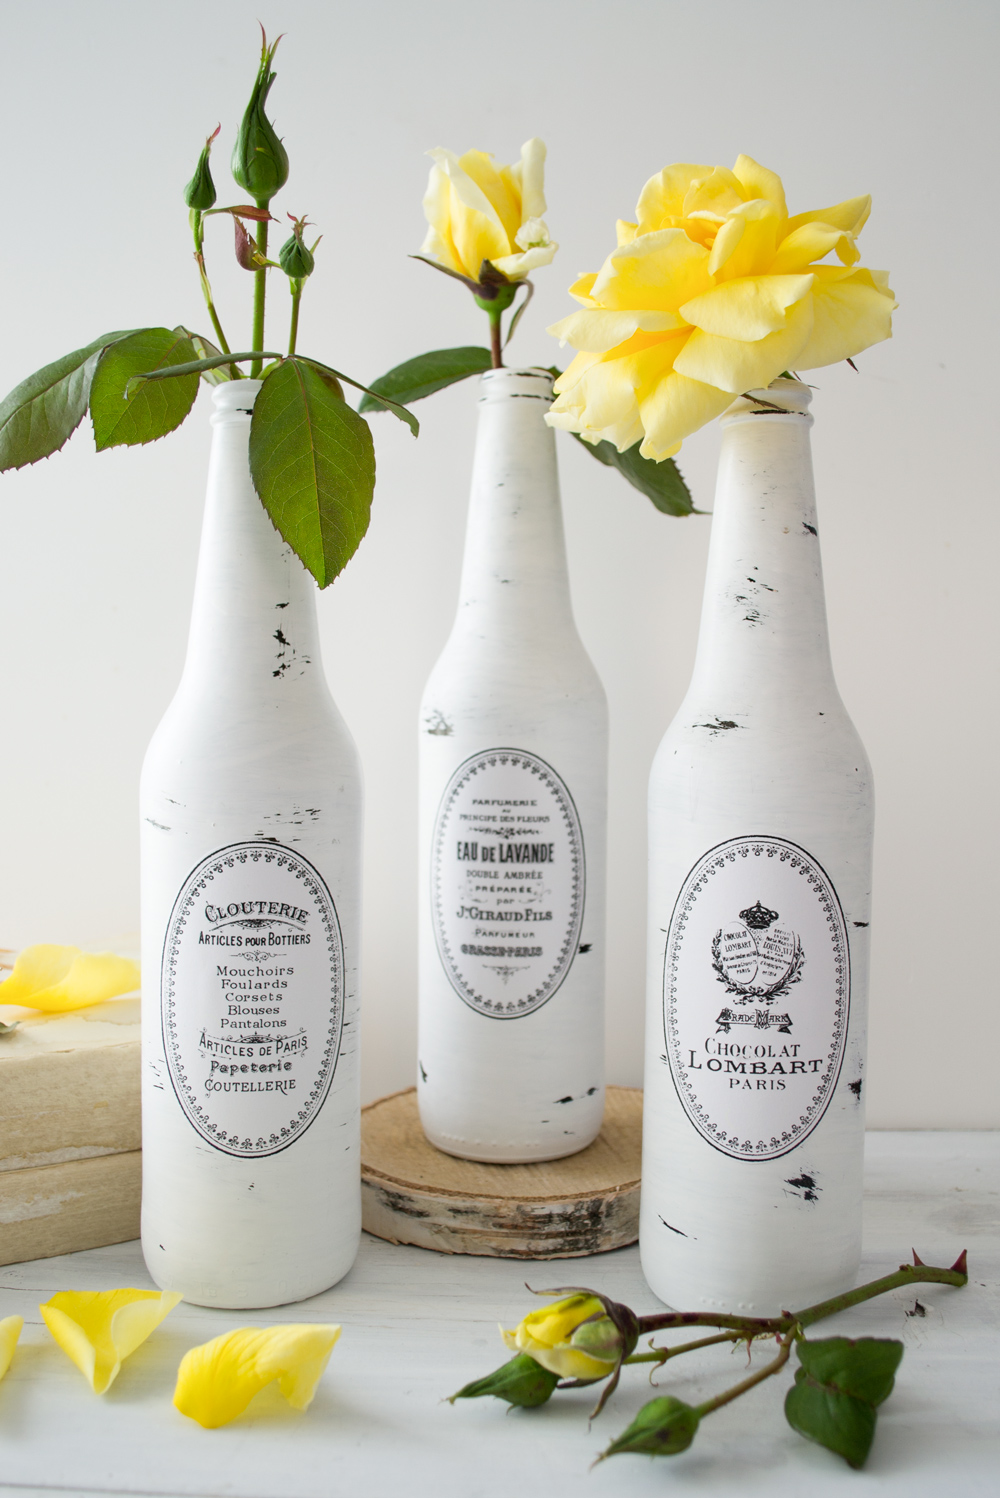
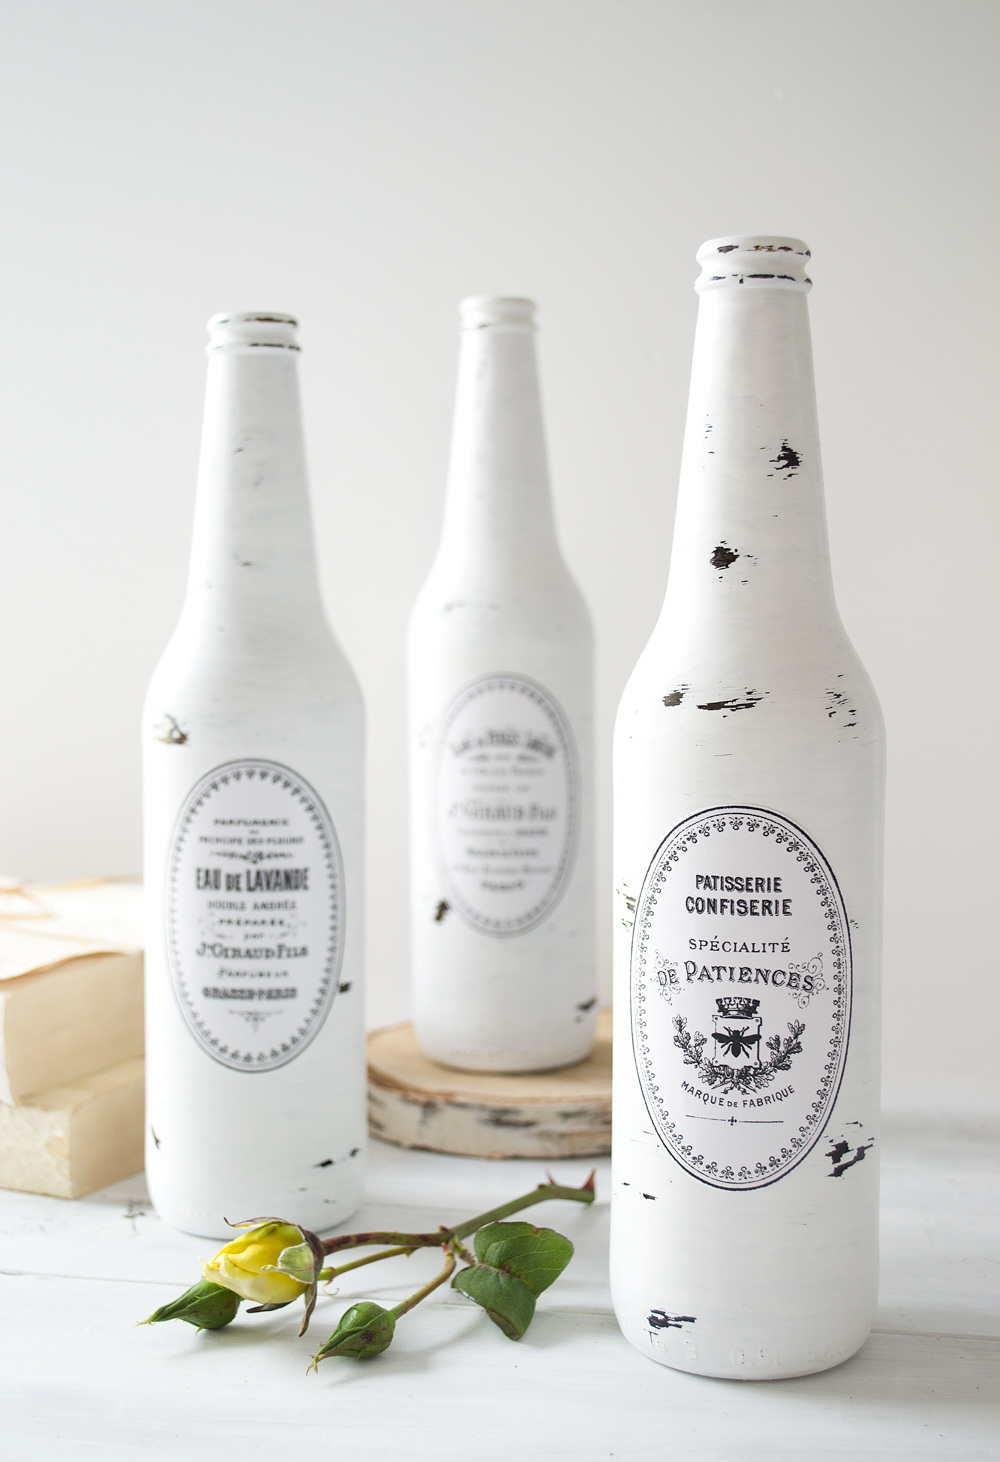
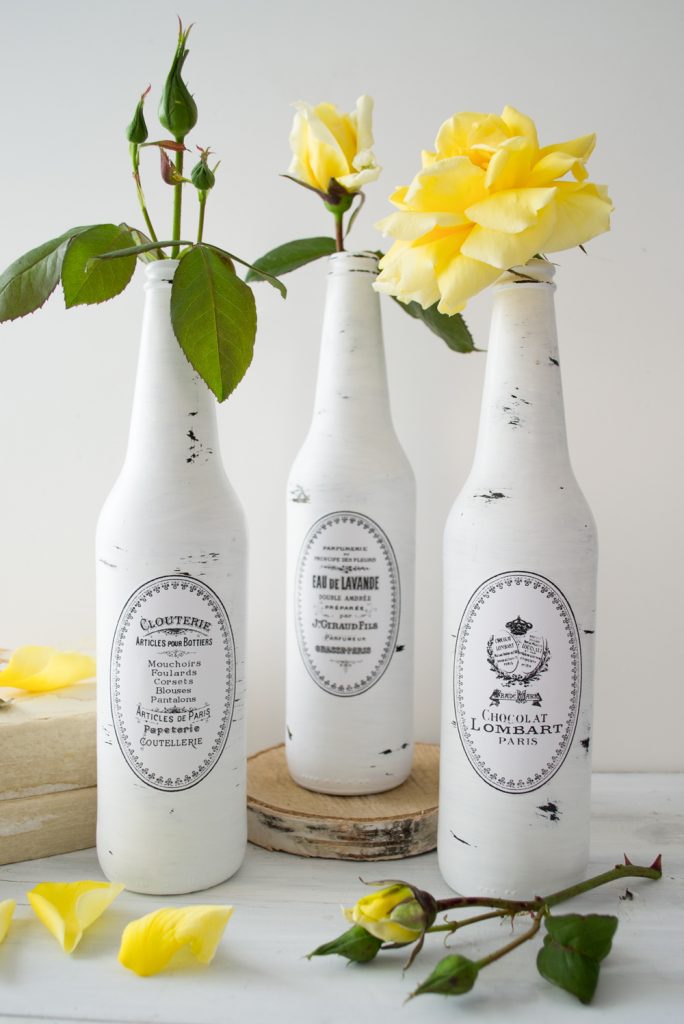
Hello again! Diana from Dreams Factory here with another chic project – some DIY painted and distressed French bottles with lovely oval labels – that you can make to beautifully decorate your home in any season. You can paint a Wine bottle or a Beer Bottle or use whatever glass container that you have in your recycle bin! 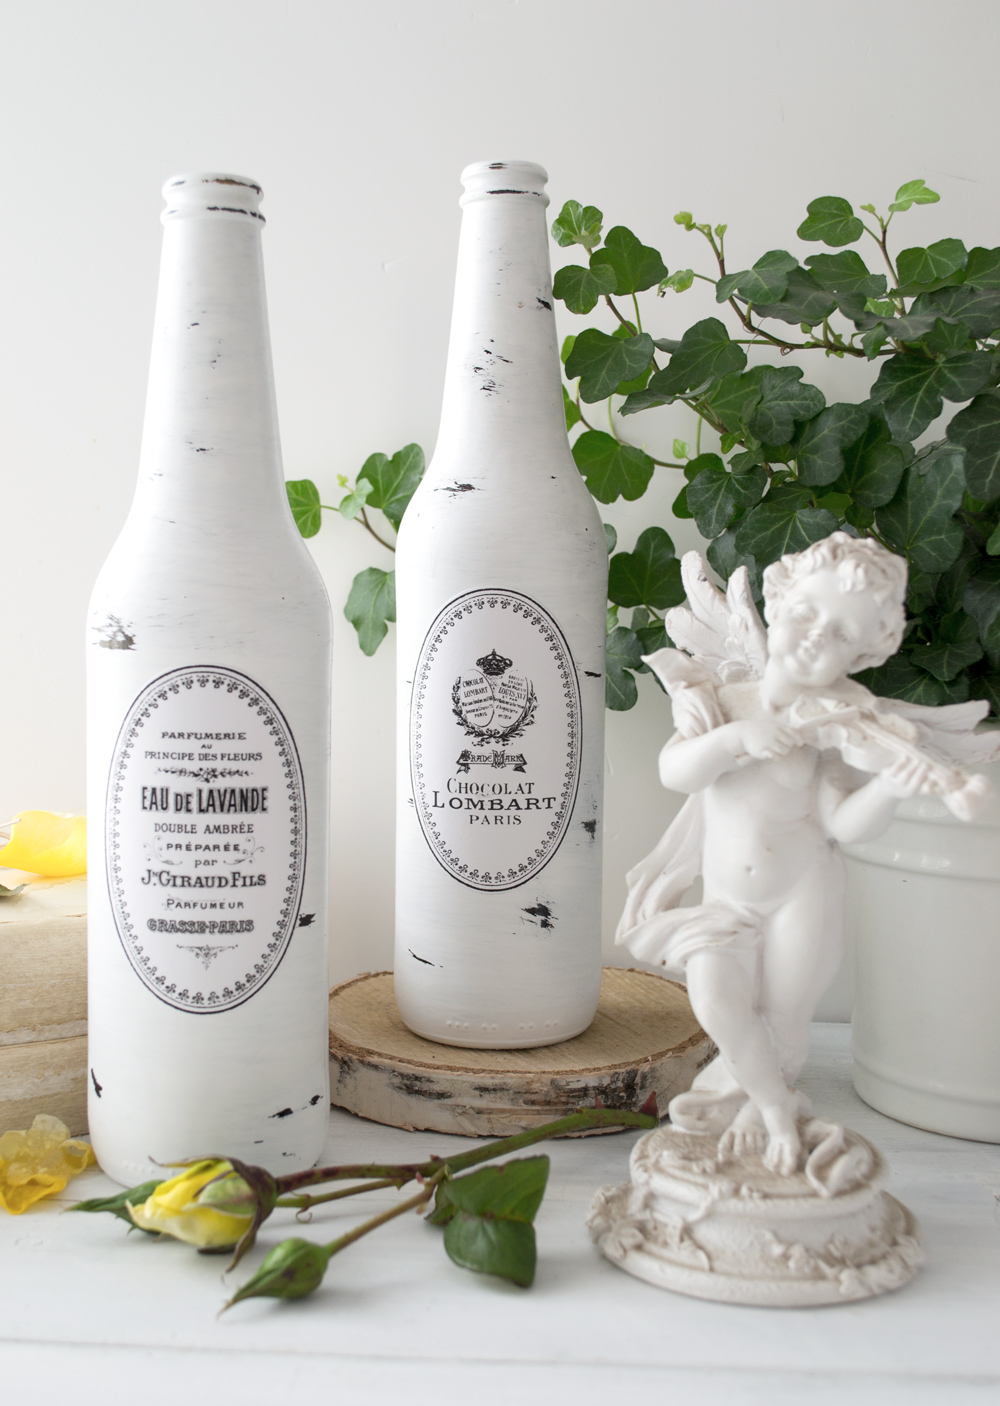
One of the things I love about DIY projects is the power you have over old things. I’m always amazed by how simple it is to bring to life and drastically change any object by simply applying a little bit of paint. It’s not rocket science as you will see, so we’ll just call it pure magic!
You simply cannot go wrong when choosing colors that go well /complement other decorative pieces from your home, in general, so you can keep that in mind when deciding on what color paint to use. I usually go with white paint because … I’m in love with all things white! And I find it quite easy to adapt to our home. But you can choose any other colors, ones that would match your own tastes and your home.
Hint: lovely pastels and neutrals go well with all things Shabby, farmhouse, cottage or vintage – wink, wink
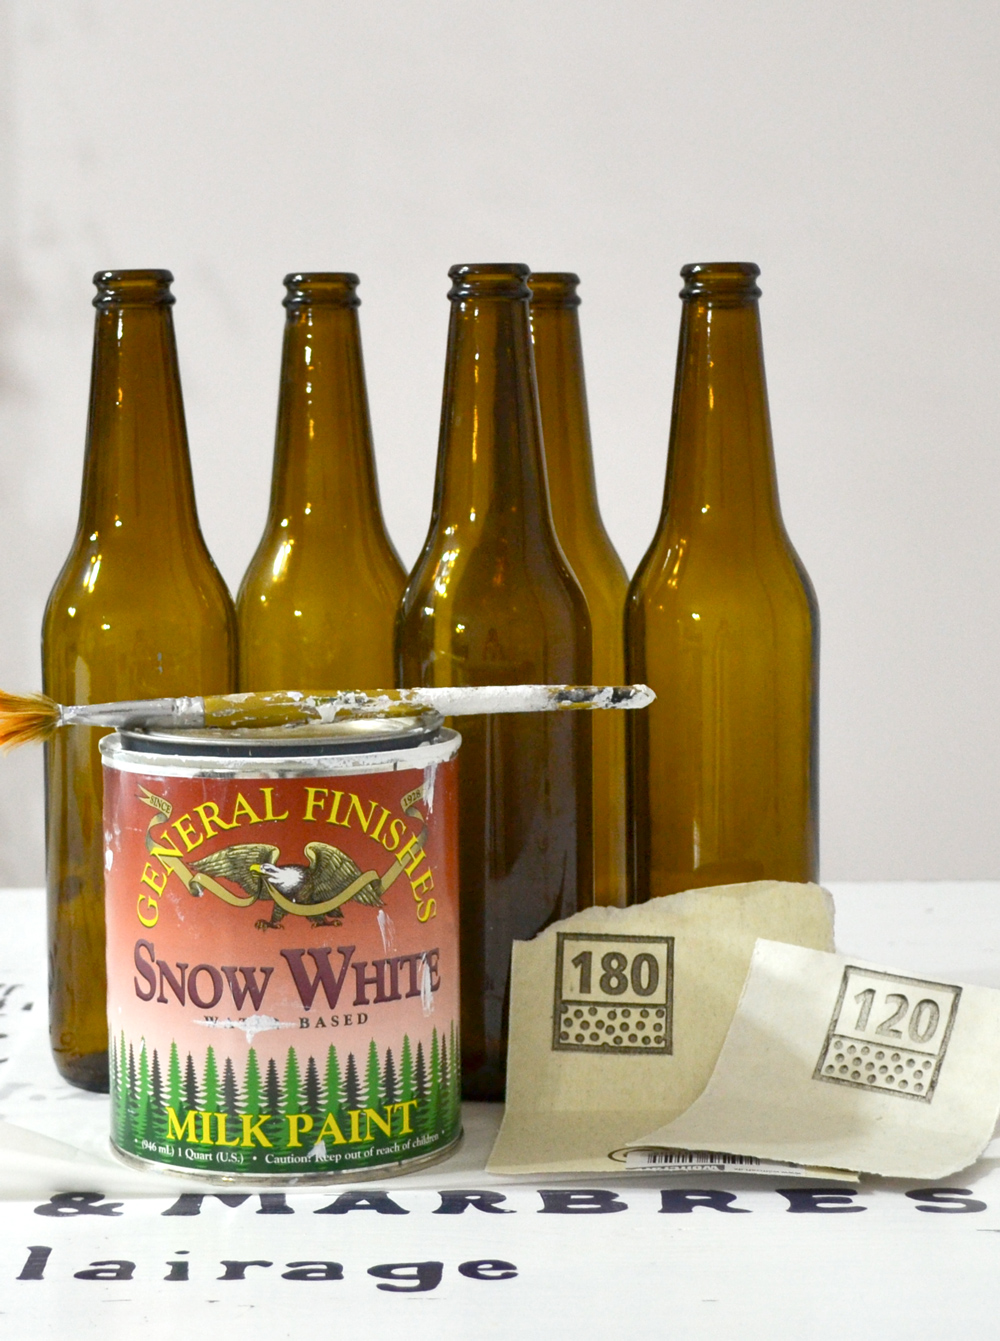
Paint a Wine Bottle Supplies:
- old or new dark bottles (I used amber glass bottles, but you can use any other dark bottles)
- milk paint OR acrylic paint OR chalk paint
- 120 or 180 grit sand paper
- paintbrush
- Mod Podge
- scissors
- cardstock paper
- laserjet printer
- matte finish spray (optional)
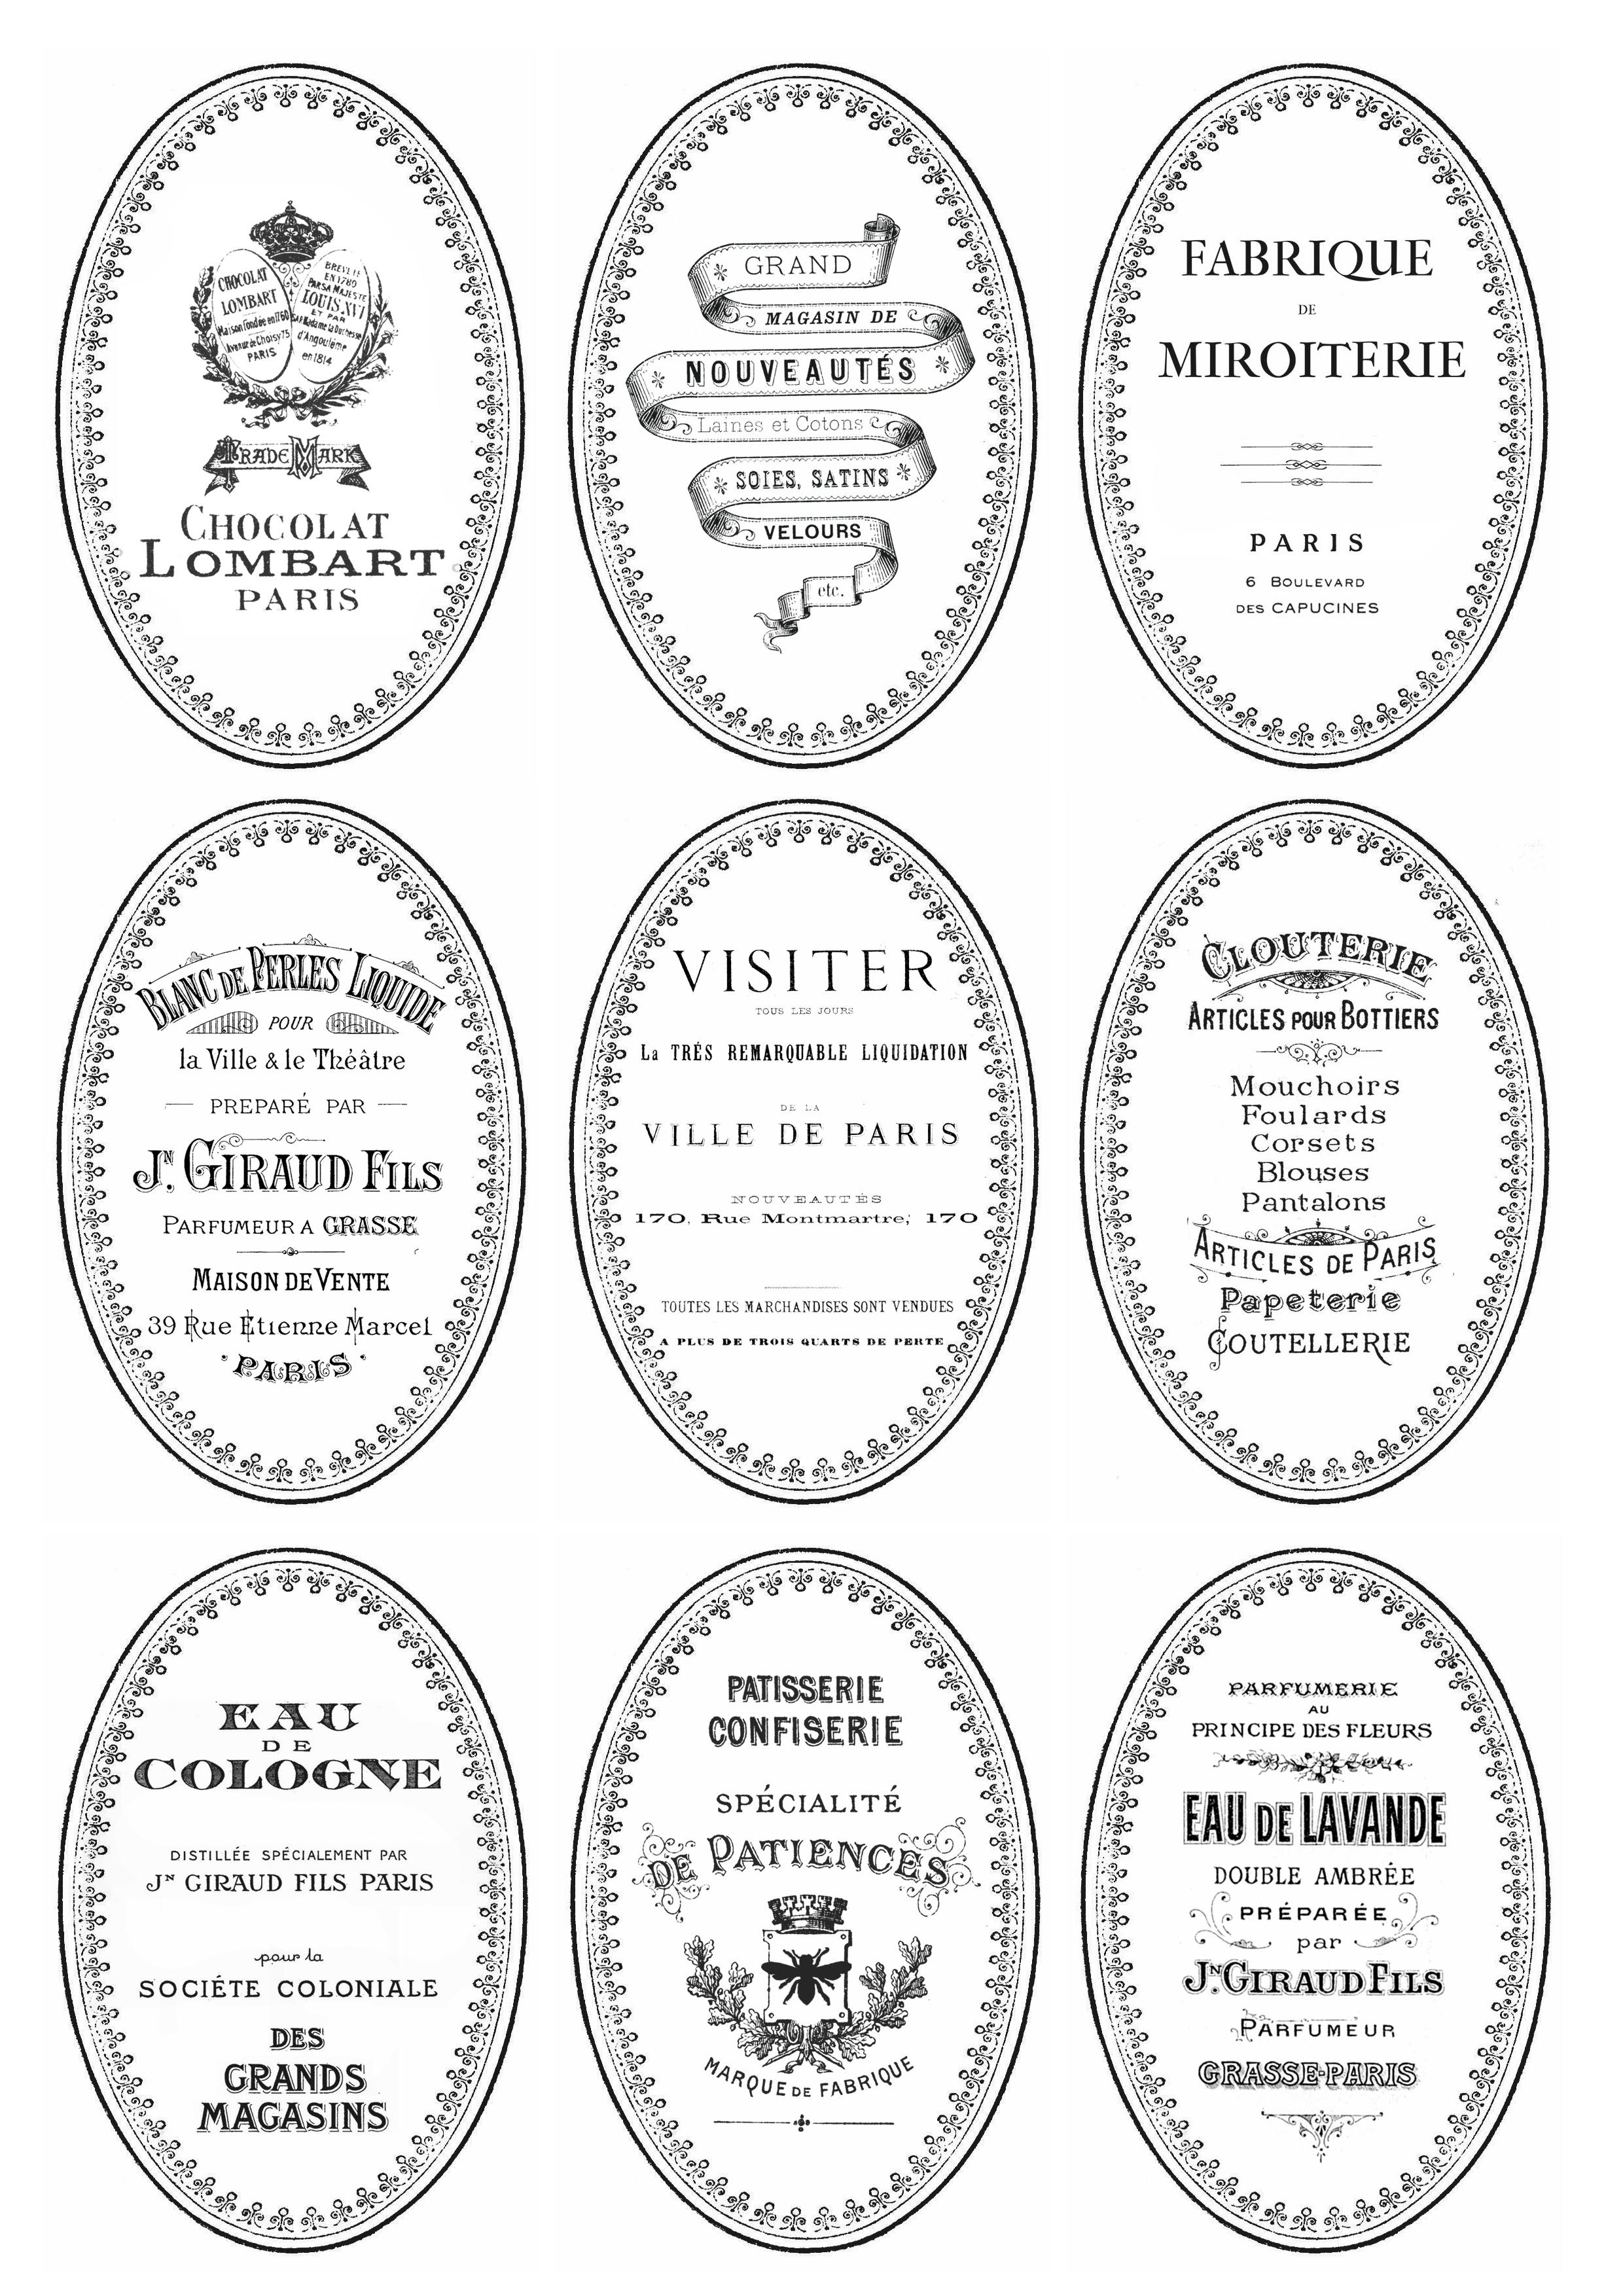
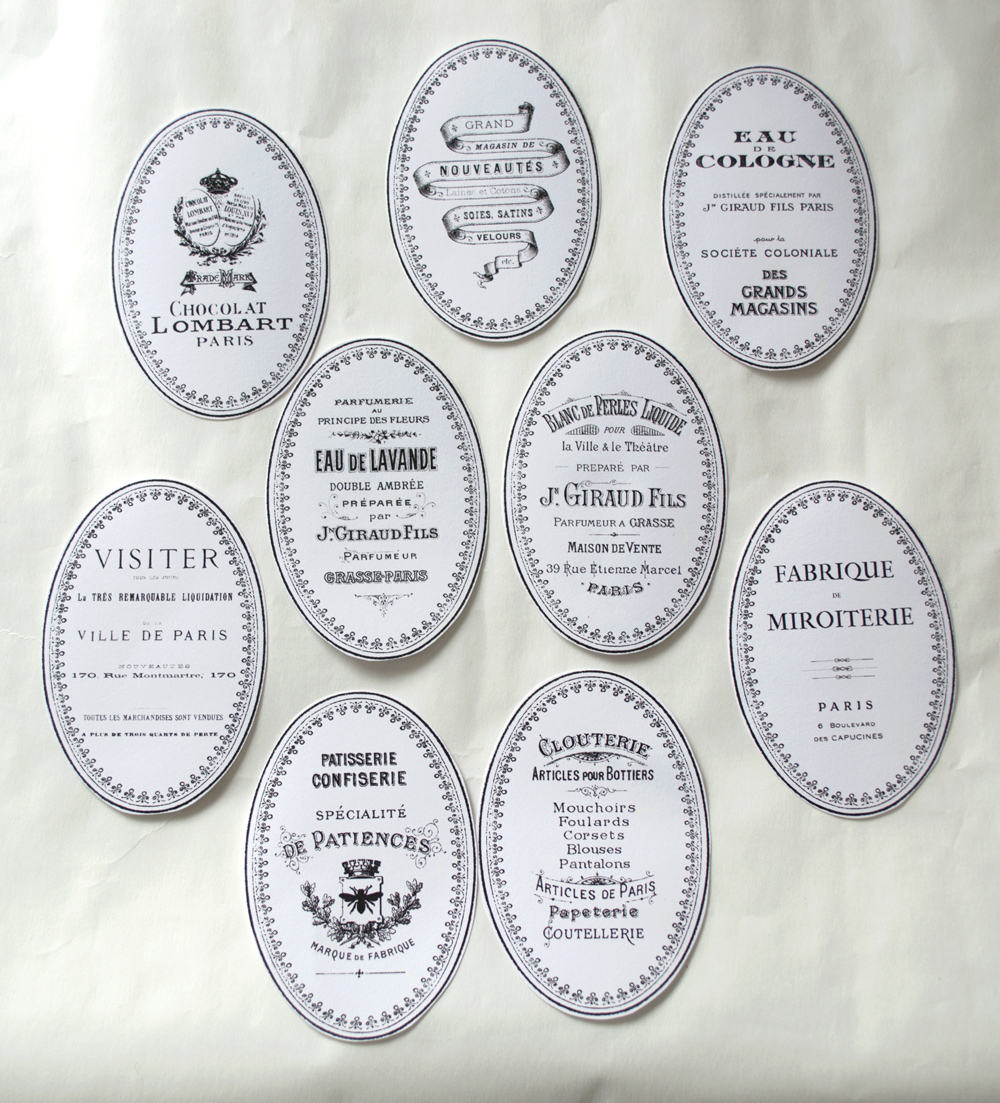
- oval French labels
—-> Click HERE to Download the Full Size Printable PDF <—–
Bottle painting
1. Start by gathering your materials. Time to raid the recycling bin! You may want to protect your surface with a drop cloth or newspaper. The dark side of the bottles (if I may say so) is really important here, because it will act as our contrasting color when distressing the bottles. I used old beer bottles and white milk paint for this particular project (but you can also use another kind of paint like white acrylic paint or white chalkpaint). You can also use dark colored empty wine bottles of course.
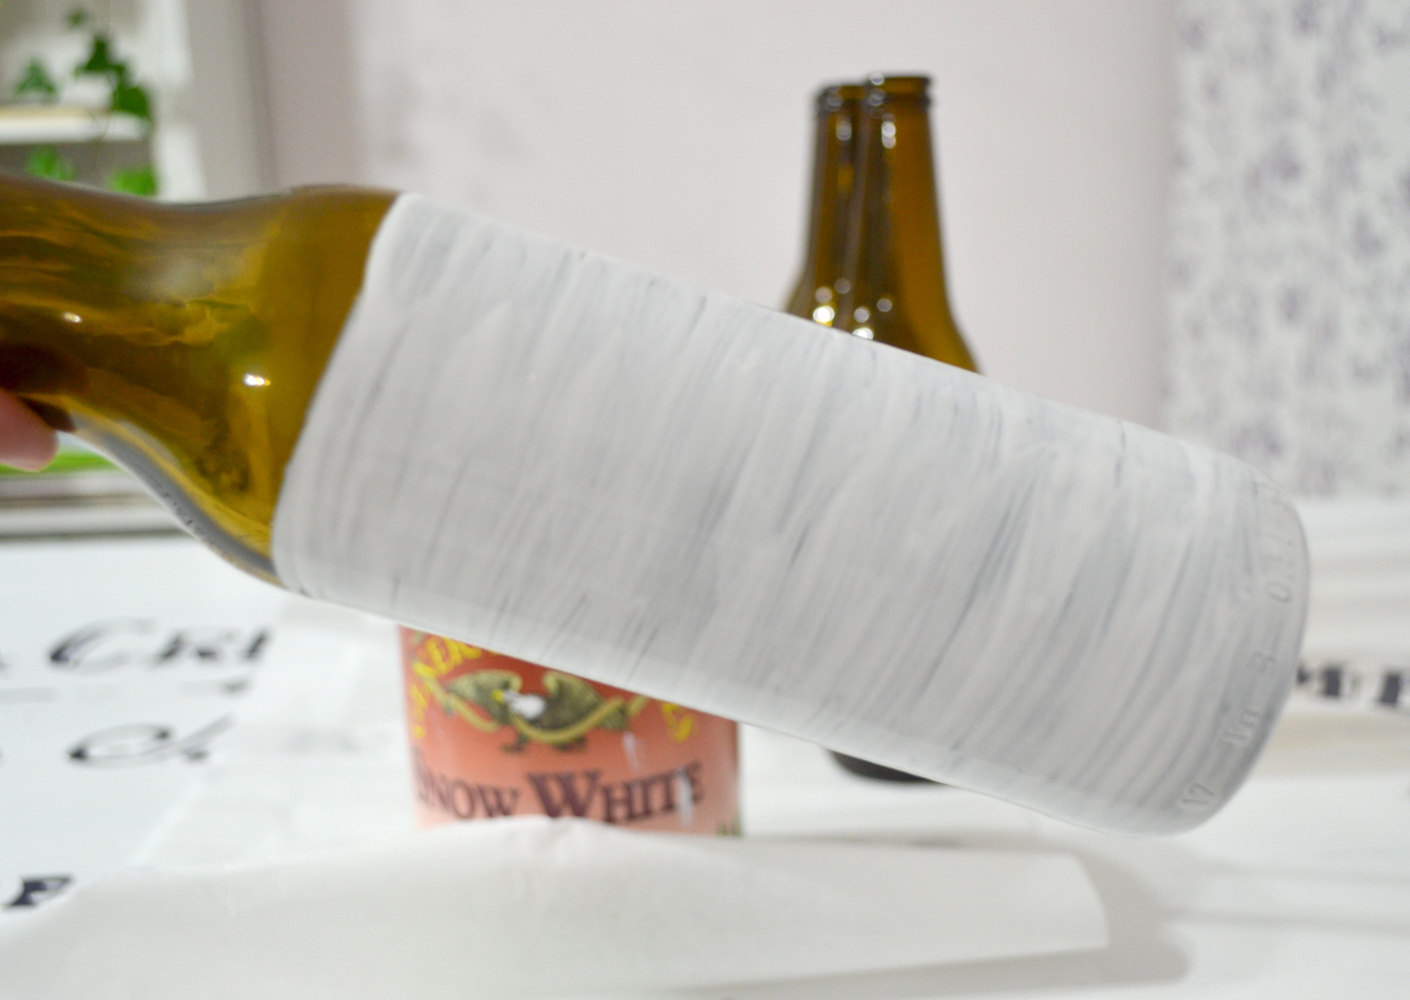
2. Apply one layer of white paint with your brush. I usually start from the lower exterior part of the bottle when painting one and gradually move my way upwards. I keep the bottle in one hand while painting all around it with the other hand, and I keep rotating it and painting until the lower half of the bottle is painted.
Then I put the bottle on my working surface (make sure you protect the surface with plastic bags first) and I keep painting and rotating it on the table, moving upwards, until the outside of the bottle is completely covered. It works like a charm! Do the same for all the bottles you have prepared for this project and let the first layer of paint dry completely.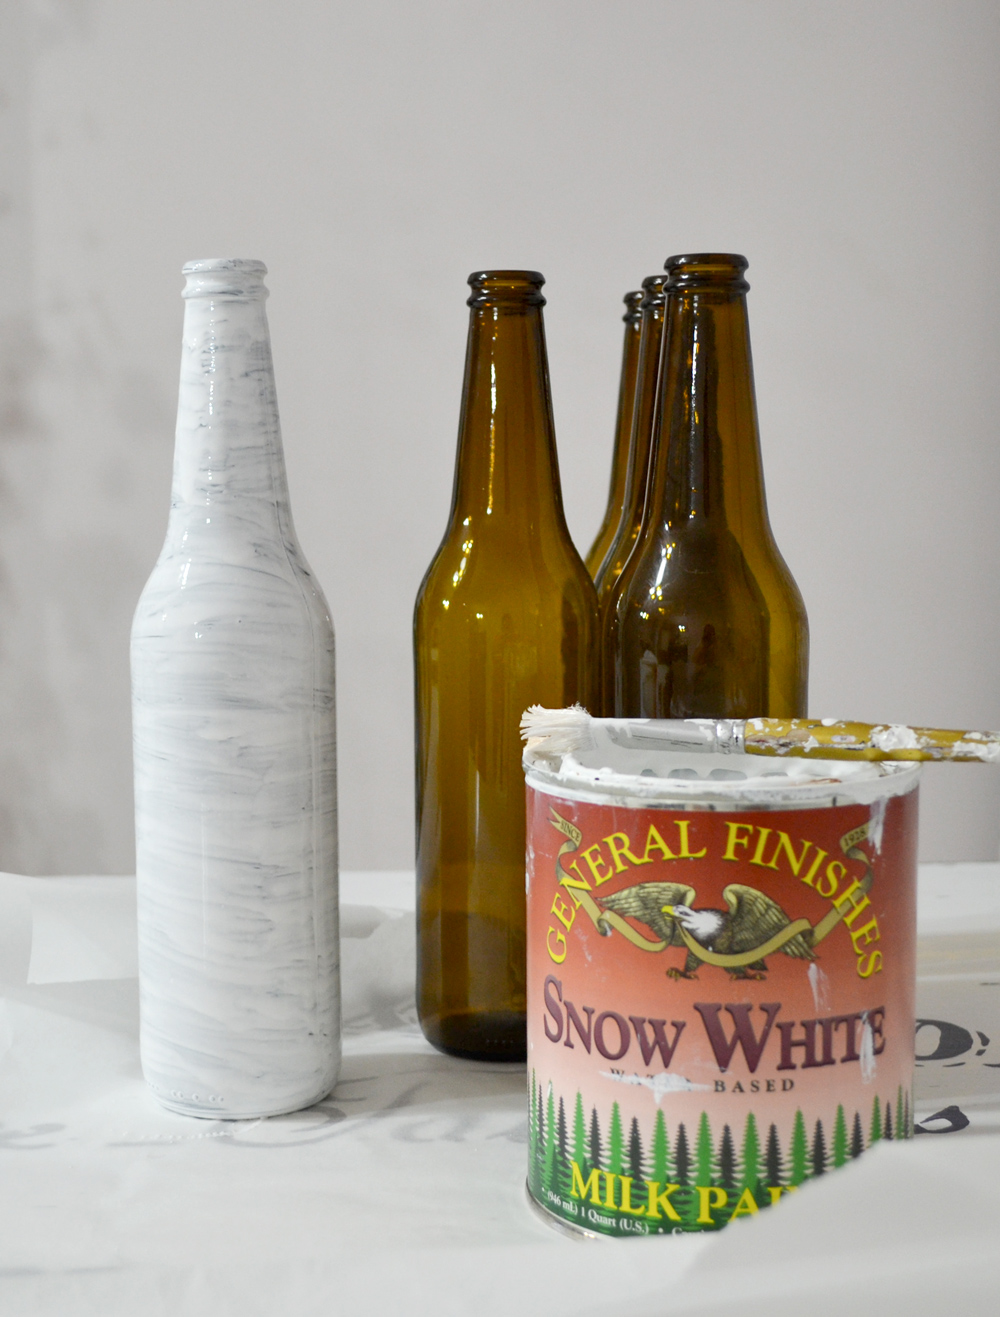
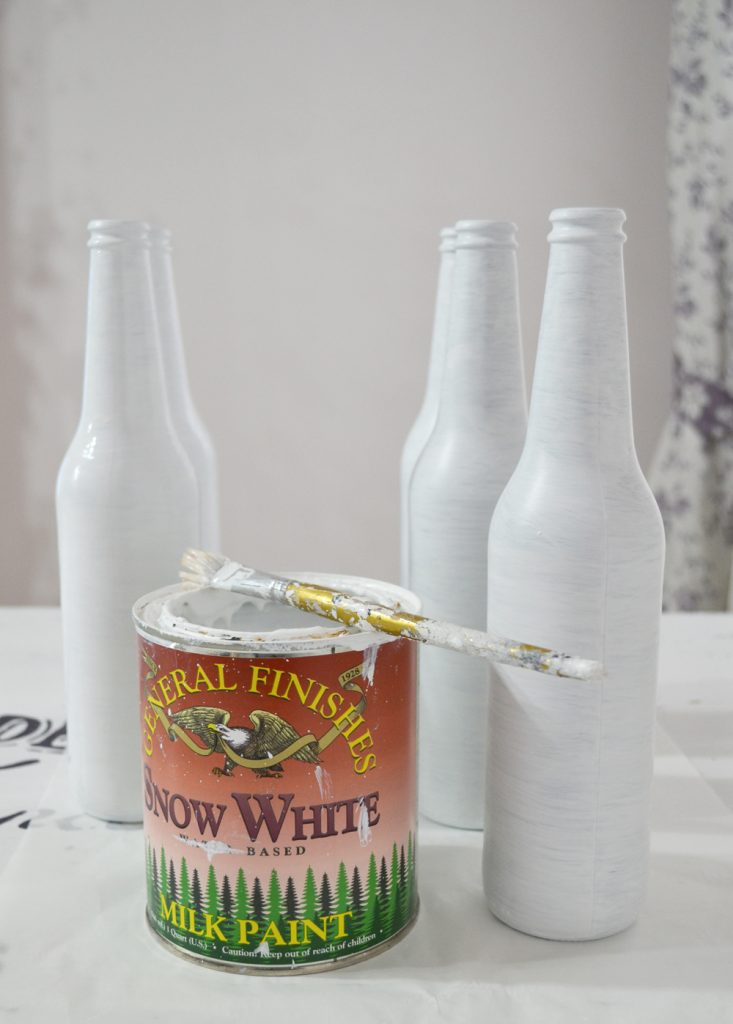
3. Apply 1 or 2 more layers of white paint to get complete coverage (this really depends on what type of paint you are using), but make sure you let every layer of paint dry completely before applying the next one!
I applied 3 light coats of white milk paint to get a smooth and completely covered surface.
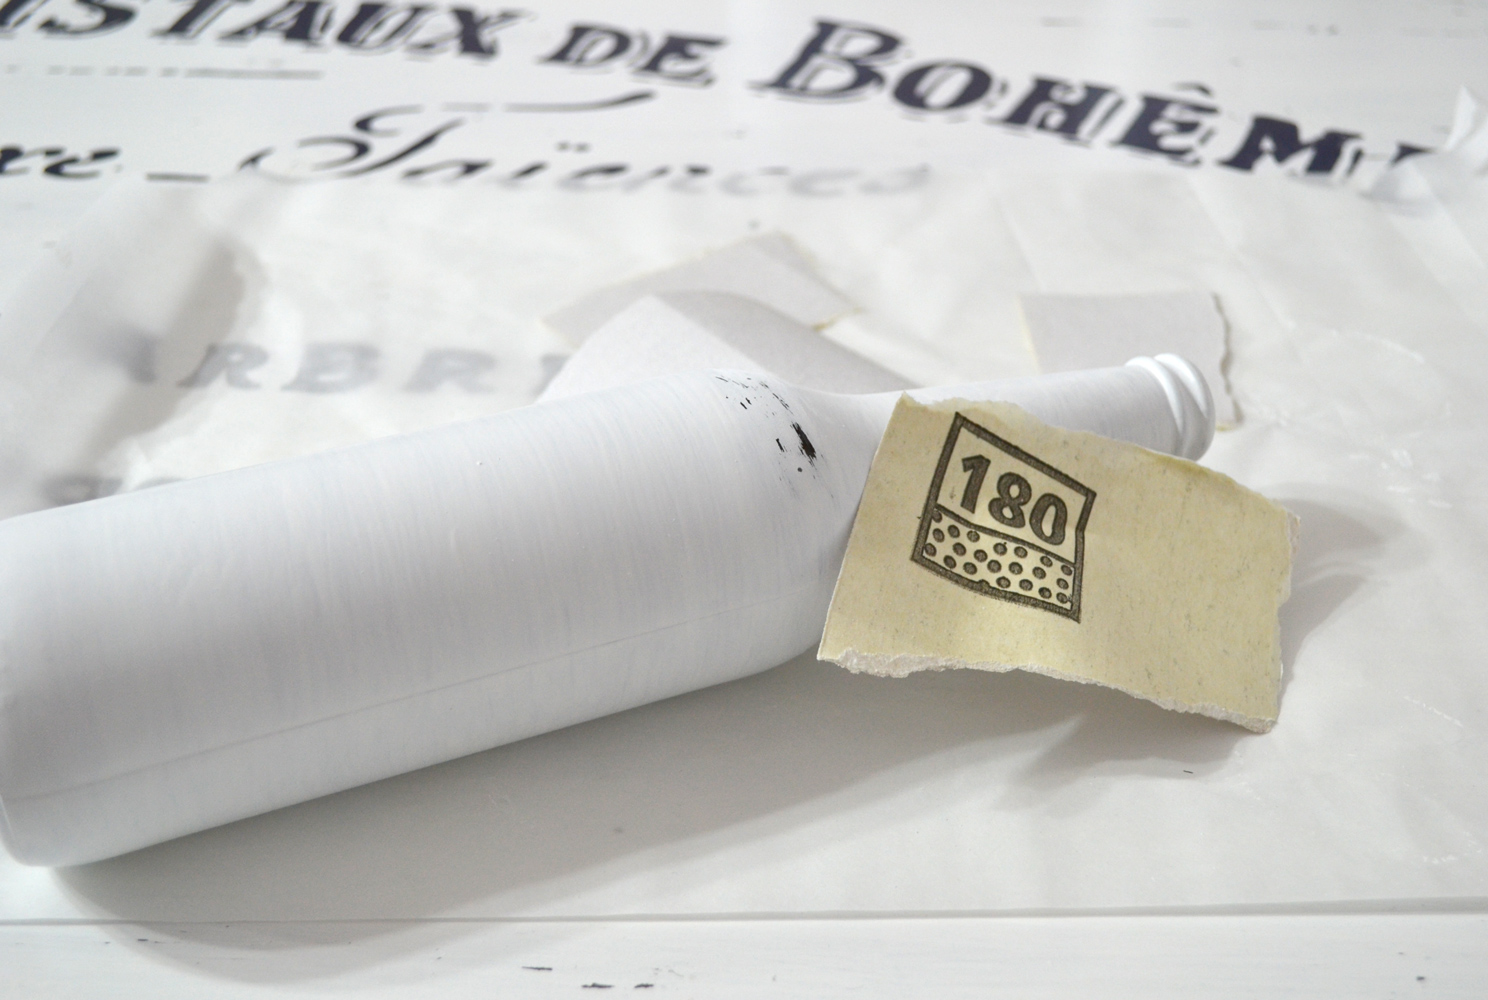
4. Distress each bottle using a 120 or 180 sand grit paper.
As you can see, now the dark side of the bottles comes through! But in a good way, because it will act as our contrasting color and will only help us create that chippy distressed old look that we love.
How much you distress the bottles is totally up to you. Just start by distressing small areas and see where your creativity takes you from there! Play, experiment and have fun! 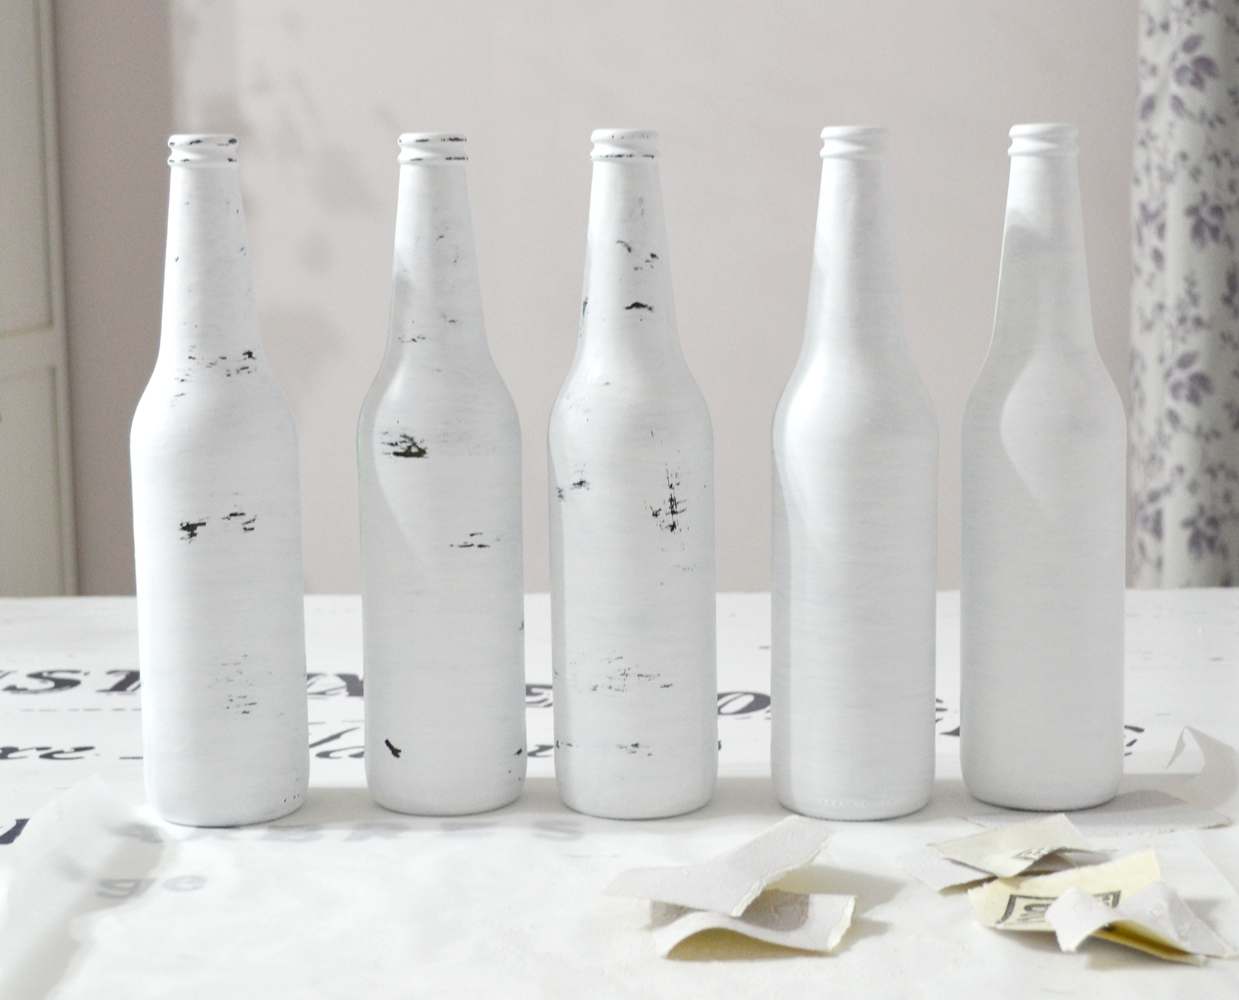
Tips: If you want to try this project but can’t find or don’t have any dark bottles laying around, you can just use clear bottles (or jars) and create your dark layer from underneath by following the steps from my painted Tin Can Crafts post HERE.
Applying the oval French labels
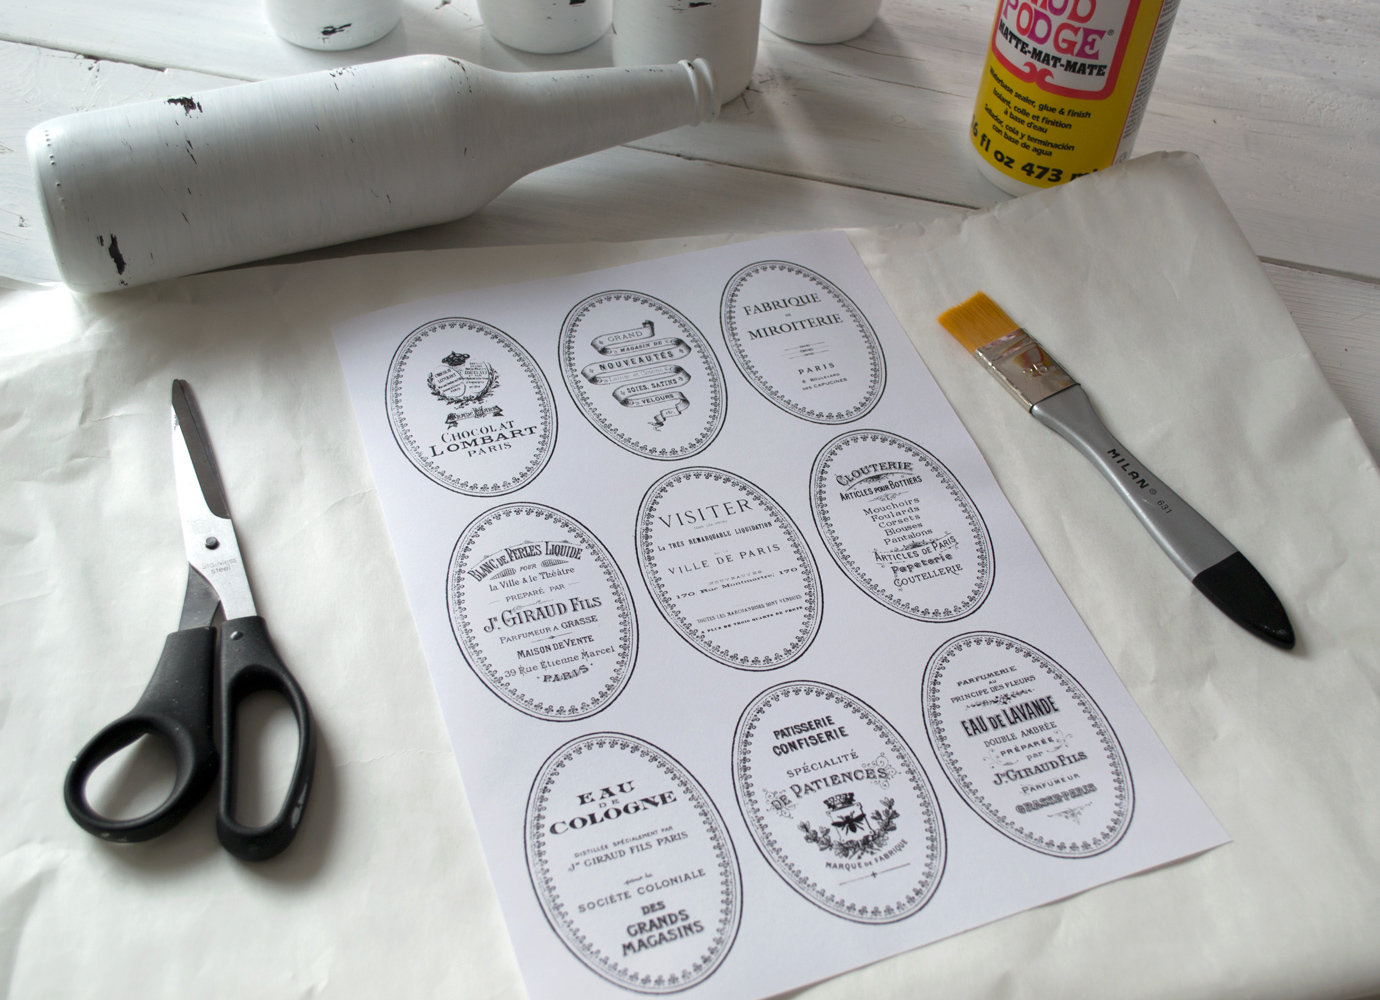
5. Print your beautiful oval French labels on cardstock paper.
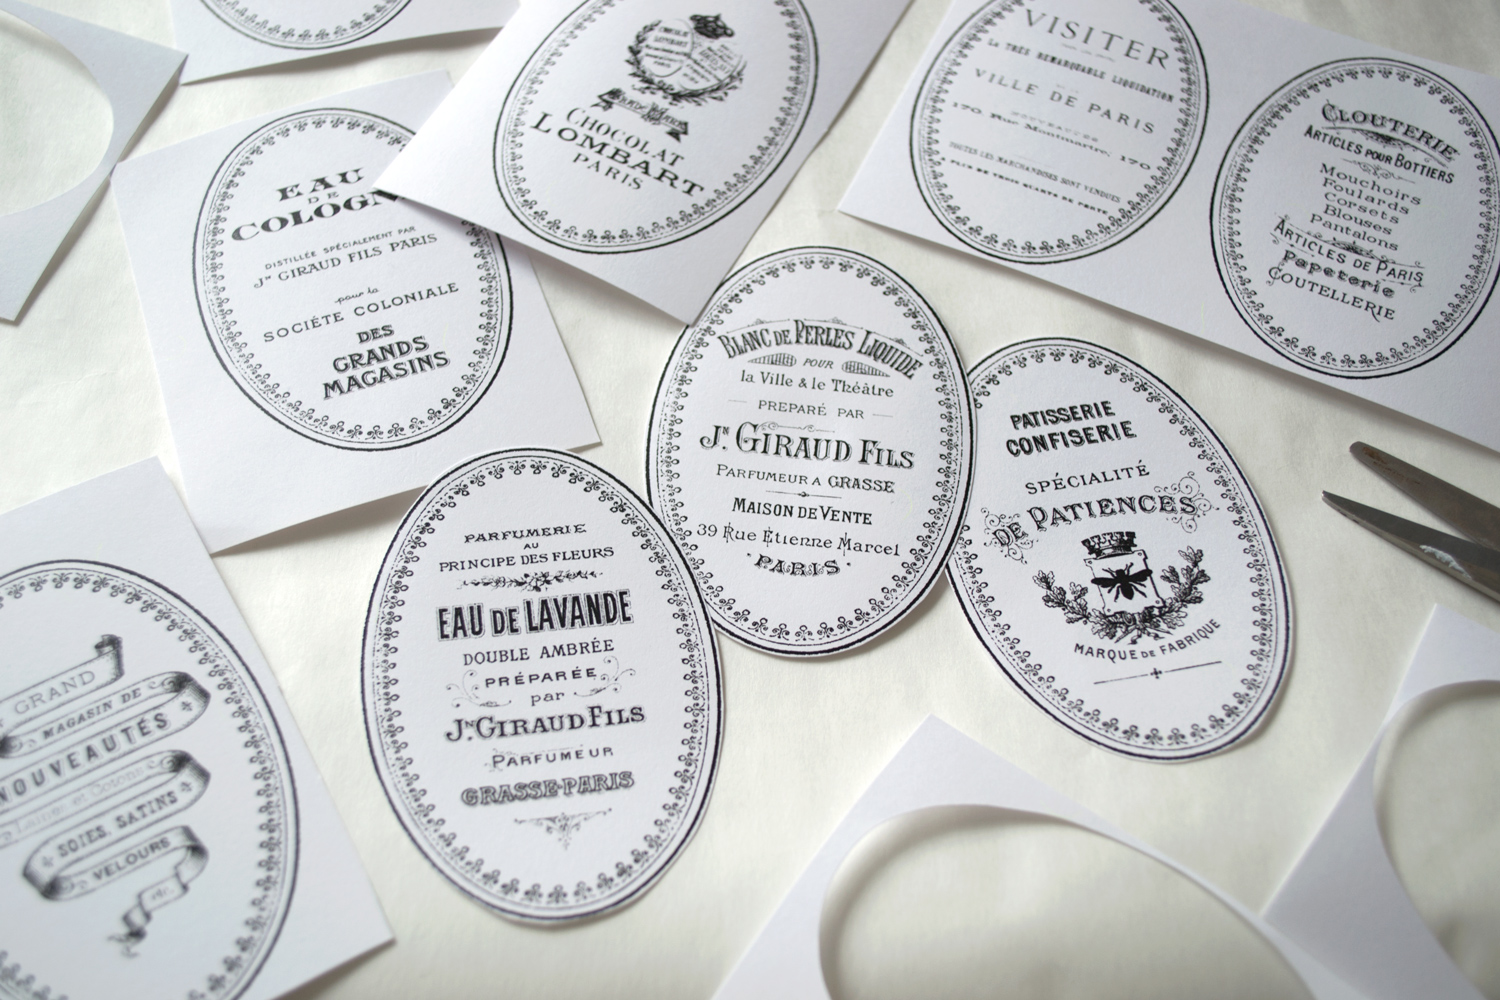
6. Using your scissors, cut each label outside its classy oval frame.
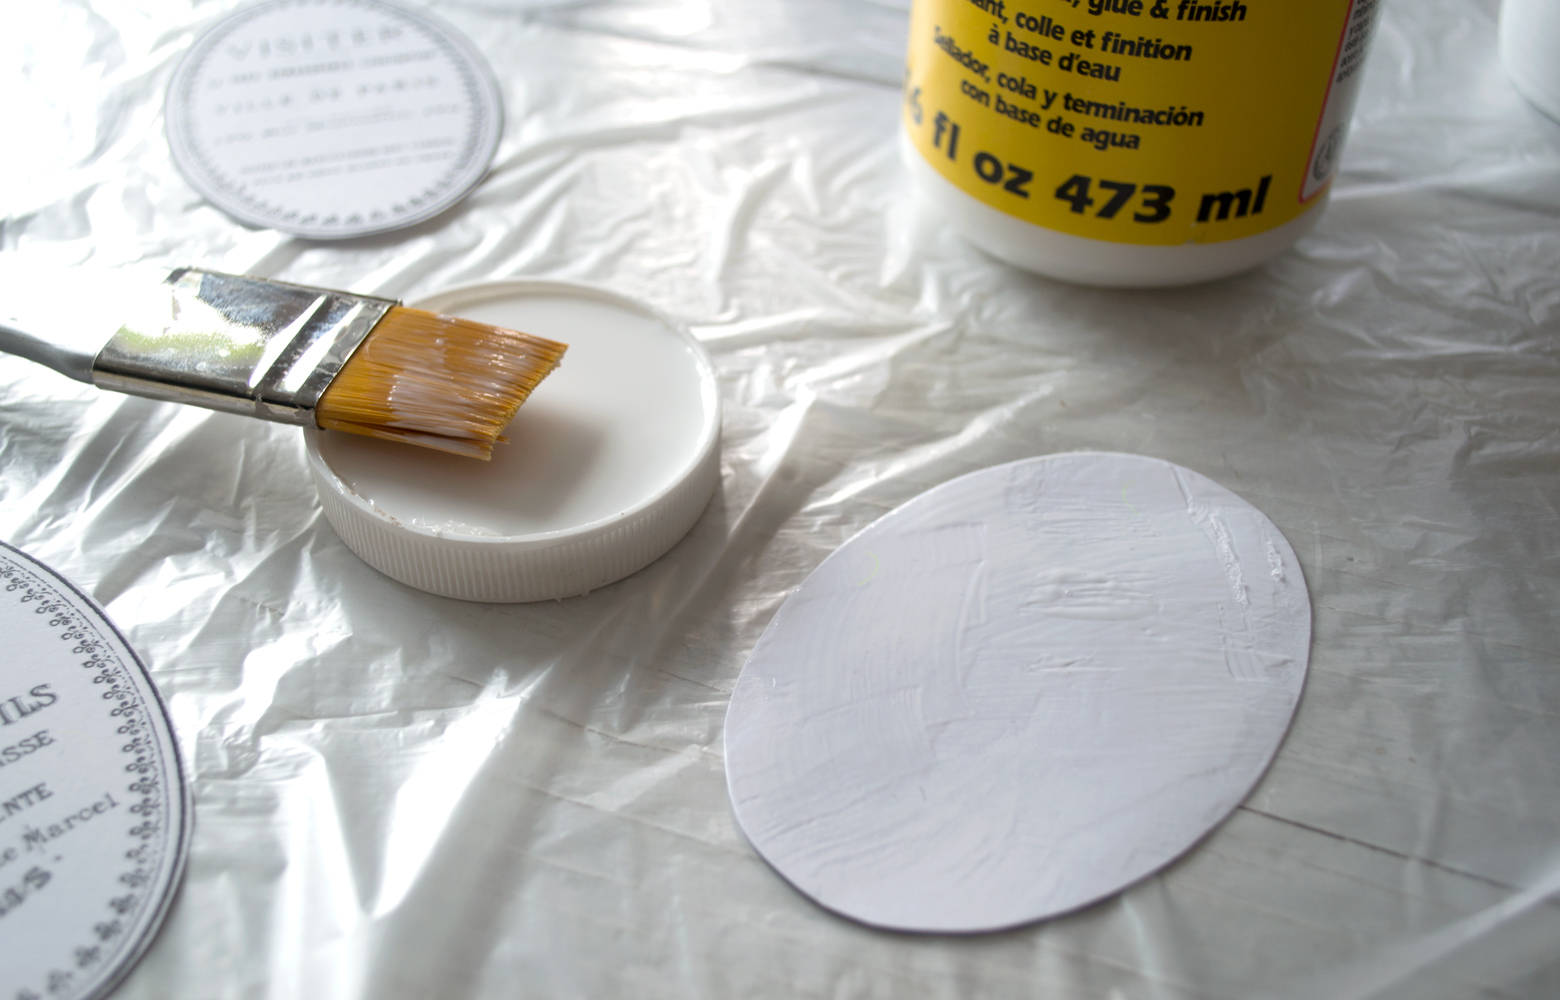
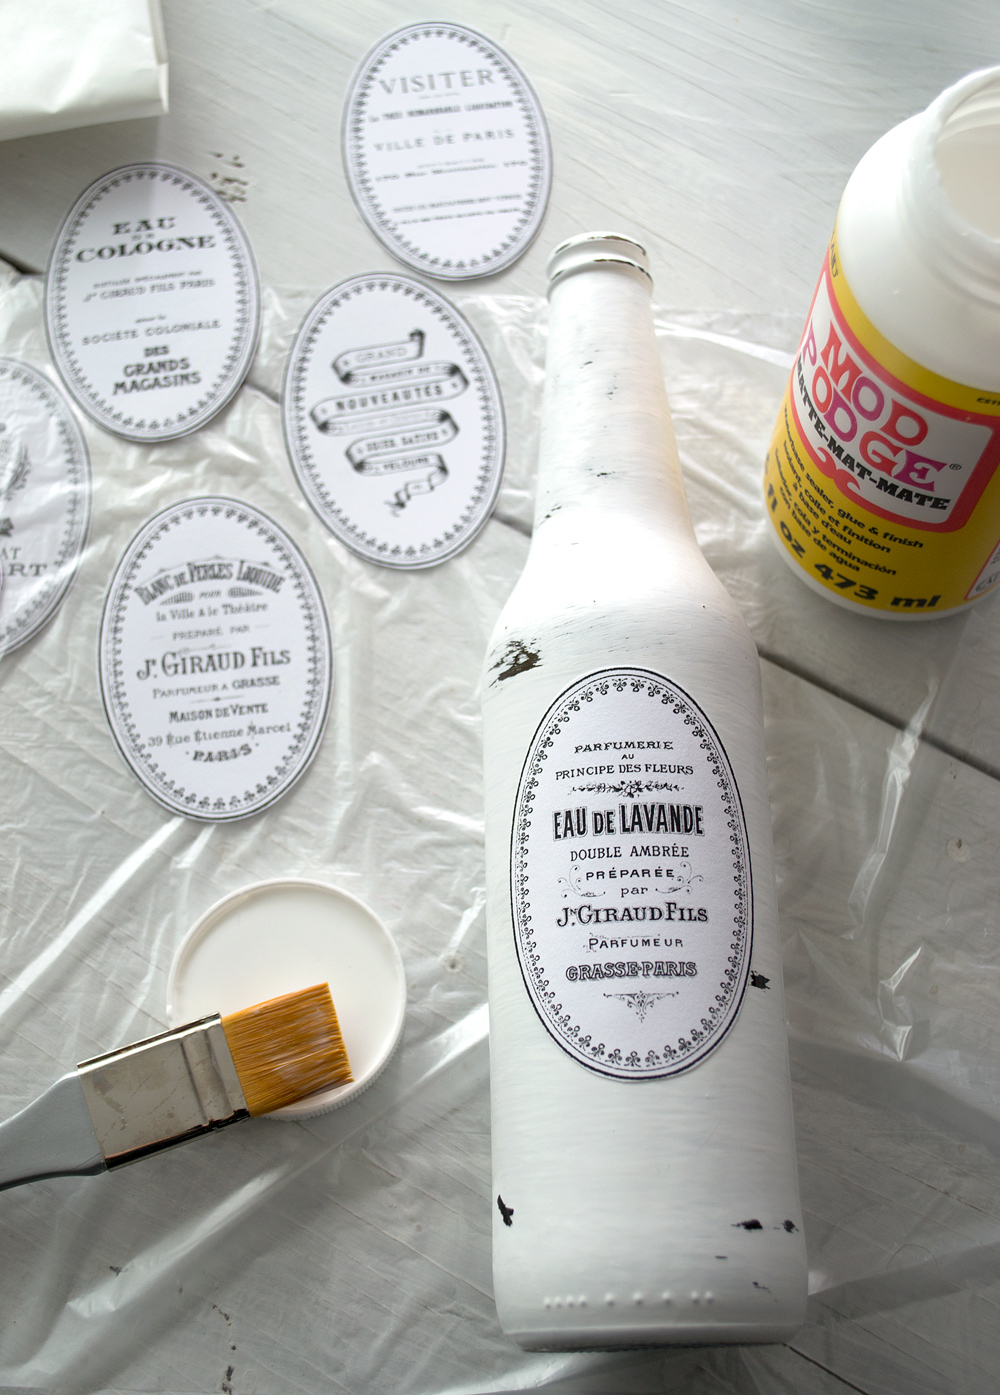
7. Apply Mod Podge on the back of one label and adhere it to one of the bottles.
Use your fingers to gently smooth the surface of the label and remove any air bubbles or glue drips, starting from the middle of the label and moving left – right, then up – down. Apply a little bit of pressure with your fingers to make sure the label sticks to the bottle and let it dry.
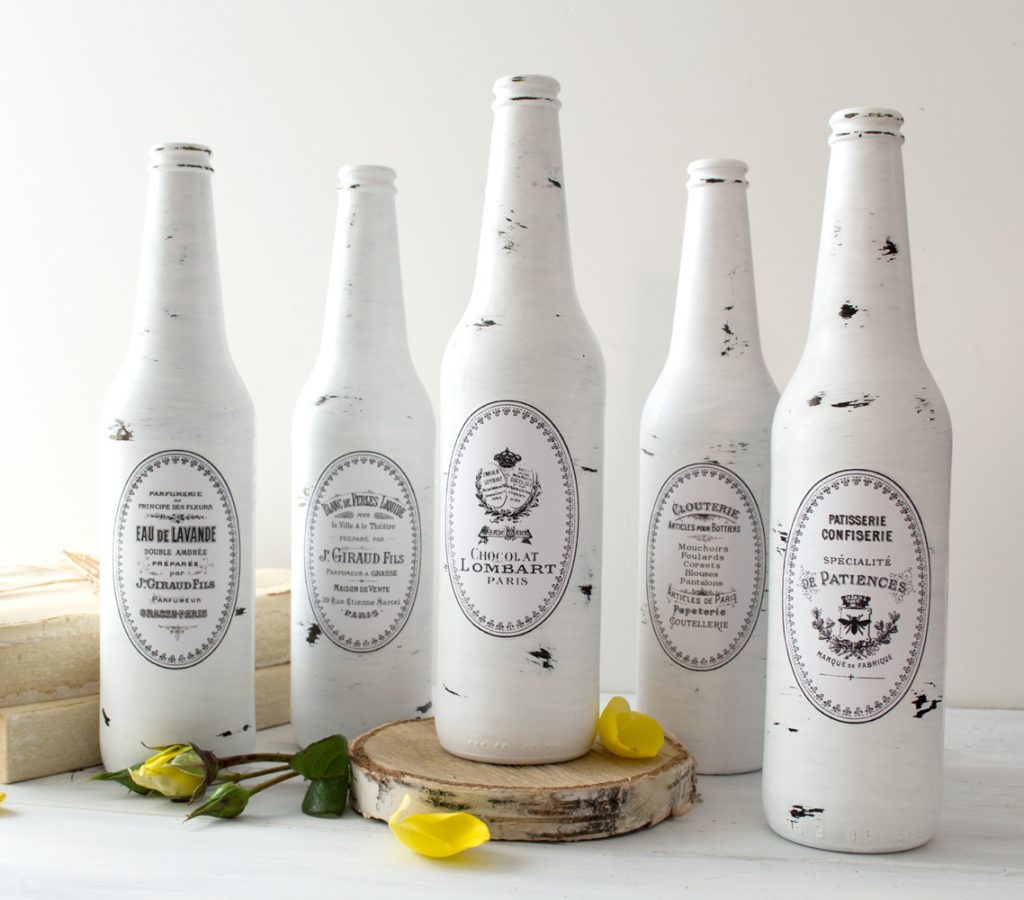
Follow the same procedure for all the DIY painted and distressed French bottles and let the Mod Podge dry completely. Such beautiful decorations!
Tips: For all of you who cannot find Mod Podge in your area, white wood glue (the one that turns clear after drying) works great for adhering the labels too.
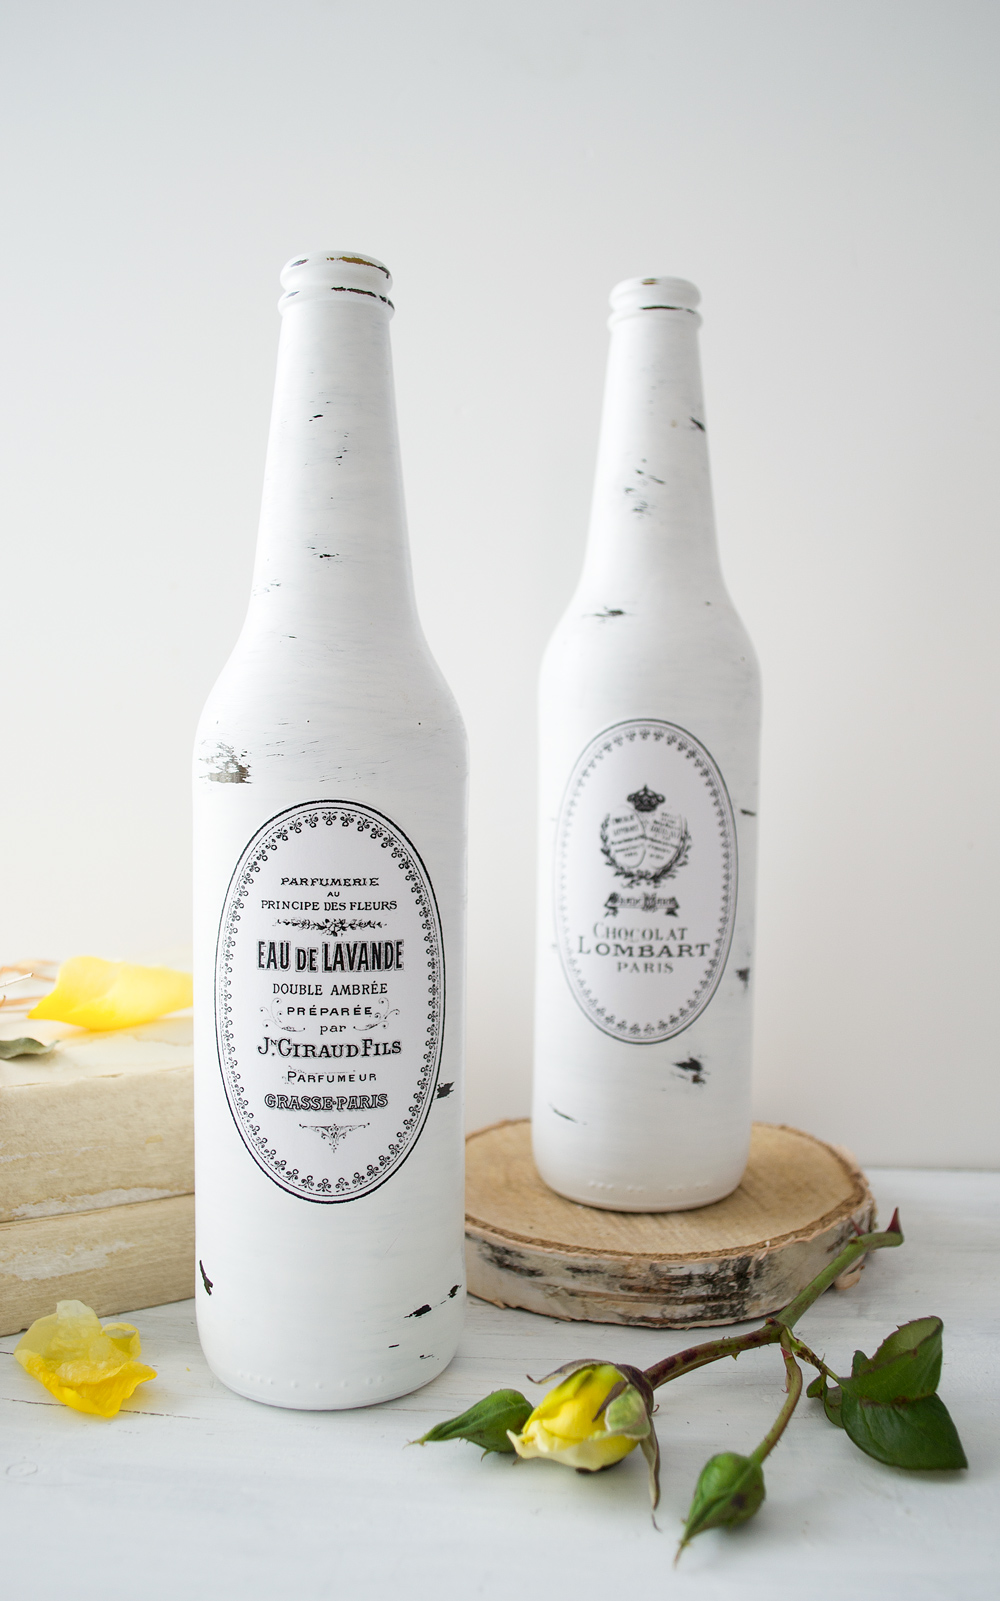
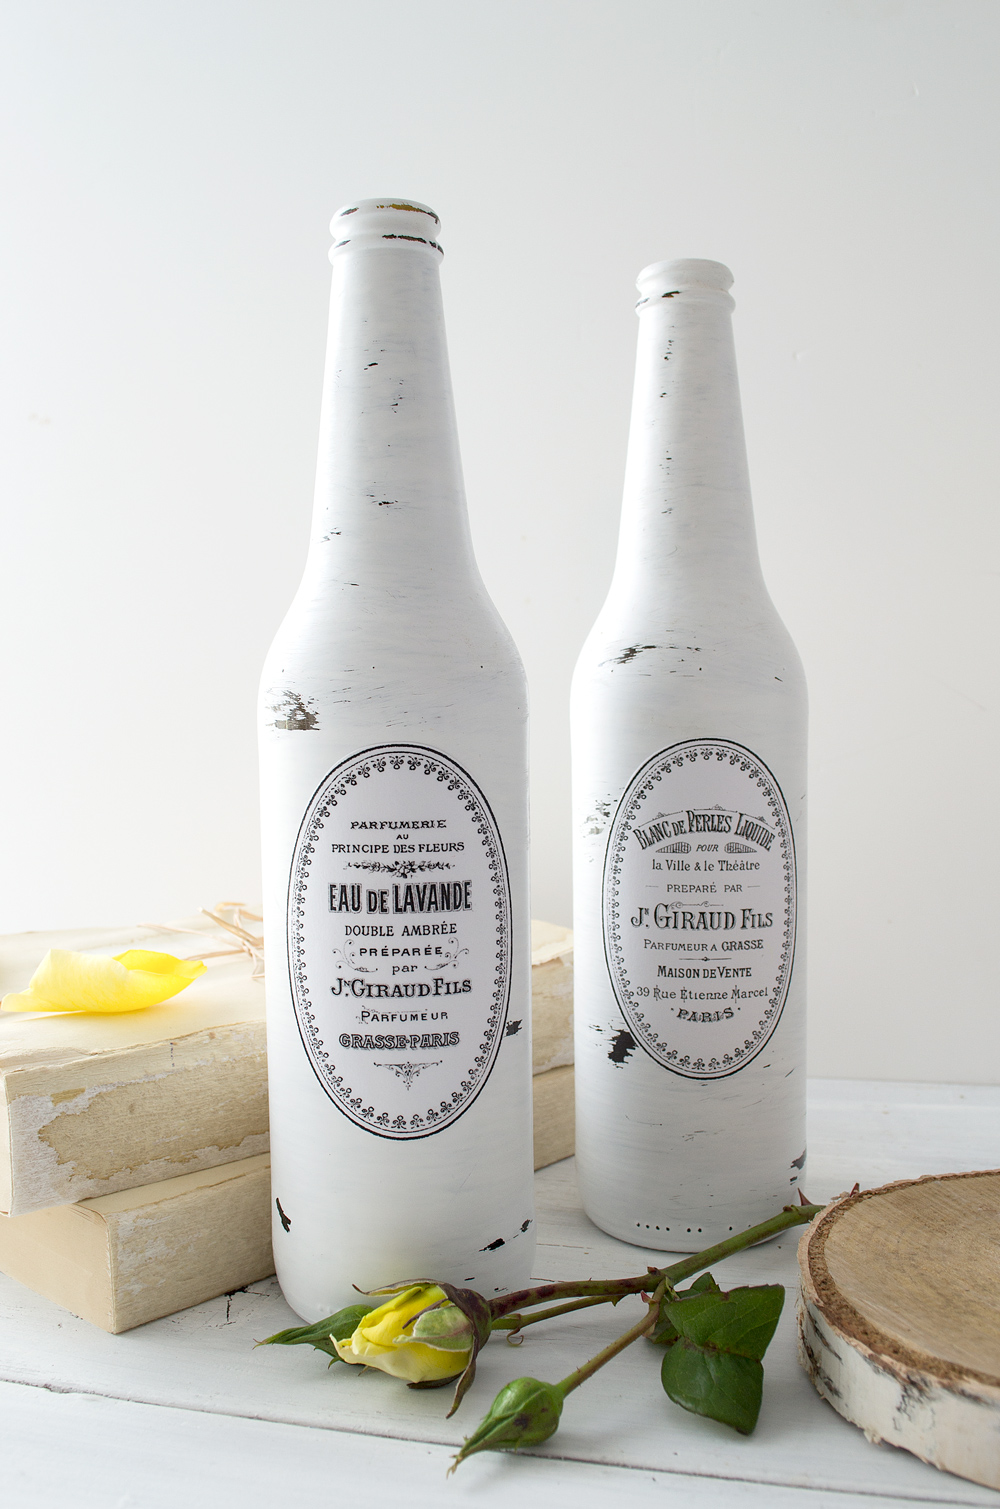
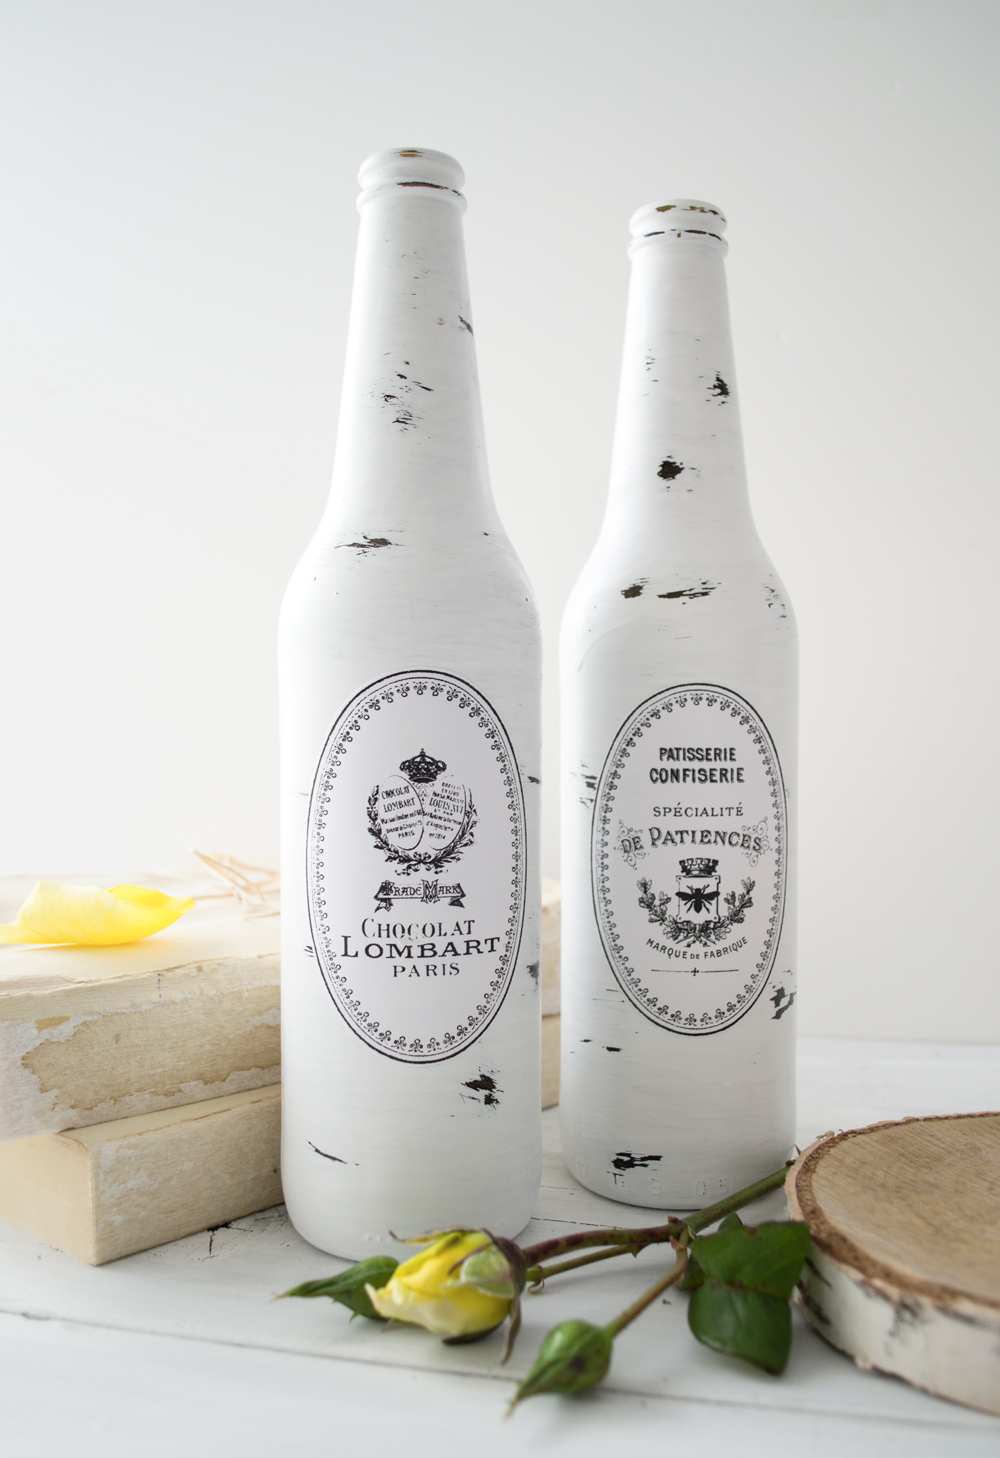
Then sit back and admire your work! Your new painted and distressed French bottles are ready!
If planning of using the bottles for decorative purposes in your home, like I did, it’s not really necessary to seal the bottles afterwards. You just have to be careful so they don’t get in contact with (too much) water if you are using these for a fresh flowers vase, because water might ruin the paint on the bottles and the cardstock labels.
But if you want to take some extra precautions and keep things on the safer side, you do have a few options:
- protect the labels by brushing a generous layer of Mod Podge on top of them before actually gluing them to the bottles
- then use a clear matte finish spray to protect the whole surface (both the labels and the bottles)
This beautiful Distressed Project, will add THAT extra chicness to your home when filled with fresh or dried flower or when integrated into lovely vignettes, any time of year.
Make some for you and decorate different areas in your home, or make them for your friends, these would make the perfect gifts for the upcoming holidays!
What do you think? Does this give you inspiration for those cast off containers in your bin? Do you think you will like painting Wine bottles, or Beer ones?
Hope you like this simple, but classy and super chic Paint a Wine Bottle Project Tutorial! For more similar projects, you can always pay me a visit on Dreams Factory, my blog!
Have fun creating!
Diana


sherry says
Can you tell me what size these bottles were? Were they more of a beer bottle size or a wine bottle. I want to make some of them. I just love them!!!! Thank you for sharing.
graphicsfairy says
They are wine sized bottles Sherry, have fun!
Taylor Young says
I have an All In One Printer but it is an inkjet. Do you think it is necessary to invest in a laserjet printer?
graphicsfairy says
I use an inkjet printer Taylor. It is really a personal decision. Some projects do require a laser printer but most do not. I hope that helps 🙂
Norma Rolader says
Love all your french labels
graphicsfairy says
Thank you Norma 🙂
Cynthia Murphy says
Love all your projects!
graphicsfairy says
Thanks so much Cynthia!
Eileen says
Lovely (and easy!) project. Thank you for the great labels and tutorial.
graphicsfairy says
Thanks so much Eileen, Diana always amazes us all with her beautiful projects!
Libby says
Thanks for sharing………….will have to do this!
graphicsfairy says
Thanks Libby, have fun!!