Paper Craft Techniques – Distressing Paper
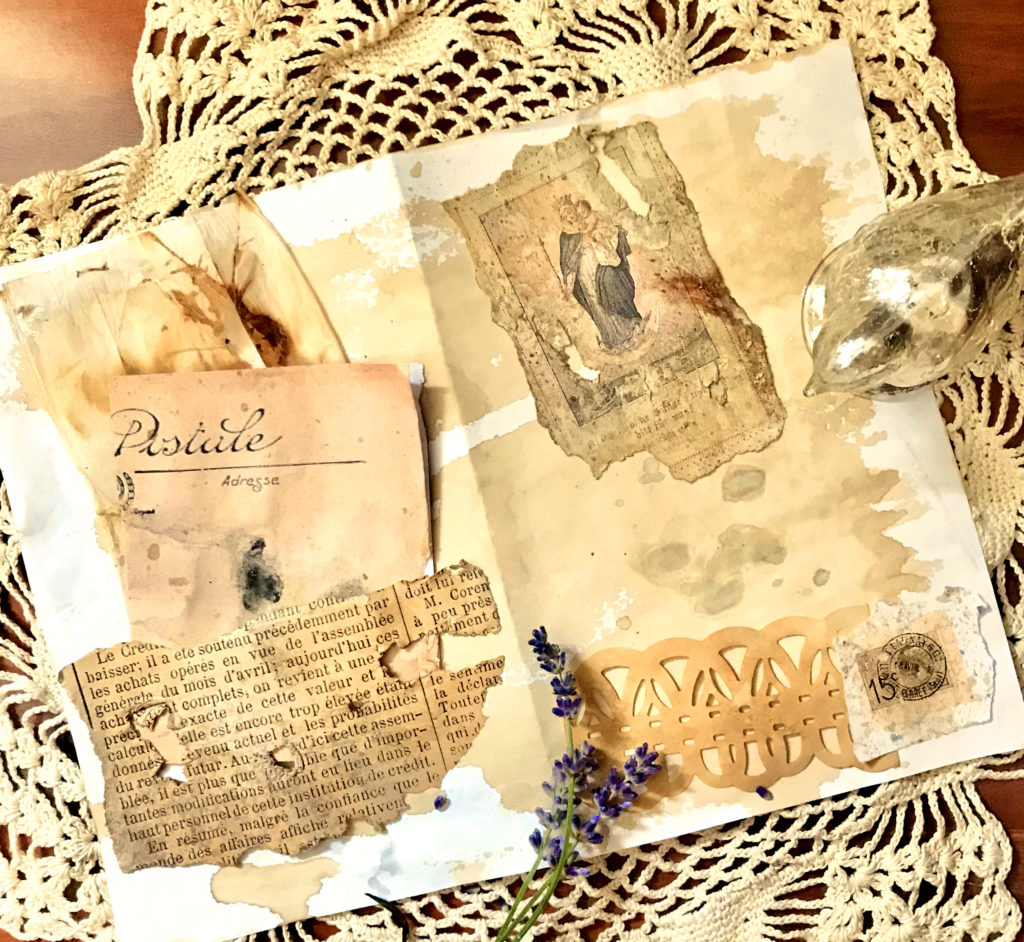
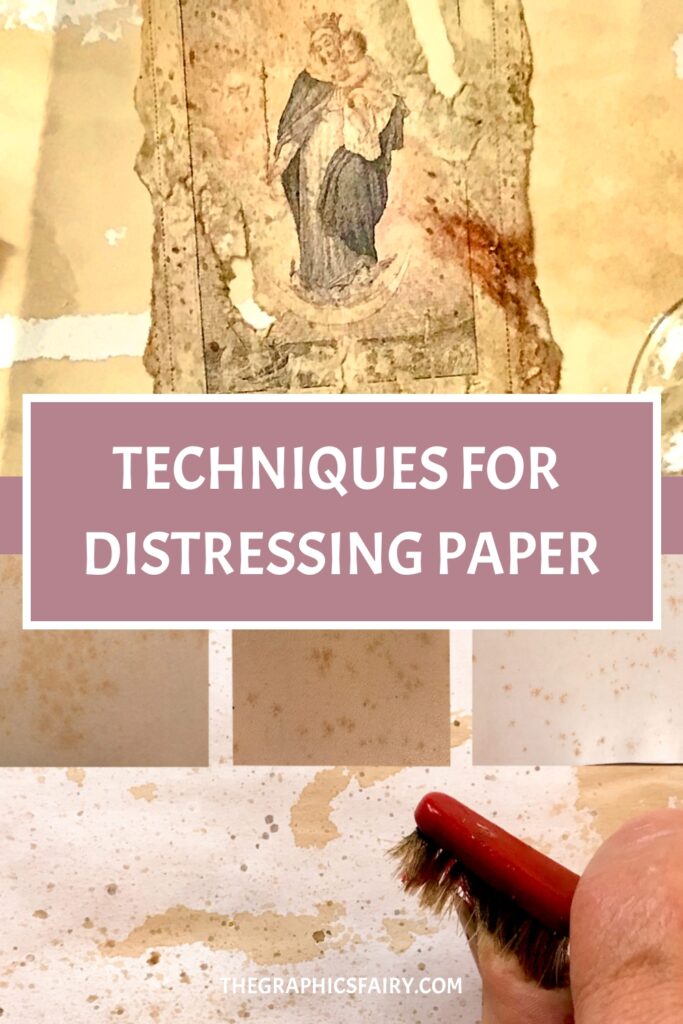
Hey y’all – It’s Rebecca E Parsons to share one of my favorite Paper Craft Techniques – Distressing Paper! We take a deep dive into paper play and learn how to add more life to your paper crafting. Personally, I love figuring out ‘faux’ techniques to duplicate old pieces of paper I find. I use these Paper Distressing Techniques in my Mixed Media art, Junk Journals, and Collage projects. Below is a beautiful Graphics Fairy Image that has all three of my distressing paper techniques applied to it along with strategic paper tearing and ripping.
Old Paper
What is the sensory experience of a piece of old paper? For me, holding a piece of vintage paper hits all my senses. I love the scent and crinkle of it in my hands. The colors excite my eyes. Although I can’t taste it, my 6th sense brings a deep love of and connection to the old fibers and, perhaps even the paper maker. Oh my! I think that my choice of careers (graphic design) was influenced by my love of old books, paper, and even ink. Someone once kidded me that I had ink in my veins. Perhaps I do… I have included some actual antique paper samples in the techniques below for you.
Mimicking the History of Paper
If you don’t have old paper or old books, take some time to visit antique book stores and look at the pages. Take along a pair of white gloves. Snap a few photos if allowed. From my research and abundant collections I developed a few distressing paper techniques for my bookmaking projects. My journals are filled with high-fiber papers that are aged lovingly…way beyond tea staining. Today I want to take you into my world and show you what I do to imitate the aged papers I love. You might want to review the first post in this mini-series, which shows Paper Tearing Techniques HERE. Let’s get started…
Supplies
Paper – TGF images printed on high quality paper (24 lb minimum)
Golden Fluid Acrylic – Raw Umber, Burnt Sienna, Paynes Gray, Phthalo Green, White
Strong Coffee (3 oz instant coffee, 3 cups water) or Tea Dye Solution
Water
Artist Brushes
Old Toothbrush
Fine Sandpaper
Household Vinegar
Isopropyl Alcohol 99%
Eye Dropper
Prepare the Paper
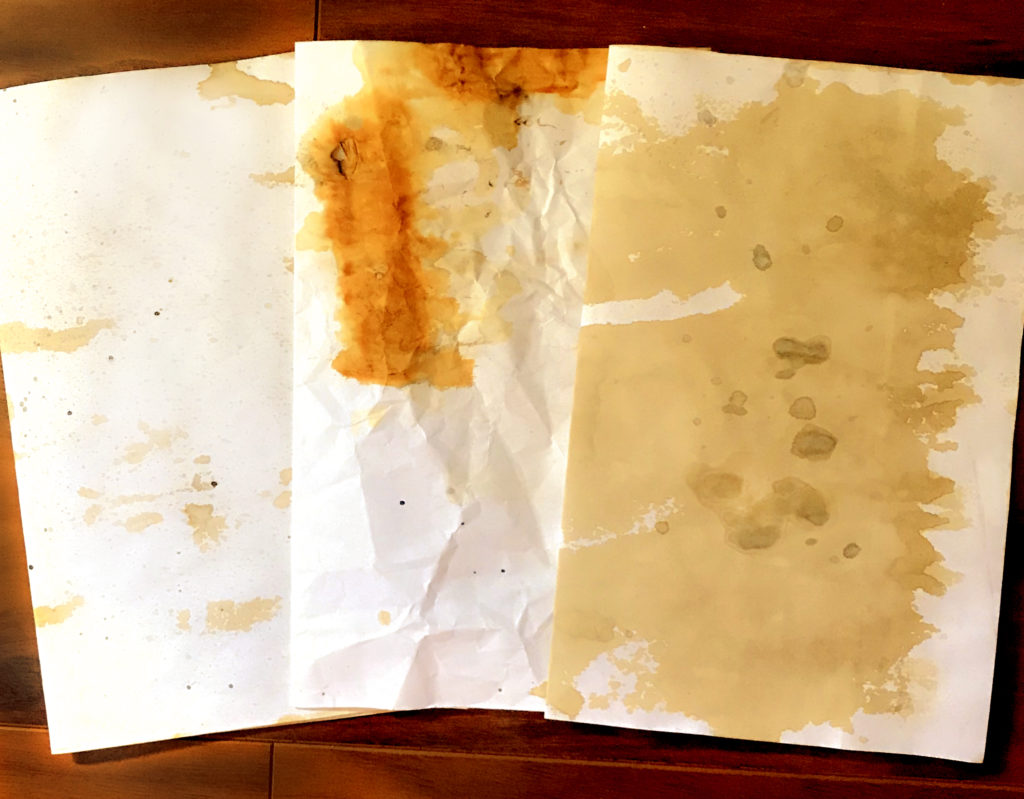
For me, a high cotton fiber content paper works best. I use 32 lb. woven resume papers for my books. Mixed Media paper also works well. I prefer a high-quality, highly-pigmented, artist grade acrylics for these techniques. Golden Fluid acrylics are perfect. However, you can use any you have on hand. The fluid acrylics only need a drop or two to make a richly hued wash. I prep the paper and images from The Graphics Fairy archives that I print on a laser printer by brushing with a dense coffee or tea solution randomly over the surface to stain. I drip and drop some spots also. Allow images/paper to dry completely before moving on to the paper distressing techniques below.
Distressing Paper Techniques
Foxed Paper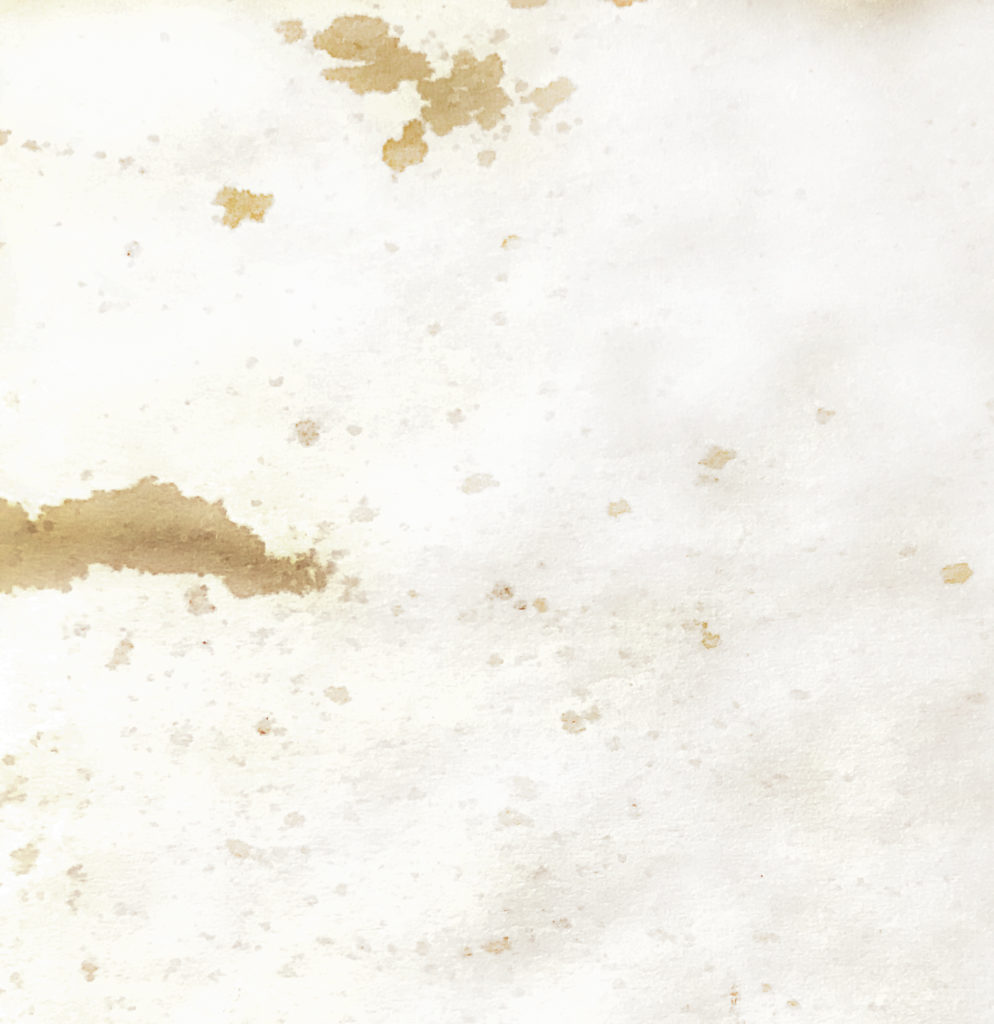
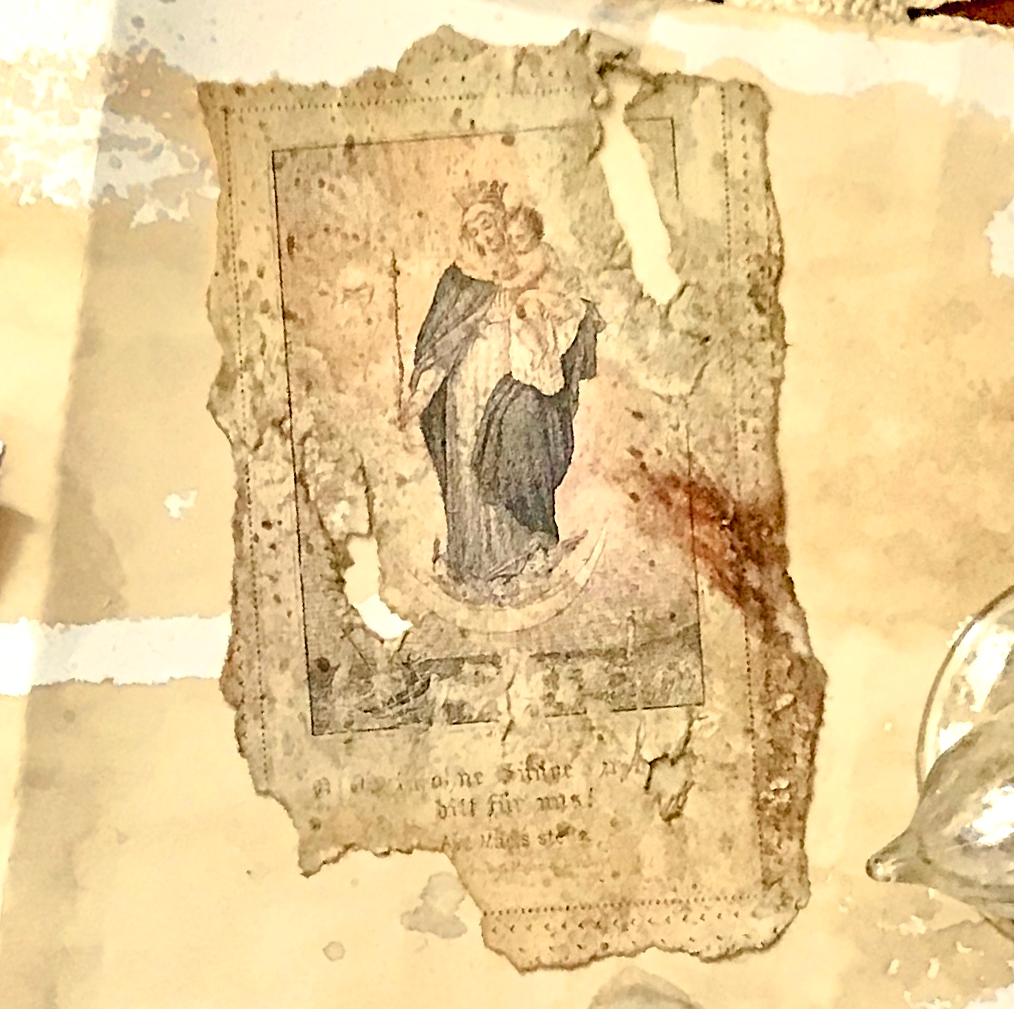
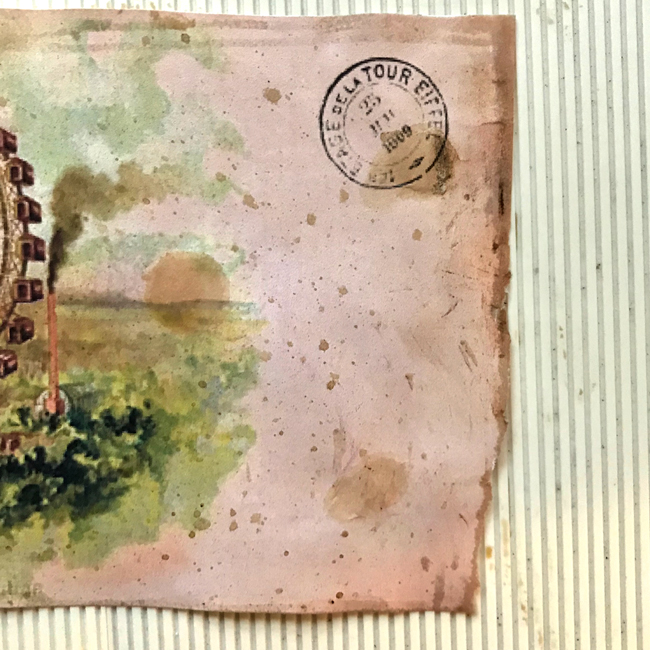
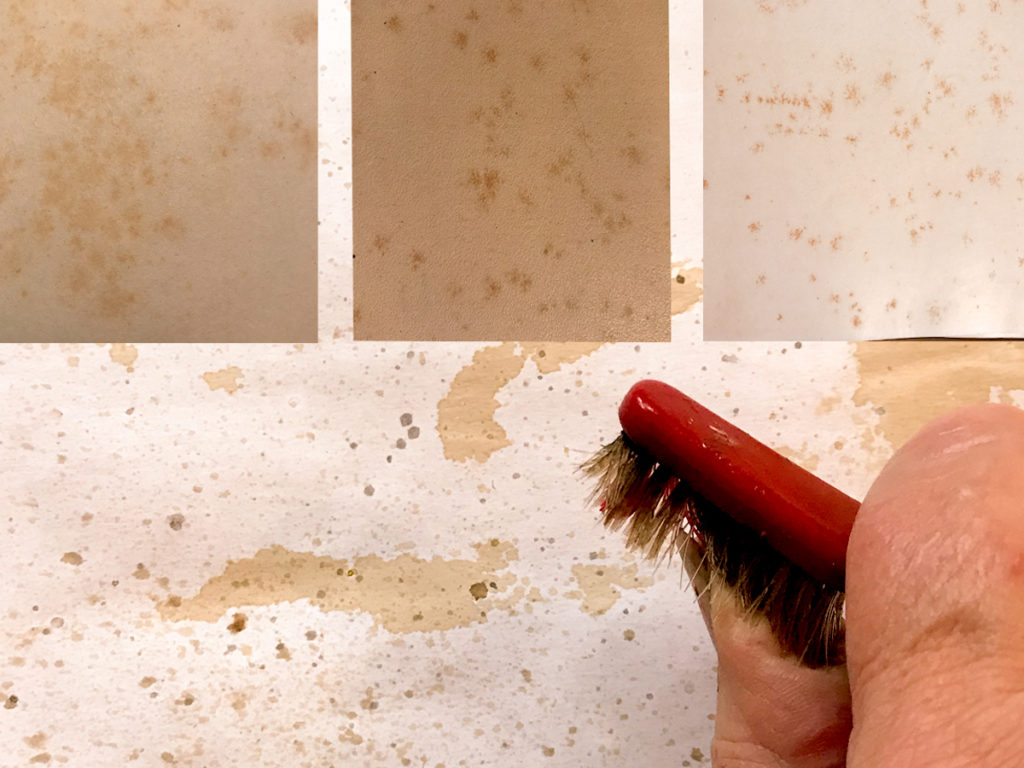
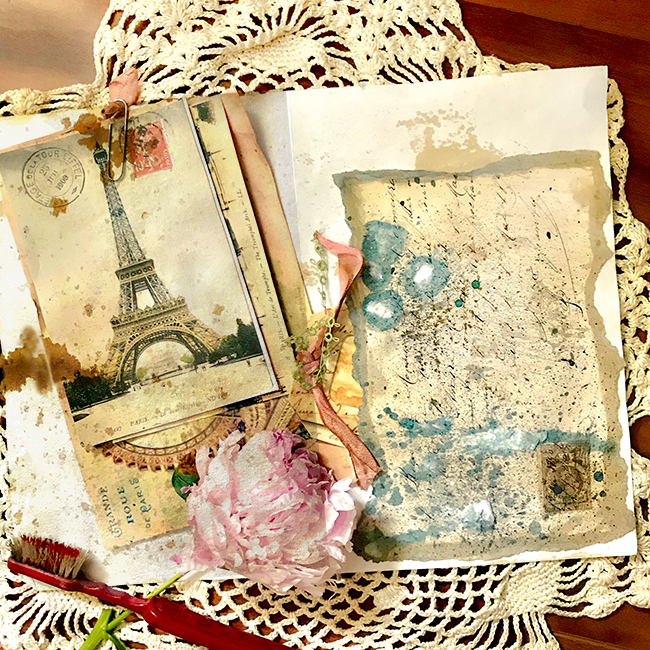
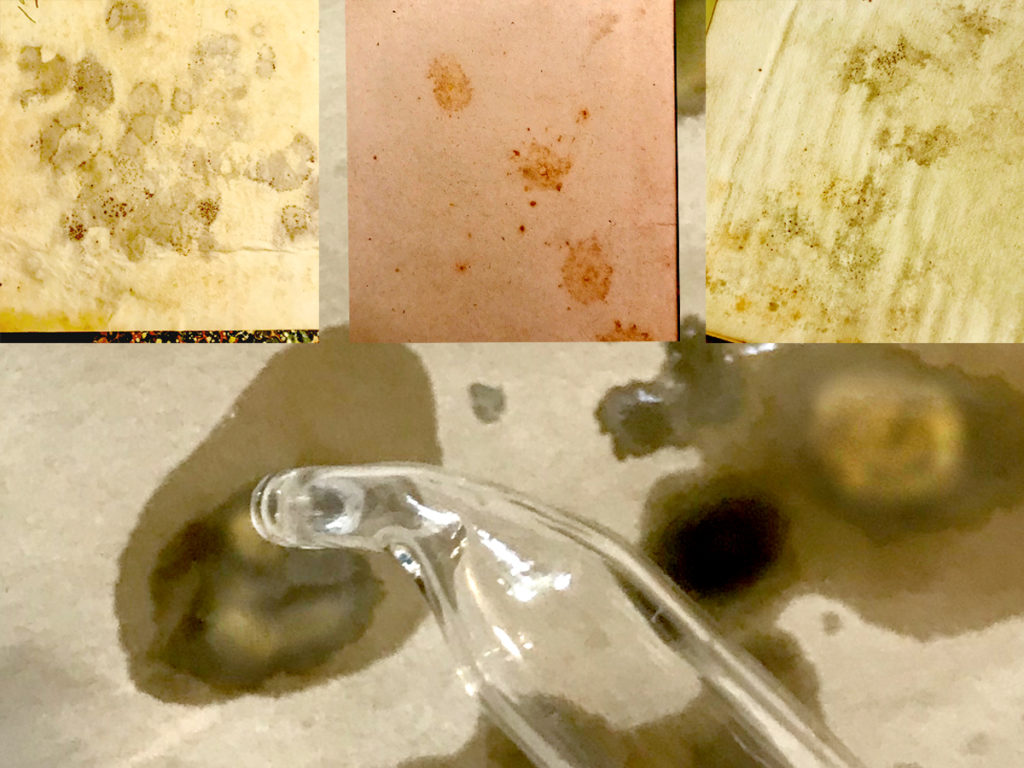
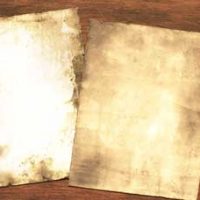
Foxing is an age-related deterioration causing tiny brownish or grayish spots on paper. To mimic this age, I use Raw Umber, Burnt Sienna, and other Acrylics, or craft acrylic diluted with water to the consistency of ink. You can also use the strong coffee dye that is used for aging paper. I use an old toothbrush to flick the inky paint onto the surface. TIP: I flick the loaded brush a few times on a scrap of paper before going to my image. TIP: The closer the brush is to the surface, the finer the spatter. Tear edges if you like. The first post in this series is about Paper Tearing Techniques HERE! The top images are actual vintage foxed papers. As a result, you see the image I created above of the dried faxed paper.
Please see the results of this technique on a junk journal spread below.
Rusting Paper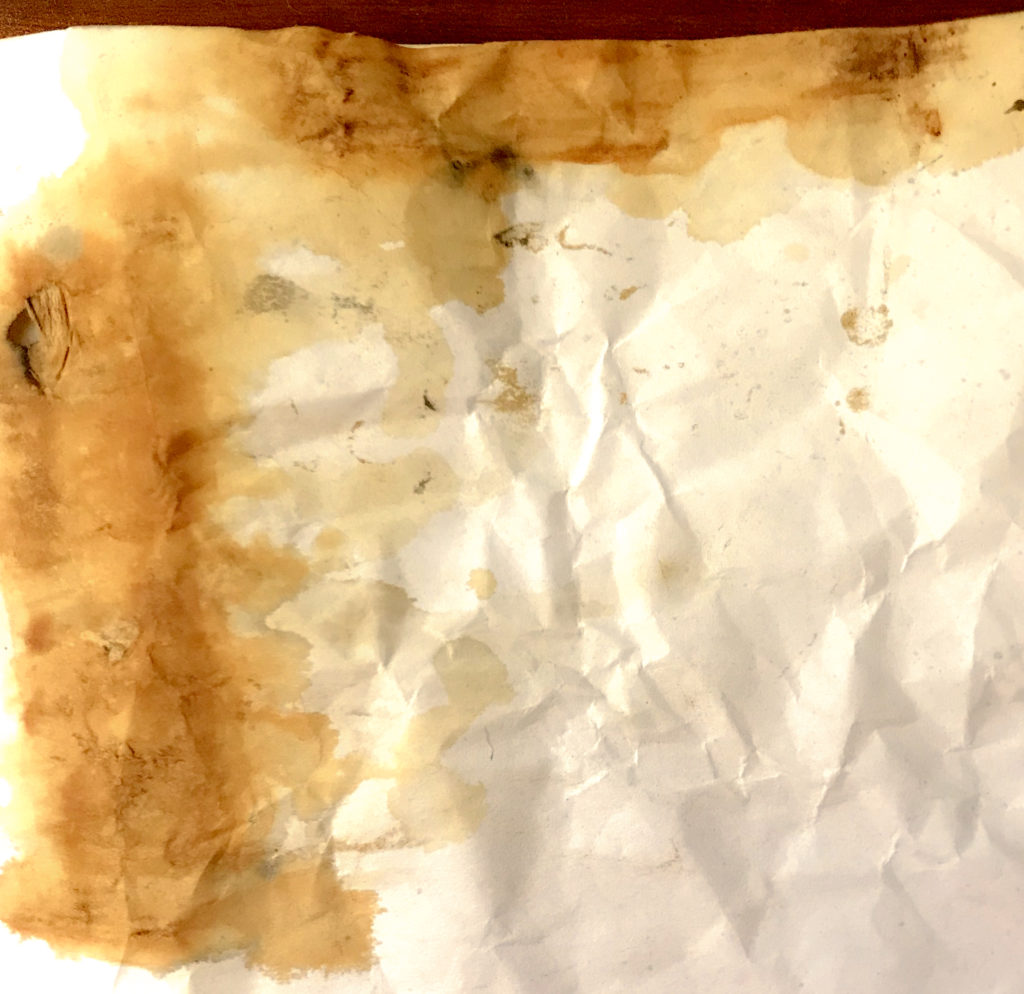
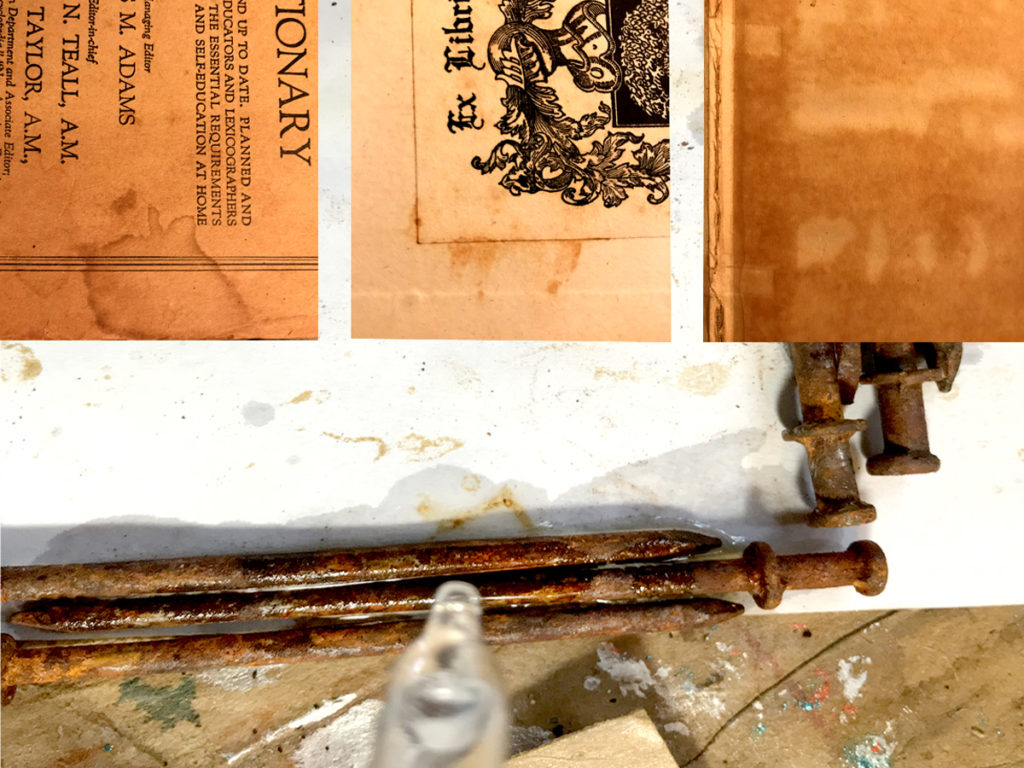
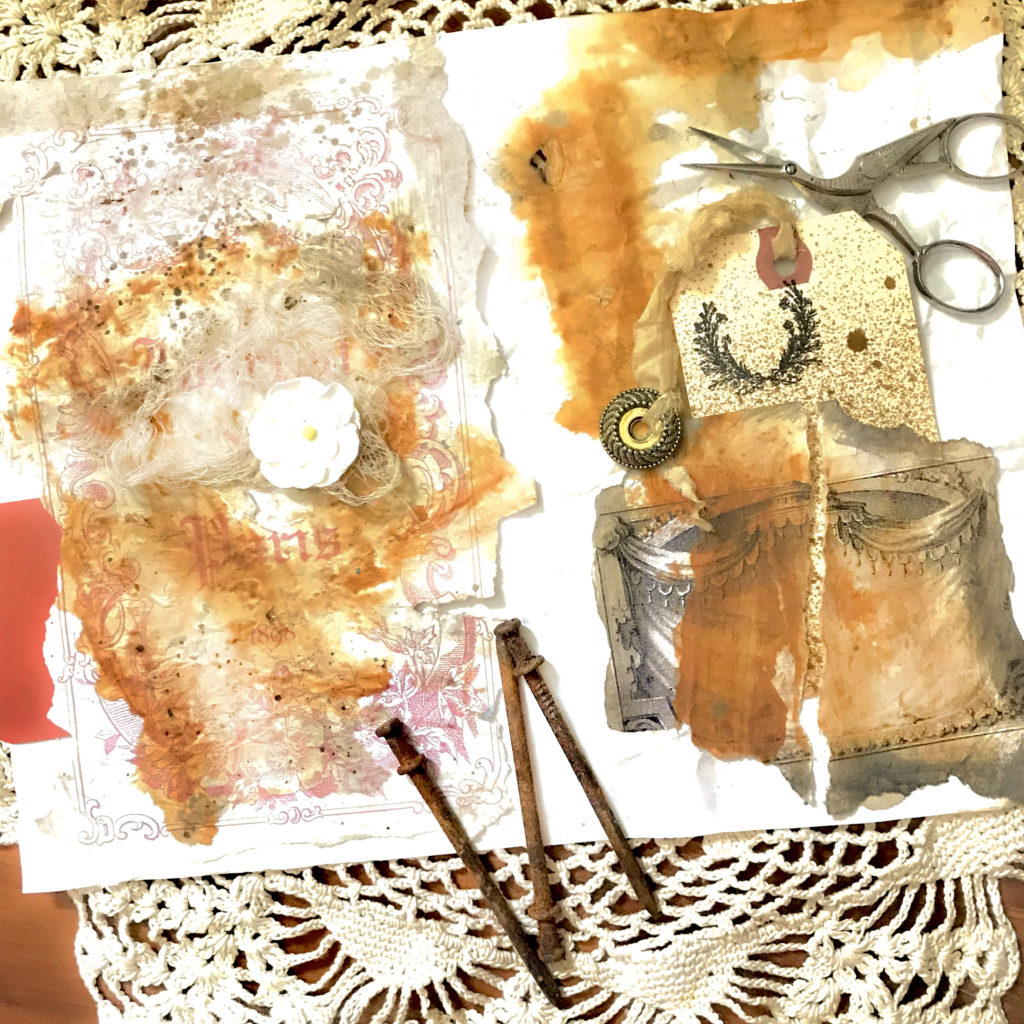
Rusting is an age-related deterioration of paper, which creates reddish-orange stains on paper. I use rusty bits of metal to accomplish this. Arrange the rusty metal on the paper as you want. TIP: I like to do at least one patch along an edge. Wet the paper and the rusty bits with vinegar from an eyedropper. Then allow to dry naturally. This might take an hour. TIP: You may hurry the process along with a heat gun if you like. Remove metal and gently rub the surface with a soft rag to ensure the rust is fully embedded in the fibers of the paper. Tear the edges if you like. The top images are actual vintage rusted papers. The background occurs from dropping vinegar on to rusty nails. The image pictured above is the dried rust paper that I created.
See the results of this technique on a junk journal spread below.
TEARING TIP: I wet the edges and gently rub the surface with sandpaper. Sometimes I run the tines of a fork from the edge of the paper outward in a few spots. I might also poke a hole or two with my fingernail or the edge of a rusty nail. Just don’t get carried away with poking. WINK!
Mildewed Paper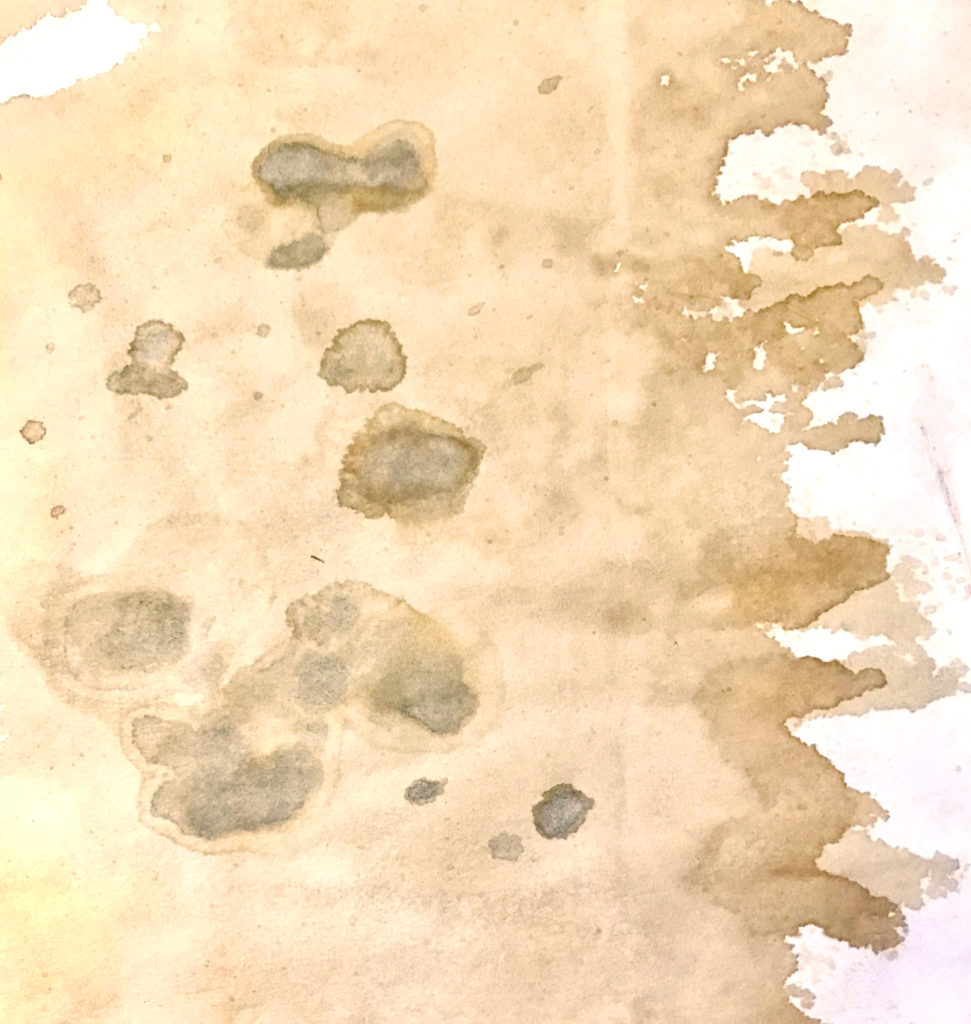
Mildew is an age-related deterioration causing greenish-bluish-purplish-brown textured stains on paper. To achieve this look, drop spots of acrylic paint on the paper/image. Immediately drop alcohol onto the center of the paint drops. TIP: Use an eye dropper for more precise positioning. This will dissolve the paint in natural ways. Allow to dry. Similarly, spatter with raw umber inky paint or coffee stain as we did in the Foxing Paper technique. Use your judgement on the amount you want to spatter. After the paper stains, but while the paint is still wet, I rub the surface with sandpaper to open up a few holes. Tear and rip edges if you like. The top images are actual vintage mildewed papers. The background displays the magic of alcohol on acrylic paint. The resulting image above is the dried mildew paper I created.
See the results of this technique on a junk journal spread below.
Hopefully, you can see that Distressing Paper is fun and a little addictive. I want to help you to think outside the box when imitating the age of vintage papers. I will be back next month with another cool Paper Craft Technique. Happy creating!
You might also like How To Age Paper Technique HERE.
I also create Photoshop Elements tutorials and craft videos over on The Graphics Fairy Premium Membership site. You can find even more of my art, DIYs, and whimsical shenanigans on The Bookery


Robin Palmeri says
I have a question??? I purchased (in a box from flea market) a 1912 marriage certificate by the Catholic Church that has been rolled up, probably, since that time. To unroll it breaks at every roll. It is already damaged enough. So my question is how to unroll it with out further damage …if possible.
graphicsfairy says
I am not sure Robin, you may want to contact a professional. Good luck!
Linn Chapel says
The Marian image attracted me in the newsletter and I followed the link to your post – so glad I did. I really like the look of the techniques. Great stuff!
graphicsfairy says
Thanks so much Linn 🙂
Nancy Wethington says
Fabulous tutorial. Just started getting into junque journals and this information is invaluable. Thank you so much.
graphicsfairy says
Thanks so much Nancy, have fun!