Keys Printable
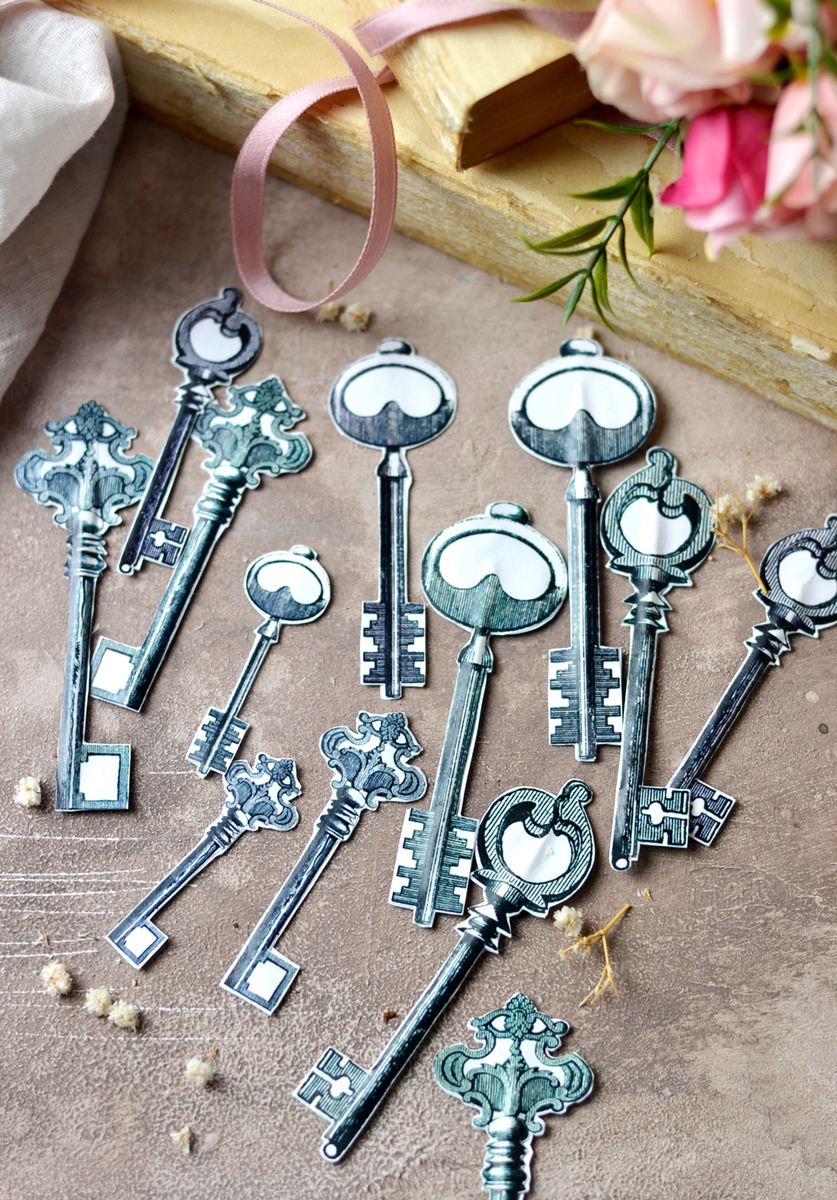
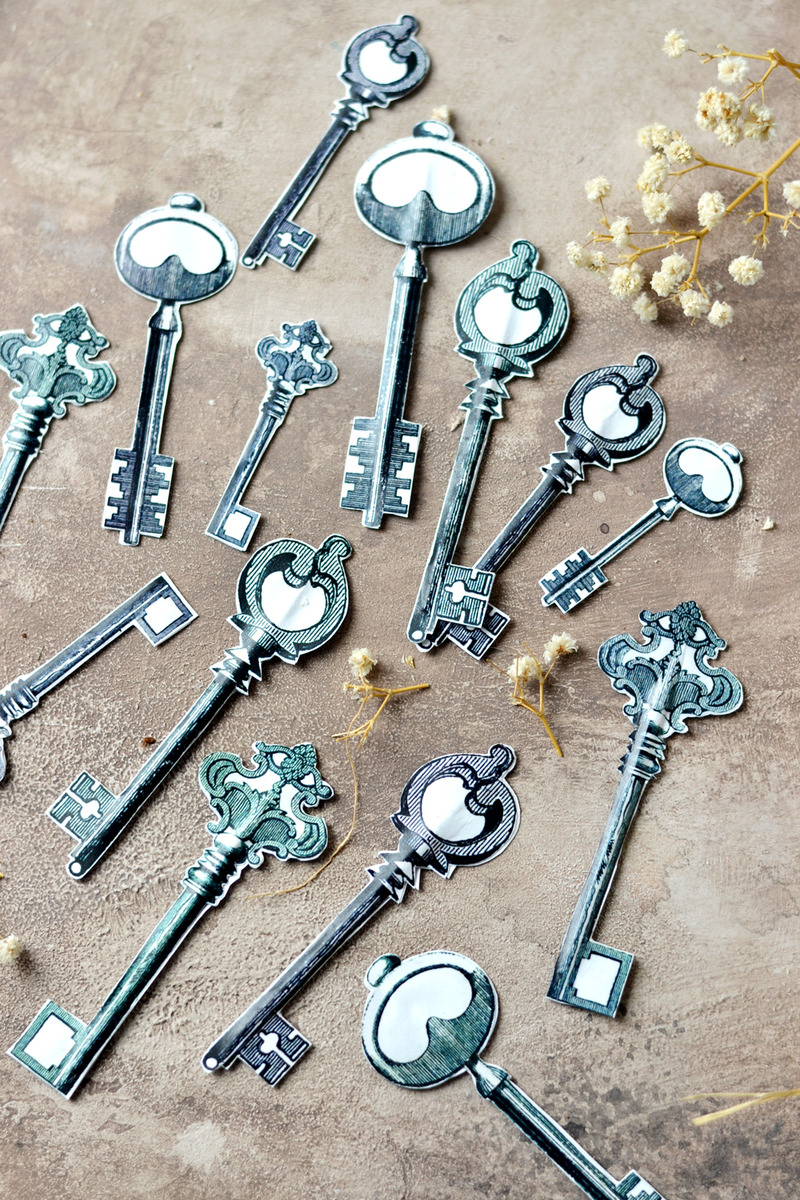
Hello, Graphics Fairy friends, Diana from Dreams Factory here! It’s so great to see you again. I’m back with another fun project today. This one is a Keys Printable project. We are going to make some adorable Vintage paper keys!
These tags will beautifully embellish any home decor object you have around, I’m sure you will 100% agree with me on that, but let’s just imagine for a second they can also do a few other things. Like opening the doors to your creativity, to you being more in tune with what you love, with you conquering your fears and believing in yourself! Simply put, opening the doors to all the …. (marvelous) things that you decide to welcome into your life at the beginning of the new year. Not too bad for some simple paper keys, right?
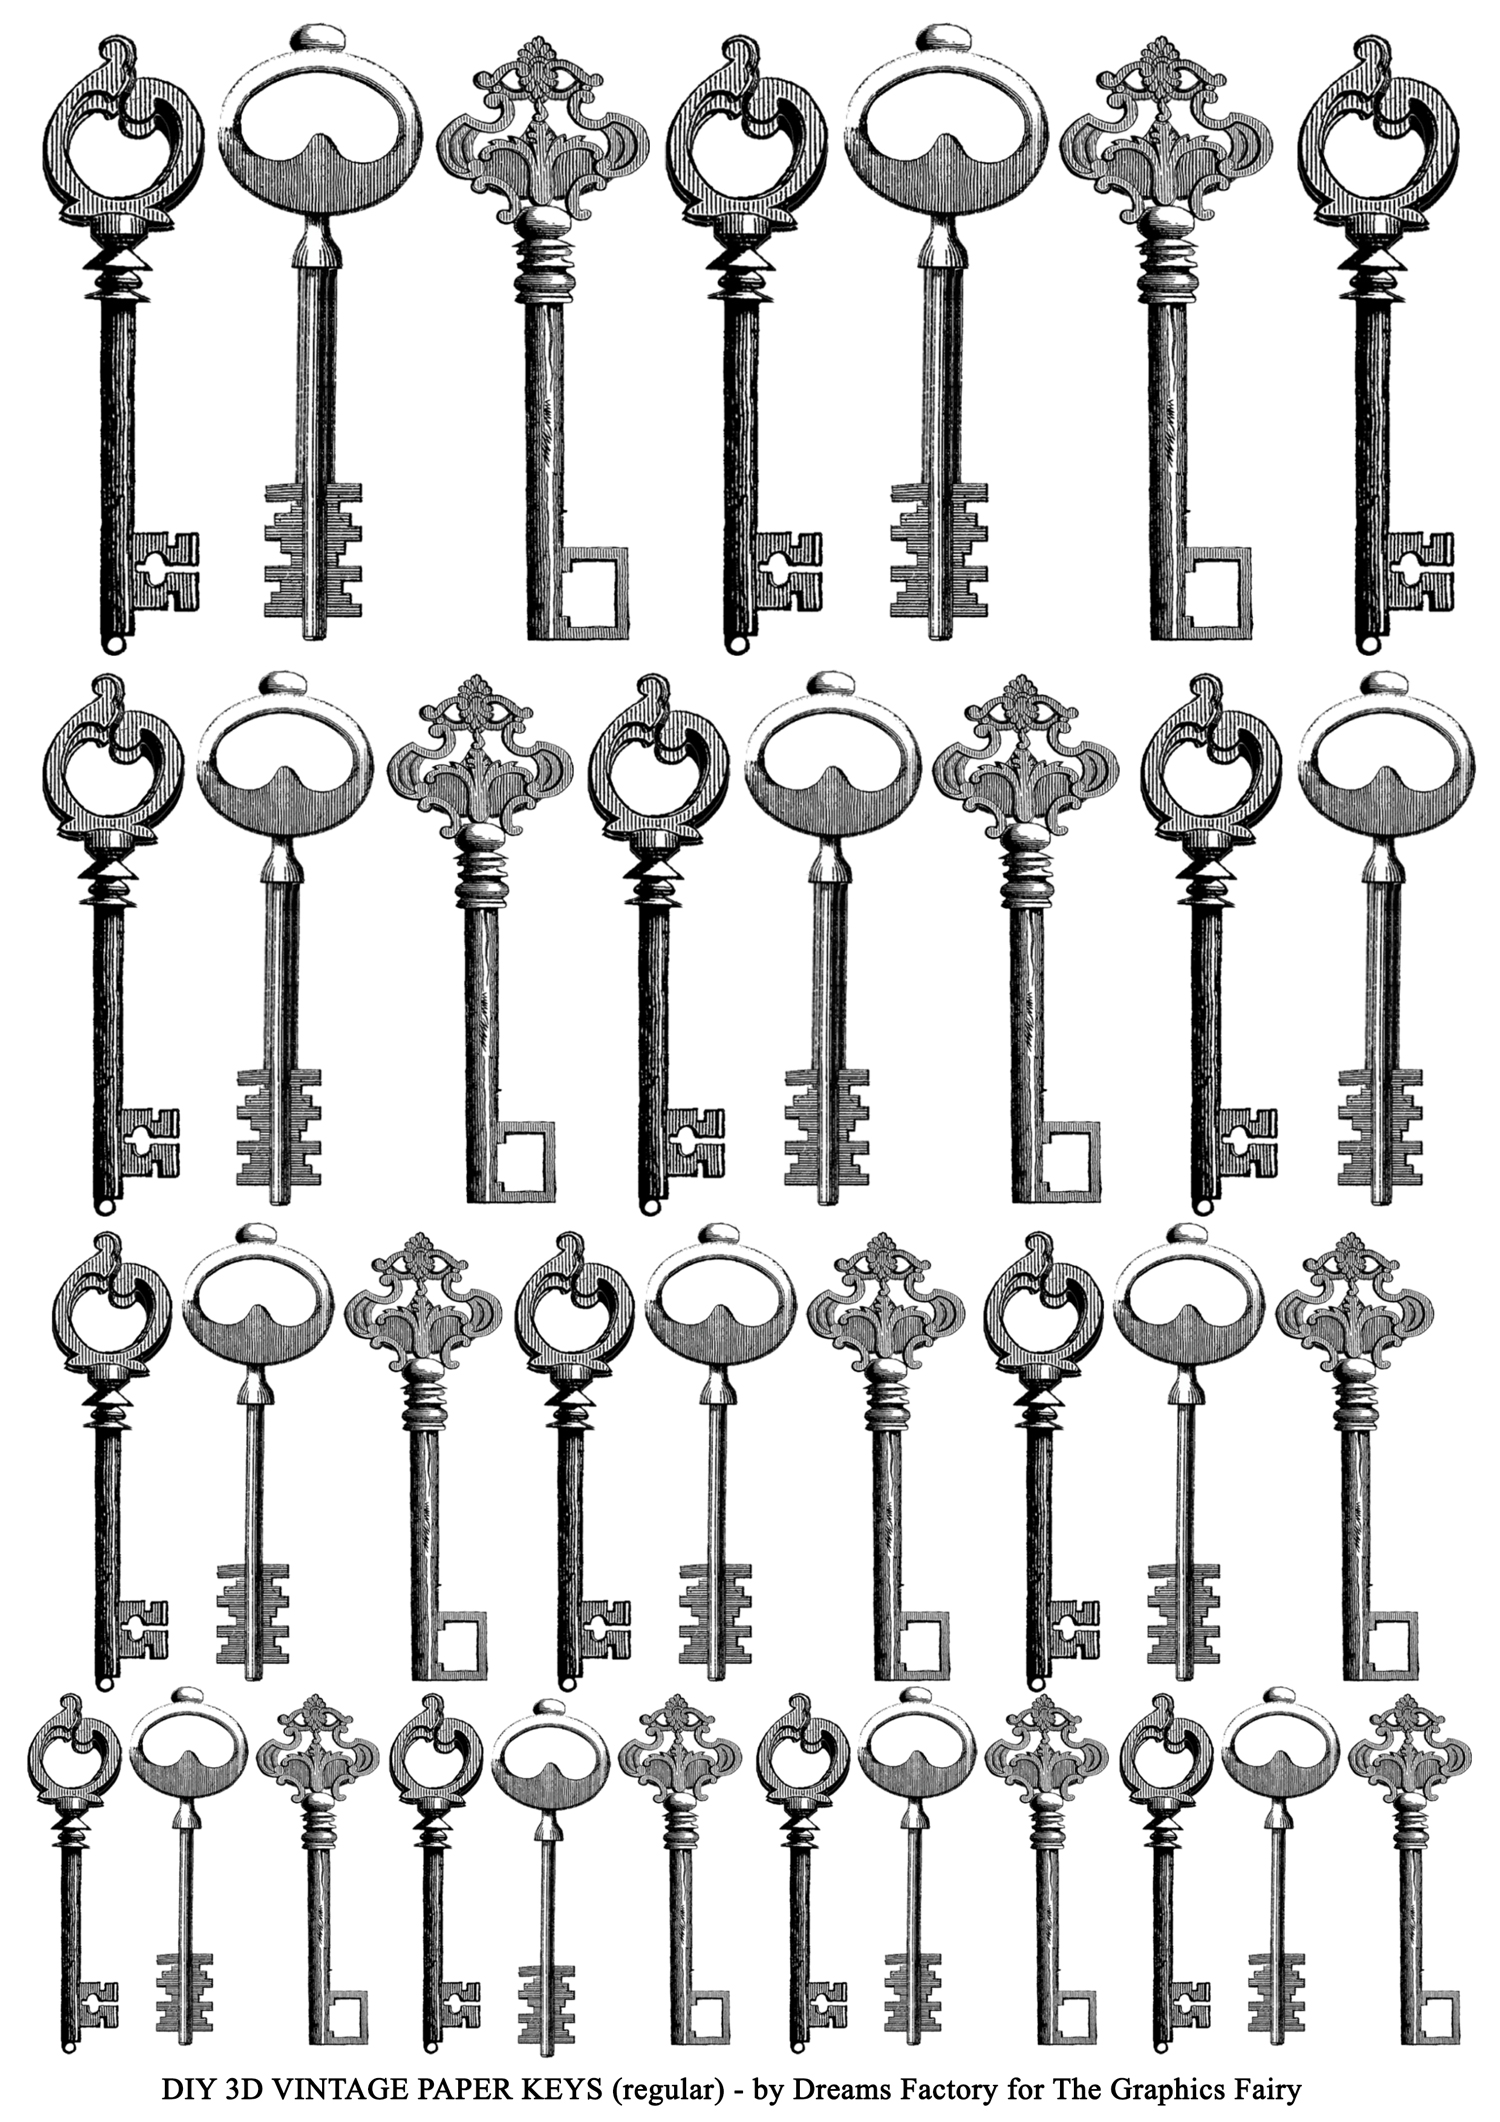
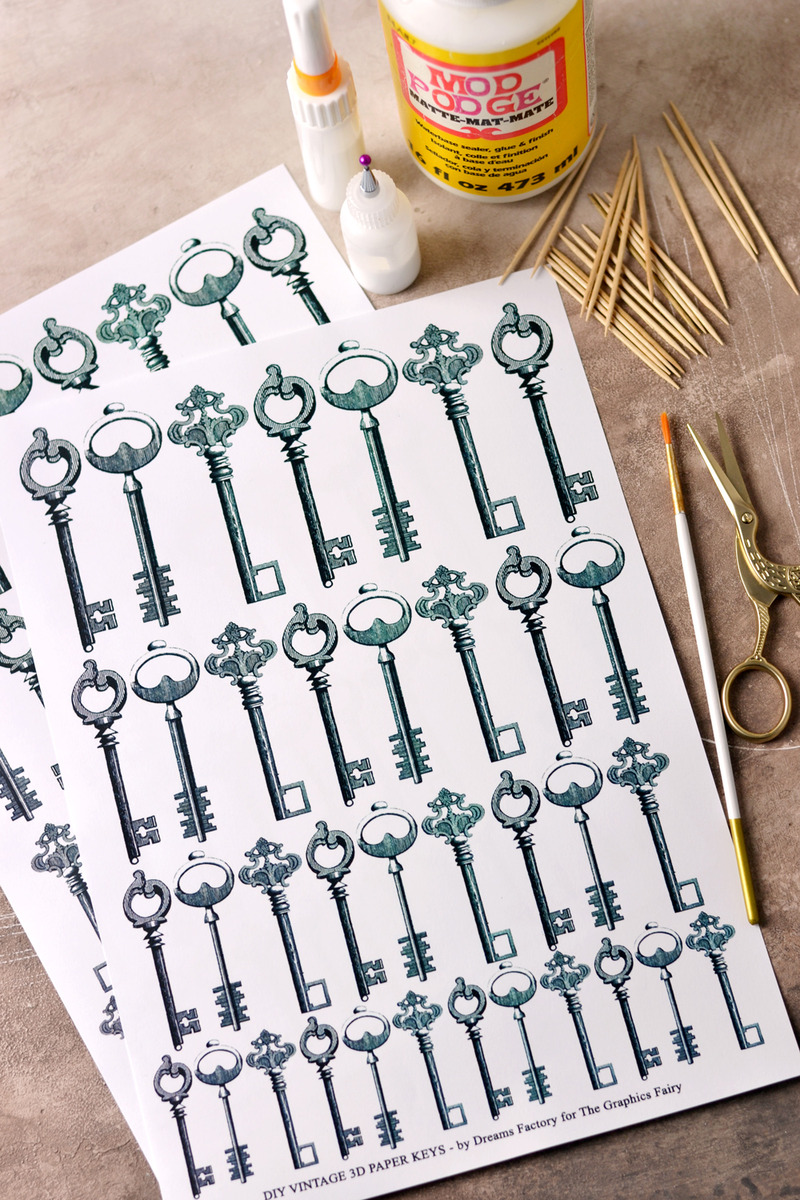
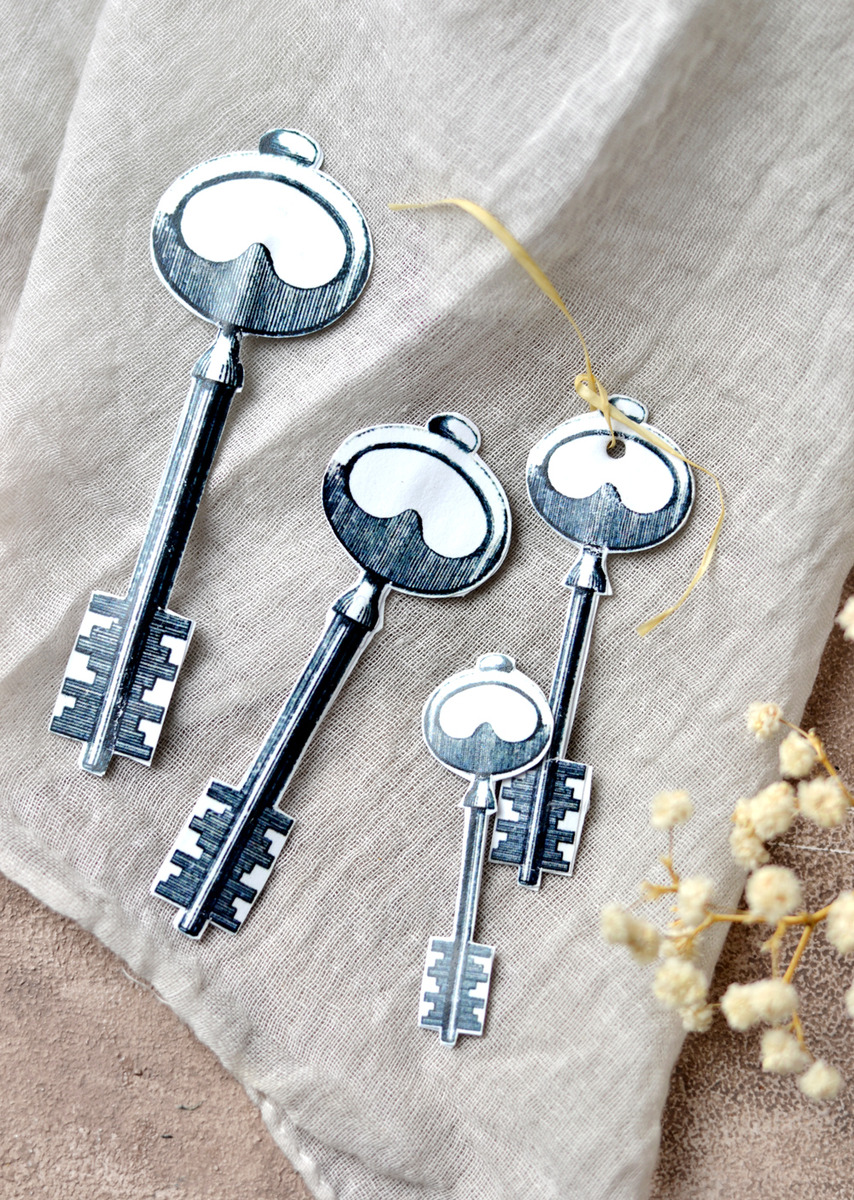
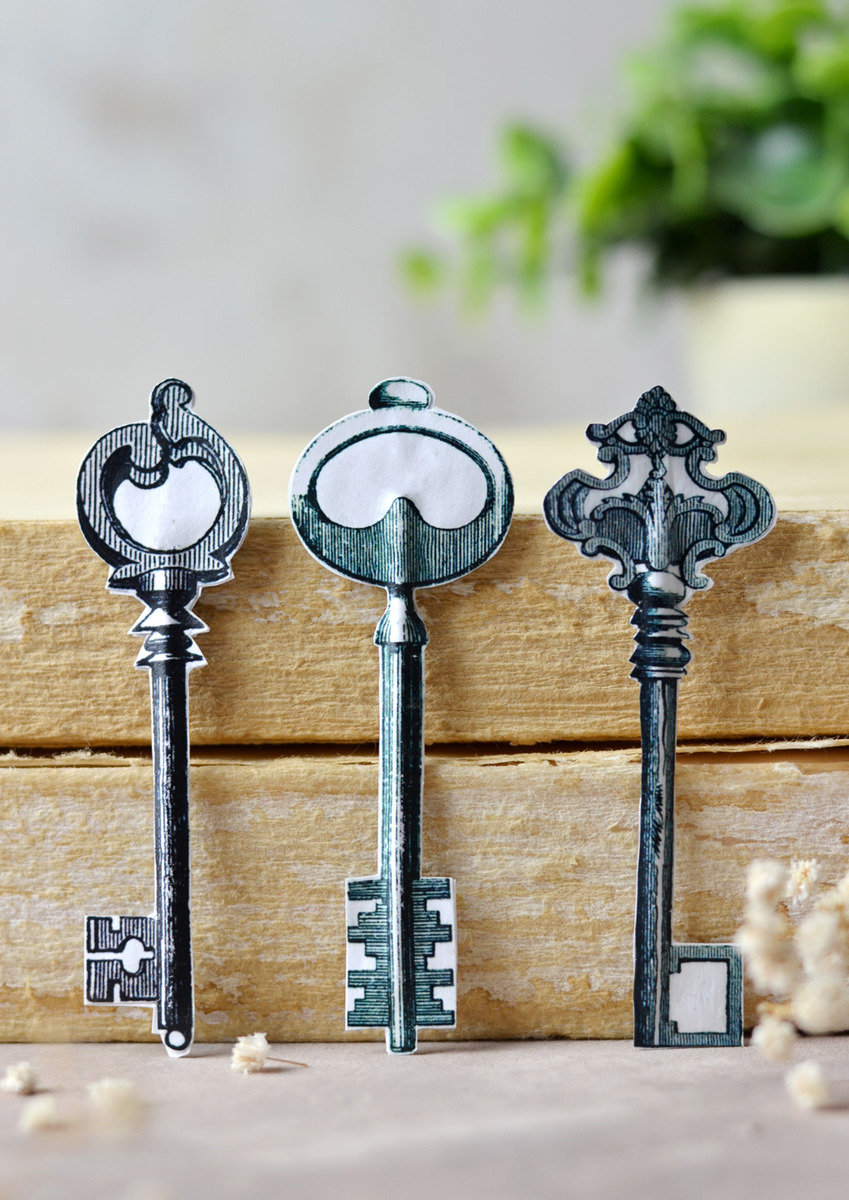
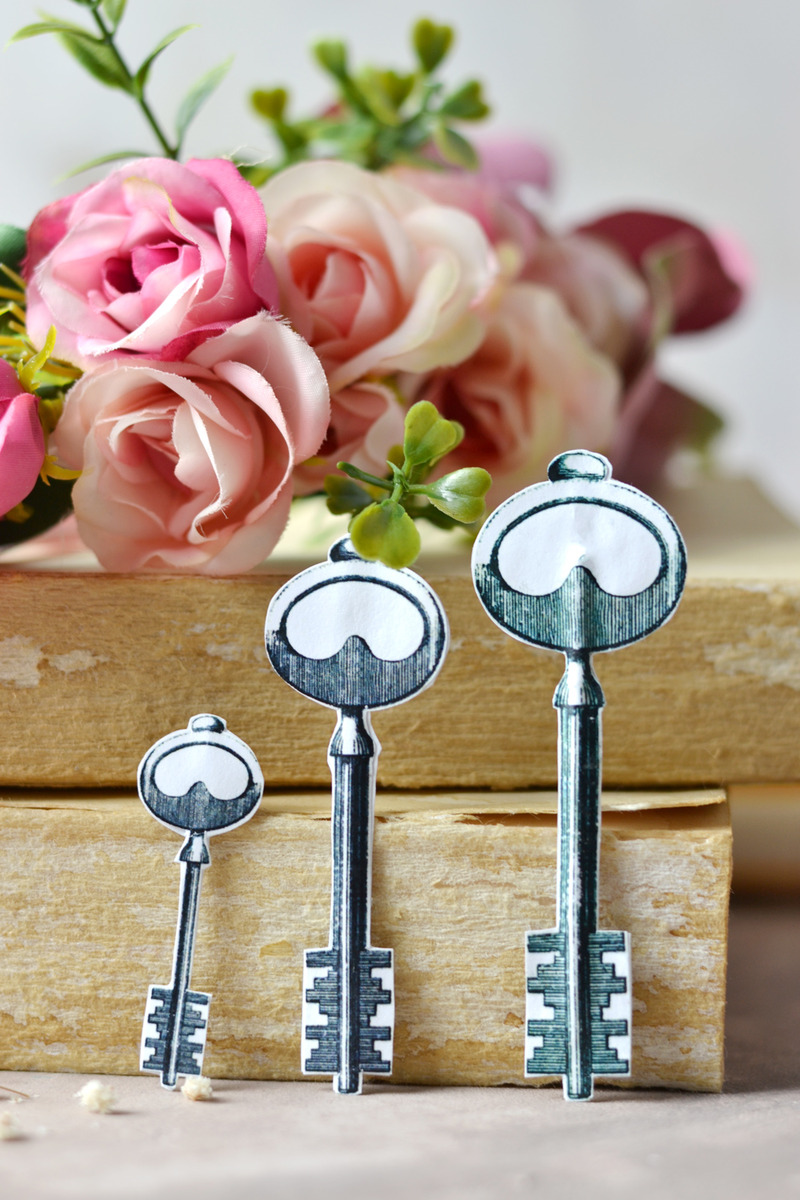
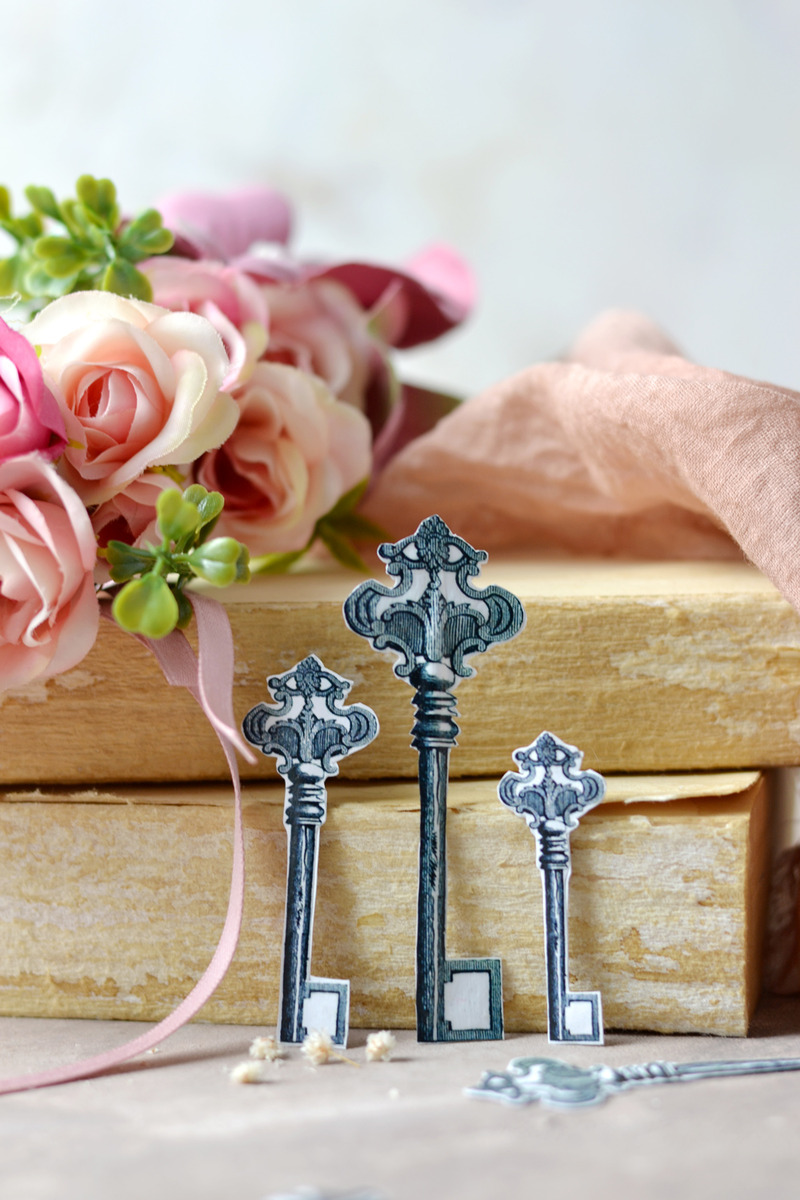
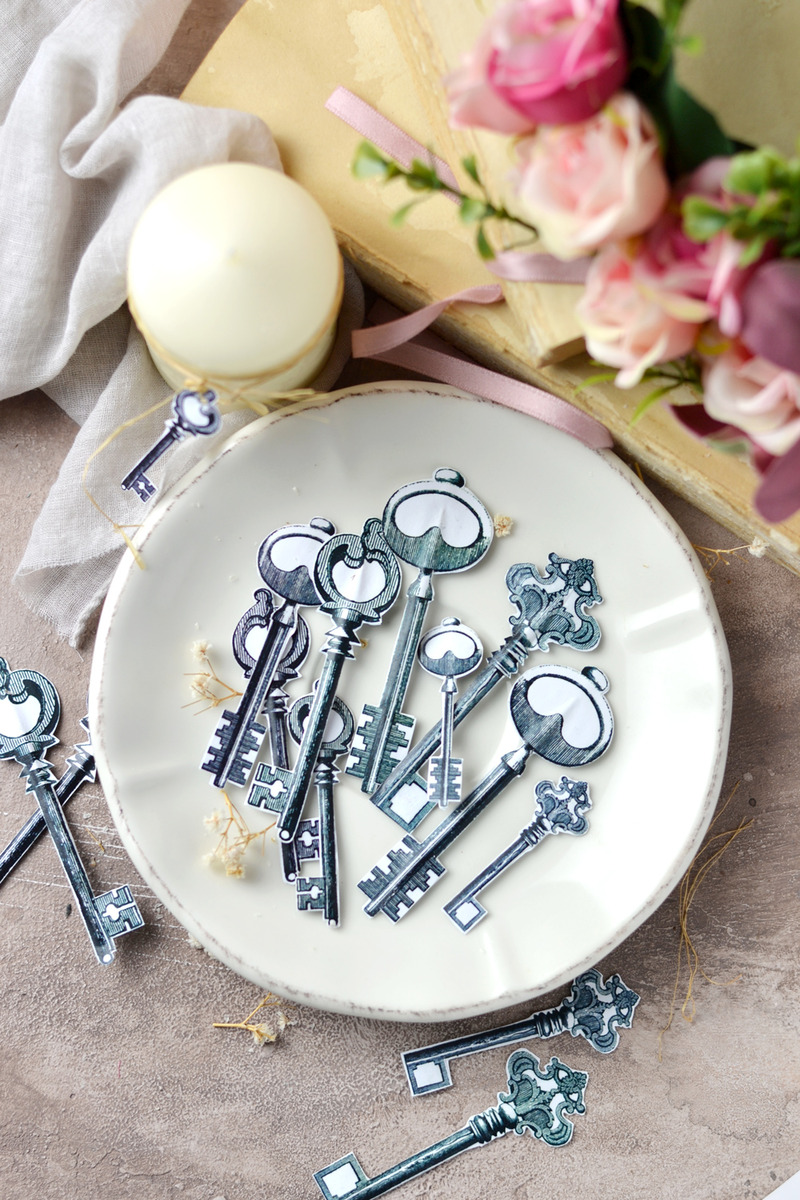
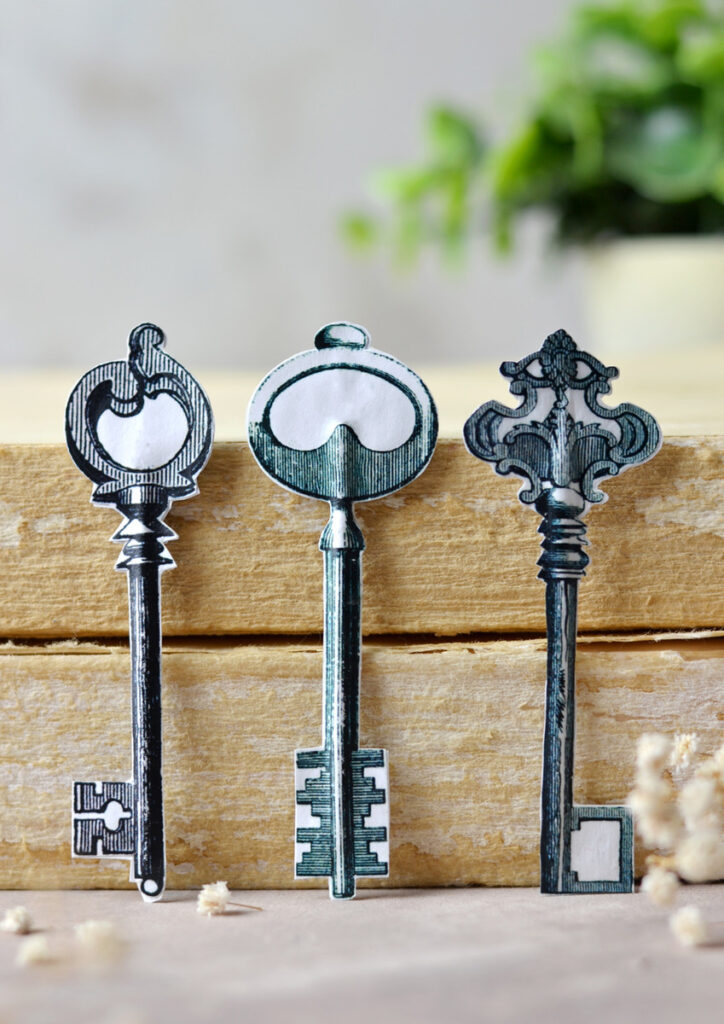
Moving to the more practical side of things, the project itself it’s really easy to make! I created the printable using three really beautiful vintage keys from The Graphics Fairy’s stash. If you are familiar with the images, you will see that I altered them a little bit, to make them more suitable for what I had in mind. You will need to print both pages included below (the regular and the mirrored) to make the keys double sided, like I did. So the regular printable includes the regular keys and the mirrored printable includes the reversed corresponding key images. To give the Key Printable their three dimensional shape, I used a few essential elements: toothpicks, a glue applicator and some Mod Podge. I know toothpicks might not be what you would usually find in a DIY project like this, but for this particular project, they were simply perfect! They created the structure I needed and worked great (especially for the larger keys). The glue applicator and the Mod Podge are also really important here. They will help us keep everything in one place and even build more structure as we go (especially on the smaller keys).
Free Keys Printable
—-> Click HERE to Download the Full Size Printable PDF <—-
Keys Printable Project Supplies:
- regular white paper OR cardstock paper
- home printer
- manicure scissors or other small pair of scissors
- toothpicks
- glue applicator
- a small brush
- Mod Podge
Optional
- coffee, tea or any other paint (watercolors, highly diluted acrylics, colored pencils), etc. – if you want to stain or color the vintage keys afterwards
Keep in mind that the regular printable includes the regular keys and the mirrored printable includes their corresponding mirrored (reversed) images. Because the keys come in different sizes and shapes, you will have to create some sort of an organizing system to easily keep track of the regular and the mirrored (corresponding) keys.
Print the two free printables, gather all the other supplies and let’s get started!
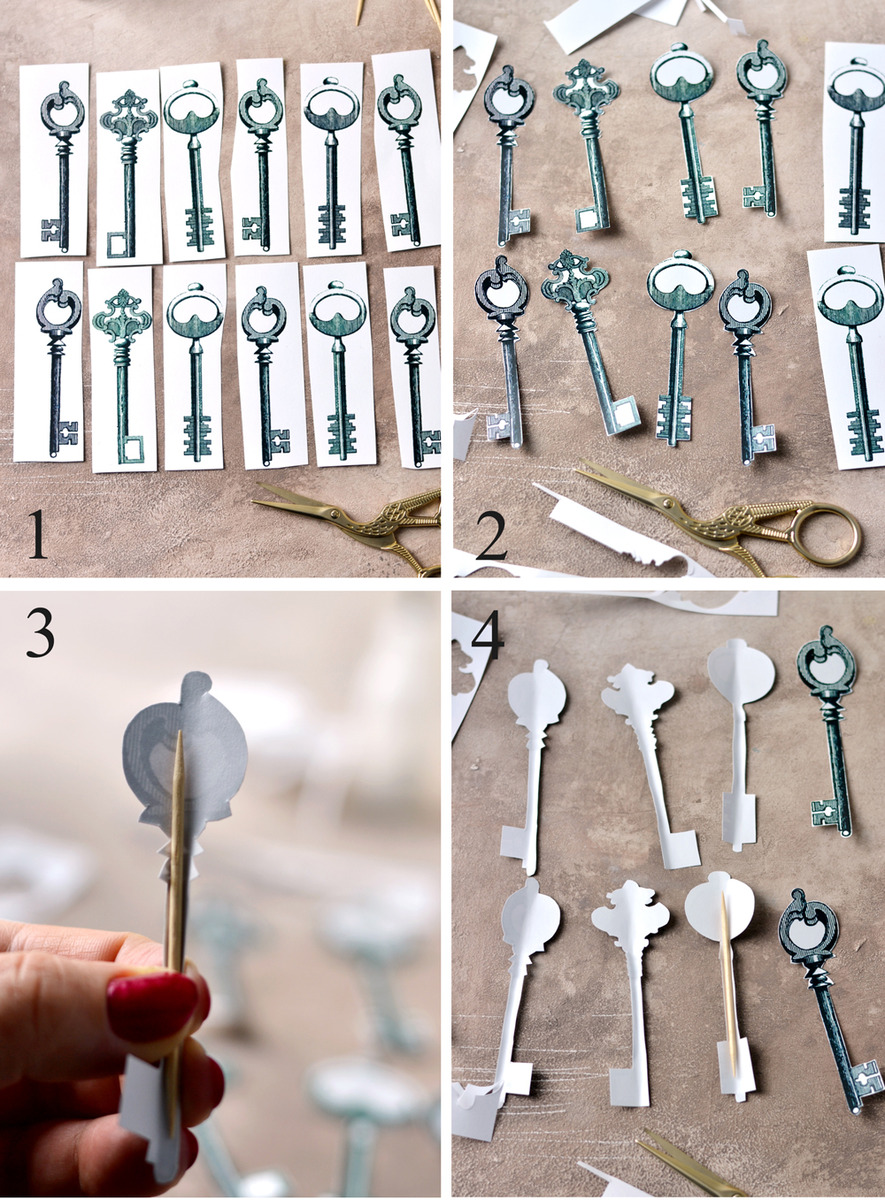
1. Roughly cut the paper keys you want from the regular printable first and arrange them on one row. Then cut the corresponding keys from the mirrored printable and arrange them below, on a second row. I started with some of the larger keys from the two printables.
2. Use small scissors and completely remove all the excess white paper from the outside of the keys, keeping the same organizing system in mind.
3. Take one key and turn it over so the printed surface is underneath. Keeping the key between your fingers, place a toothpick on the center (lengthwise) and bend the paper towards you, following the rounded shape of the toothpick. Do not use any glue just yet, this is just to pre-shape the key.
4. Do the same for all the keys you want to make and place them on the table afterwards, following the same organizing system.
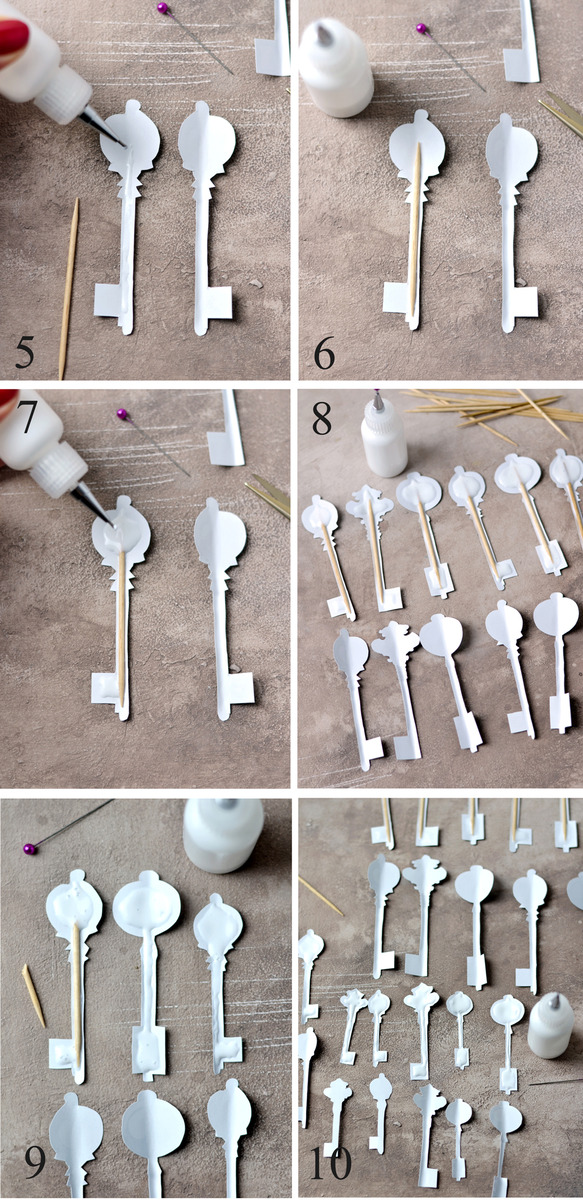
5. Using your glue applicator, apply glue ONLY on the regular image following the line that you created previously. Do not add any glue at this point to its corresponding mirrored image.
6. Place a toothpick over the glue and use your hand to press it really well. Center it as much as you can.
7. Add more glue on the top and on the bottom, following the shape of the regular key.
8. Do the same for all the large regular keys and place them on the table having the same organizing system in mind. Let the glue dry until it becomes translucent (1/2-1h).
9-10. For the smaller keys you can cut the tip of your toothpick to match their sizes. But for the really smaller keys the toothpicks were too wide so I just created a glue structure following the shape of each regular key. Please remember that at this stage we would have already added the toothpicks and/or the glue only to the regular keys, and not to their corresponding mirrored images.
If you haven’t already, now it’s time to add something on your table to protect your working surface. Why? Because things are about to get messy! I used clear pocket binders but you can use whatever you have around. And guess what? Now it’s finally the time to work on our mirrored images!
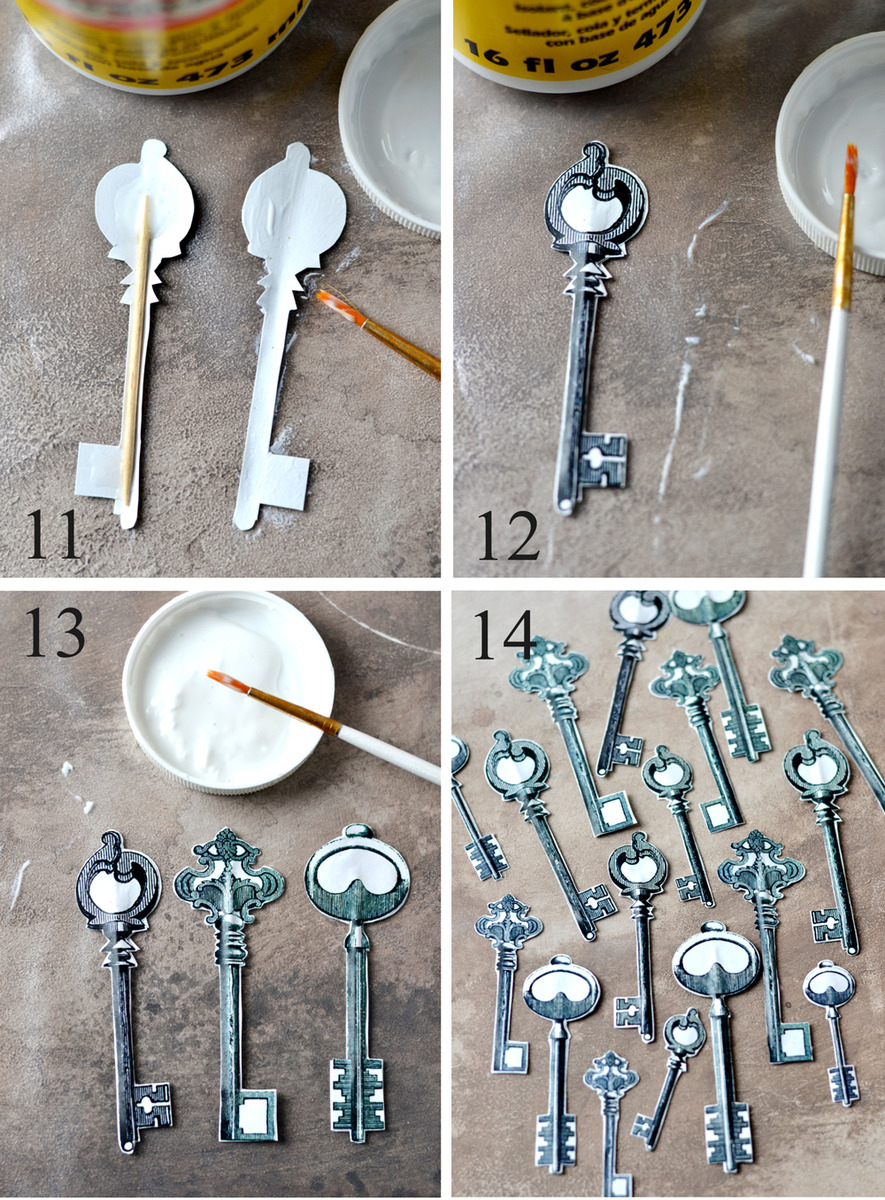
11. Place both your regular image key and your corresponding mirrored image on the table and using a small brush, apply a generous amount of glue on the whole surface of the mirrored image. Some of the glue will get on the (hopefully protected .. haha) table, but that’s a good sign. This way you’ll be sure your key surface is completely covered in glue.
12. Now gently and gradually (starting from the top or the bottom) overlap the two images (the regular and the corresponding mirrored image) as well as you can. Use your fingers to gently smooth the edges and arrange everything in place. If you have small imperfections here and there on the edges, don’t worry, you will be able to fix them with small scissors after the glue will completely dry. Your first key is done! Now be honest, isn’t this the most amazing key ever?
13-14. Follow the same steps with all your keys and let them dry completely. After drying, you can use small scissors to take care of some of the small overlapping imperfections – I totally forgot to do that, but I still love them all A LOT!
Please be gentle while creating these delicate beauties and show them a little bit of love! After all, besides being pretty and all, they will be responsible for opening so many doors and new opportunities at the beginning of this decade in your life, remember?
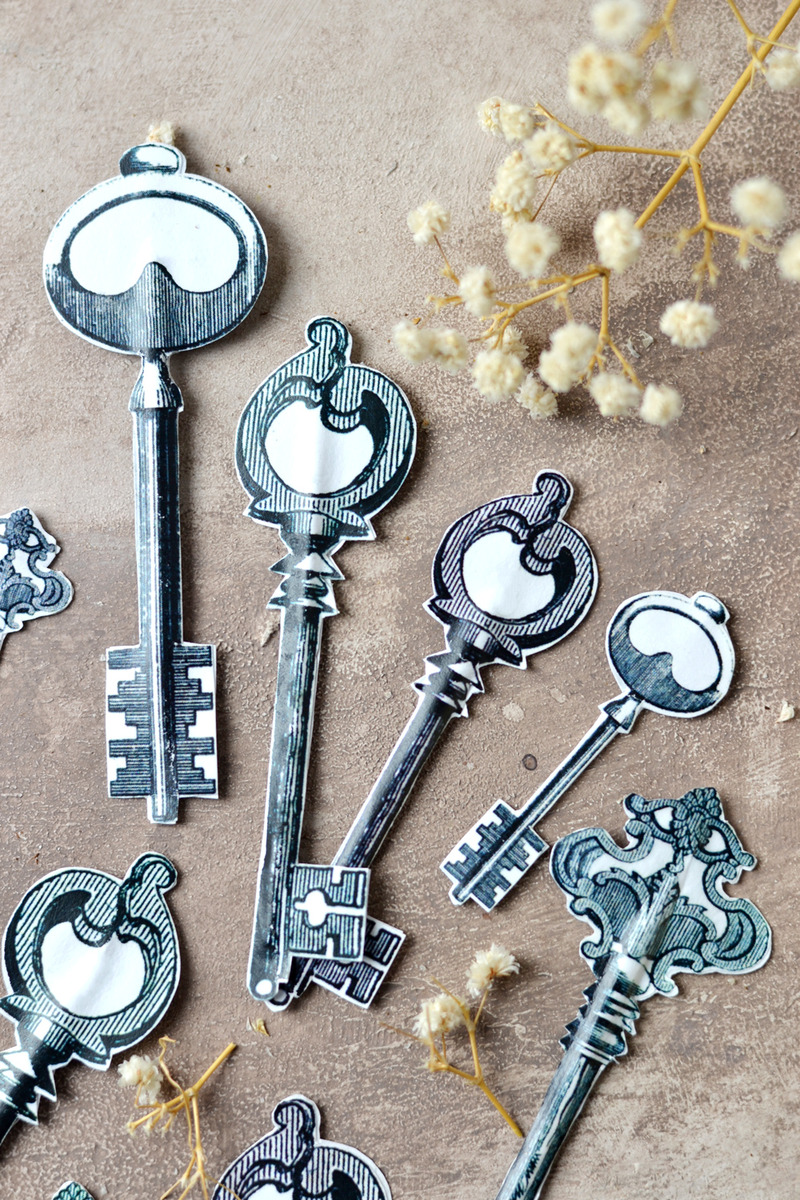
I decided to go with this simple and clean appearance for now and I just love how elegantly chic they look! But of course, you can add your personal touches to them! I even encourage you to do that! I’m thinking some tea or coffee stain would give them a more worn and antique look if you are going for a vintage vibe. Ombre or multicolored watercolors could also be a great choice if you want something … just happier! Gold ink, gold markers or anything really in gold / metallic would also be something to consider anytime, just have fun and experiment with your own creations!
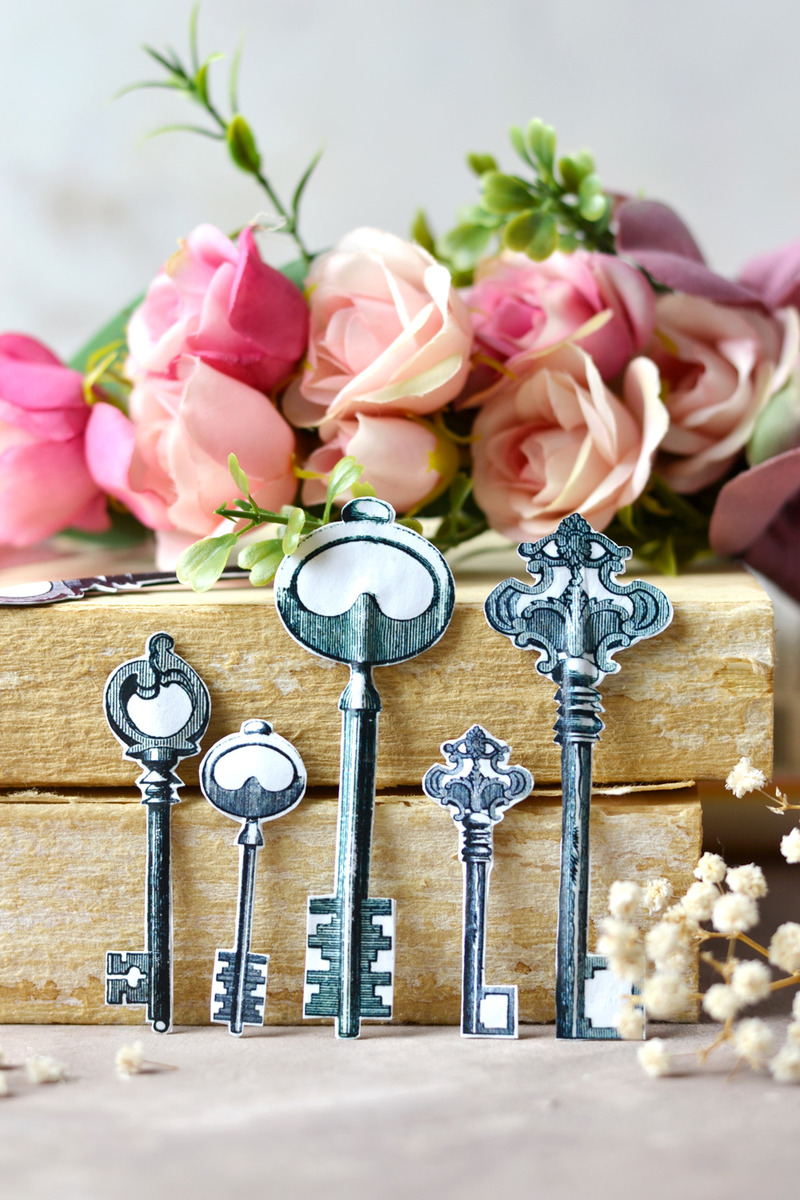
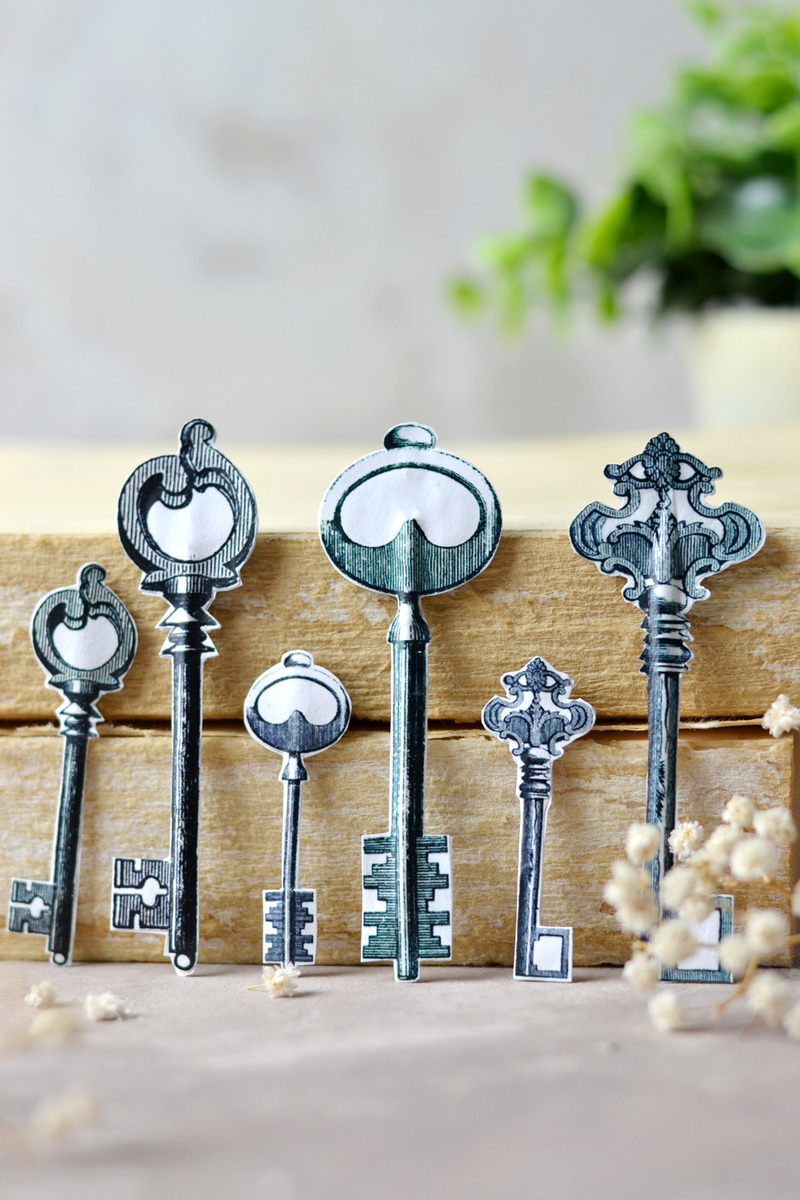
One of the things that caught my eye while styling and photographing these lovely Key Printable was how versatile and adaptable they really are! They will look effortlessly amazing no matter the decor you are adding them to!
It could be a more neutral farmhouse style decor, with pale colors, old books, a small plant and vintage vibes like this one …
Or a more colorful and romantic, filled with flowers Shabby Chic style like this one …
I really love when I manage to do this with my projects because I know I can easily adapt them to my needs. And I’m only hoping you will feel the same!
The Key Printable would be a great addition to your presents too, just keep them close by for when you need them!
You may also like learning How to Make Decorative Ribbon from Crafts HERE.
Happy crafting,
Diana / Dreams Factory




Kathleen Kemler says
They are too wonderful! Thanks so much for this tutorial.
graphicsfairy says
My pleasure Kathleen, enjoy!
Debbie says
Love these. I can think of many uses.
graphicsfairy says
Oh yea! I am so glad Debbie, have fun!
Mary Beko says
I look forward every Friday to see what wonderful ideas that you have to share….I love all of them and could never decide what is my favorite… I have really taken an interest in junk journals and have found that I can incorporate so many ideas into cards…..they are truly treasures…..
Thank you for brightening my day!!!!!
graphicsfairy says
Well thank you so much Mary, I am so happy you are enjoying everything and have fun with your creating!
Diane says
Very cute! thanks.
Shannon says
Can’t wait to try these keys I think they will look great on a junk journal! Thank you
Karen Watson says
Shannon, yes!! That’s a great idea.