DIY Picture Coasters
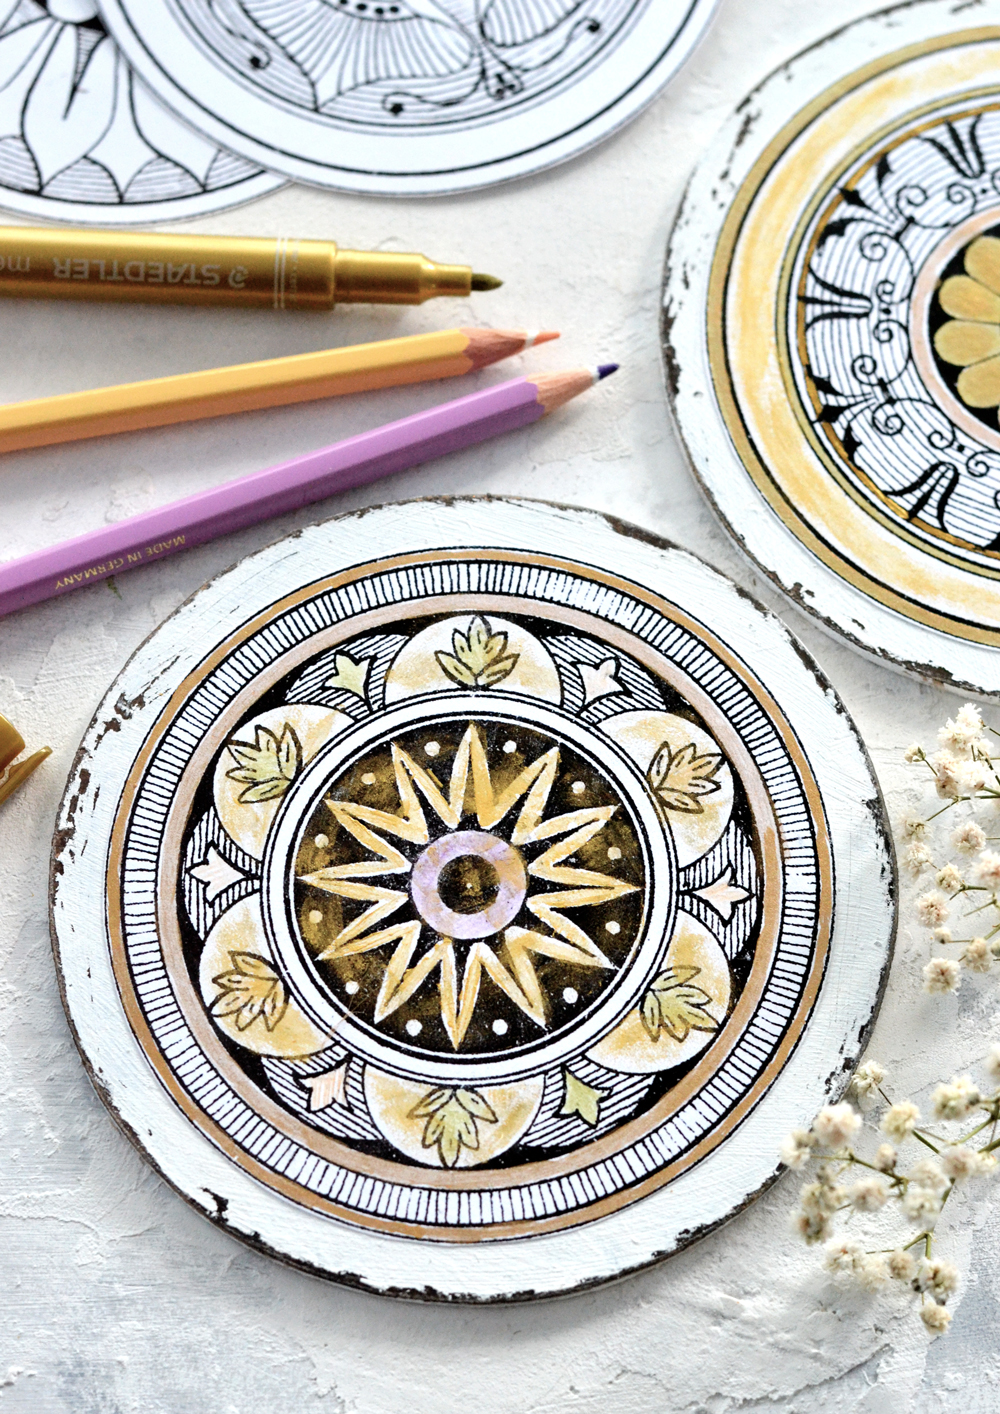
Hello, creative friends! I’m Diana from Dreams Factory and I’m happy to be back with a new DIY project for you. Today we are making some beautiful DIY Picture Coasters that you can color in! This is a project that combines a few of my favorite things: painting & distressing, adult coloring pages … and gold!
You might find this combination a little bit odd at first, but you will see how versatile this craft project is and how it will basically give you endless possibilities when it comes to getting creative, having fun, experimenting and adding your personal touches! Even relaxing and decompressing while doing all that! Are you in? 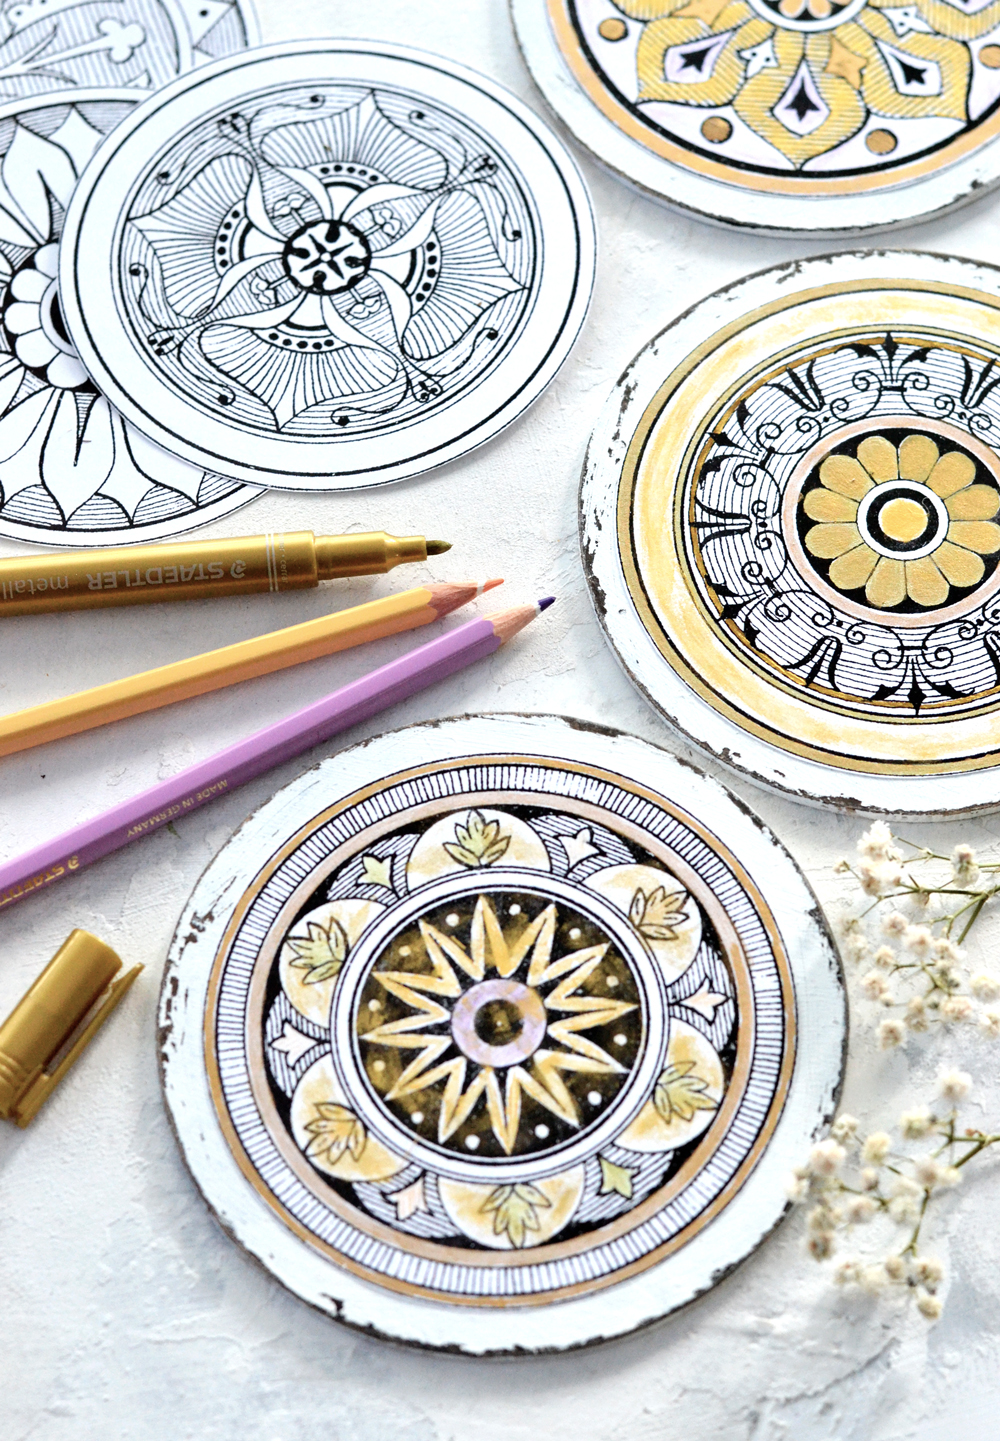
Are you wondering how I came up with this idea?
Let’s start with the beginning.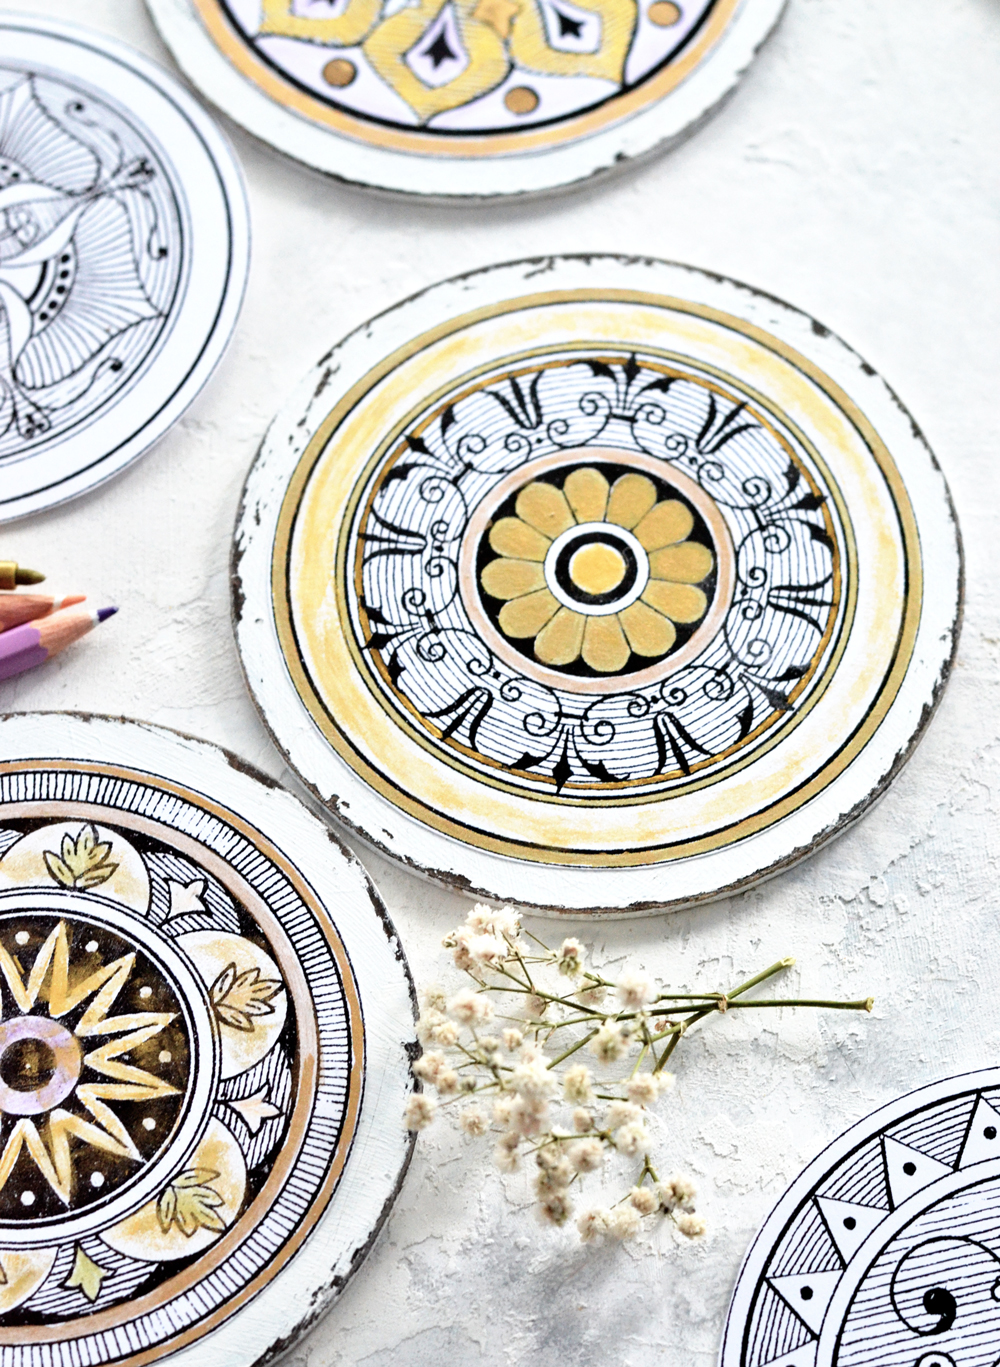
I discovered the beautiful world of adult coloring pages a couple of years ago and I remember how pleasantly surprised I was to find this new way of relaxing through coloring. I bought coloring books, colored pencils. It still is such a pleasant way to enjoy some of the free moments I have during a day – whenever I need to unplug and recharge my batteries.
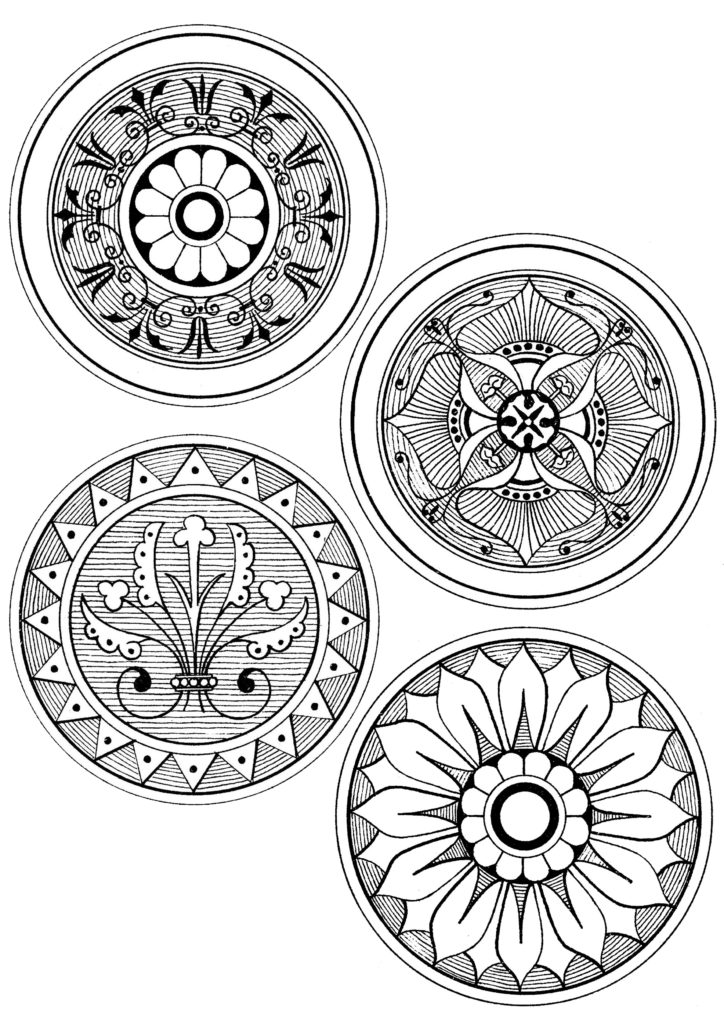
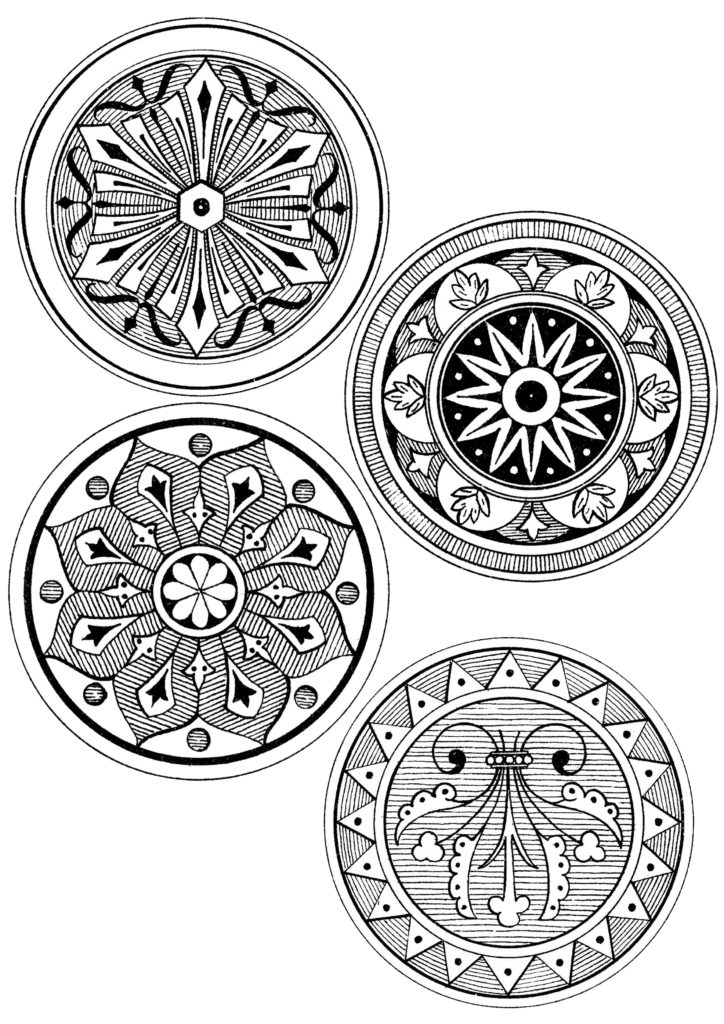
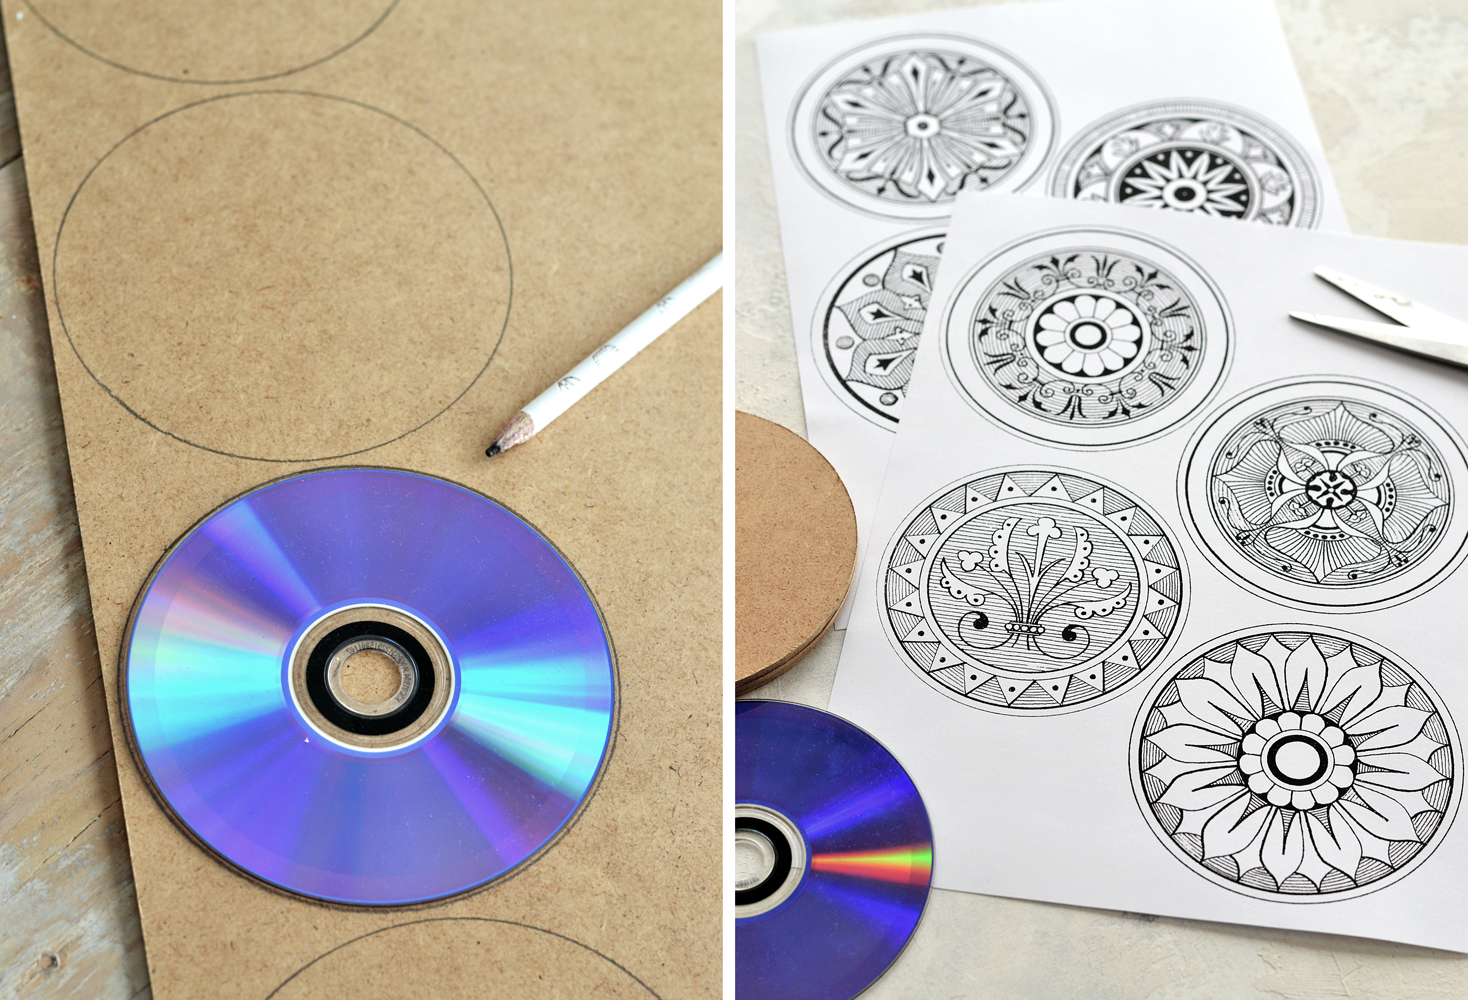
Ever since I saw these classy and elegant ornamental medallions pictures on The Graphics Fairy, that looked like some intricate antique mandalas, I knew they would make the perfect coloring pages! So I gathered my favorites and created two printables for you (because I couldn’t decide on only one) – you can download them below. You can print them on regular paper, self adhesive paper or cardstock paper (like I did).
—-> Click HERE to Download the Full Size Printable PDF <—-
Of course you can use the beautiful medallions aka antique mandalas just as coloring pages, but I thought it would be fun to take things to the next level. So I envisioned some sort of a wooden base for the ornamental medallions, that would:
- give you a sturdy support while actually coloring the pages
- give you the opportunity to easily turn them into chic mini signs and integrate them in your home decor
- give you the opportunity to turn them into coasters
- give you the opportunity to transform them into the most amazing gifts for family and friends
Supplies for DIY Picture Coasters:
For making the medallions:
- cardstock paper or regular paper
- scissors
- inkjet or laserjet printer
- hardboard (HDF – Hight Density Fiberboard) OR plywood OR any other scrap wood
- a CD for tracing
- jigsaw
- white milk paint OR acrylic paint OR chalk paint
- brown milk paint OR acrylic paint OR chalk paint
- brushes
- 120 or 180 grit sand paper
- candle wax
- Mod Podge
For coloring (a few suggestions):
- colored pencils
- grip fine pens
- metallic gel pens
- metallic markers
- mildliners
- gold acrylic paint
OPTIONAL:
I decided to use HDF (0.3 cm / 0.11 inches in thickness) from my local hardware store for this project, but you can also use plywood or any other scrap wood you have around, even some old coasters that can be painted. To make things easier for everyone, I used an old CD to trace 4 shapes (you can definitely make more) on the HDF board and I asked Mr. Dreamy to help me with this part.
He used a Makita top-handled jig saw to cut the HDF shapes … and I used some scissors to cut the graphics that I printed on cardstock paper. Team work at its best! 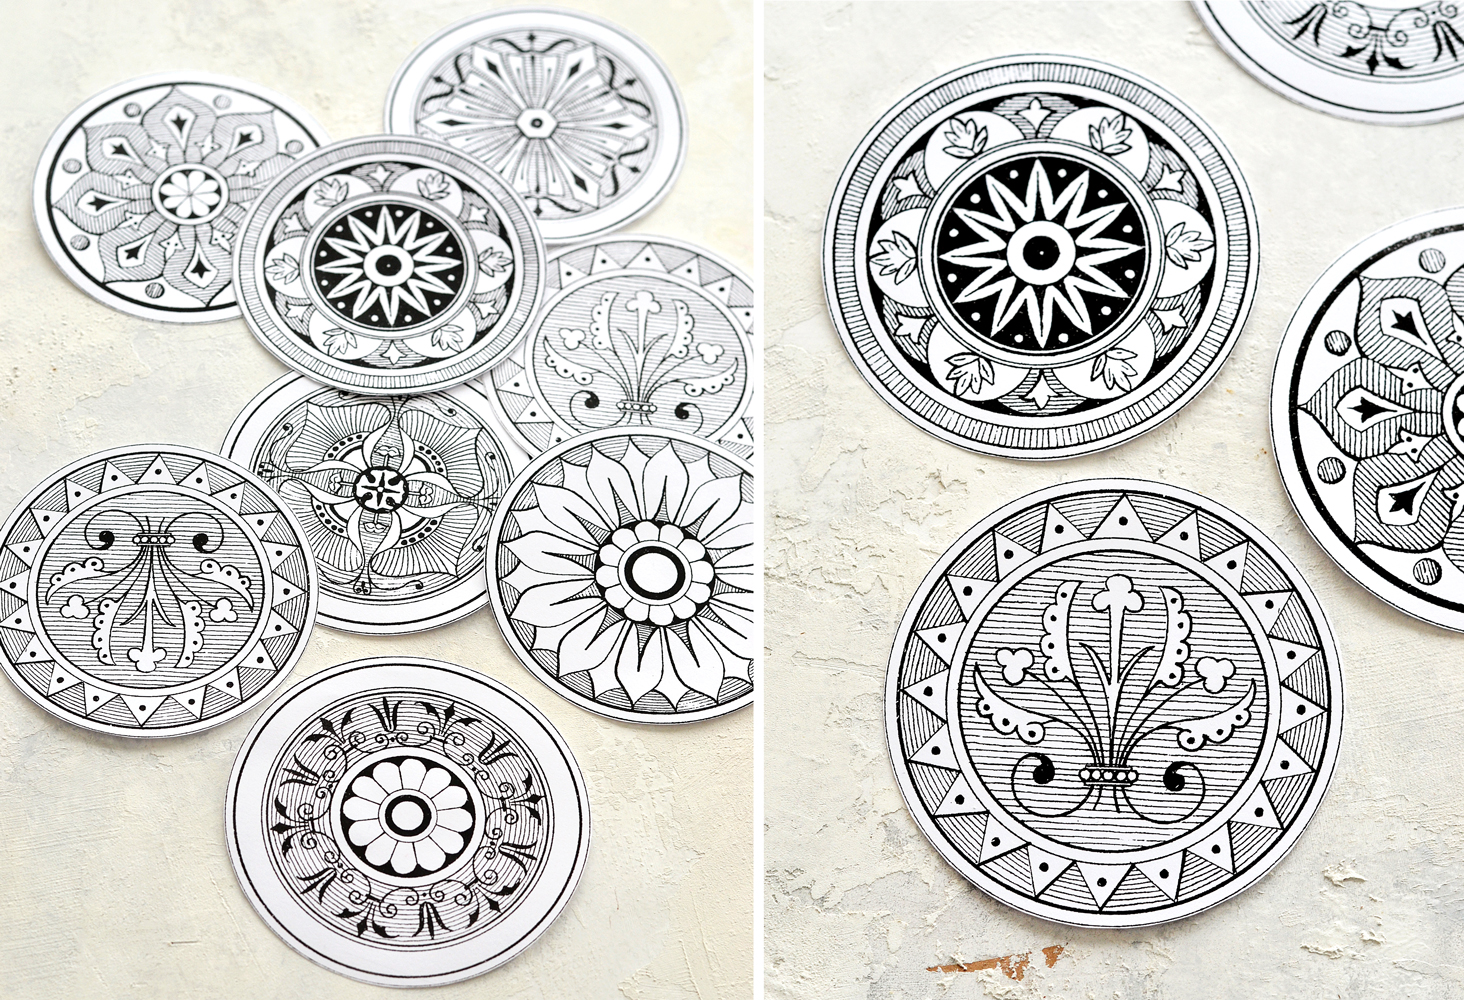
I put the cut images aside and then I move to painting the wood bases! I applied my fool proof technique of painting and distressing an object, because I also wanted my wooden bases to look vintage and chic! Make sure you protect your work surface first.
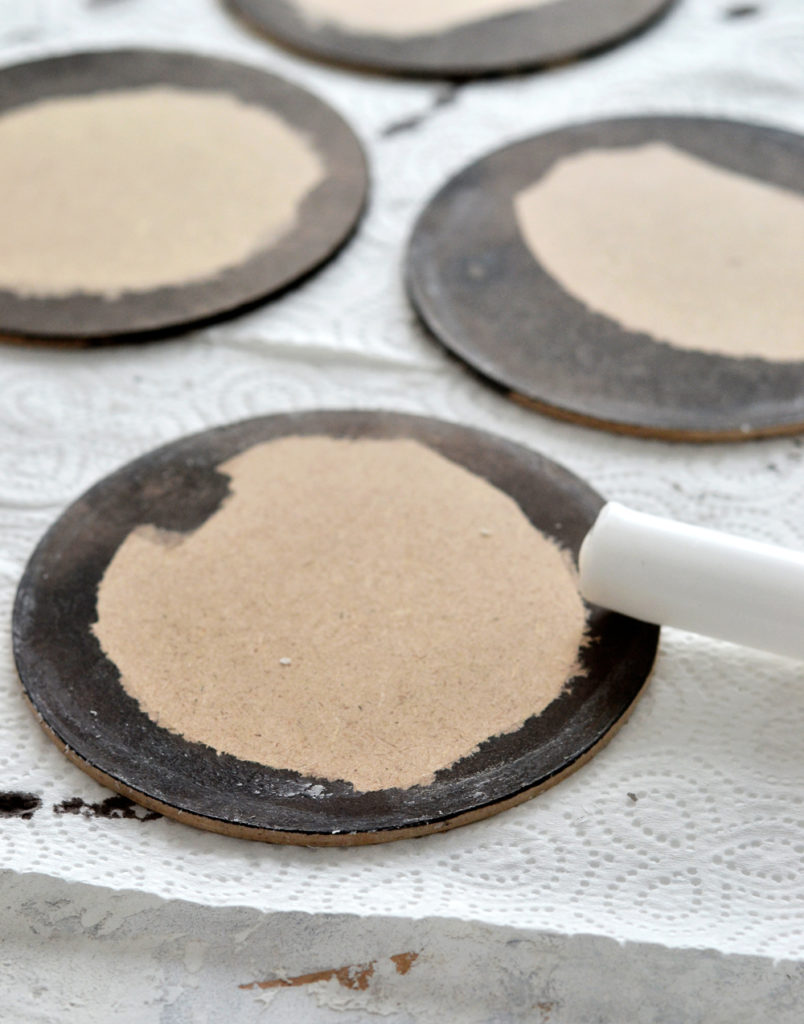
I used brown acrylic paint on the edges of the HDF circles as a first coat and I let it dry completely – you can use any other types of water based paint.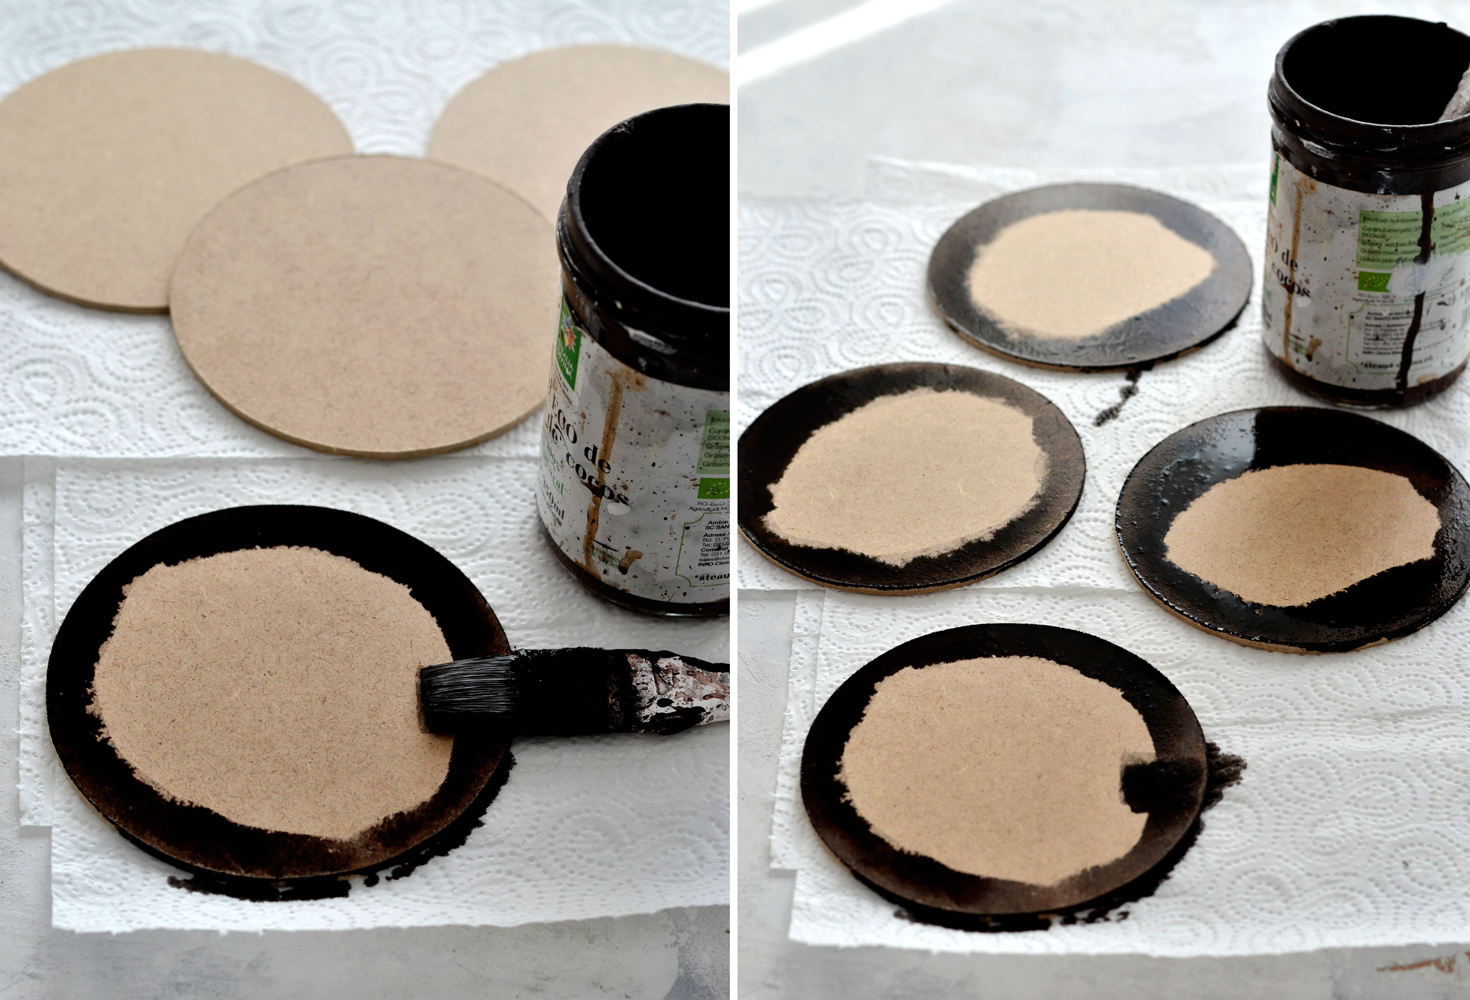
Rub some candle wax (just a simple white candle) on the edges – that will help when getting to the distressing part afterwards.
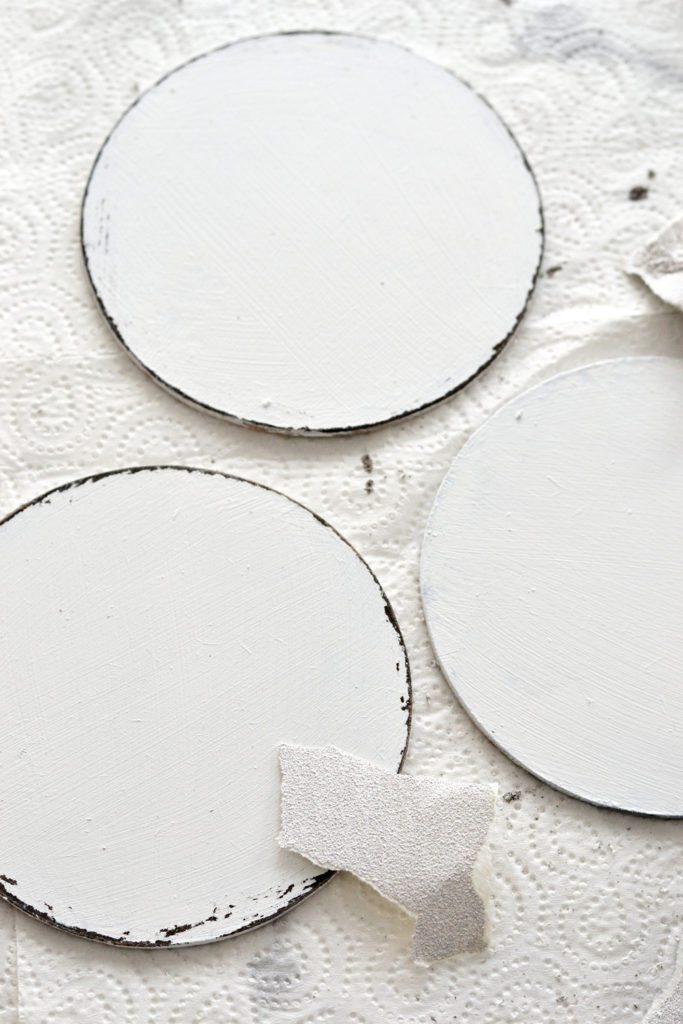
Apply white acrylic paint and let it dry completely. You might have to apply a second coat of white paint to get a great coverage, like I did, just make sure everything is completely dried before moving to the next step.
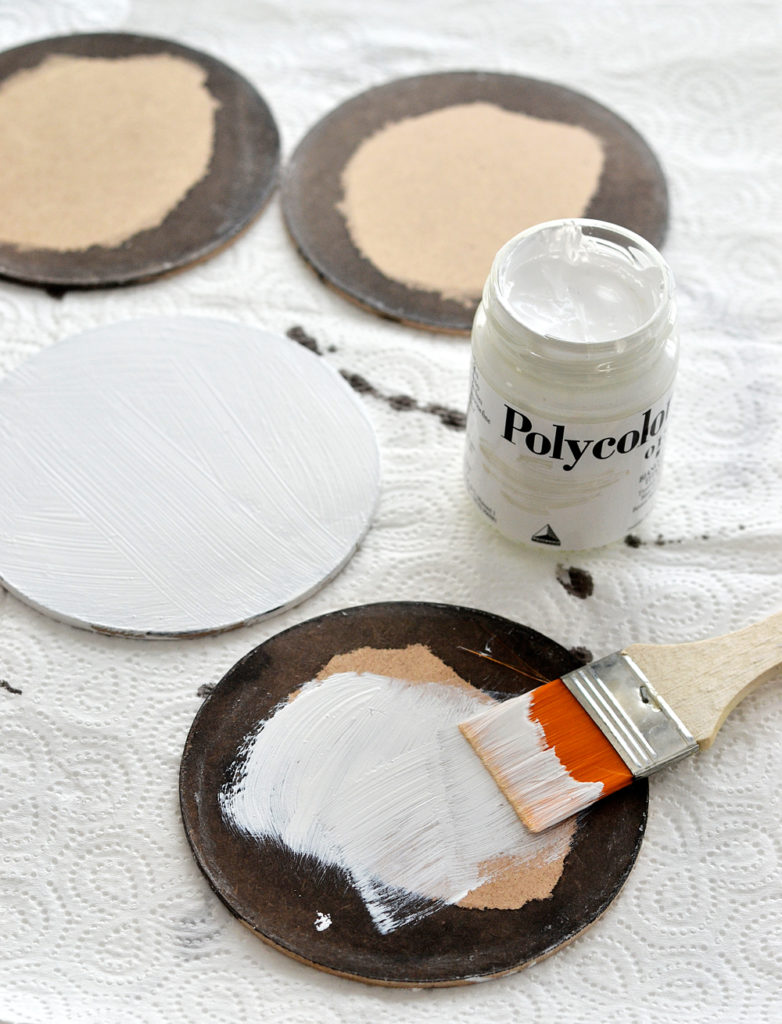 Use sandpaper to distress the edges to your own liking – just a little or go crazy. Use a cloth to clean the surface and remove any impurities.
Apply a thin coat of Mod Podge on the back of the printed paper and carefully air center and place them on the HDF circles. 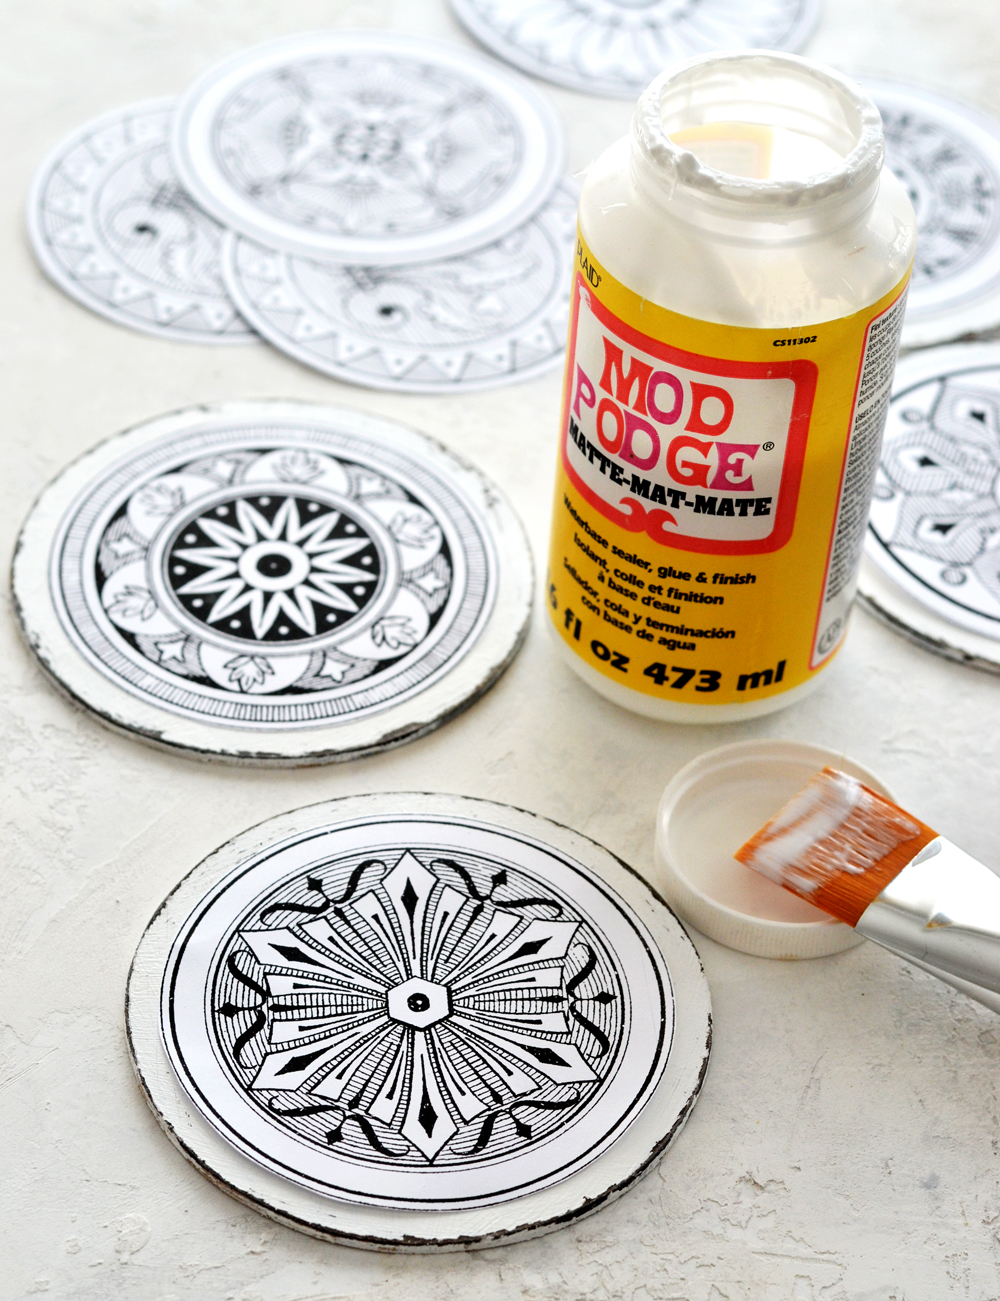
Use your fingers (or an old credit card) to gently remove any air bubbles, starting from the center of the image, then moving outwards. You can wipe up any drips. Let the thin layer of Mod Podge dry completely, then you are done! 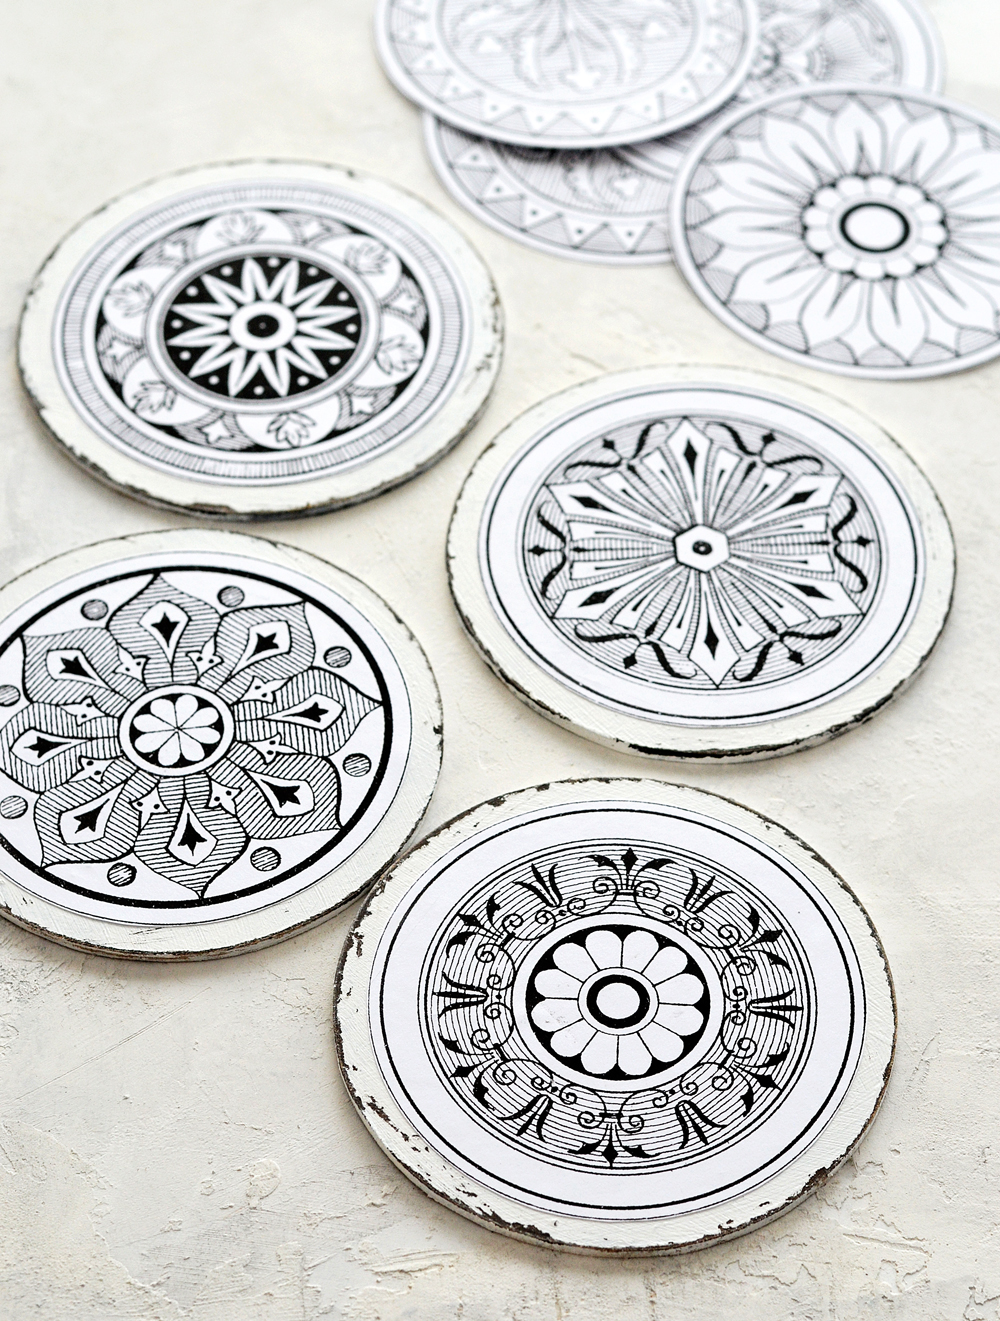
And this is how your new favorite DIY Coasters are born!
Now comes the next obvious part – the part when you actually start coloring these beauties! The part when you put your creativity to work, you have fun experimenting with colors … while also relaxing and decompressing.
Let’s get into the have fun experimenting with colors part for a second or two. This is really opened to exploring uncharted territory because:
- you have the opportunity of playing with different colors
- you have the opportunity of playing with different coloring and writing utensils, even different mediums – you can get really crazy here and use whatever you want: colored pencils, markers, fine pens, metallic gel pens, brushes, acrylic paint, watercolors, even coffee or tea, the sky is the limit!
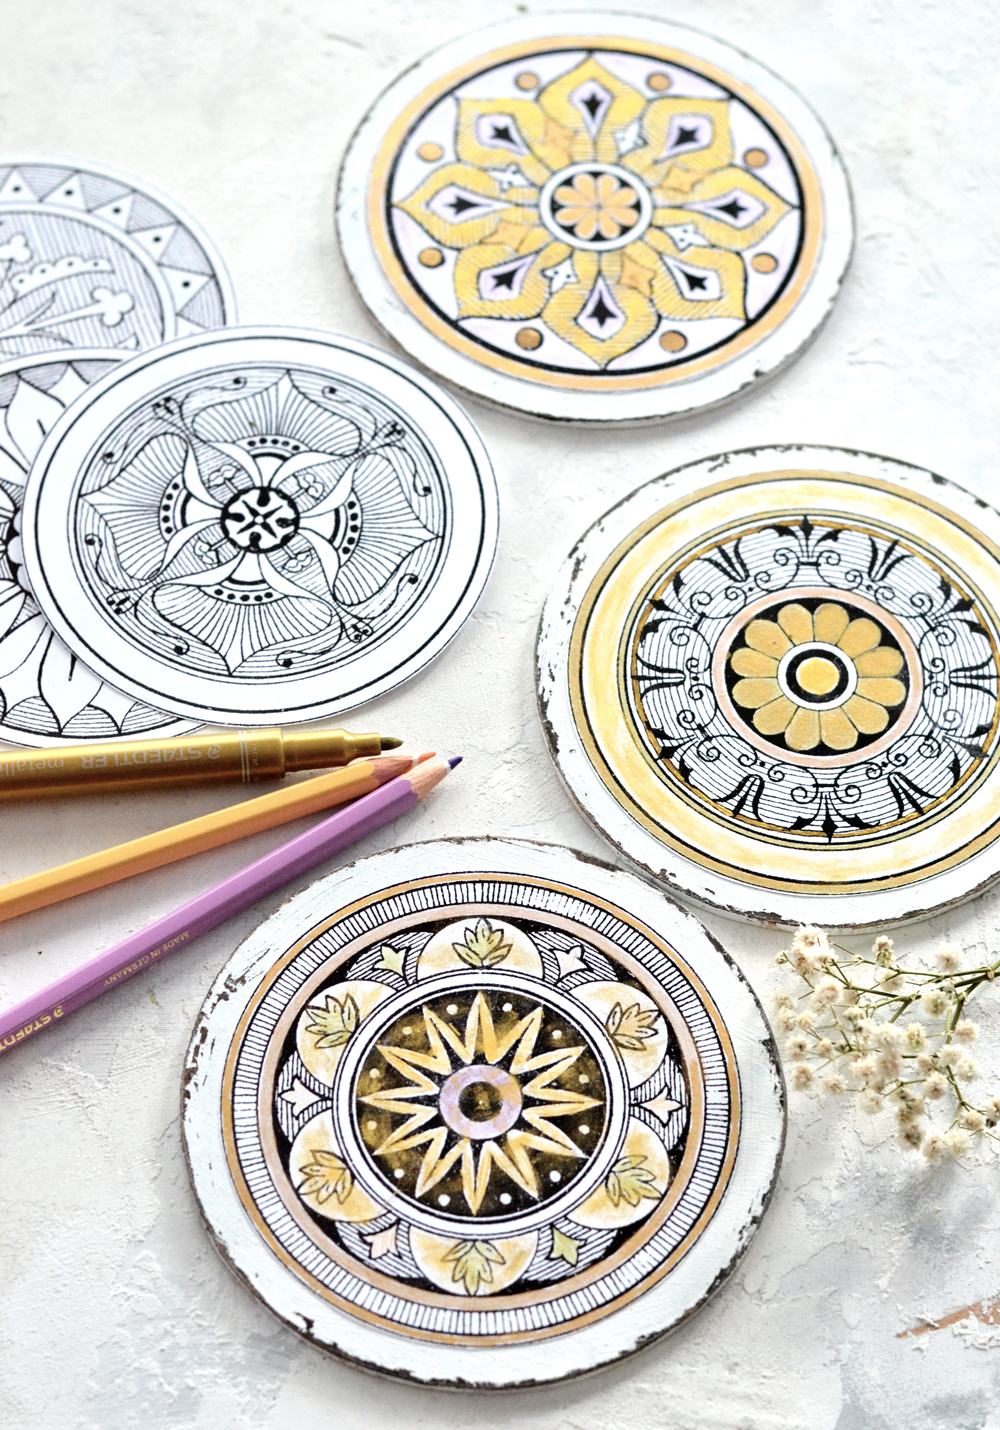
I have a thing for gold lately so I used gold in different shades and a few other colors that I thought would work with gold. And that would somehow complement the whole DIY Antique Adult Coloring Medallions concept, turning them into unique pieces of art!
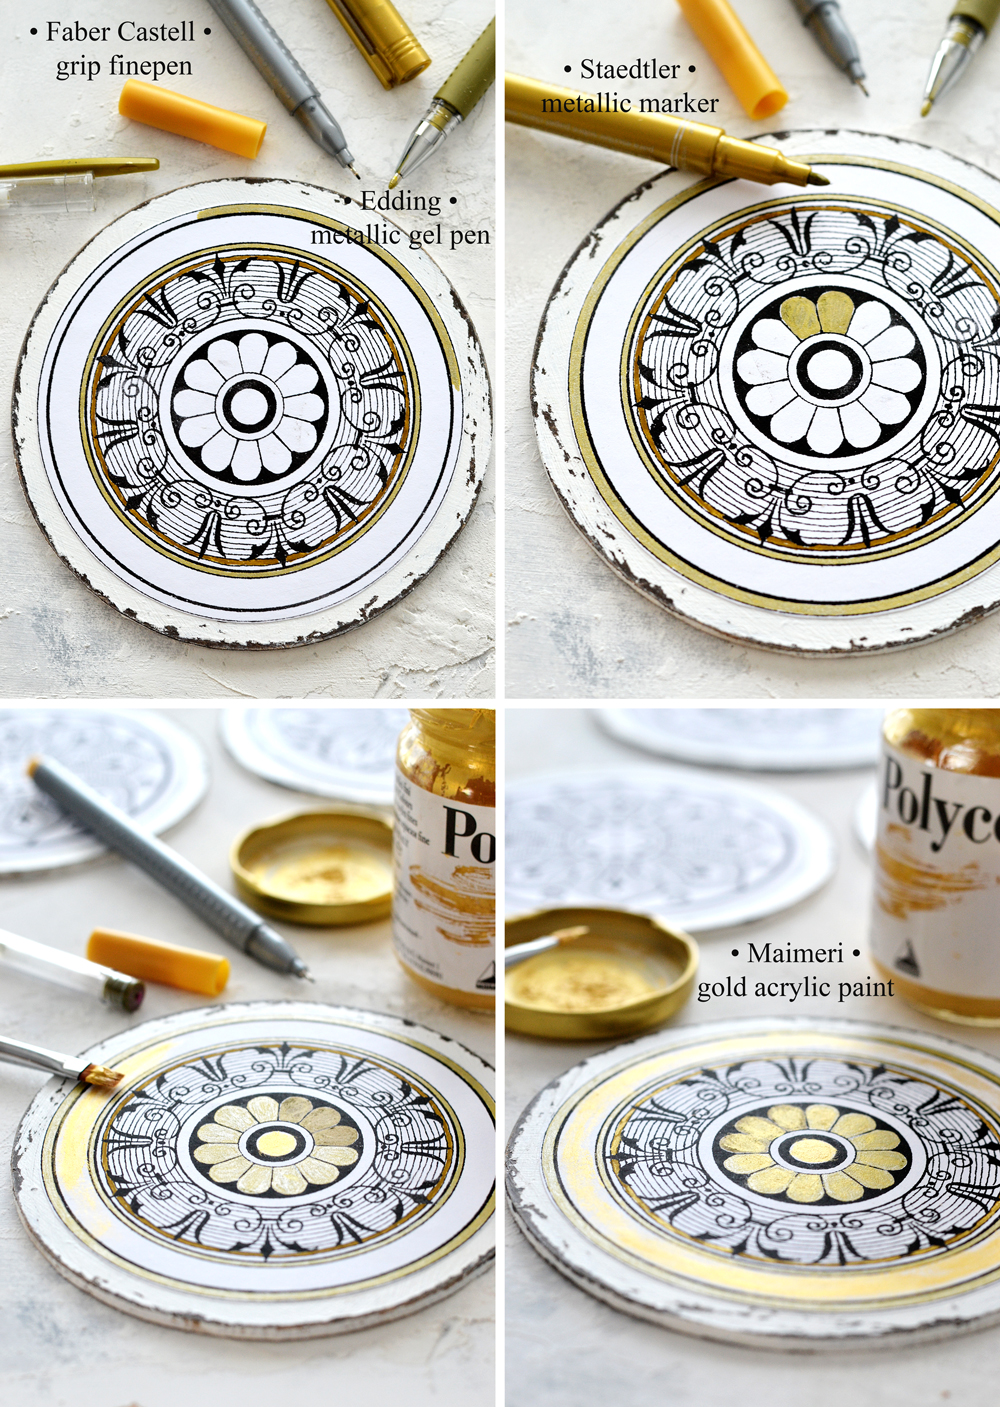
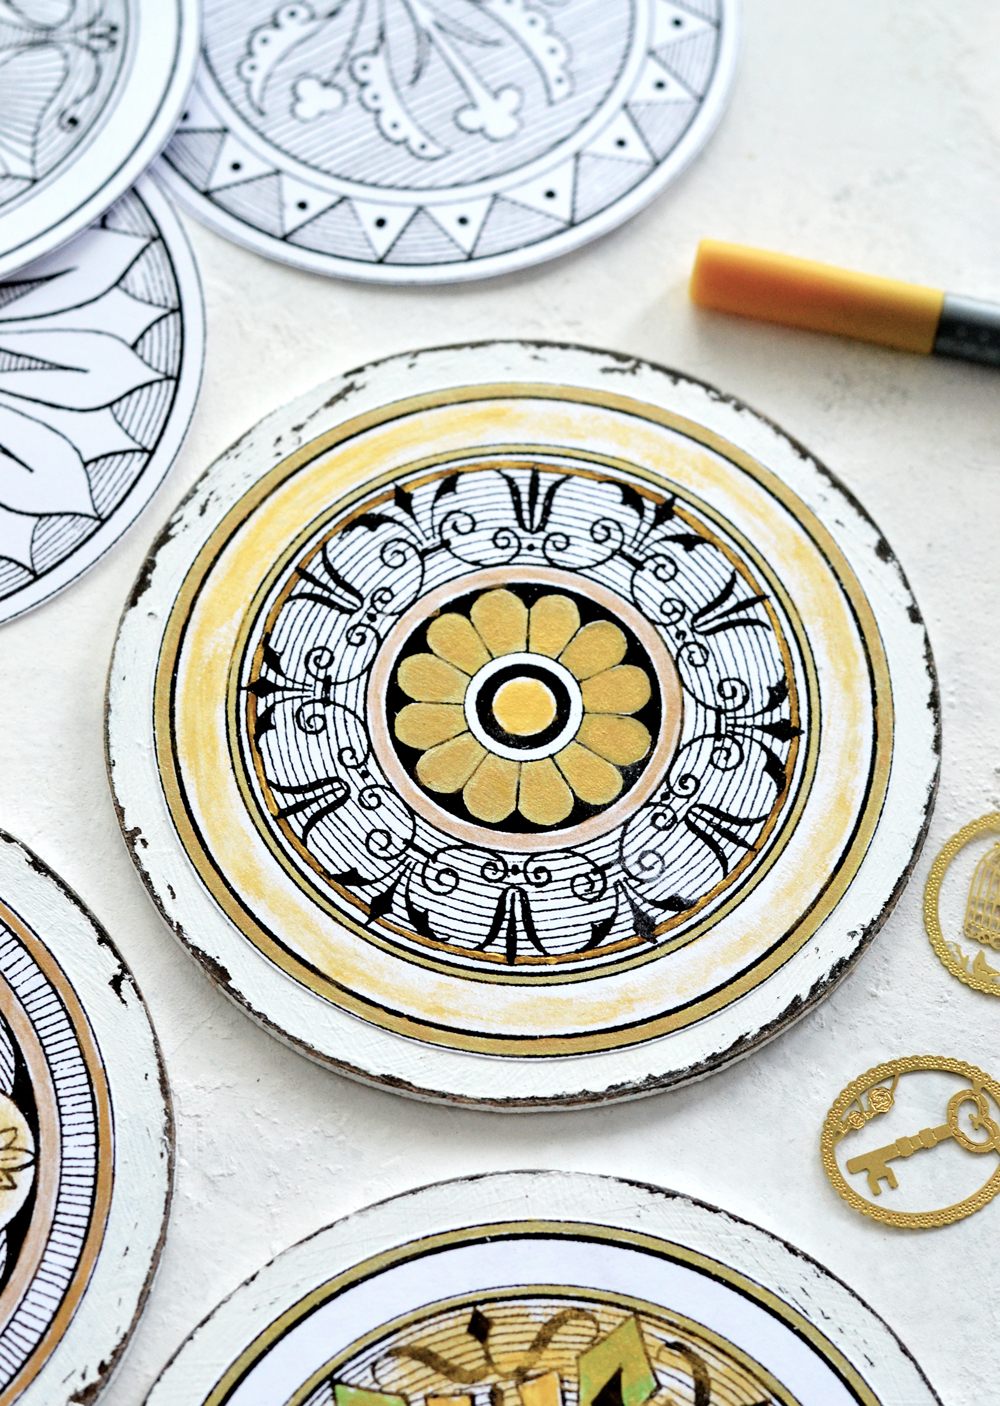
For this particular antique mandala I first used a Faber Castell grip finepen (brown-gold) and an Edding metallic gel pen (gold) to trace and color some of the beautiful details. Then I used a Staedtler metallic marker (gold) to color the inside petals. And finally, I used the Maimeri Polycolor acrylic paint in a beautiful pigmented light gold and I dry brushed it here and there. This paint is really one of my all time favorites, because you can create some stunning effects and highlights.
For the next medallion I started with the same acrylic gold paint. 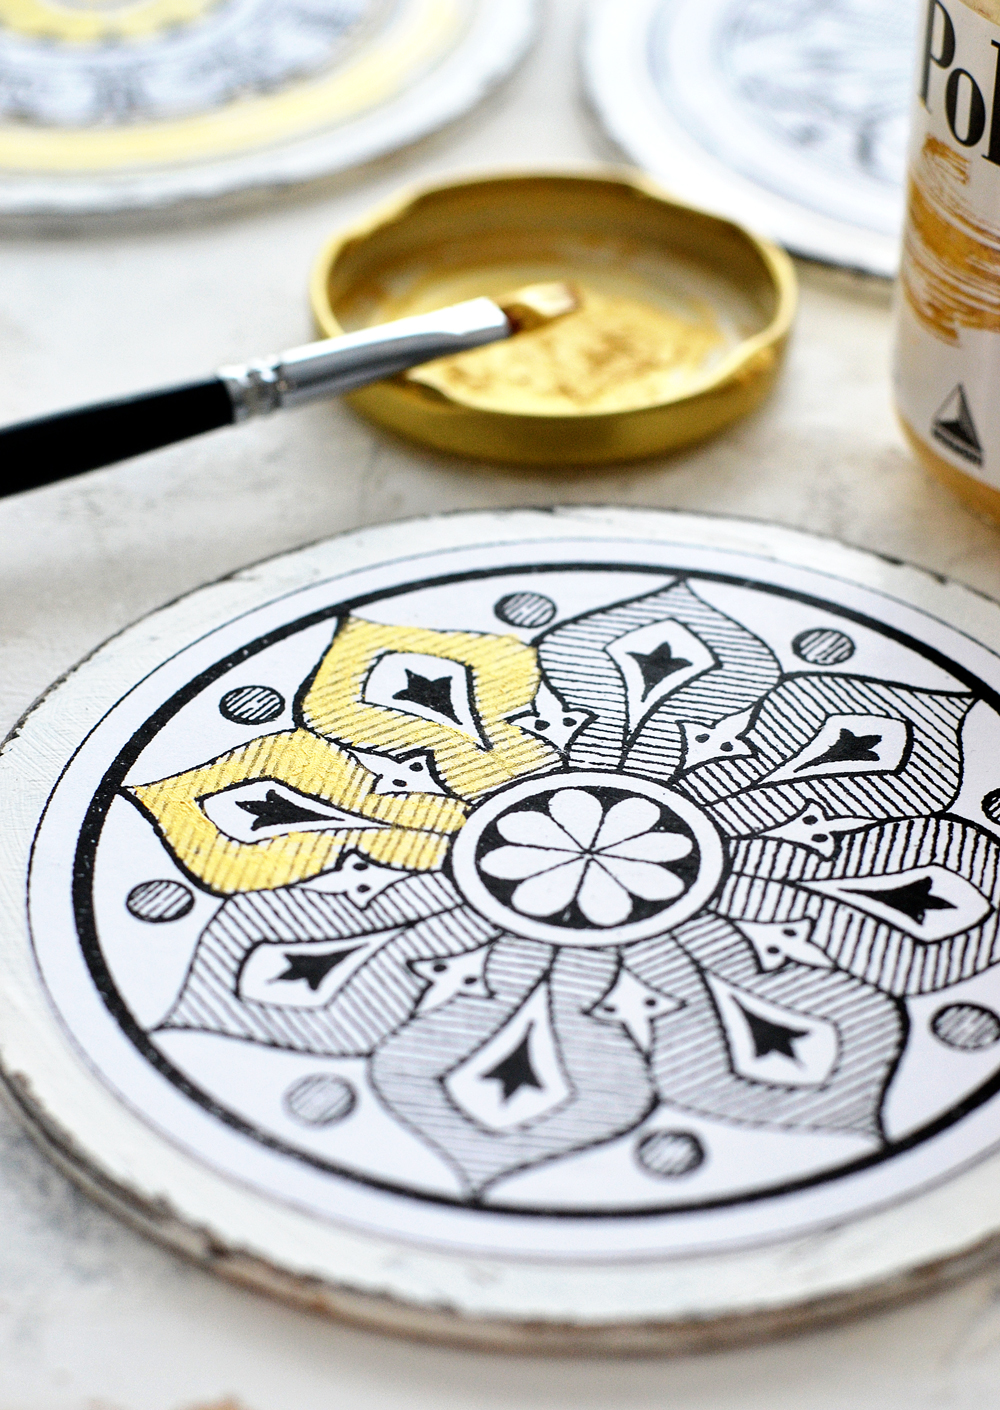
Then I continued with another favorite – liquid gold! This one has a different shade and I managed to create some beautiful accents. 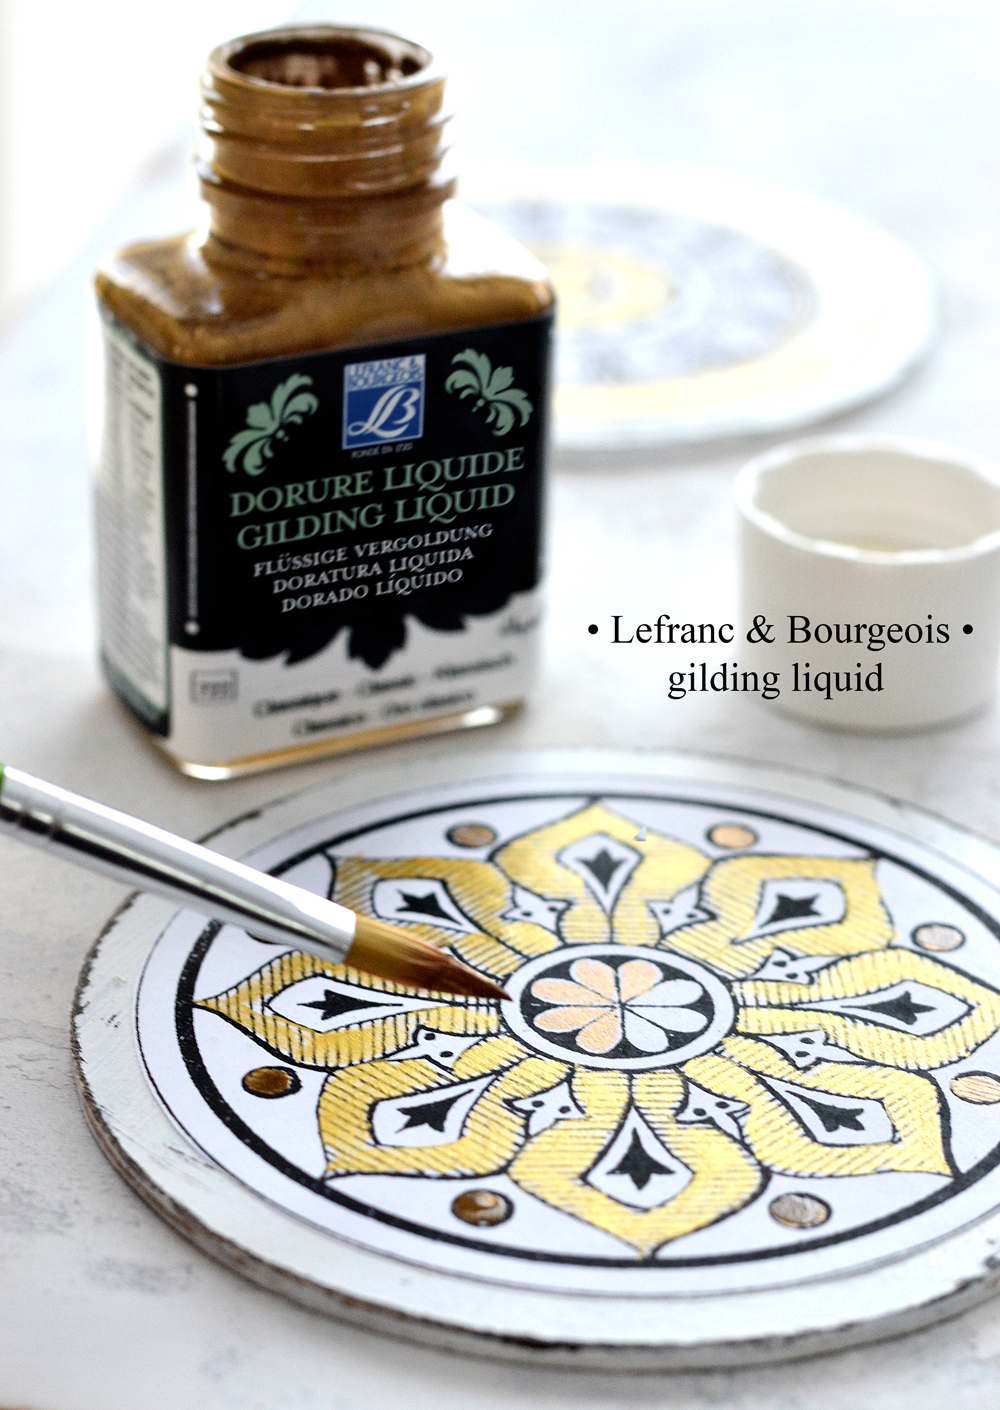
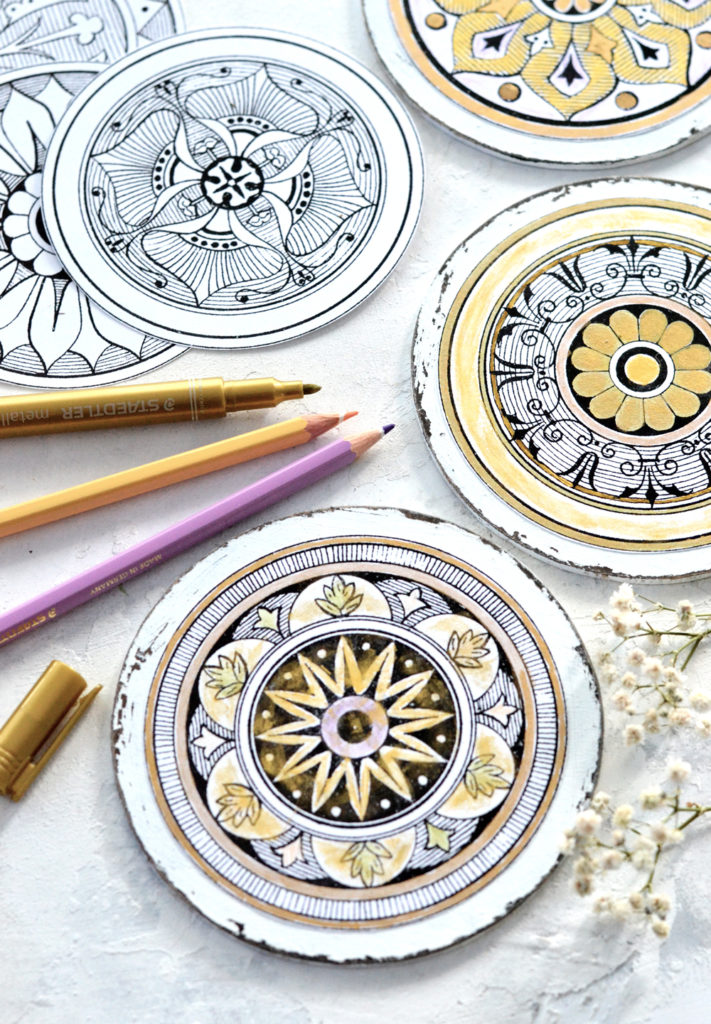
Moving to a new antique mandala, this time using colored pencils! What would this project be without some colored pencils, right? I used lovely pastel colors that looked almost vintage. To continue with the whole golden look, I also used liquid gold for coloring and I even dry brushed some of that light gold acrylic paint on top, to add interest.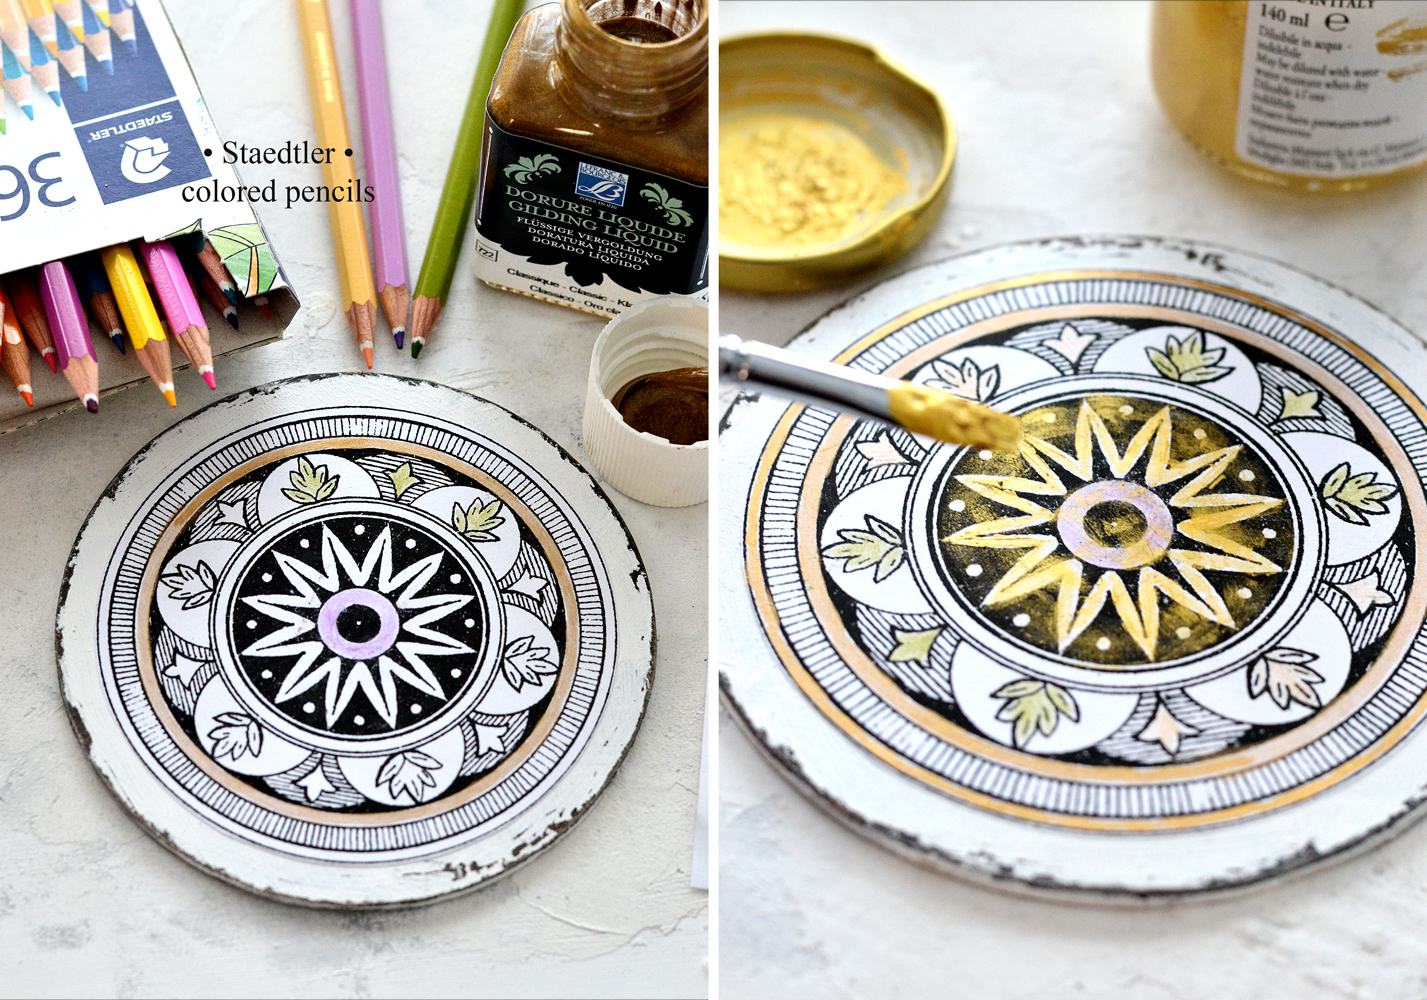
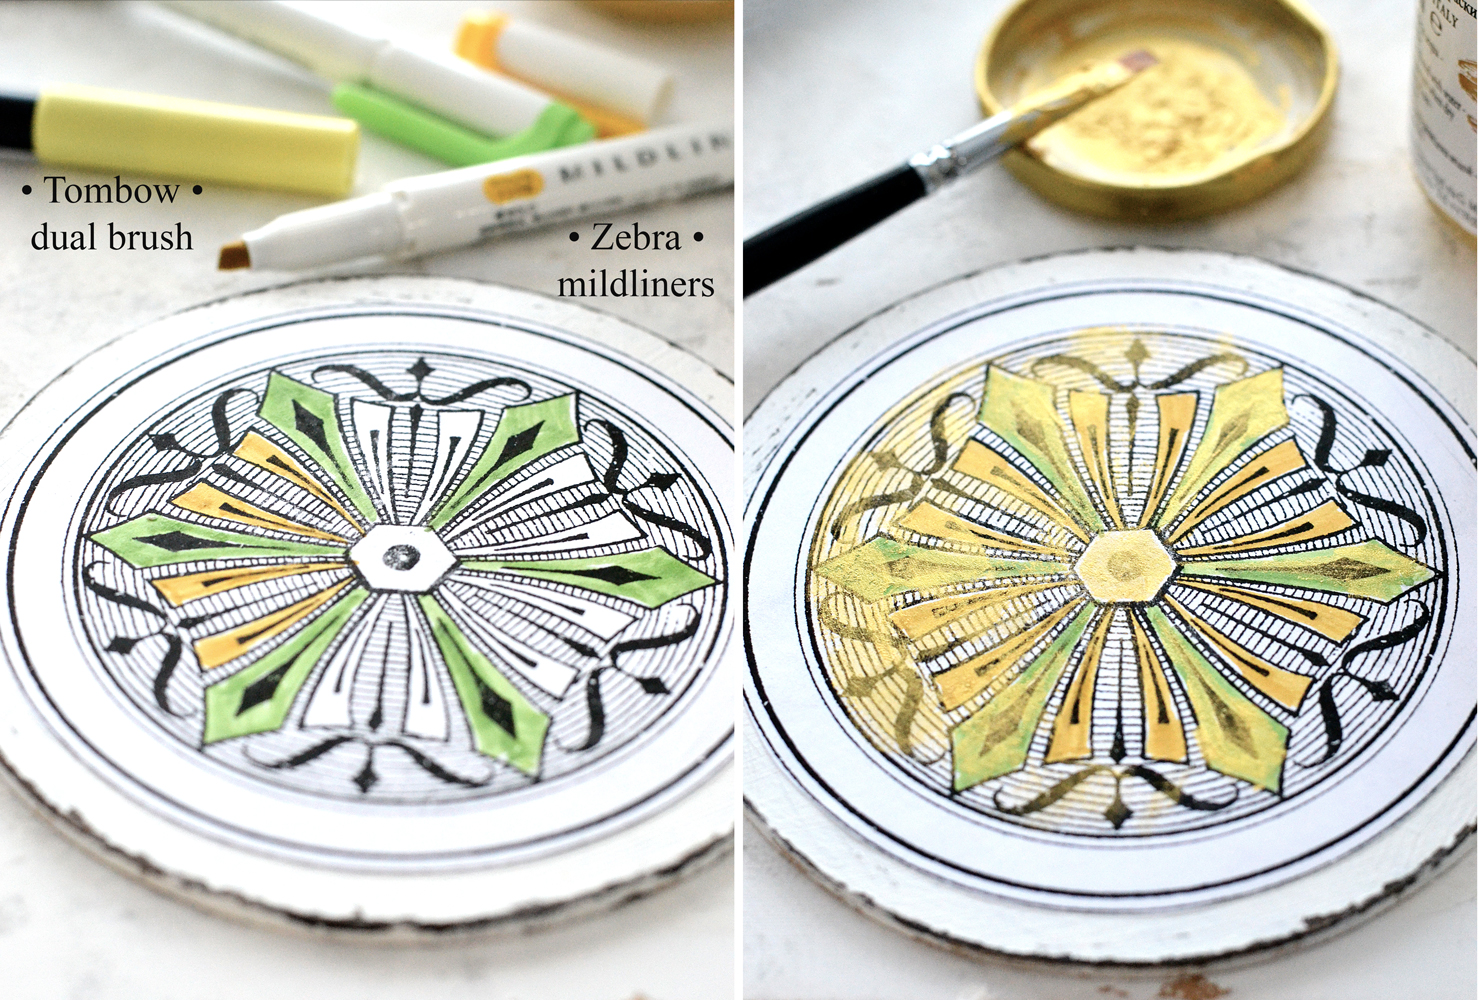
Next, colored markers! To be more exact, the lovely Zebra mildliners that are great for coloring! And some more dry brushing with gold to tone down the marker colors and create more of those beautiful golden highlights.
The whole concept is starting to look pretty amazing, don’t you think?
As you can see, there is plenty of room for further experimenting and getting creative! And even though everything starts with the same printables, each and every one of you will be able to create something truly unique! 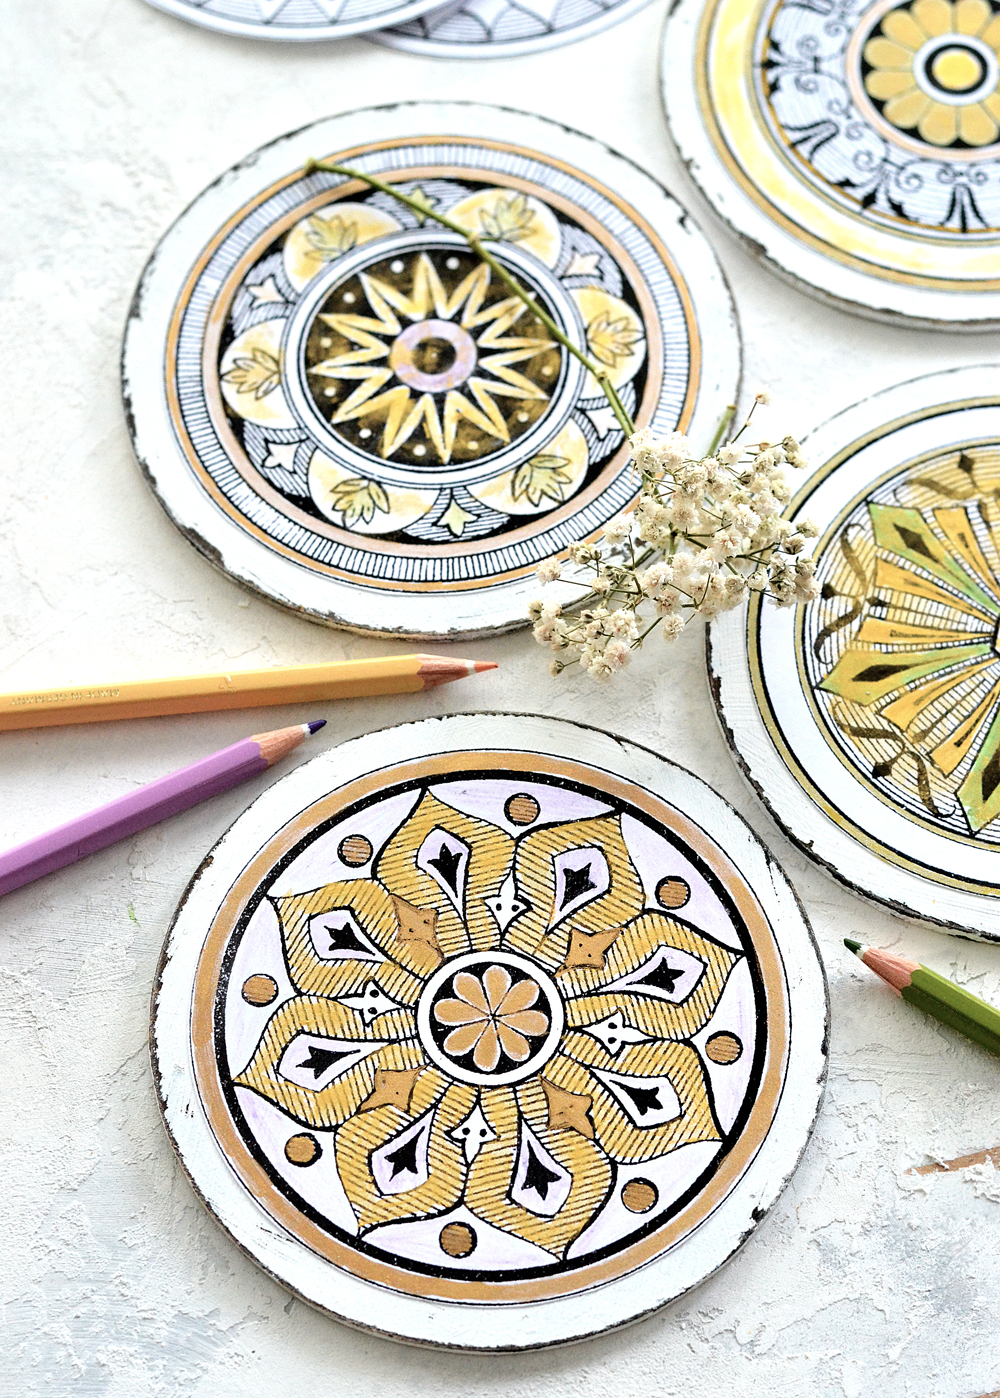
You can integrate the chic medallions in your home decor afterwards as individual pieces or as a set. You can pair them with vintage books, turn them into large labels or tags and decorate different sized boxes. You can even put them in your Christmas tree as ornaments!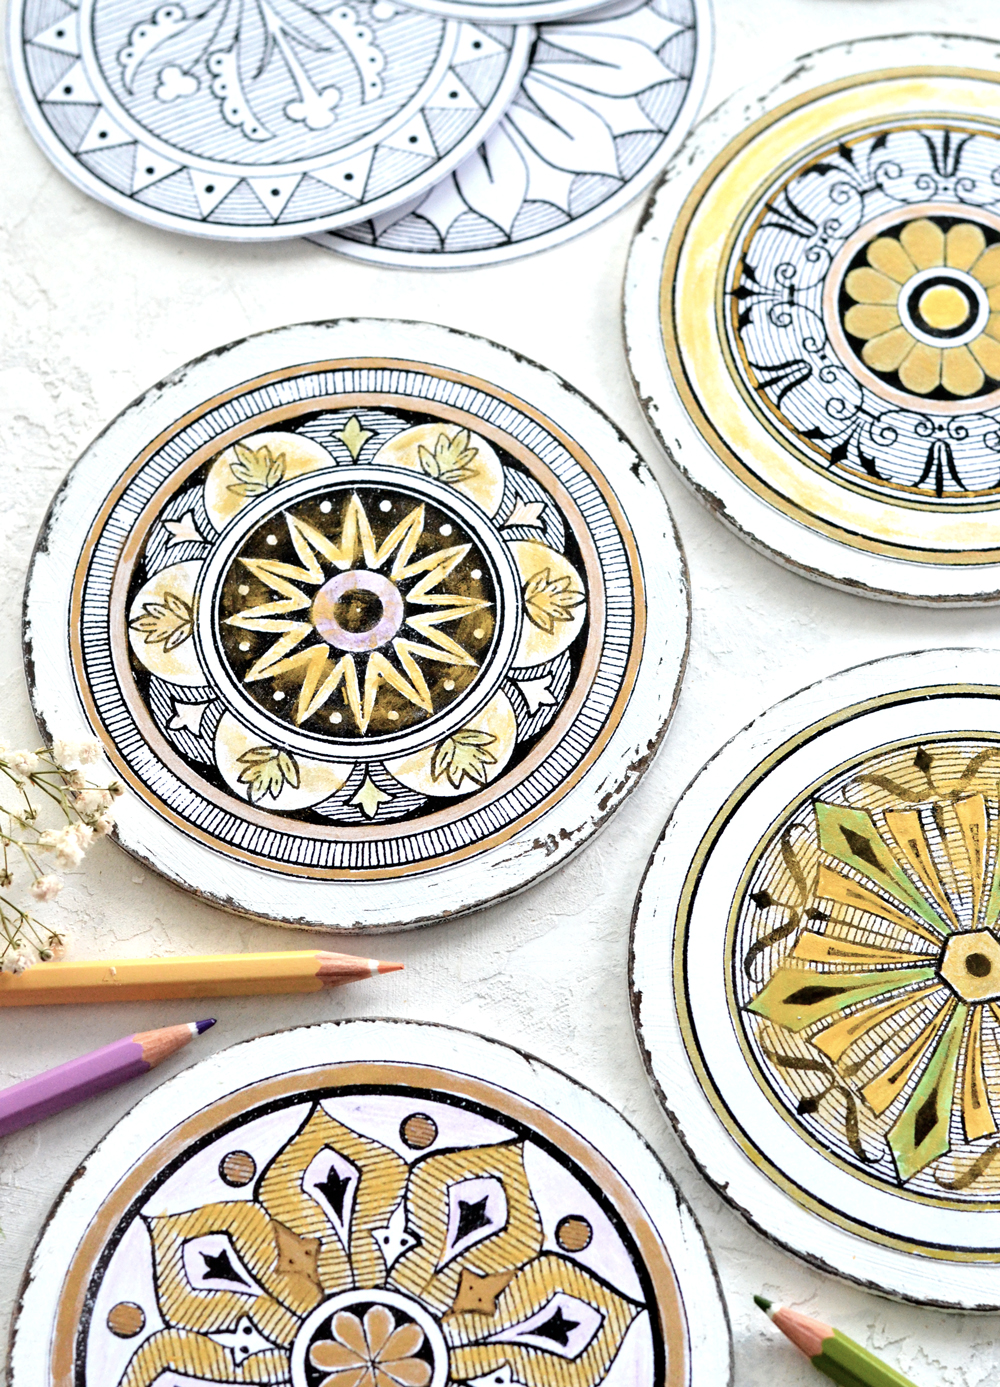
The Medallions can be used as coasters, as long as you are using something to protect them after coloring. I would suggest one or two layers of Krylon acrylic matte spray, just make sure you do a quick test before on a piece of paper to see how it interacts with all the coloring mediums you have used. You might also want to add some cork to the backs. 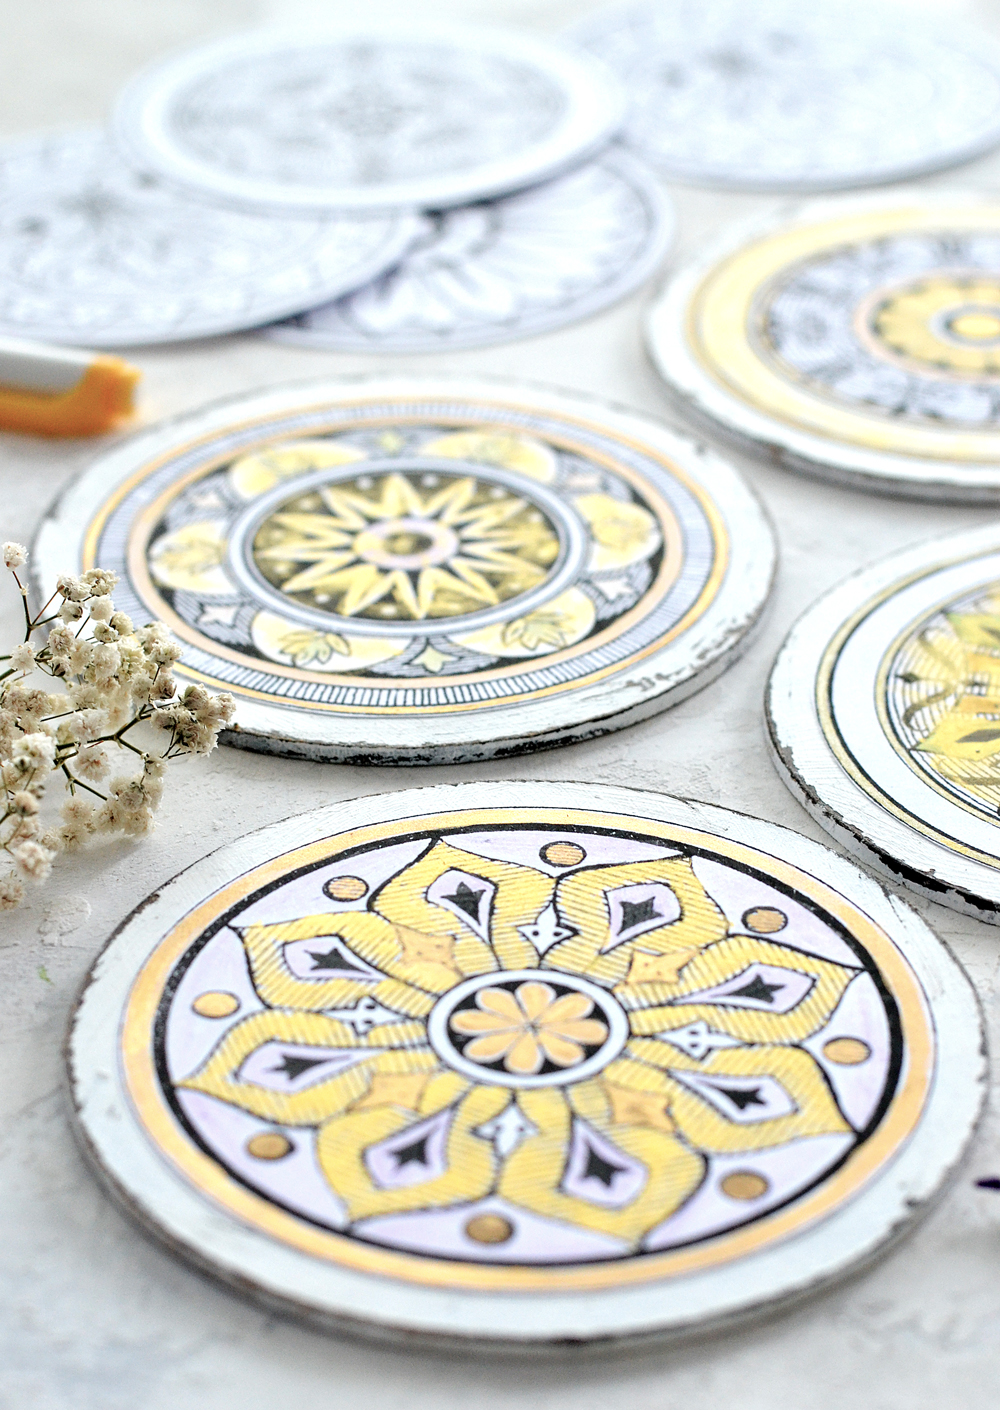
And if you are looking for a sensational and meaningful gift that would also encourage family members or friends to get creative… turn the actual Coloring Medallions into presents! Make the wooden base yourself and wrap it along with a non colored antique mandala and some colored pencils, maybe even some dried flowers or small branches and some twine. You’ll have the most perfect gift whether for a Birthday, Mother’s Day, Father’s Day etc!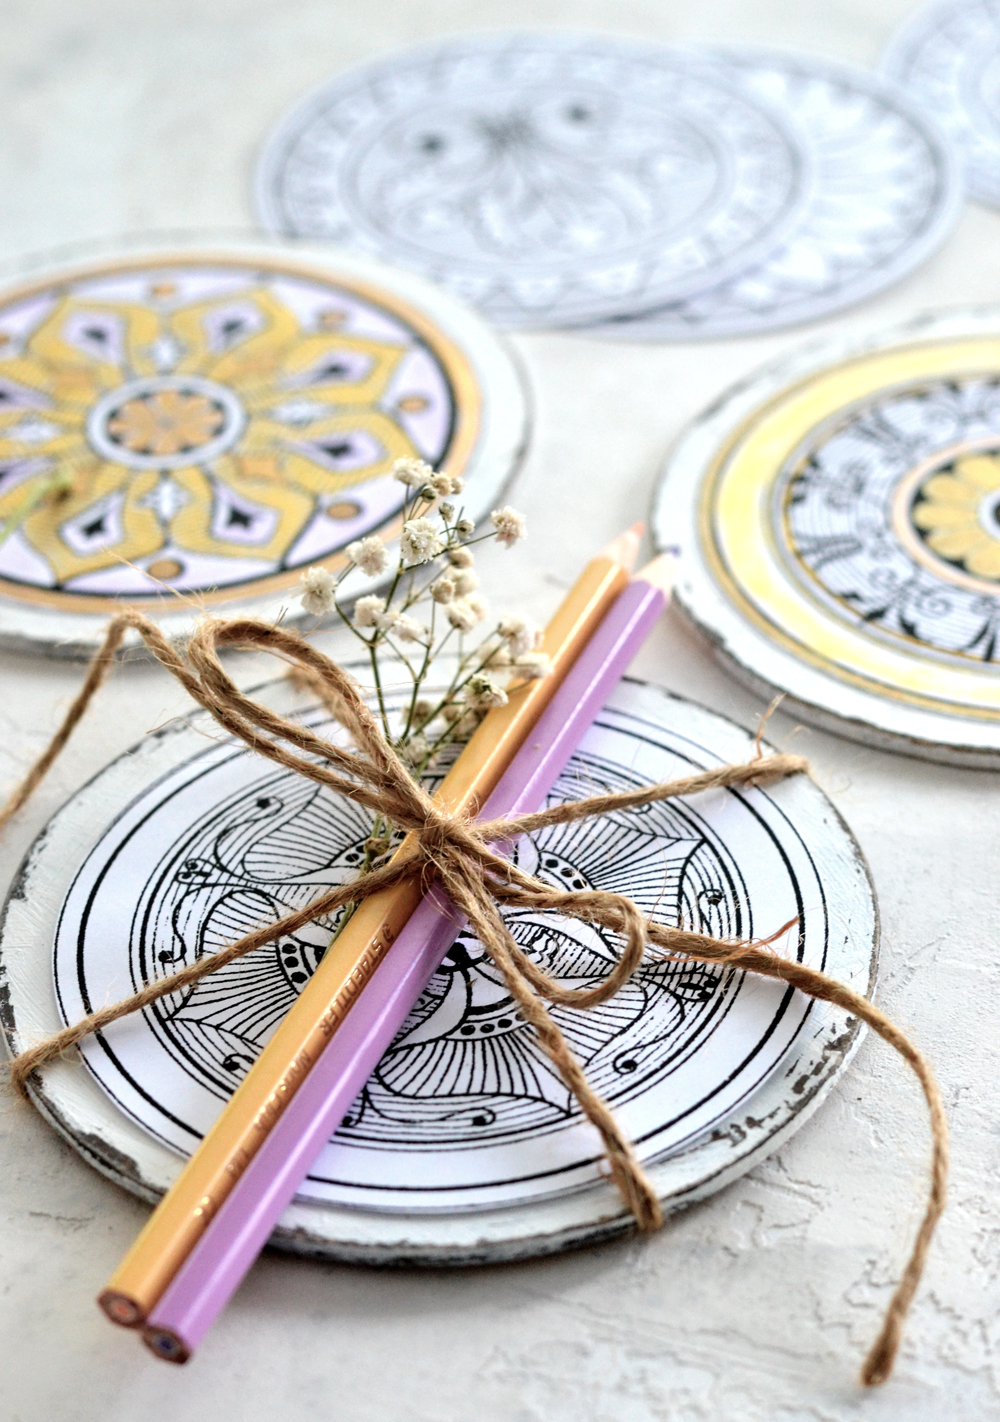
The ugly weather outside is already forcing us to spend more time inside, so I’m really hoping you will find my DIY Picture Coasters inspiring!
Experimenting, having fun and relaxing while also adding a little bit of color?! We definitely need that in our everyday lives!
You might also like my French CD Coaster Project HERE.
Happy coloring!
Diana / Dreams Factory
