How to Make Angel Wings
Hello, my Dear Graphics Fairy Friends! Heather from Thicketworks here and today, I’m thrilled to share a technique on how to make angel wings with super cheap materials and a free template! These wings are great to add to fashion dolls, but you could also use them as Christmas Ornaments or as part of a mixed media art project. I’m sure you will come up with your own ways to use these too.
Want to make a pair of these fun Angel Wings for yourself?
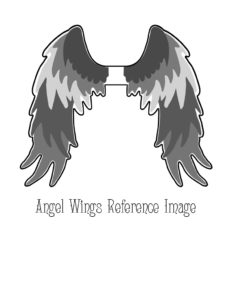
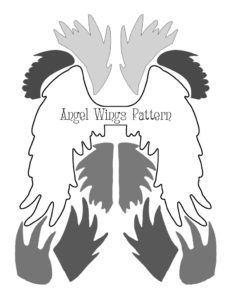
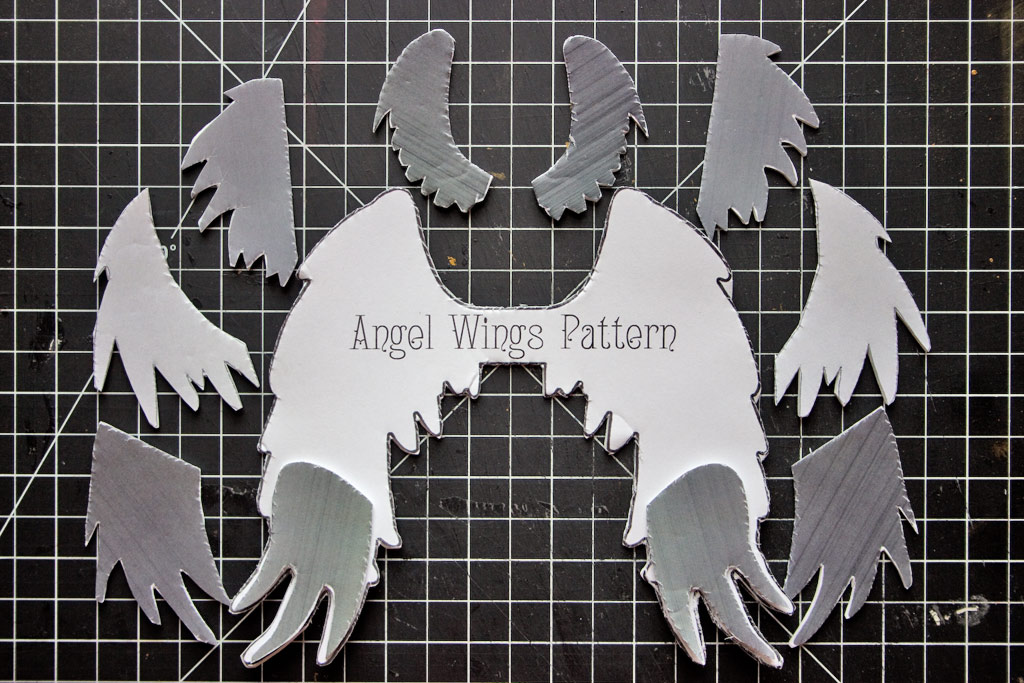
Grab & print a copy of the free Angel Wings Pattern and Reference Image Printable, by clicking HERE, or on the two images below:
Note: either InkJet or Laser Prints are suitable for this project.
There are a few supplies that you’ll need to complete your Angel Wings…
How to Make Angel Wings Supplies:
- 1 Sheet of Craft Foam
- Scissors (I used these Fiskars Easy Action Micro-Tip Scissors, and I’m a fan!)
- Either: A ball point pen & gift wrapping tape or Spray Mount (grab a container of water for this method)
- Super Glue (I use and LOVE Insta-Cure Adhesive – it’s the BEST)
- Non-Heat Conducting Tweezers
- A Tea Light
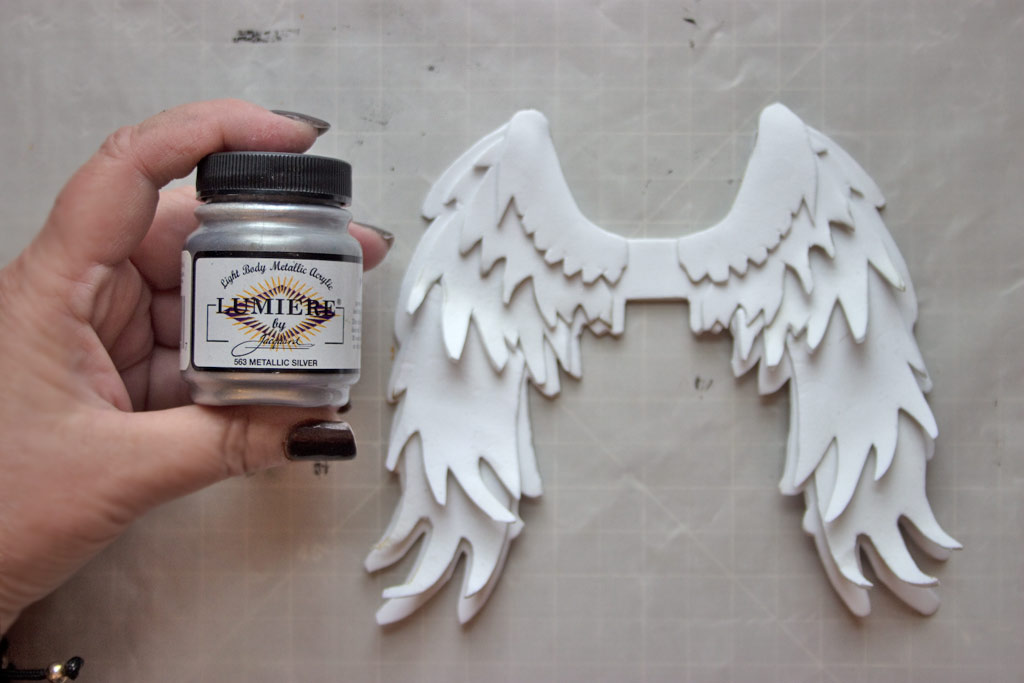
- Your choice of Acrylic Paint (I used Lumiere Metallic Silver Acrylic Paint)
- A Flat Artists Paint Brush
- Optional: Magnets (I used Magnetic Snaps: 3/8″) and Altered Fashion Doll
How to Make Angel Wings:
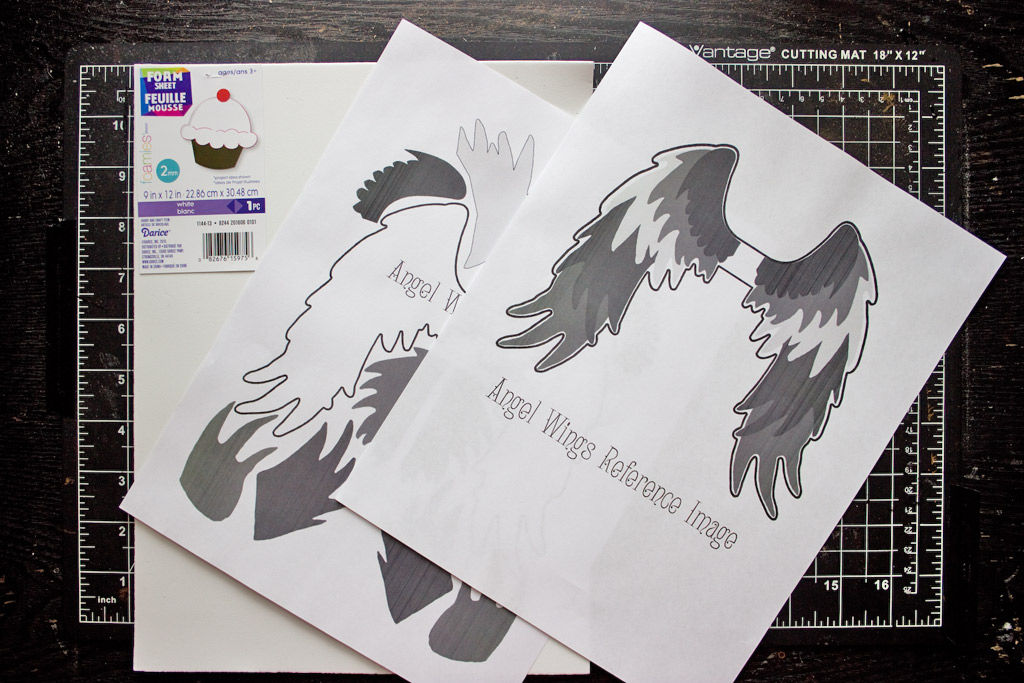
Print out the Angel Wings Reference Image & Pattern with either an InkJet Printer or a Laser Printer.
Note: you can scale this Pattern to any size you like. Try the free image resizing service at Blockposters to create a Life Sized Angel Wing Pattern!
We’ll be working with a single sheet of 9″ x 12″ Craft Foam – color of your choice!
To transfer the Angel Wings Pattern to the Craft Foam, you can use one of 2 methods.
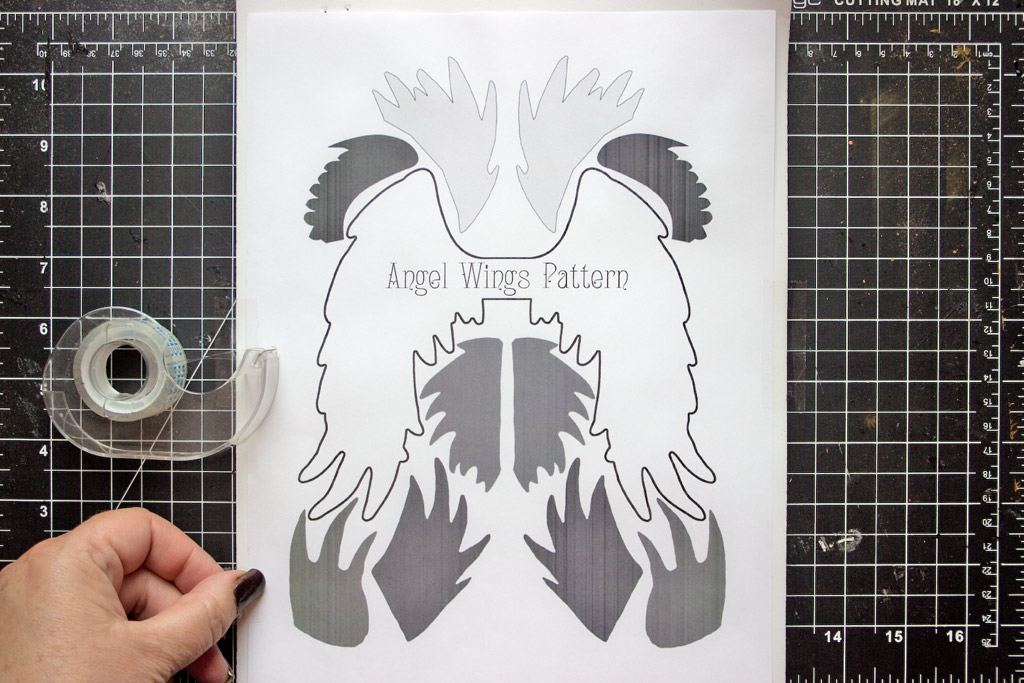
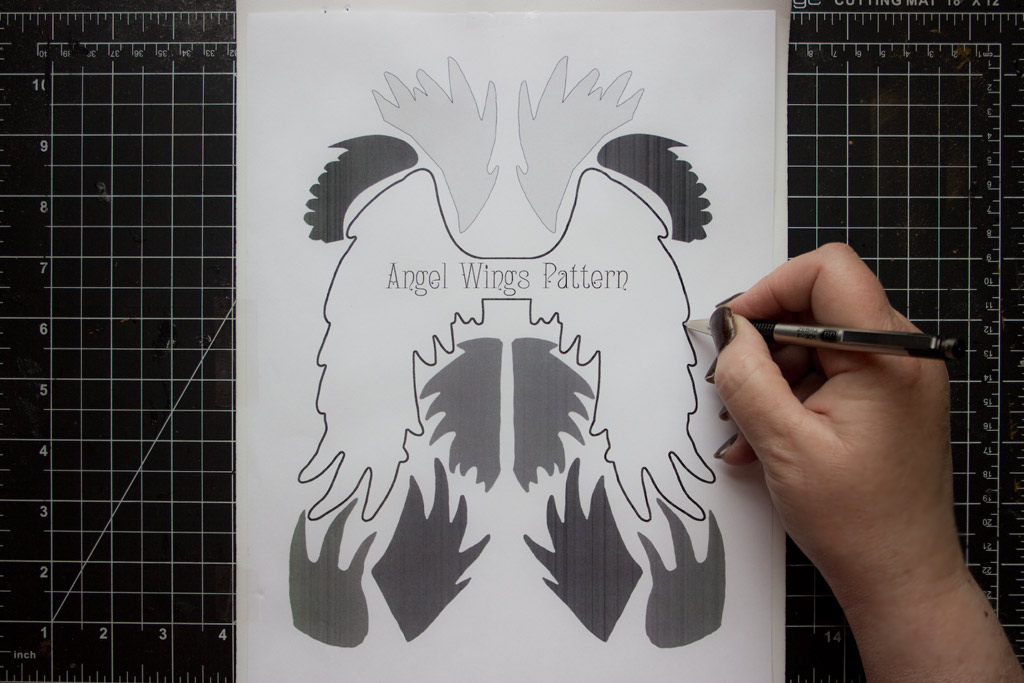
Tack the pattern over the sheet of Craft Foam with Gift Wrapping Tape to hold it steady…
Trace the pattern with a ballpoint pen, applying enough pressure to leave an impression in the Craft Foam.
This will tear the paper, and may be a bit more difficult on the eyes, once we begin cutting, but it’s cheap, easy, and requires no ‘clean up’.
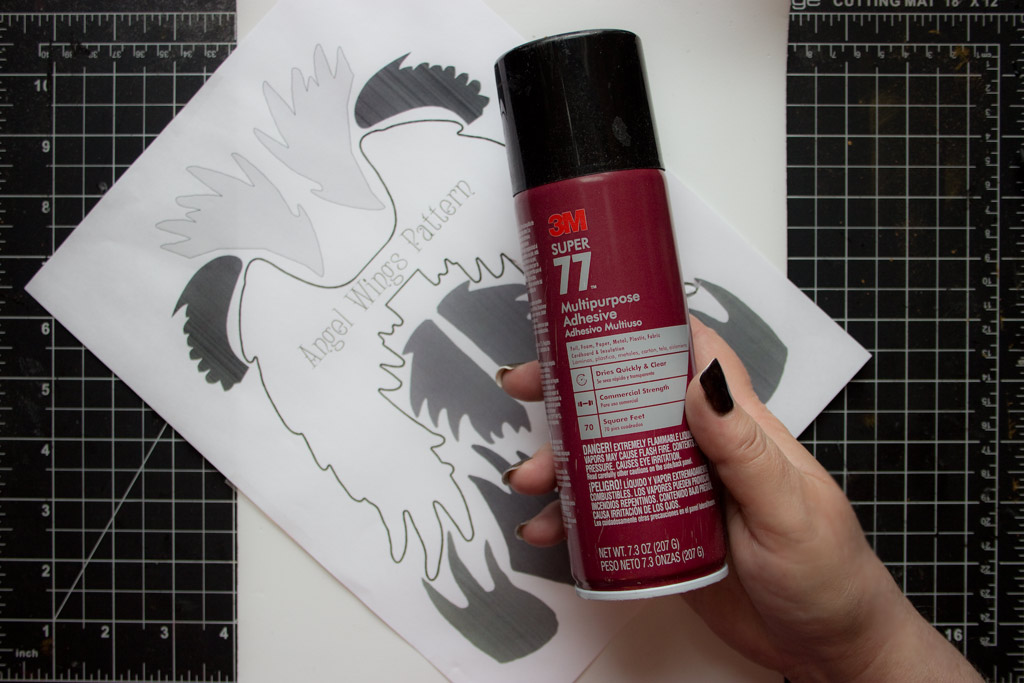
Alternatively, you can adhere the pattern to the Craft Foam with a light spritz of spray adhesive.
Make sure to have adequate ventilation, or step outside for this step!
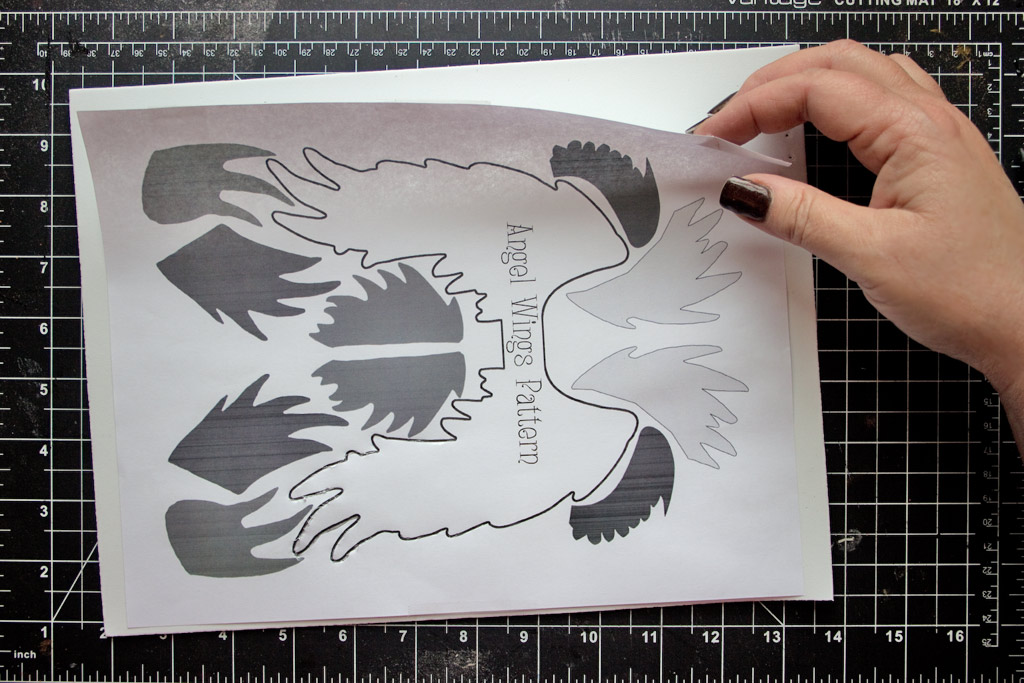
Gently press the press the paper onto the Craft Foam, once adhesive has been applied:
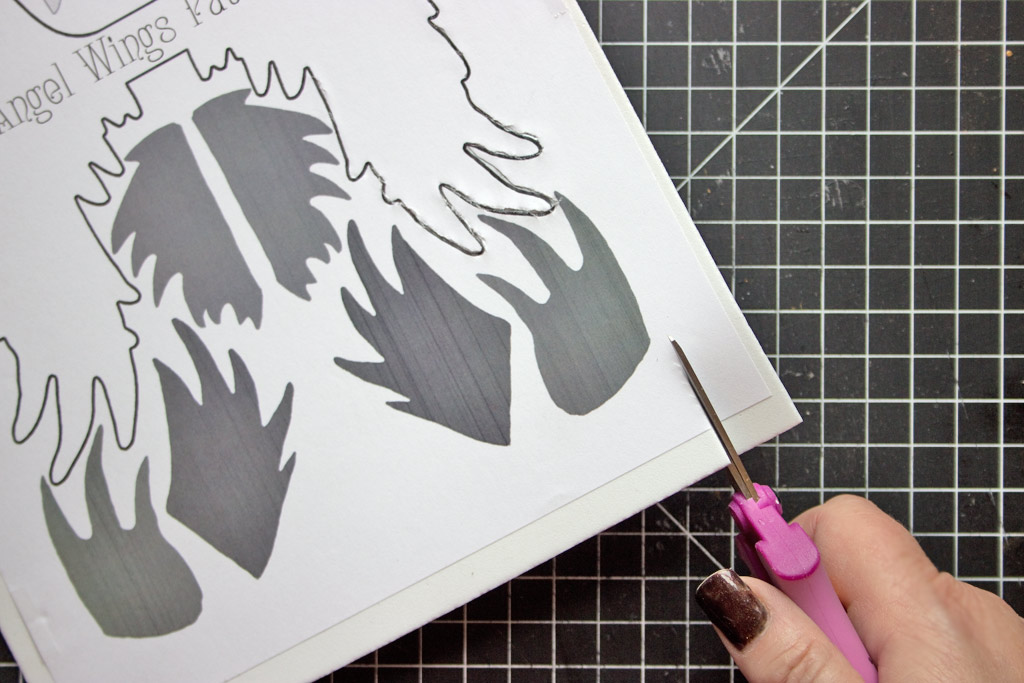
Begin Rough-Cutting the outlines of the Wing Segments and the Overall Wing Shape:
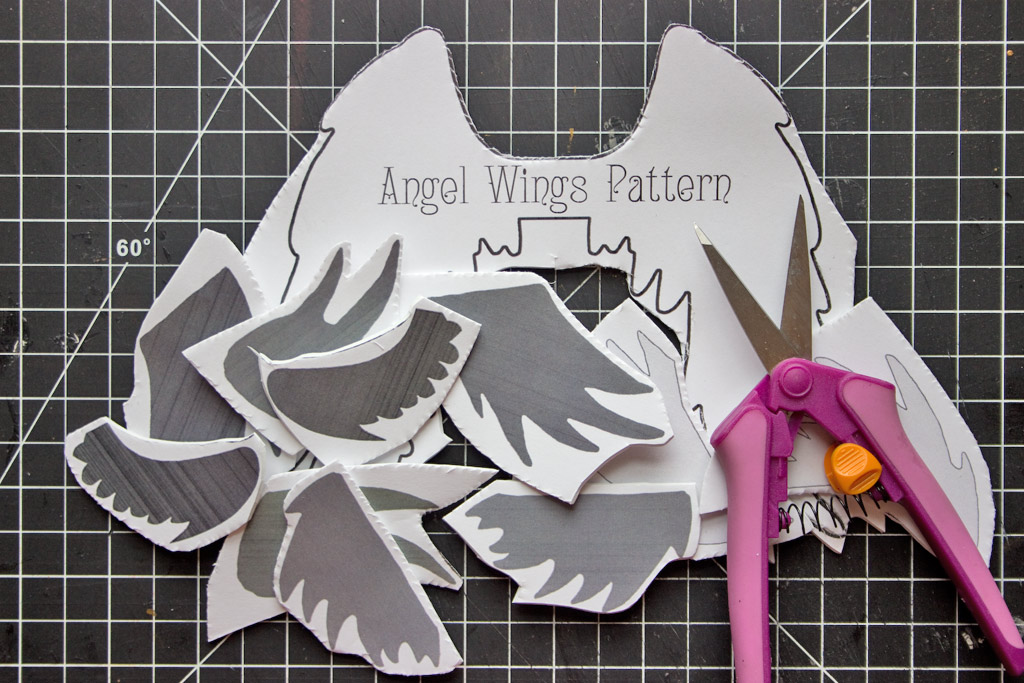
Ah… all Rough Cuts are complete!
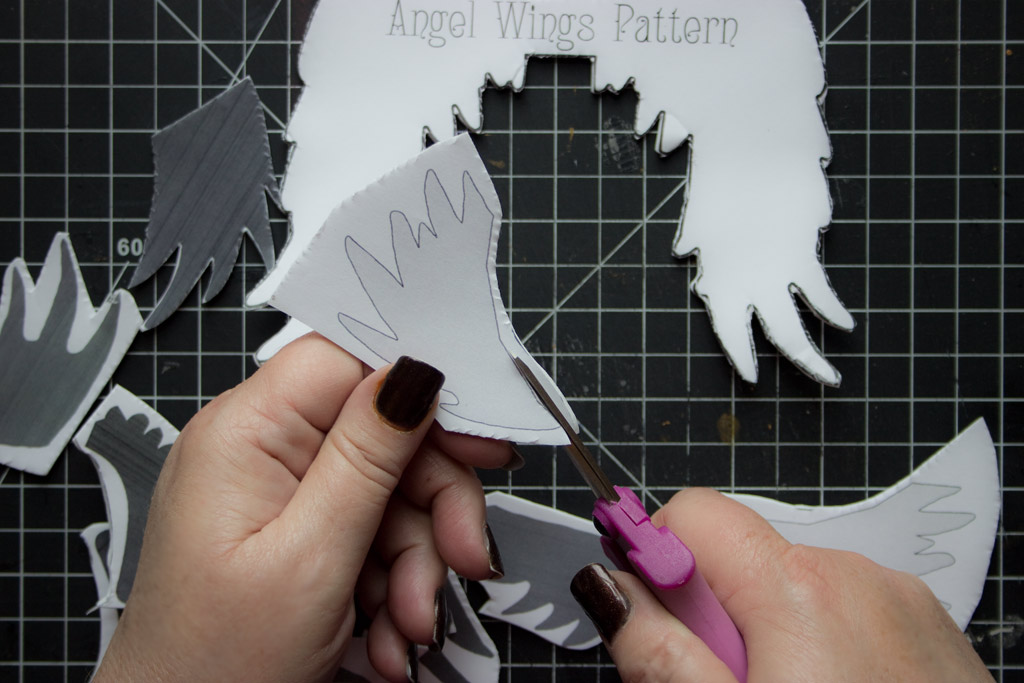
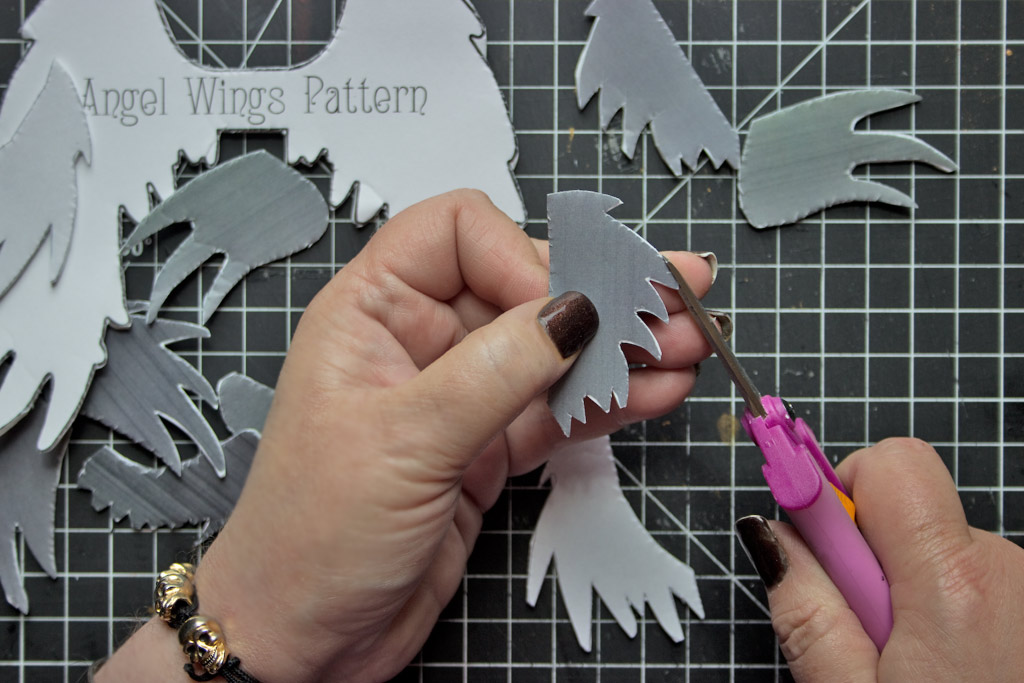
Next, Fussy Cut each Wing Segment, in addition to the Overall Wing Shape:
It doesn’t have to be perfect, but do your best to follow the contours of the shapes!
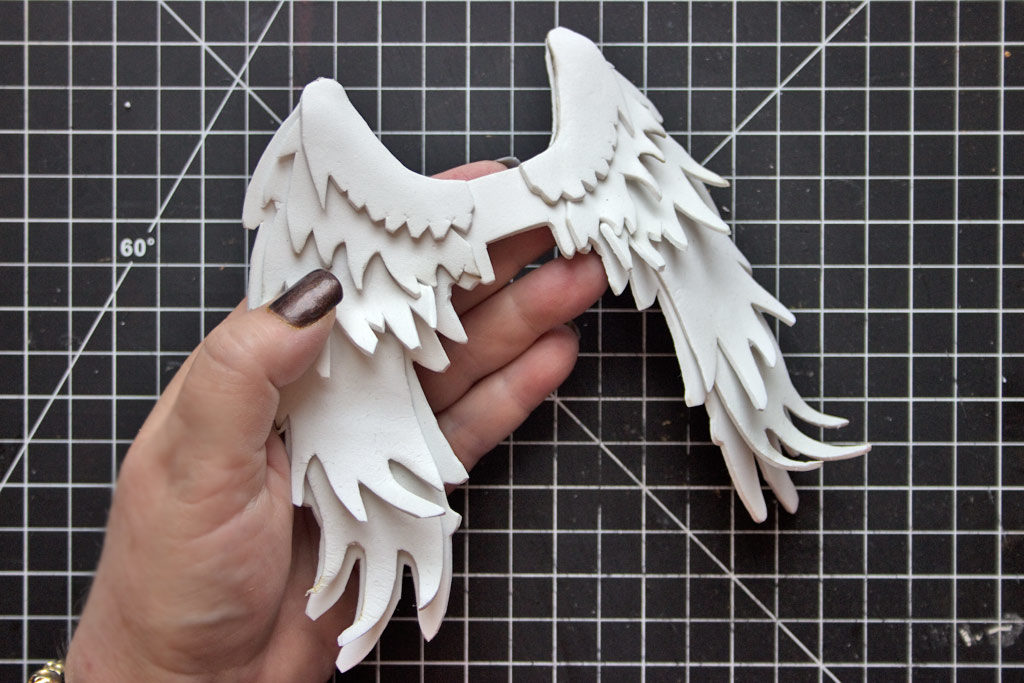
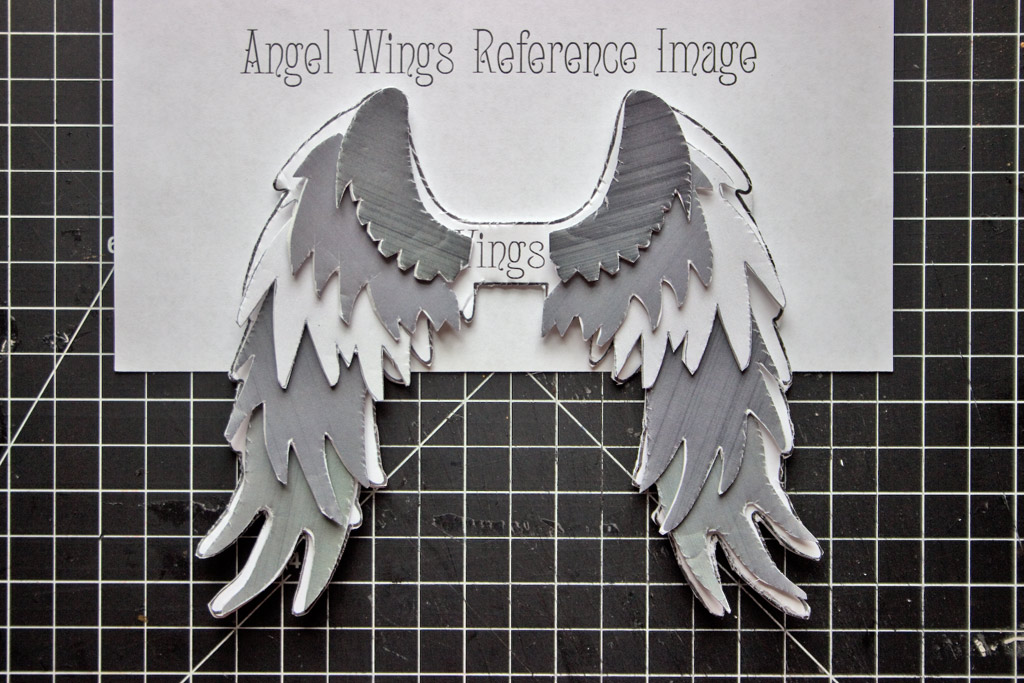
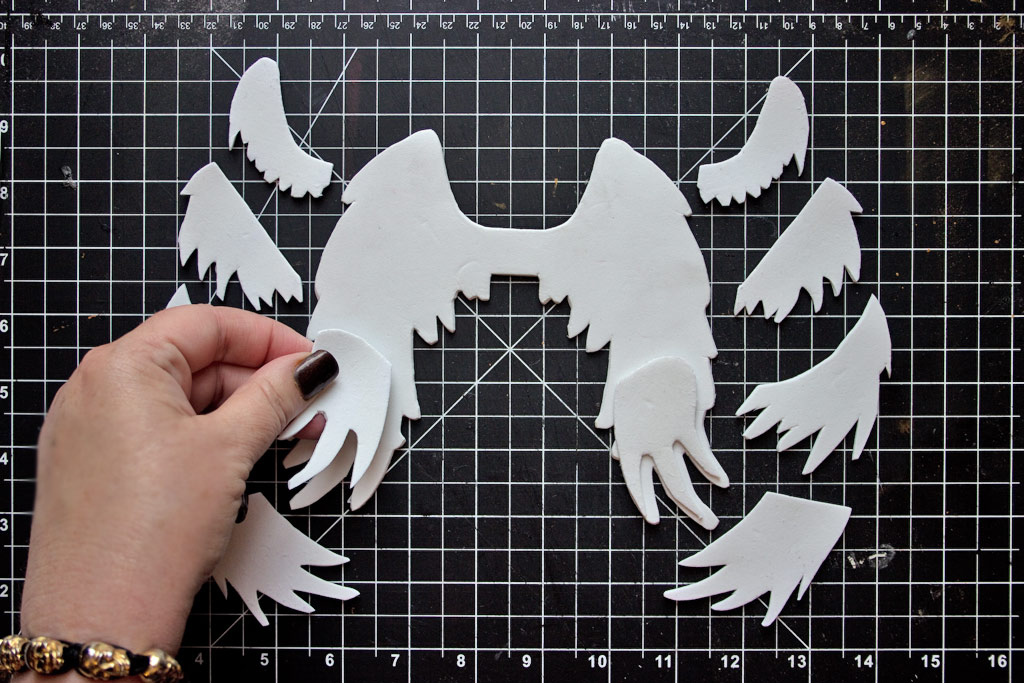
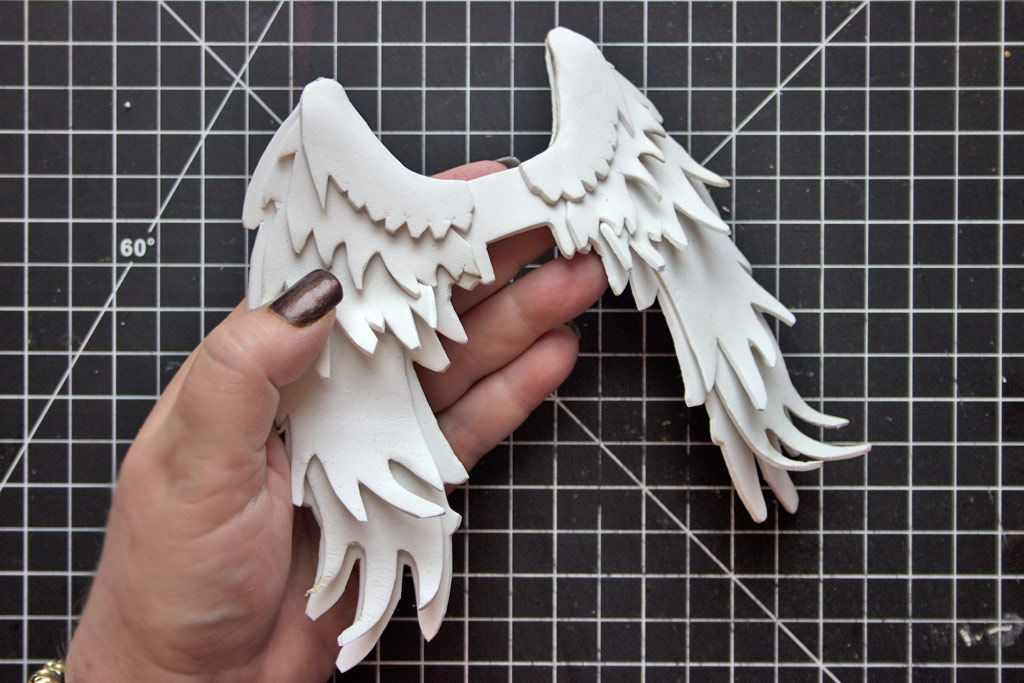
Once all the Fussy Cutting is complete, you can arrange the Wing Segments (from the bottom up) on top of the Overall Wing Shape, just to familiarize yourself with the layout.
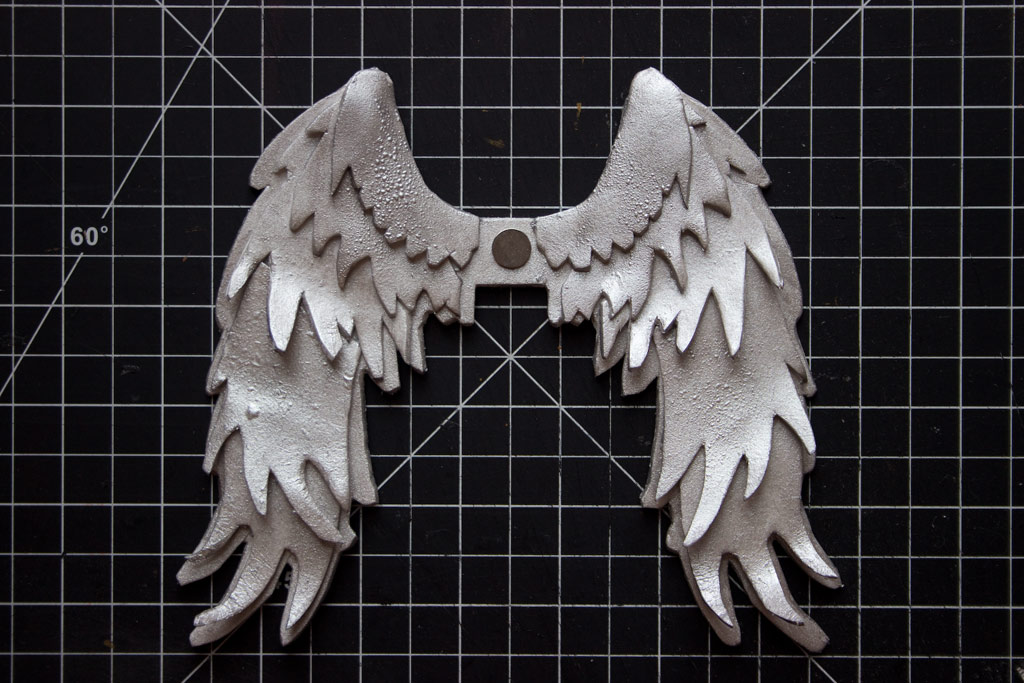
The Wing Segment placement corresponds roughly to the image below:
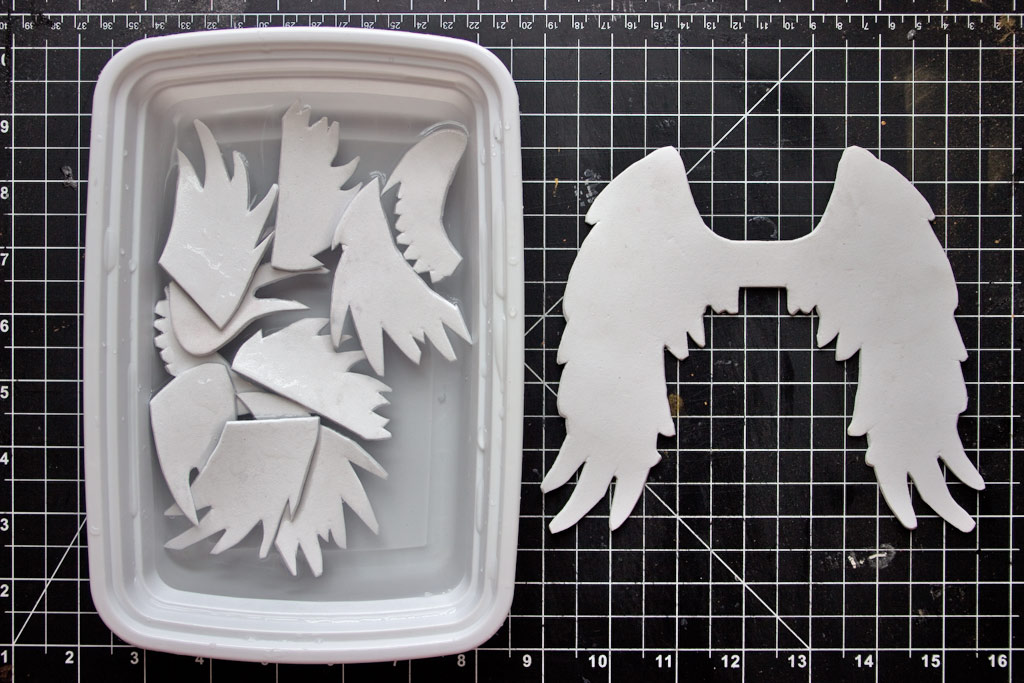
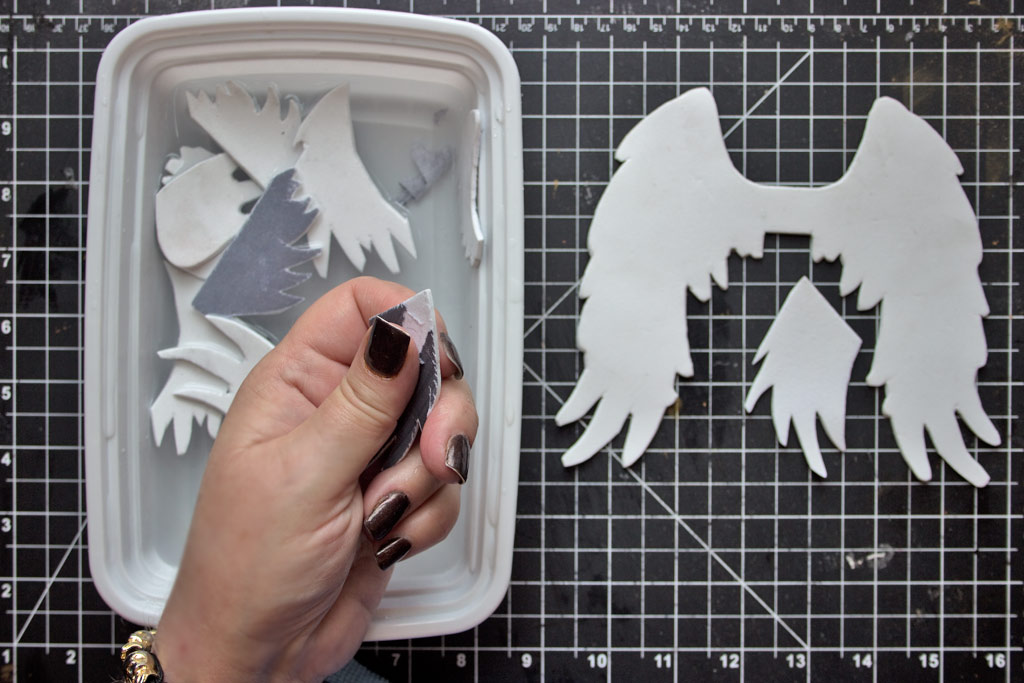
Peel away the paper pattern from each Wing Segment & the Overall Wing Shape.
To remove stubborn paper from the surfaces, soak the pieces in water for 10 minutes.
Then, you’ll be able to rub away the paper residue with your fingertips.
Pat the pieces dry.
Test fit the Wing Segments, and arrange them in order on the work surface.
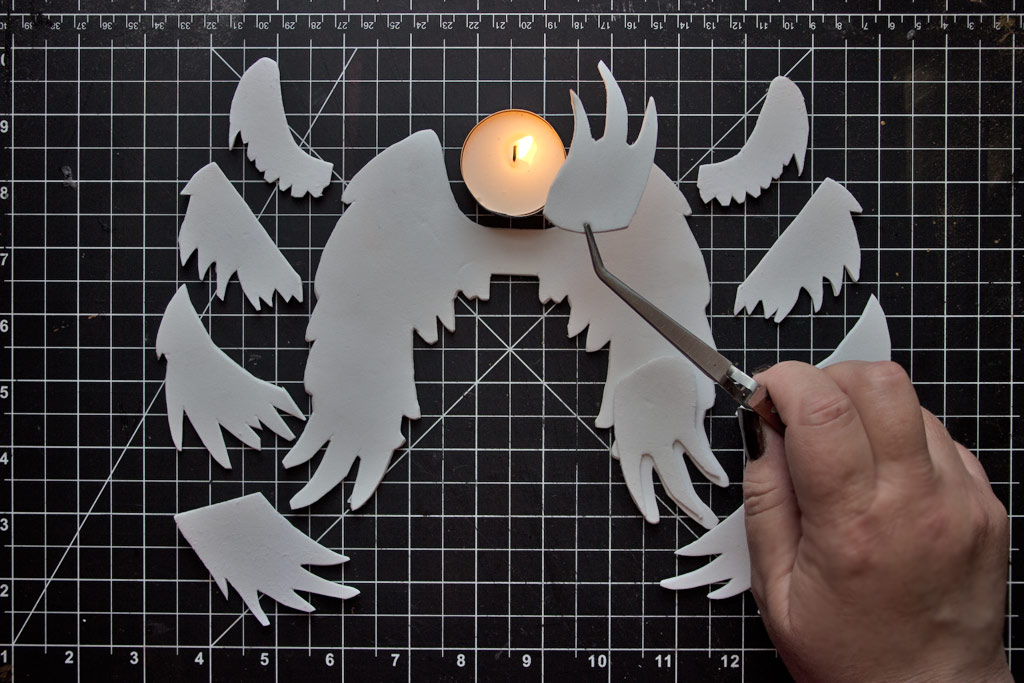
Light a Tea Light!
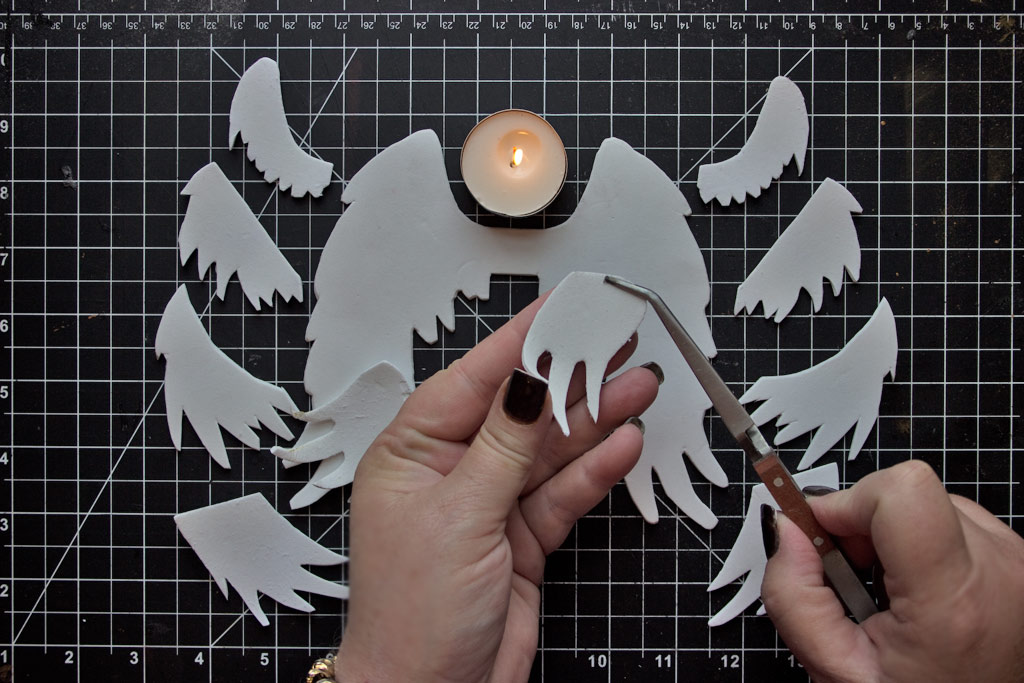
Grasp the Bottom Wing Segment with a pair of Non-Heat Conducting Tweezers and carefully pass it over the flame of the Tea Light at a distance of about two inches.
When you see signs that the Craft Foam is beginning to ‘deform’ due to the heat, remove it from the flame and carefully coax the Pinions into gentle curves with your fingers.
Be careful not to burn yourself!
The foam will melt if heated to too high a temperature – use caution.
Repeat the same procedure for each Wing Segment.
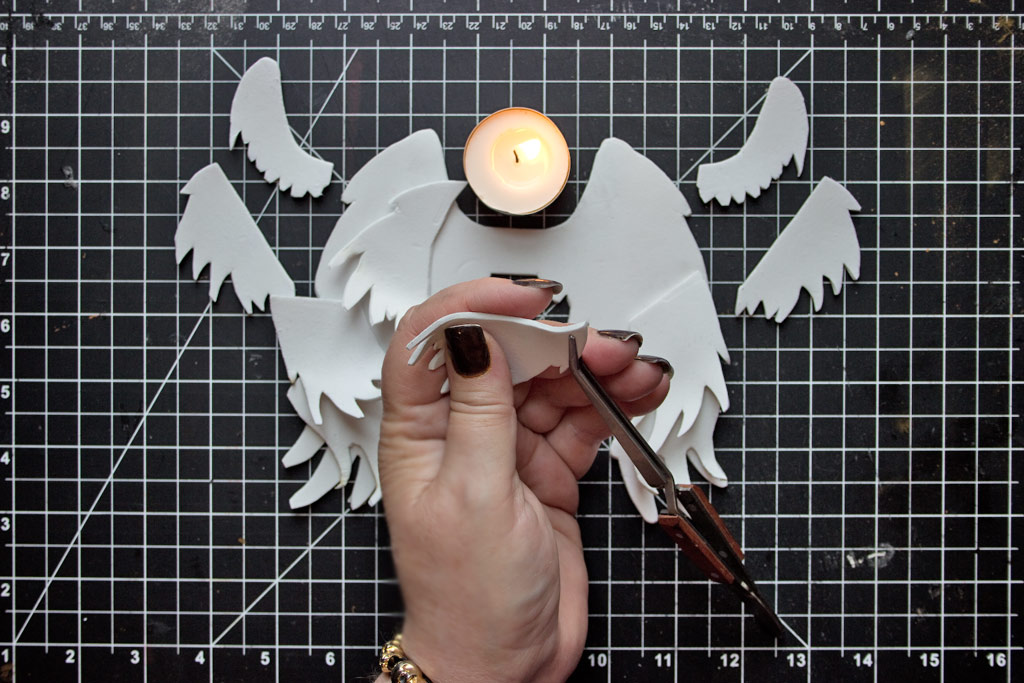
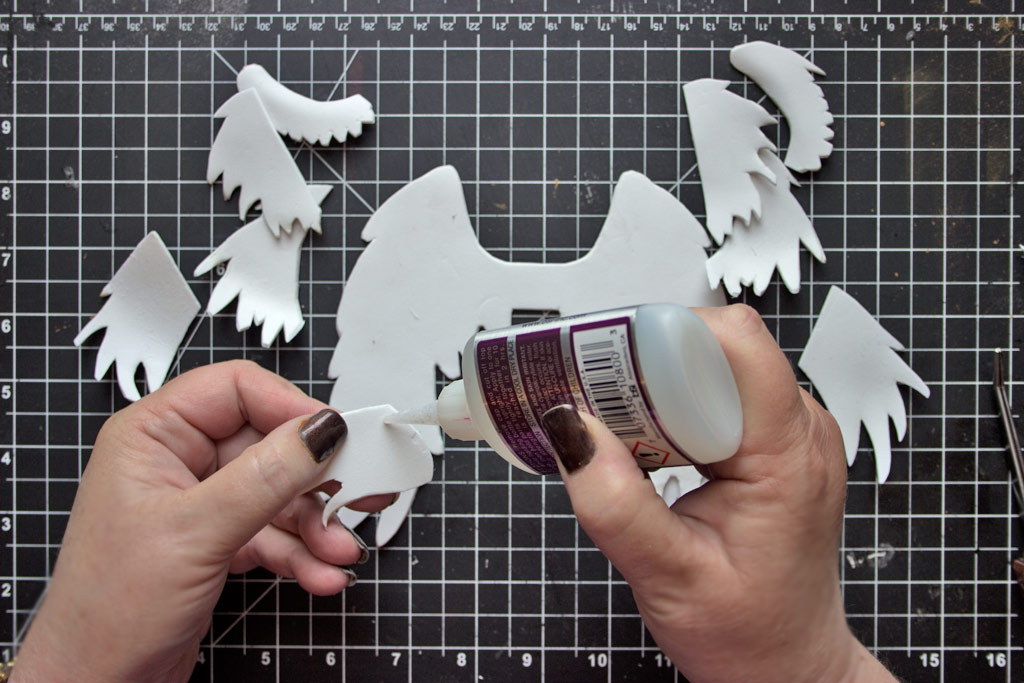
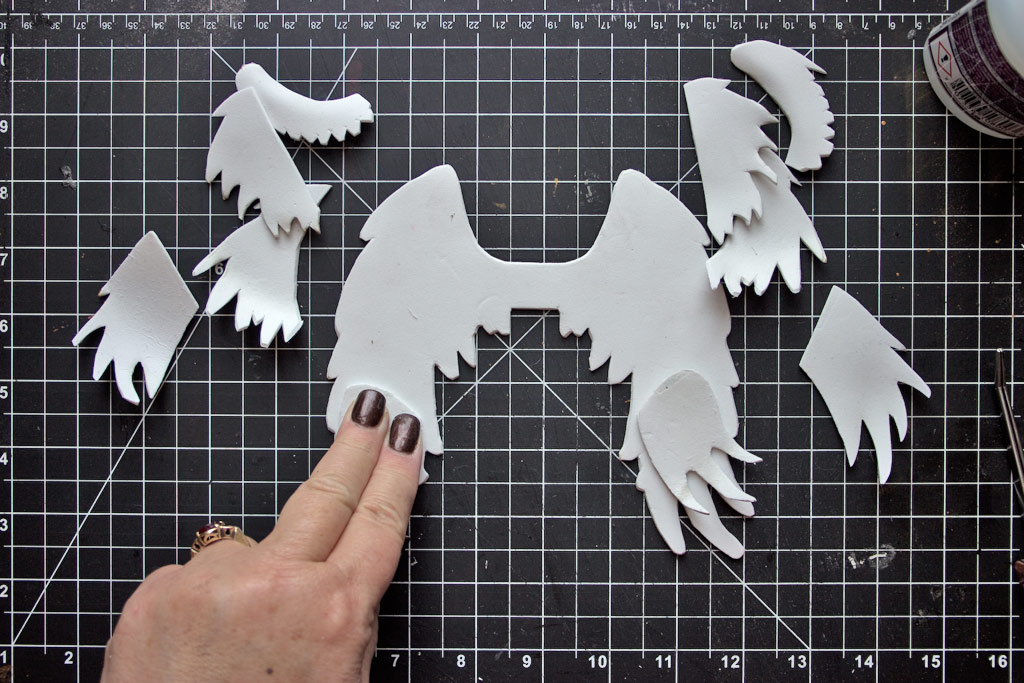
Once you’re happy with the shaping you’ve done, blow out the Tea Light, and begin adhering the Wing Segments to the Overall Wing Shape.
A drop or two of Insta-Cure Adhesive will permanently join the Craft Foam pieces.
Press firmly to secure the bond for 5 seconds.
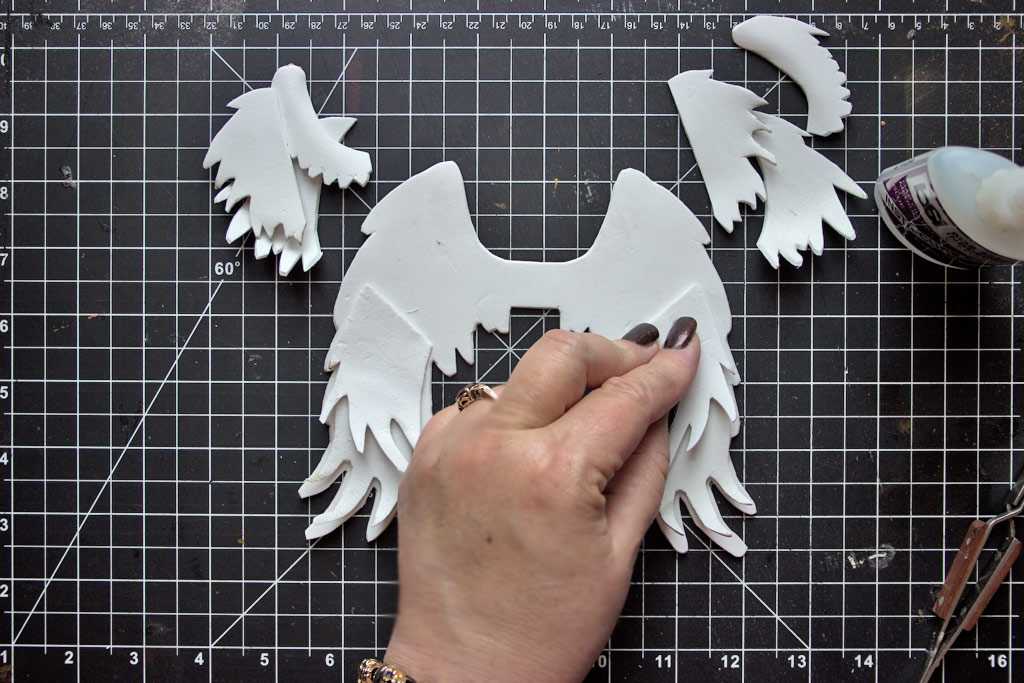
Begin with the Bottom Wing Segment, and work upward, one layer at a time.
Keep the Angel Wings Reference Image handy – this will help you determine the placement of each Wing Segment.
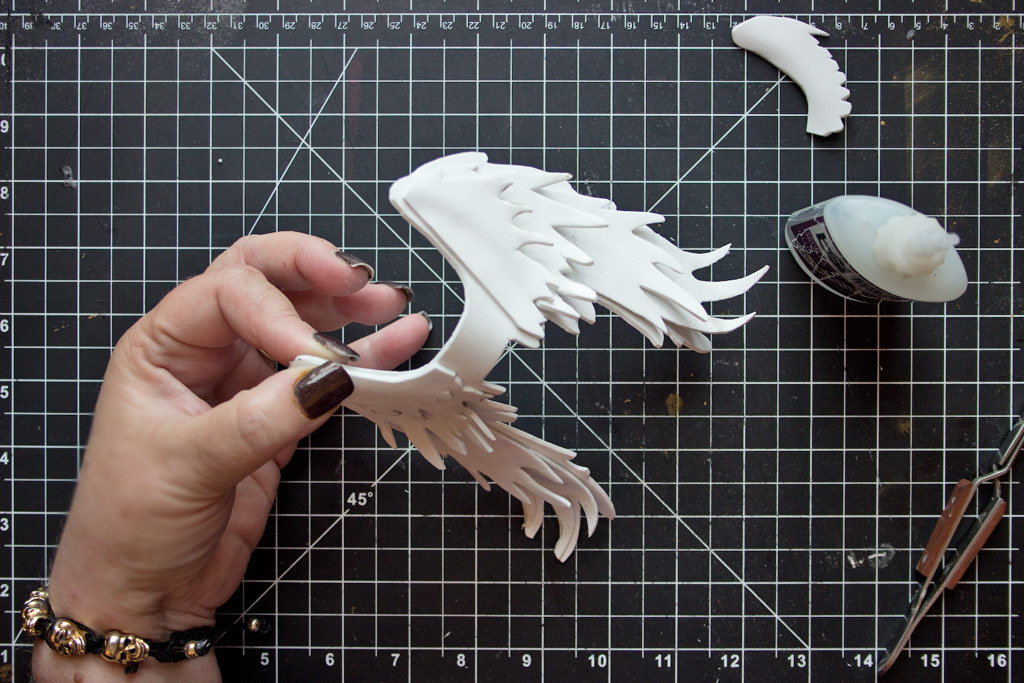
When you reach the top of the layered Angel Wings, bond the edges of the Uppermost Wing Segment to the upper edge of the Overall Wing Shape.
The Angel Wings are flexible but strong!
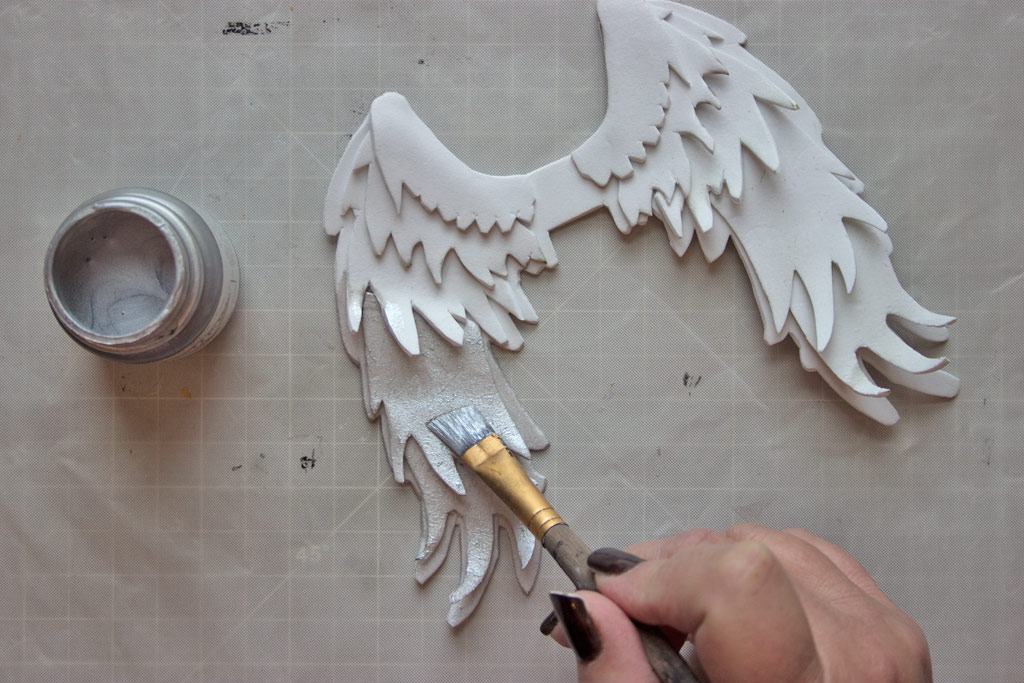
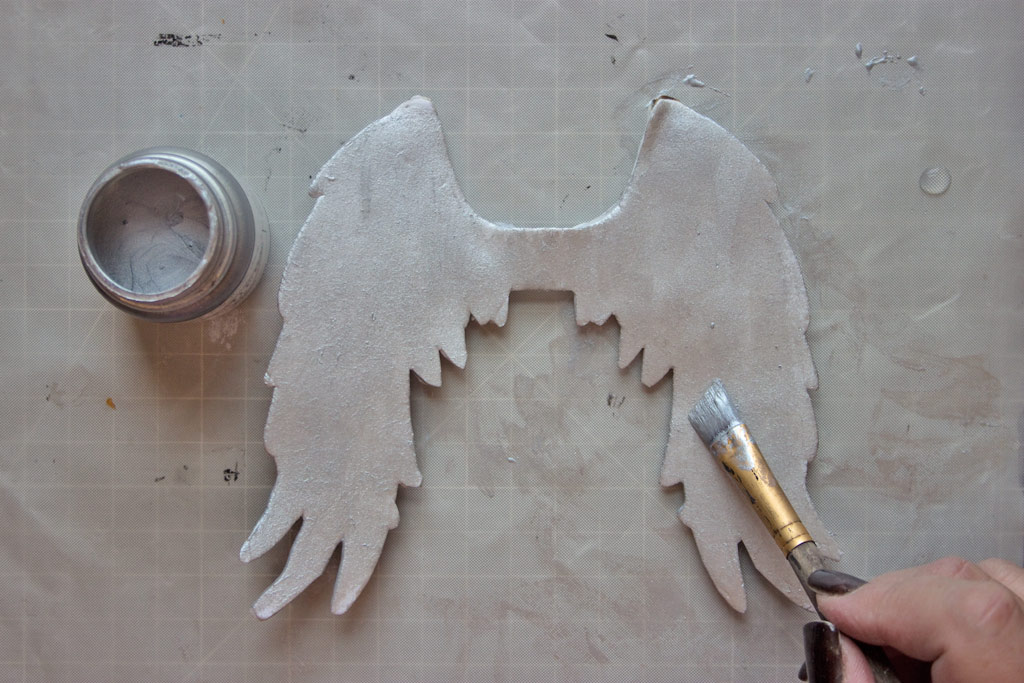
If you choose to paint your Angel Wings, two coats of Acrylic Craft Paint will cover the Craft Foam.
I had a vision of Silver Wings for my project, but you can paint them any way you like!
A Flat Artists Brush will give smooth coverage.
Don’t forget to paint the back!
Note: if you use a Heat Tool to dry the paint, be careful – the foam will melt if heated to too high a temperature.
You can adhere magnets to the center of the Angel Wings, and the back of your Fashion Doll.
The Angel Wings can take center stage when required, but can be easily removed!
That’s it!
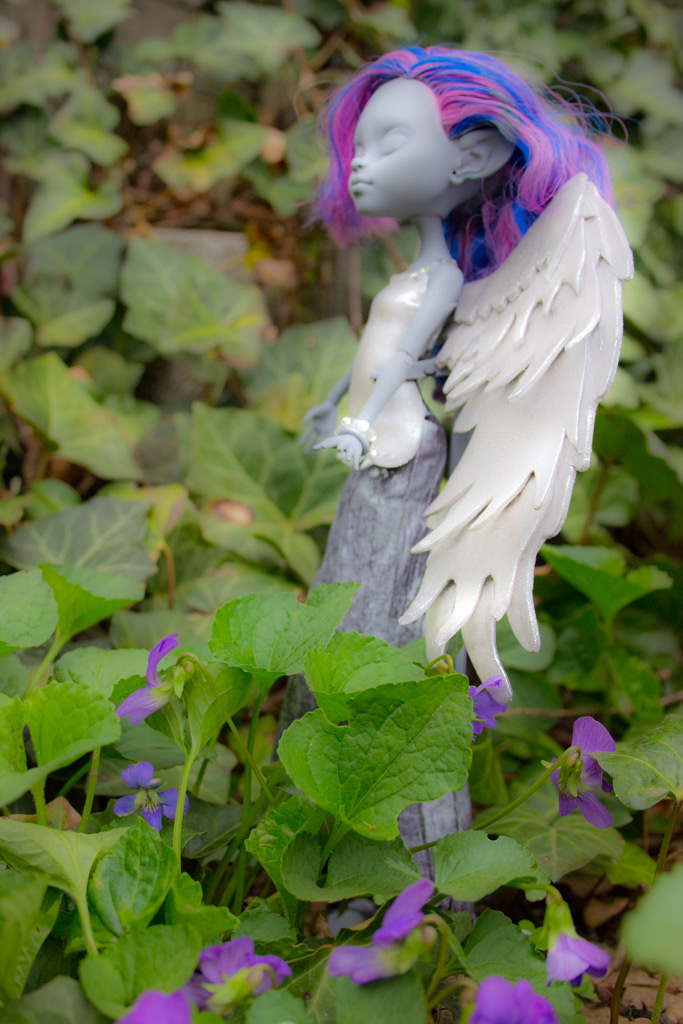
You now have a wonderful pair of Angel Wings, suitable for most Fashion Dolls, or to use as part of a Mixed Media Artwork, they would make a charming ornament for a Christmas tree too.
Thank you for visiting The Graphics Fairy today! You might also like the Dollar Store Angel Tree Topper Project HERE.
I enjoyed designing and constructing these DIY Angel Wings, and I hope you give it a try, too! It’s a fun way to spend an hour!
Come see me on my blog at Thicketworks.
Heather





Penny L Merideth says
I was fumbling around the internet searching for angel wings for my nurse project and found these PERFECT wings! As I read the instructions the words “fussy cut” appear and it reminds me of my new-found friend Heather Tracy. As I read on, Lo and Behold, it IS Heather Tracy! xoxo
graphicsfairy says
That is awesome Penny!
Doc says
I used a white craft foam sheet and my cricut machine set on foam and a deep cutting blade.zips it right out. The hardest part was up loading the pattern into the cricut projects (really no big deal). I finished it off with a white paper rose in the middle. All together to embellish my valentine card to my wife. Beautiful
Heather Tracy says
Wow! That sounds so cool, Doc. I love the idea of the white rose with the wings – magical! I’m sure your wife will be thrilled with such a lovely keepsake.
Dorthe Hansen says
Thank you dear Heather, for another inspirational video.
Your wings are so beautiful, and giving so much more to the doll, and angel feeling, than a pair of flat wings, does. Also a great material, to use, as it is easy formed with the flame .
Hugs, and happy Thursday to you.
Heather Tracy says
Hi Dorthe! I’m so happy you like this little project! It will be fun to experiment with different paints and sizes…thank you for stopping by The Graphics Fairy today, my friend. You are always so kind! xox
Mary says
Sooooo cute! TY!!
Heather Tracy says
Yay! Thanks, Mary. Super easy, too! xox
Diana says
Fabulous wings. Have to give this a go. Love the doll you made to place your wings. Now need to find a fairy doll?
Thanks for sharing.
Heather Tracy says
Hi Diana! I wish I could claim credit for the adorable doll…but NO! It’s a Monster High specimen, bought on clearance and sprayed with primer to delete all the flashy makeup, etc. Fast n Easy! xox
Rupa says
Love the simplicity of this project. Your altered doll with angel wings is so serene sitting among the purple flowers in the garden. She feels right at home I think. I don’t mean to be a spoiler but I am a wee bit concerned with heating all sorts of chemical laden products. I know you caution us with these things but hope everyone uses a mask or outdoors to deal with potential toxic fumes released from these products when heated.
Heather Tracy says
Well said, Rupa! Be careful, folks. Good ventilation is always required. The wings take very little heat to mold, however, and fumes are minimal. Thanks for your thoughtfulness, Rupa! xox
Denise E Foor says
This is lovely. Thanks for the inspiration
Heather Tracy says
Yay! Hope you make some, Denise – it’s fun! xox
Linda Knox says
Love, love, love it. Thanks again for sharing your talents.
Heather Tracy says
Hi Linda! Thanks for your kindness – this was fun to share! xox
Gunnvor Karita says
A-dooooh-rable 🙂
Heather Tracy says
Hey Gunnvor! I’m so happy you think so! Hope this is useful, my friend. xox