DIY Coat Rack
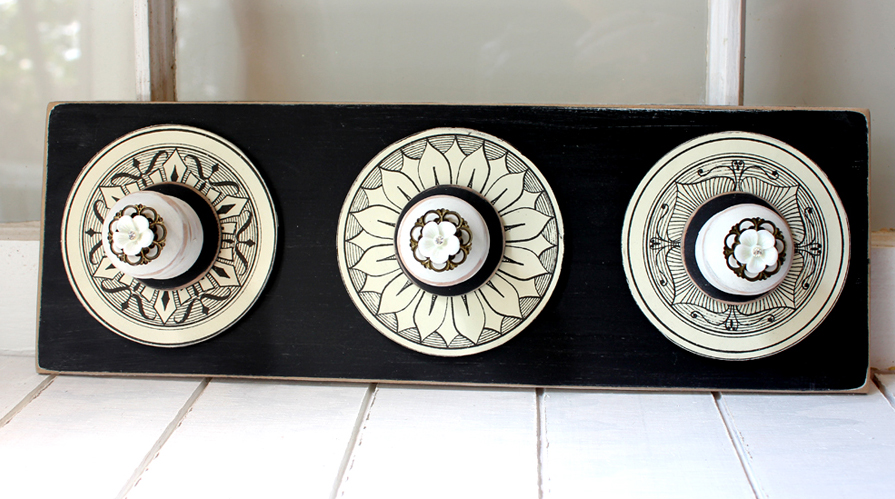
This is a wonderful tutorial for making a DIY Coat Rack that is as pretty as it is functional! This post was created by Andrea from the Cottage Market back when she used to be an author here. At the time (2012) it was the first tutorial that she created for my blog and I still love this post today. I’ve cleaned it up a bit and enlarged the graphics so that it’s a bit more current with how we write tutorials today. I love how delicately decorative the knobs are on this Wall Rack, they remind me of some of the pretty knobs that they used to sell at Anthropologie. They almost look like jewelry! In fact this may be too pretty to hang coats on, perhaps a jewelry rack for necklaces would be another great idea for this project. I think this would make a great gift for someone too! Anyway, I will let Andrea teach this tutorial in her own words for the rest of this post…
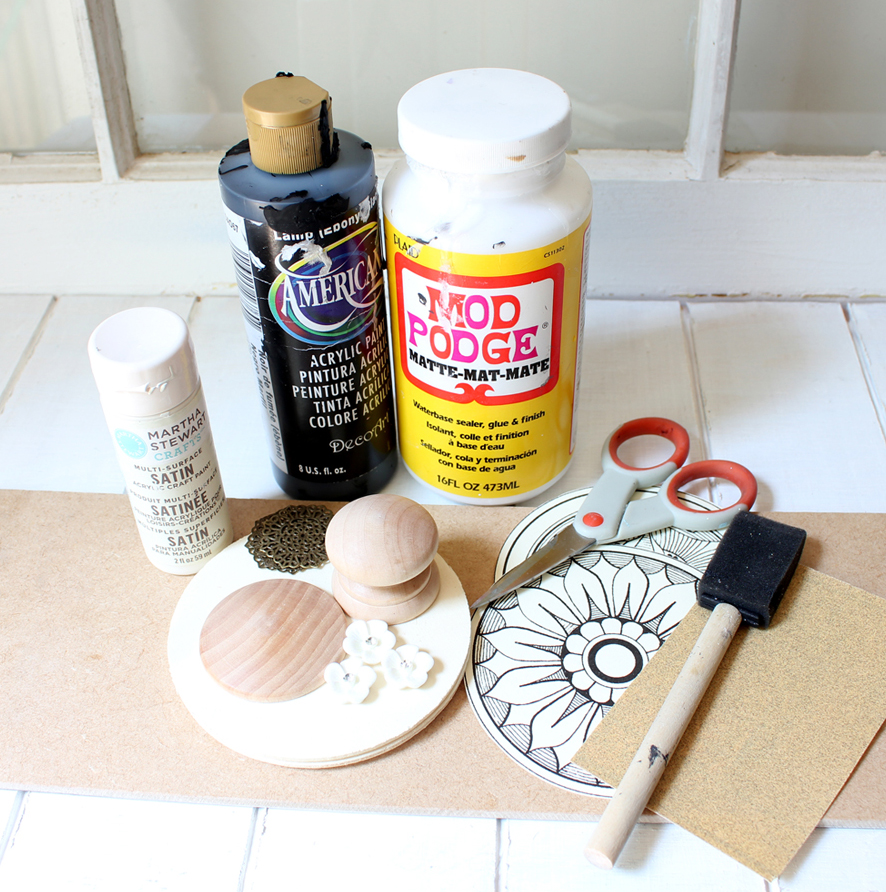
Supplies for DIY Coat Rack:
- 3- Four inch round discs
- 3- Wooden knobs
- 3 -Two inch Wooden rounds (all available at Michael’s)
- Filigree pieces
- Resin Flower Cabochons of your choice
- Paint
- Modge Podge
- Scissors
- Sandpaper
- Foam Brush
- 5 X 15 inch Piece of wood
- Antique Medallion Graphics HERE
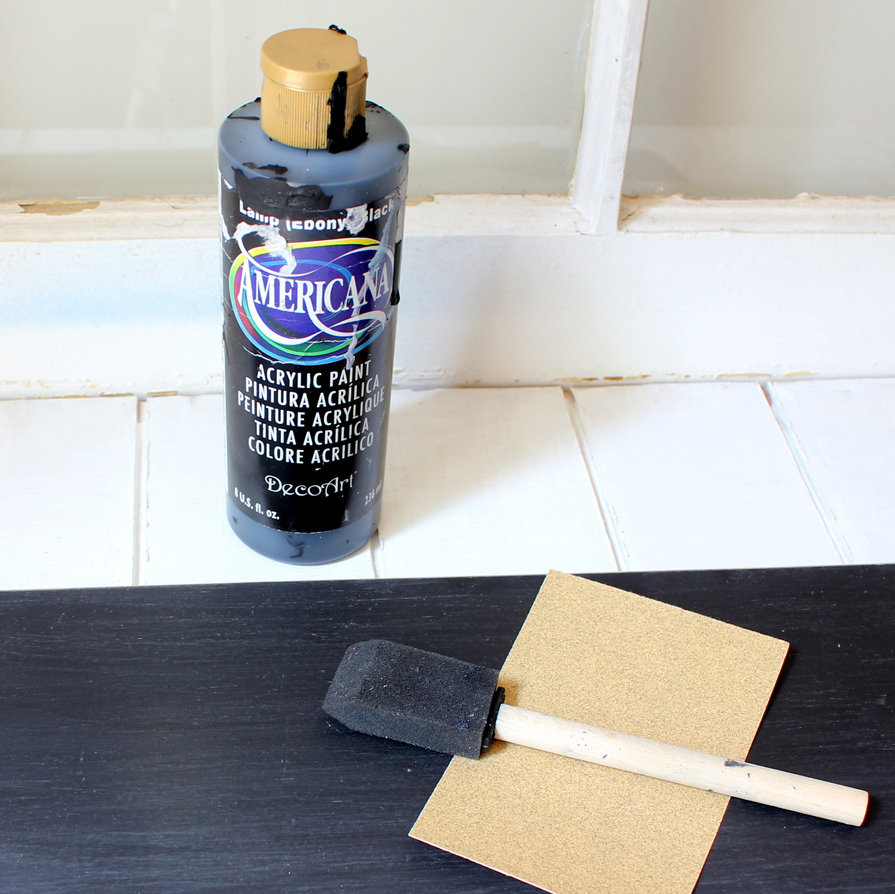
Step 1: Sand your wood and then apply two coats of paint. Allow to dry and then use your sandpaper once again to shabby all the edges…keep sanding till you get the look of choice. Then apply a coat of Modge Podge to the entire surface and let dry.
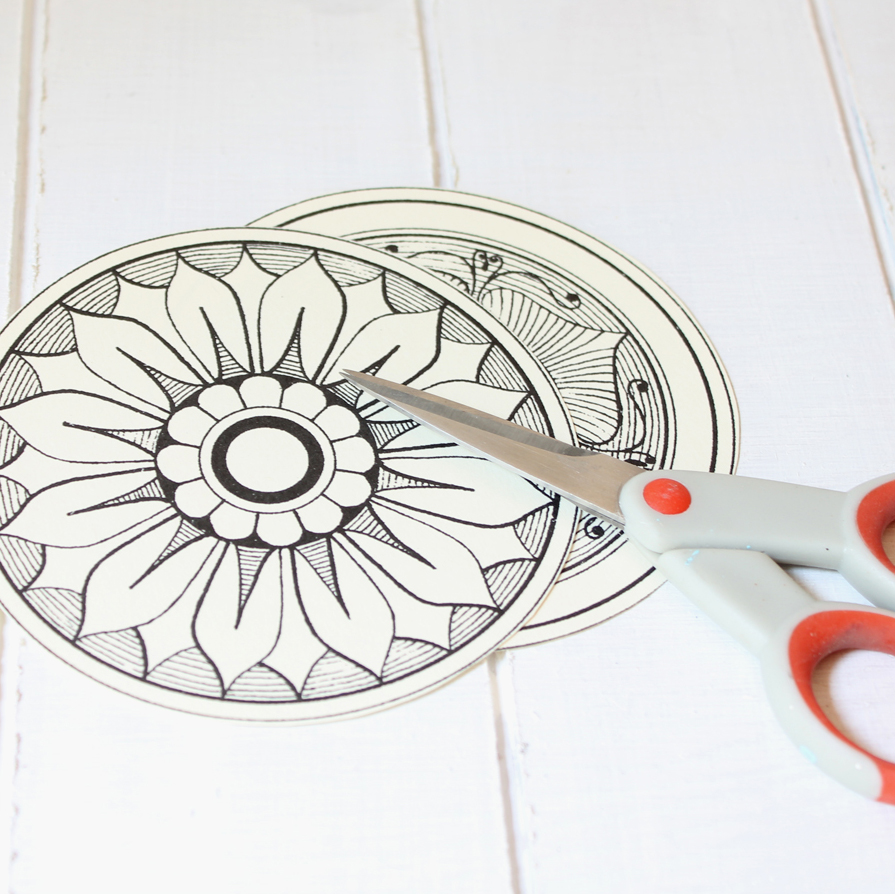
Step 2: Print your graphics out at 4 inches round on card stock (I used a light cream colored stock) Then it is time to cut them out.
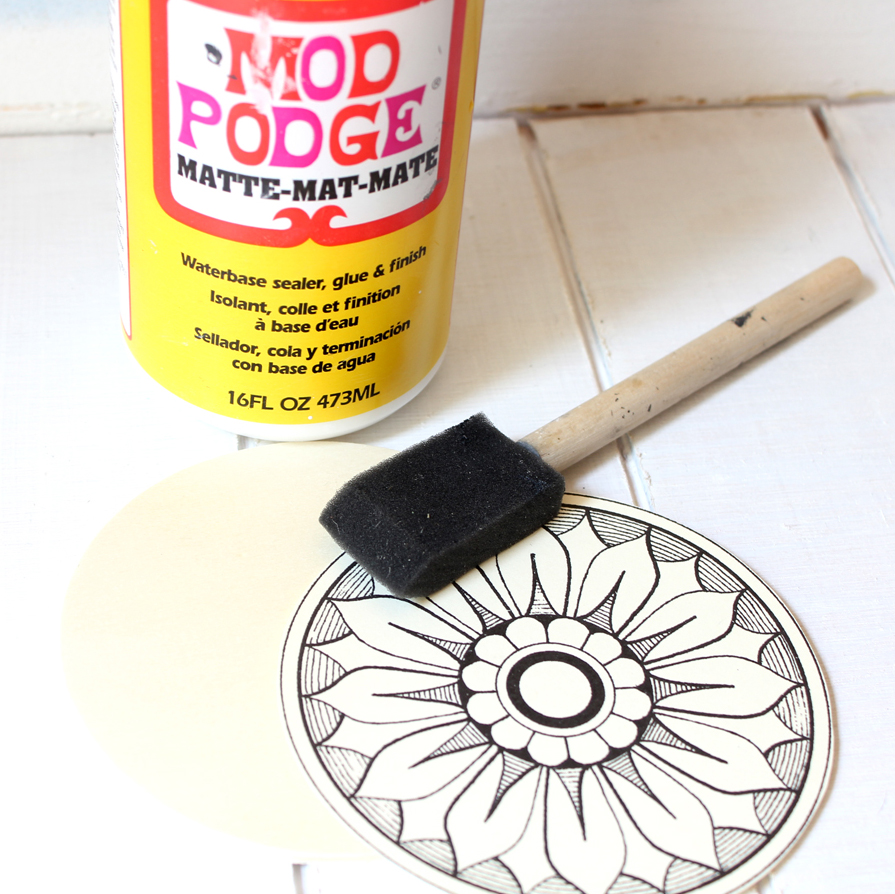
Step 3: Apply a good thick coat of Modge Podge to the wooden circle…and then press the image on…make sure you burnish it down so there are not loose areas. Then apply 2 coats to the top. Repeat and let dry well.
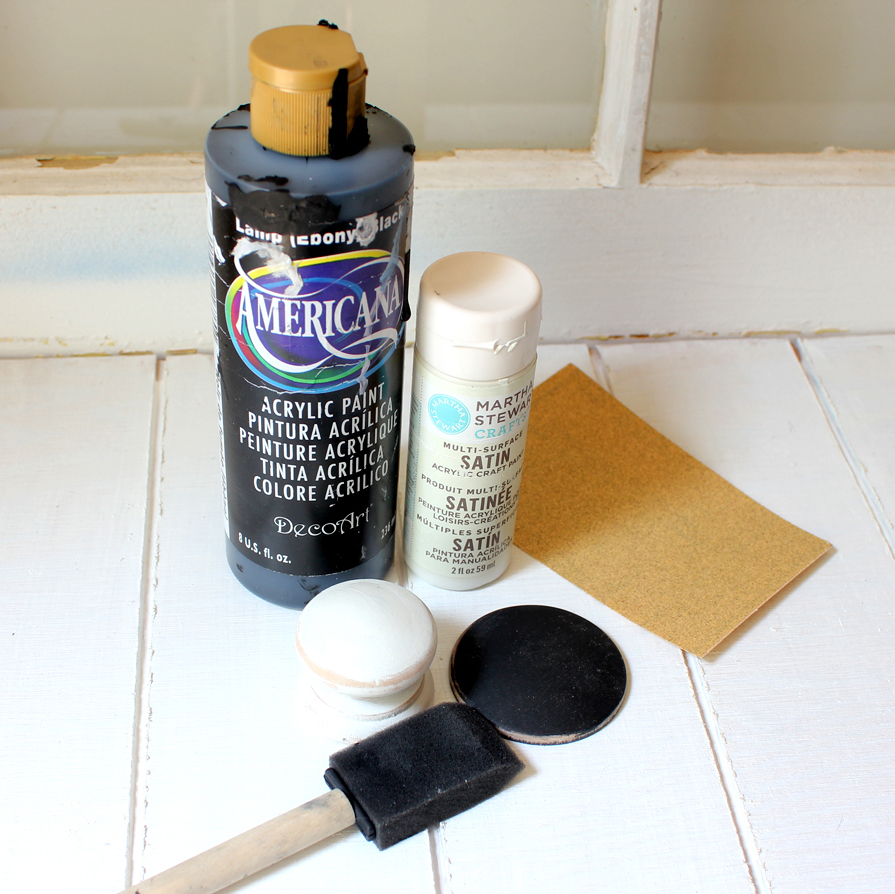
Step 4: Now it is time to paint your wooden pieces…of course in the colors of your choice. Give the knobs and the flat circles two coats…allow drying time and then shabby the edges with your sandpaper…as much as you prefer. Then give them a coat of Modge Podge. Allow them to dry.
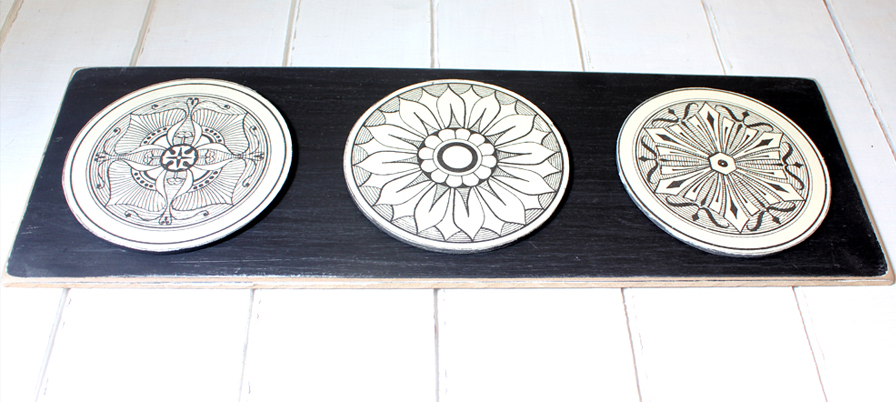
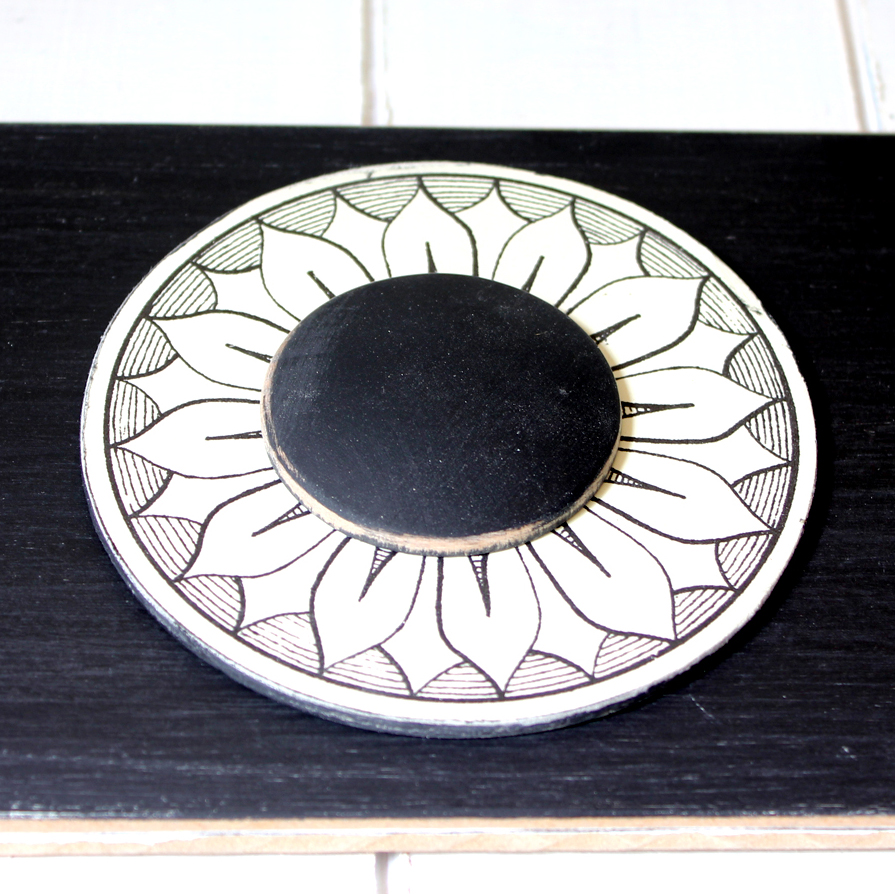
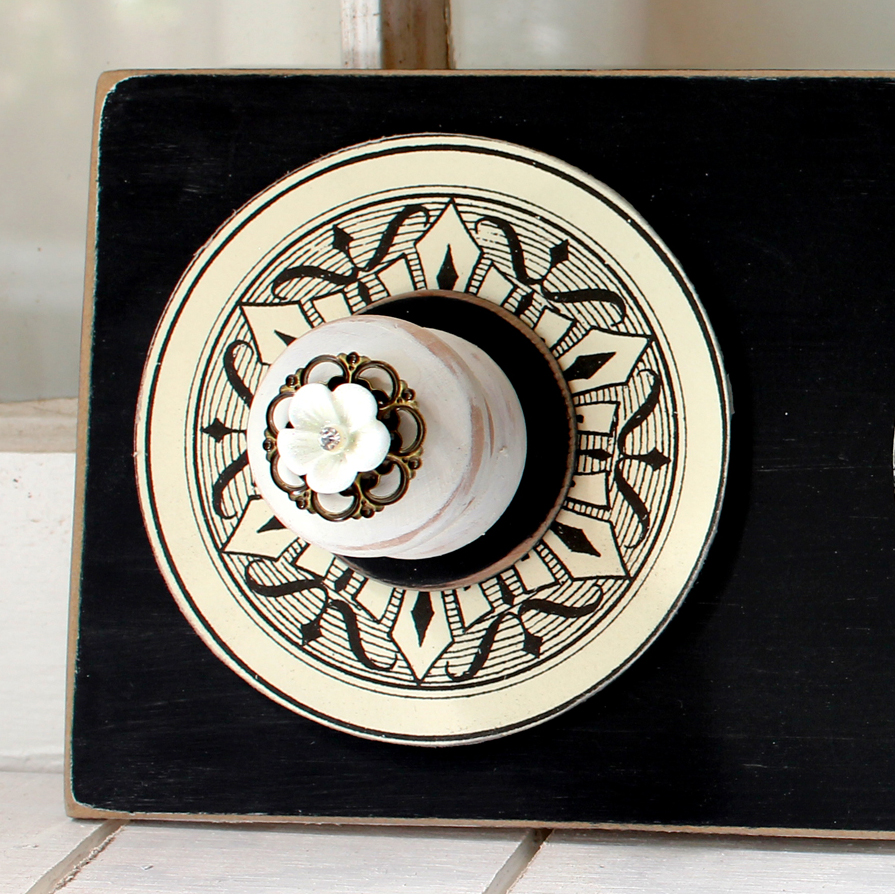
Step 5: It is now time to assemble! It’s like building a sandwich. First glue all three medallions down to your board with hot glue…space them evenly.
Here’s a close-up…
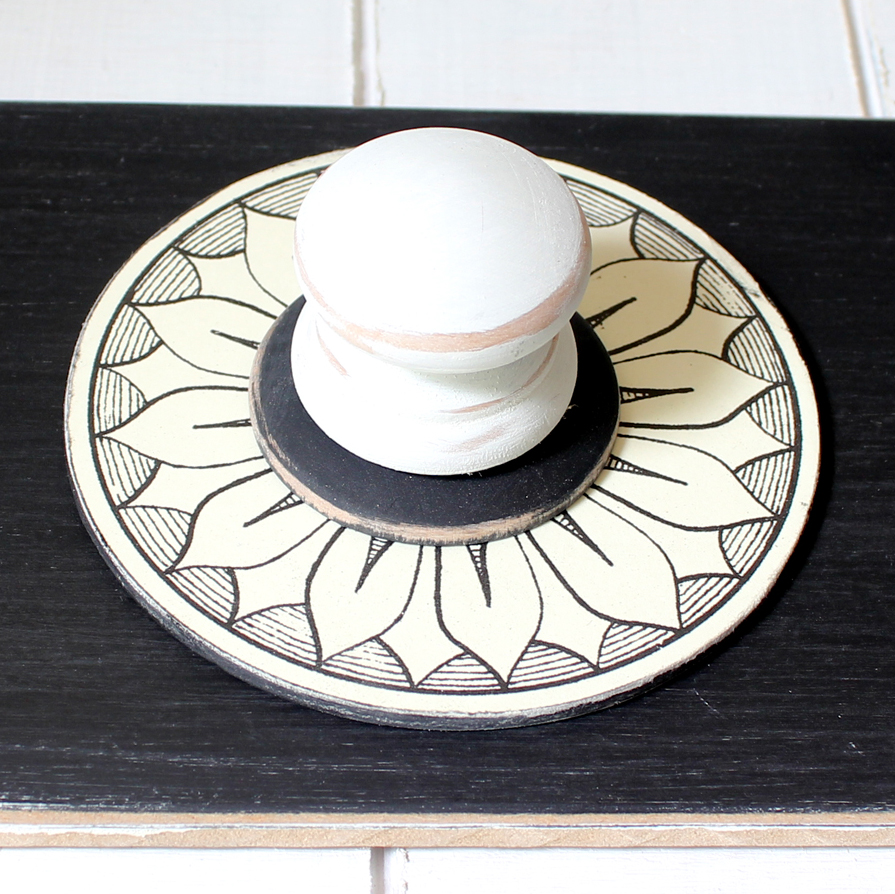
Step 6: Now hot glue your round wooden circles to the centers of the medallions.
Step 7: It is time to attach the knobs…they have a completely flat bottom so you can use hot glue to attach…it holds very nicely and it is very easy.
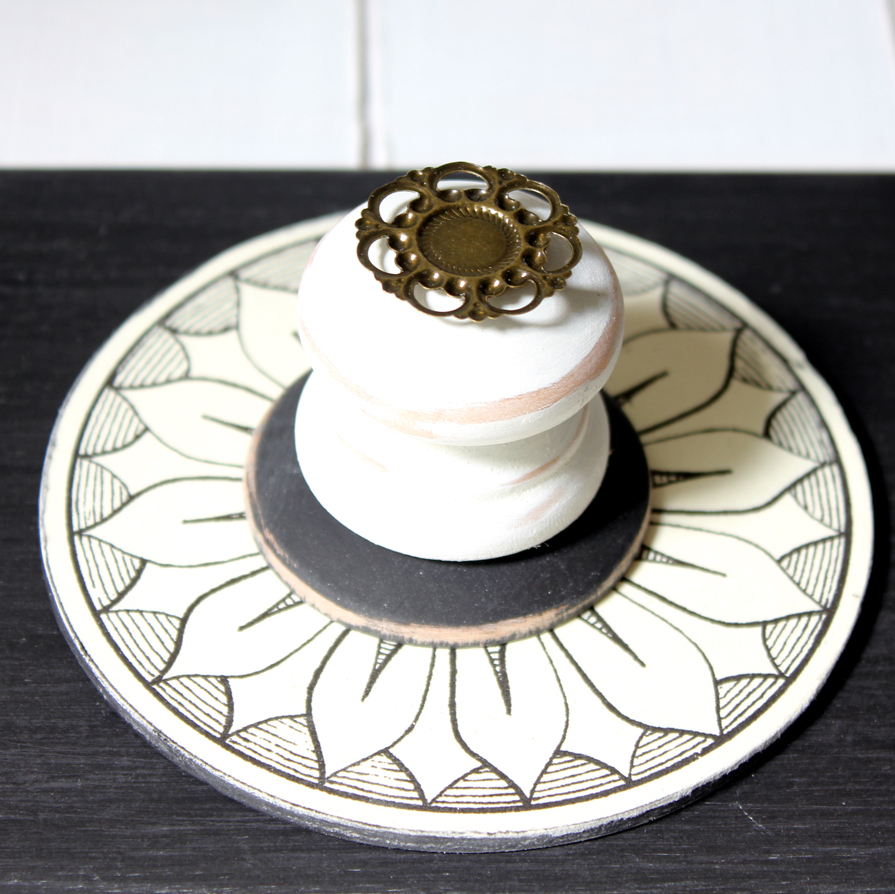
Step 8: Hot glue your filigree to the top of the knobs.
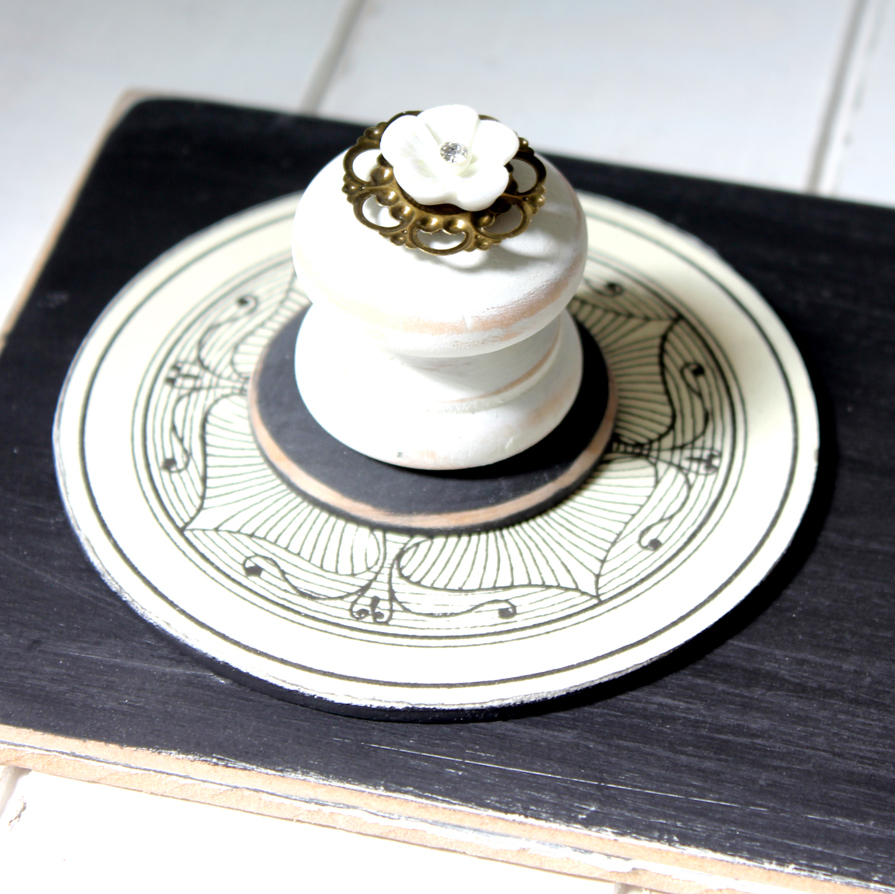
Step 9: Now it is time to apply the resin flower…a little dab of hot glue and attach.
Now all you have to do is add the type of hanger you love to the back and it is ready for hanging! You can use it to hang all kinds of pretties and of course it is wonderful to hang you necklaces and bracelets too!
You can create these in all different sizes…single ones…double ones…and more. The variations are limitless and your choice of graphics…well just look at the endless sea of gorgeous images here on The Graphics Fairy! Hope you have fun creating this DIY Coat Rack …oh yes…this makes a great leash holder too!
Enjoy !
Hope you come and visit me some time over at The Cottage Market...
(Hugs)
Andrea


Sabrina says
I’ve searched and searched for the medallion graphics for this project but have not been able to find them. Do you have a direct link? I love Love LOVE this project and was looking for something fun like this to do for my jewelry designing studio. It’s a perfect hanger!
Thank you!
Sabrina
Michelle Smith says
I was actually captured with the piece of resources you have got here. Big thumbs up for making such wonderful blog page!
Wallpapers
michellemc says
So pretty! I just might make this as a gift for my niece’s newborn baby girl’s nursery. I think I already have all the materials.
Mikel Lyman says
Very Lovely!
Edzellinni aka Linda Edkins Wyatt says
Just gorgeous!
beckylouwho says
The printed decoupaged part surprised me. I wonder if you got the resin flower and filigree from Michaels too? I have been searching for something like this to glue on my keys.
The Cottage Market {Andrea} ♥ says
Hi there beckylou! how are you : ) no — i didn’t get the resin flowers from michaels — i found them on etsy : ) if you need a few resin flowers to play with …let me know…
[email protected] : ) i will be happy to send you a few to play with : ) ENJOY!
kate says
Great look, thanks
Kate 🙂
lynn says
just beautiful, andrea! it looks like porcelain-so clever! tfs!
Annalisa Cecilia says
ottimo lavoro!è bellissimo!
Nancy says
I also thought that these looked like porcelain like Linda did..Hard to believe it is basically paper and wood with a couple of pretty embellishments..You are so creative girlfriend..Hugs
Karah @ thespacebetweenblog says
Ohhhh, I LOVE this … everything Andrea does is so wonderful. Vintage looking and functional. Perfect!!
Linda @ it all started with paint says
Andrea,
I’m shocked that this was made with graphic prints … it looks like porcelain plates! Just beautiful! And I love the idea of using to hang necklaces from …
🙂
Linda
Free Pretty Things For You says
Functional and Gorgeous !!! I would have never thought to this!! Love how your mind works my dear!! 😀
xoxoxoxo!
Keren
thistlewoodfarm says
What a great project! I really love those graphics! I need to make one of those for my laundry room!
Andrea….you are a rock star!
blessings,
karianne
Eclectically Vintage says
This is fabulous – I can picture this holding all of my jewelry! Love the graphic black & white with the bit of bling!
Kelly